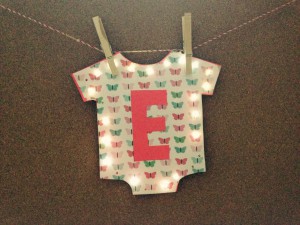
My daughter’s 3rd grade teacher is coming back from maternity leave, and my daughter is so excited. She wanted to make a little something to welcome her teacher back and I wanted to play with my new Xyron machine, so we decided to do this light-up onesie together. We thought it would be perfect in baby Ella’s room, but you could do multiple of these and string them as a banner for a baby shower too.
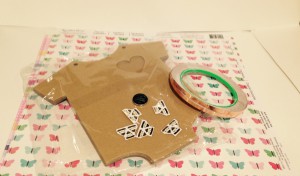
Materials
Onesie chipboard shape from Recollections
Pretty craft paper
Cardstock
Chibitronics LED Circuit Stickers
Copper Tape
Battery
Equipment: Scissors, Tape, Hole Puncher, Pen, and Xyron Creative Station and Xyron Sticker Machine
Instructions
1. Trace the onesie shape on pretty craft paper and cardstock.
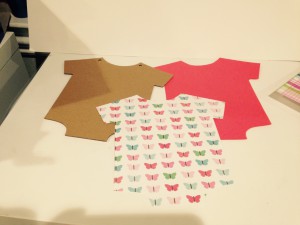
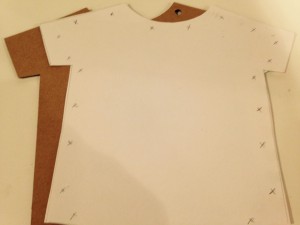
2. Draw holes in the back of the pretty craft paper on where you want the lights to be. Afterwards, use hole puncher to punch the holes.
3. Place cardstock onesie in the Xyron Creative Station to get adhesive on the back. Stick on cardstock onesie.
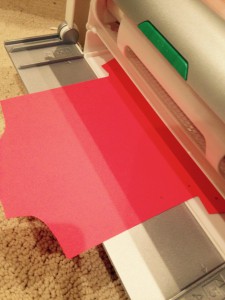
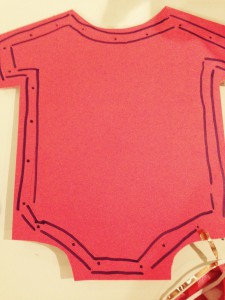
4. Place pretty craft paper onesie over card stock onesie and mark the holes. Draw lines connecting on the left and right side of the onesie, tracing the whole onesie.
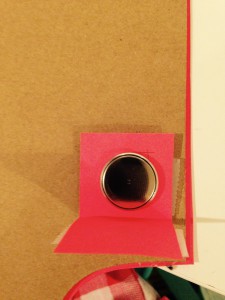
5. Create a paper battery holder. I used magnets to keep the battery in place, but you can use binder clips or foam stickies since we are putting the battery holder behind the onesie. For instructions on how to create paper battery holders, click here.
6. Use the copper tape and follow the path from the positive and negative sides of your battery holder. Add circuit stickers.
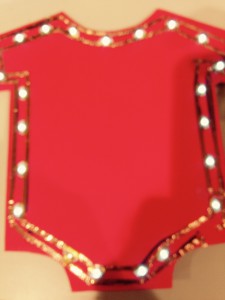
7. Place the pretty craft paper onesie on top. The holes that you had punched earlier should let the light shine through. Use foam stickies to stick the pretty craft paper on top.
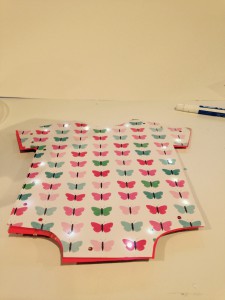
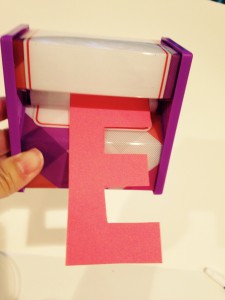
8. I added an “E” and used Xyron’s Sticker to add adhesive to my smaller letter.
9. Enjoy your pretty and personalize onesie. My daughter was thrilled and cant wait to give it to her teacher, since she helped make it as well.
