This tutorial will show you how to make a flat battery holder that holds two batteries connected in series. Because the batteries are connected in series, they make a higher voltage power supply, so you can have more LEDs in series! To learn more about series circuits, visit this tutorial on series versus parallel circuits.
Materials:
● paper
● 3V coin cell batteries
● glue
● pen
● copper tape
● binder clips or neodymium magnets
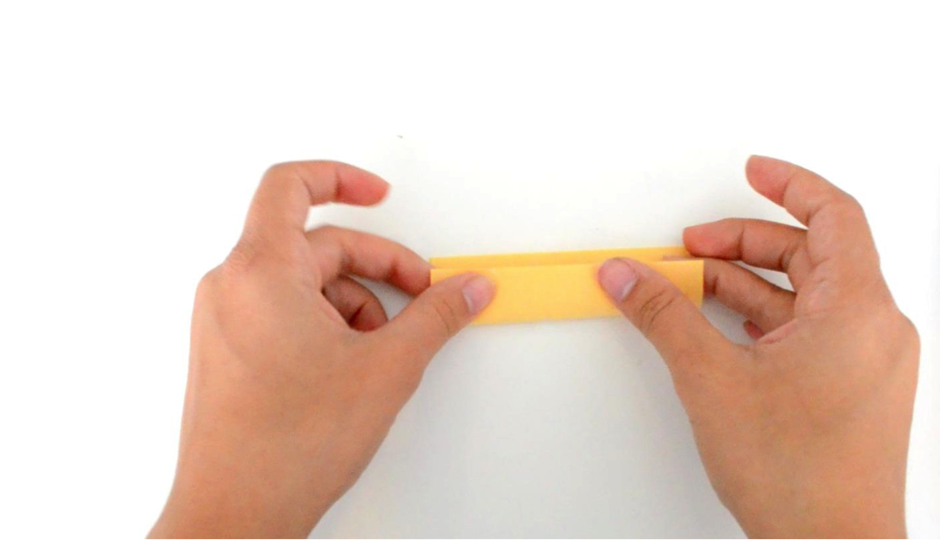
1. Fold one piece of paper to snugly fit two batteries side by side.
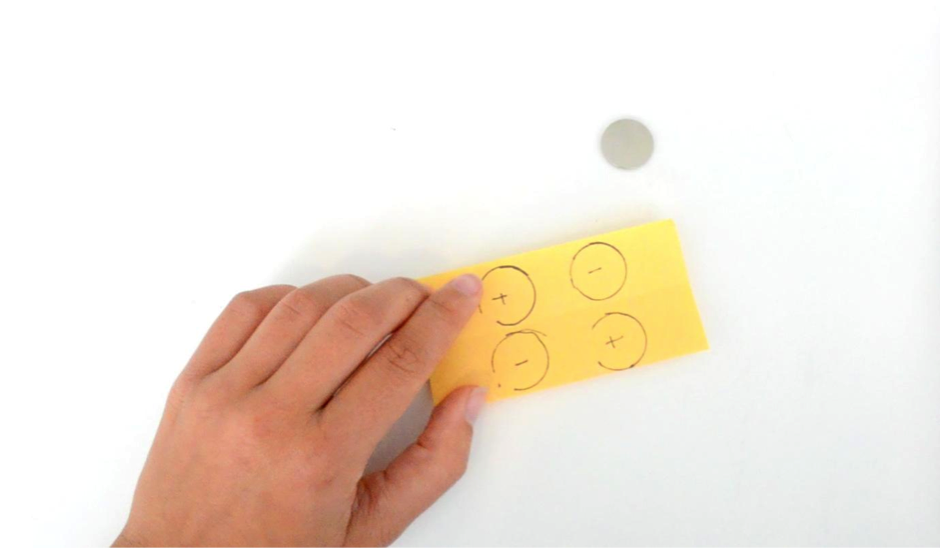
2. Trace batteries on the paper and mark the positive and negative sides. One should have positive side up, and the other negative.
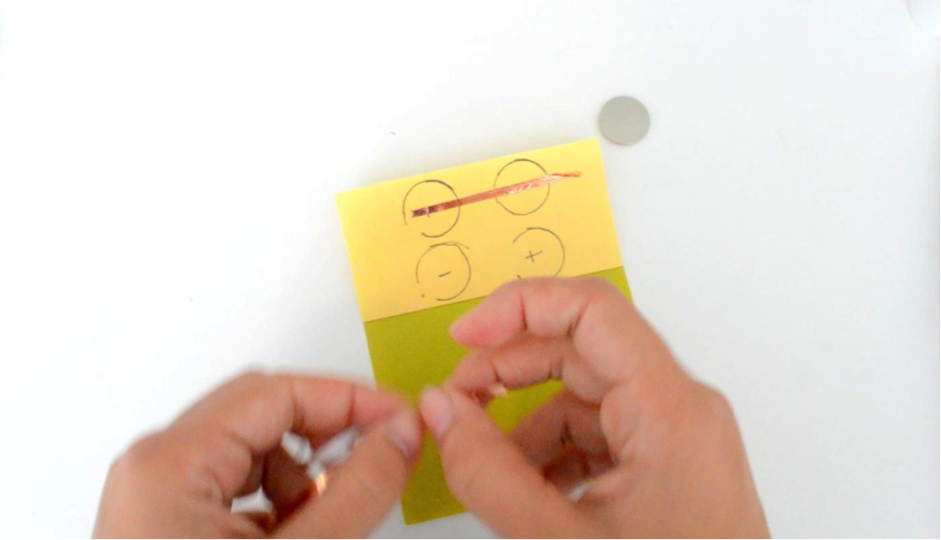
3. Glue your battery template to the paper you want to work on.

4. Connect the two circles on the top of the paper with copper tape. This is connects the positive side of one battery to the negative side of the other so they are in series with each other.
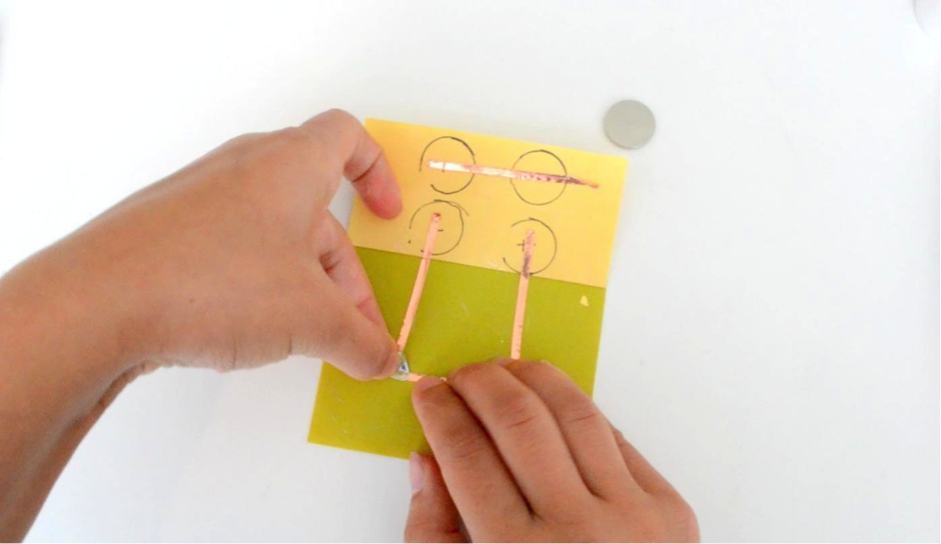
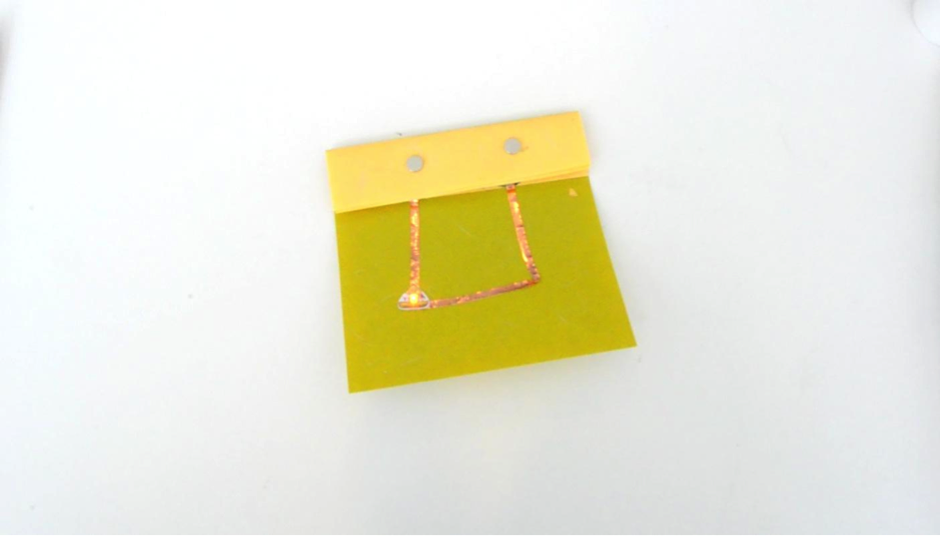
5. Lay down the rest of your circuit. Keep in mind that the bottom two circles are negative and positive, left and right in the image below, so you can build your circuit as if these are the two circles of a single battery holder.
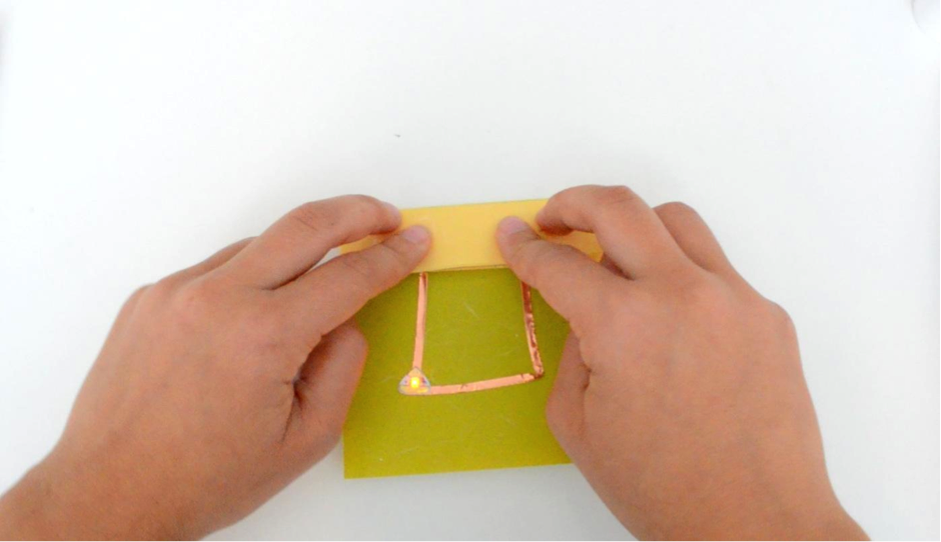
6. Test your circuit by pressing the top fold over the batteries. Remember that one battery is placed with + side up and the other is placed with + side down.
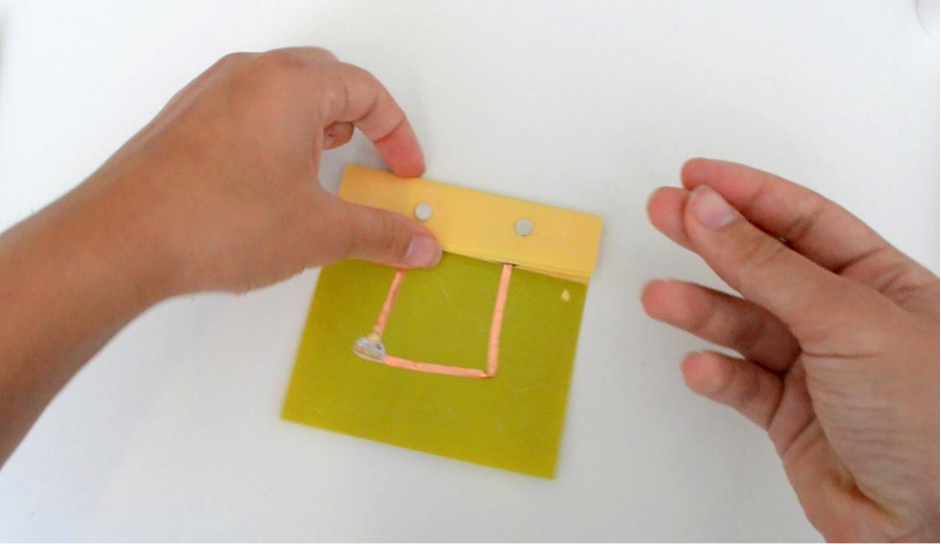
tip: Instead of using a binder clip, you can add neodymium magnets on either side of both batteries to keep them in place without the added bulk of the clip.
7. Decorate your circuit!
Happy making!