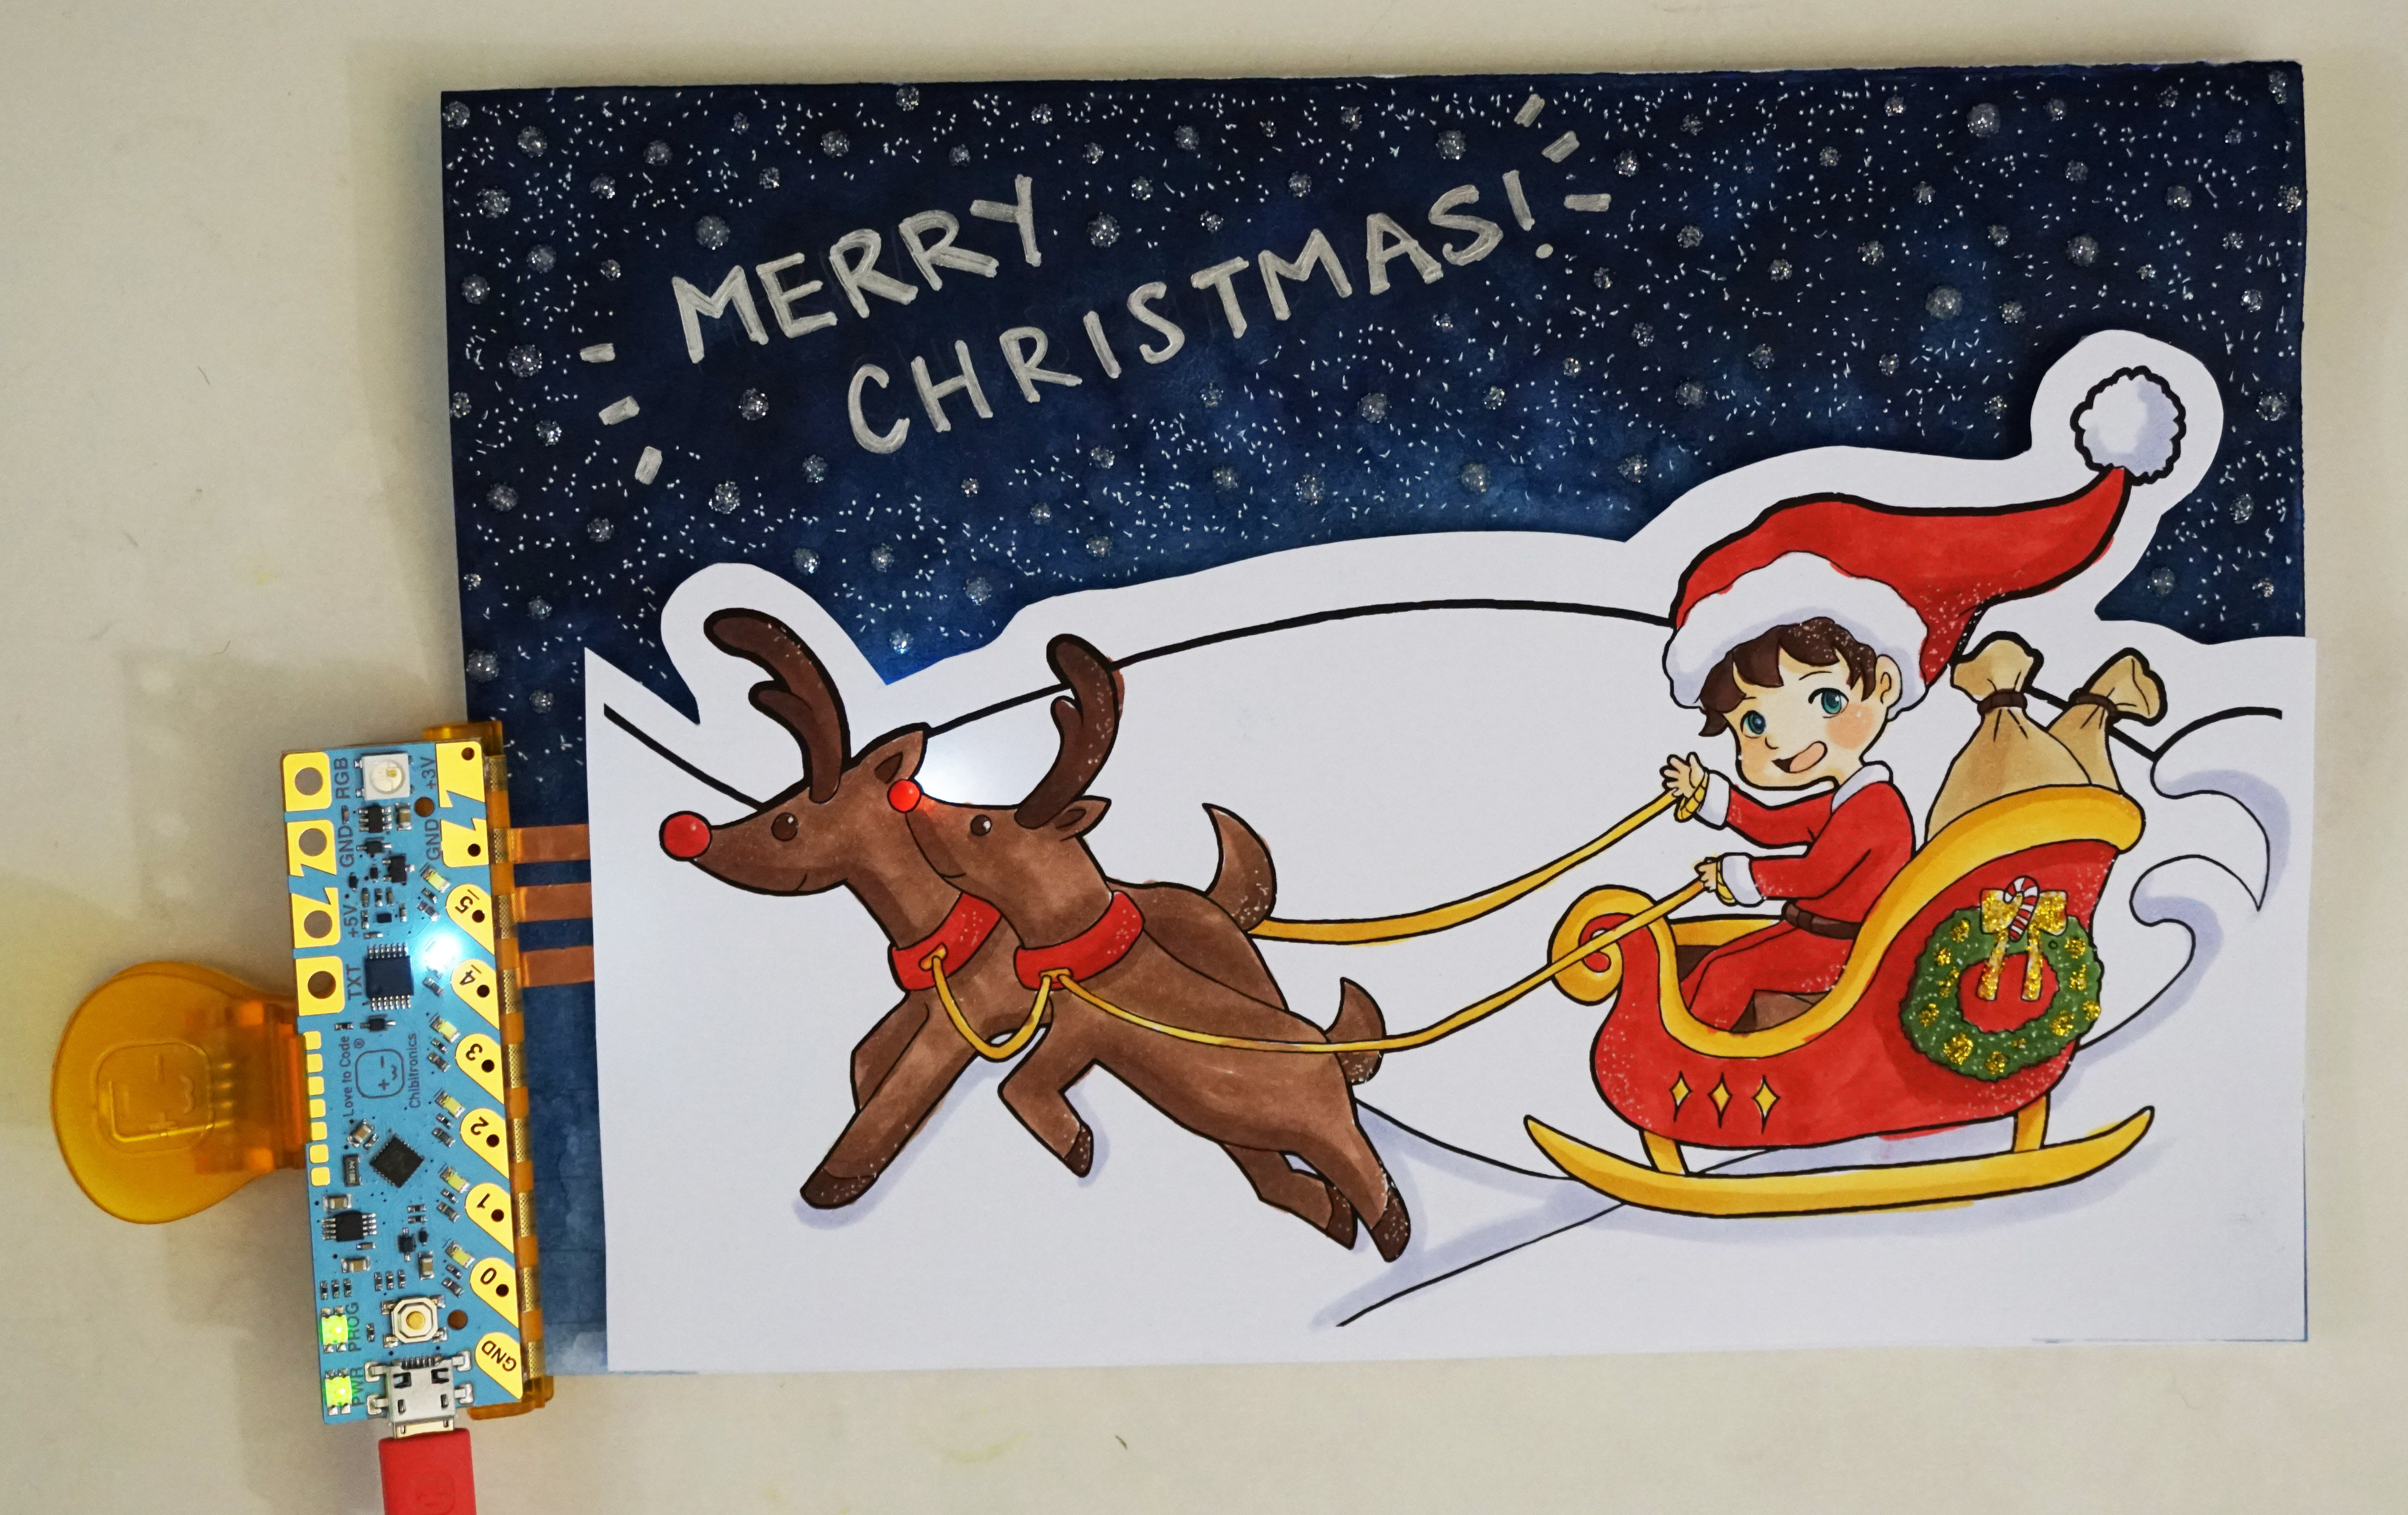
Happy holidays from team Chibi! Our intern, Shicheng Lim (@caligomartia on Instagram), designed a fun color-in, light-up holiday card template activity so you can craft your own holiday greeting using Love to Code!
Anyone with the Love to Code Starter Kit will have the electronic parts to do this project. If you want to purchase the parts separately, you’ll need the Chibi Chip + Clip bundle, a roll of copper tape, and some LED stickers.
You’ll also need some of your favorite art supplies, such as markers, pencil, pen, or crayons to color in the scene, as well as scissors and tape (preferably double-sided foam tape).
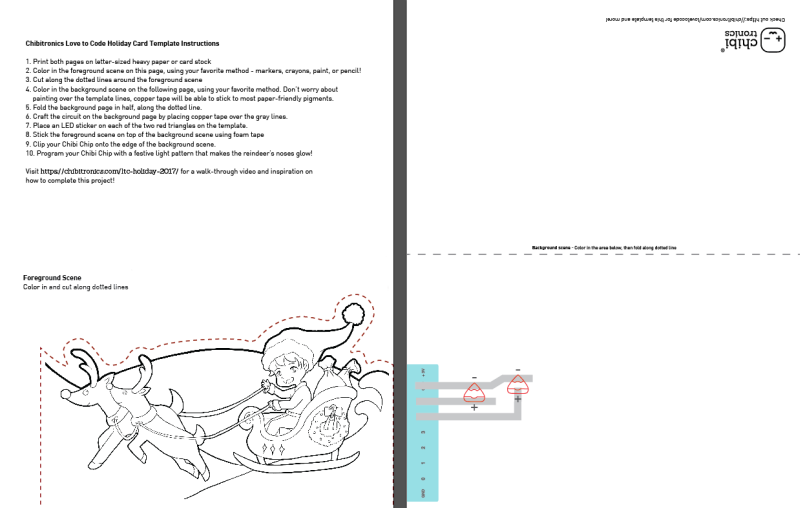
The card template consists of two parts: a foreground scene and a background scene. The background scene contains the lights and sky/horizon colors, both of which are used to accent the foreground scene.
First, print out the two pages of the template, preferably on heavy paper or card stock.
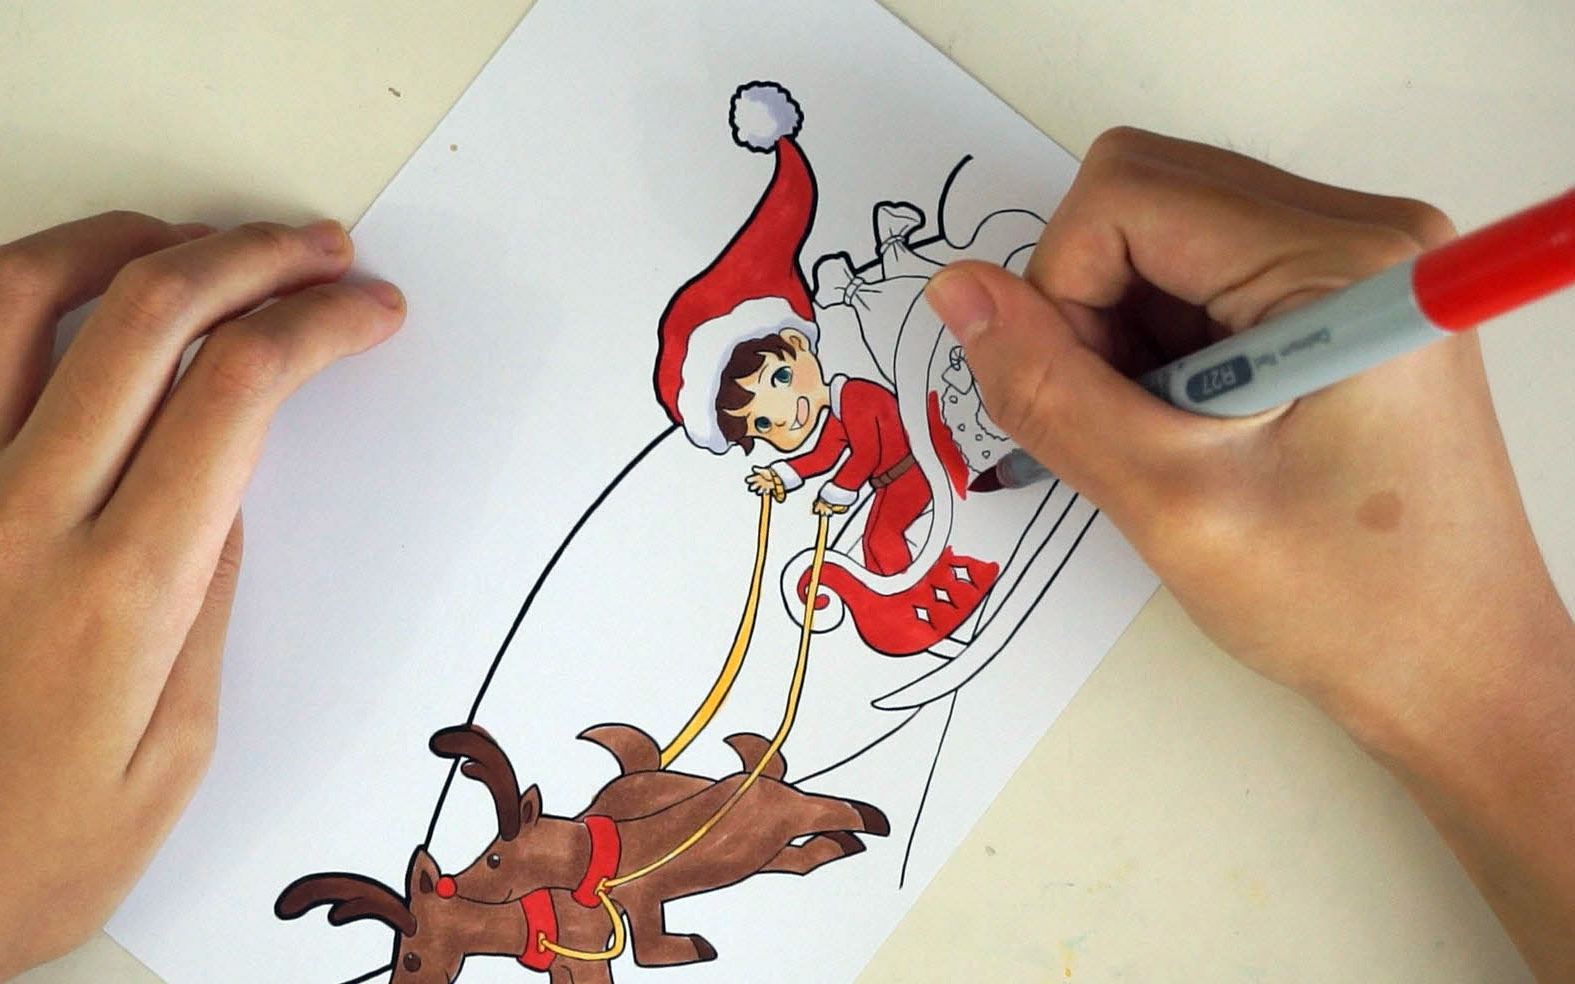
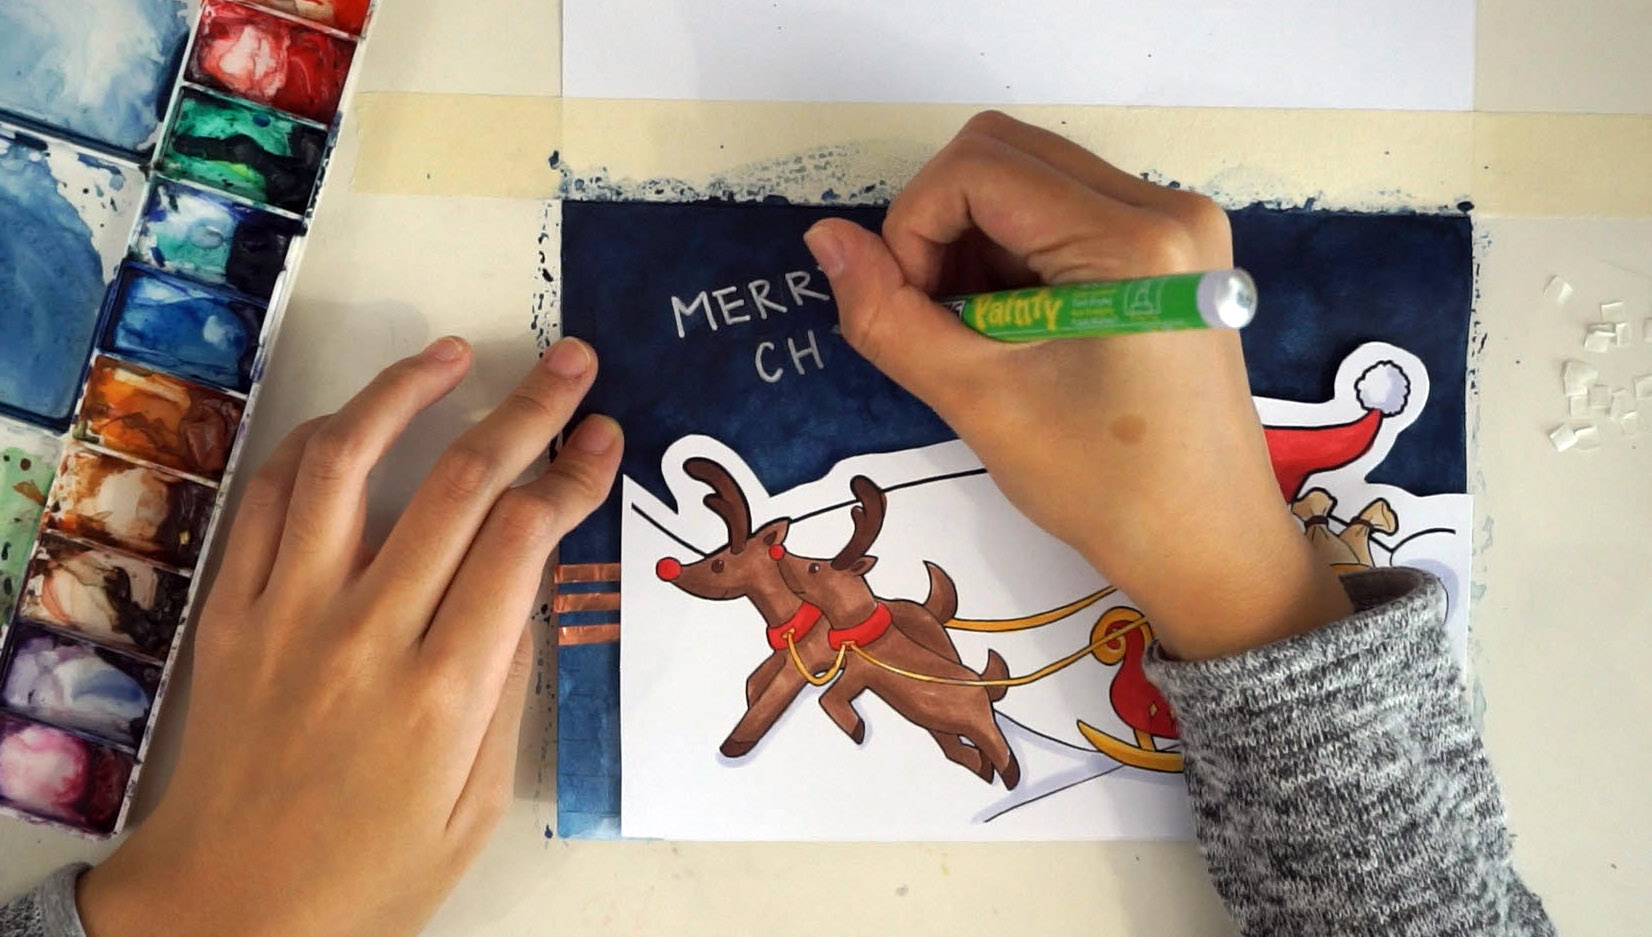
Then, color in the foreground scene.
Next, paint the background scene. The background is the “sky” of the template, so in this case Shicheng is using watercolor to paint a nighttime sky.
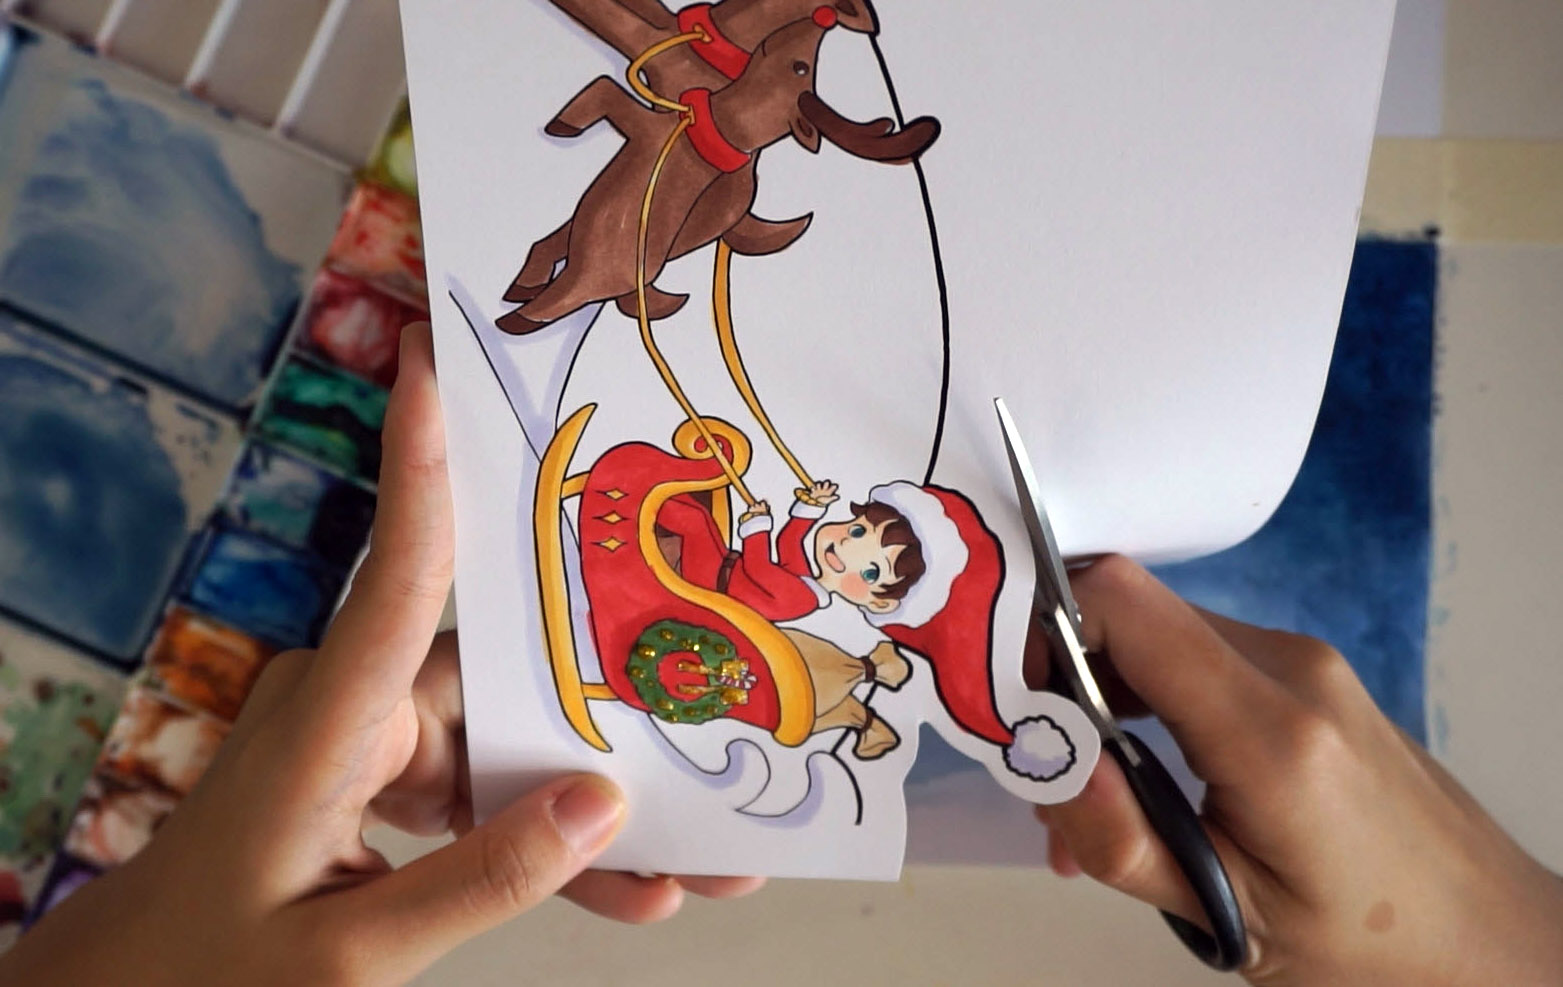
Cut out the foreground scene, so that it can be pasted onto the background scene without blocking out the sky!
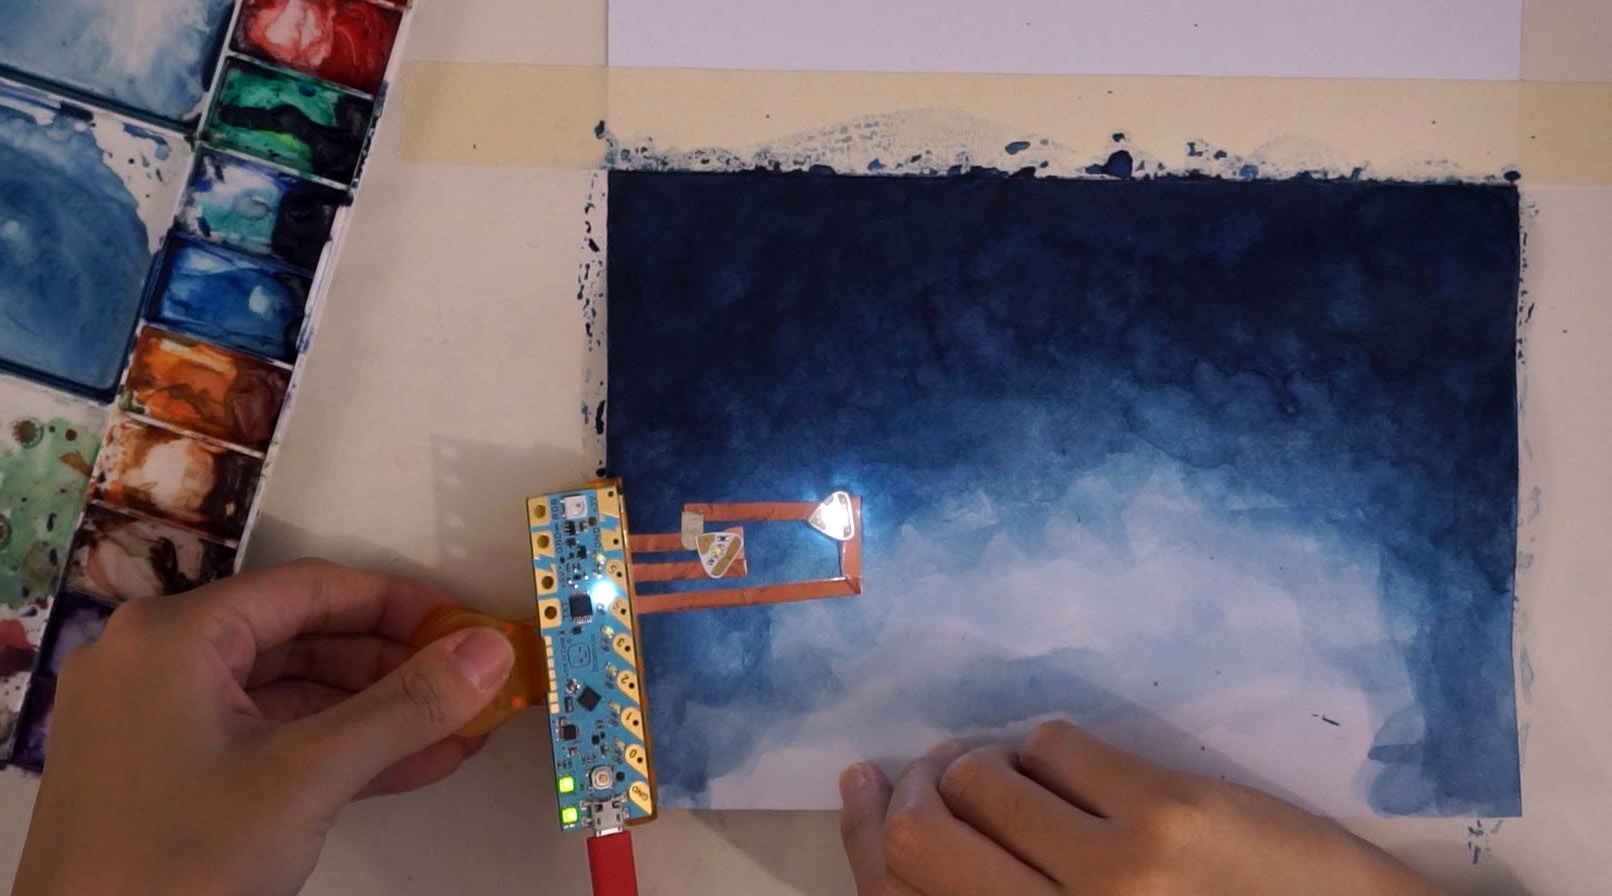
Craft the circuit on the background. In this picture, Shicheng is ad-libbing the circuit, but your template has simplified guidelines to help you out! This is also a good time to test out the circuit by clipping on the Chibi Chip, before pasting on the foreground scene.
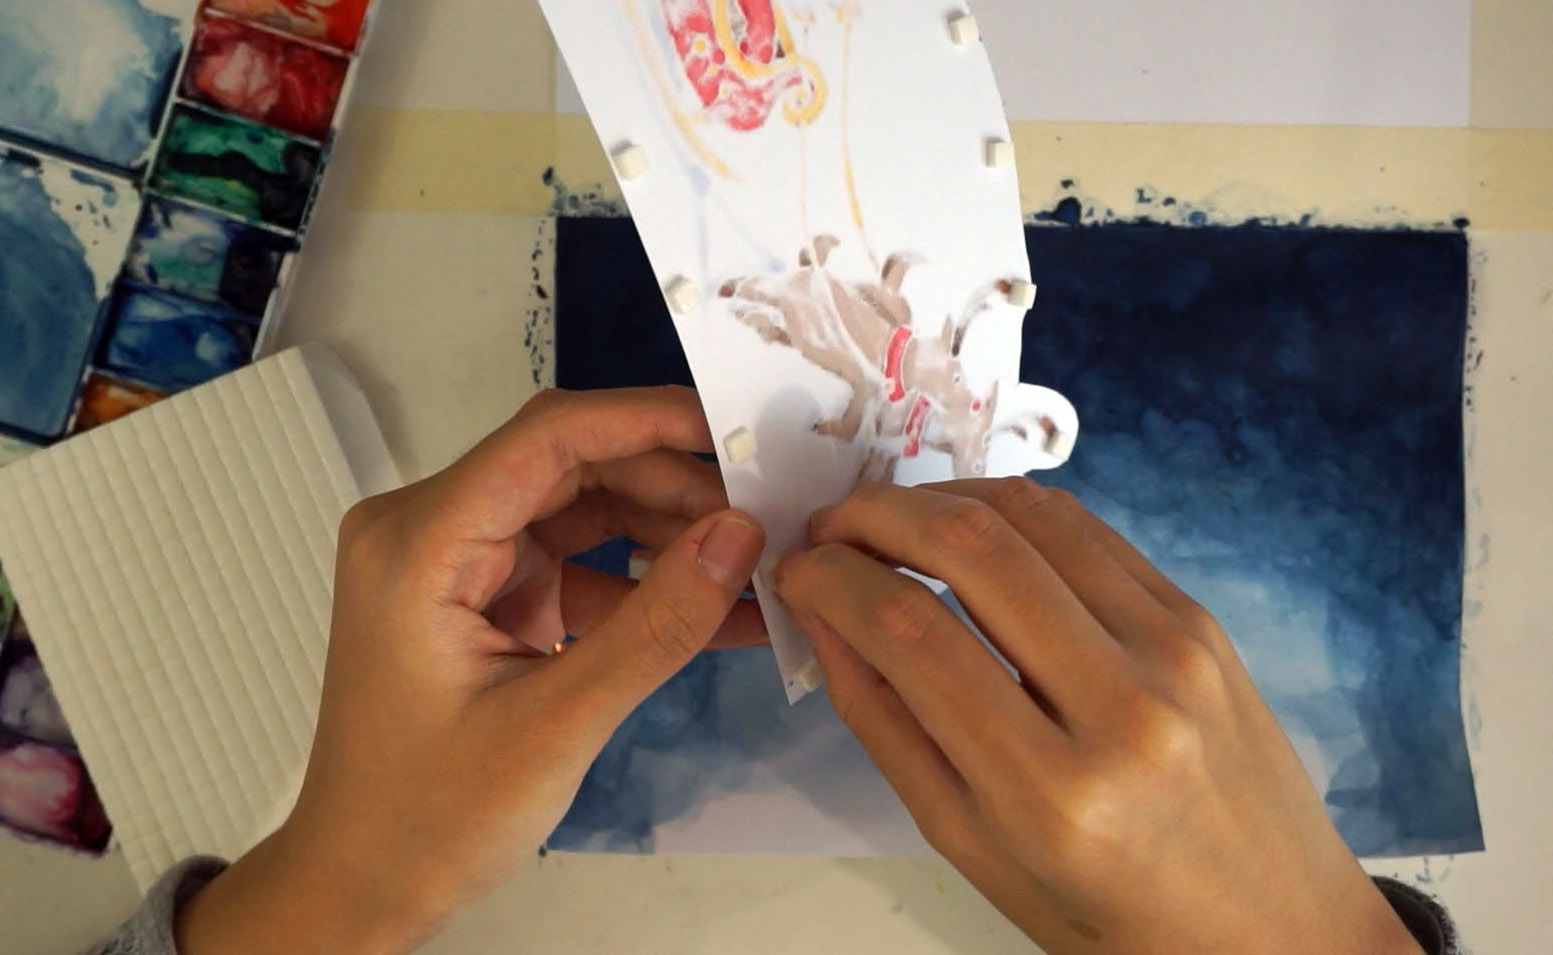
Add double-sided tape to the back side of the foreground scene. If available, use a thick foam tape to create a 3-D effect while diffusing the light of the LED slightly.
Paste down the foreground scene and personalize your holiday card!
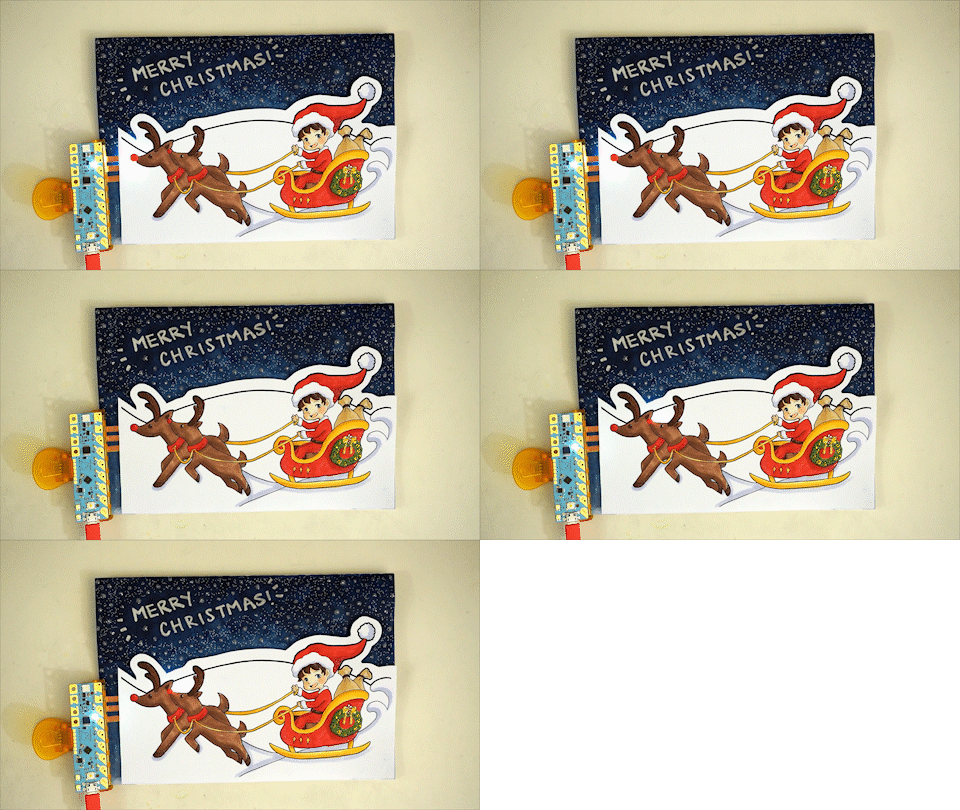
Clip on your Chibi Chip and enjoy your holiday greetings! If you need a simple example of how to put lighting effects on the LEDs, try out this MakeCode example.
If you’re looking for inspiration on how to create your holiday card, check out the time-lapse video of Shicheng creating her holiday card!

