Hi, Crafty Friends!
Coming new year, it filled with Valentine’s air in the craft world.
We can send to our friend with filling warm, heartful, kind, and happy feelings in our card. Sending a card to the friends you love!
It’s cold but we can spend this time warmly in the heart.
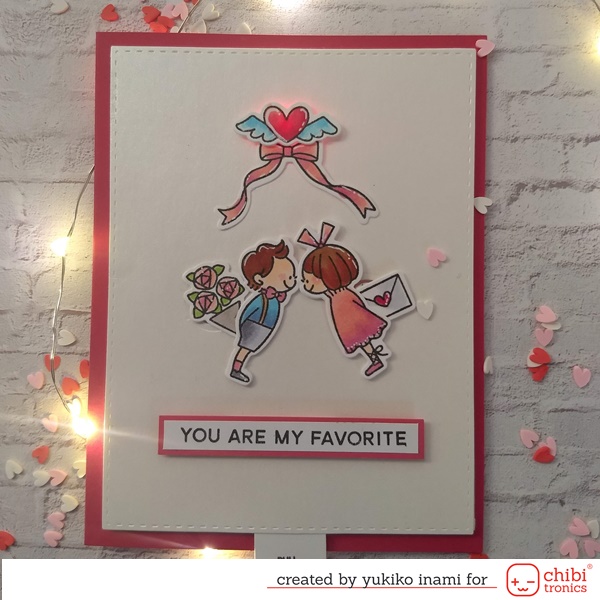
I made an interactive card with the shafts for this monthly project.
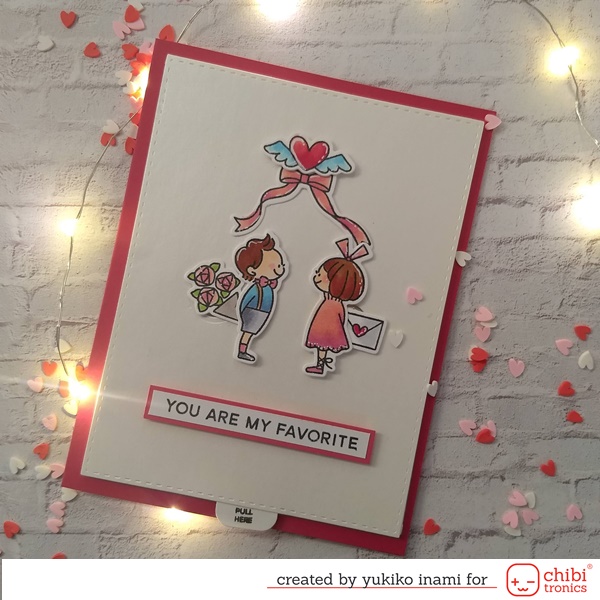
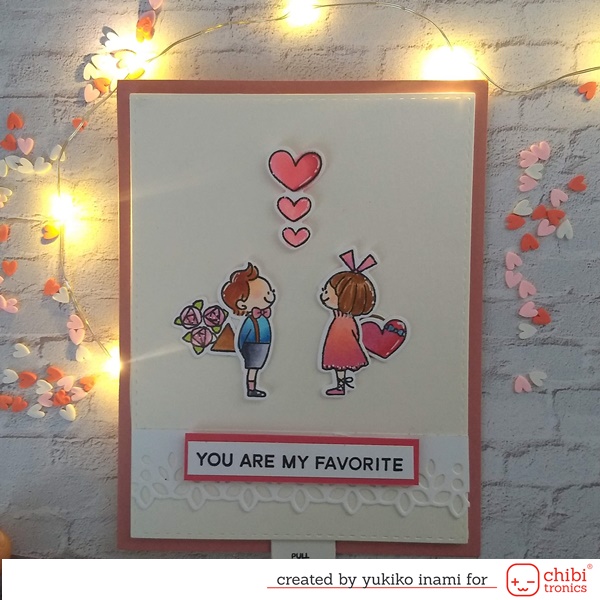
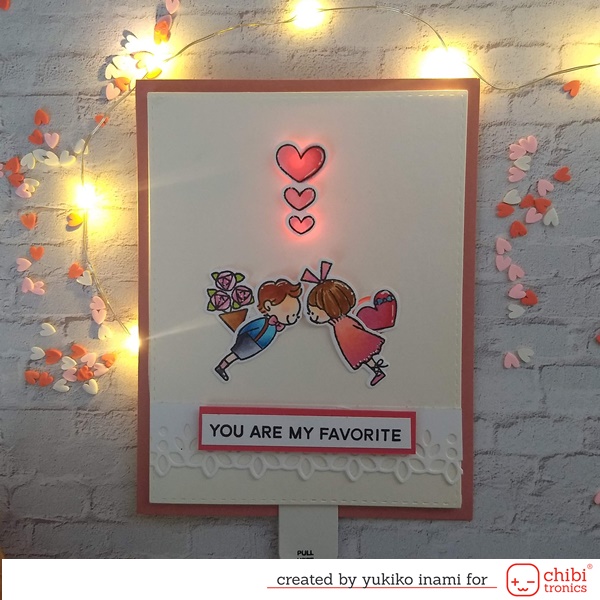
When you pull the tub gently, a boy and girl are kissing and the heart are getting the warm light.
1. Supplies
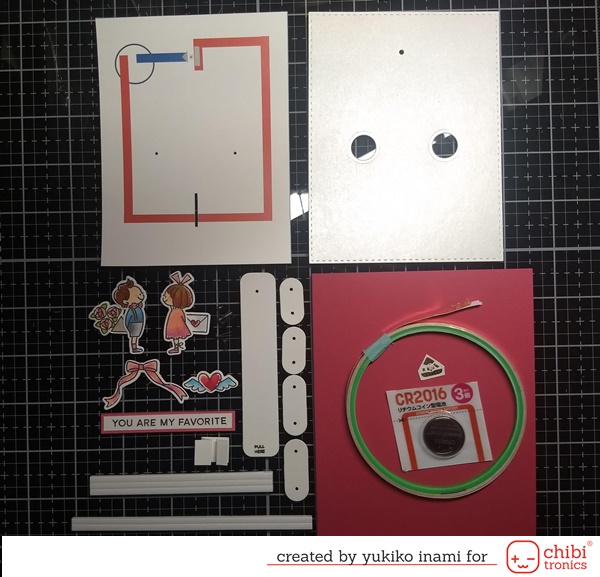
I prepare these parts as shown below
・Stamp boy, girl, letter, flower, ribbon, heart with wings, and sentiment.
Color them and cut out with the die. Waffle flower Favorite Valentine Combo
・ Cut the shafts, pull tab, donut parts, and the sleeve part with the MFT Meet in the Middle Interactive Die-namics
・mini brads; the head size is around 1/8 inch
・Switch Parts; a piece of paper 1/2×1.5inch; thickness is around 80lbs
・panel card stock; cut with the 2 circle hole with Meet in the Middle Interactive Die-namics and make a hole for the light.
・Circuit Panel
・Folding A2 Card base
・MegaPack of LEDs (30 stickers)
・Copper tape
・Cell Battery ; CR2016
2. Mechanism
Next, assemble the mechanism for the rotation of the two parts.
This mechanism is simple but has so many opportunities. To make robust it, I glue the 2pieces each part, shaft and pull tab.
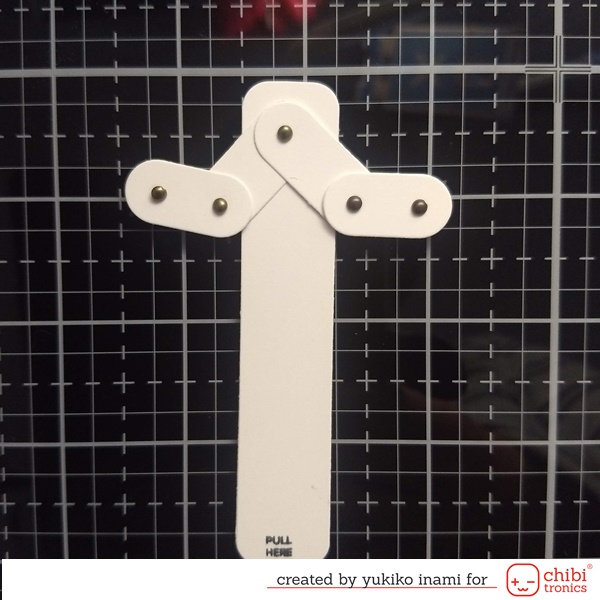
I show you here the funny motion of this mechanism. It looks like a caterpillar, leg exercising, or … you can stretch your imagination watching this movie.
3. Circuit
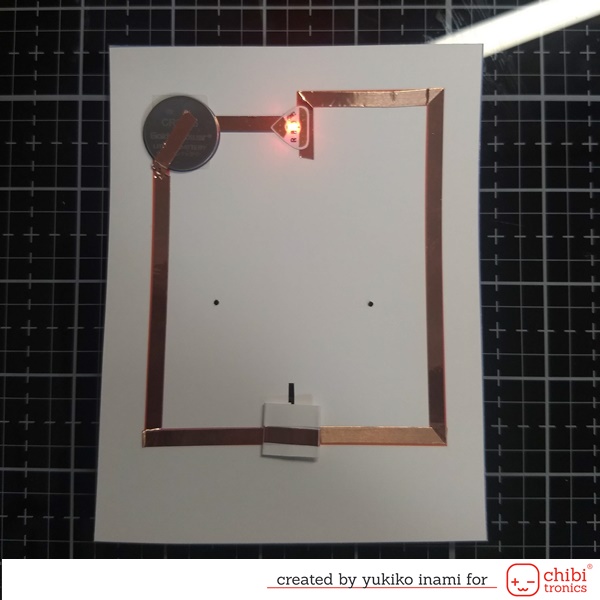
In the next step, make a circuit.
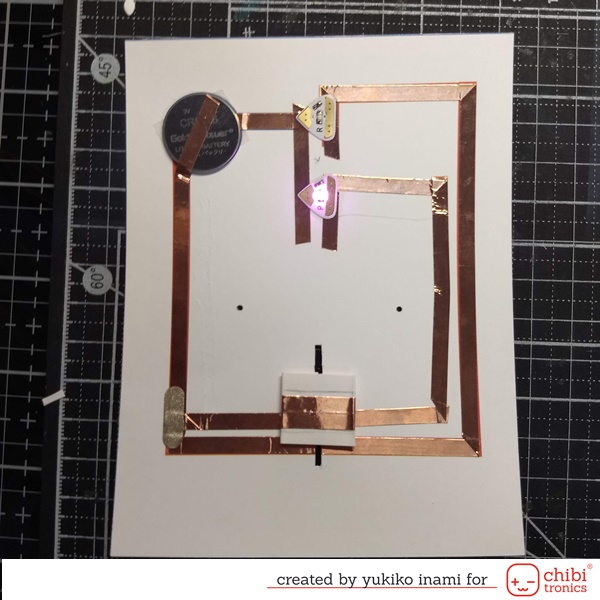
This circuit has a pull tab switch system. The positive path has a slit in the way, the bottom of the circuit as you can see the below photo.
The switch parts can move in the slit. When the switch part comes bottom, the circuit is completed and the LED light turns on the and when the switch is top of the slit, the circuit is open and the LED light turns off.
4. Combine the switch and the shafts mechanism
We confirm that the switching works well. Then we can combine the switch and the mechanism of motion. Set both ends of the shafts in the holes on the circuit panel with the blads. Then stick the switch parts on the backside of the pull tab.
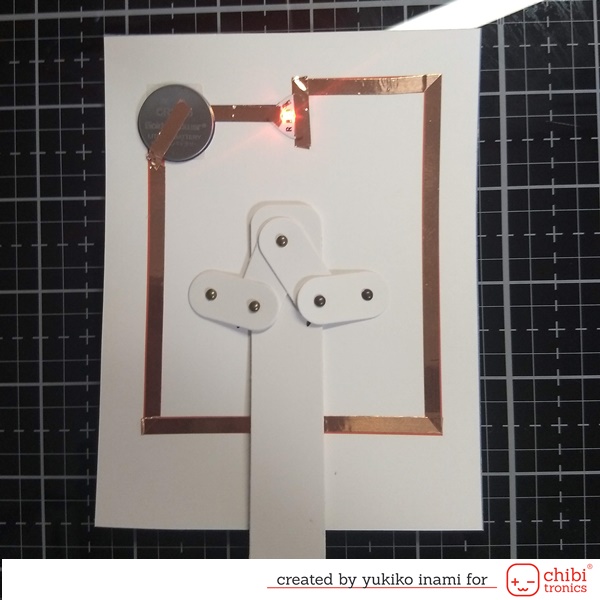
When you pull the tab downward then the circle parts turn inward.
5. Assembly
Set the top panel on the circuit panel. Then stick the donut shape foams cut with die include the set on the endpoint of the parts.
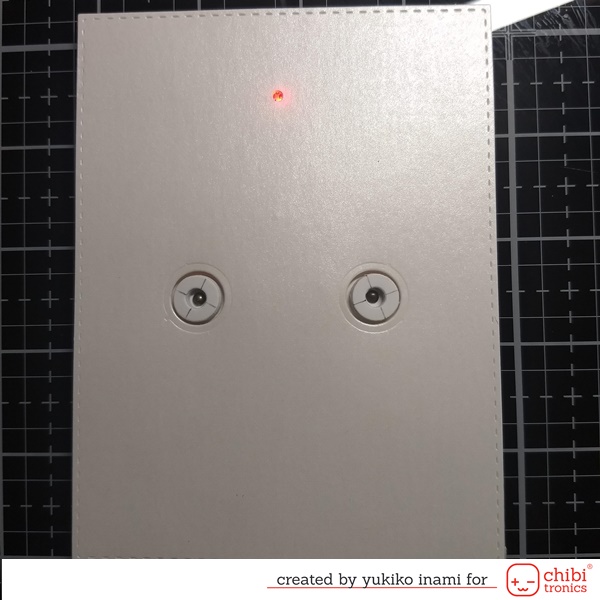
Set the boy and girl on the donut parts. Stick the heart with wings on the hole for the light. If you use small pop up, the diffusion of the light is beautiful.
All set! When you pull the tab, the boy kisses the girl and the light turns on.

6. Variation
I show you one more variation of the circuit. The next circuit has two points for switching. The first point connects only one path so only one light turns on at the halfway point. Then switch moves downward more, both paths are completed and both lights turn on.
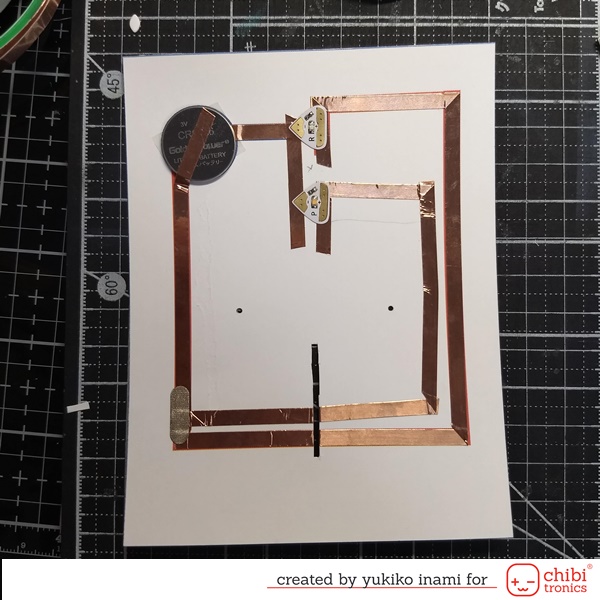
You can combine the pull tag motion and some mechanism with the circuit.
Many companies have released many goods for various interactive projects these days.
Many of them can combine the switch.
I hope you enjoy the interactive card with the LED light.
Thank you for stopping by.
Stay warm and have a great day!
Yukiko I.
