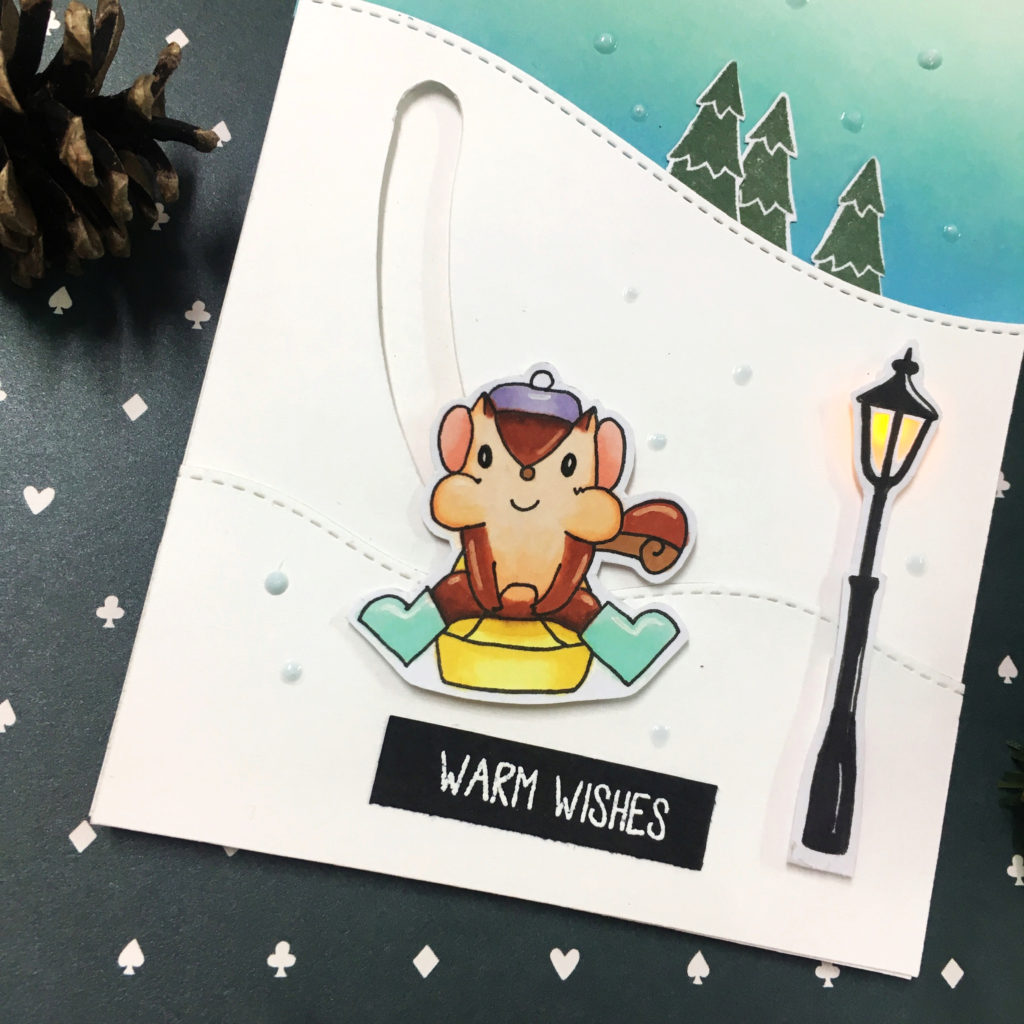
Hi friends, today I’ll be sharing how to create this slider light up card. I’ll be using Chibitronics LED sticker and copper tape, coin and Squirrel Little Qua that is drawn by myself to show you how to make this card.
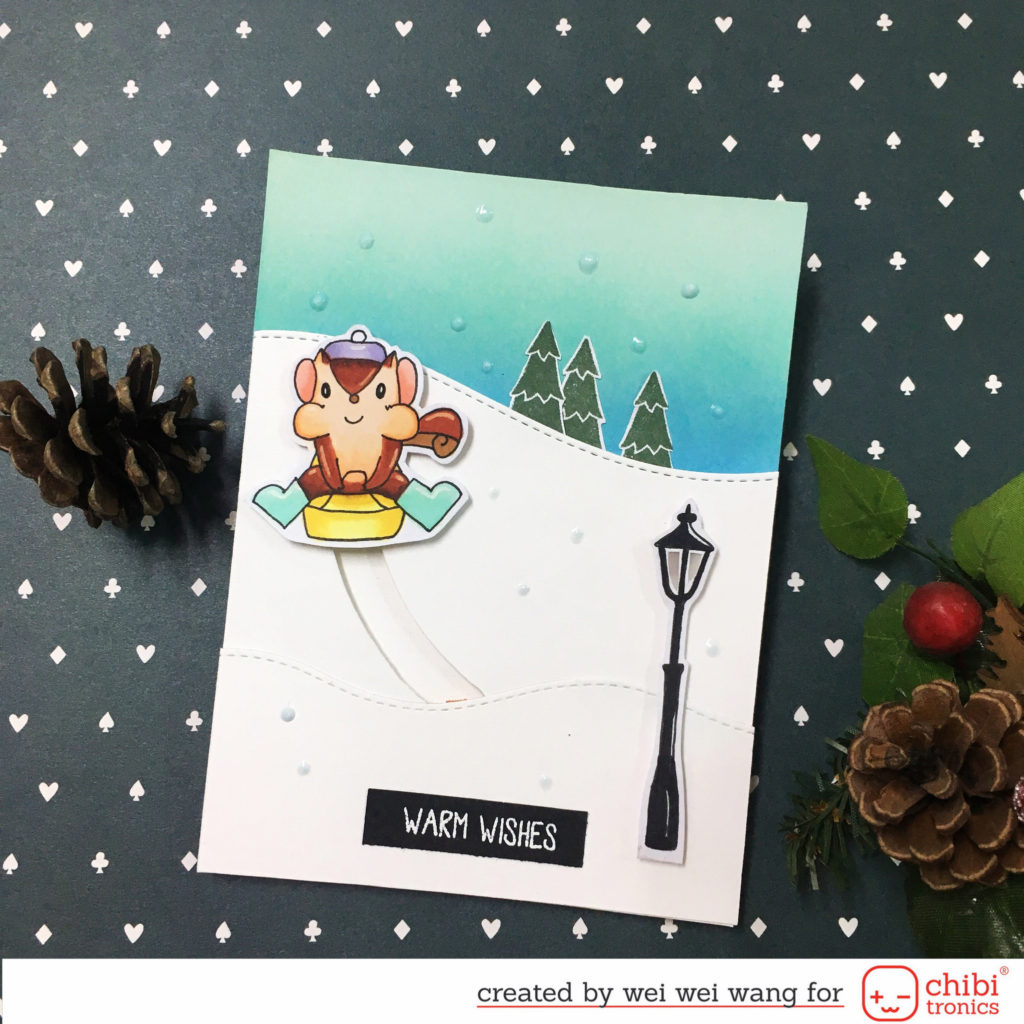
Squirrel Little Qua is skiing from the hillside to the street light. Once Little Qua arrival, the street light shines immediately!
I also made a step by step process video, if you don’t want to take time to see my instruction, you can visit my YouTube channel to see more details.
https://www.youtube.com/watch?v=HtQq_rSTWlk&feature=youtu.be
I started by using soft and deep blue inks to create the background. I also drew the squirrel image and street light, colored them with marker and cut out.
I prepared two hillside diecuts. I cut a slider track in the large one. Then, I used pencil to trace the slider track onto another panel.

I also measured the place where I’ll put my battery and LED sticker. Then, I drew the circuit sketch. This circuit is very basic and easy to do. Please notice that I left a little gap beside the track.
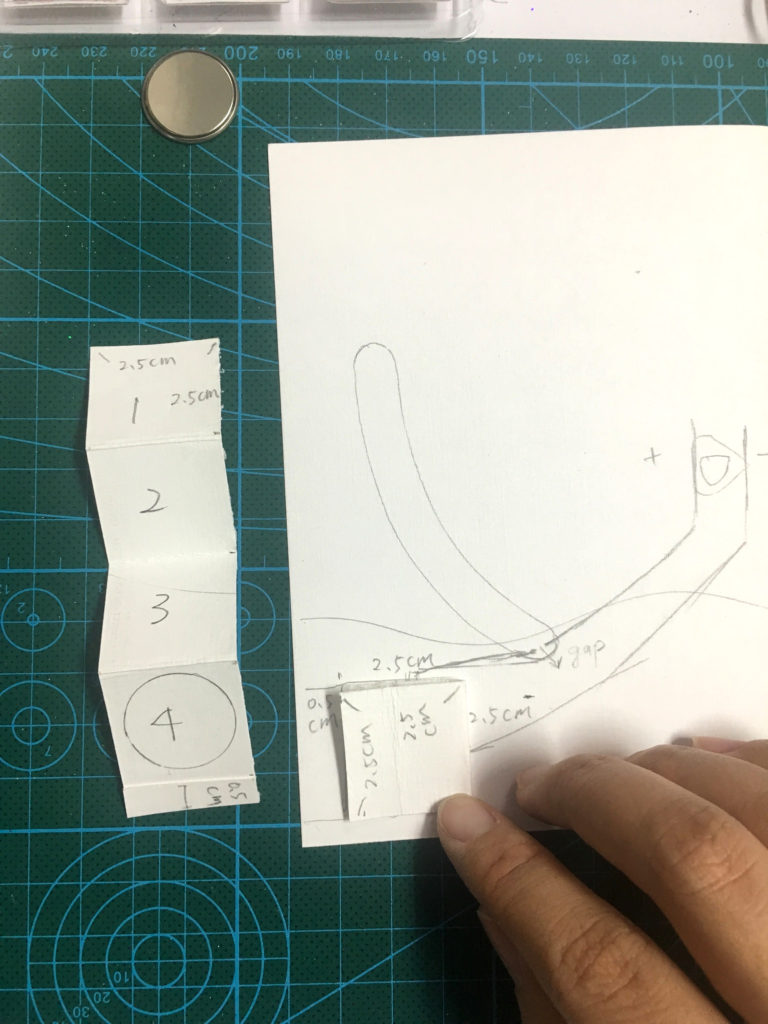
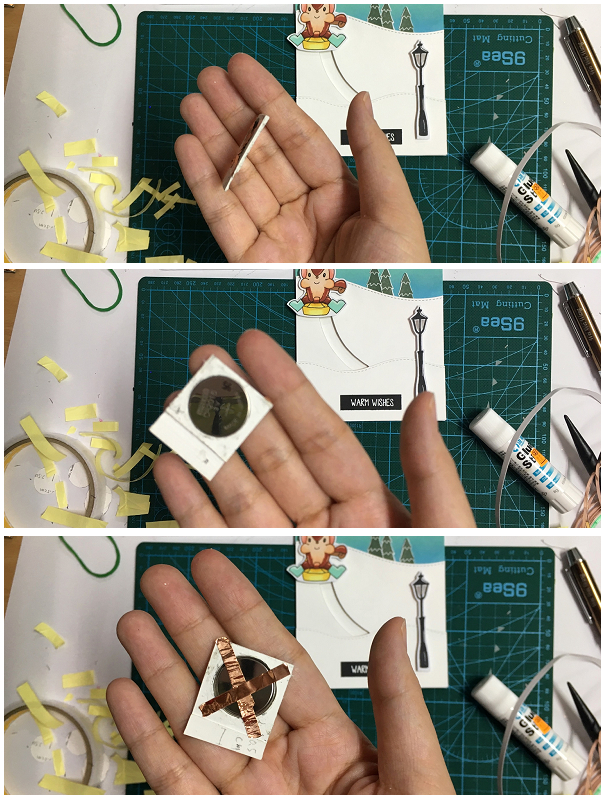
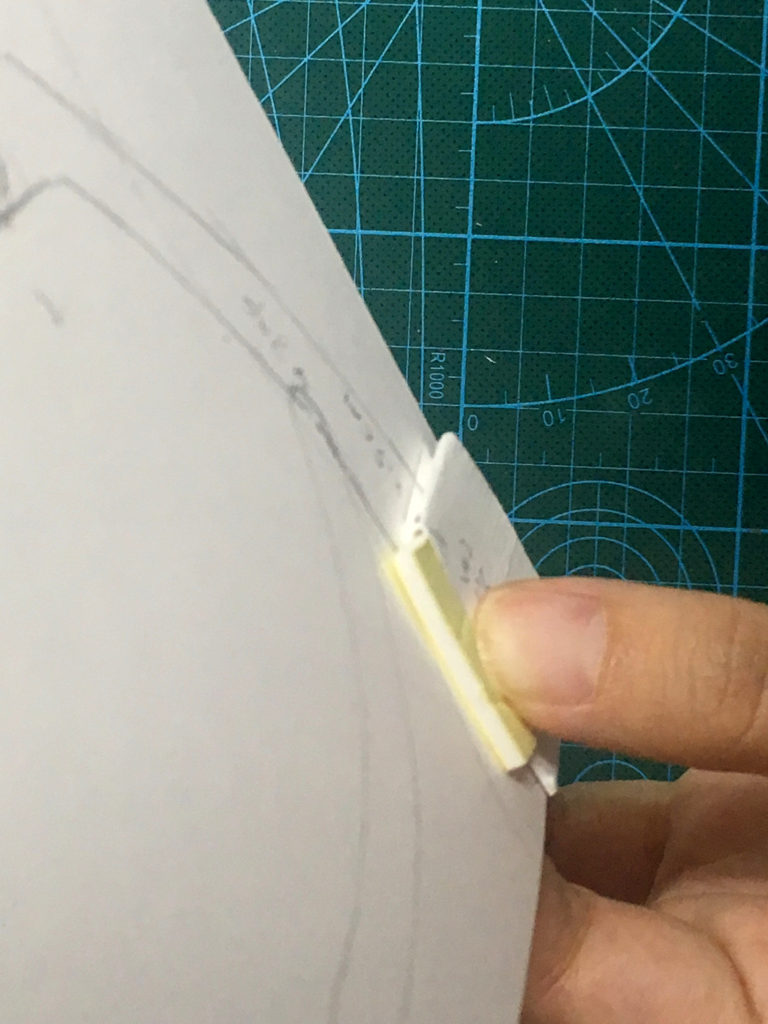
Here’s the tip, the thickness of layered battery holder should be as same as the battery, and the whole battery switch.
So how many times should you fold the paper? My answeris it depends on your paper, battery and foam tape.
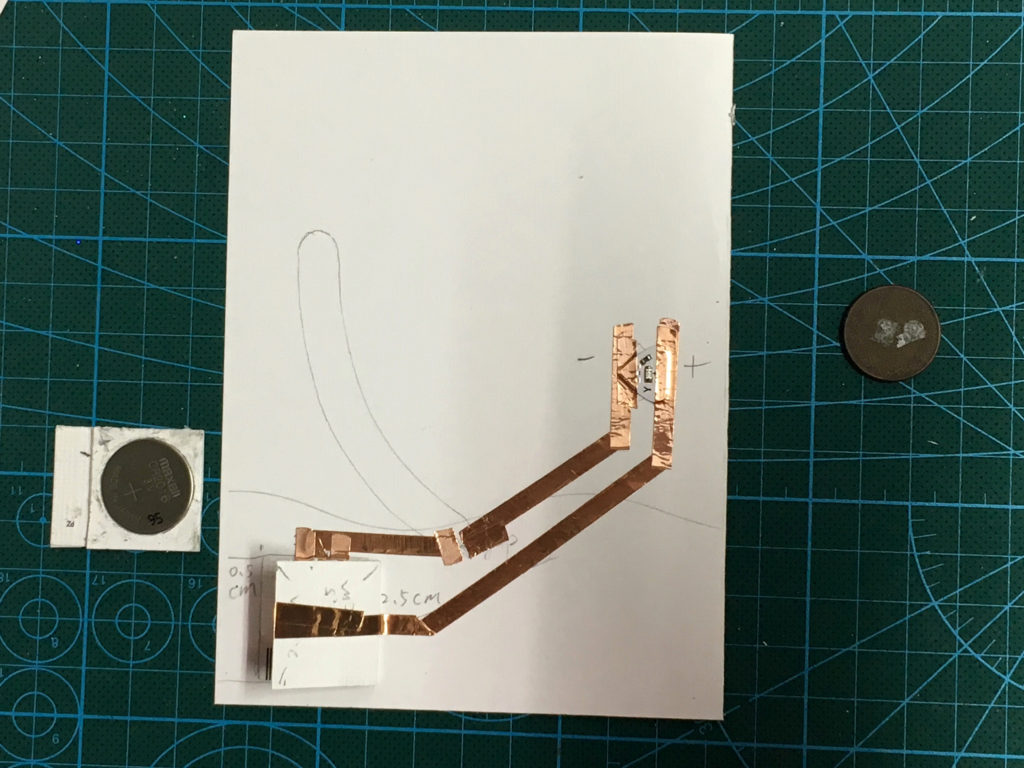
After finishing the battery switch, I taped down the copper tape along my pencil circuit sketch, and placed the LED sticker on top. I also applied copper tape to both metal pads of LED sticker to increase the conduction.