Hi, crafty friends!
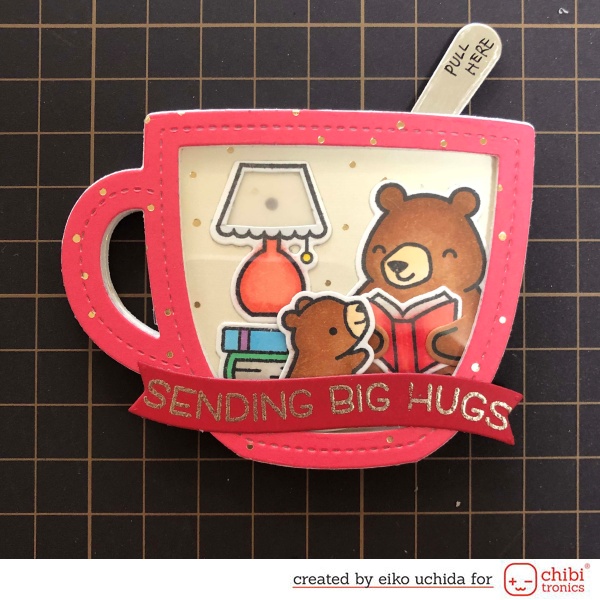
This is Eiko. I crafted for the first time in a long time. I make light up mug card using Chibitronics and Lawn Fawn stamps and dies.
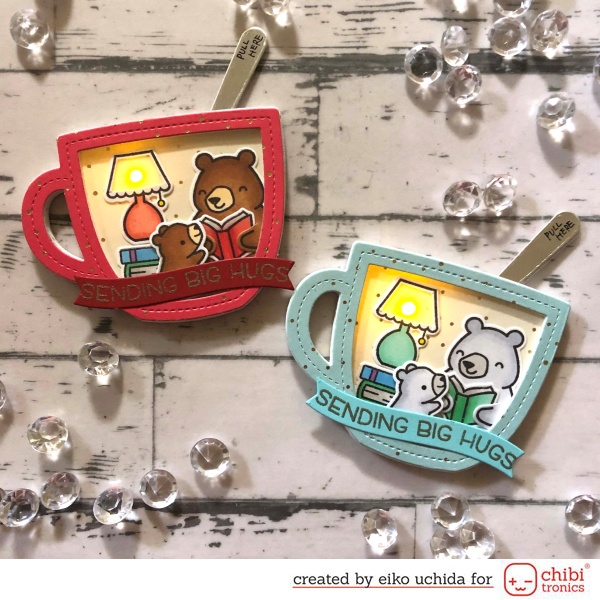
When you pull the spoon, the lamp glows.
I will make the parts referring to the picture below.
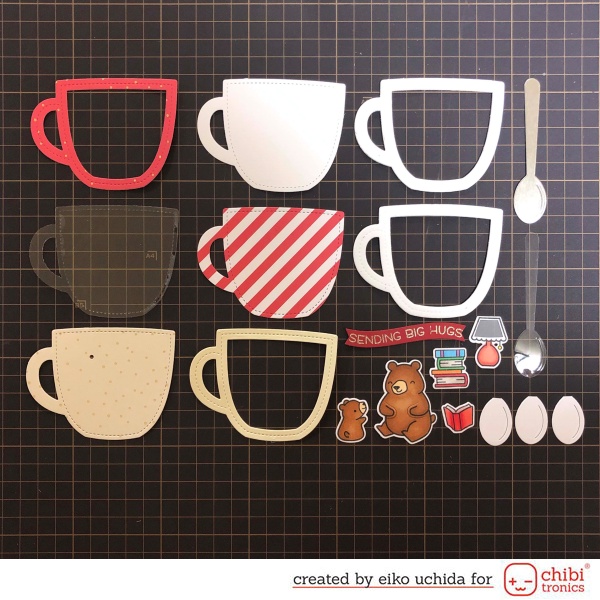
- Die cut red sprinkle’n shine paper, 2mm thick foam sheet and double-sided adhesive sheet with mug frame die.
- Die cut cream sprinkle’n shine paper, red sprinkle’n shine paper, white cardstock and clear acetate with stitched mug die.
- Die cut chili pepper cardstock with small wavy banner die, stamp the sentiment and embossed with platinum embossing powder.
- Die cut silver foil paper and clear acetate with spoon die.
- Die cut three white cardstock with spoon die and cut for the switch parts.
- Stamp the bears, lamp, book and stack of books, onto white cardstock. Color the parts with Copic markers and die cut with coordinating die.
- Cut the inside of the lamp part and put vellum paper on the back side.

Place the parts on the mug part, make a hole at the center of the lamp.
Make the circuit.

Place the spoon part on the white mug part referring to the picture below to mark it.
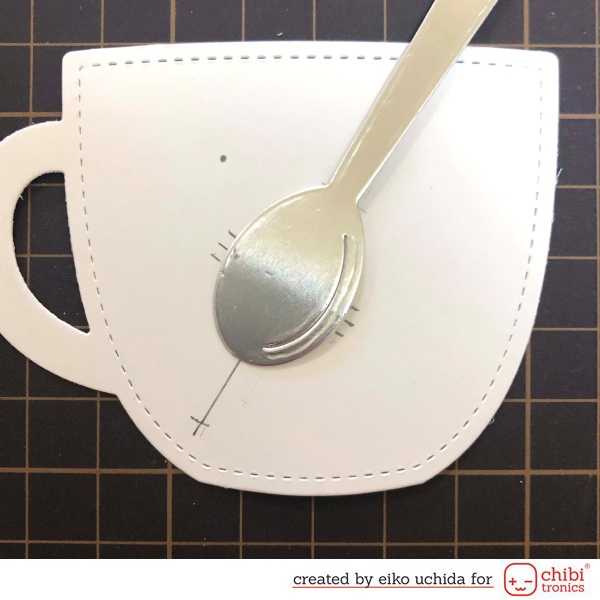
Slide the spoon part 3/8 inch to mark it again.
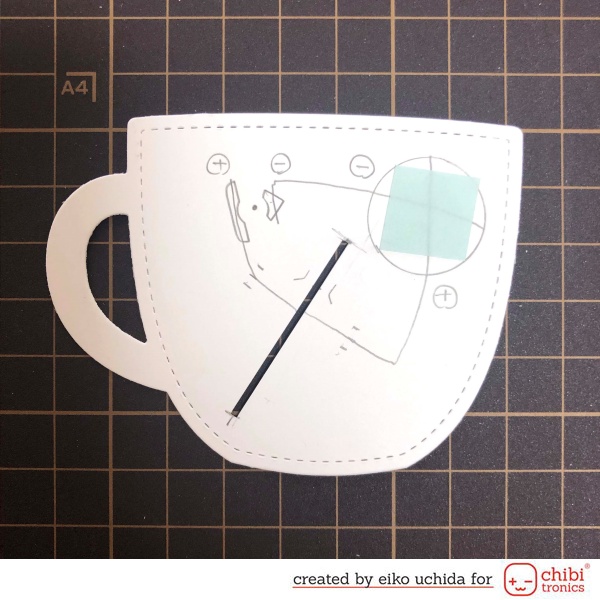
- Put the cover panel on white cardstock and mark the lights with a pencil.
- Mark the position of the Chibitronics and the battery.
- Draw the circuit with a pencil.
- Cut the 1mm wide slit with a craft knife.
- Apply the double-sided tape on the battery place.
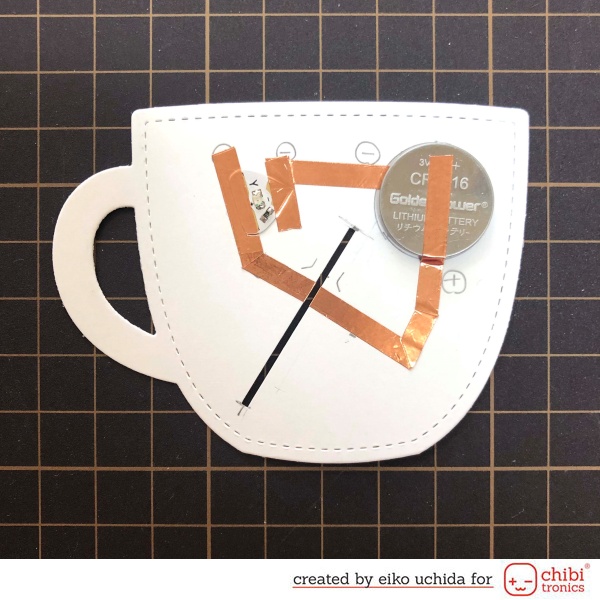
- Stick the copper tape on the pre-drawn path.
- At the battery place, peel off the release paper, stick the negative side copper tape, fold it back and cut it.
- Stick the positive side copper tape.
- At the position of the battery leave the positive side copper tape about 1 inch and cut it.
- Place the battery on the copper tape with positive side facing up and stick the positive side copper tape on the battery.
- Attach the red LED to the copper tape, over the outline.
- Stick short copper tape on the edges of the LED to reinforce.
Make a switch part.
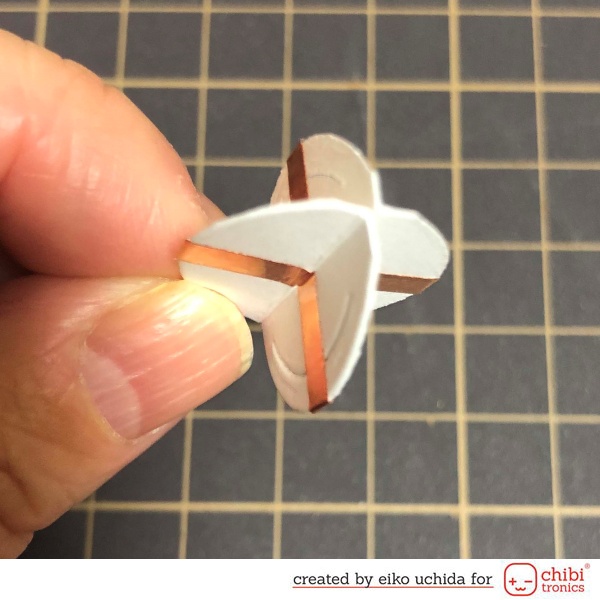
- Fold oval parts in half.
- Insert the switch part into the slit.
- Adhere the copper tape to the same position as the copper tape attached to the circuit paper.
- Pull out the switch part from the slit and adhere the copper tape around the switch part.
- Make cross-shaped parts like this. (If you want to know a little more about how to make a switch, please see here.)
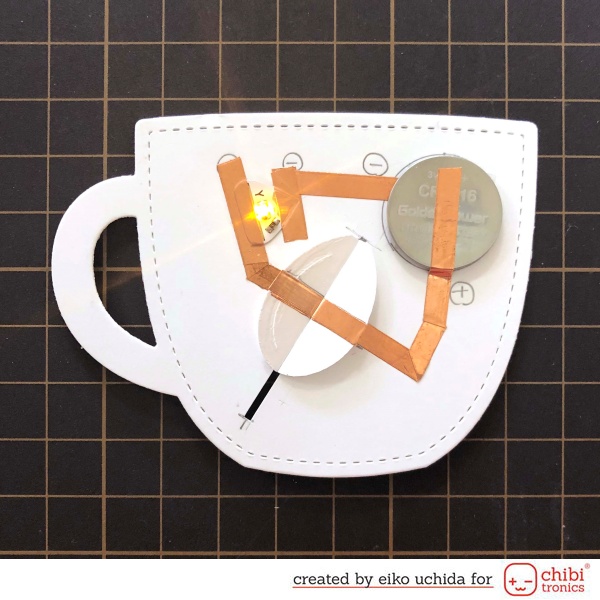
Re-insert the switch part into the slit and test the LEDs turn on.
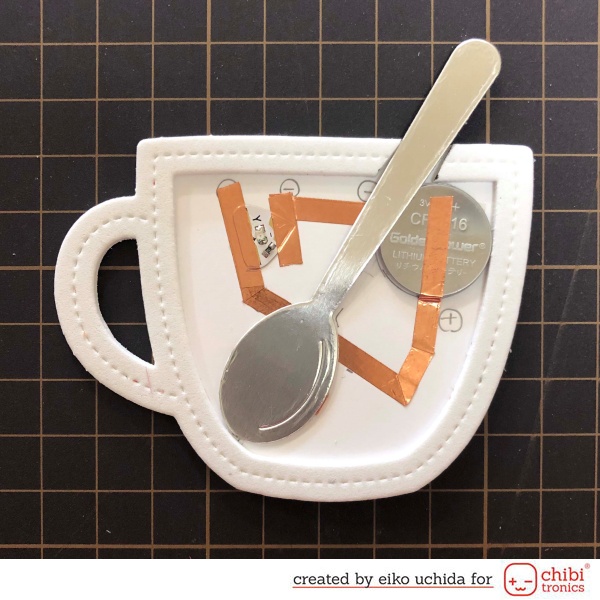
- Stick the acetate spoon part and foil spoon part together.
- Stick the spoon part on the switch part.
- Stick the foam mug frame on the circuit card base.
- Stick the cream mug part on the foam frame.
- Stick die cut parts on the mug part.
- Stick another foam mug frame on the cream mug part.
- Stick acetate mug part and red mug frame on it.
- Stick the sentiment on the mug.
Backside of the mug.

- Stick another switch part on the switch.
- Stick adhesive sheet frame on the back of the circuit card base.
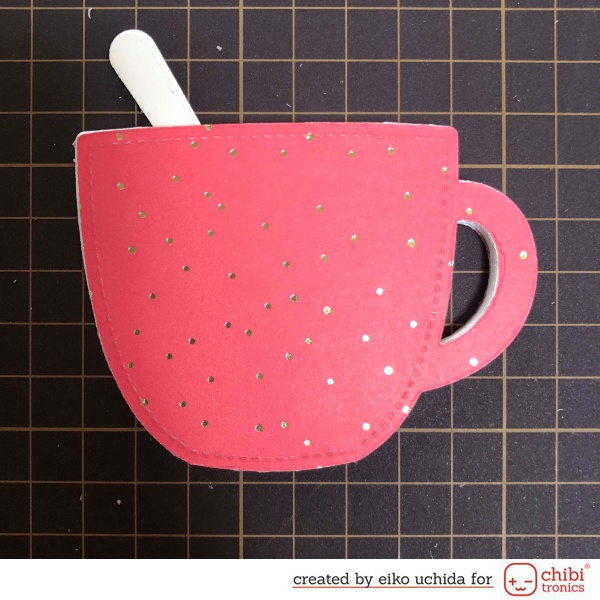
Stick the red mug part on the back of the circuit card base.
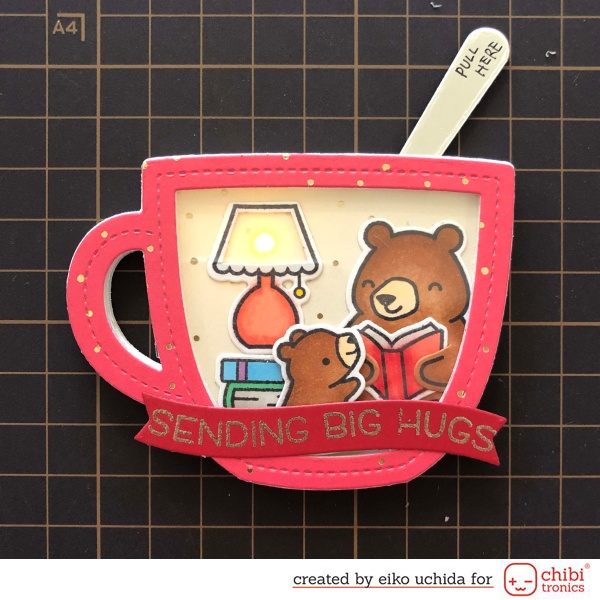
I finished it!
When you pull the spoon, the lamp turn on!
Thank you for stopping by!
Eiko Uchida
~Supplies list~
- Chibitronics Red, Yellow, and Blue LED Sticker Pack
- 3V coin cell battery (CR2016)
- 5mm wide Copper tape
- Lawn Fawn den sweet den
- Lawn Fawn den sweet den lawn cuts
- Lawn Fawn outside in stitched mug
- Lawn Fawn stitched mug frame
- Lawn Fawn happy wavy sayings
- Lawn Fawn simple wavy banners
- Lawn Fawn red sprinkle’n shine paper
- Lawn Fawn cream sprinkle’n shine paper
- Lawn Fawn chili pepper cardstock
- Lawn Fawn vellum
- Lawn Fawn acetate
- White cardstock
- Silver foil cardstock
How to make light up mug card.