Hi, everyone! This is June!
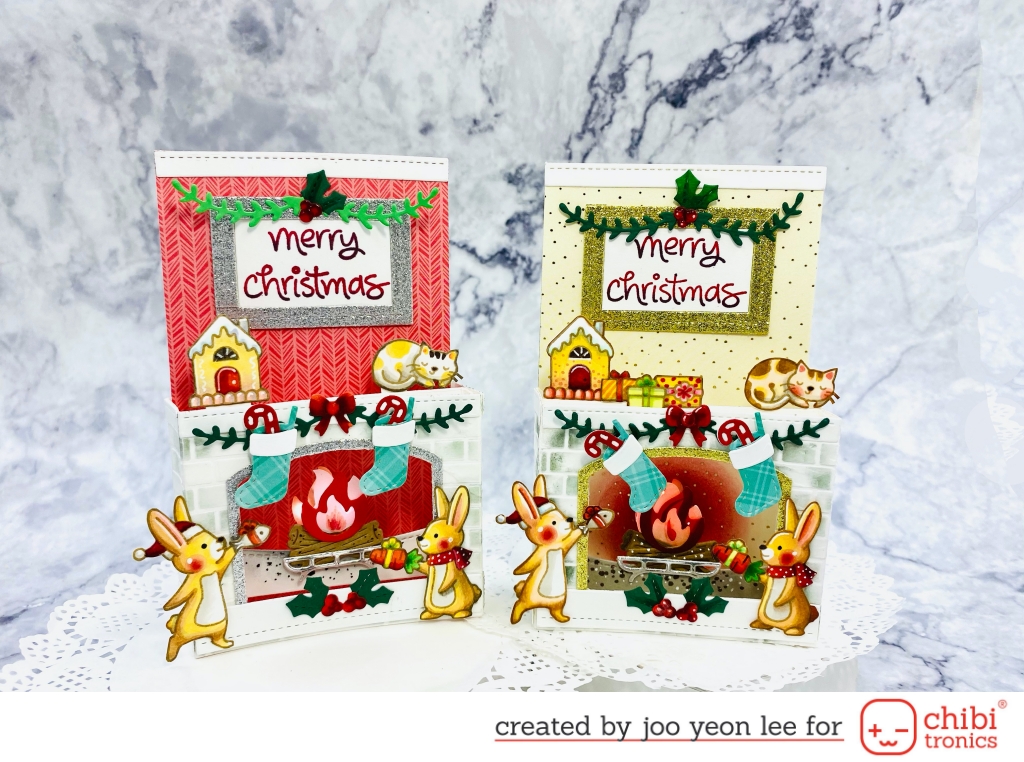
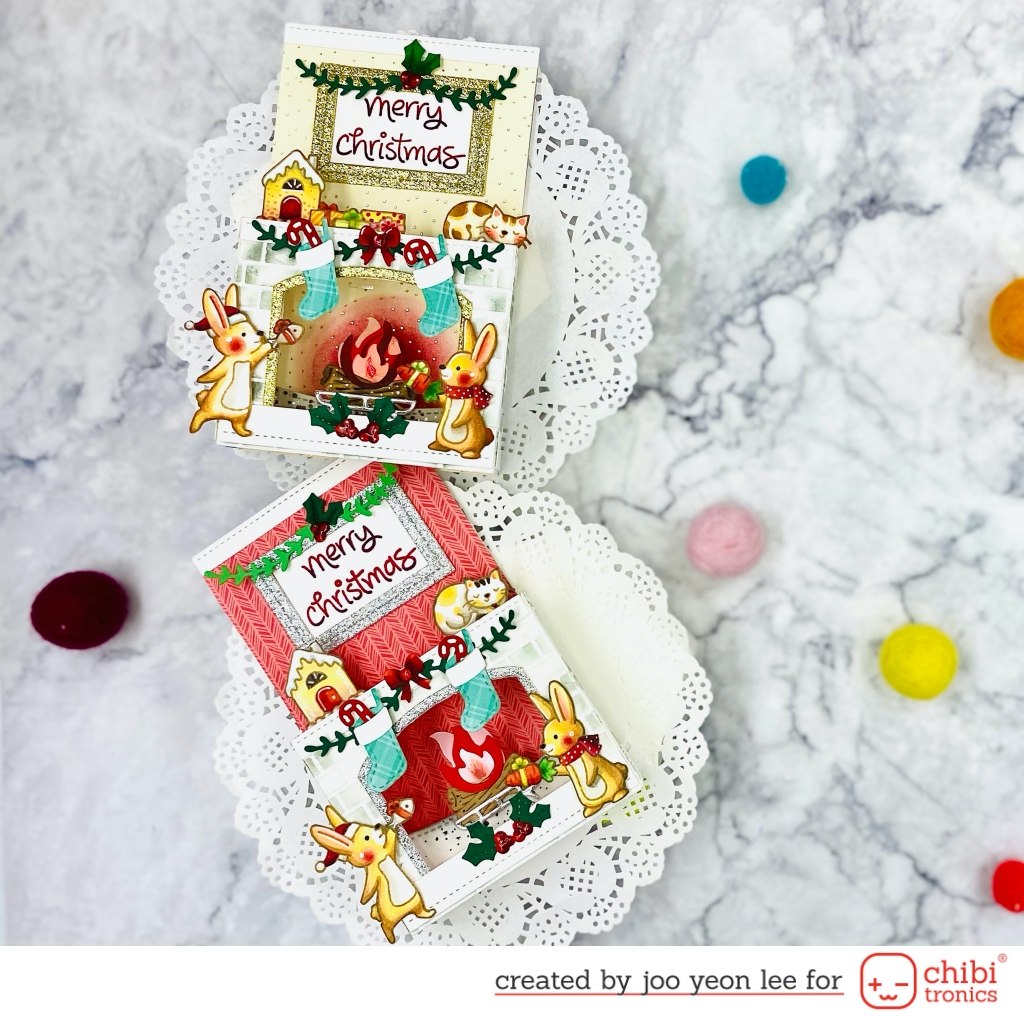
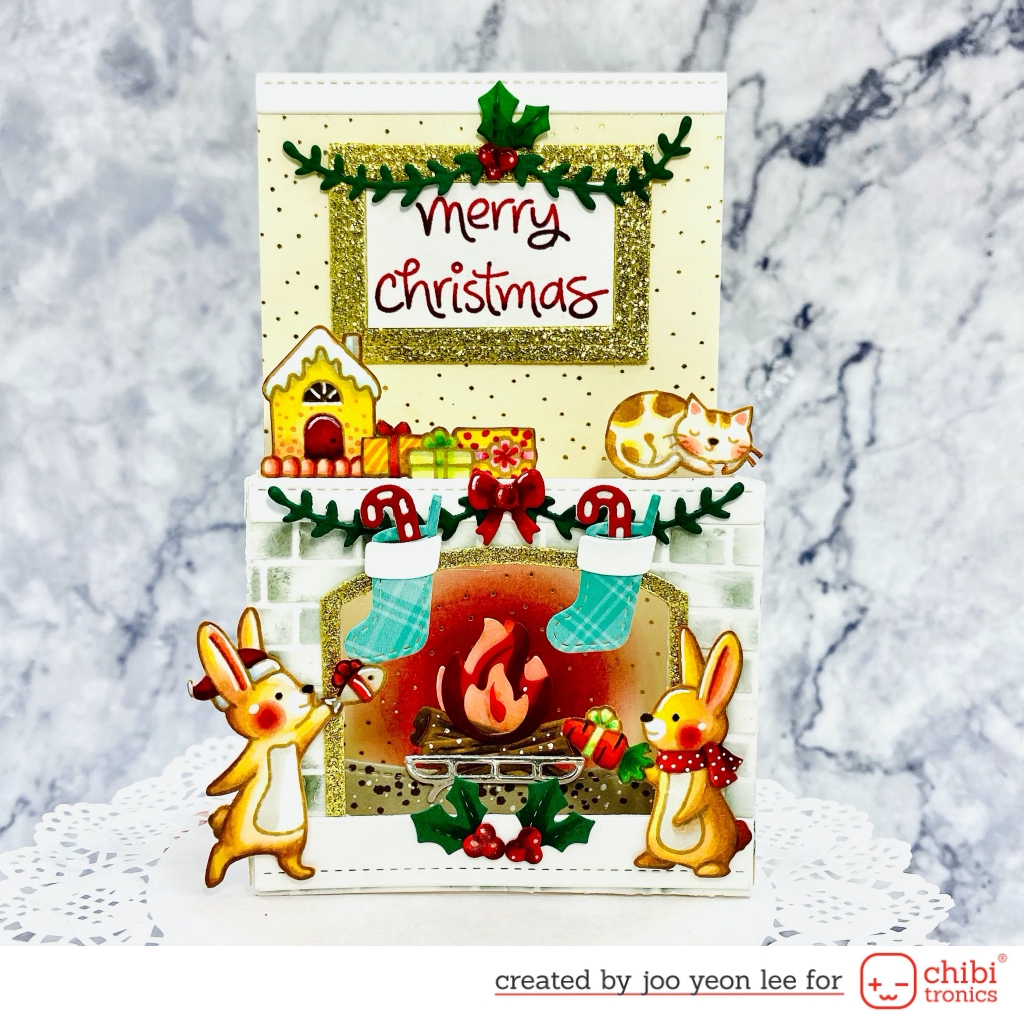
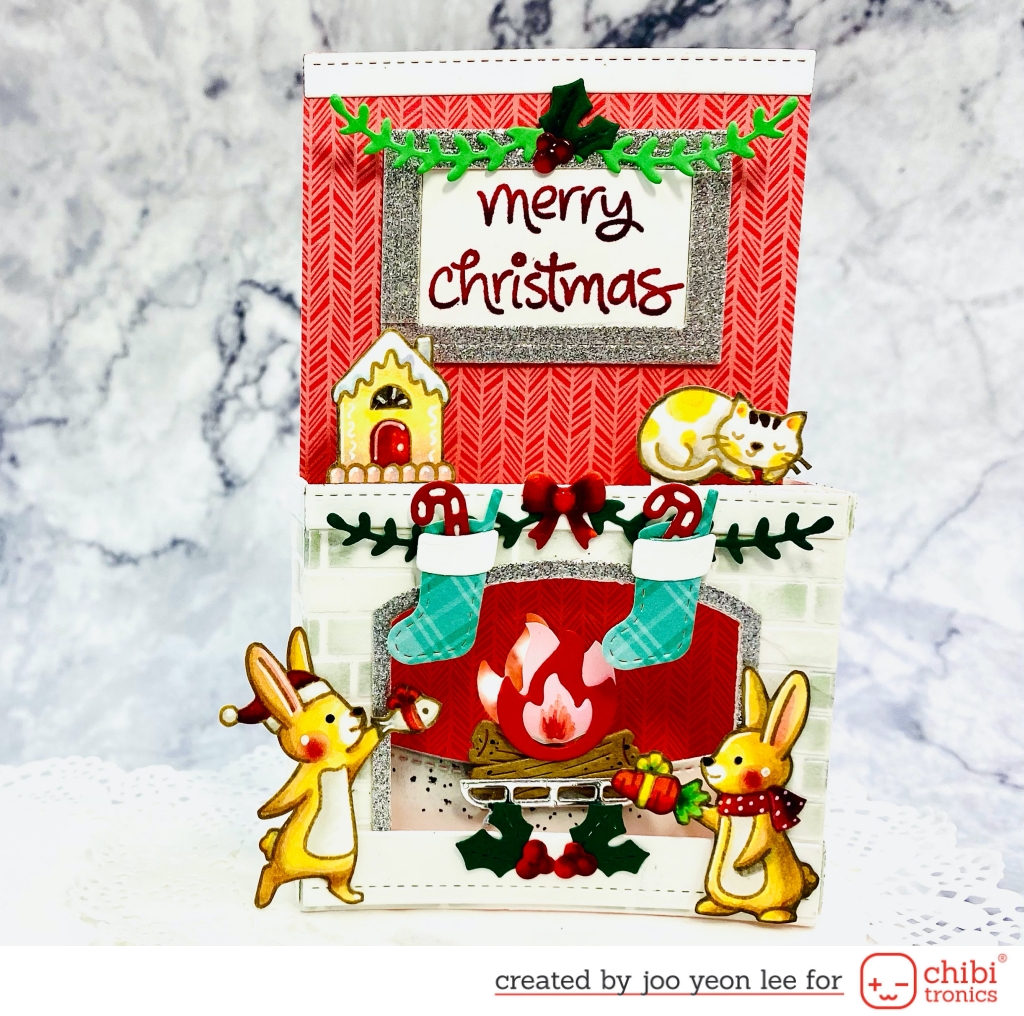
Winter has begun. Winter in South Korea is very cold, but each house has a underfloor heating system called Ondol, so the house is very warm. That’s why houses with fireplaces are rare in my country. However, I often wish to have a fireplace that looks warm and cozy at home. Since I live in a house without a fireplace, I made a Christmas card with a fireplace I wanted!
This card is a pop-up card which is the perfect for the A2 size envelope. If you lift the card and make it 3D box style, the LEDs light up by itself. Finally, though not real, you will have a fireplace that looks very warm and cozy because of the lights.
Please watch my YouTube video tutorial if you want to make the Fireplace Pop-up Card. And follow the instructions that shows you how to make this step by step.
Supplies
Circuit
- Red LED’s Sticker from Chibitronics
- Copper Tape from Chibitronics
- 3V Coin Battery (2016)
- Conductive Fabric Tape

- Download the Template and print it on a piece of card stock.
Stamping and Coloring
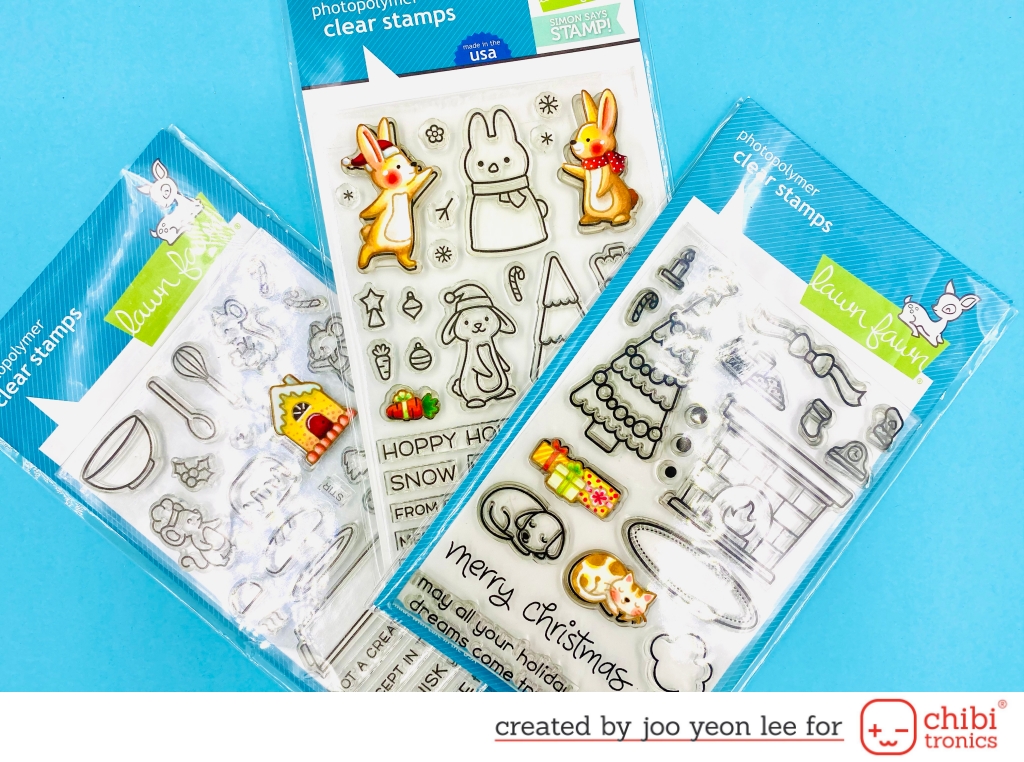
- Lawn Fawn Snow Bunnies for Simon Says Stamp Clear Stamps
- Lawn Fawn CHRISTMAS DREAMS Clear Stamps
- Lawn Fawn A CREATURE WAS STIRRING Clear Stamps
Cutting Paper
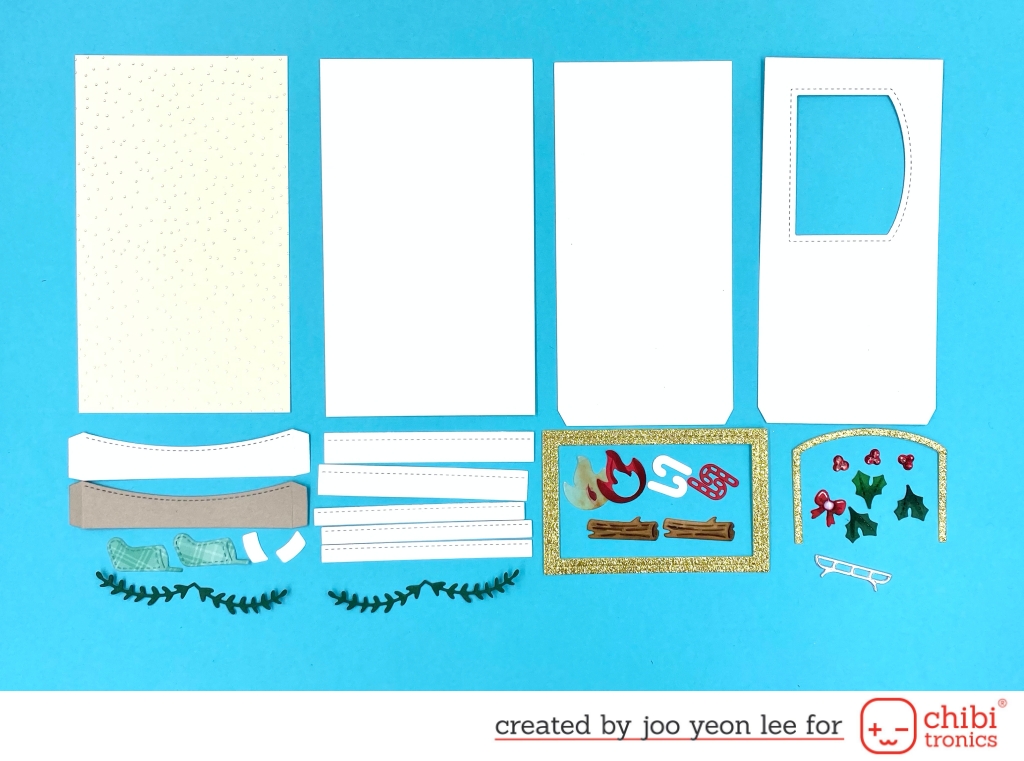
- Front Panel (3 1/4″ X 5 1/2″)
- Thick Board (3 1/4″ X 5 1/2″)
- Die cutting the fireplace elements with Lawn Fawn SHADOW BOX CARD FIREPLACE ADD-ON Die Cuts
- Die cutting the fireplace with Lawn Fawn SHADOW BOX CARD Lawn Cuts
- Die cutting the golden fame with Lawn Fawn STITCHED RECTANGLE FRAME Lawn Cuts
Making Fireplace
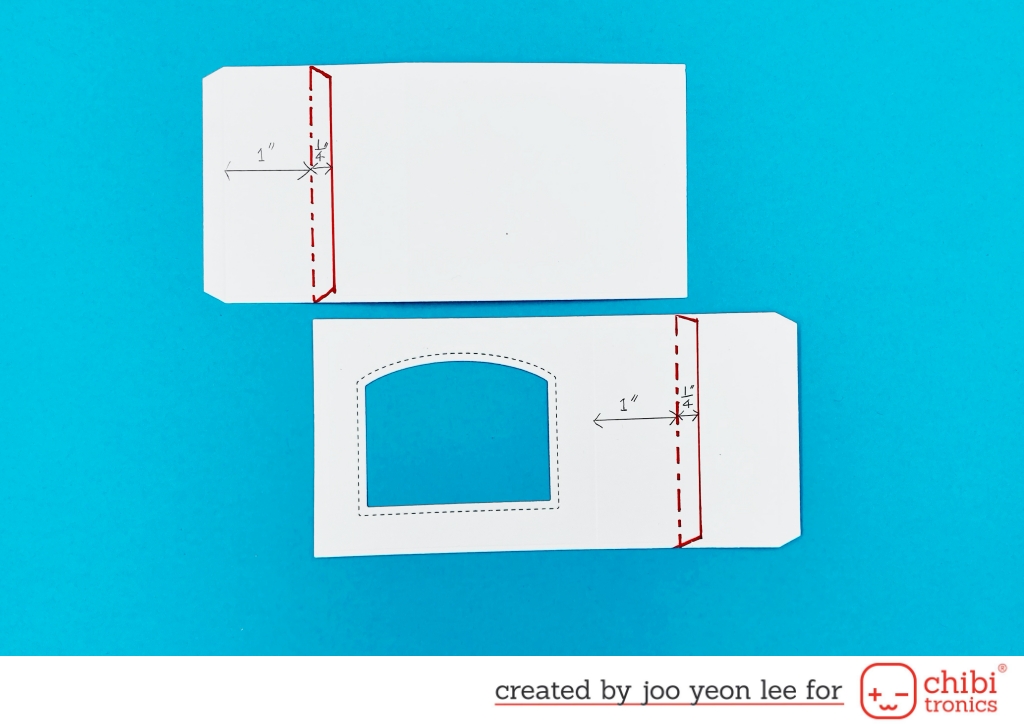
- Cutting the fireplace parts like above the picture.
In addition, I used these tools to make the pop-up card.
- KUUQA Cutting Dies Stencil Metal Template Mould – 2cm Circle die
- Lawn Fawn BRICK Stencil
- Ranger TEXTURE PASTE TRANSPARENT MATTE
- Altenew INDUSTRIAL DIAMOND Crisp Dye Ink
- Altenew RUBY RED Crisp Dye Ink
Switch Assembly
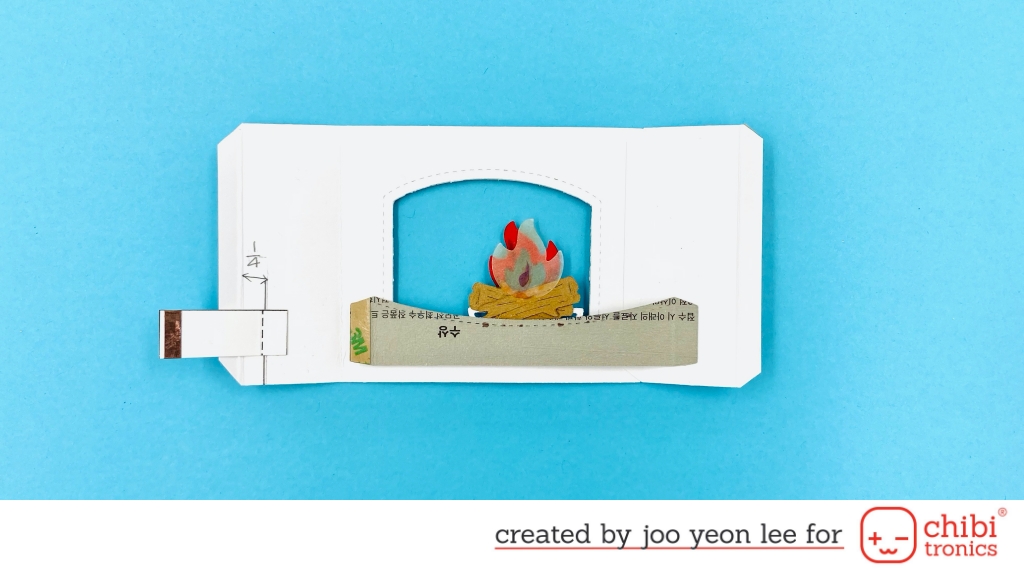
Mark the location on the inside of the fireplace as shown in the picture and attach the switch part of the template to complete a switch that automatically turns the light on and off.
Circuit Composing
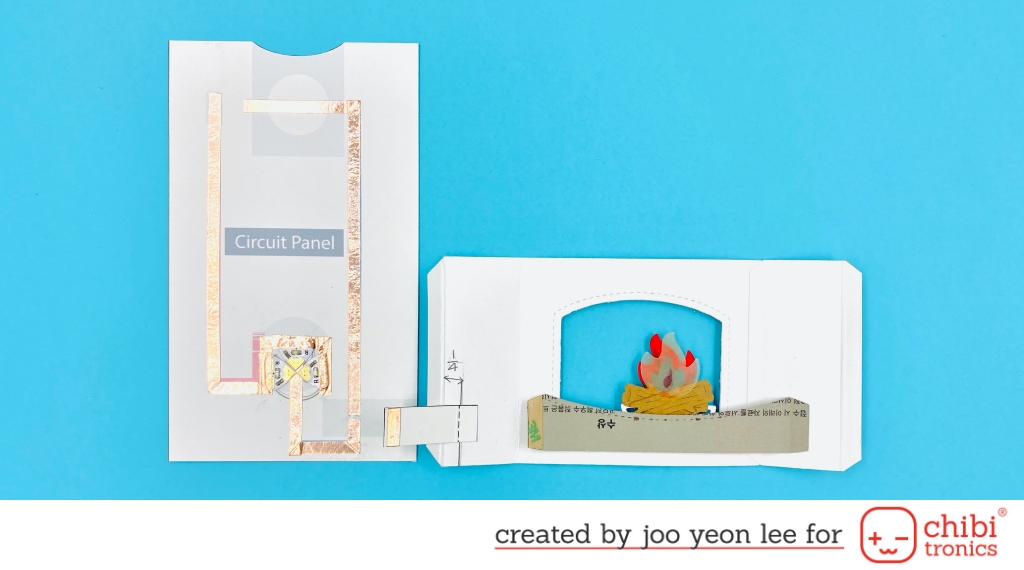
You can create a circuit as shown in the picture above by attaching the copper tape and adhering the Chibitronics stickers to the desired location as shown in the template.
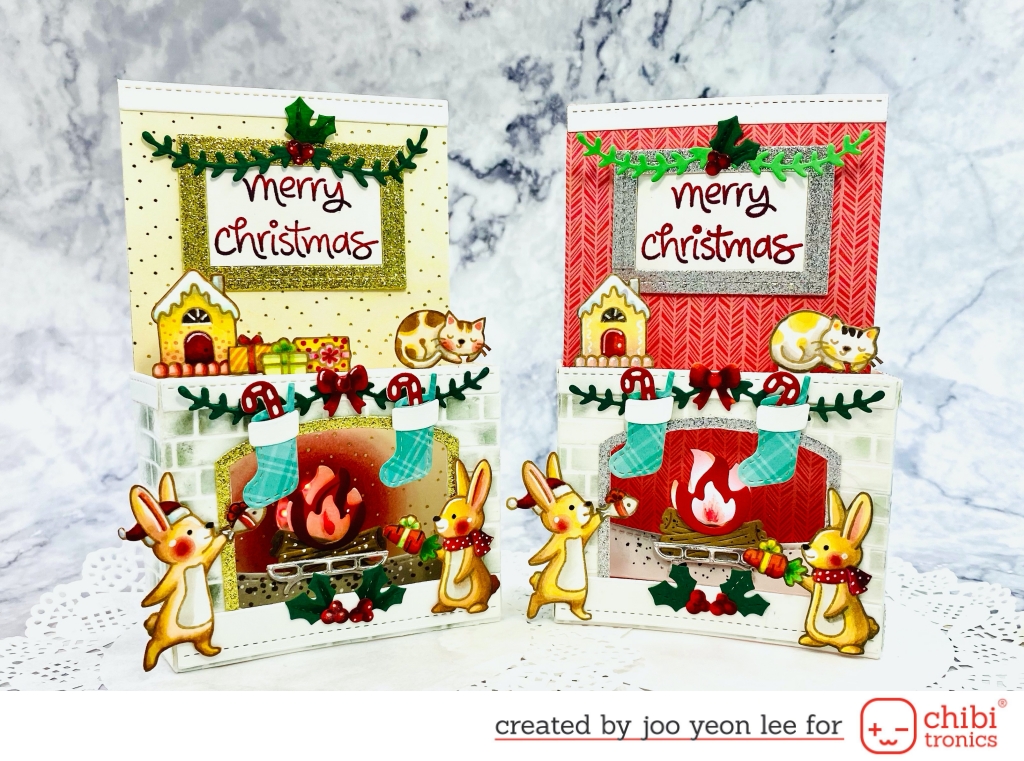
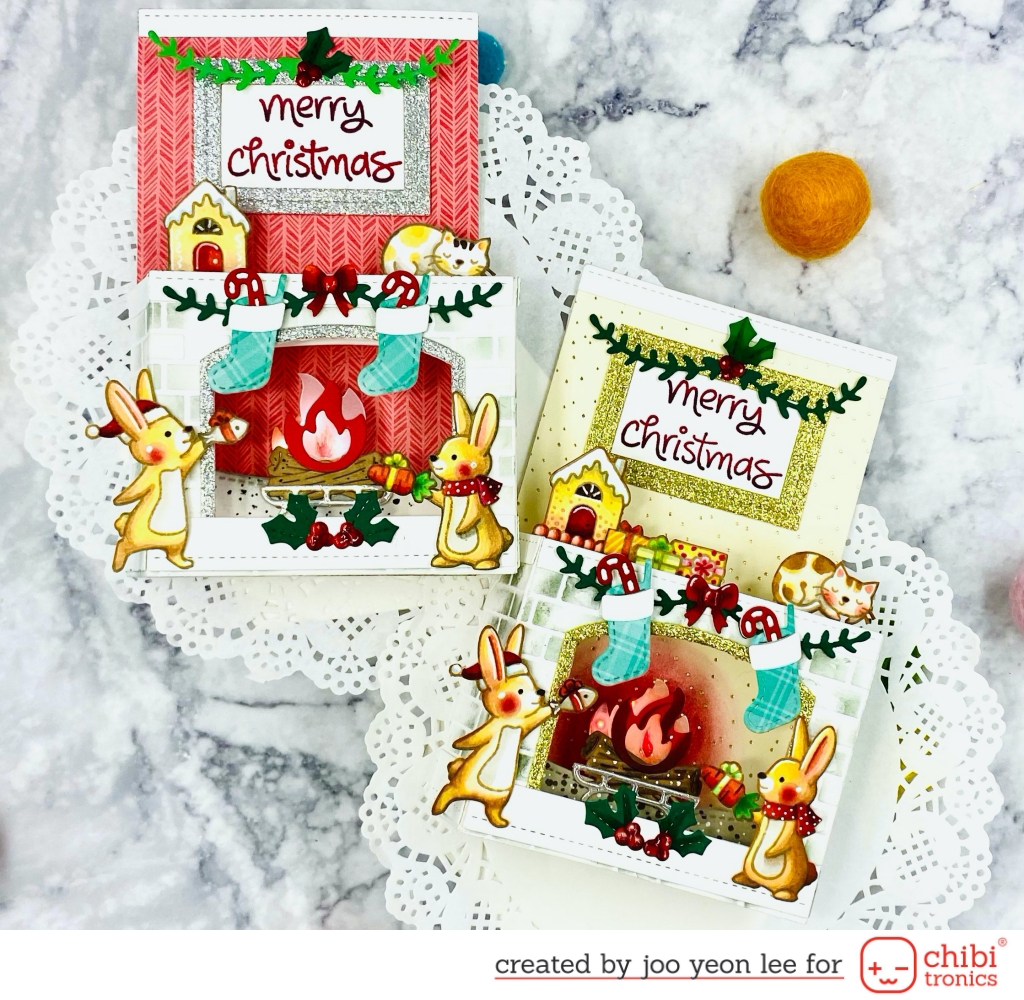
Please follow the video tutorial with the supplies mentioned above if you want make it. Hope you can enjoy this post!
Thank you for stopping by!
June Lee (Instagram : paperandcircuit)
YouTube chanel : Paper & Circuit
