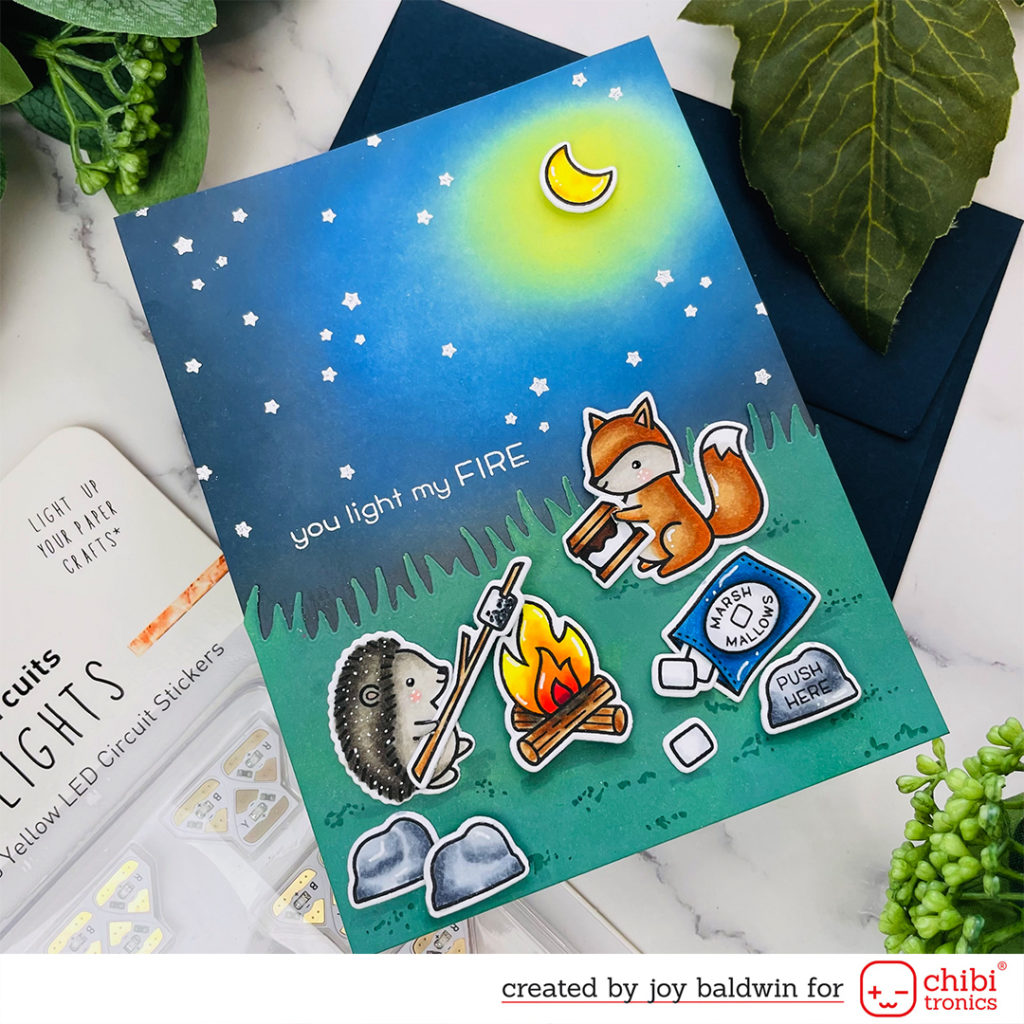
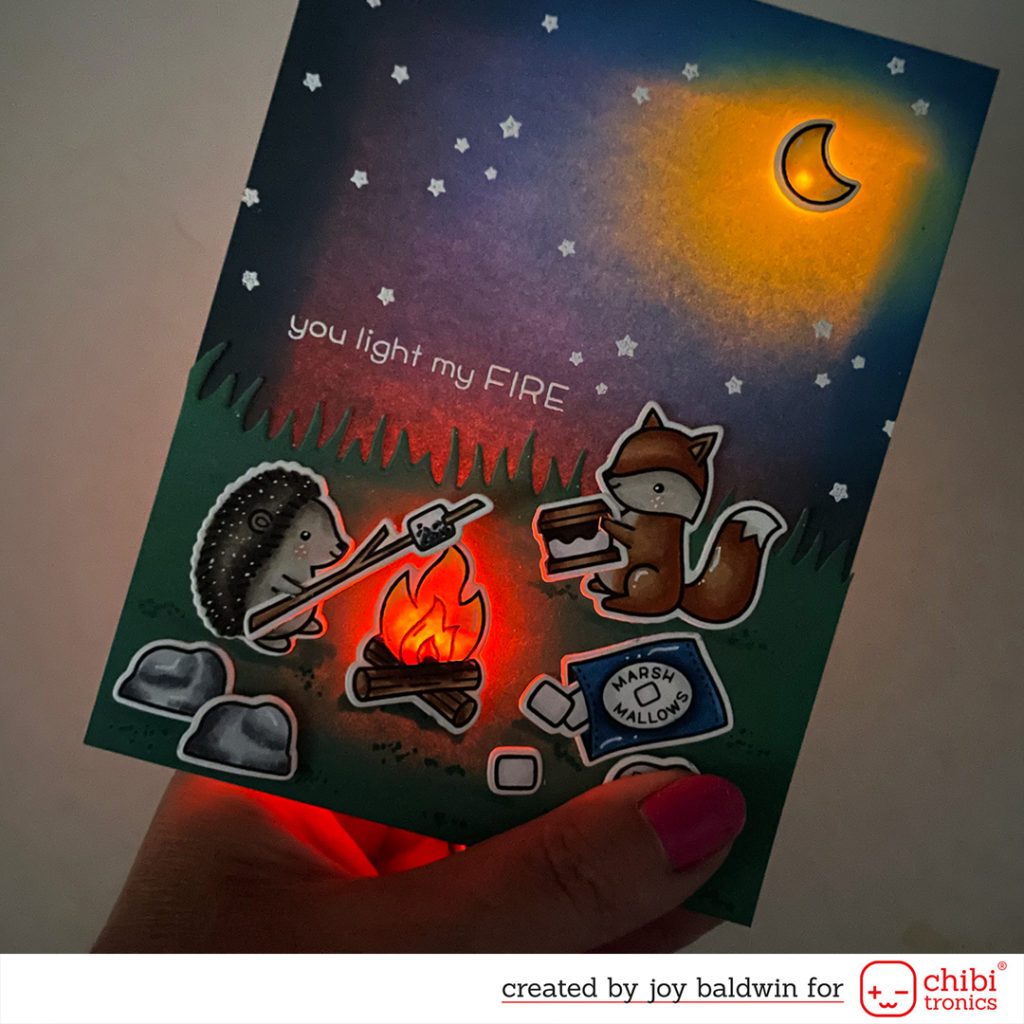
Hi Crafty friends! Today I’m sharing how I created a simple circuit campfire scene with a yellow and orange light for the moon and campfire. Let’s get started!

I started by inking my night sky with Salty Ocean, Blueprint Sketch and Black Soot Distress oxide inks, leaving a spot for the moon. I inked that with Squeezed Lemonade Distress Oxide Ink. I inked up the die cut grass from the Grassy Hillside Die with Pine Needles and Rustic Wilderness Distress Oxide Inks. I Copic Colored the images from S’more the Merrier and used the coordinating dies to cut them out. I adhered all of my images and stamped the sentiment and stars and white heat embossed those images. I made holes where the moon and campfire are, to be able to line up my lights on the back panel. I added foam tape behind the campfire and moon for dimension. I stamped the “push here” sentiment on the rock, which will be placed over the battery.
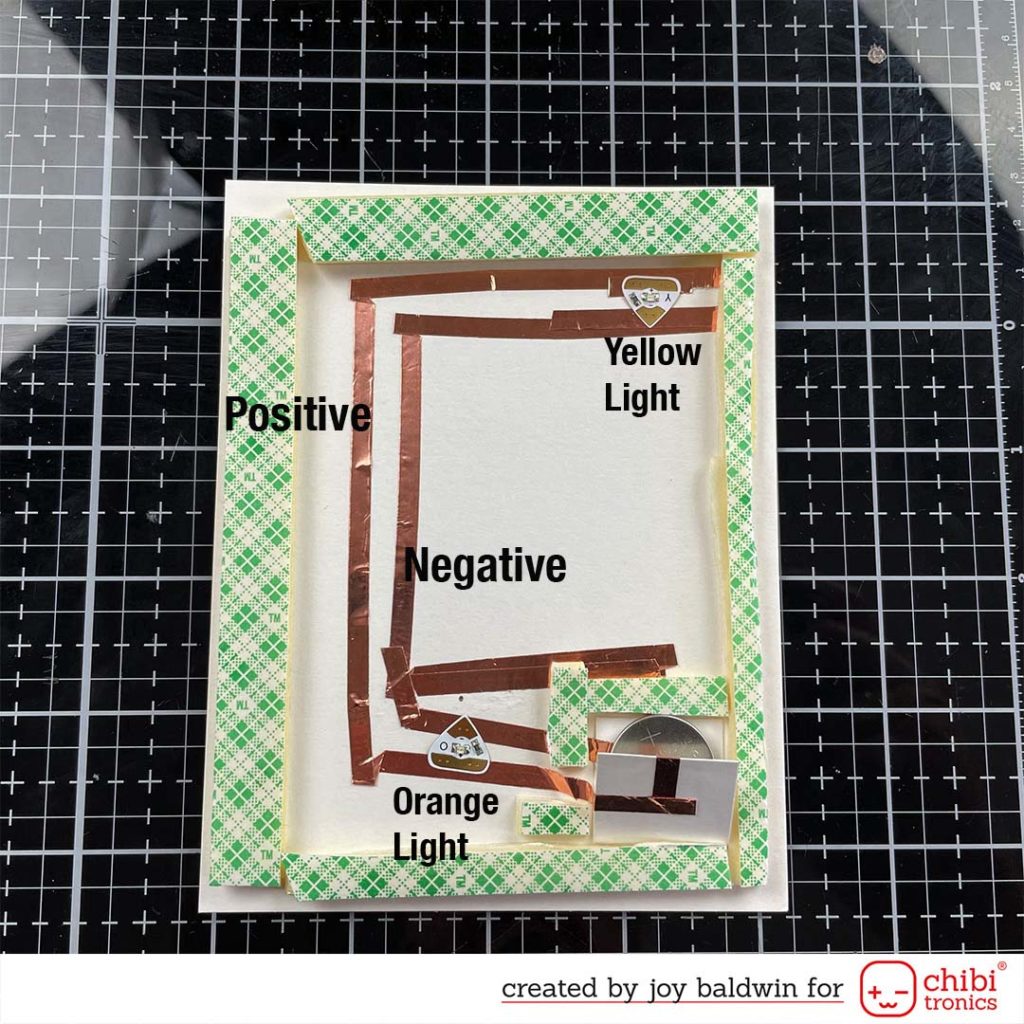
I marked the spots where my campfire and moon will be. I made a little flap with cardstock that holds the battery. I adhered that down and added the copper tape. I started by adding the negative strip on the bottom of the battery flap. Then I added the positive strip, starting under the top flap and coming out and around onto the card panel. Now you can slide the battery in and the negative and postive strips will touch the negative and postive sides of the battery. I added the lights, orange for the campfire and yellow for the moon. They have a sticky back and you stick them down to the coordinating postive/negative strips of copper tape. Now you test it by pushing the flap onto the battery and your lights should light up!
I added 3 layers of foam tape to the sides of the card panel and also around the battery, so it will not slide out of of place. I peeled off the backing tape from the foam tape and adhered the front panel.

Now you have a complete light up, simple circuit campfire scene. I hope you enjoyed this project and thank you for stopping by!
Hugs,
Joy Baldwin
Create It With Joy
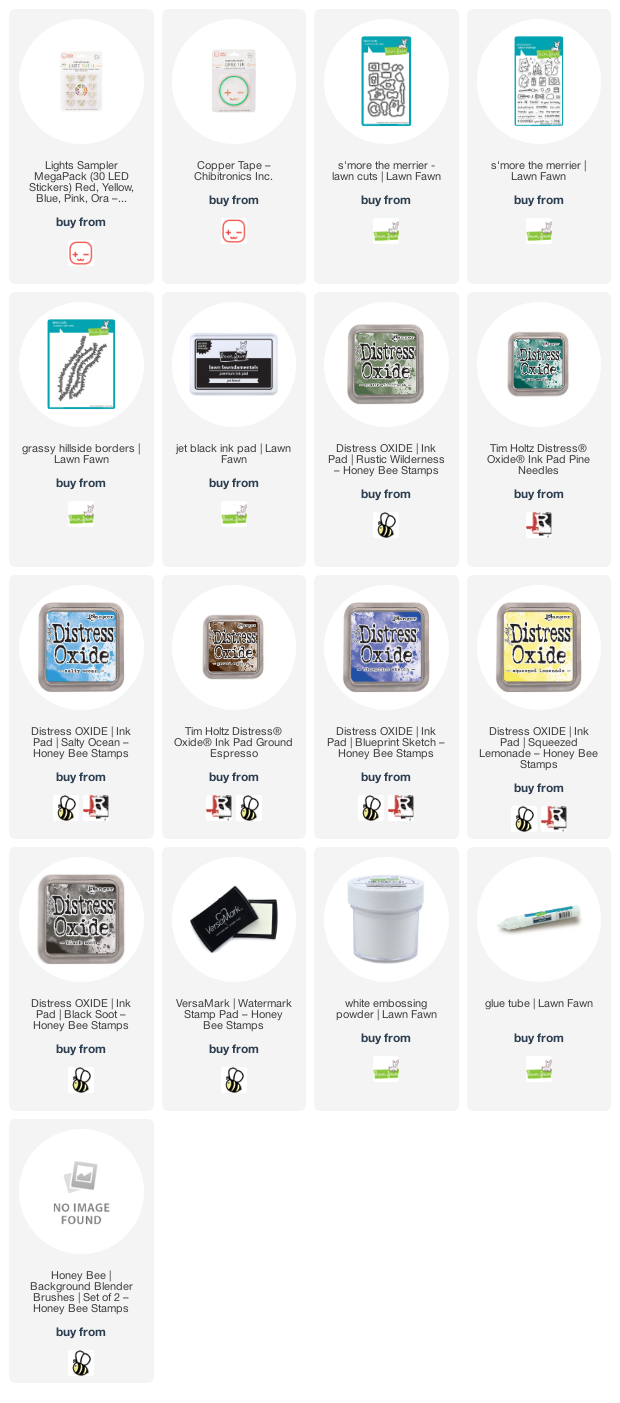
Supplies


