Hi everyone! this is Rana and I’m so excited to share with you today my new light up card featuring some of Magengo and Chibitronics products , it’s summer time but it’s raining here in Germany and because of that I thought it will be good to create my own sea scene and imagine that I’m in the vacation 🙂
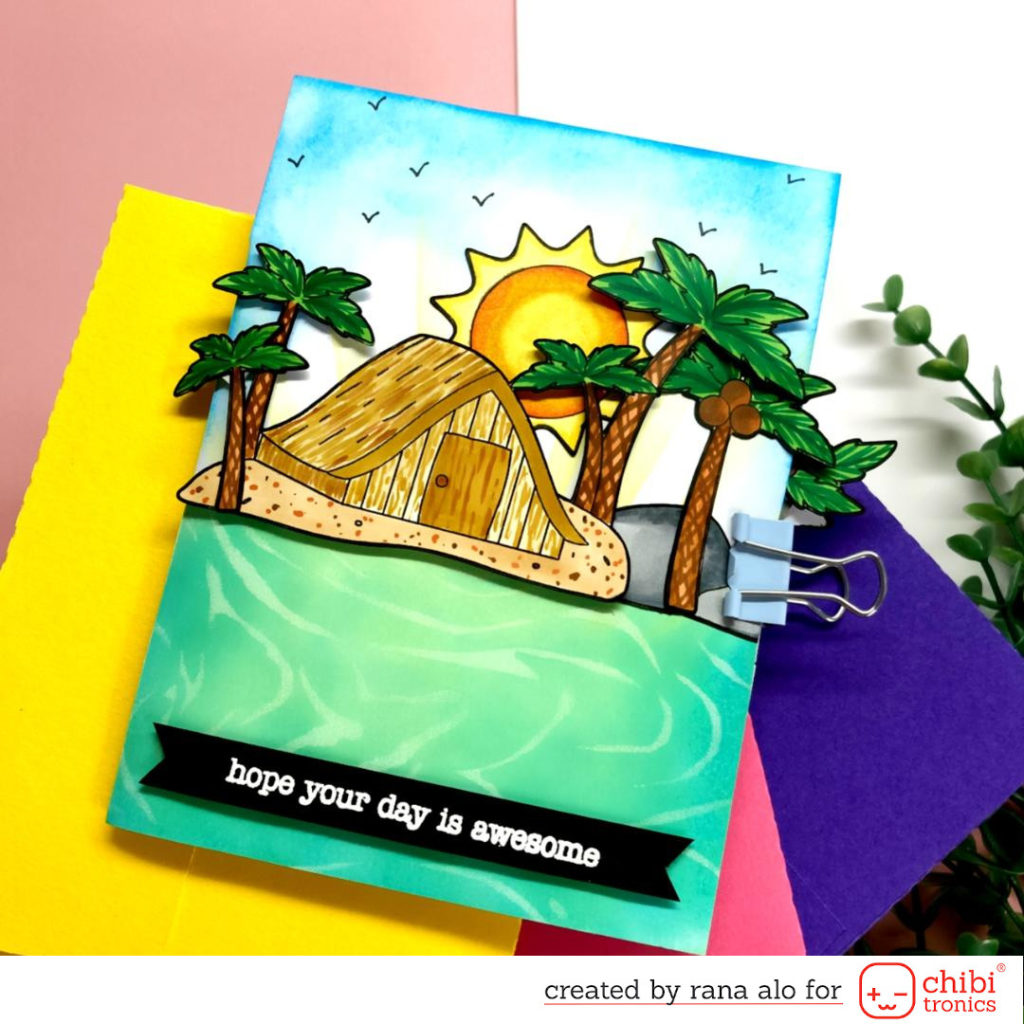
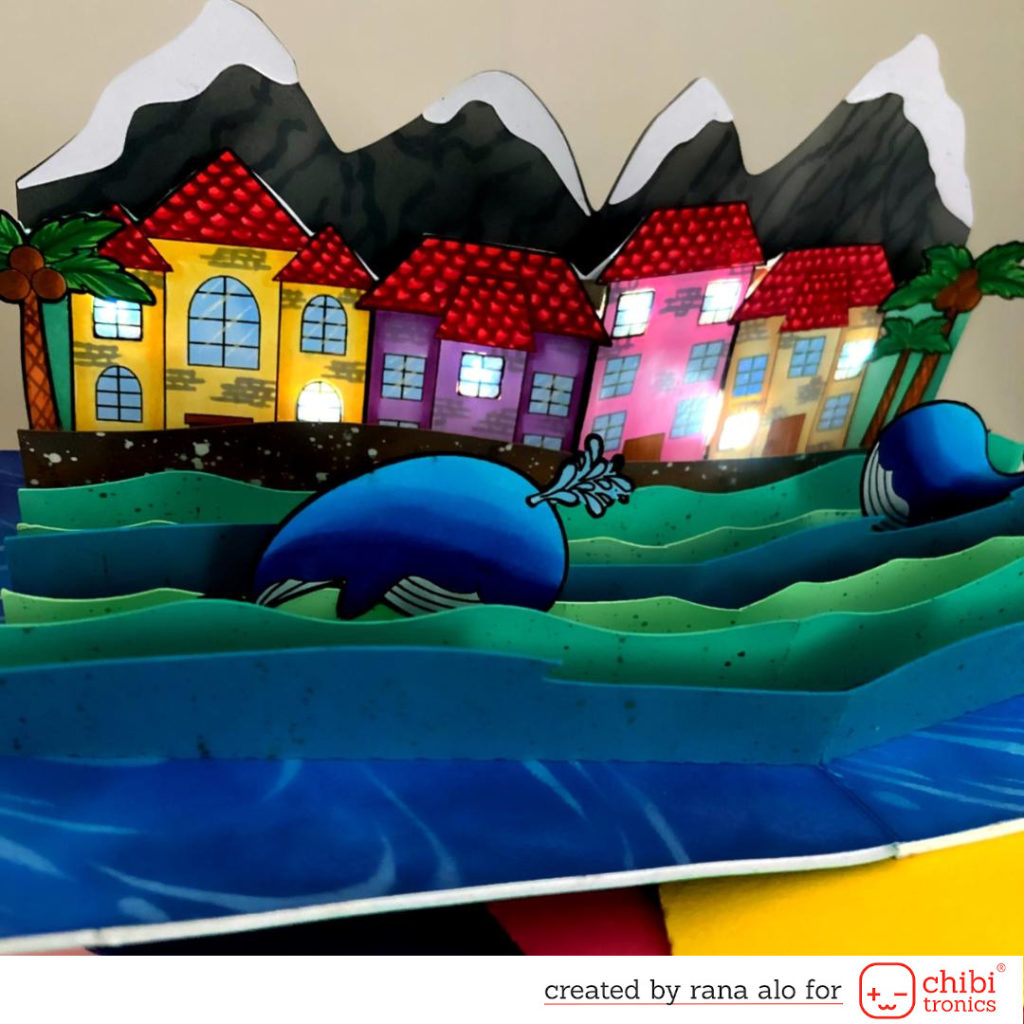
This is how my card looks when it is close:
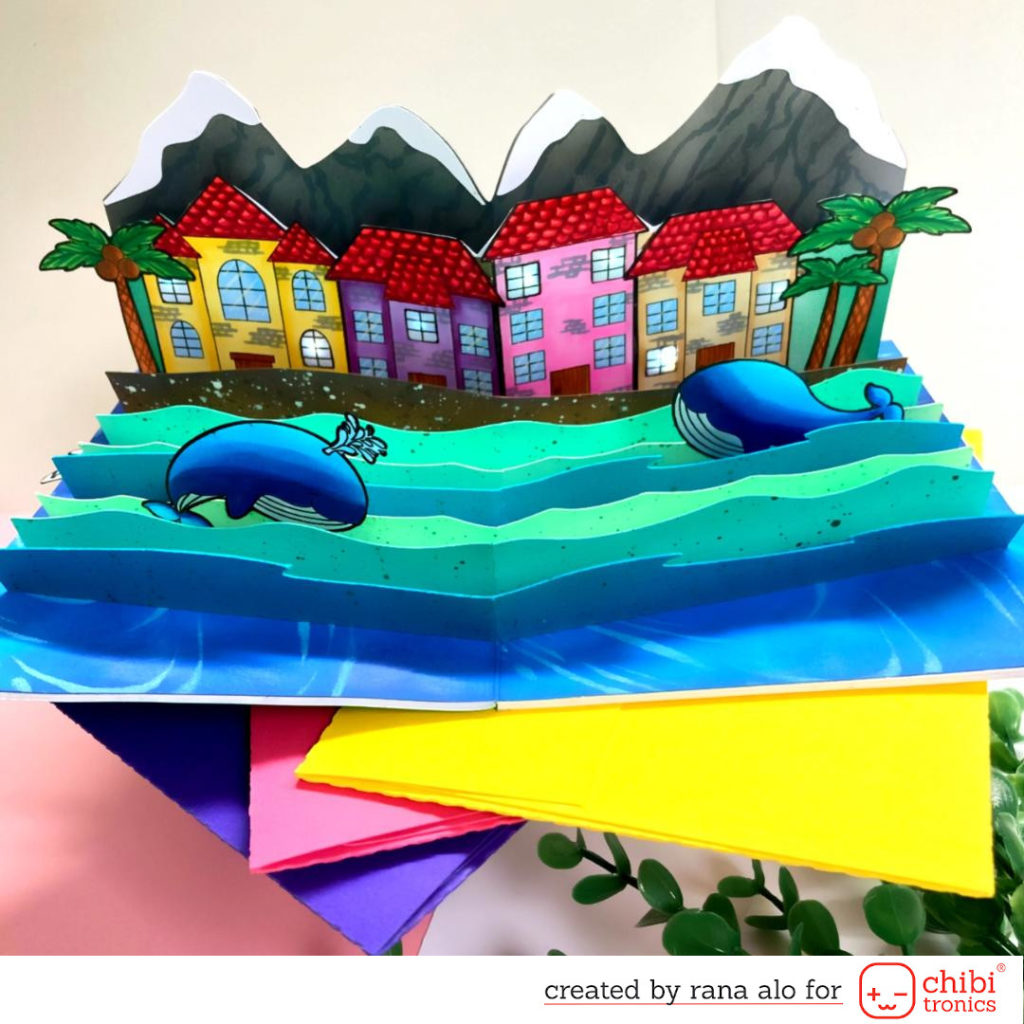
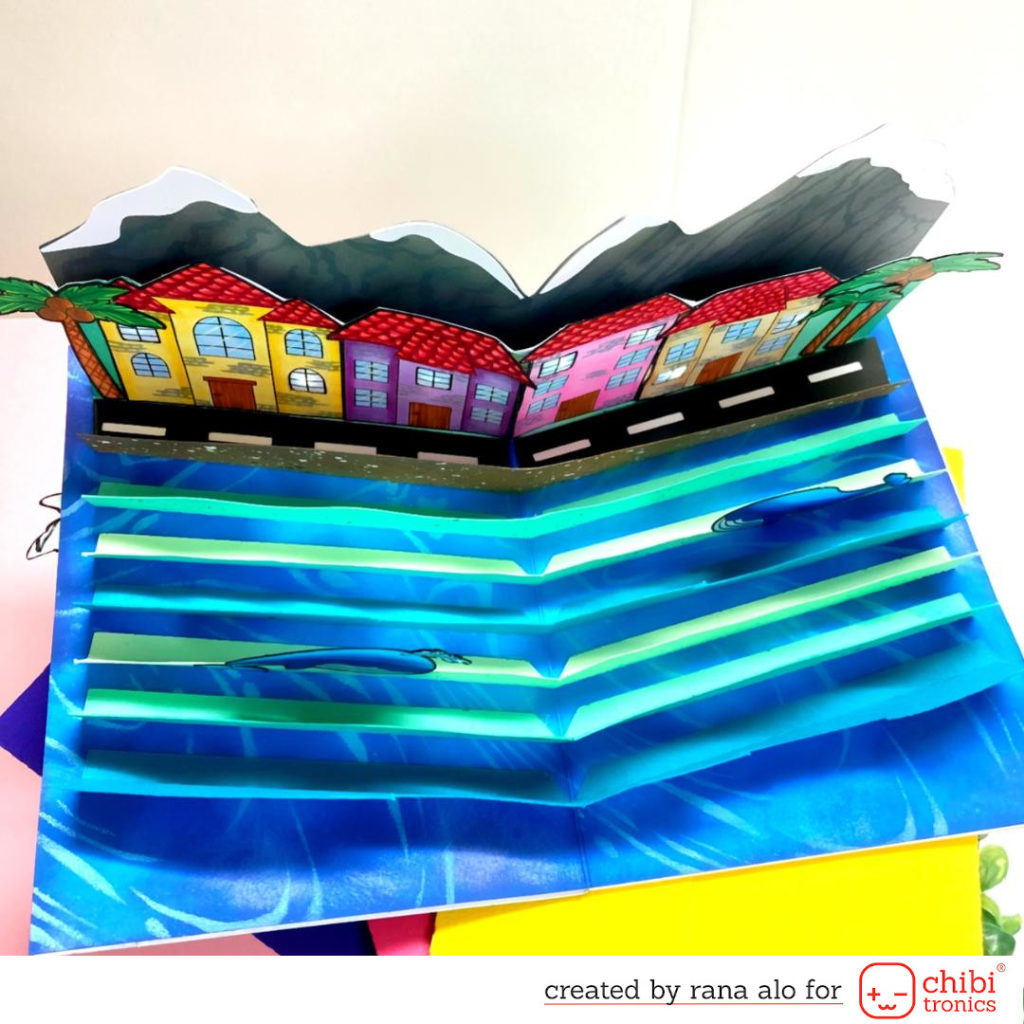
And this it’s how it look when it is open:
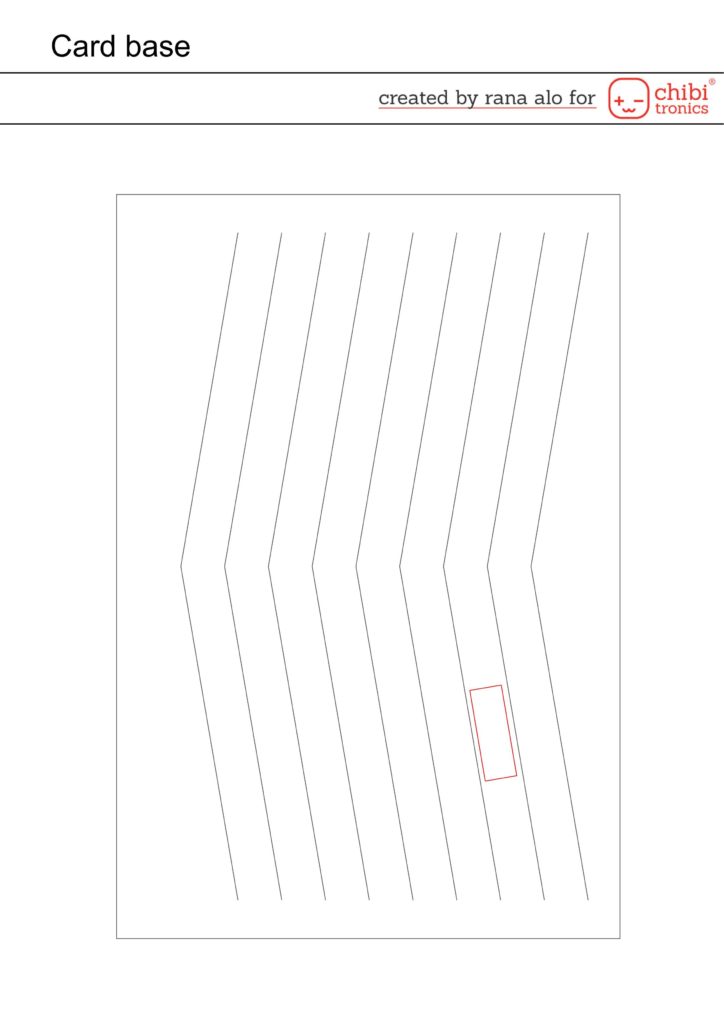
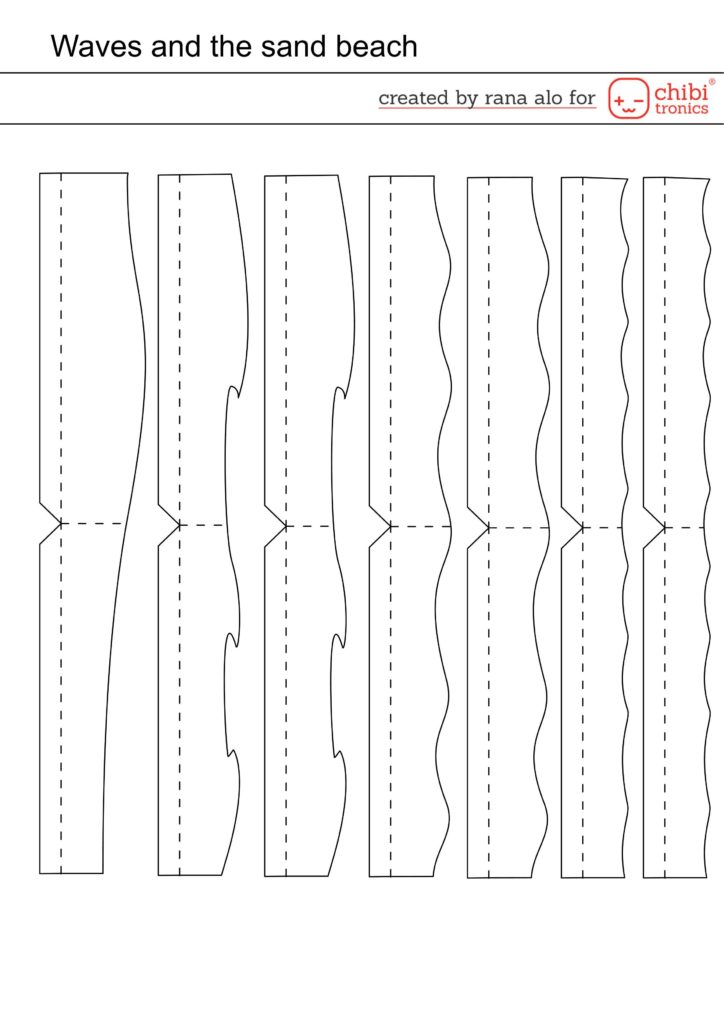
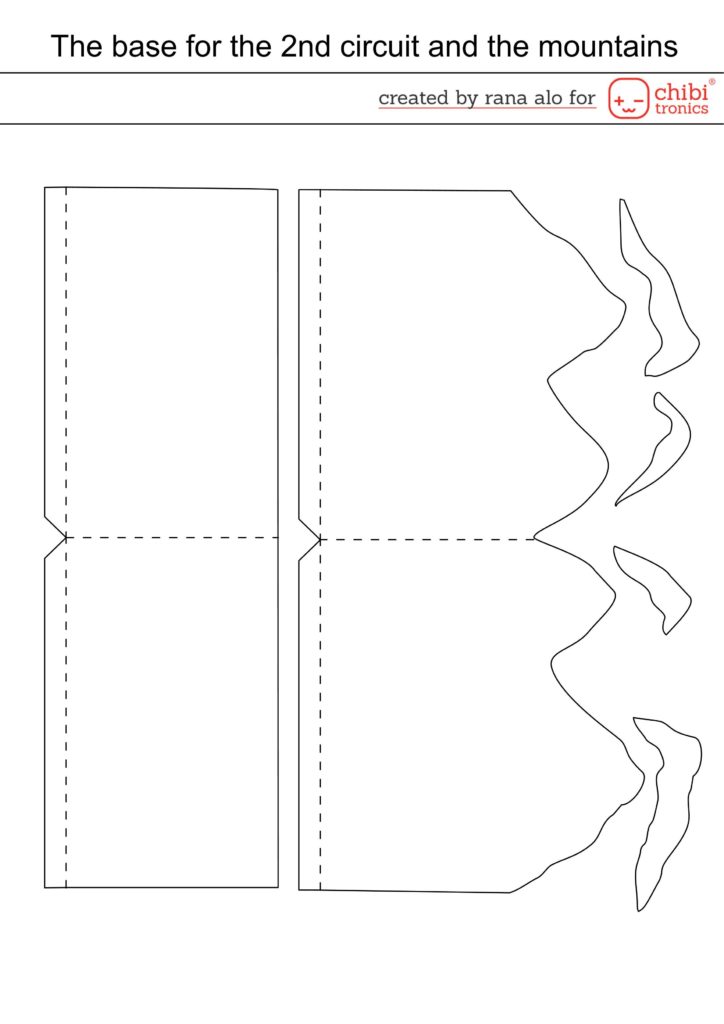
At first I started to cut all the card’s pieces using my silhoutte portrait machine, but you can download the templates and cut them with a scissors.
I also used some stamps from Whale be okay digital stamp set and Happy city digital stamp set by Magengo and sketched them and cut them with my silhoutte portrait machine then I coloured them with Ohuhu brush markers.
Colouring plan:
Whales: PB6,PB1,B120,CG020
The yellow house: Y2,Y3,Y030
The purple house: P3,V030,V230
The pink house: R10,RV280
The brown house: YG40,E210
The roofs: R8,R4,R2,R9
The windows: B220
After that I started to work on the waves and I inked the edges with cracked pistachio and peacock feathers distress oxide inks and splattered them with teal water colour using a small painting brush.
Then I worked on the beach’s sand and I also inked the edges with ground espresso distress oxide ink and splattered it with brown and white watercolour, next I added some details to the mountains using CG07 Ohuhu brush marker and also inked some places with hickory smoke and black soot distress oxide inks.
Now, it’s time to work on our 1st circuit and you can download it below:
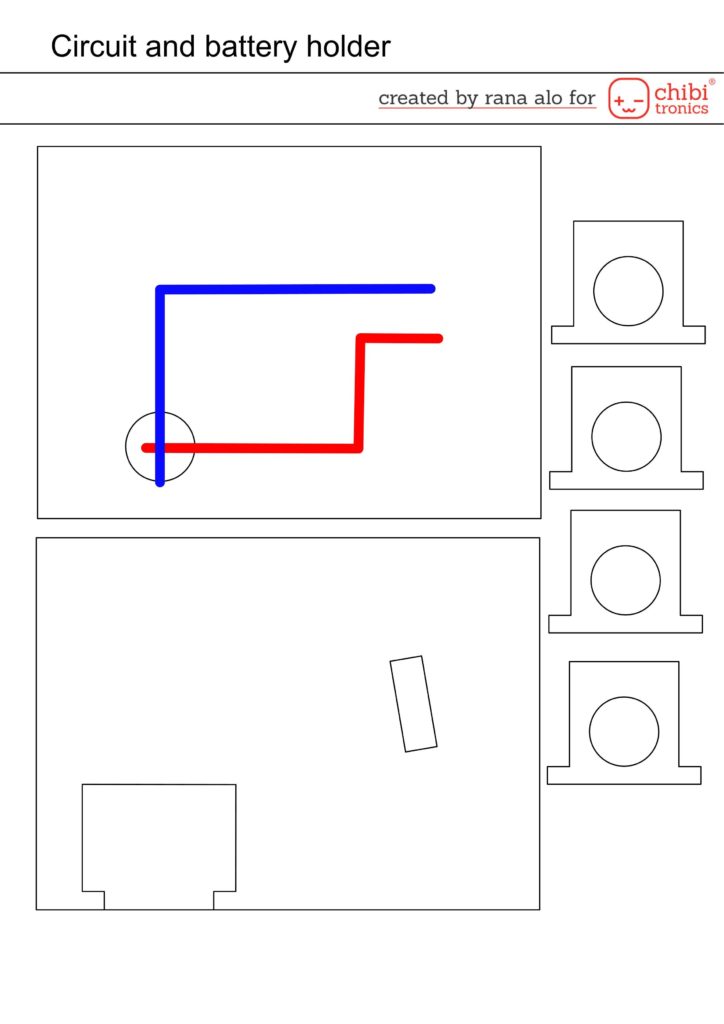
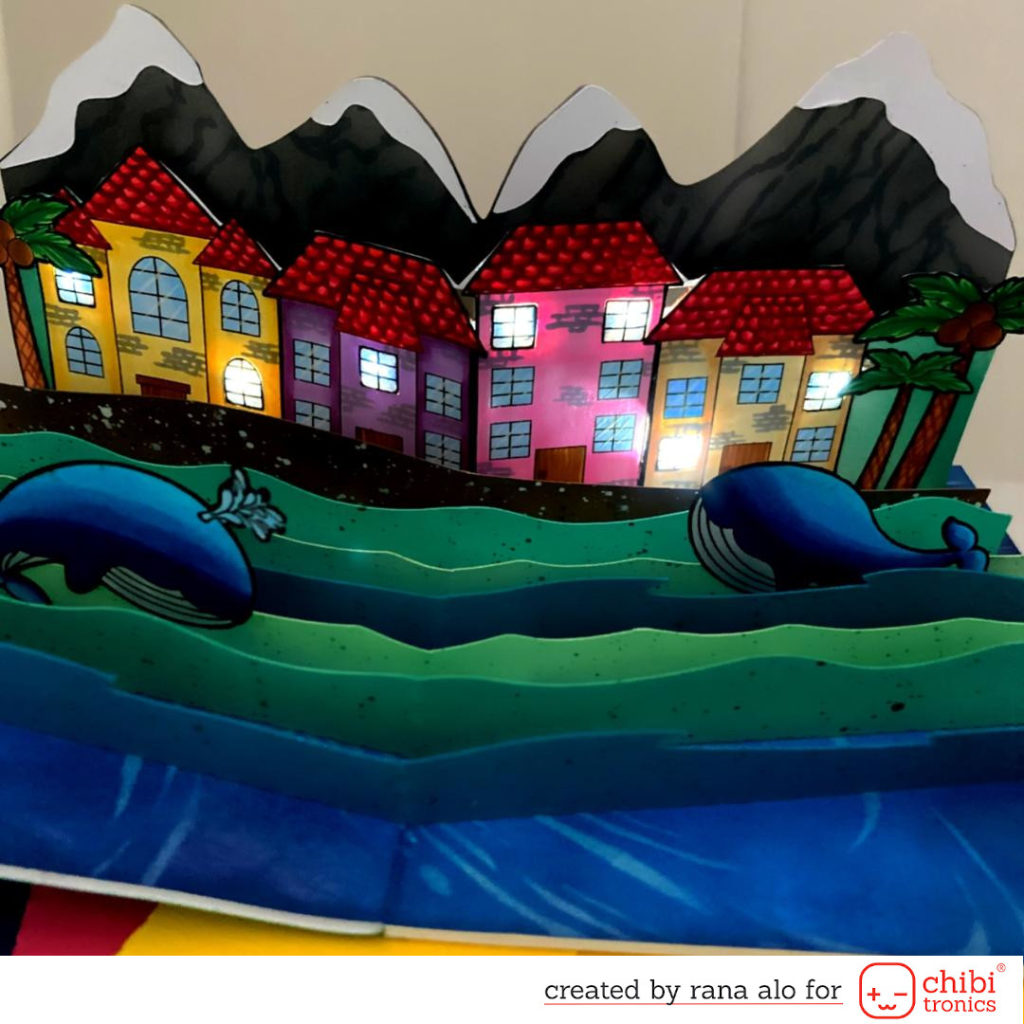
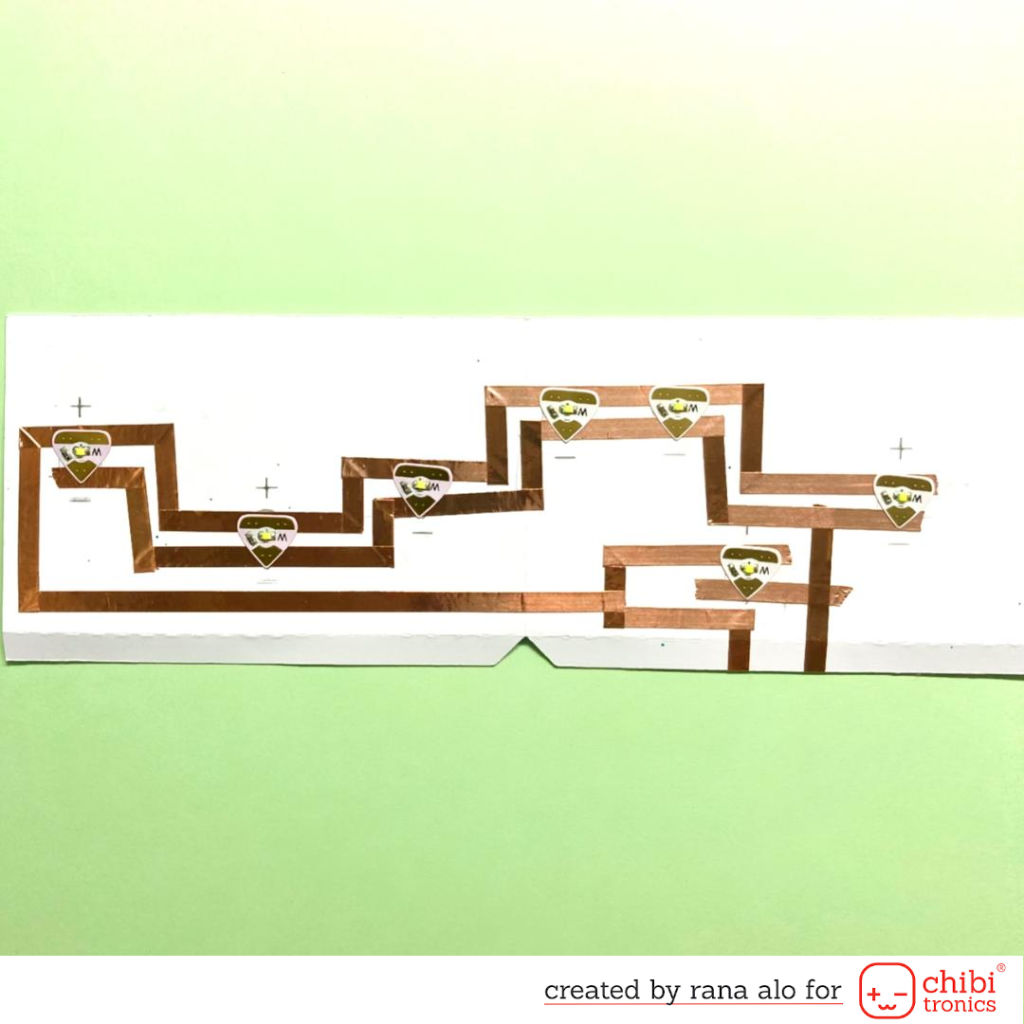
I build my circuits using the Copper tape and white lights stickers from Chibitronics , then I created a thick board by cutting the battery holder 4 times and stack the layers together using liquid adhesive so I have a flat finish for my card when I insert the battery, after that I build my 2nd circuit and you can see in the video tutorial below exactly how I build it step by step and how I marked the exact places for my lights on the circuit to make the windows lighting up, and This is how my 2nd circuit looked:
Next, I connected my circuits together using Conductive fabric tape from Chibitronics.
I inked the card base with salty ocean and chipped sapphire distress oxide inks and used water effect stencil cut file with yeti white ink by lawn fawn to add more details, Then I put my card together using double sided adhesive to get this result inside the card:
I also worked on the front pannel of my card by inking the bottom part with cracked pistachio and peacock feathers distress oxide inks and also added some details by using the water effect stencil, for the upper part I just inked the edges with salty ocean distress oxide ink and used the day light stencil cut file with squeezed lemonade distress oxide ink to add some sun rays on the background, then I added my stamps.
To finish my card I chose a sentiment from (simple sentiment) clear stamp set by Avery elle and embossed it on a black cardstock with versamark ink and white embossing powder from lawn fawn.
To get more details and to see how I created my card step by step please be sure to visit the link below to watch the video tutorial:
Supplies and products links:
For the circuits
Stamps and cut files
- Magengo Whale be okay digital stamp set
- Magengo Happy city digital stamp set
- Magengo water effect stencil cut file
- Magengo day light stencil cut file
Inks and colouring supplies
- Cracked pistachio
- peacock feathers
- ground espresso
- salty ocean distress oxide ink
- Chipped sapphire distress oxide ink
- Squeezed lemonade distress oxide ink
- watercolour
- Ohuhu brush markers
Don’t forget to visit my Instagram account Rana. crafts
I hope that helpful enough to help you to create your own card.
Thank you so much for stopping by and have an amazing day