Hi Everyone, Melissa here.
Today I am sharing how I created this simple circuit using a Chibitronics LED Sticker to light up the star. Let’s get started
1. Create Card Front.

To create this card front, I have printed the image onto X-Press It Blending Card and coloured it with Copic Markers. The sentiment is Chipboard and has been coloured and added to the card after it was assembled.
2. Create Base and Circuit
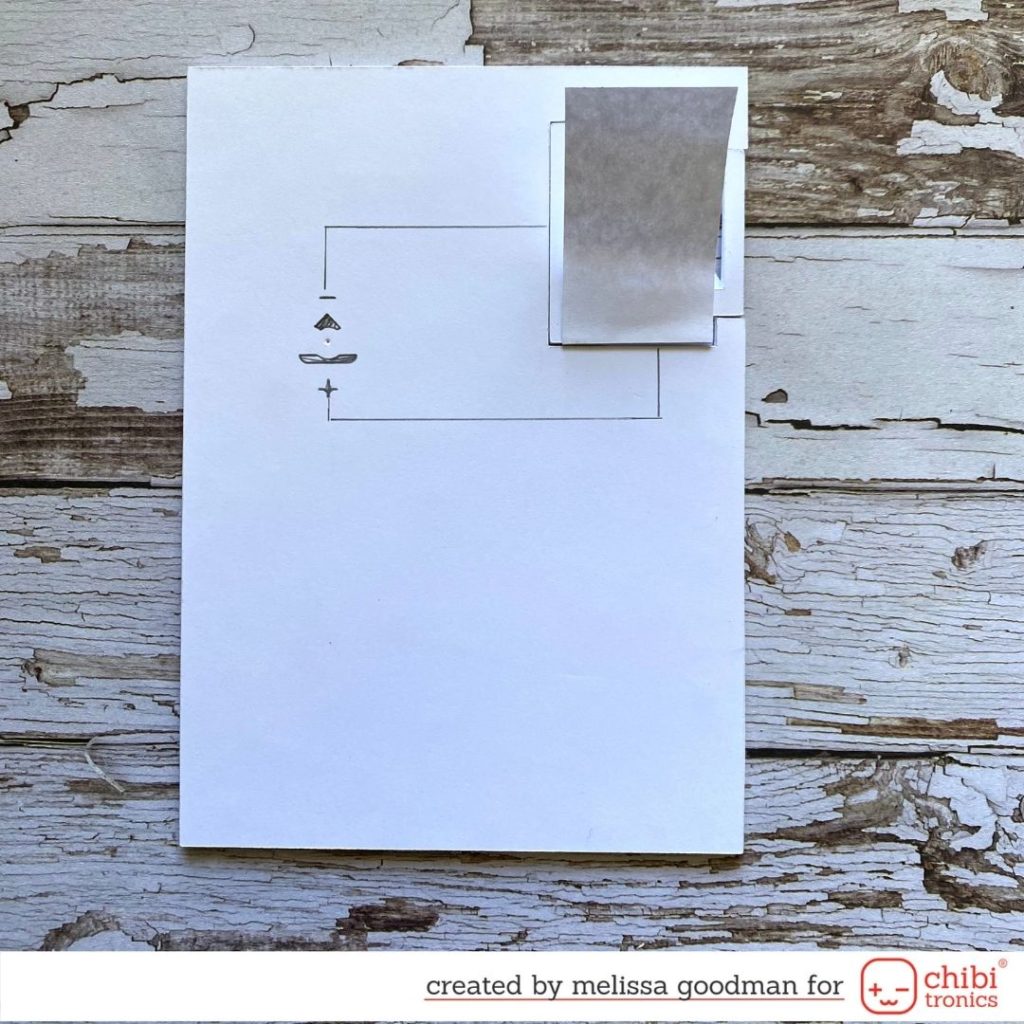
I first draw the circuit in pencil so I know how it is going to positioned and to make sure there is enough space for everything. This works best for me.
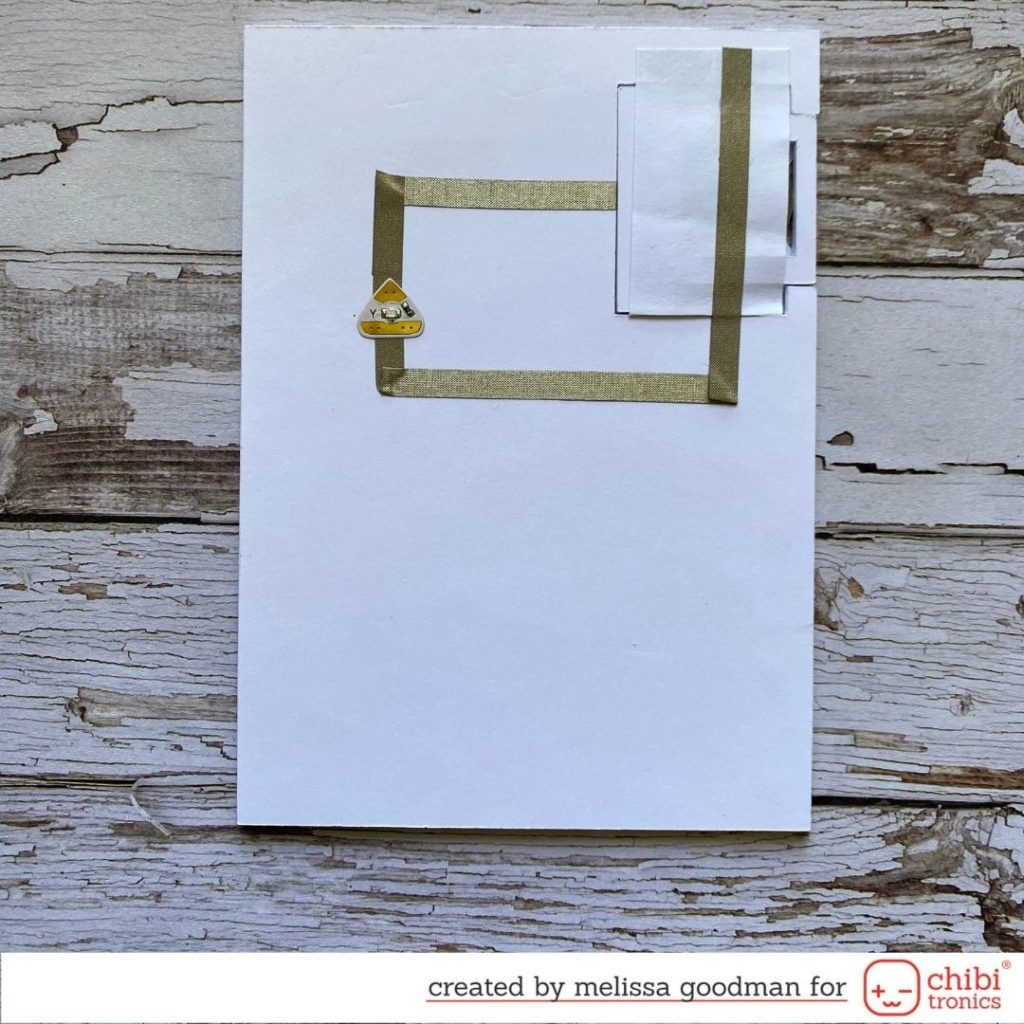
I like the batteries to be replaceable, so I have created a sliding holder for the battery so it can be changed easily. I cut these on my Silhouette Cameo and glue them together to get the thickness.
For this circuit, I have used the Chibitronics Fabric Conductive tape, Chibitronics LED Sticker and a 2016 battery. To Light this card up, you will press the battery compartment.
3. Time to light the card
To light up this card, press at the ‘press here’ spot with pressure from the front and back of the card. The star will light up!
Supplies
Electronics: Chibitronics LED Stickers, Chibitronics Conductive Fabric Tape & 2016 Battery
Image: Bling-a-ling Elf
Medium: Copic Markers
Other: Foam Tape, Glitter, Glossy Accents, Clear Microbeads
I hope my project inspires you to light something up. Give it a go, it’s fun!
Keep Creating
Melissa xxx