Hello Chibitronics friends!
Yukiko Inami is writing again for Chibitronics.
Do you think the holiday season is the best for using the lights, right?
The cool air makes the lights sparkly and the snow makes the beautiful reflection.
So I am so excited to use the Chibitronics lights in my project especially in this season!
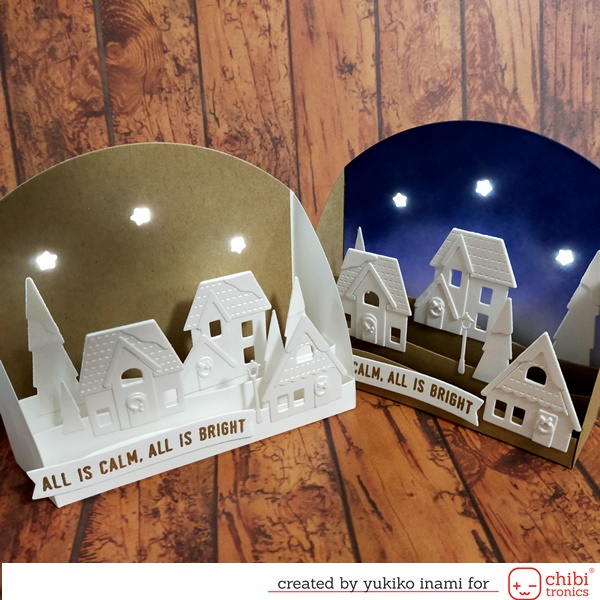
I made the pop up box card showing the beautiful and calm winter village with the star lights.
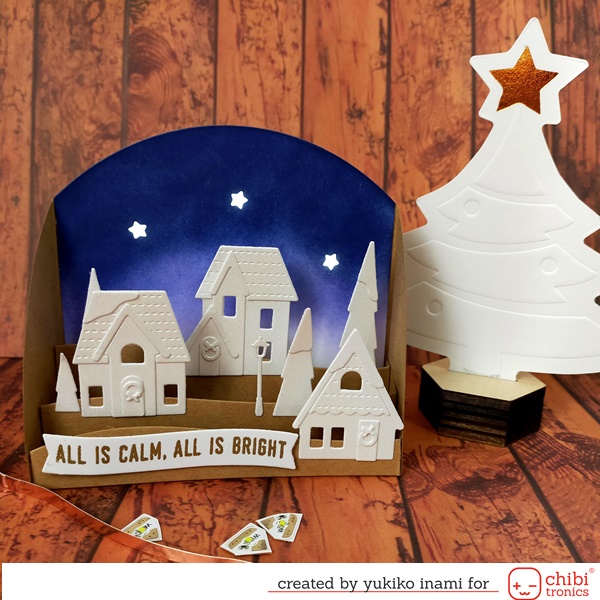
I am showing a movie how this card works.
When you set the card up, the stars are shining.
This card has a battery holder, that’s why you can replace the battery after running out.
1. Supplies
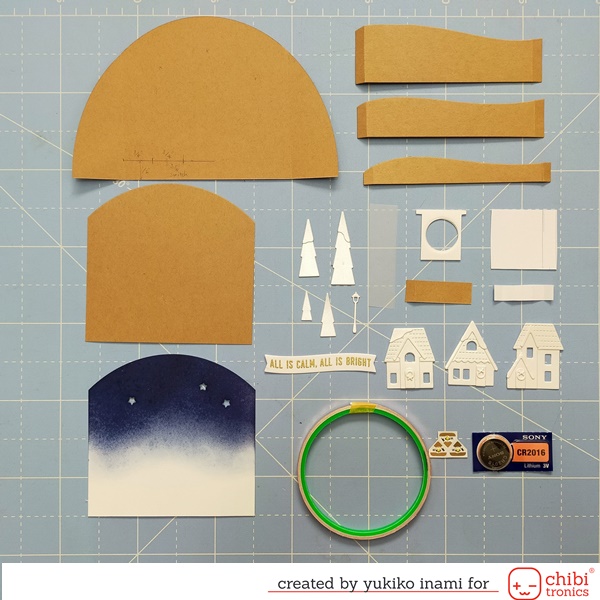
I prepared these parts shown the below photo.
・Card basement :brown paper: I used the Card Stacks Base Die; Concord and 9th and made the half circle parts and the 3pieces for the front wall.
Next I cut out the top of the edge the front wall shaped the hills.
I cut down 2 pieces the backside wall from the another half circle parts.
One is the white paper for the background and another one is brown paper for the backside cover.
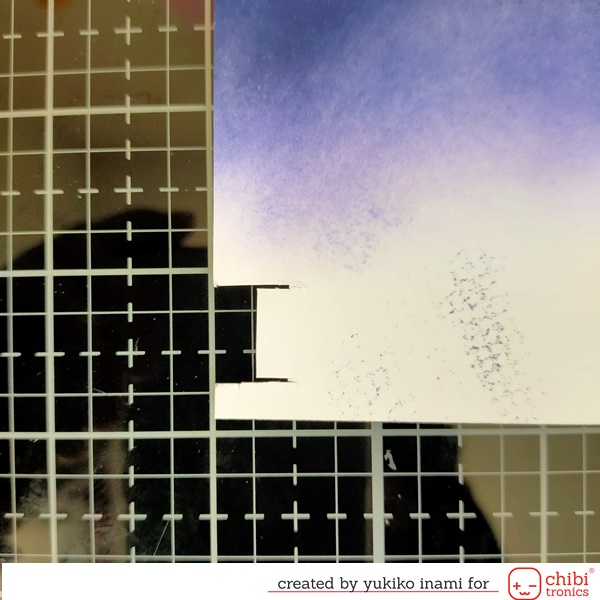
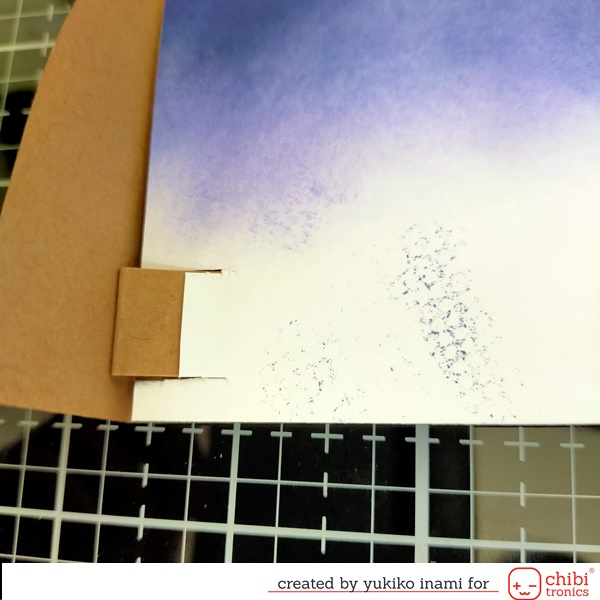
Then I colored the background with the distress ink then I cut the star shape holes for the lights.
・Battery holder ; 1mm thick board 1.25×1.25” square I cut out the circle in the center of it for the battery and the cut the side as shown the photo.
・Lid for the battery holder 1.5×1.5″
・Switch Parts ; 1/4×1.5″; I folded on 1/4″montain,1/2″ valley,1 valley,1 1/4 “mountain
・Tab for the switch; 1/4×1 3/4″
・The parts for the scene; I used the Home for the Holidays Stacks dies and cut the house and tree parts and assembled.
I cut a street light and a banner. And I stamped with the Home for the Holidays Stacks Stamp Set and heat embossed the sentiment on the banner.
・LED lights White MegaPack
・Copper Tape
・Cell battery 3V; CR2016
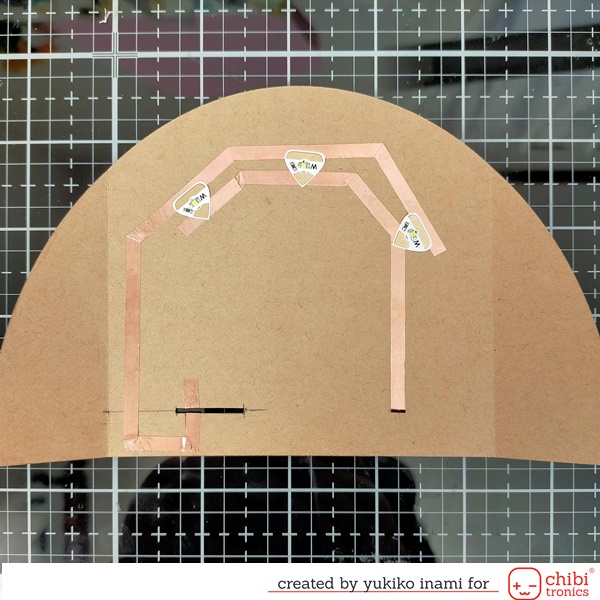
2. Circuit
I made the circuit on half circled basement.
There are three lights on the frontside. And the battery is on the backside.
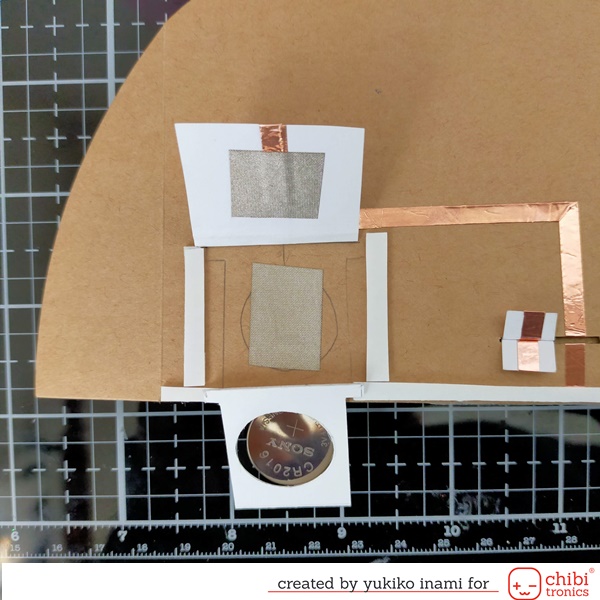
I cut the slit on the left lower area starting the point 1/4″ from the right folding line and 1/2″ from the lower edge the length 3/4″.
The positive path went through the switch slit from the battery on the backside to the inside.
The negative path went through the slit from the battery site to the inside lights.
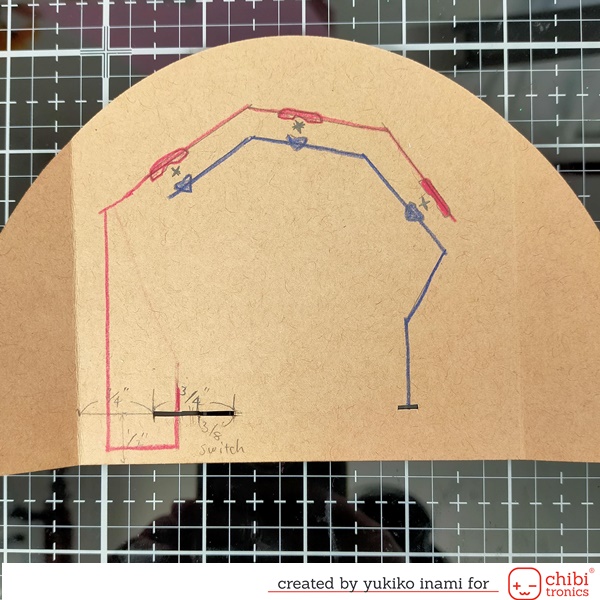
I stuck the copper tape on the drawn path and set the LED stickers on the site of the stars.
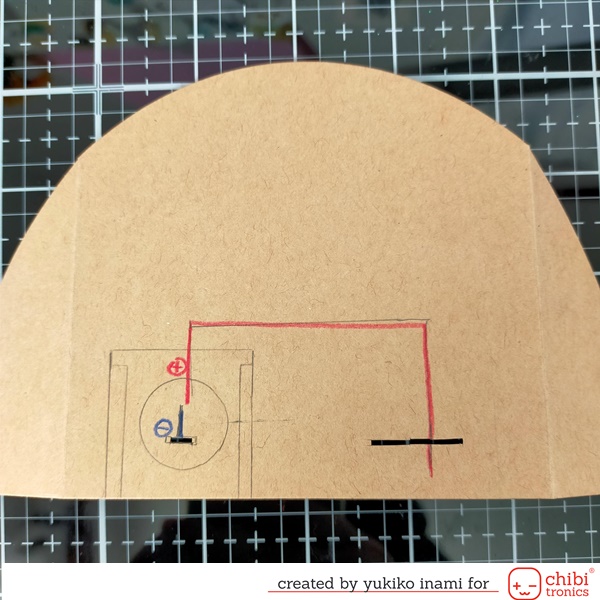
I made the battery holder as shown below. I made the lid on the battery site.
I marked the position of the battery holder.
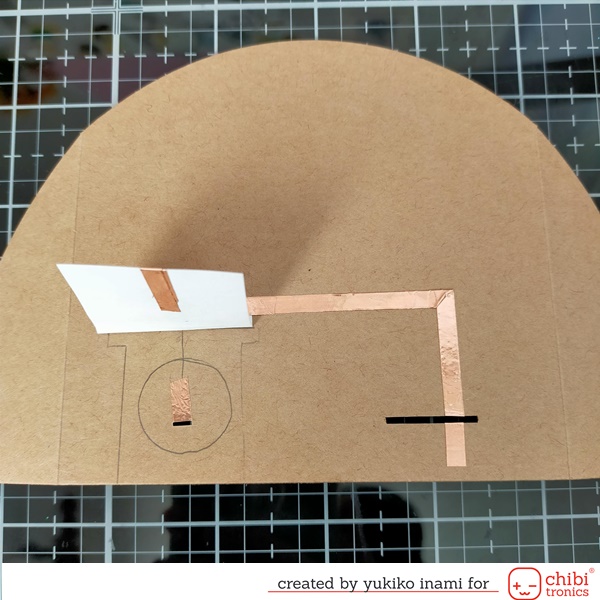
I made the switch parts for the slit. I folded the small paper piece as shown the supplies.
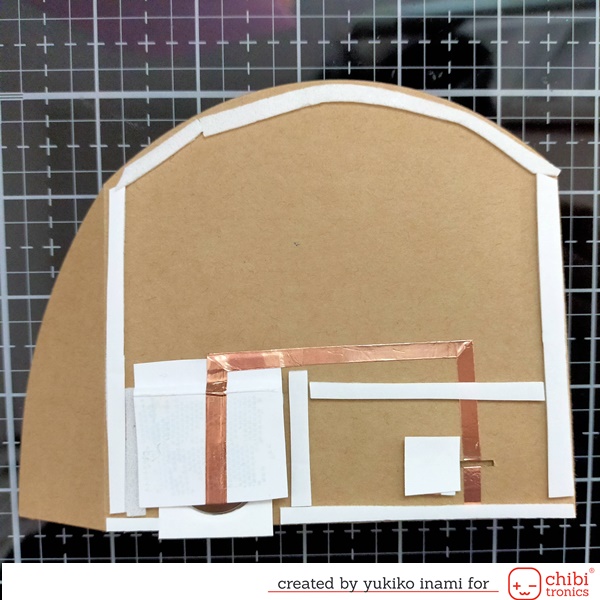
I put the switch parts in the slit and marked the circuit place when the switch is on the left side.
I put the copper tape on the switch parts.
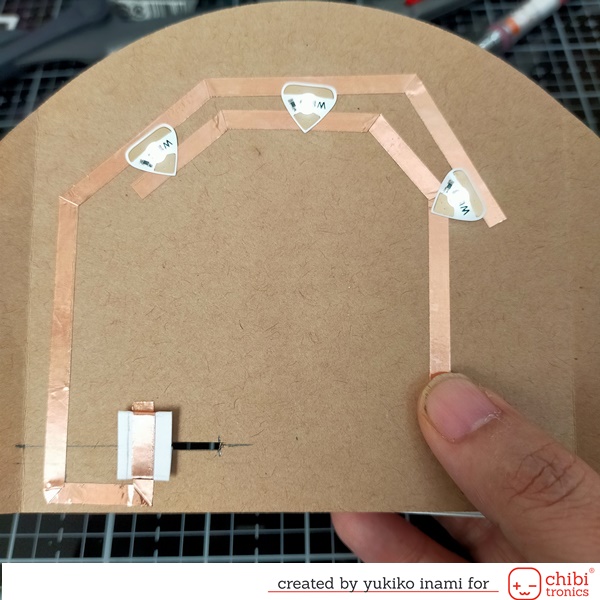
I stuck the pull tab left side on the side wall and check the right side position.
I am showing the switch and the pull tab in the below photo.
When the side wall is folded, the switch is on the right edge side of the slit.
And when the side wall is opened and it is set up, the tab pull the switch parts to left side of the slit at the same time.
Then the circuit is completed. Lights are turned on!
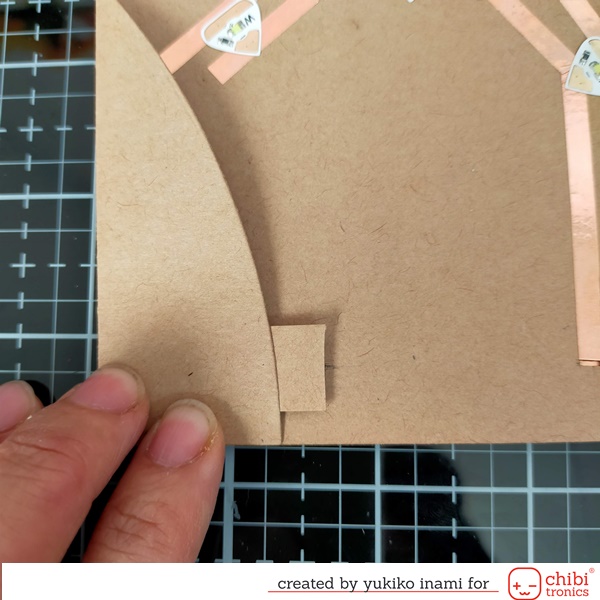

3. Assembly
I cut the background panel making the place for the tab.
I put the conductive fabric tape making a sure contact with battery and circuit.
I stuck the foam tape 1mm thick around the battery holder.
I stuck the foam tape on the edge of the backside showing the below photo.
I put the glue on the topside of the battery holder’s lid not to disturb the insert the battery holder.
I stuck the back side panel on the foam tape.
It’s completed!
Thank you so much for stopping by today!
Enjoy this silent winter night pop-up card!
Have a wonderful holiday season!!
Yukiko I.