Hi, crafty friends!
This is Eiko. I make light up slider pop up card using Chibitronics Tim Holtz and Heffy Doodle dies.
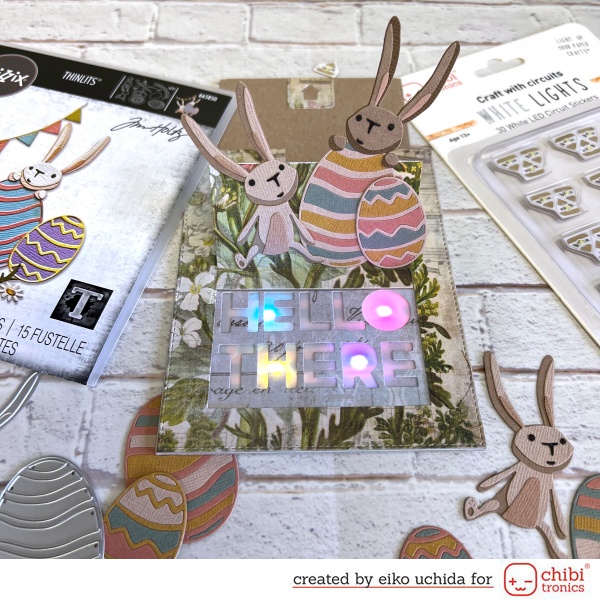
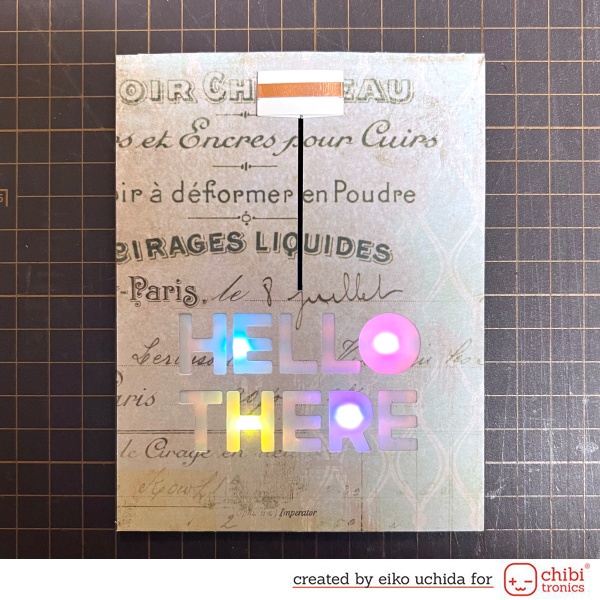
When you pull up a panel to make the front section stand up, reveal a light up message inside.
I will make the parts referring to the picture below.
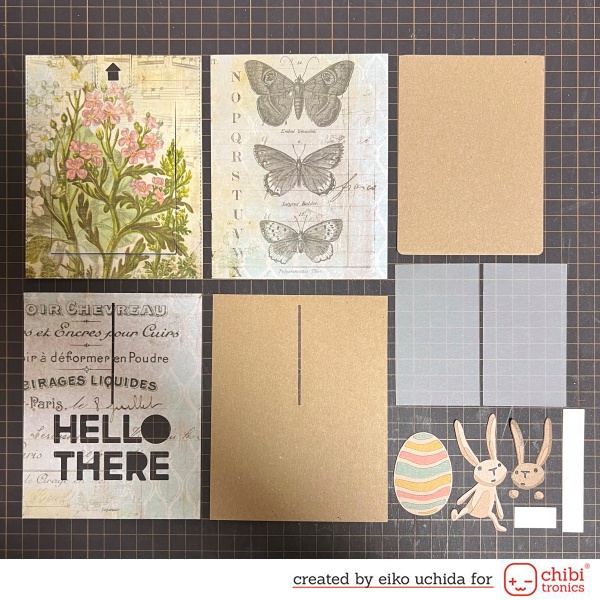
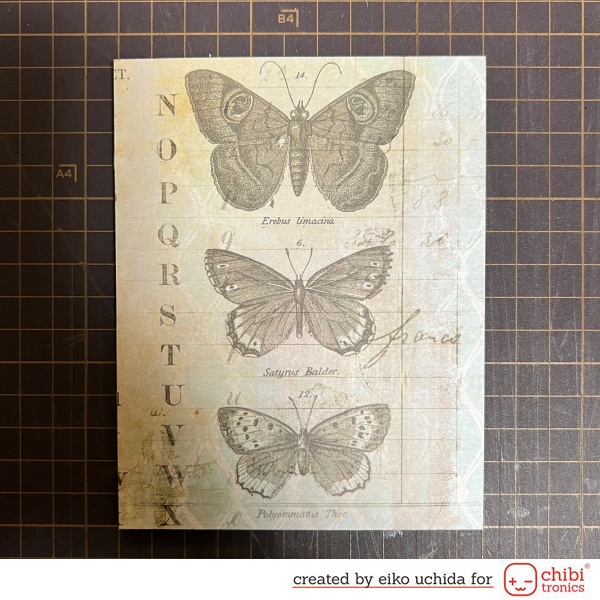
- Die cut wallflower pattern paper with slider pop up die
- 4 1/4 x 5 1/2 inches pattern paper
- Die cut 4 1/4 x 5 1/2 inches pattern paper with bold text die and make a 2 1/2 inches long slit from 1/4 inch above the center of the card
- 4 1/4 x 5 1/2 inches kraft cardstock make a 2 1/2 inches long slit from 1/4 inch above the center of the cardstock
- Die cut distress kraft heavystock with pull panel die
- Two 2 x 3 1/2 inches vellums
- Die cut eggs and bunnies with bunny games dies
- Switch parts (1/2 x 3 inches white cardstock, 1/2 x 1 inch white cardstock)
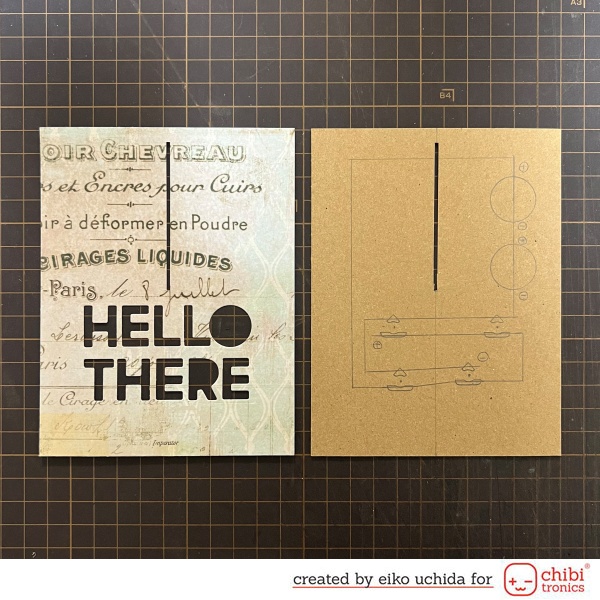
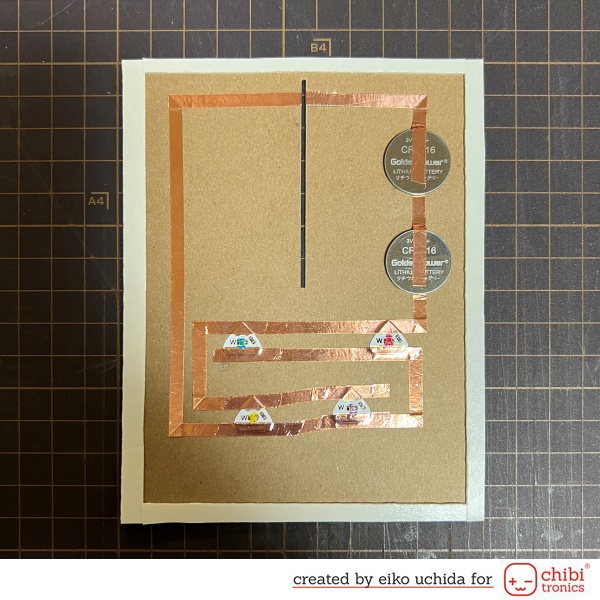
- Put the cover panel on kraft cardstock and mark the lights with a pencil.
- Mark the position of the Chibitronics and the battery.
- Draw the circuit with a pencil.
- Apply the double-sided tape on the battery place.
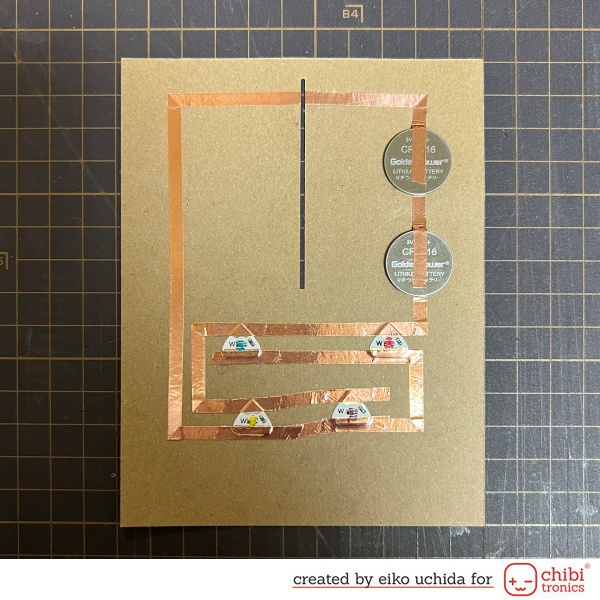
Stick the copper tape on the pre-drawn path.
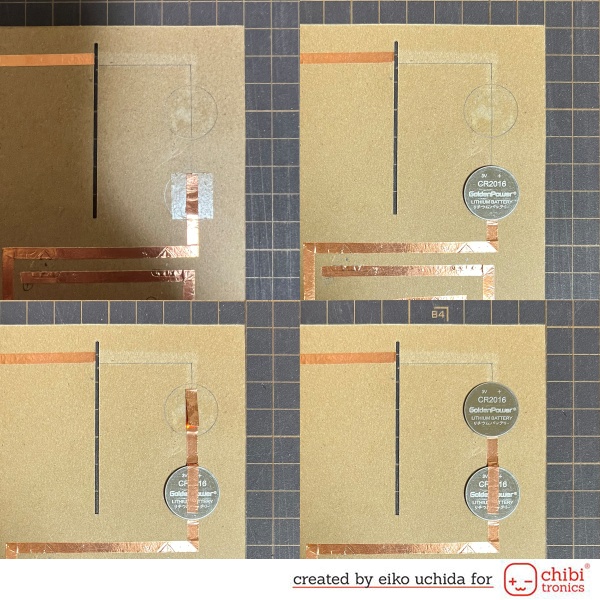
- At the battery place, peel off the release paper, stick the negative side copper tape, fold it back and cut it.
- Stick the positive side copper tape.
- At the position of the battery leave the positive side copper tape about 1 inch and cut it.
- Place the battery on the copper tape with positive side facing up and stick the positive side copper tape on the battery.
- Attach the red LED to the copper tape, over the outline.
- Stick short copper tape on the edges of the LED to reinforce.
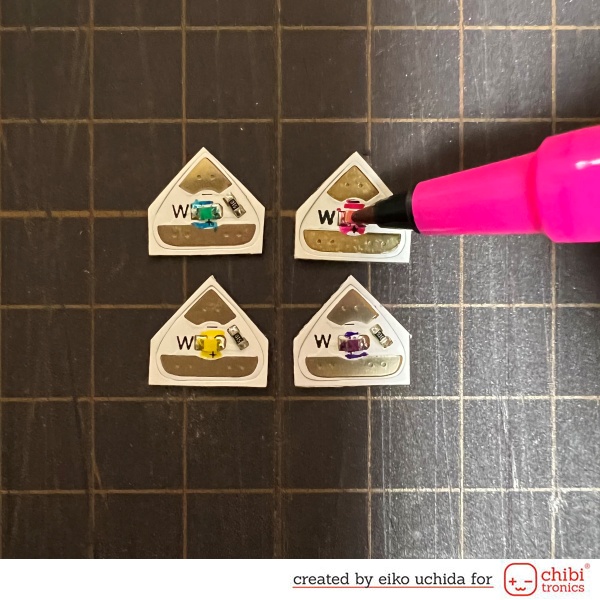
This time I painted the LED with a permanent marker. This will change the LED light to pale color.
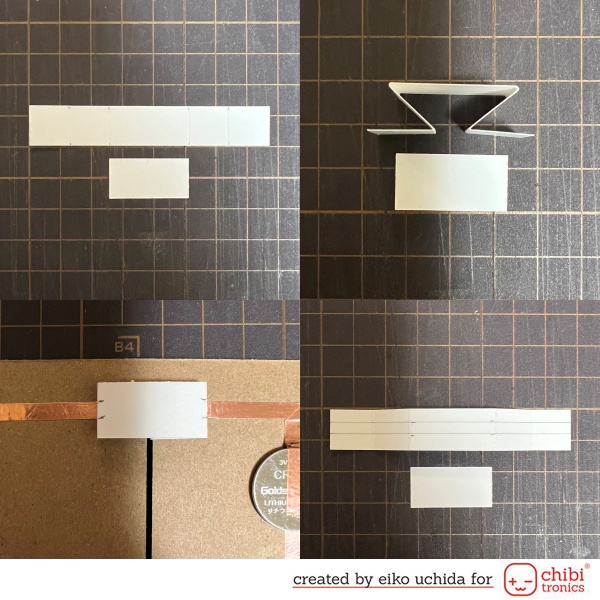
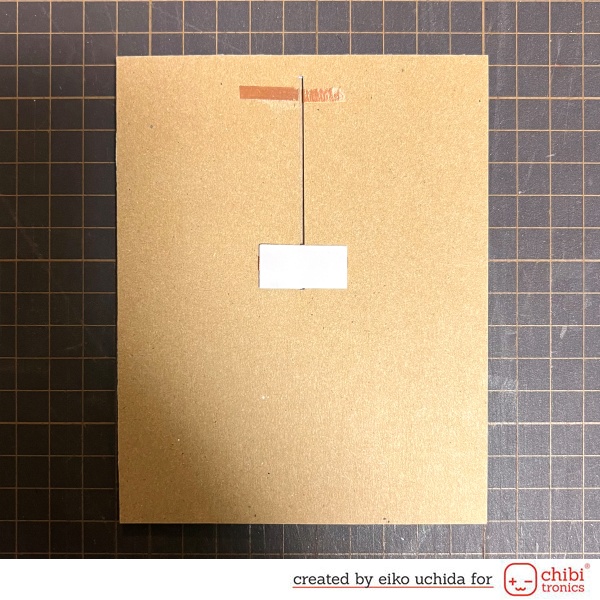
Make a switch
- Fold the 1/2 x 3 inch cardstock as shown to make a switch.
- Insert the switch into the slit and place it at the top end of the slit.
- Mark the position of the copper tape.
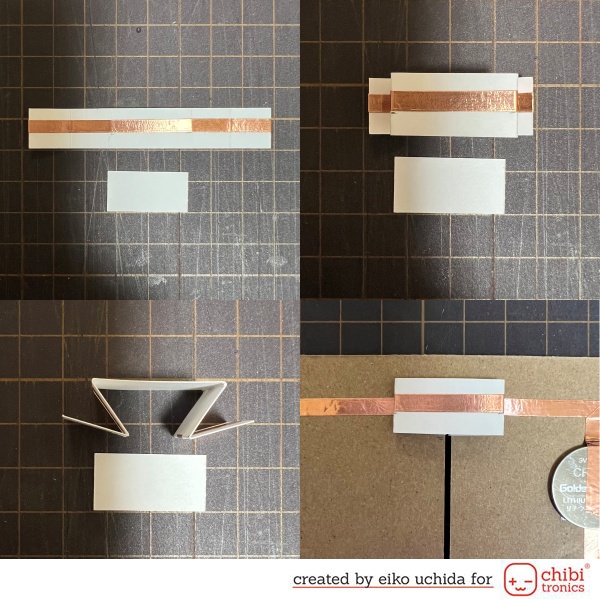
- Remove the switch part from the slit and stick the copper tape on the mark.
- Fold along the crease.
Stick the foam tape around the entire edge of the circuit card base.
- Stick vellum paper on the back of the inner panel.
- Stick the inner panel to the circuit card base.
- Insert the switch into the slit.
Assemble the pop up mechanism
- Stick the bottom edge of the pull panel and the bottom edge of the notch on the top panel.
- Apply double-sided tape on the switch part.
- Place the switch part at the bottom end of the slit.
- Put the top panel on the inner panel and stick the switch part on the back side of the top panel.

- Apply double-sided tape to both sides and the bottom edge of the inner panel, and attach the top panel and inner panel.
- Stick the eggs, bunnies and sentiment on the top panel.
- Re-insert the switch part into the slit.
- Stick the 1/2 x 1 inch cardstock on the back side of the switch part.
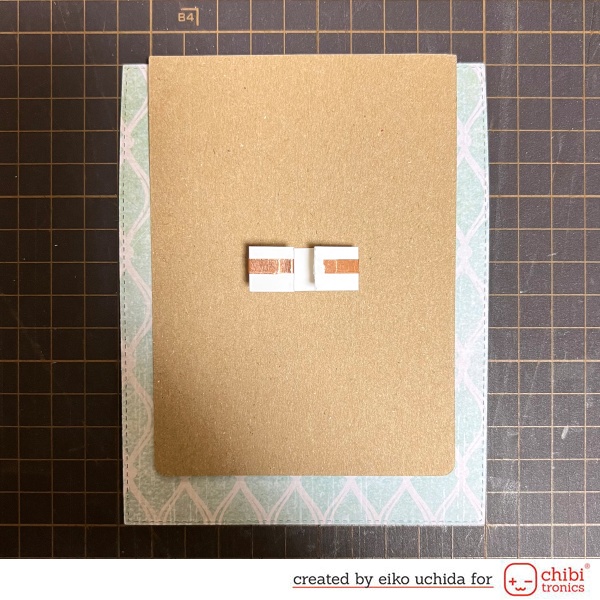
Stick the 4 1/4 x 5 1/2 inches pattern paper on the back side of the card base.
I finished it!
When you pull up a panel to make the front section stand up, reveal a light up message inside.

Thank you for stopping by!
Eiko Uchida
~Supplies List~
- Chibitronics White LED Sticker Pack
- Two 3V coin cell battery (CR2016)
- 5mm wide Copper tape
- Tim Holtz bunny games dies
- Tim Holtz bold text 1 dies
- Tim Holtz crazy talk stamps
- Heffy Doodle slider pop up dies
- Heffy Doodle slimline pull tab dies
- Distress archival ink ground espresso
- Tim Holtz kraft stock classic
- Tim Holtz paper stash wallflower
- Distress kraft heavystock
- Ranger kraft cardstock
- Lawn Fawn vellum
- White cardstock
- Permanent marker pink, yellow, violet, light blue