Hi crafty friends!
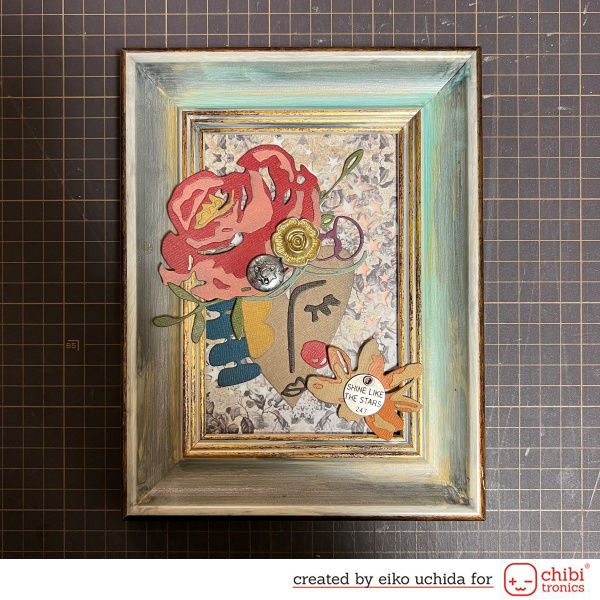
This is Eiko. I make light up photo frame with an envelope type switch holder using Chibitronics and Tim Holtz dies.
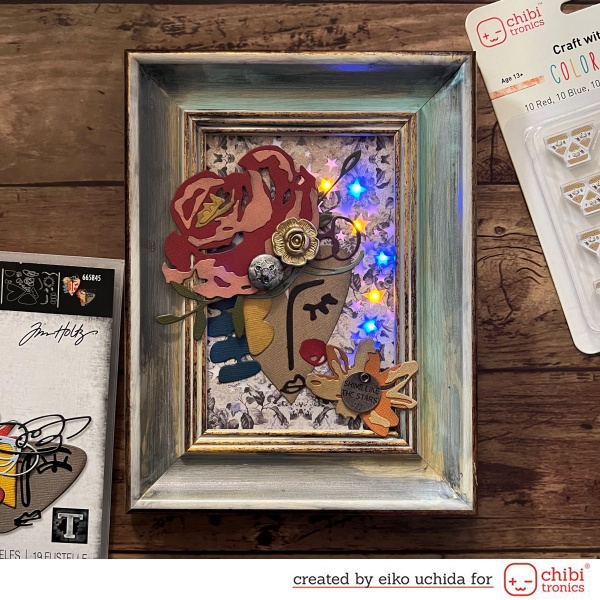
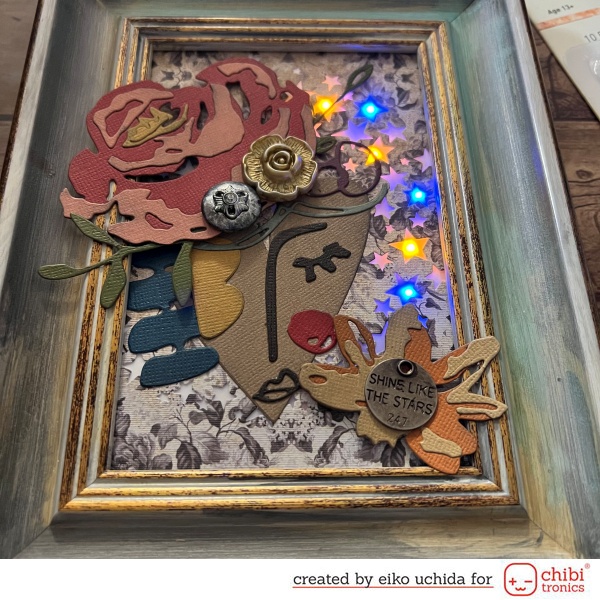
This photo frame has an envelope battery holder, so you can easily replace the battery. The light turns on when you switch it on.
I will make the parts referring to the picture below.
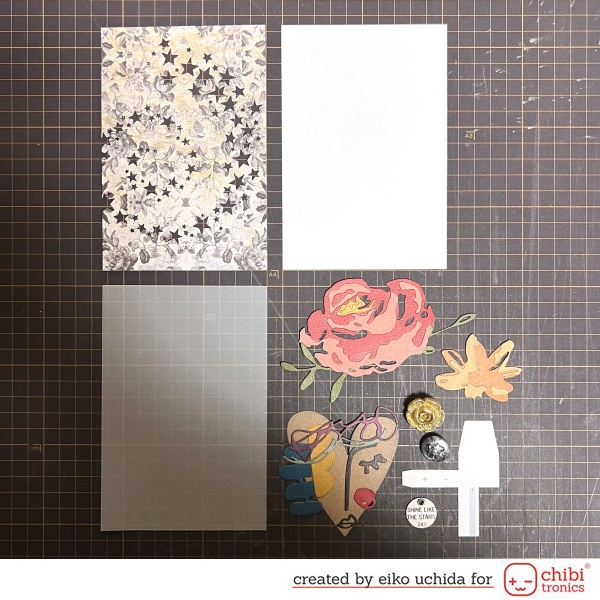
- Die cut 4 x 6 inches worn wallpaper using swirling stars die
- 4 x 6 inches white cardstock for circuit card base
- 4 x 6 inches vellum
- Die cut kraft stock classic using brushstroke flowers #4 dies and abstract faces dies
- Color the die cut parts using black soot distress ink
- Color the thought token and accoutrements using alcohol inks
- Cut the white cardstock into the shape of an envelope battery holder (template is here)
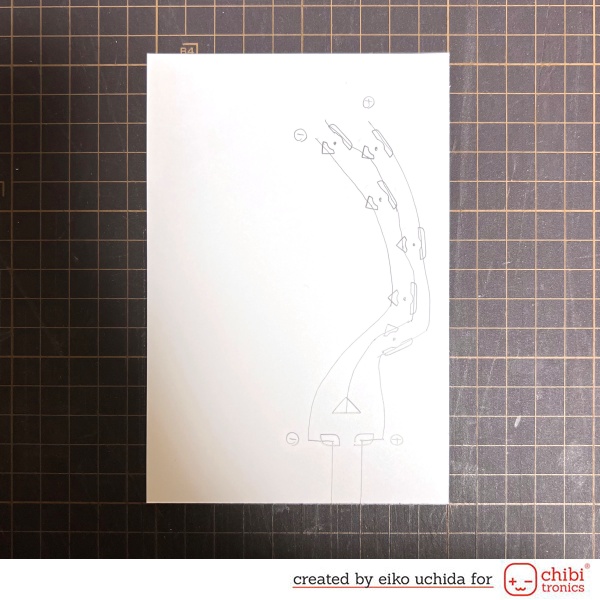
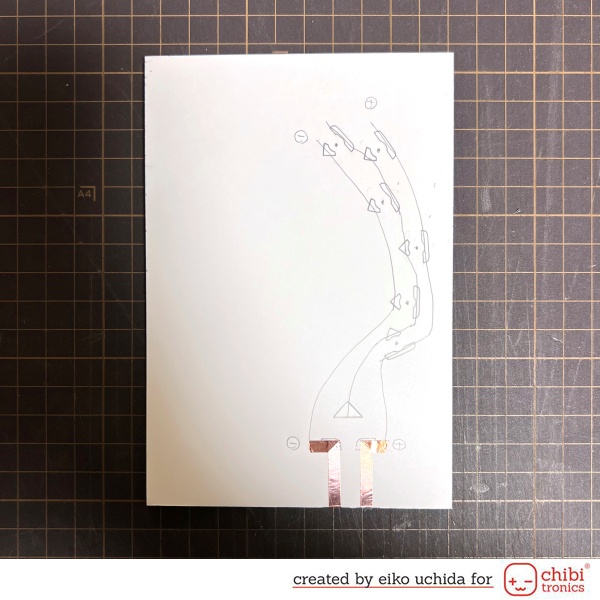
- Put the cover panel on card base and mark the lights with a pencil.
- Mark the position of the Chibitronics and effect sticker.
- Draw the circuit with a pencil.

Make an envelope battery holder by referring to here.
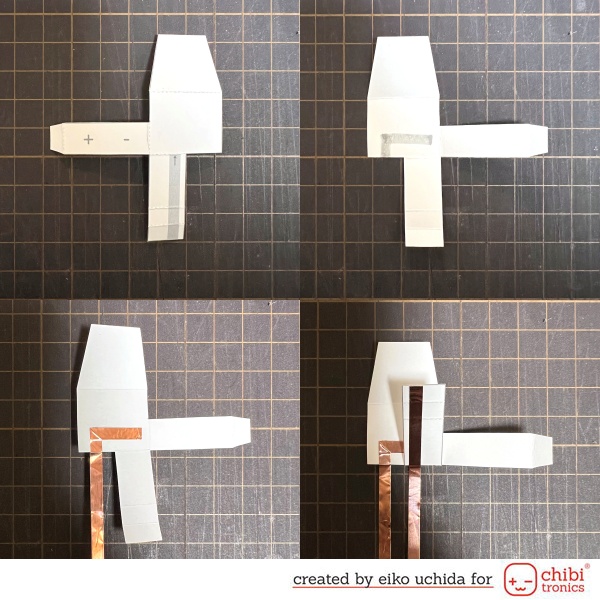
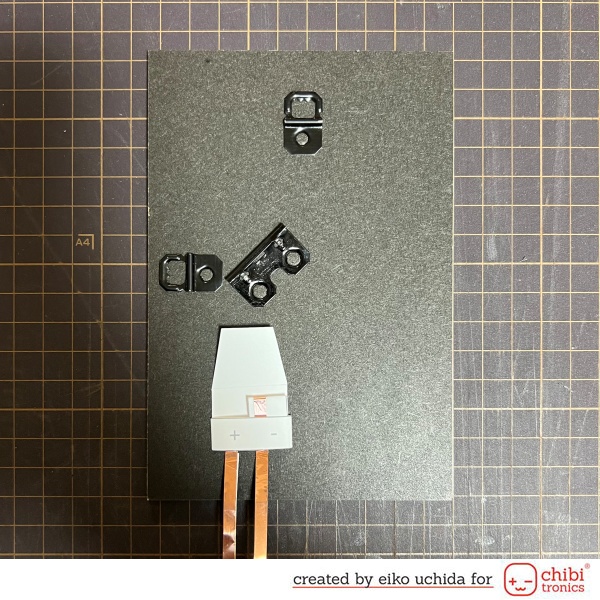
Stick the battery holder on the back of the back panel.
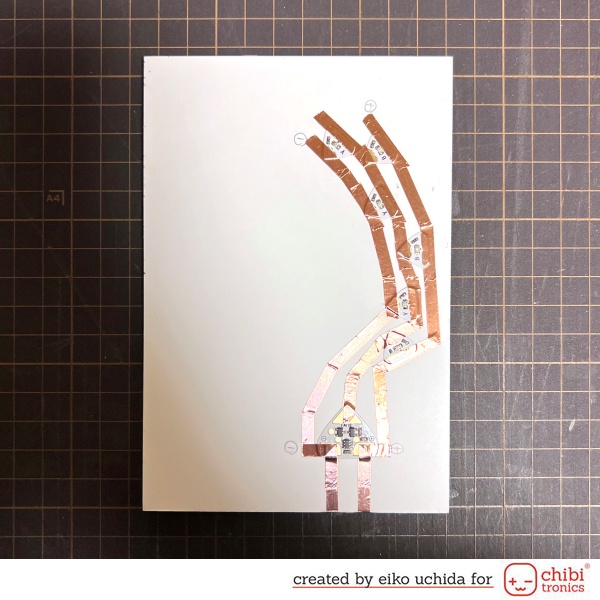
Stick the copper tape attached to the switch holder to the front side.
- Stick the coper tape on the pre-drawn path.
- Attach the yellow and blue LEDs and effect sticker to the copper tape, over the outline.
- Stick short copper tape on the edges of the LED to reinforce.
Assembles the panel.
- Replace the cover panel and circuit card base to the photo frame.
- Put the die cut parts and decoration parts on the cover panel.
I finished it!
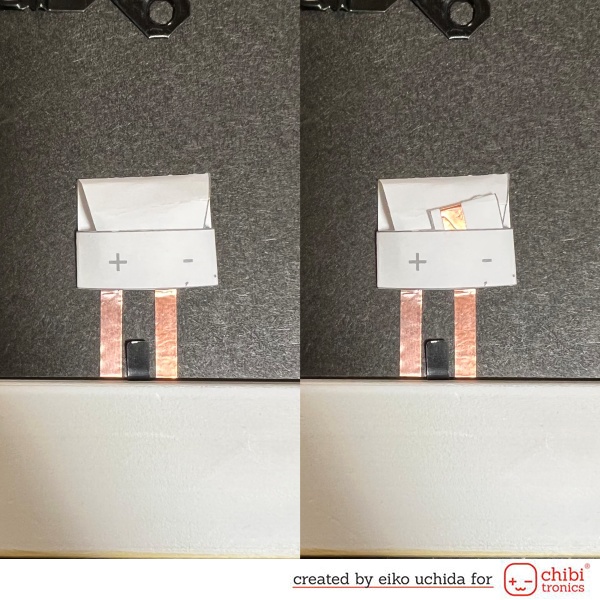
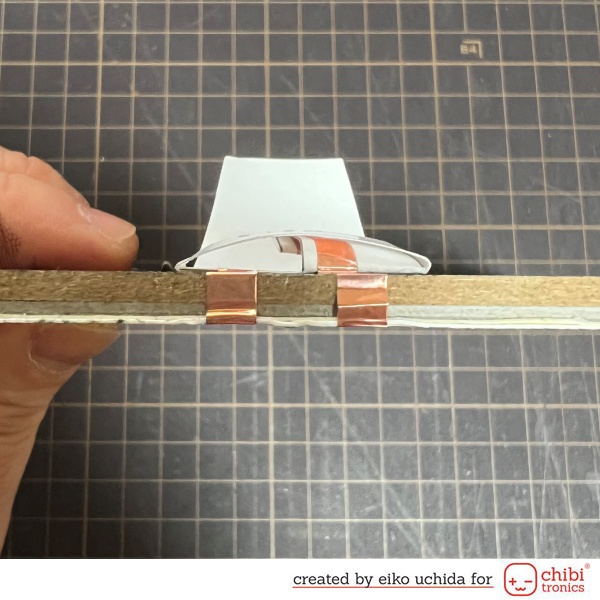
To turn the battery holder on, tuck the top flat between the outside band and the negative lead as shown in the photo on the left. To turn the battery holder off, tuck the top flat between the negative lead and the battery as shown in the photo on the right.
In this way, you can also shine your favorite photos and pictures in your photo frame. Have a try!
Thank you for stopping by!
Eiko Uchida
~Supplies List~
- Chibitronics Red, Yellow, Blue MegaPack
- Chibitronics circuit stickers effects add-on
- Copper tape
- 3V coin cell battery (CR2032)
- Tim Holtz Abstract Faces dies
- Tim Holtz Brushstroke Flowers #4 dies
- Tim Holtz Swirling Stars dies
- Distress ink black soot
- Tim Holtz kraft stock classic
- Tim Holtz idea-ology worn wallpaper Halloween
- Tim Holtz thought tokens
- Tim Holtz accoutrements
- Neenah classic crest 80lb smooth solar white paper
- Lawn Fawn vellum
- Your favorite photo frame