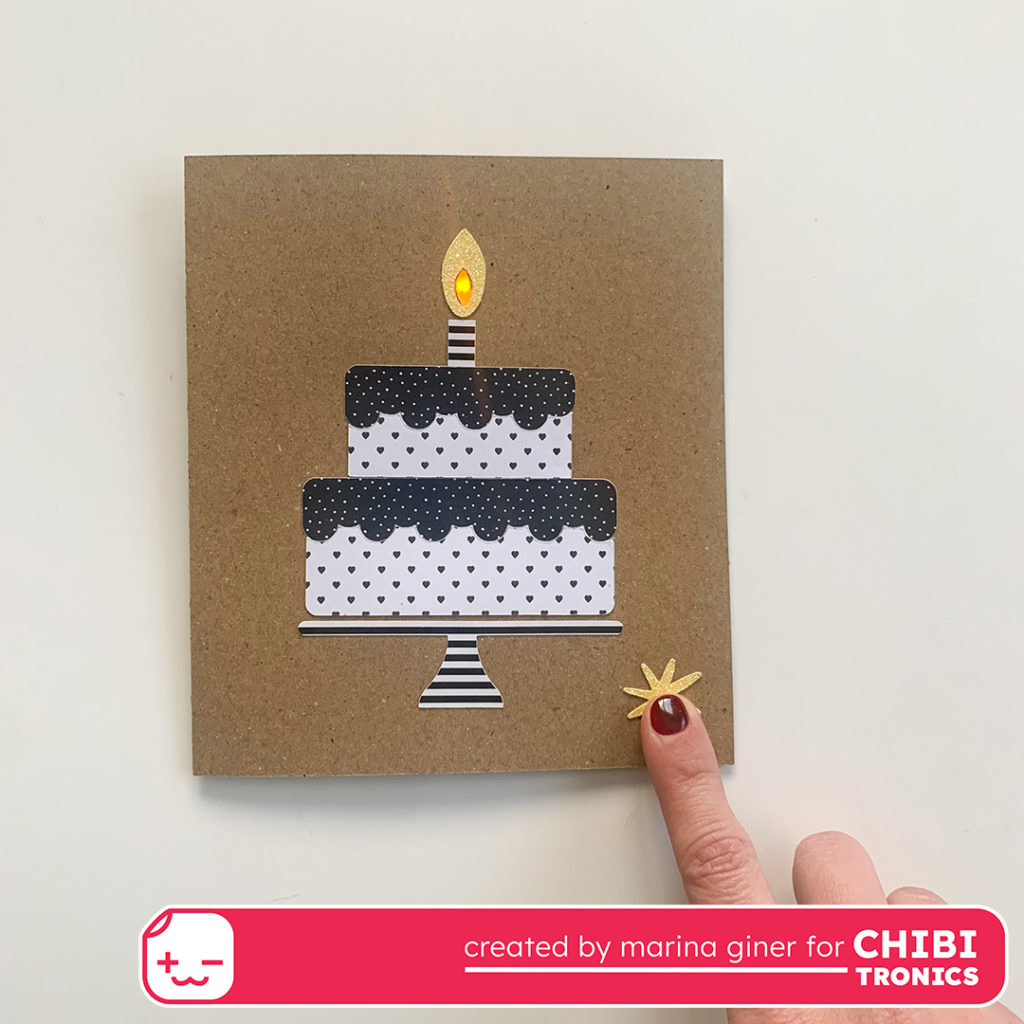
Hi everyone! This is Marina from @theimaginery and I am so happy to share with you all my very first project created with Chibitronics LED Stickers. Simple but cute, isn’t it?
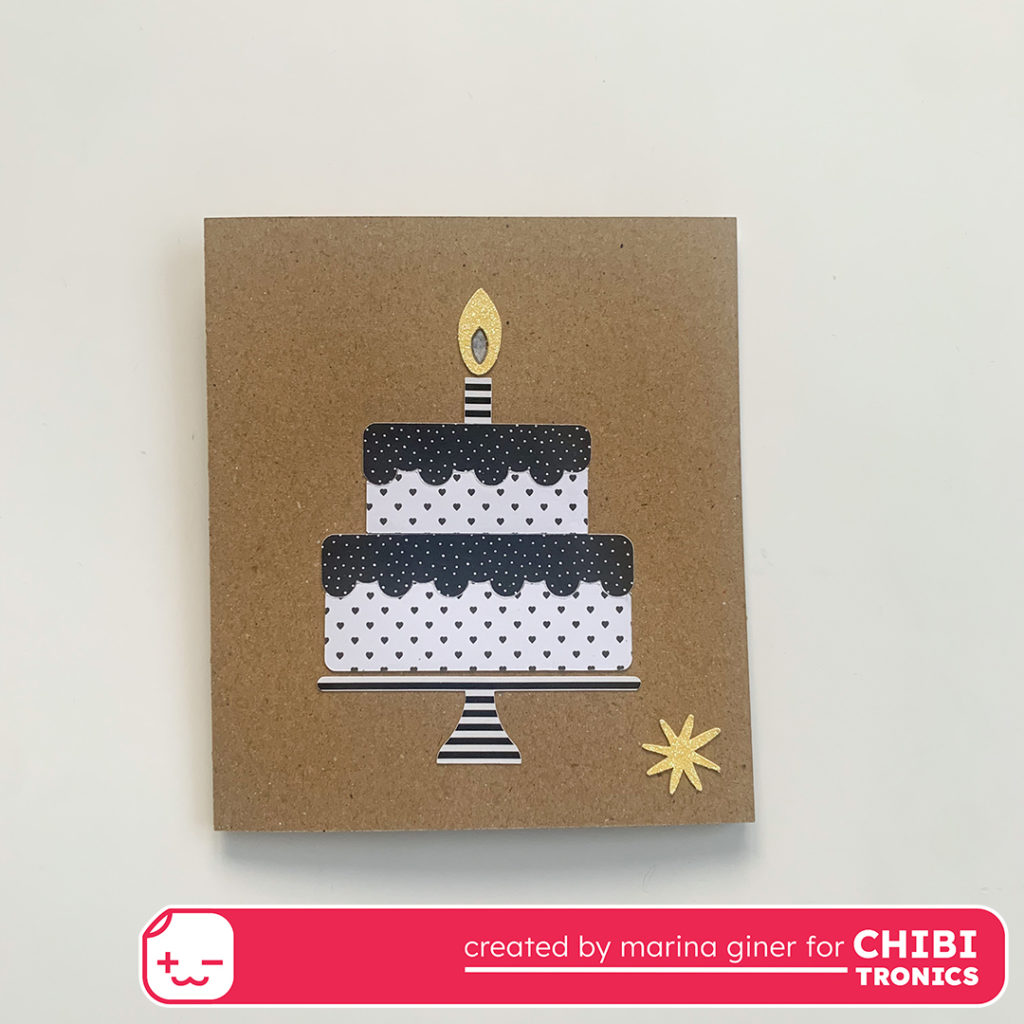
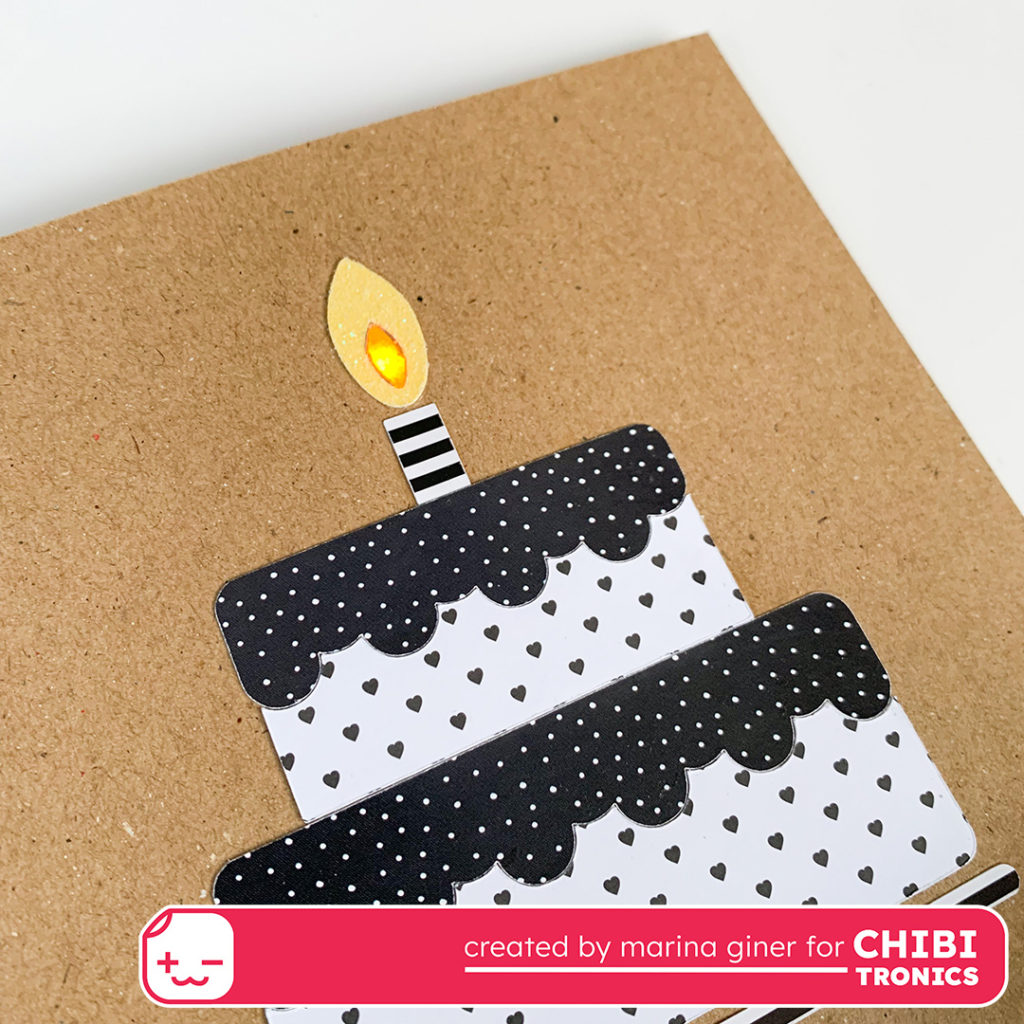
The match of birthday and Chibitronics that came first to my mind was a cake with a candle that was lit by pressing a button. As I wanted to create it all with my Cricut Maker3 I went into Cricut Design Space and I designed my card from scratch.
I used kraft and black and white cardstock as I wanted it to be minimalist but I added the touch of yellow glitter cardstock to give some emphasis to the led light.
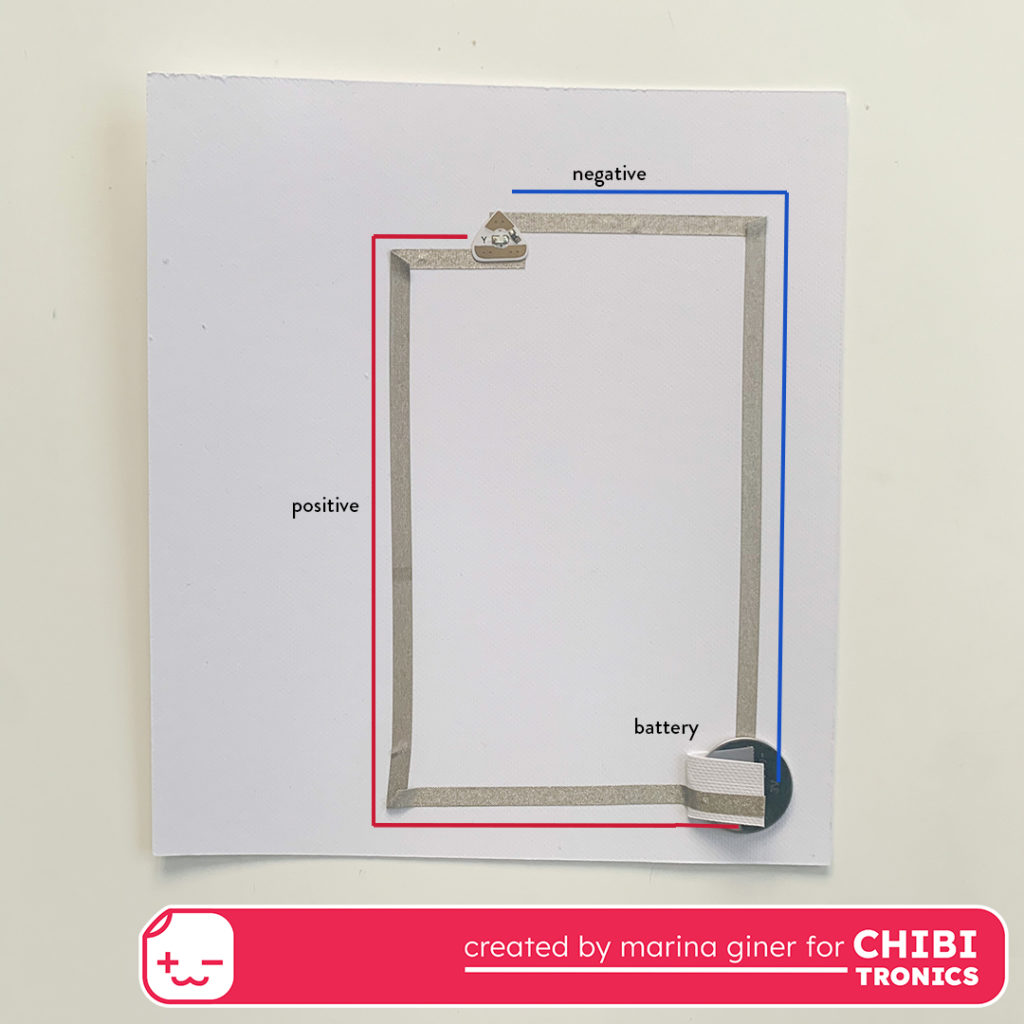
The circuit is simple and i created it with a Yellow LED Sticker Light and a battery holder. You can see it in the photo below and you can follow the step by step instructions in the video tutorial.
Now that I’ve started creating circuits, I hope it is the first of many!
You can check out the video below to see the “how to”. I hope it inspires you and you enjoy it as well as I enjoyed the process!
SUPPLIES:
- Craft with Light Kit – Color
- Nuvo Adhesive
- Cricut Maker3
- Cricut Glitter Cardstock
- B/W variety and Kraft cardstock