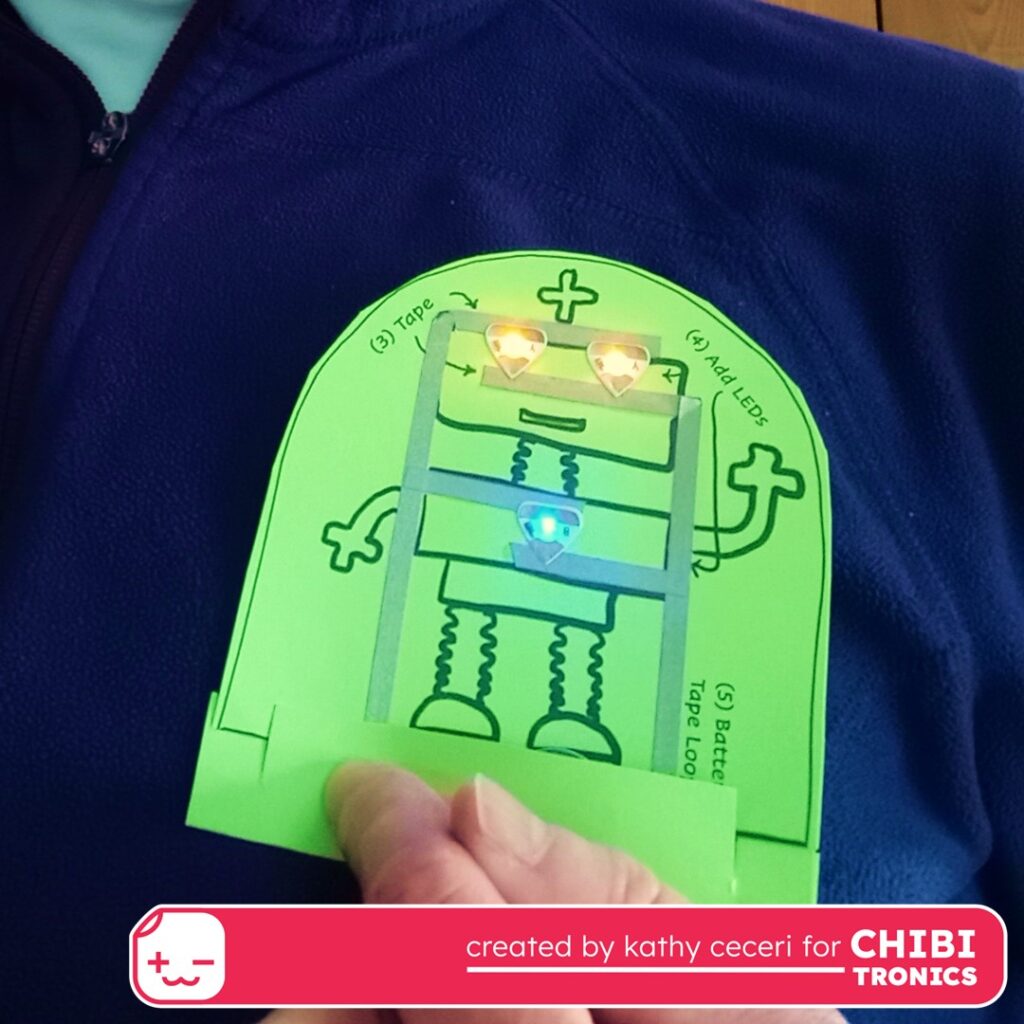
Hi! It’s Kathy with a simple wearable project for kids. For an upcoming Maker Faire celebrating arts and science, I created a light-up badge that shows off its paper circuit. When you fold up the bottom and tuck in the tabs, you form a pouch to hold the coin battery in place and a push button to flick the LEDs on. Click on the printable template below to make the cute robot version, or use the plain circuit to design your own. If you want to make these with a group, you can fit four badges on a letter-sized sheet of paper.
As you can see, to make things extra-easy for festival visitors, I printed the instructions right on the template. Here’s what to do:
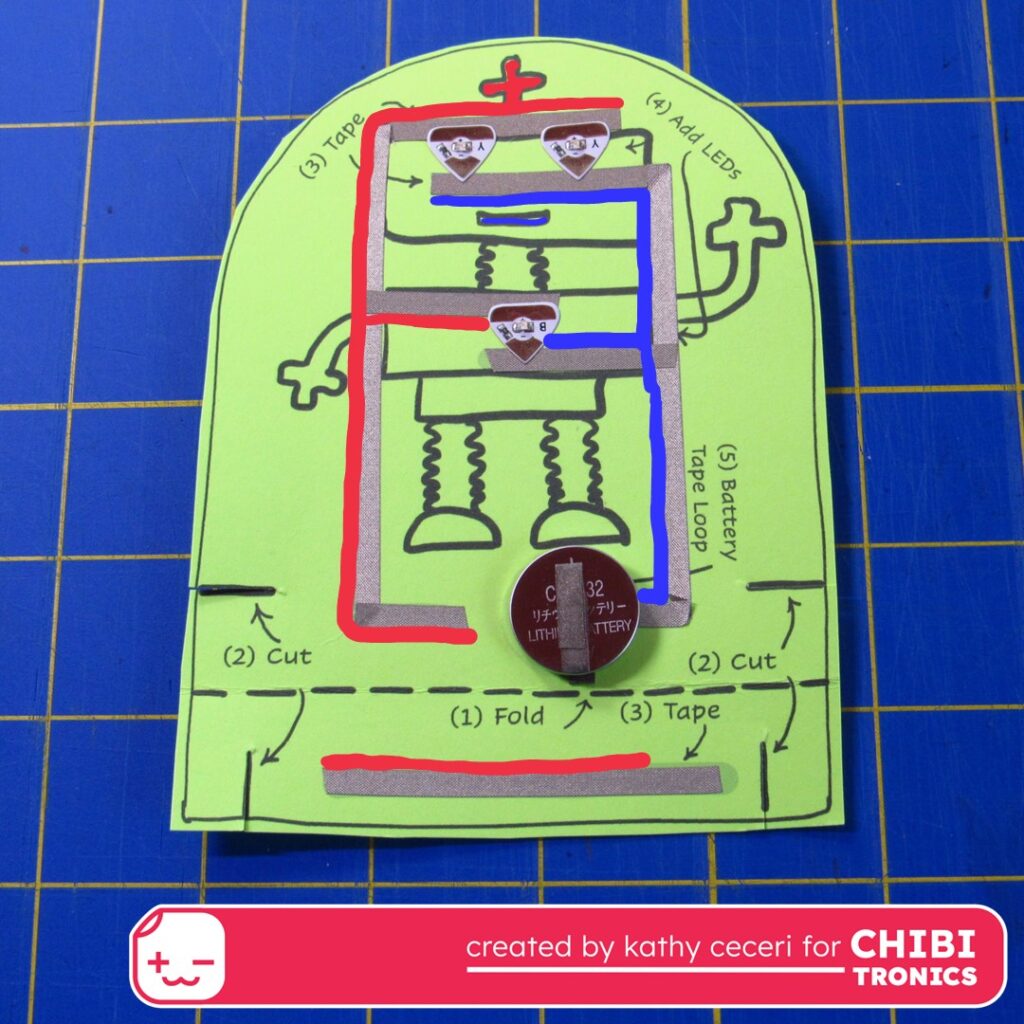
Cut out the template and fold up the bottom along the dotted line. Unfold, then cut where marked to make the tabs and the slots they will go in.
Apply a strip of conductive fabric tape along the bottom. Then add more tape along the positive and negative traces on the robot. Make sure the positive and negative tapes do not touch!
For the eyes, attach two Chibitronics LED stickers to the tape lines where shown. I used yellow. Attach another LED sticker between the tape lines on the robot’s belly — I used blue.
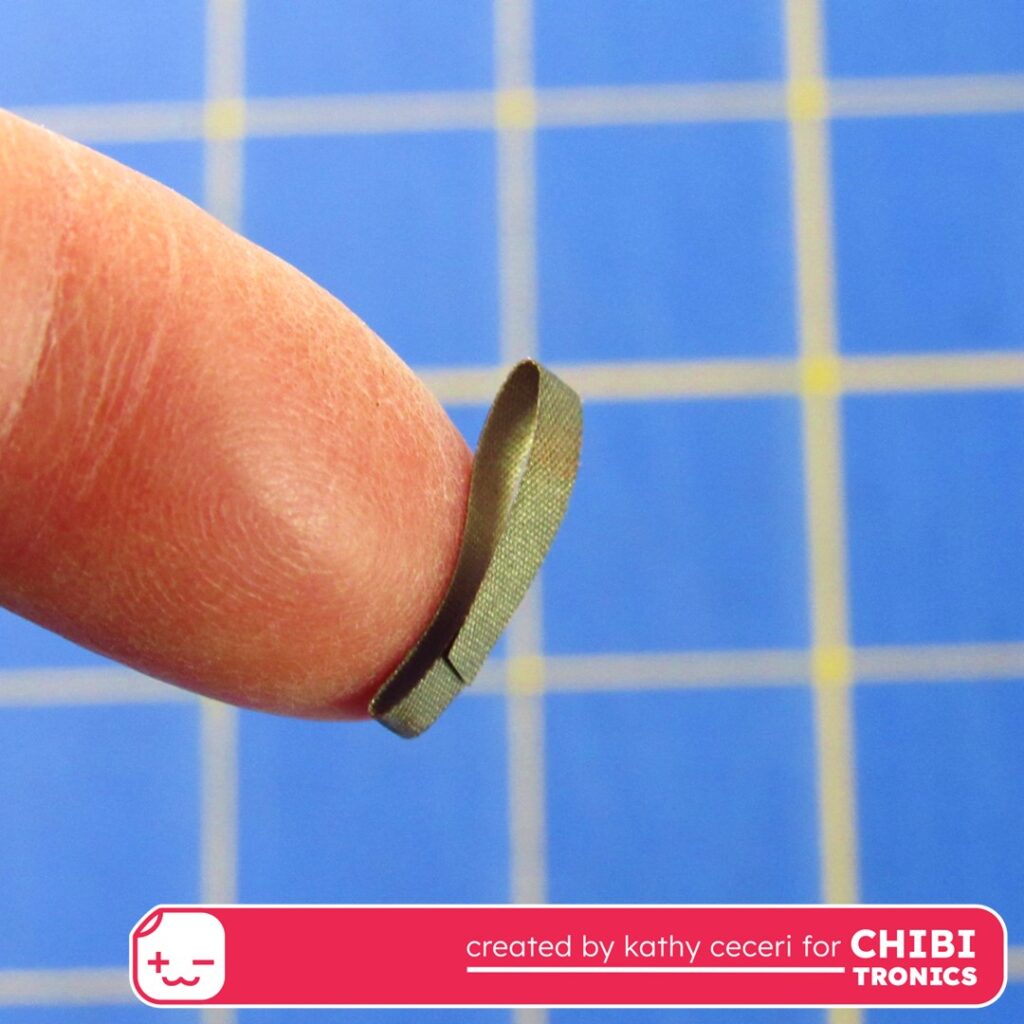
To hold the battery in place, make a loop of tape, sticky side out. Attach it over the place for the battery. Press the battery on the tape, positive (+) side up. Make another loop of tape and attach to the top of the battery.
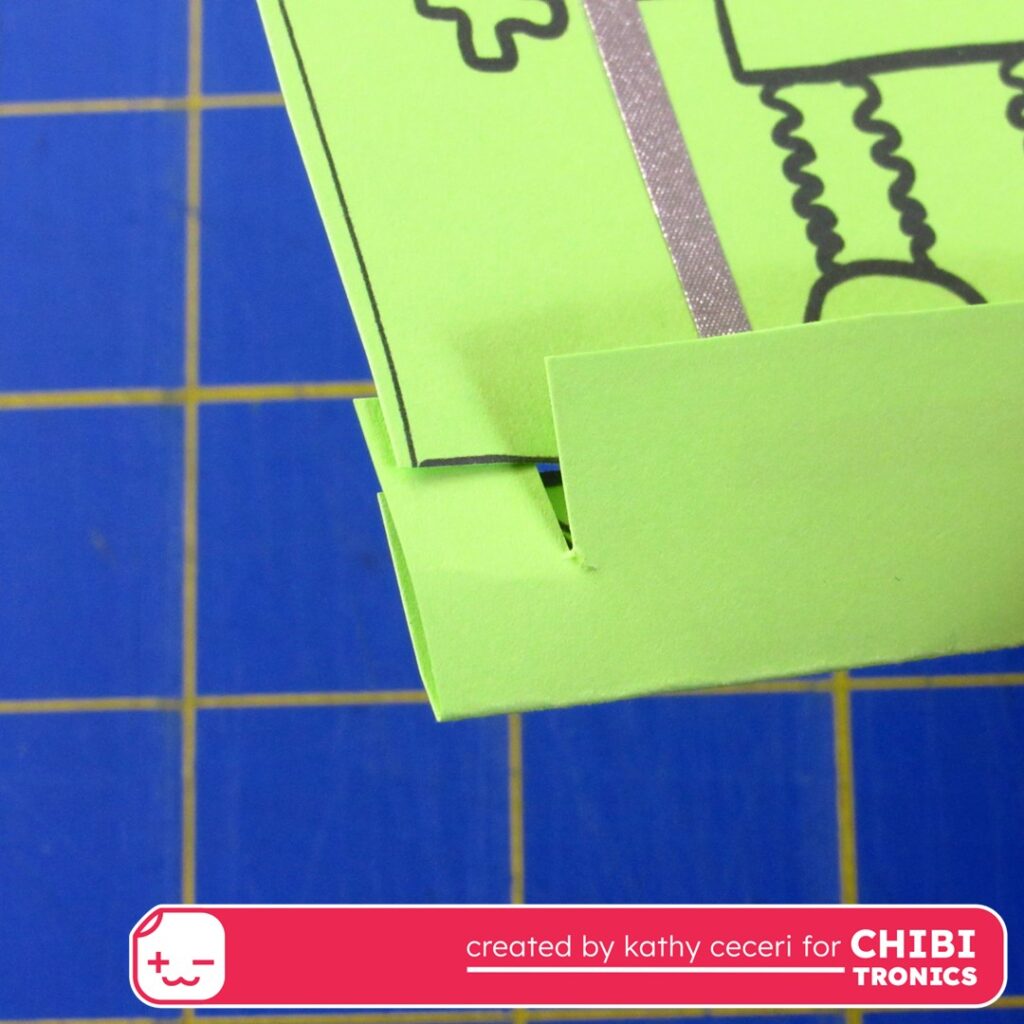
Now you can fold the bottom flap up. Insert the tabs at the ends of the flap into the slots on either side of the robot to hold the flap shut.
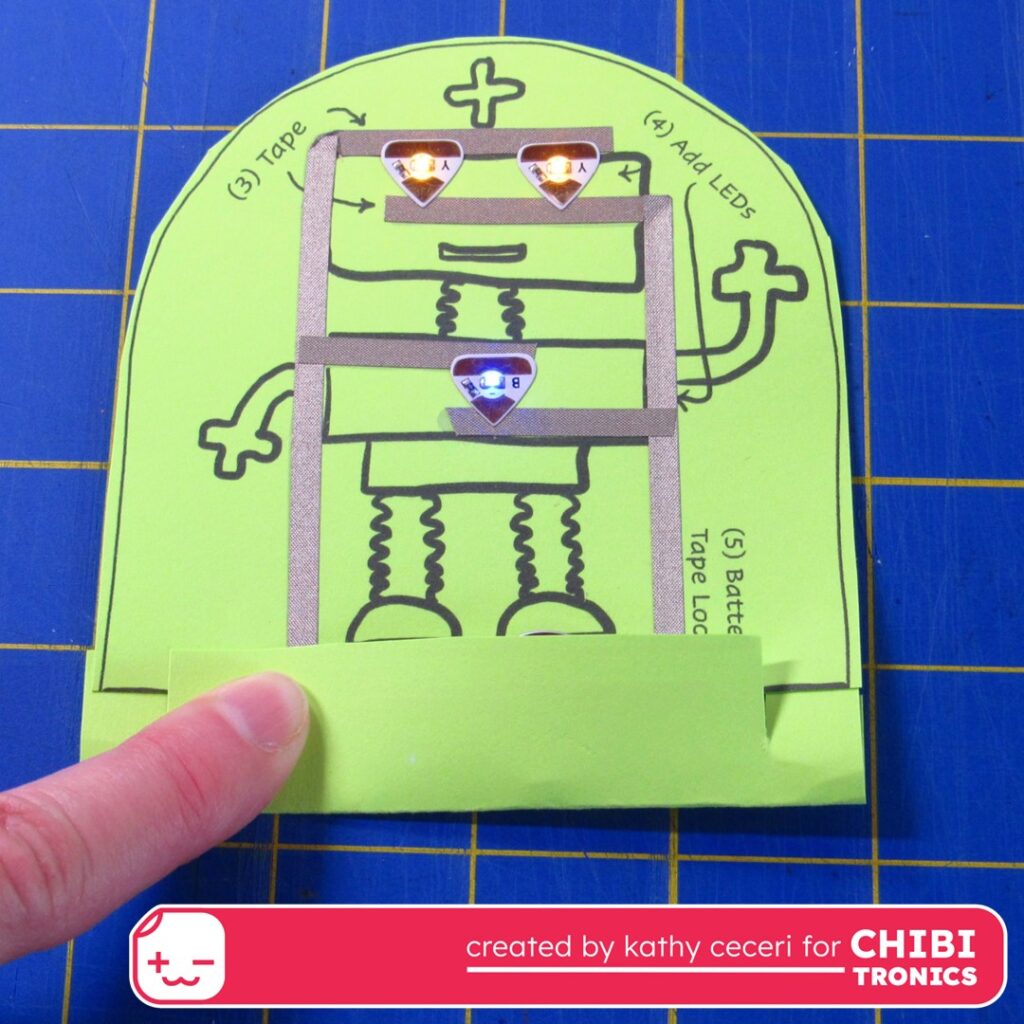
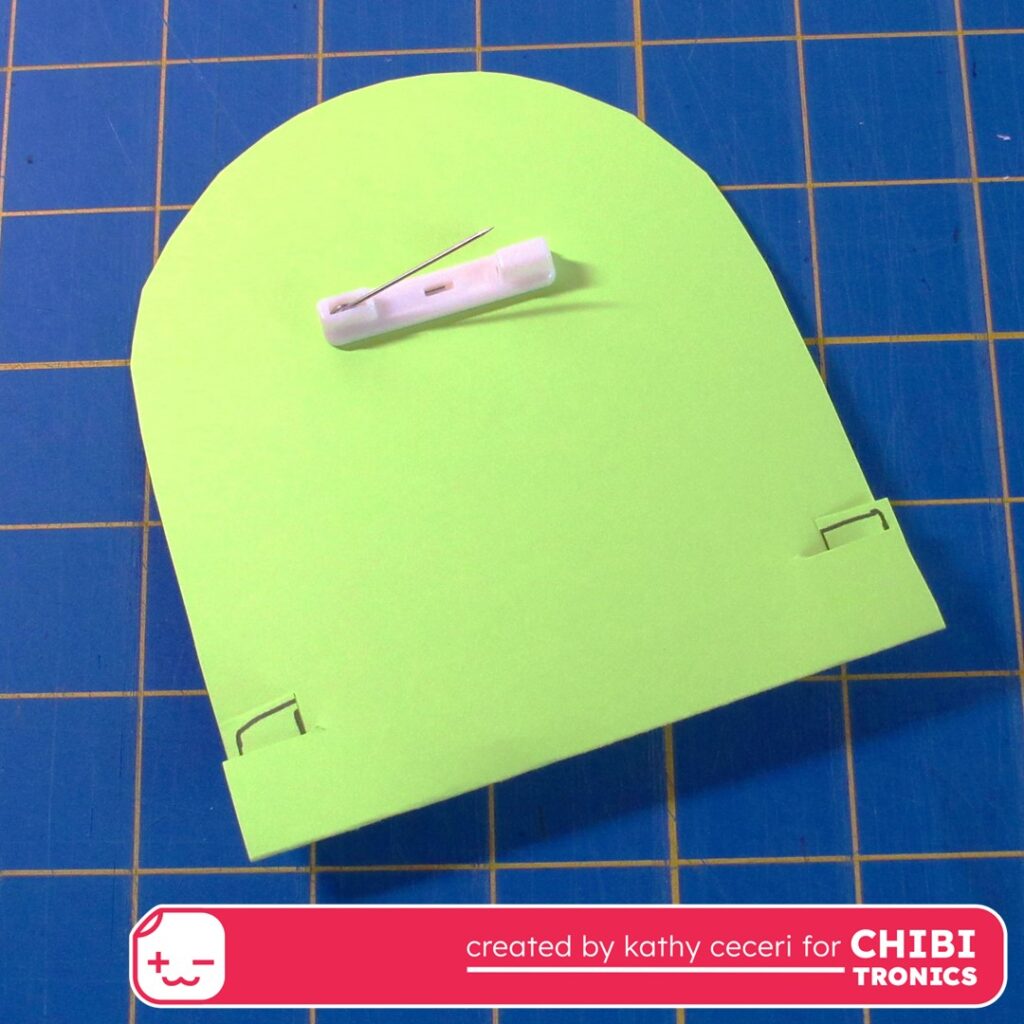
To turn on the robot, press the flap against the positive trace to close the circuit. To wear the robot as a badge, attach a loop of masking tape to the back. For something more permanent, use a peel-and-stick jewelry bar pin. Have fun with this cool beginning project!
Supplies
- 3 Pack Conductive Fabric Tape
- Circuit Sticker Color Lights MegaPack (30 LED Stickers) Red, Yellow, Blue
- Safety Bar Pins with Adhesive Sticky Back & Metal Locking Clasp
