Happy Monday! I’m Allison Cope and today I’m sharing my latest light up card featuring products from Chibitronics. Make sure to check out the step-by-step video on our YouTube channel too!
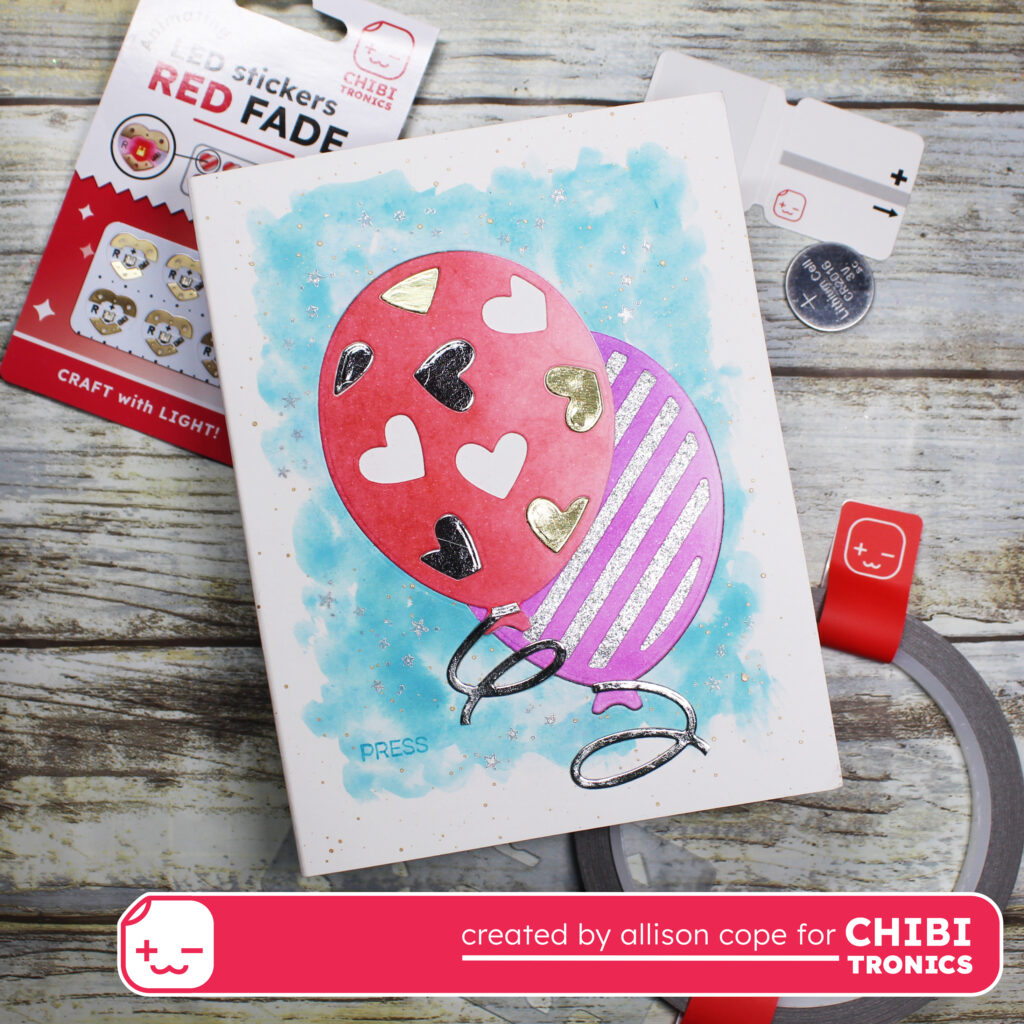
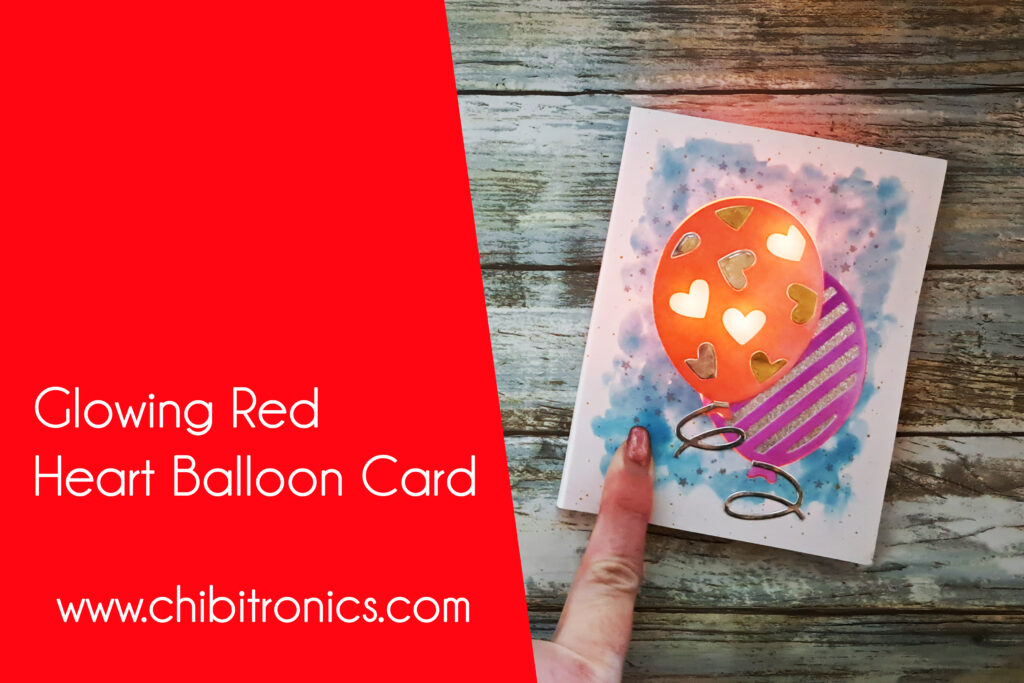
Today we’re going we are going to light up a birthday balloon card with our fun Animating Red Fade LED Light Stickers.
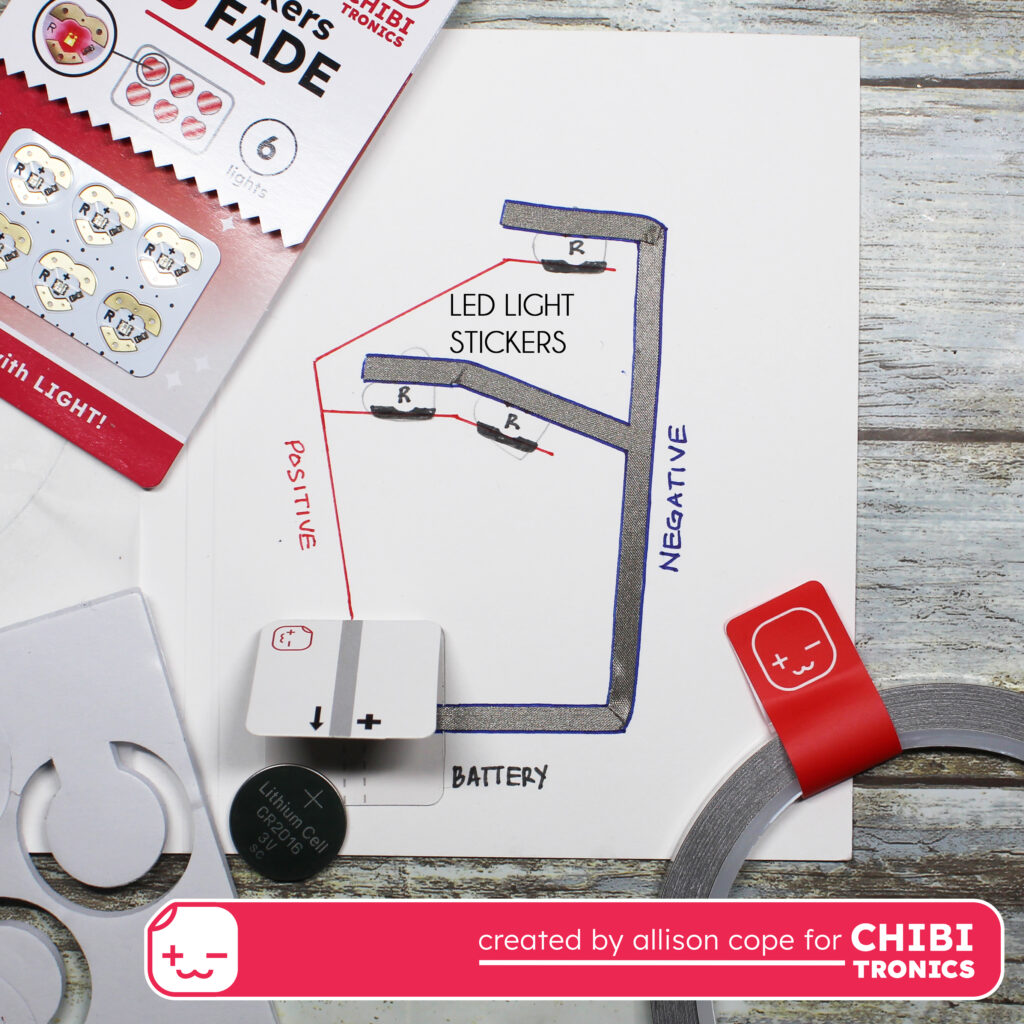
I began making today’s card by die cutting out 2 balloon shapes from the card front, inking them up and backing them with fun cardstock and adhering them back into there designated spaces. I transferred the location of the 3 heart shapes I want to light up using another balloon die cut to the inside of my circuit panel. This will help me with the location of each LED sticker.
I traced the paper Battery Holder and located it in the bottom left hand corner of the card. From there I drew the negative side of the circuit using a blue pen. The blue line crosses over all 3 of the negative sides of the light stickers.
Next I drew a red line to indicate the positive side of the circuit. This side of the circuit will start on the inside of the paper battery holder or switch.
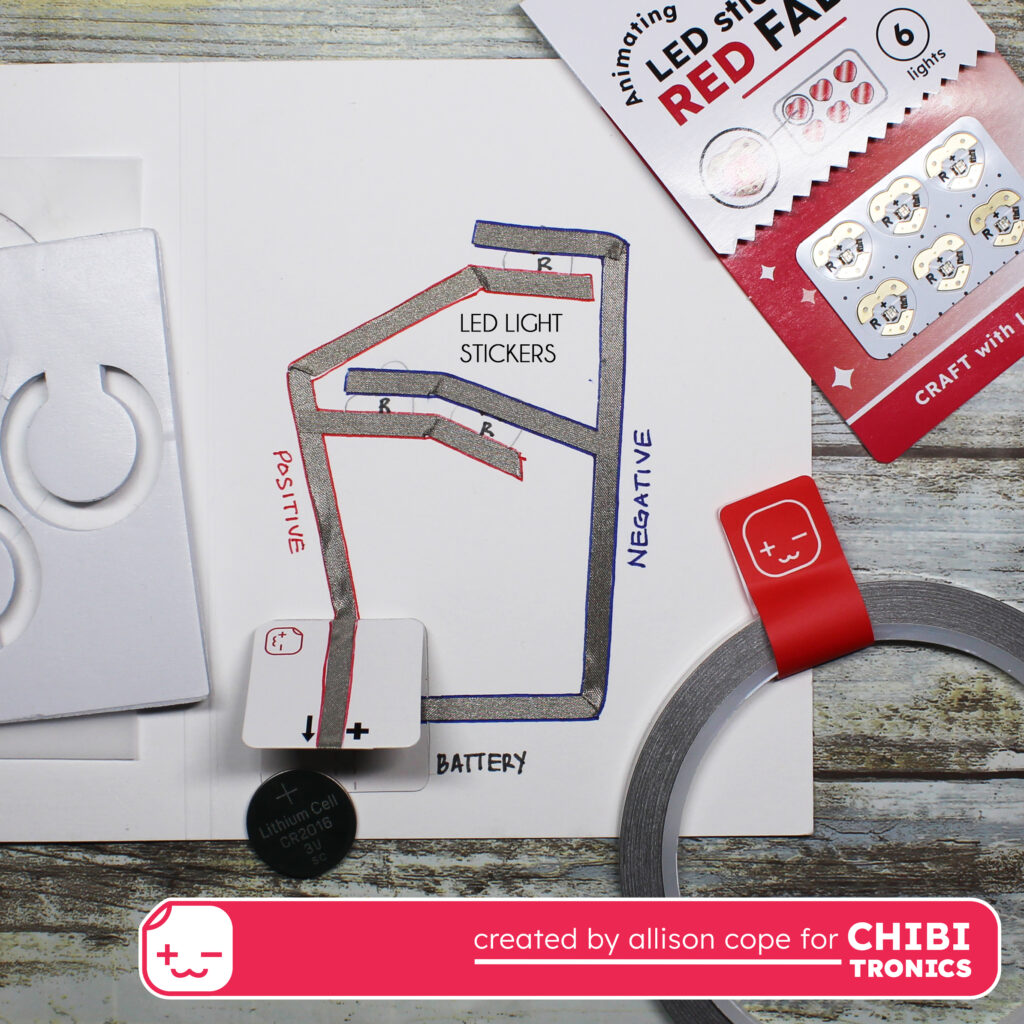
Next I applied my self-adhesive Battery Holder to the circuit surface. I began to apply the Conductive Fabric Tape to the negative side of the circuit, beginning inside the Battery Holder.
Next I applied all of the Conductive Fabric Tape to the positive side of the circuit. I began my tape inside the Battery Holder lid. This will allow the tape to make contact with the battery when the lid is pressed down.
I stuck down all 3 of my Animating Red Fade LED Light Stickers on to my circuit ensuring that all of the negative points of my hearts touched the negative side of the circuit and all the positive tops of the hearts touched the positive side of the circuit.
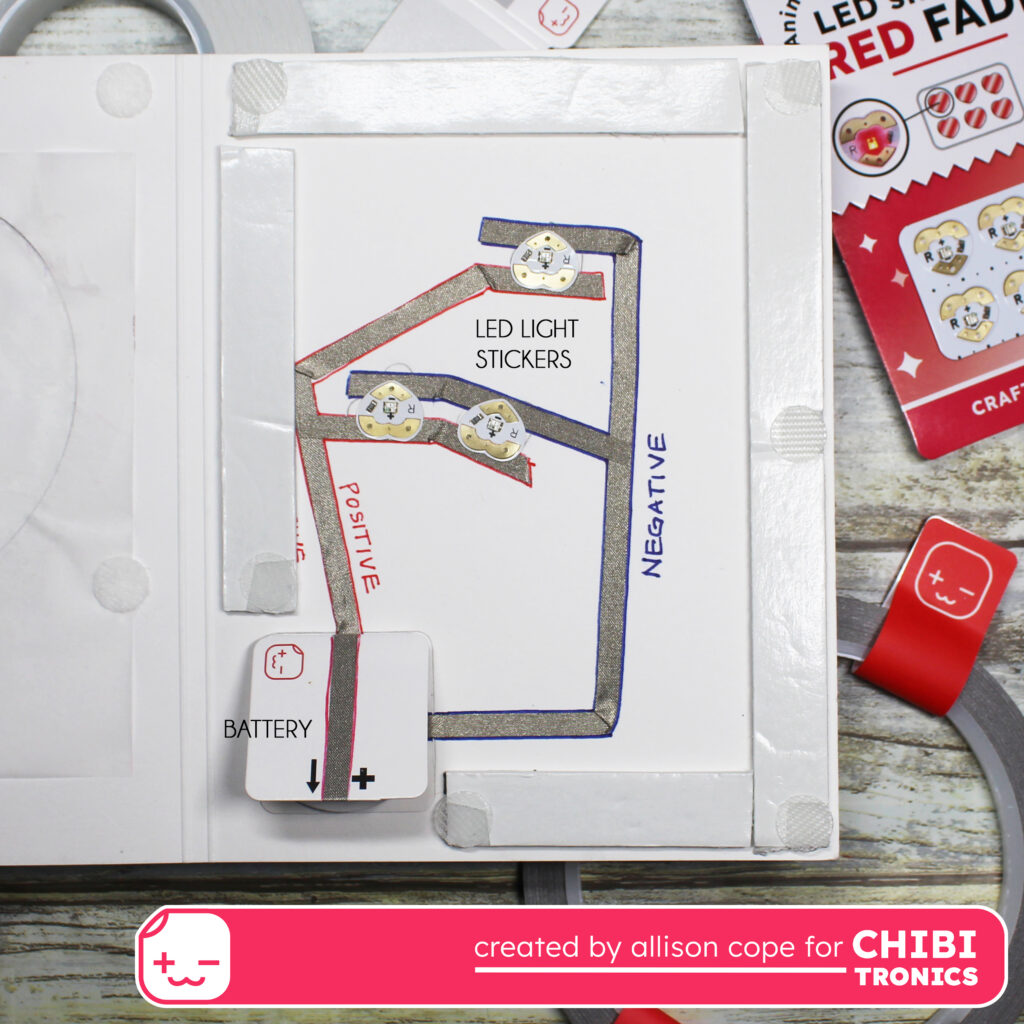
To finish off the inside, I adhered down the C-shaped foam adhesive inside the Battery Holder, added a battery in the center and closed up the battery holder. Don’t forget to test your creation before adhering this closed!
Then I added Foam Tape around the edges of the card, peeled off the backer paper and closed up my card.
Let’s see the finished card all lit up…
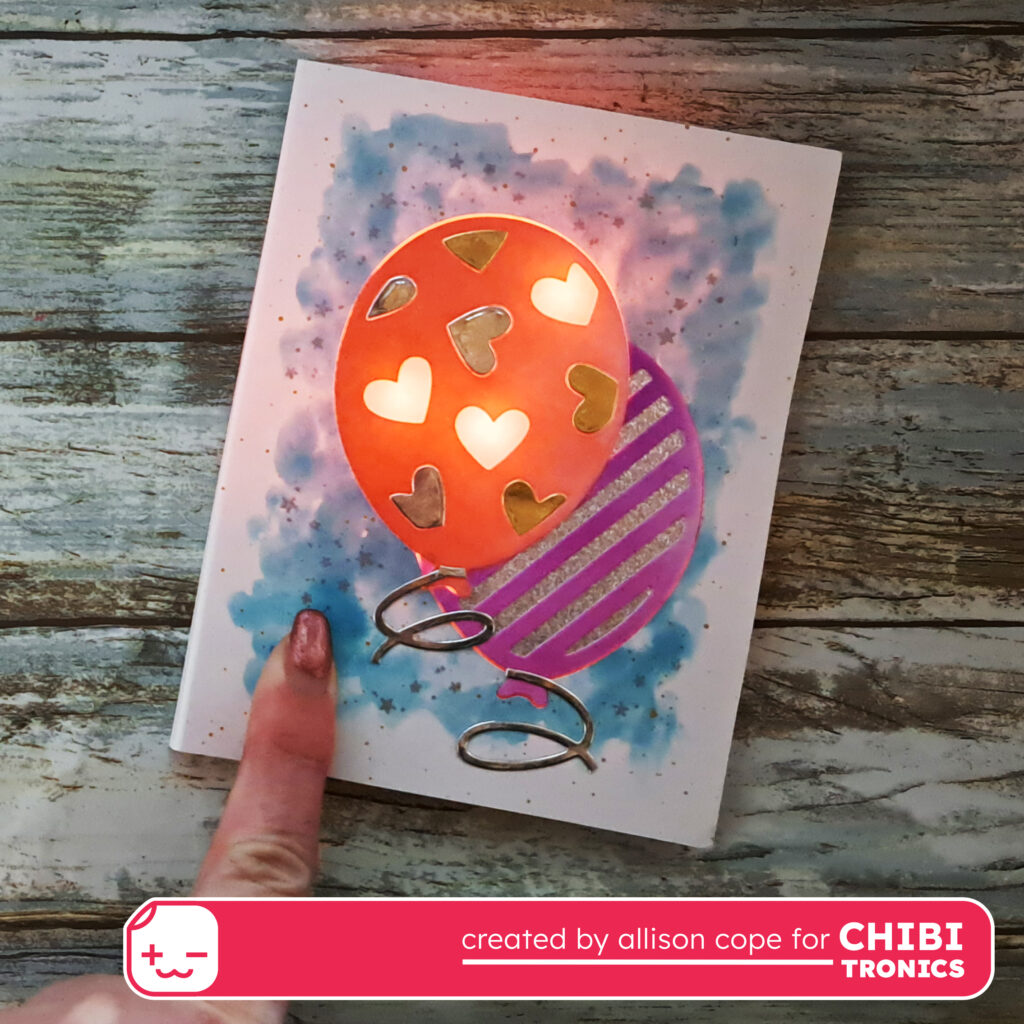
Super cute balloons!
Make sure to check out the step-by-step video over on our YouTube channel on all the card making details and the making of the circuit. You also get to see the card go through all of it’s fading red heart lights too! CLICK HERE for the video.
Hope you enjoyed today’s tutorial! See you again soon!