Today we are featuring a special post by guest blogger, Taryn, who is known in the craft world as Krafti Karma! Taryn has come up with a clever way to create a light-up scene inside of a mason jar, using a crafty switch!

Hi! I’m Taryn, and I live in Northern California with my family and my adorable Samoyed, Tsuki. I’m a freshman in high school, and I LOVE to craft! Crafting has always been one of my passions, and I’ve been doing it for as long as I can remember. A few years ago, I started a small business to sell my crafts and raise money for causes and organizations that are important to me. I’ve now grown it into Krafti Karma, and I have Etsy shop where I hope to continue raising money and giving back to the community. Crafting brings me so much joy, and I’m so excited to share that joy with you through my projects and tutorials! I hope you enjoy!
How to Make a Mason Jar Fairy House
Hi everyone! This is Taryn with Krafti Karma.
Today I wanted to show you how to make these light up mason jar crafts. They’re a great craft for both kids and adults, and the possibilities are endless! This project features Chibitronics Pressure Sensitive Conductive Plastic, to create a really neat on/off dimming effect. Hope you enjoy!
View Video Tutorial
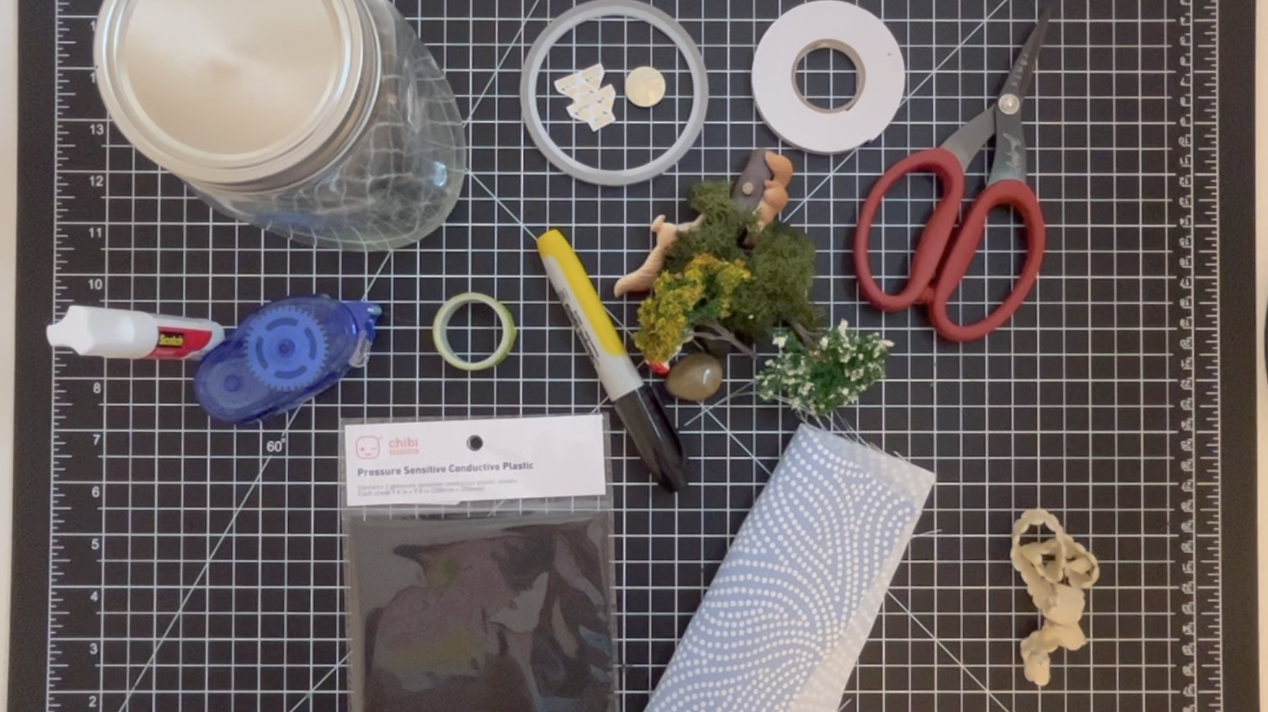
1. Gather Materials
To start out, you’ll need a mason jar, Conductive Fabric Tape or Copper Tape, Chibitronics LED stickers, a three volt coin battery, foam tape, scissors, glue, washi or painter’s tape (if you have a metal cap), a Sharpie, and whatever figurines and scenery you want to use on the inside.
Optional materials are Chibitronics Pressure Sensitive Conductive Plastic, a small square of fabric that can comfortably fit over the cap of your jar, and ribbon which I’ll be using.
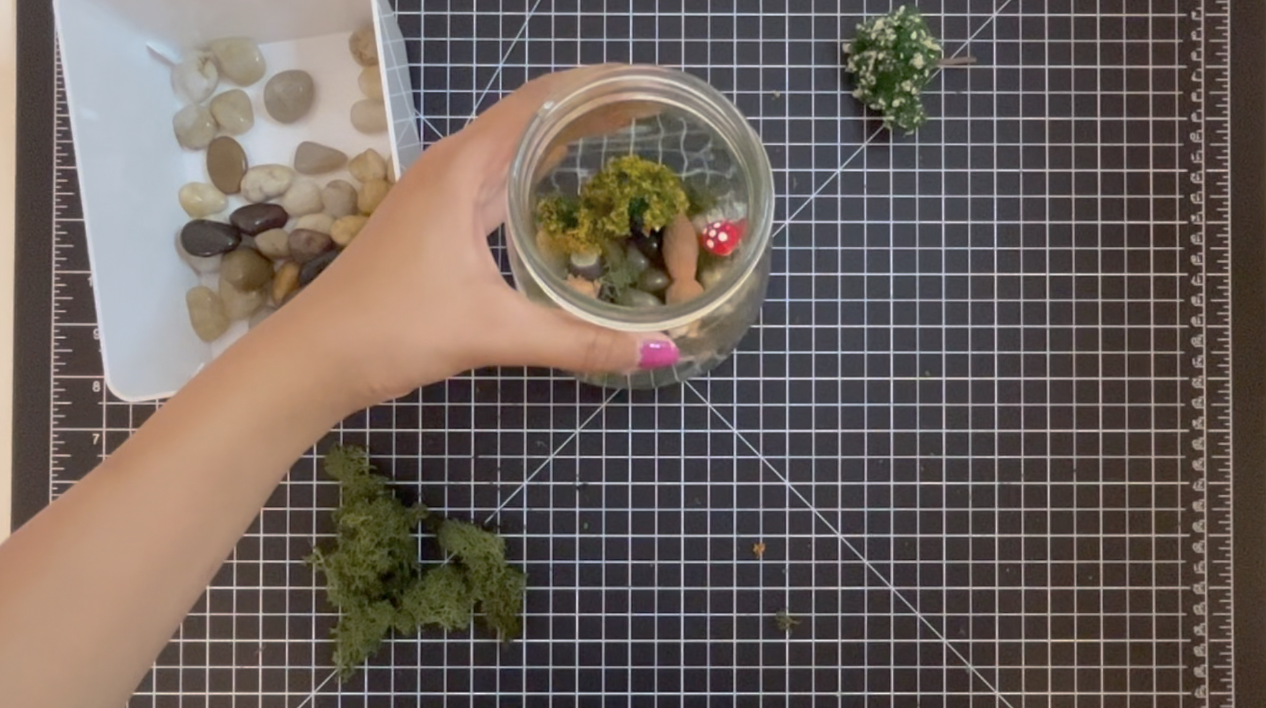
2. Design Scene
The first thing we are going to do is design our scene inside the mason jar. This part is really up to you to design, but I would recommend making a sketch or a rough draft first before putting everything into your final mason jar. Also make sure that everything you want to add fits in the jar. Once you have a good idea of what you want to do, you can start assembling things in place in the mason jar. Feel free to experiment with placement inside the jar and don’t feel like you have to glue everything down right away.
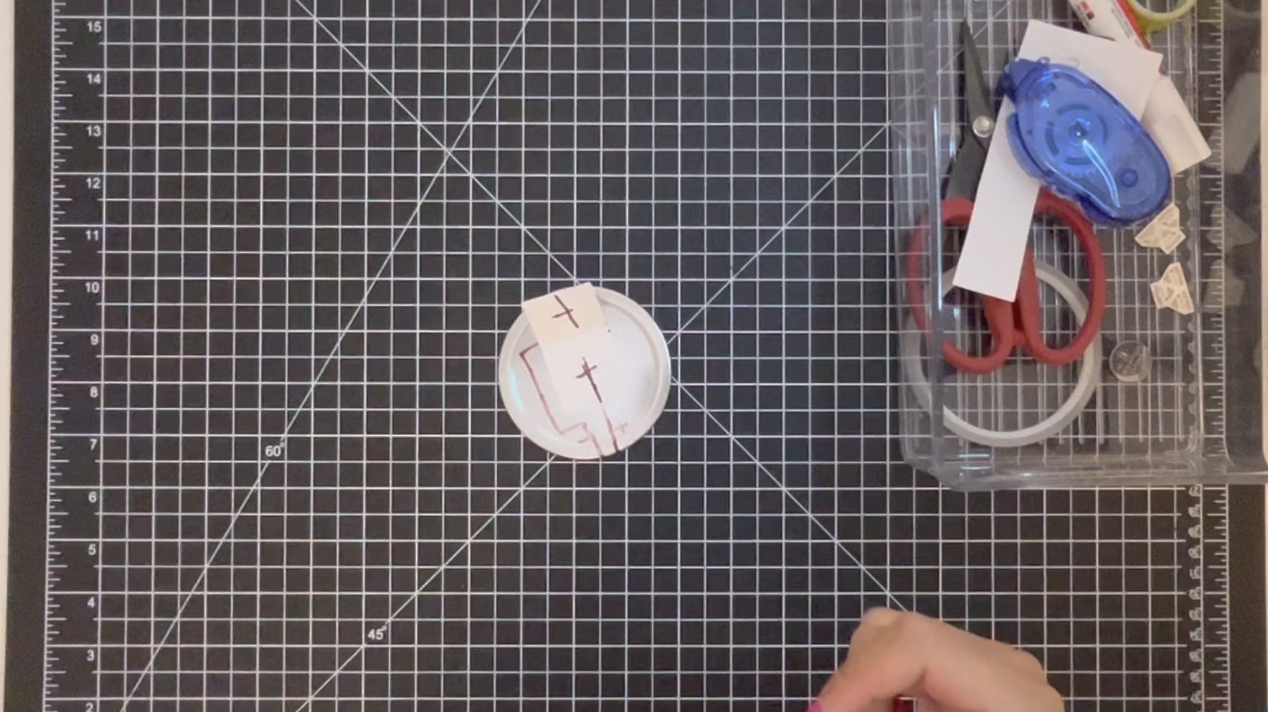
3. Draw Circuit & Make Battery Housing
[To see a detailed demonstration of how to draw your circuit and make the battery housing, please watch the video.]
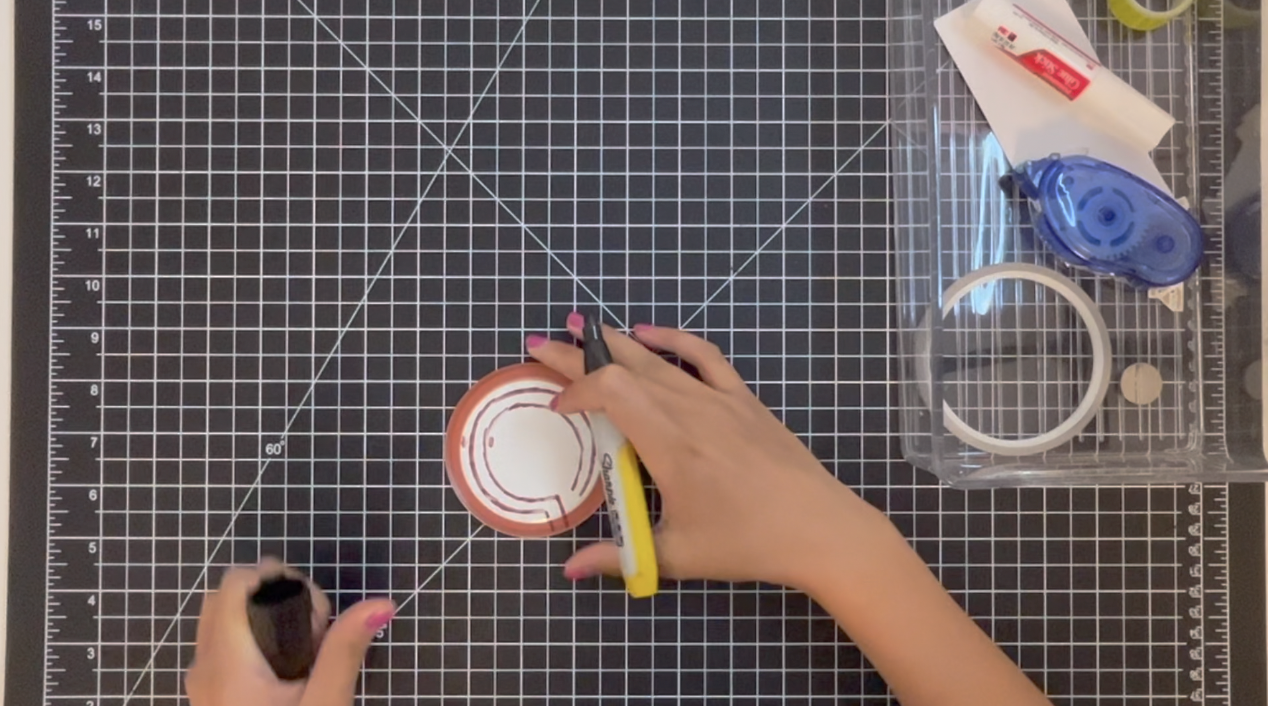
Note: If you have a one-piece cap, this will still work the same way but you’ll just have to wrap everything around the inner rim of your cap and then continue it on the outside of the rim and onto the top of the cap.
4. Add Washi Tape for Underneath the Circuit
Now that we are done drawing out a blueprint for our circuit, we are going to stick down a layer of washi tape where our Conductive Fabric or Copper Tape is going to go, so that the metal cap does not contact the conductive tape and mess with the circuit or short circuit it. You can also use painters tape, but I like to use washi tape because it allows you to still see the path you drew earlier for the copper tape which will come in handy later on.
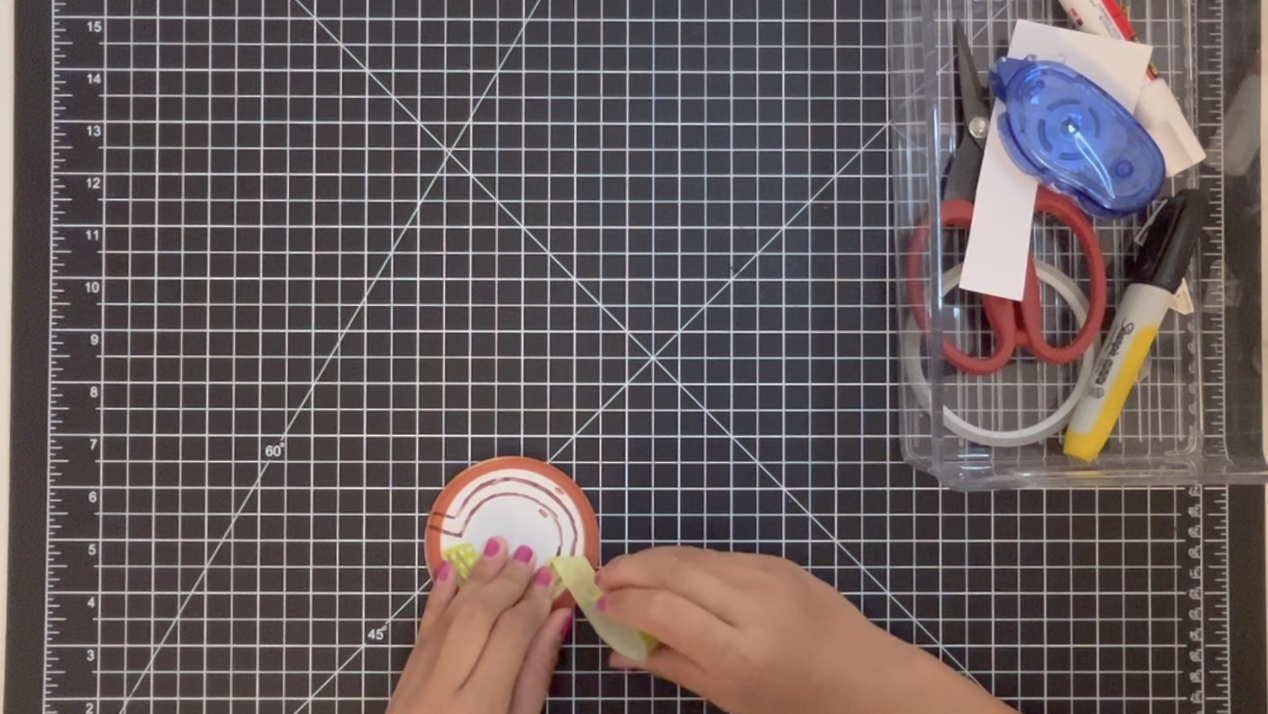
If you have a plastic or non-metal cap, you don’t need to do the washi tape step. It’s a bit difficult to get the tape to follow the circular shape of the cap, but I’m basically folding the tape back on itself, and reguiding it to go in a slightly new direction each time so that it eventually creates a round shape.
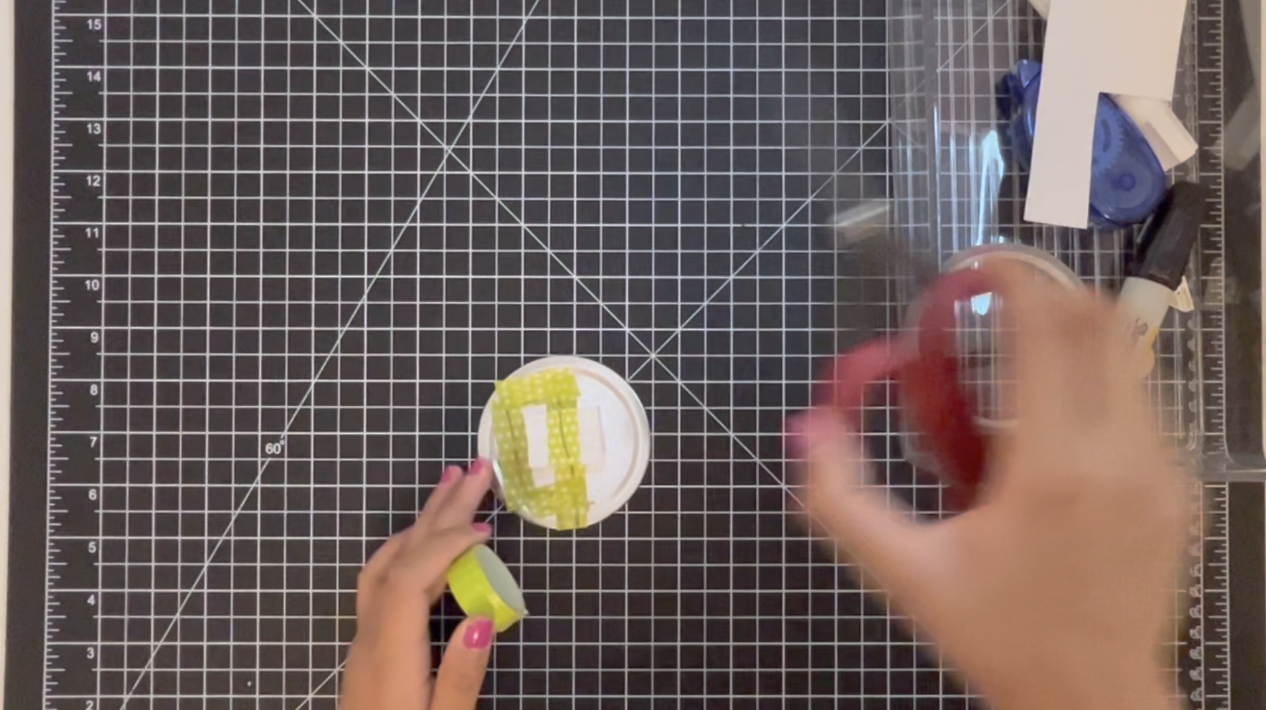
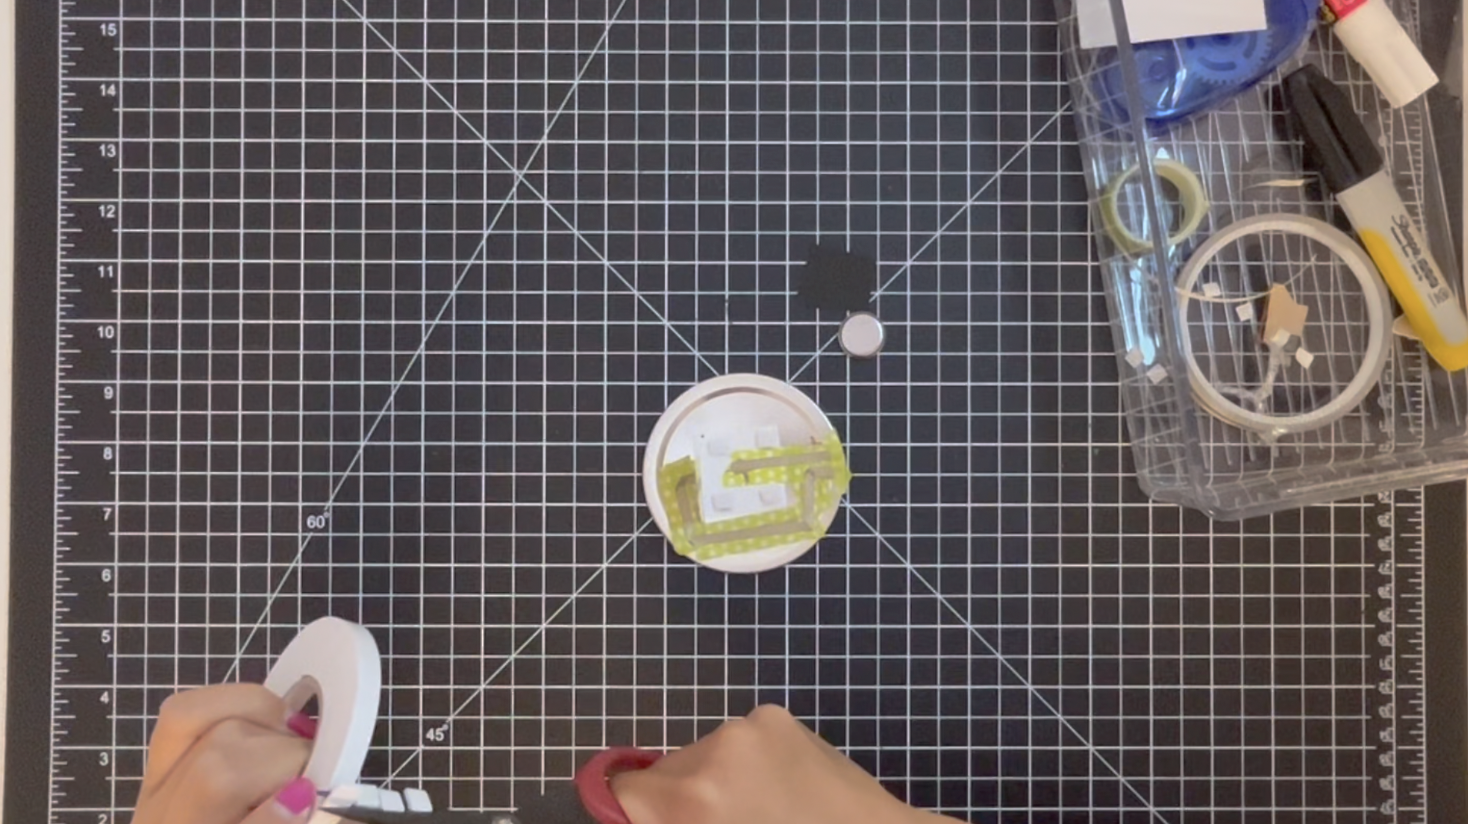
5. Add Conductive Tape, LED Stickers, and Battery
Now I’m basically going to do the same thing on top of the washi tape with the Conductive Fabric or Copper Tape just following the two separate paths. Since I used washi tape, I can still see the two lines I drew for the copper tape which is just a helpful template.
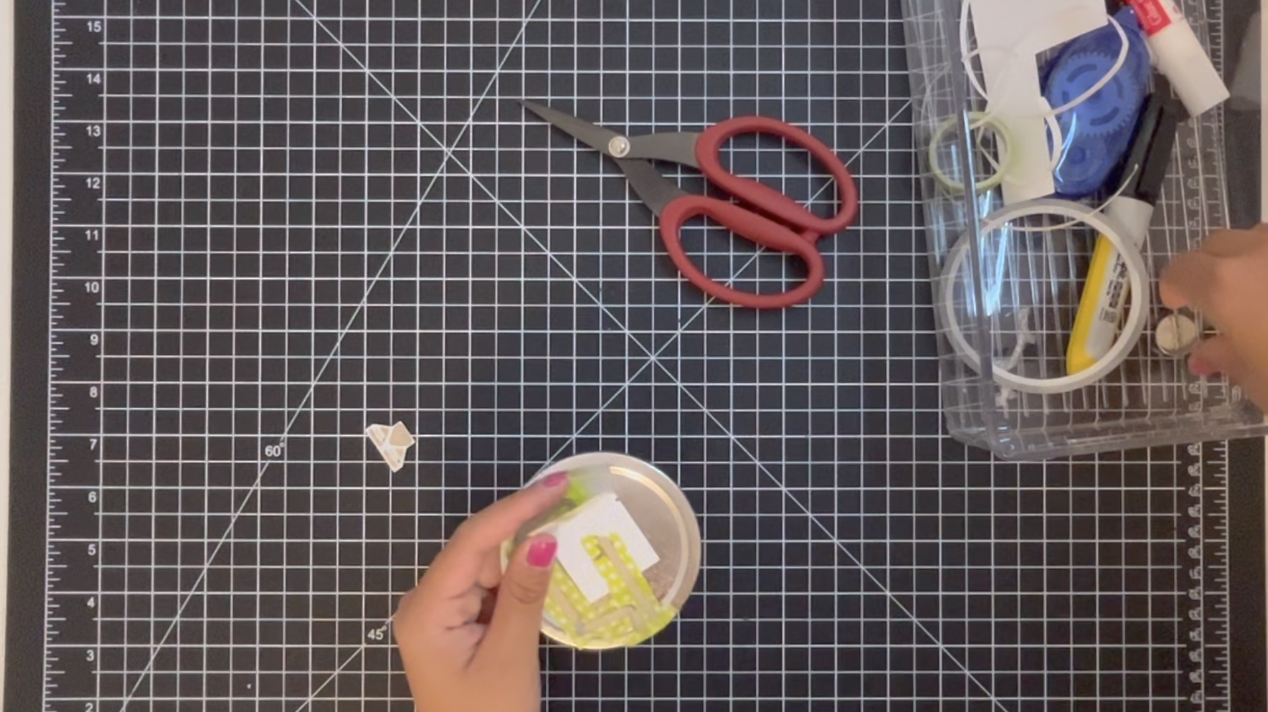
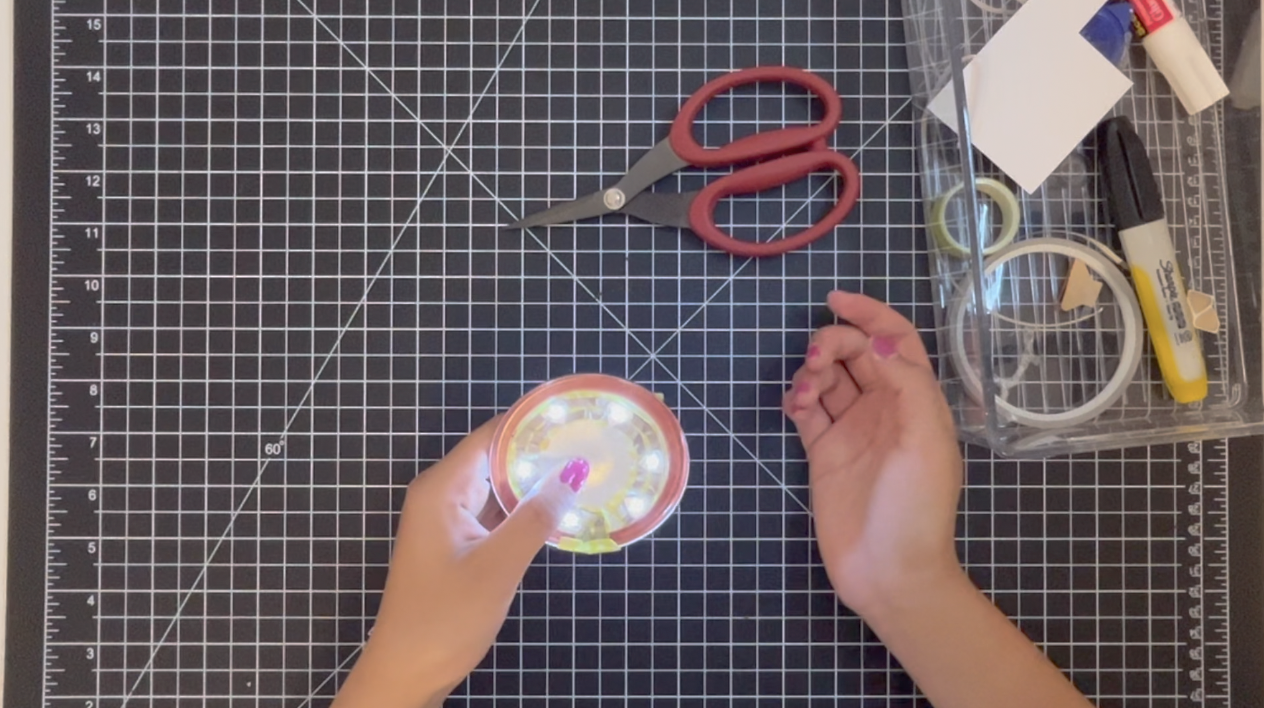
Now it’s time for the LED stickers! Depending on how large your cap is and how bright you want your mason jar to be, you can use anywhere between two to seven or eight LED stickers. After your LED stickers are secured, we are going to put the battery in the battery housing, making sure that the positive side of the battery is facing down, and check to make sure the LED stickers light up!
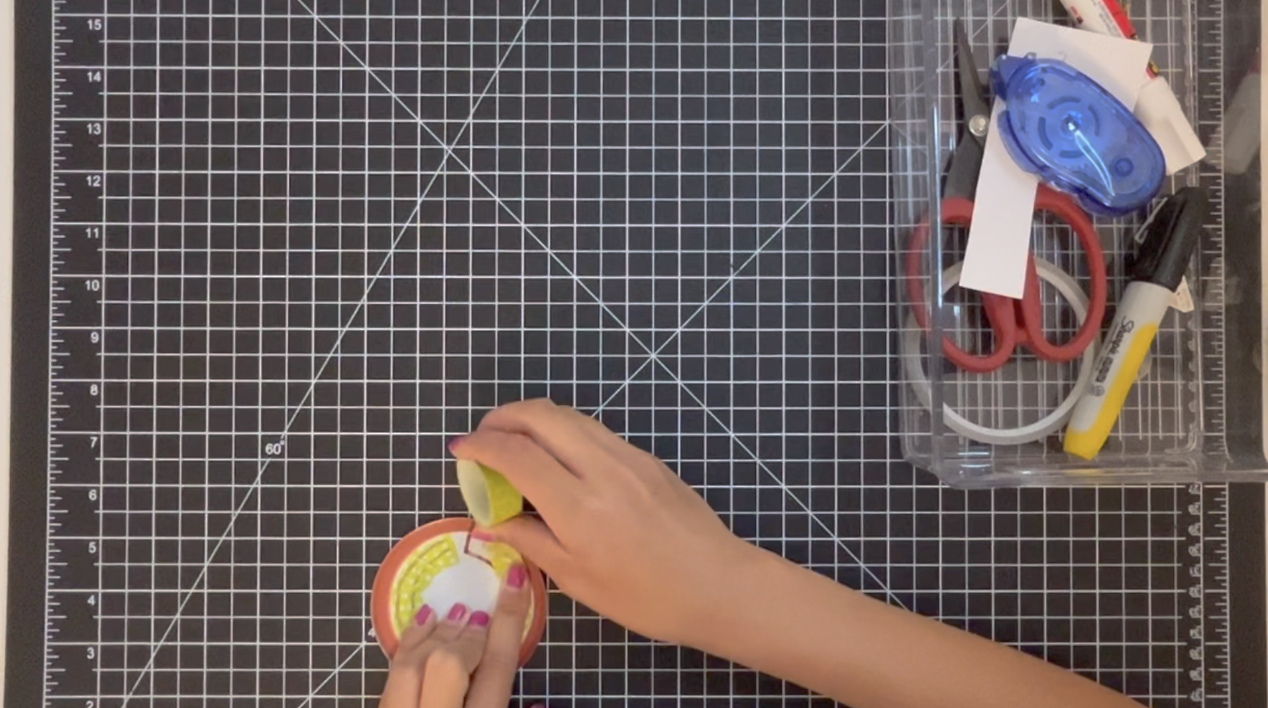
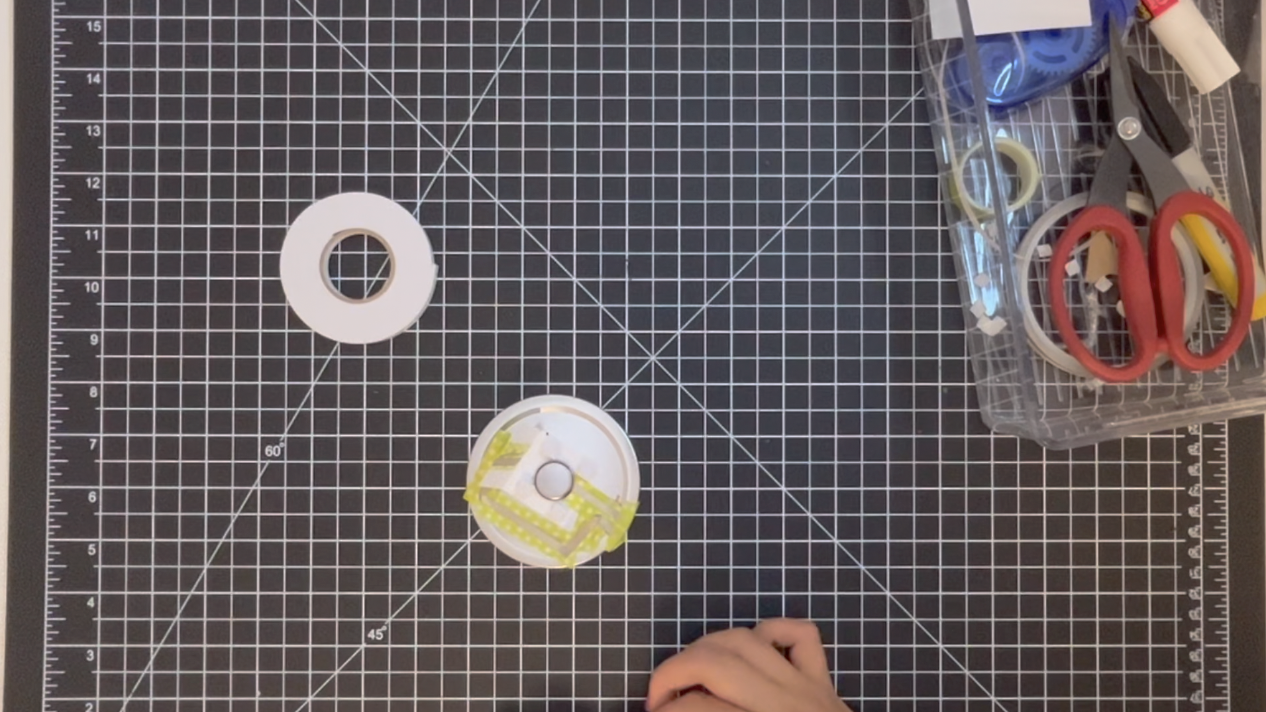
6. Incorporating the Pressure Sensitive Conductive Plastic
Now for the final step, we are going to incorporate the Pressure Sensitive Conductive Plastic which will allow us to dim the LED stickers on and off. If you don’t have the pressure sensitive plastic, that is okay too. You will just have an on/off mechanism rather than a dimming one, which is cool too! Back to the pressure sensitive plastic though, it’s one of my favorite Chibitronics products, and it’s so cool how it works!
The Pressure Sensitive Conductive Plastic basically acts as a mediator of electrical flow between two parts of the circuit. Here, I’m going to be placing it between the battery and one piece of copper tape. The plastic contains conductive particles that have the ability to let different amounts of electricity flow through the plastic, depending on how close together the particles are to one another. In a resting state with no pressure, the conductive particles are far from each other and don’t conduct much electricity, resulting in the LED stickers being off or very dim. However when pressure is applied, the conductive particles move closer to each other and allow more electricity to flow through, resulting in a brighter light. The harder you press, the closer the conductive particles are to one another, and the brighter the light becomes! It’s super cool how the pressure sensitive plastic works.
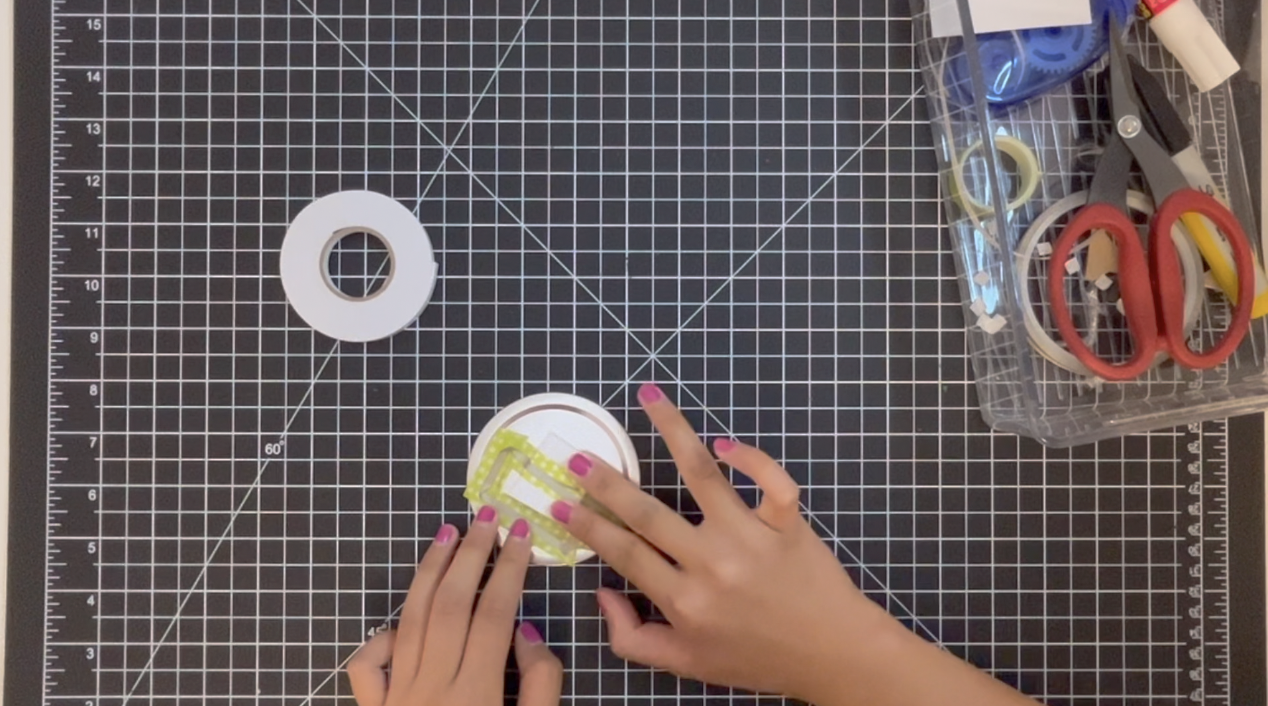
To find the right size for the Pressure Sensitive Conductive Plastic, cut it about the size of the battery housing, and then trim off a tiny edge on all four sides. I like to stack two pieces on top of each other because it creates a better dimming effect.

After you’ve inserted the pieces of pressure sensitive plastic to make sure they fit, you are going to add foam tape on the four corners of the battery housing to keep it from adding any additional pressure to the pressure sensitive plastic and accidentally turning your LED stickers on.
Depending on how thick your foam tape is, you might have to add a few layers. Then peel off the foam tape backing, stick down your two pieces of pressure sensitive plastic, and then stick down the top of your battery housing.
7. Final Touches
Once you’re done with the circuitry, screw the cap onto the jar, and see your entire scene come to life. Great job! For a final optional step, you can use a piece of fabric and ribbon to cover up the circuitry on the top of the cap. I like doing this because it gives it a cleaner finish, but it’s totally up to you. After doing this, you’re done!

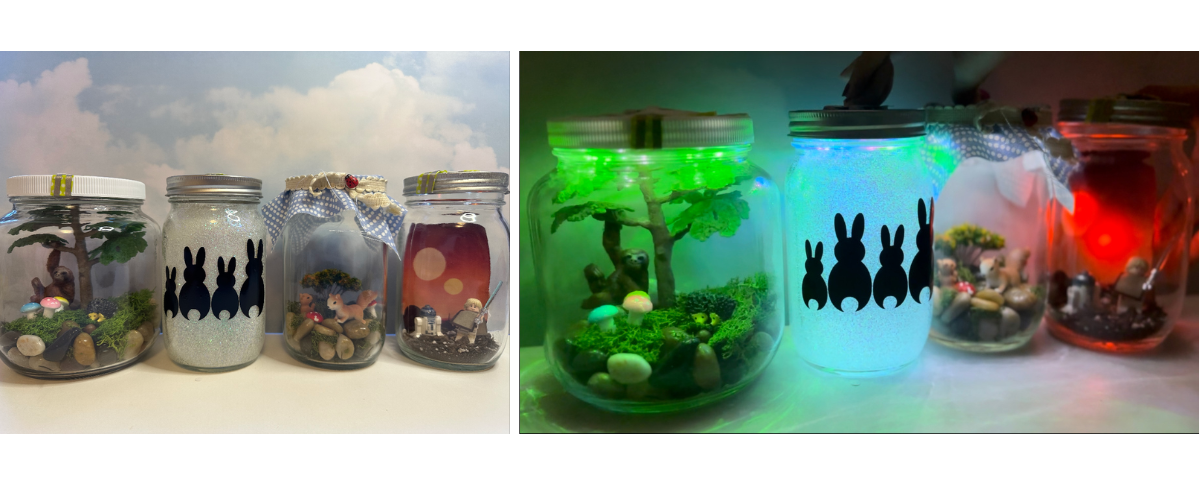
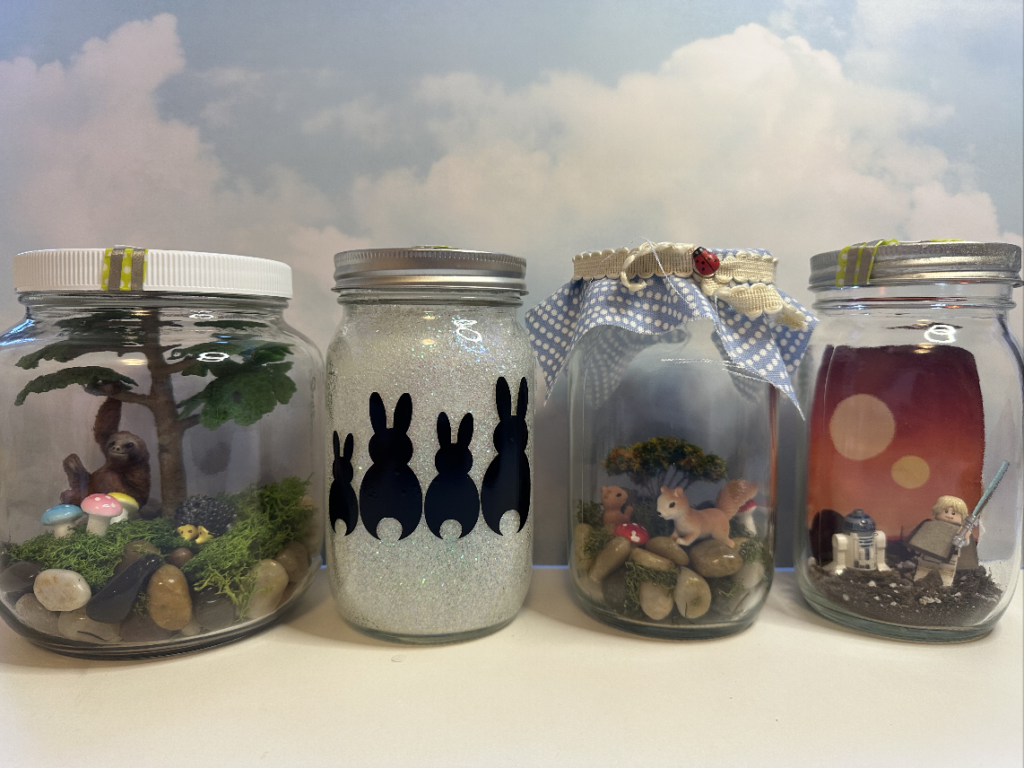
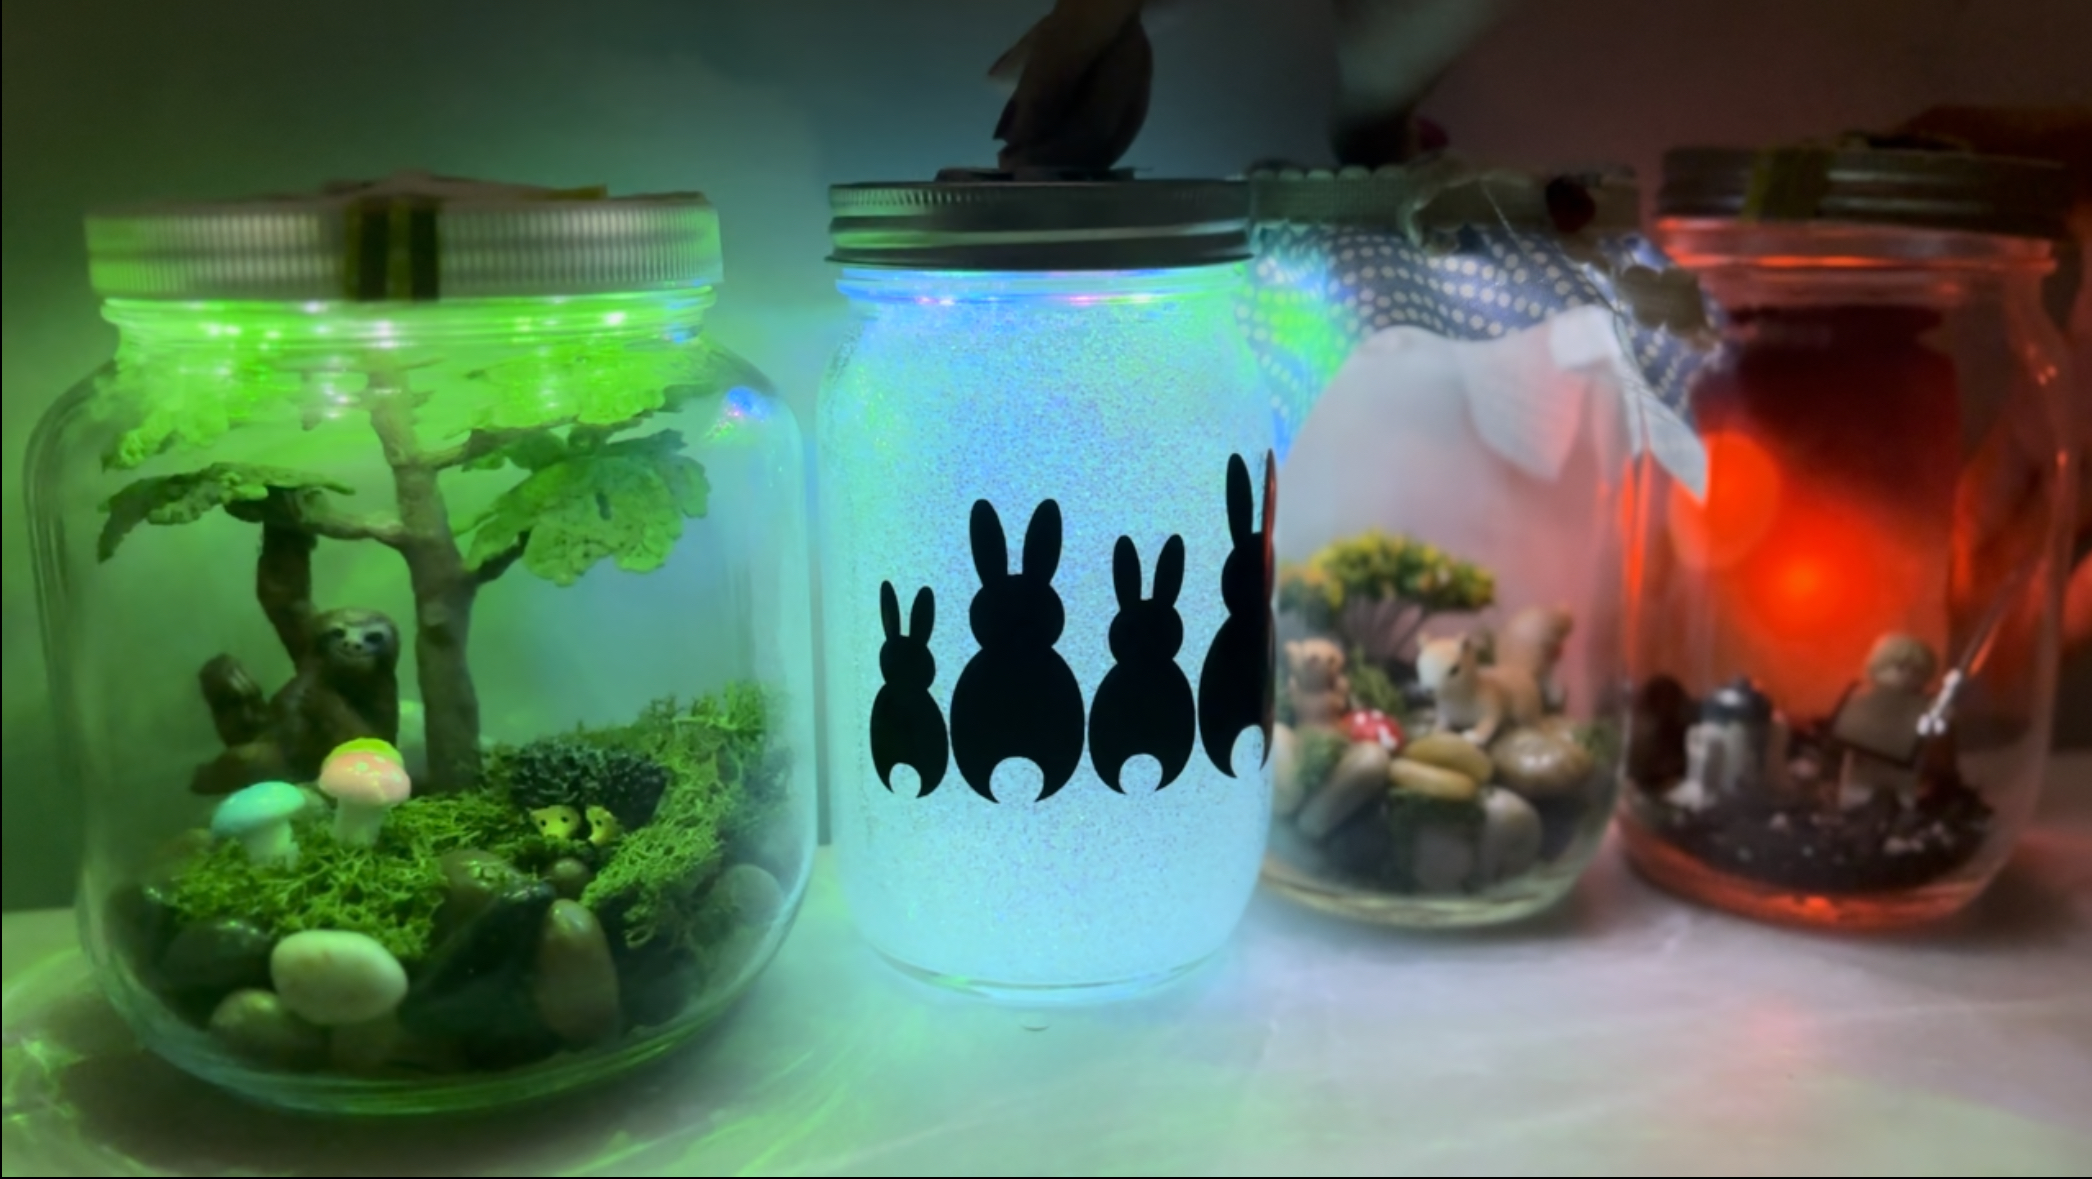
8. Other Examples
Here are a few other examples that I made. There are a bunch of different variations you can do with using different LED stickers like colored ones for example, or changing up the size of your mason jar to make smaller or bigger scenes. The possibilities are endless, so have fun experimenting!