Charm with Light!
In this post, new Design Team member Emily Brooks will show you how to craft a glowing, wearable, magnetic charm!
Calling all art teachers, appreciators, and enthusiasts! If you want to make your own light-up artist palette magnet without any soldering or resistor calculations, follow the steps below!
Supplies:
Circuit Sticker LEDs (I’m using red, orange, yellow, green, blue, pink LED stickers)
battery holder with switch
CR 2032 battery
gold mirror acrylic
hot glue
Instructions:
Step 1:
Design your shape as vectors.
For this design, I wanted to create a front and back that allowed the colored lights to shine through as the wells of paint. (NOTE: my design is reversed since I used the laser cutter for mirror acrylic). I also wanted to leave a cut out for the battery holder so it wouldn’t be too bulky with additional layers.

Step 2:
Use the laser cutter to cut out the shapes.
I used a PS48 CO2 laser cutter, which is capable of cutting mirror acrylic when upside down. Be sure to check your own safety settings for your laser cutter.

Step 3:
Trace circles for your Chibitronics Circuit Sticker LEDs, and easily peel and stick your circuit stickers on your shape so that the larger positive (+) side faces the outside of the shape and the smaller negative (-) side faces the inside of the shape.

Step 4:
Use Chibitronics Conductive Fabric Tape to trace along your circuit paths connecting to the leads of your battery holder.
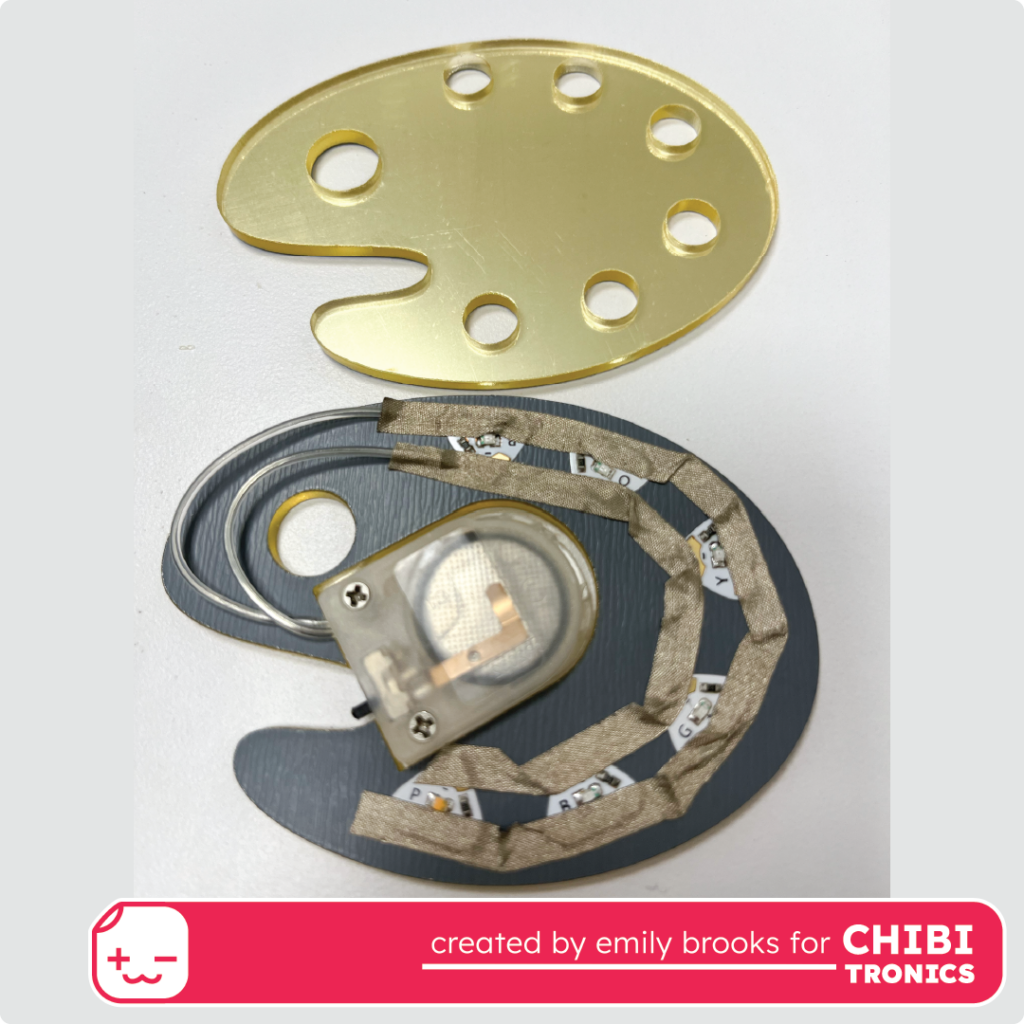

Step 5:
Flip the switch and test your circuit.
Step 6:
Hot glue your battery holder to your bottom layer, your top layer to your bottom layer, and your magnet to your bottom layer.
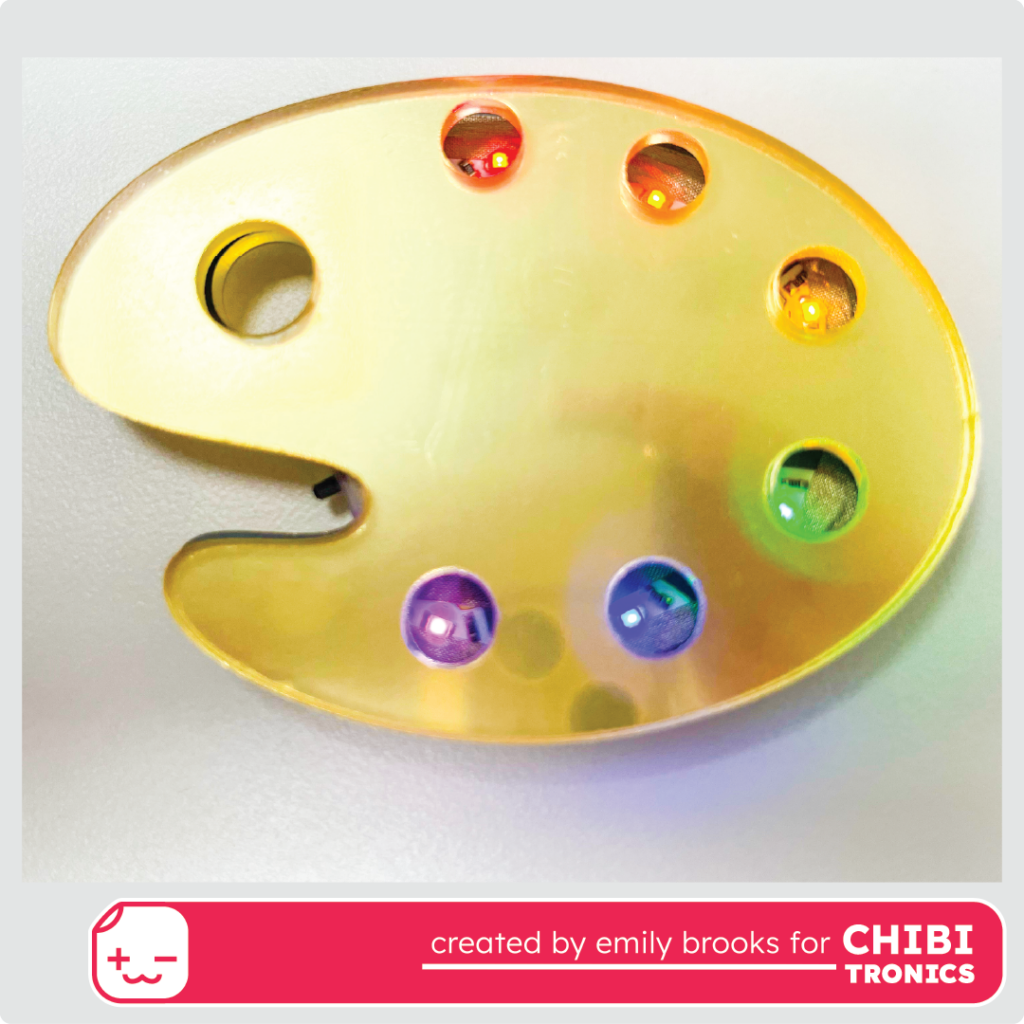
Step 7:
Enjoy your light-up artist palette magnet as a pendant for a magnetic necklace or anywhere else you use magnets!
