Illuminated Heart Boxes
In today’s post we are honored to have Catie Nasser sharing her Illuminated Heart Boxes, an origami project that students of many ages may enjoy (with varying levels of scaffolding).
Catie Nasser is a tech-savvy K-6 art educator who dabbles in a variety of creative pursuits, ranging from papercutting, printmaking, paper engineering, and programming! We met Catie last year during the 2024 Pathfinders Summer Institute, where she ambitiously combined her paper crafting skills with her interests in paper engineering and creative coding.
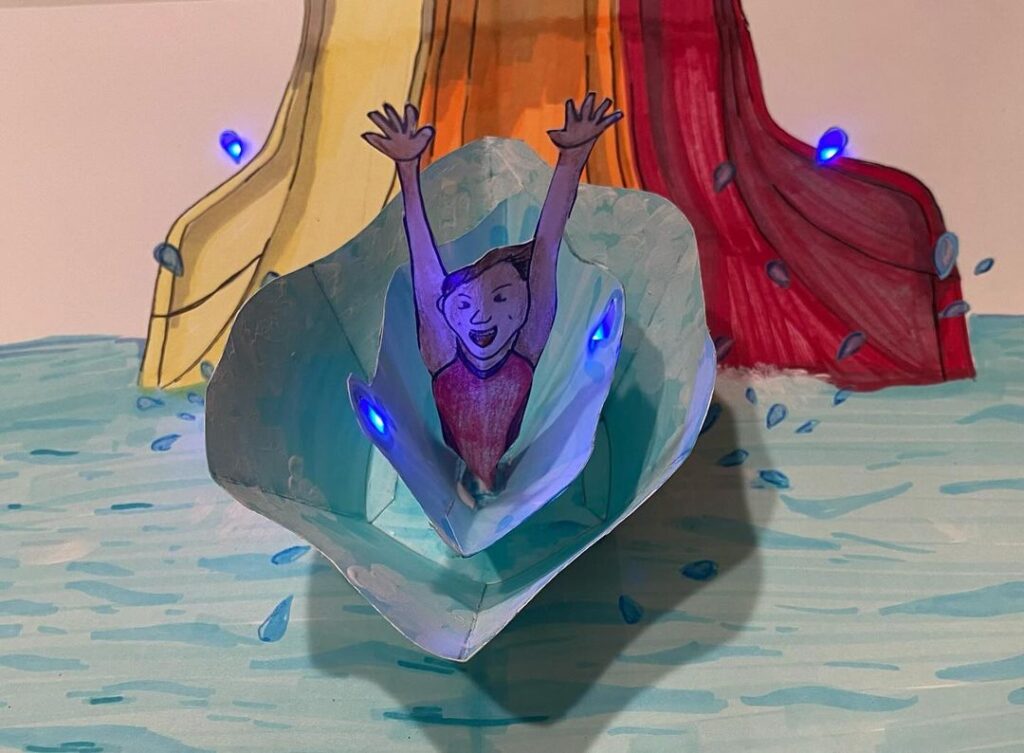
She again caught our eye on Instagram, while showcasing original light-up pop-up creations, as well as a variety of inspiring projects she has done with her students. To see more examples of Catie’s work with students, visit the Student Gallery.
Teacher’s Corner
Lesson Goals
I love showing my students how circuits, light, technology and engineering can enhance their artwork and design process. This project brings together many of these elements: Paper Engineering and circuits. I hope that students will see how integrating all of these different components will elevate their ideas.
Lesson Inspiration
I love creating homemade Valentines for my children. This year I have been experimenting with bringing LED lights into more 3-dimensional paper engineering work.
While researching heart pop-up mechanisms, I came across the heart box and knew it would be perfect!

Lesson Summary
Target audience: This lesson would be good for intermediate level, middle level, and high school students.
The origami portion of the lesson has some moderately difficult folds; however, with assistance, intermediate level elementary students would be able to carry out the lesson.
After completing the box fold, students will set up a simple circuit using a built- in button that will illuminate the inside of the box.
Although not necessary, a few basic origami folds would help younger students warm up before working on the more complicated folds in the box.
Standards and Proficiencies Addressed
The following standards can be found in the Next Generation Science Standards:
- Students will learn to identify and understand the function of various circuit components, such as batteries, bulbs, switches, and wires.
- Students will learn to construct and test simple electrical circuits, understanding how to complete the path for electricity to flow.
- Students learn to troubleshoot simple electrical circuits and use electrical diagrams to identify and fix interruptions in the electrical path.
The following standard can be found in the Mathematics Common Core Standards:
- Through Origami students will learn to understand various geometric concepts such as lines, angles, symmetry, and shapes
Project Timing
This project will take approximately five to six 45 minute classes.
Class 1: Create Heart Box Prototype (with printer paper)
Class 2-3: Create Final Box (with two colored papers)
Class 4: Cut Heart, Glue Tissue Paper, Create and Design Inside Message
Class 5: Build Circuit (with Switch)
Class 6: Reassemble Box
Lesson Plan/Activity
Step 1: View Video & Create Prototype for Origami Heart Box
The origami box folding would work well in a guided lesson or “I do, you do” format. This video will take you step by step through making an origami heart box and will break down each step of the fold.
I would suggest that students create a prototype version using copy paper before moving on to their final papers.
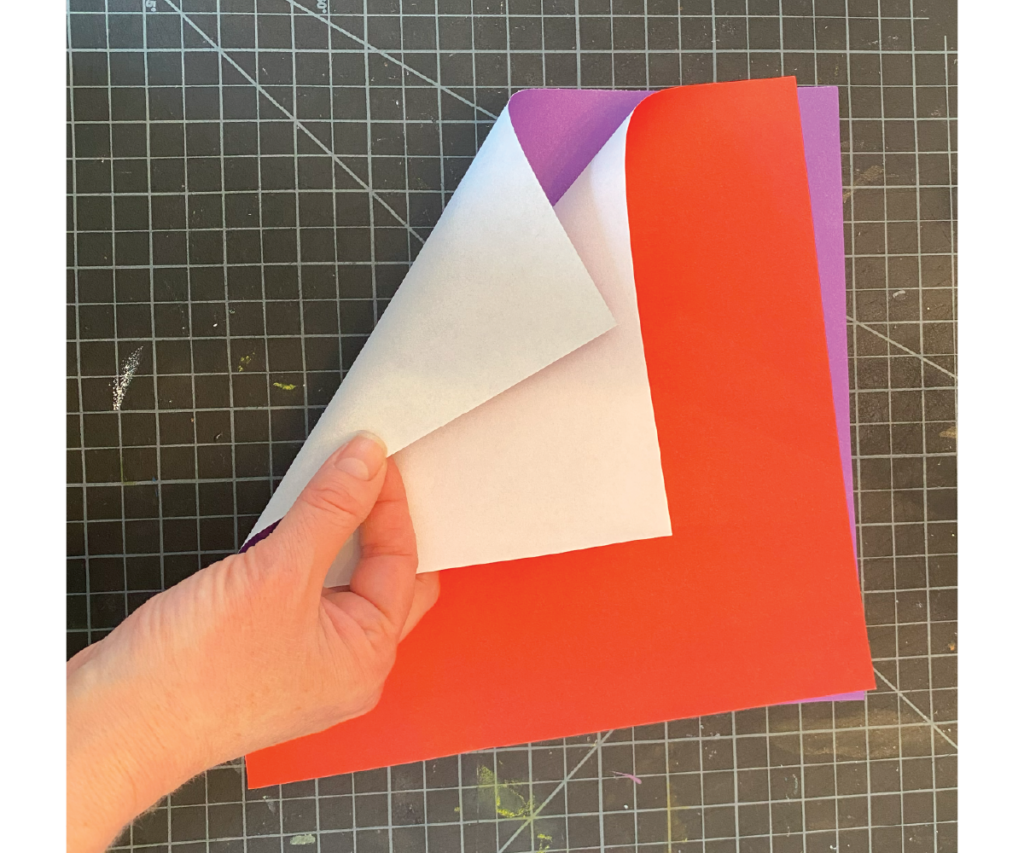
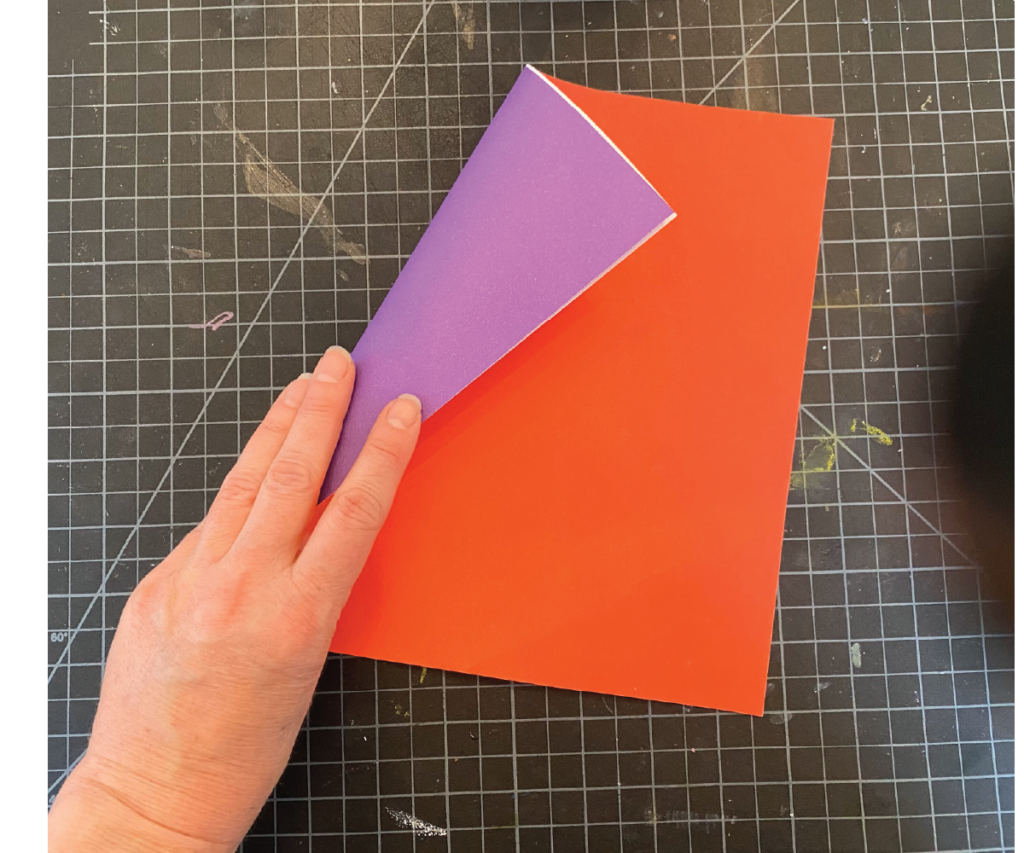
* To achieve the two color box, fold two square papers (9”x9”) with white sides together.
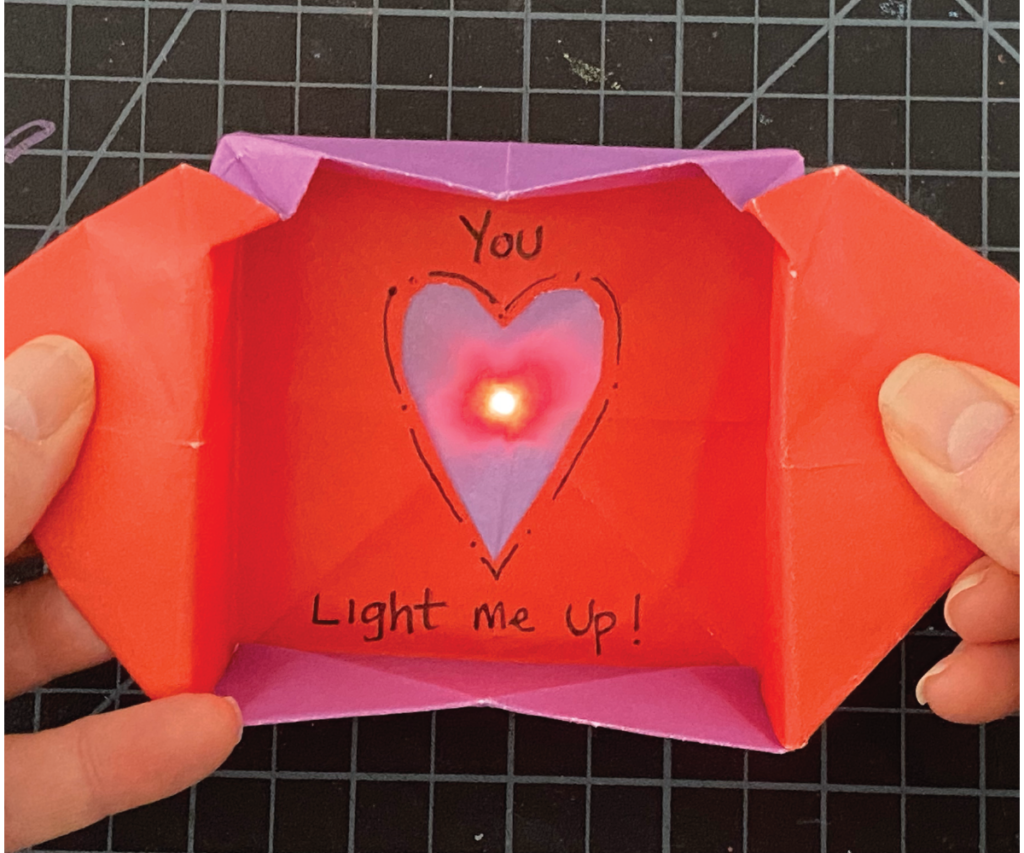
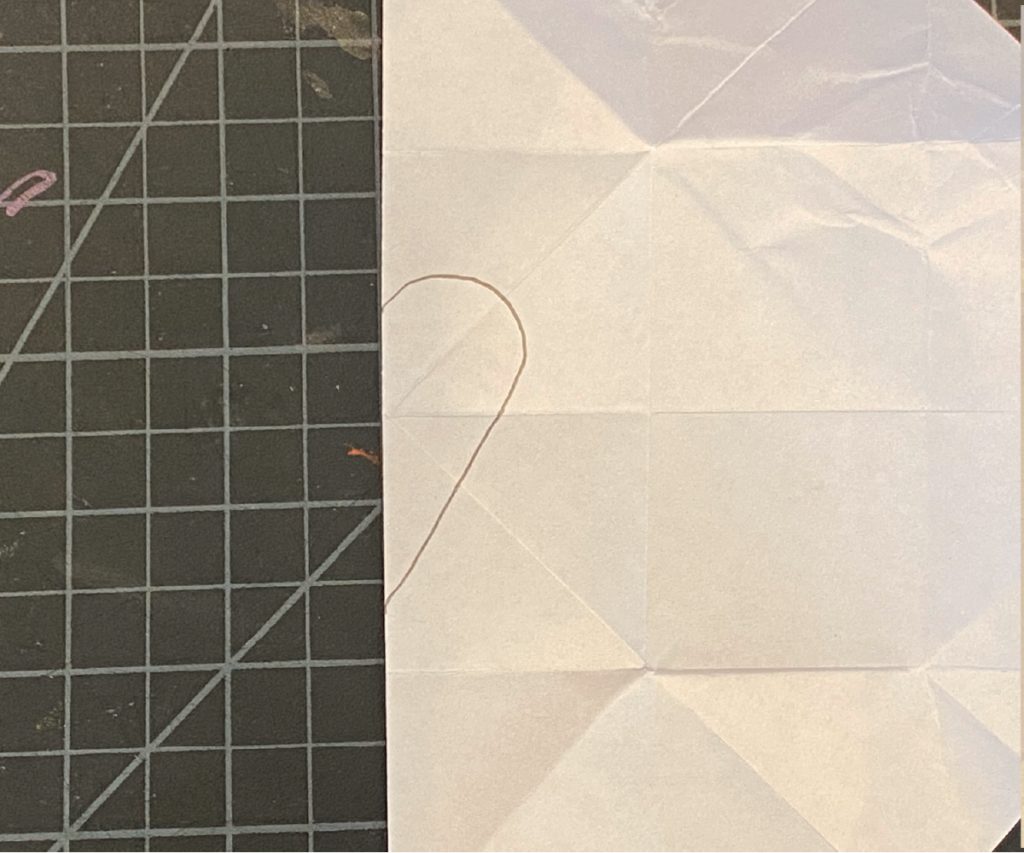
Step 2: Create a Shape Window
Unfold the heart box in order to draw and cut a shape to illuminate inside the box.
Use one of the existing fold lines in the middle of the paper to draw ½ of your shape that when cut will reveal a full symmetrical shape.
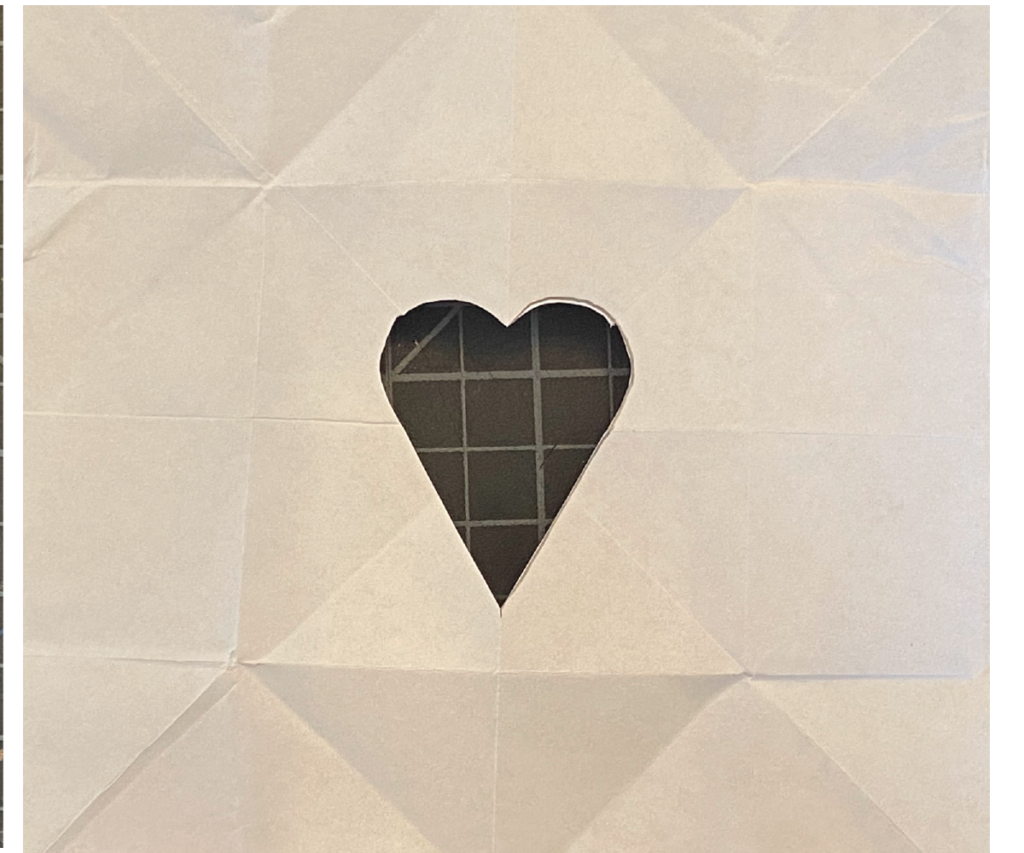
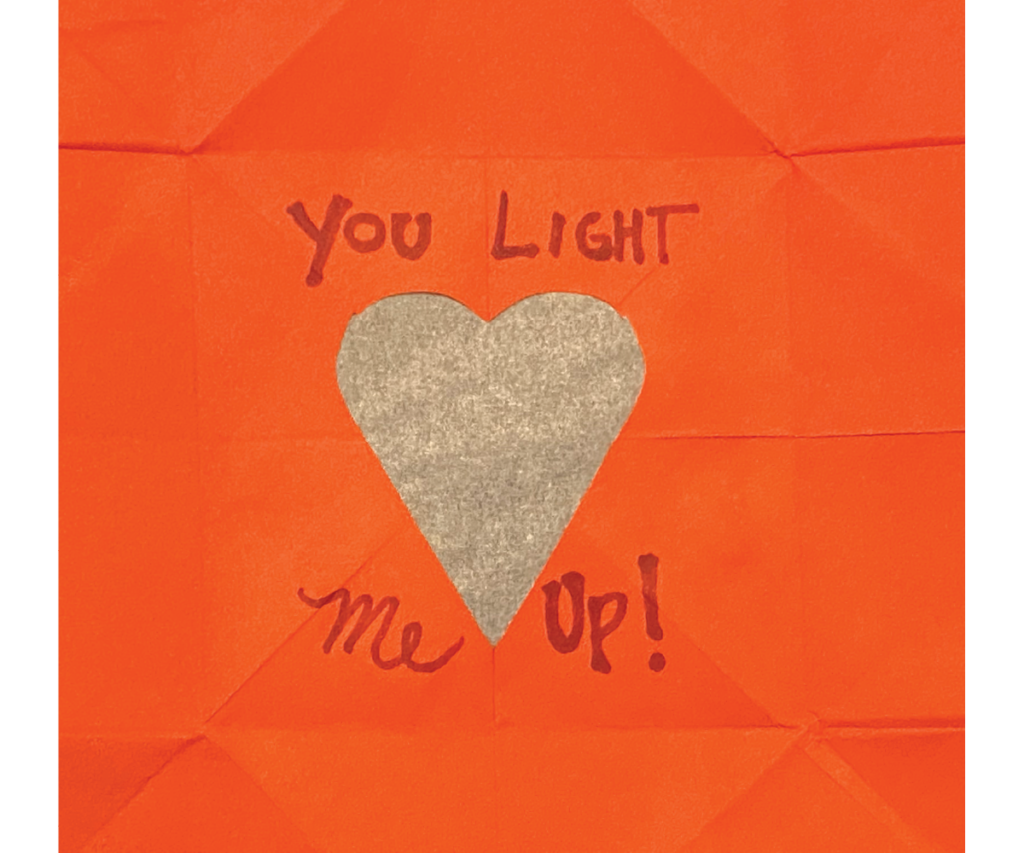
On the back or white side of the paper glue a piece of tissue paper over the opening of the shape.
Write a message around your heart (or other shape) on the colored side of the paper.

Step 3: Create the Circuit
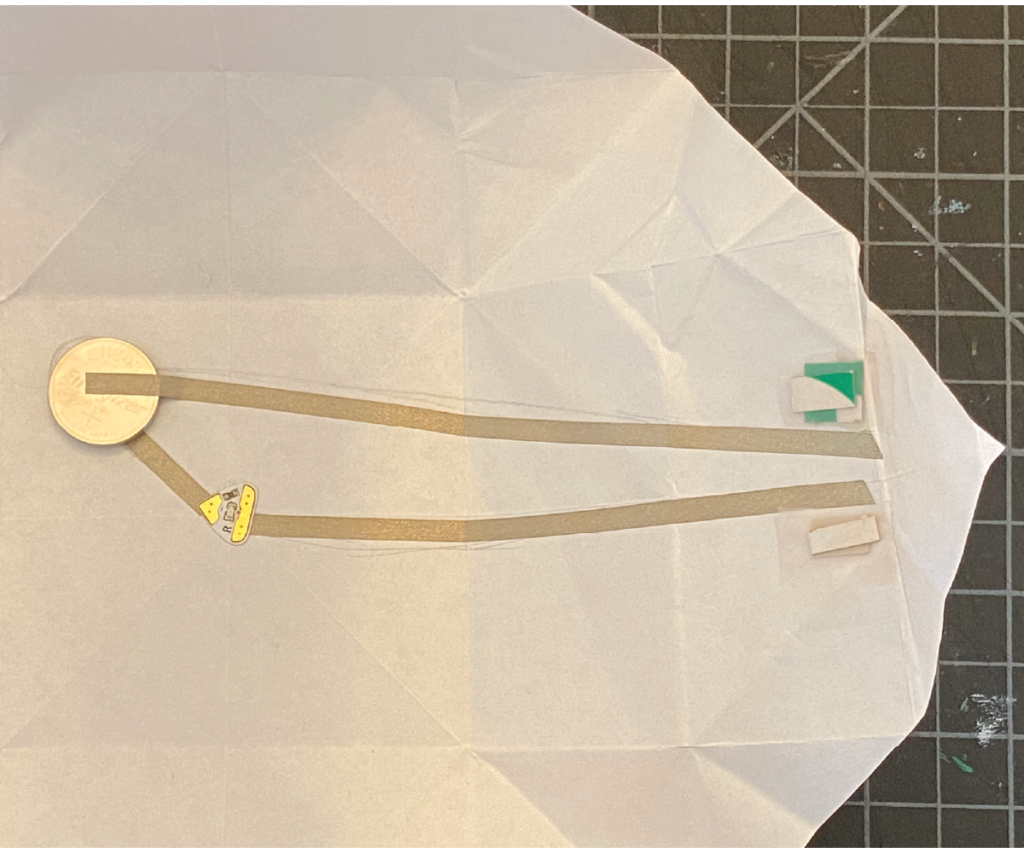
With the paper remaining unfolded create your button circuit on the white side of the bottom paper (the paper without the shape cut out).
The LED bulb should line up below the cut shape when put back together.
The button mechanism will be placed inside one of the flaps of the heart when folded back together.
Place two small squares of thin cardboard next to your circuit lines near the end of the circuit.
These pieces will keep the top paper from resting on the bottom and will allow the light to only turn on when the button is pressed [creating a switch].
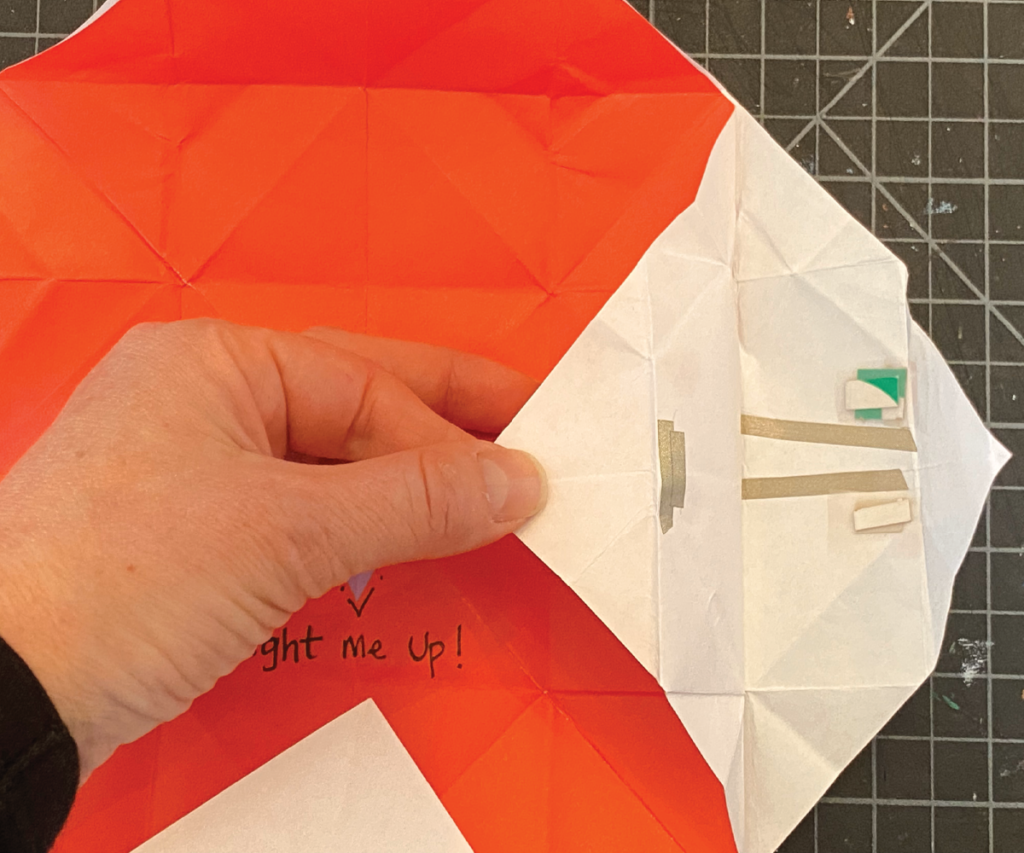
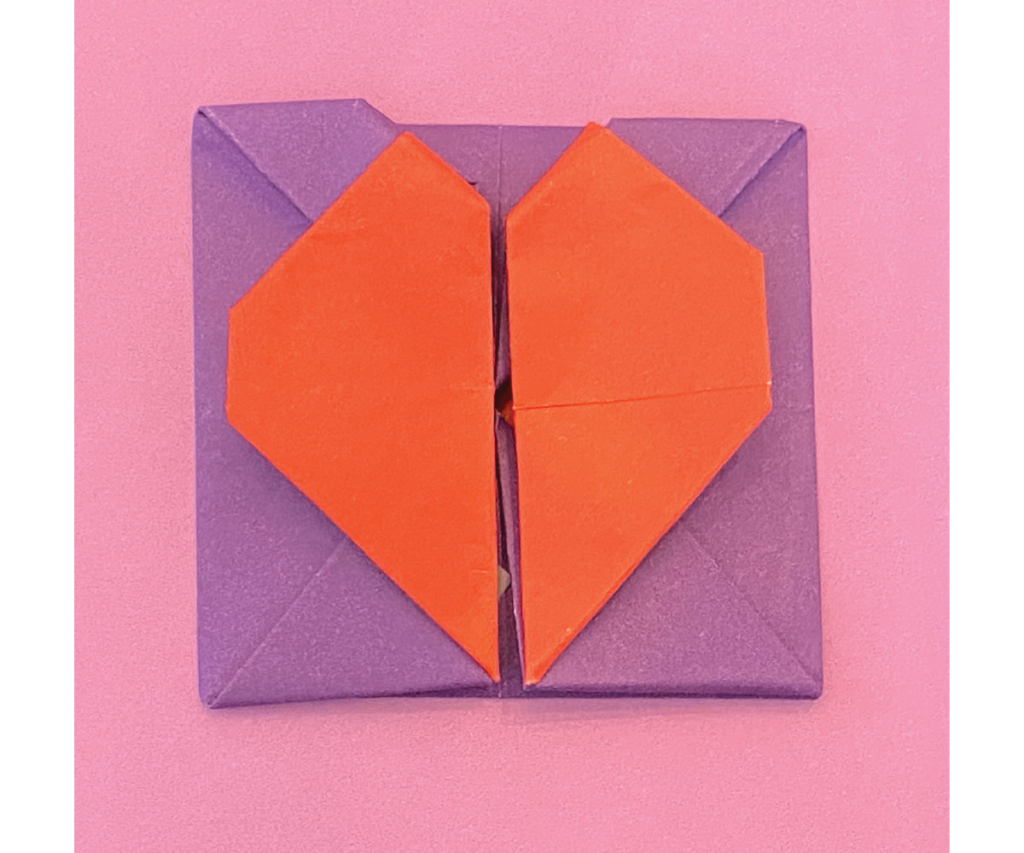
Step 4: Complete the Heart Box with Button Circuit
Fold the box back together and open and shut while pressing the button to reveal your heart shape and message.

Materials
For each student:
- 2 square pieces of thin solid or patterned paper, similar to origami weight.
- (My box is made with 9×9 square paper)
- Pencil
- Scissors
- Tissue Paper
- Glue or Glue Stick
- Sharpie or Markers
- Conductive Fabric Tape
- One Circuit Sticker LED
- 3V Battery
Reflection
I believe that students will enjoy lighting up these boxes as it will show them how paper circuits can be used for more than two dimensional works of art.
Using thin paper is important to ensure that the origami box folds nicely.
Make sure to pay attention to the weight of the paper. Look for paper that is equivalent to origami weight.
About the Educator

| Catie Nasser is an art educator, art therapist, and visual artist. She is a veteran elementary art teacher in the Middleton Public Schools. This spring, Catie presented at the National Art Education Association (NAEA) Convention, with workshops geared toward Forging Fabrication to Fabulous with Lasers in the Art Classroom and Cultivating a Classroom Community of Risk Taking! |
| In 2021 she was named the Massachusetts Elementary Art Teacher of the Year. Catie currently teaches Artovation, a program that integrates innovation practices, Maker Education, STEAM, and Project Based Learning into the art making process. She loves showing young artists how they can take their creativity to new levels with elements such as animation, robotics, kinetic sculpture, and coding. Catie is committed to using art as a tool to help youth find their voice and fully express their thoughts and ideas. @catnasser on Instagram and Bluesky |
About our Educator/Lesson Spotlights
Chibitronics is dedicated to sharing the work of our wonderful educator community. We enjoy showcasing ways that teachers capitalize upon their students’ creativity with circuits.
Are you an educator who would like to be featured? Or, do you know of an amazing educator who is integrating circuits with their lessons?
If so, reach out to us at education@chibitronics.com to be featured.