Make a Spooky Slide Switch
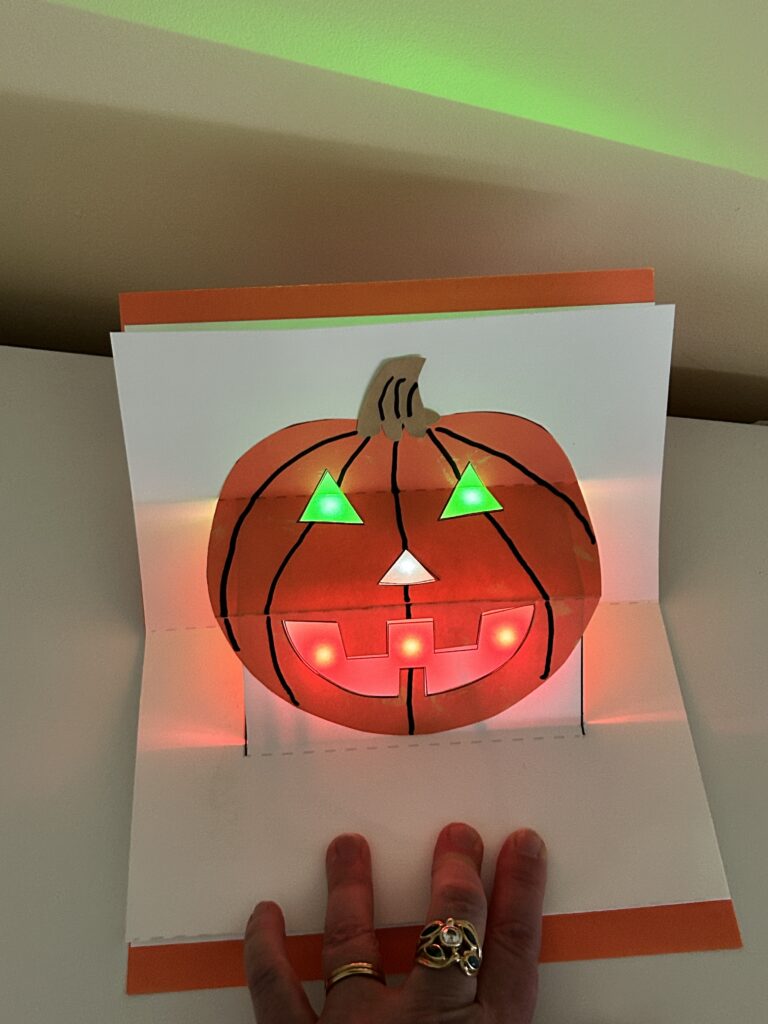
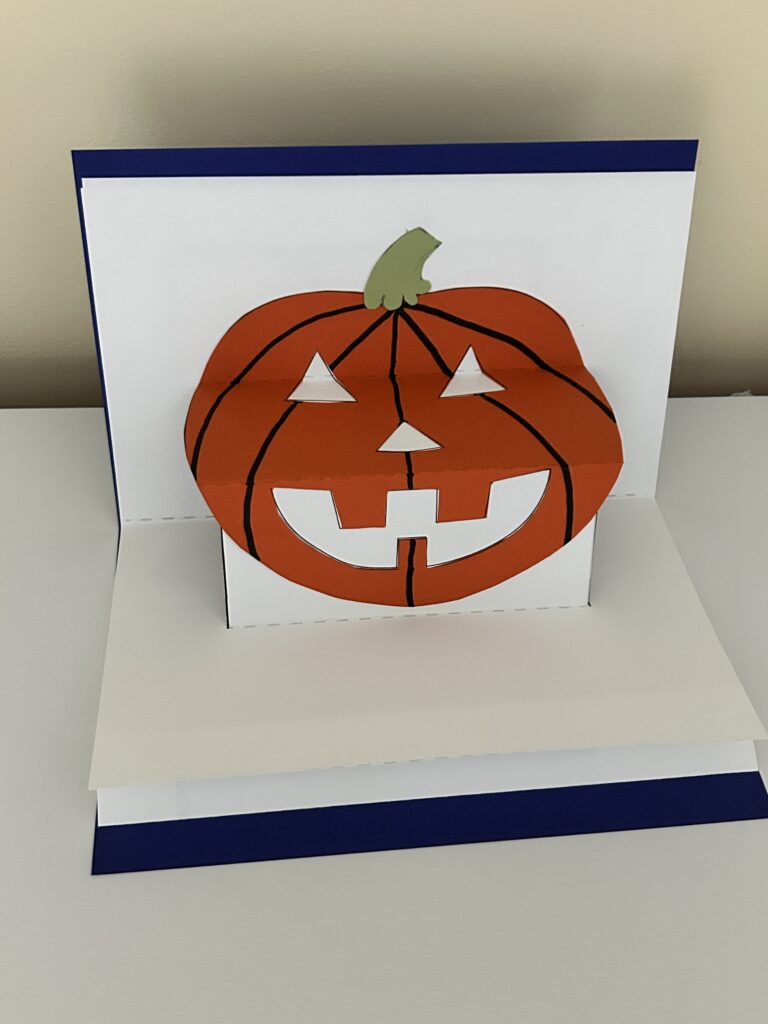
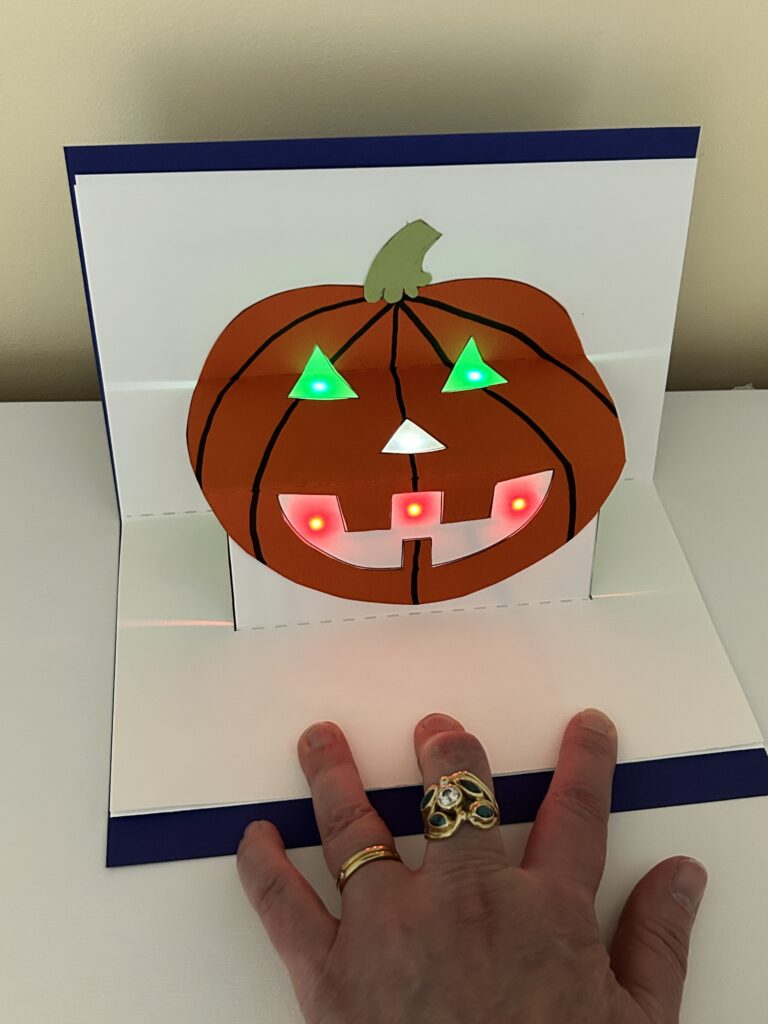
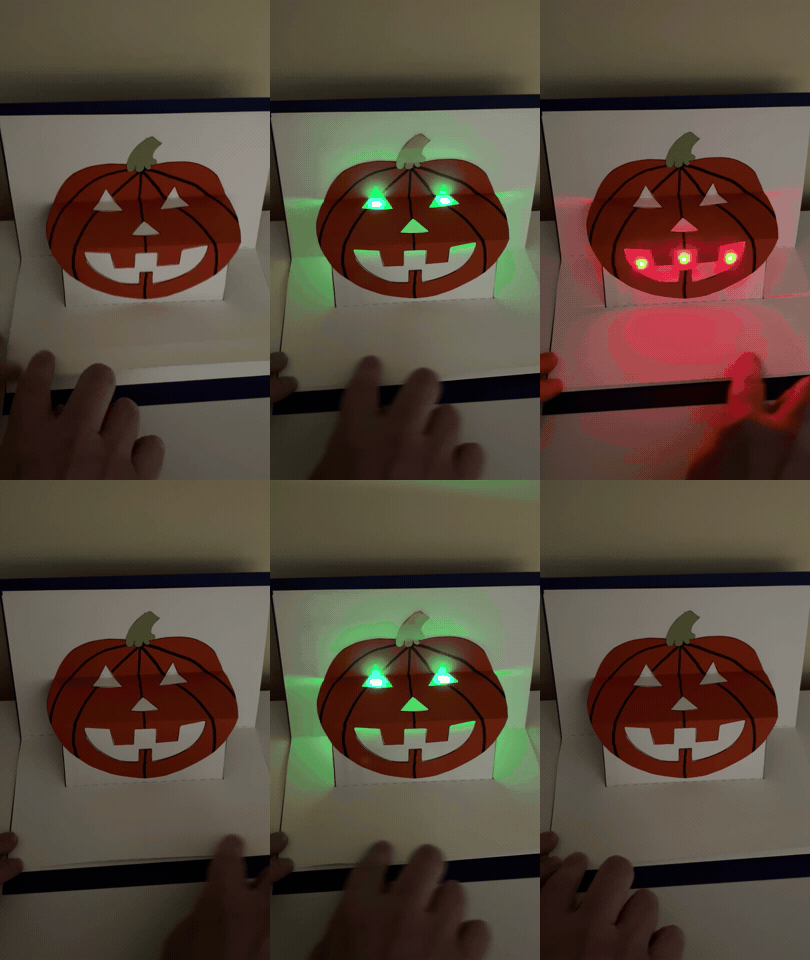
Bring a pop-up jack-o-lantern to life with Chibitronics lights and an interactive slide switch!
This project is fun to make and even more fun to play with!
Useful Tools & Supplies
Electronics Materials
- 1 X Launchpad Battery
- 6 X Circuit Sticker LEDs (This project may be adapted to use Launchpad LEDs)
- Conductive Fabric Tape
Other Tools & Supplies
- Printer
- 4 pieces of 65-pound cardstock
- I’m using 2 pieces of white (one for the Circuit Layer and another to conceal the circuit and support the Jack-O-Lantern).
- I’m using 2 pieces of colored cardstock (one piece for the card backing and the other for printing the Jack-O-Lantern template. You can also use white paper to decorate your pumpkin with art supplies of your choice.)
- Washi Tape (or another tape to use to create insulating bridges)
- Double-sided Tape or Glue Stick
- Pen Knife (With a bit more effort, scissors may also be used)
- (Optional) Hole Punch
- (Optional) Translucent tissue paper or vellum
- (Optional) Sharpie marker or art supplies of your choice
Other Tools & Supplies
- Printer
- 4 pieces of 65-pound cardstock
- I’m using 2 pieces of white (one for the Circuit Layer and another to conceal the circuit and support the Jack-O-Lantern).
- I’m using 2 pieces of colored cardstock (one piece for the card backing and the other for printing the Jack-O-Lantern template. You can also use white paper decorate your pumpkin with art supplies of your choice.)
- Washi Tape (or another tape to use to create insulating bridges)
- Double-sided Tape or Glue Stick
- Pen Knife (With a bit more effort, scissors may also be used)
- (Optional) Hole Punch
- (Optional) Translucent tissue paper or vellum
- (Optional) Sharpie marker or art supplies of your choice
Directions
If you’re planning to modify this project, by changing the type of LEDs used (for example), please visit the link to this project in Circuit Sketcher, create an account, and make an editable copy. Then, you can modify, download, and print the revised Circuit Template.
Step 1: Prepare Your Materials
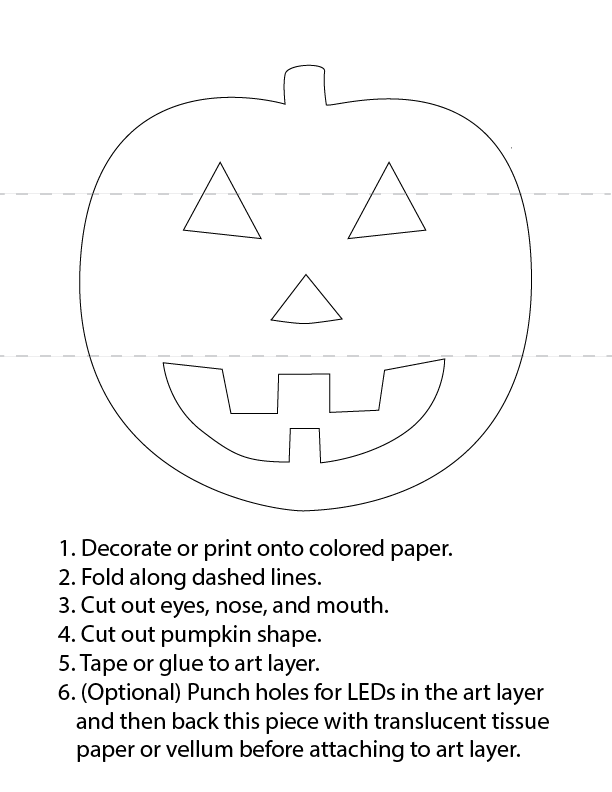
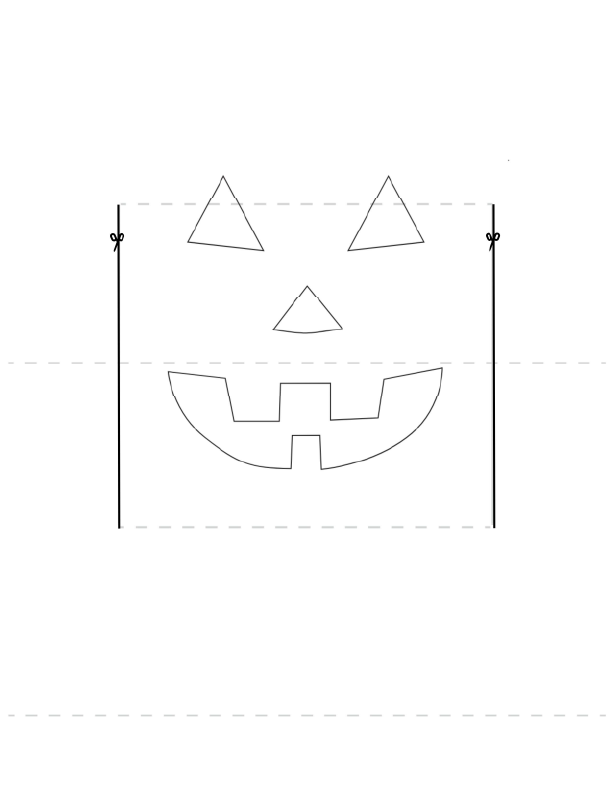
The first step is to print out the Circuit Template, Art Layer, and Pumpkin onto cardstock. You may use the downloadable templates provided below, or you can remix my project in Circuit Sketcher.
Score and fold along the dashed lines. and cut along the solid lines. (See the video demonstration for more details).
Step 2: Create the Circuit
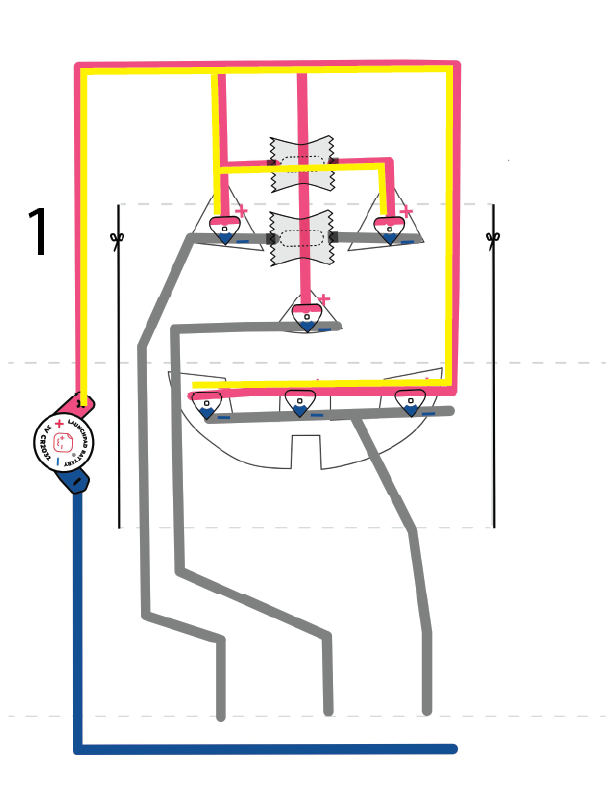
After printing out the circuit template, it’s time to create your circuit. I’ve broken this down into steps to make it easier to understand how the circuit works, but you might choose to create the circuit in just about any order, as long as the bridges are correctly placed.
- Start by applying Conductive Fabric Tape to the positive traces that will connect from the Launchpad Battery to the mouth and eyes (see areas marked in yellow).
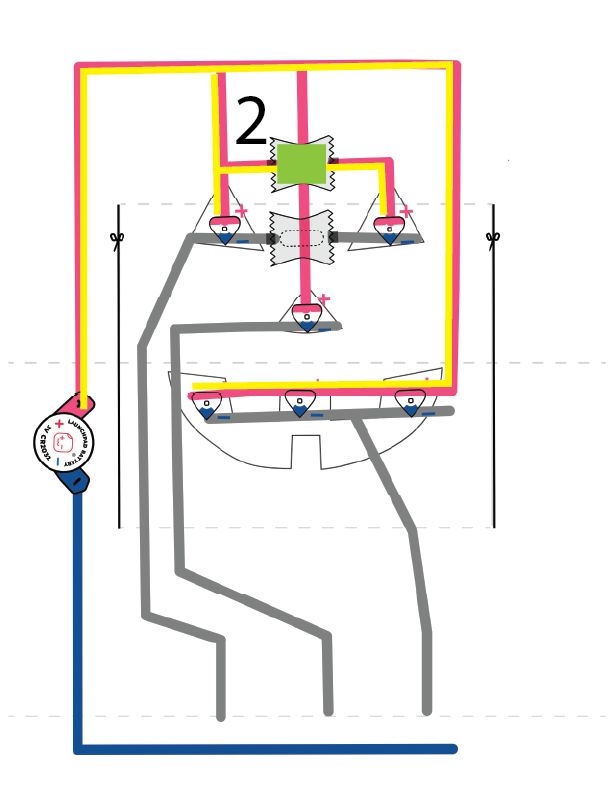
2. Then, create a bridge above the eyes by applying a non-conductive piece of tape over the conductive tape (see green patch).
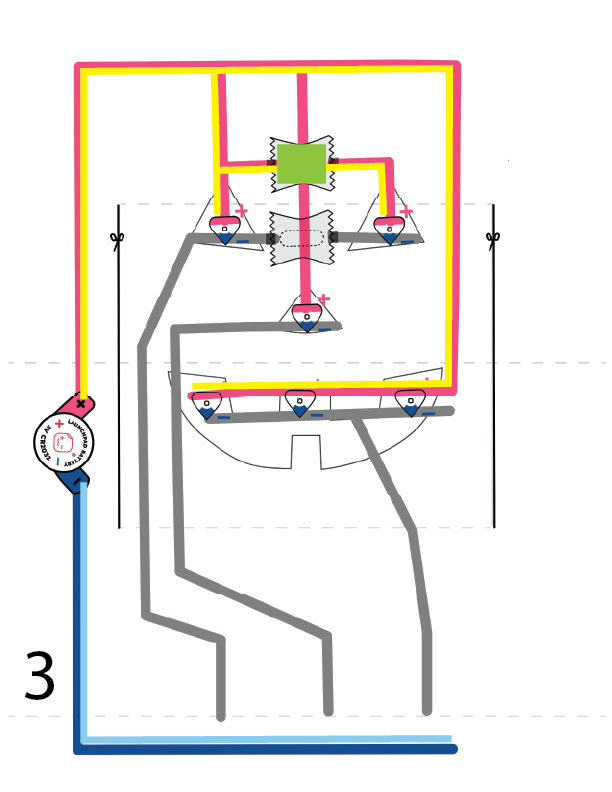
3. Next, apply Conductive Fabric Tape to the negative trace that will connect from the battery to the switch points (marked in light blue).
4. Then, apply Conductive Fabric Tape to the trace connecting the negative end of the LEDs that will form the eyes to the bottom of the first switch (marked in blue dashes).
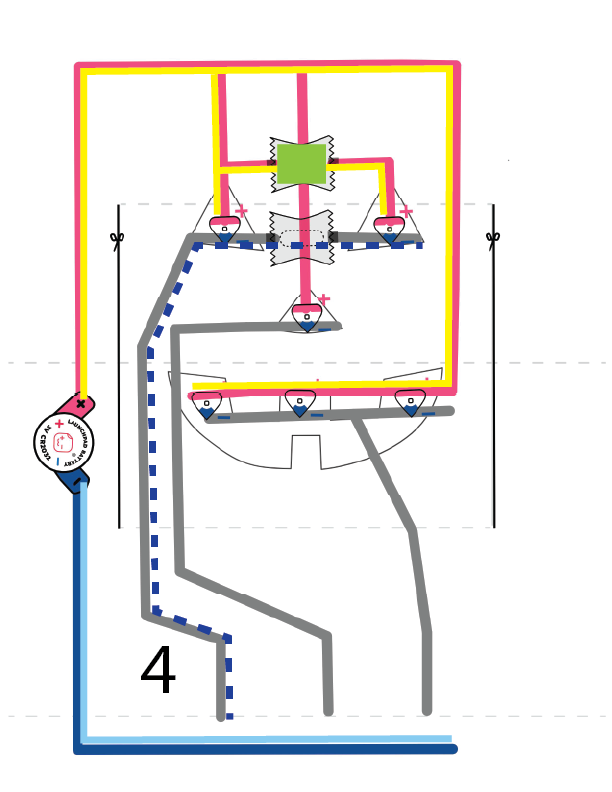
5. Next, create a second bridge between the eyes by applying a non-conductive piece of tape over the conductive tape (see green patch).
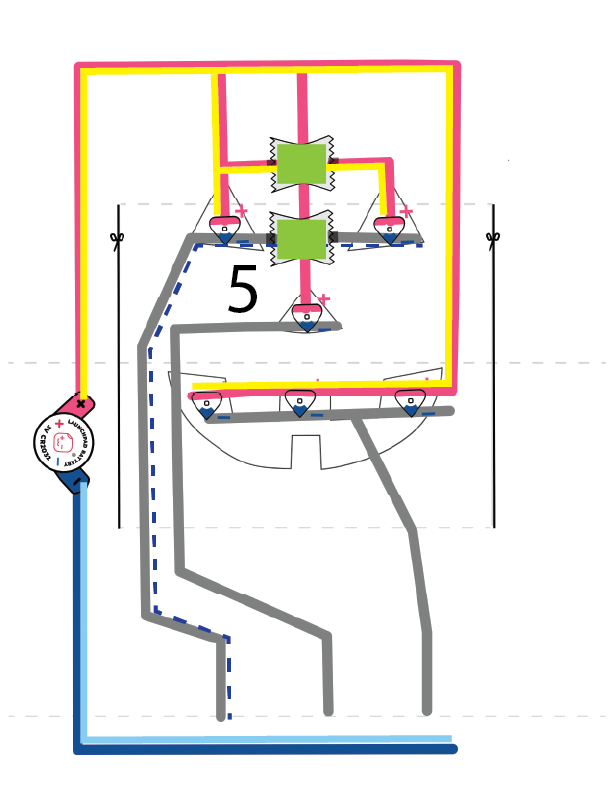
6. Then, use a piece of Conductive Fabric tape to connect the positive trace with the positive end of the LED that will form the nose (marked in yellow). Place this piece of tape over the non-conductive bridges.
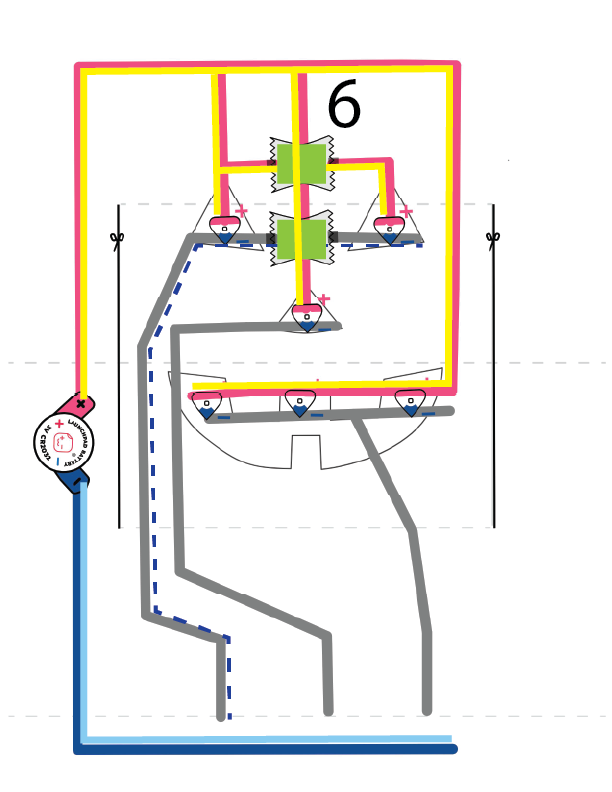
7. Next, use a piece of Conductive Fabric Tape to complete the remaining two switches. The second switch will connect to the negative end of the LED that will form the nose. The third switch will connect to the negative ends of the LEDS that will form the mouth. (Both are marked with blue dashes).
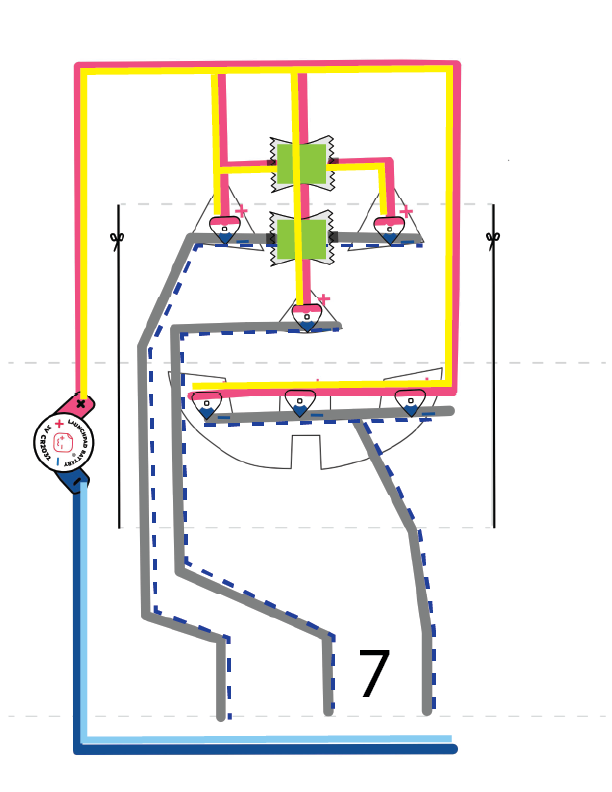
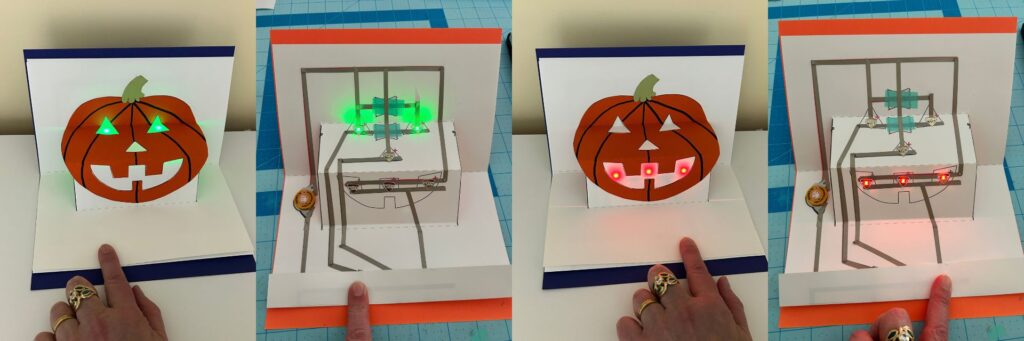
8. Lastly, adhere the Launchpad Battery and LEDs. Test the circuit by folding the switch flap over the switch contacts and sliding your finger over it.
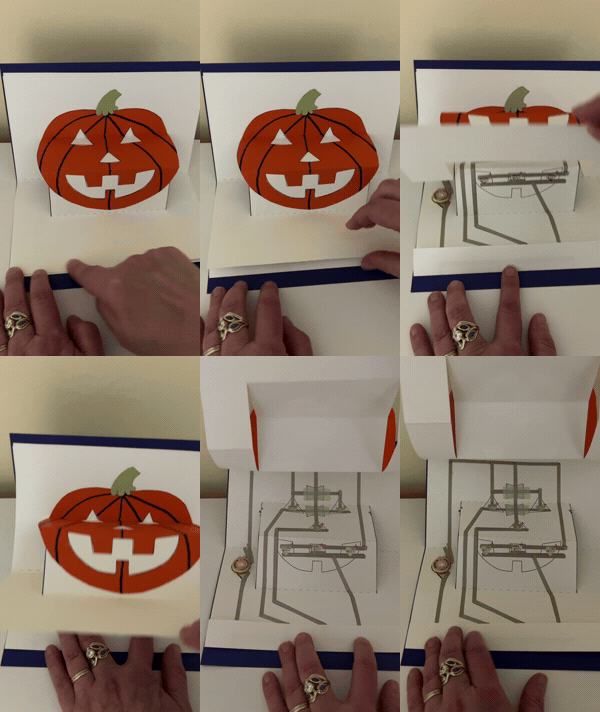
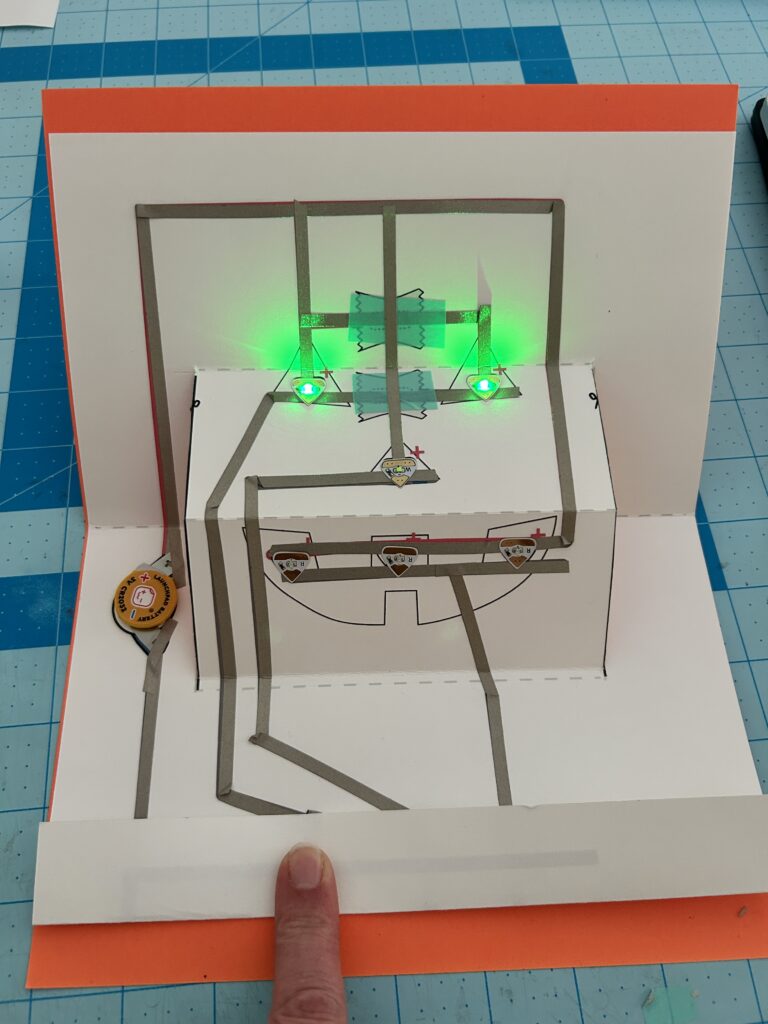
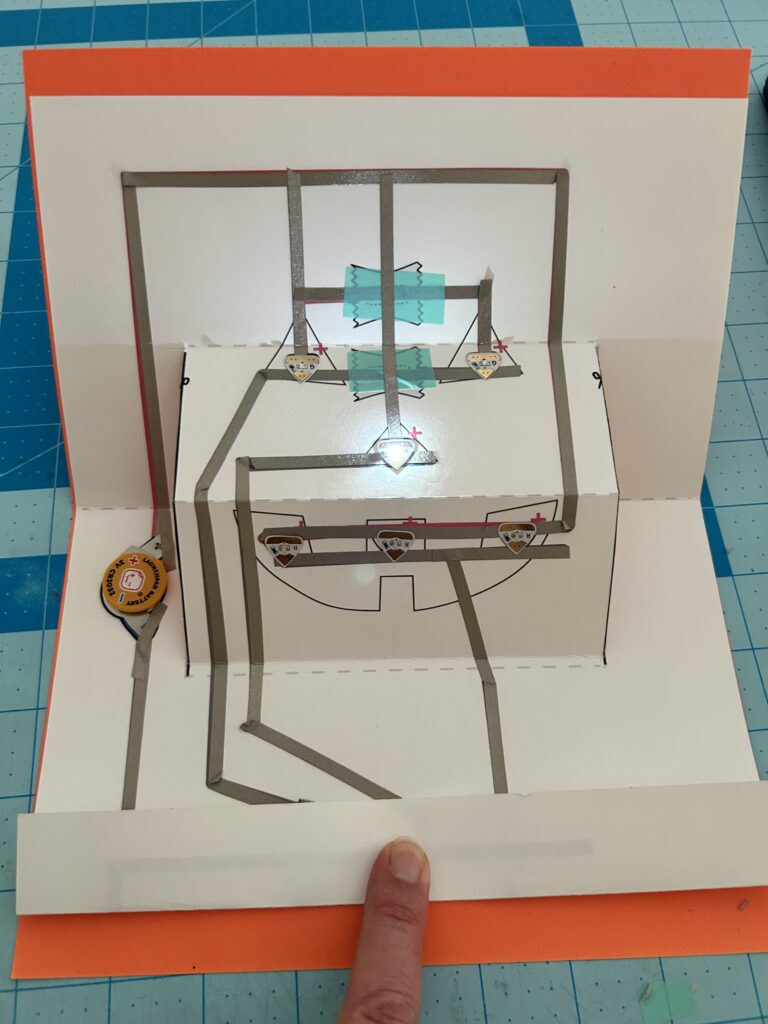
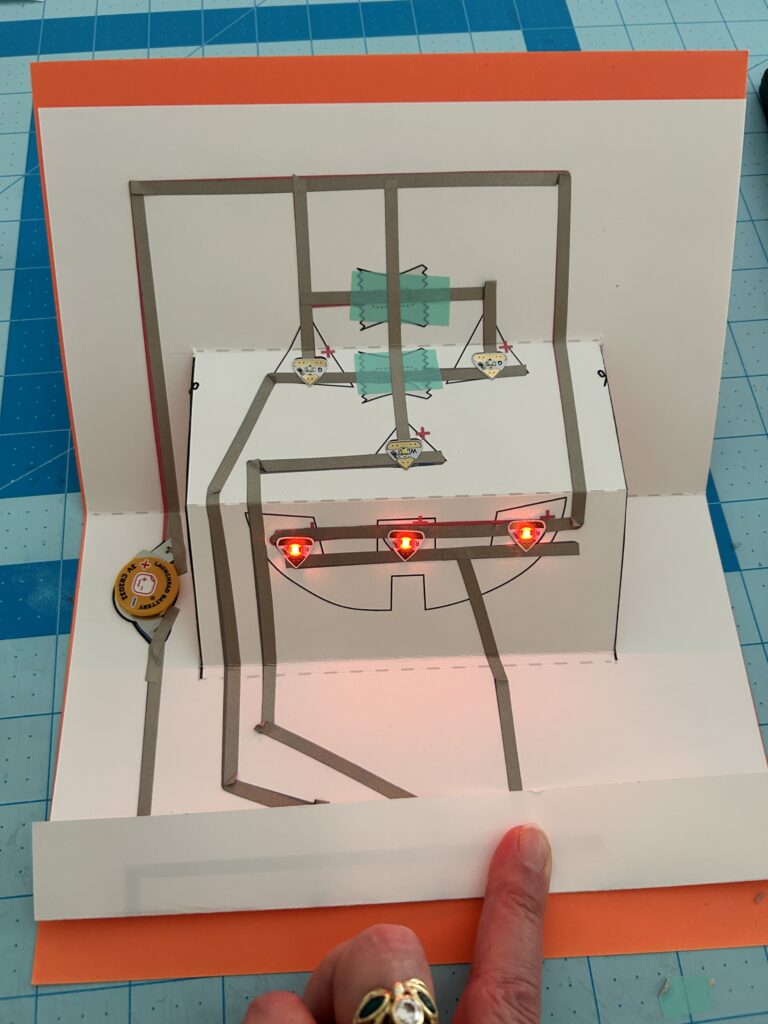
Step 3: Decorate Your Pumpkin & Complete the Art Layer
Once you’ve tested the circuit to ensure that it works as expected, you can finish making the art layer.
If you haven’t already done so, decorate, fold, and cut out the jack-o-lantern piece. (I decorated mine with a black Sharpie and a piece of green conduction paper).
Then, use double-sided tape or glue to adhere the cut-out pumpkin shape on top of the art layer, which should have been scored, folded, and cut in Step 1.
With the art layer pressed flat upon the table, line up the holes in the pumpkin with the face on the art layer. Doing this will ensure that the folds and lights are properly aligned.
Be careful not to extend the adhesive beyond the cut lines on the art layer, or the pumpkin piece will stick to the paper and will not pop out properly.
Step 4: Assemble the Pieces
After you’ve finished the art layer, fold it at a 90 degree angle and place it on top of the folded circuit. Match up the folds in the layers and fold them closed together.
Then, to create a more finished card, place the two folded layers inside of a piece of colored cardstock that you’ve folded in half. Use double sided tape or glue to attach it to the top cover.