
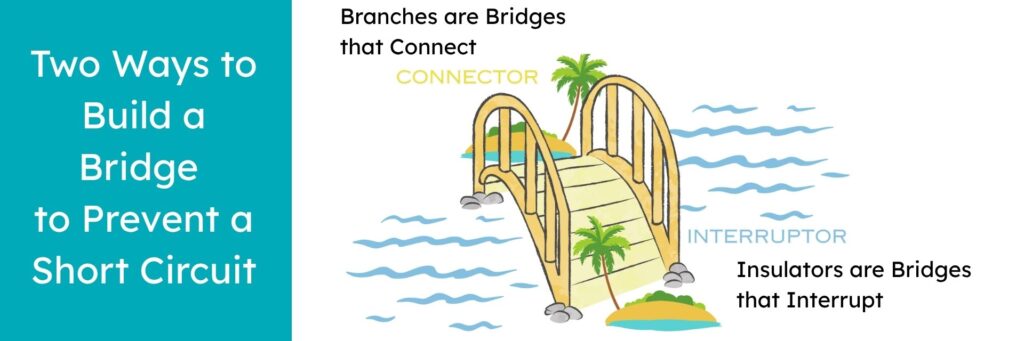
If you spend enough time experimenting with paper circuits, you are bound to have a situation arise when you encounter a short circuit that requires you to create a bridge.
This Tech Tip will explain why short circuits occur, introduce some basics for creating bridges. and explain how they may be used within a paper circuit to keep your LEDs from flickering and your battery from draining.
I’ll be using Circuit Sketcher (our NEW Digital Design Software) to demonstrate a couple of examples.
Short circuits occur in one of two ways.
- Short circuits can occur when two pieces of conductive material are not adequately joined together.
- They may also occur when two pieces of conductive material are connected when they should not be.
When either of these circumstances arise, the lights in your circuit may flicker or not turn on at all, as the power from your battery seeks the path of least resistance. When positive and negative traces touch one another, the electrons in your circuit will expend a lot of energy (and create heat), but they will not flow through your LED.
There are two ways to use bridges.
Like the word suggests, a bridge may either cross over something (like a footpath avoiding a stream), or connect two more more objects together (such as two different parts of a tropical island).
The same is the case with electrical bridges, which may be either connectors or interruptors within a circuit.
Bridges as Connectors (Branches)
A bridge is created whenever you intentionally connect two branches of a circuit together. An example of this type of bridge may be observed in this switch example.
Notice how this circuit has several different branches? Some are connected to the positive side of the battery while others are connected to the negative side through a series of switches.
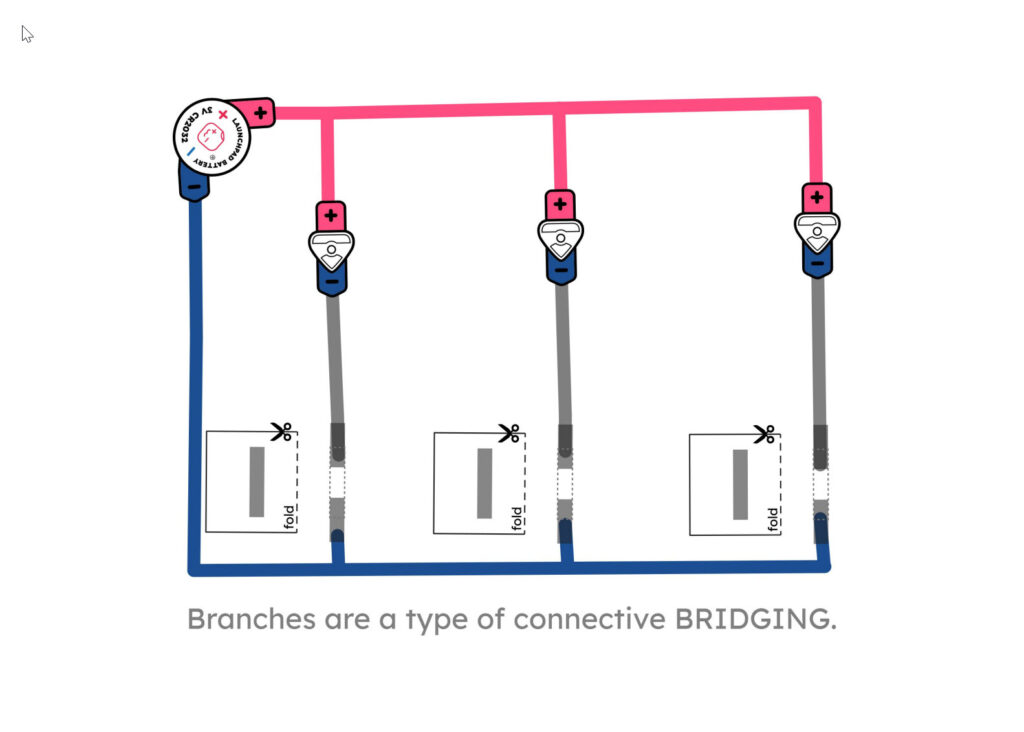
These types of bridges are created by making a solid physical and electrical connection between two pieces of conductive material that share the same polarity. An example of this type of connective bridging would be using a Conductive Fabric Tape Patch to repair a crack in a piece of copper tape.
Another type would be adding an extension from one piece of conductive tape to another, to create multiple paths for electricity to flow.
Bridges as Interruptors (Insulators)
A second type of bridge serves as a protective barrier that allows electricity to be safely carried over or through an area that shouldn’t be connected to. An example of this type of bridge may be observed in this switch example.
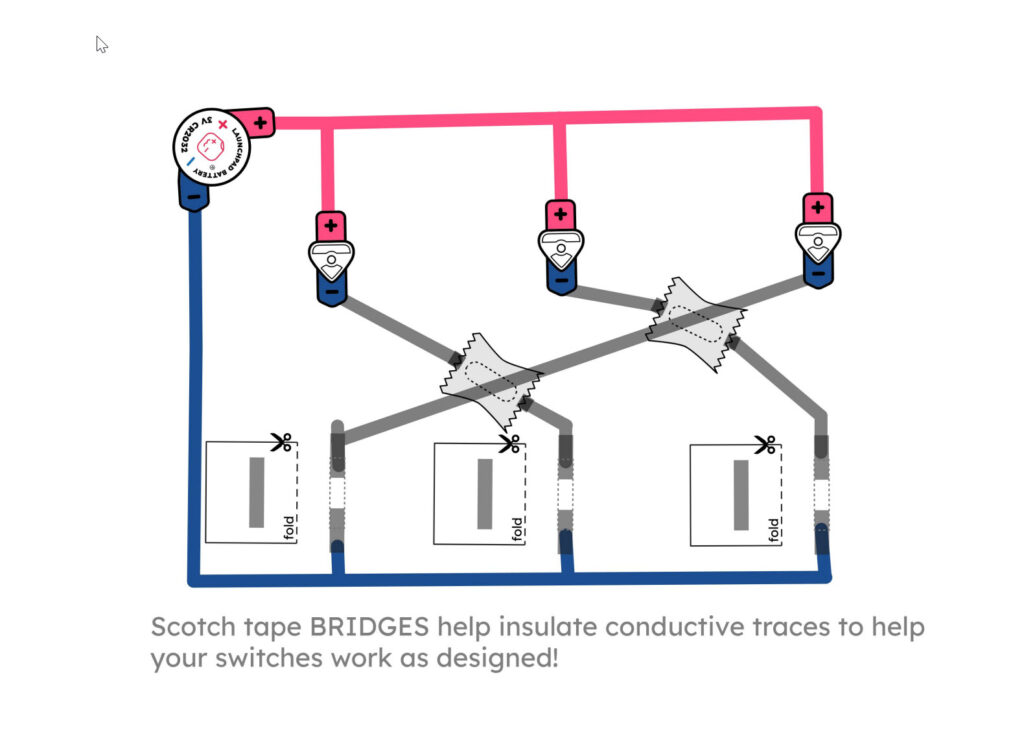
Notice how the negative leads of this circuit cross over other negative leads in order for the switches to connect with different lights? Without adding insulating bridges, however, all of the LEDs would be connected together whenever any one of the three switches is pressed.
To prevent unintended connections, these types of bridges are created by adding an insulator between two electrical traces. While insulating bridges are not always required when crossing two traces that share the same polarity (as is the case with this circuit) they are useful for preventing unwanted connections (a type of short circuit).
In this example, bridges are used to interrupt the flow of electrons in order for three folding switches to work correctly. Scotch tape, washi tape, and even scraps of paper make excellent insulators for building bridges.
Learn More
You can learn more about Circuit Sketcher, in general, by visiting Try Circuit Sketcher: Design Software for Paper Circuits.
You can find a project that uses bridges by visiting: Interactive Pop-Up Jack-O-Lantern Featuring Circuit Sketcher