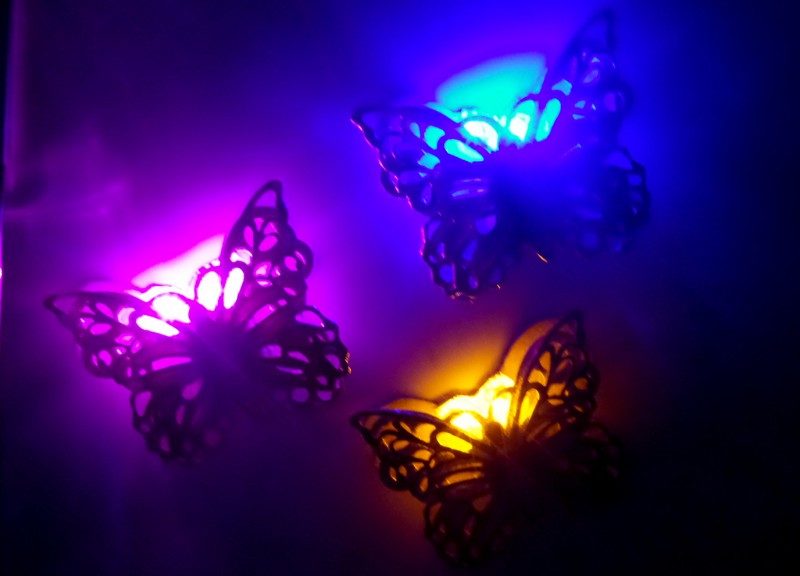
Brighten the Night with a Bookish Light
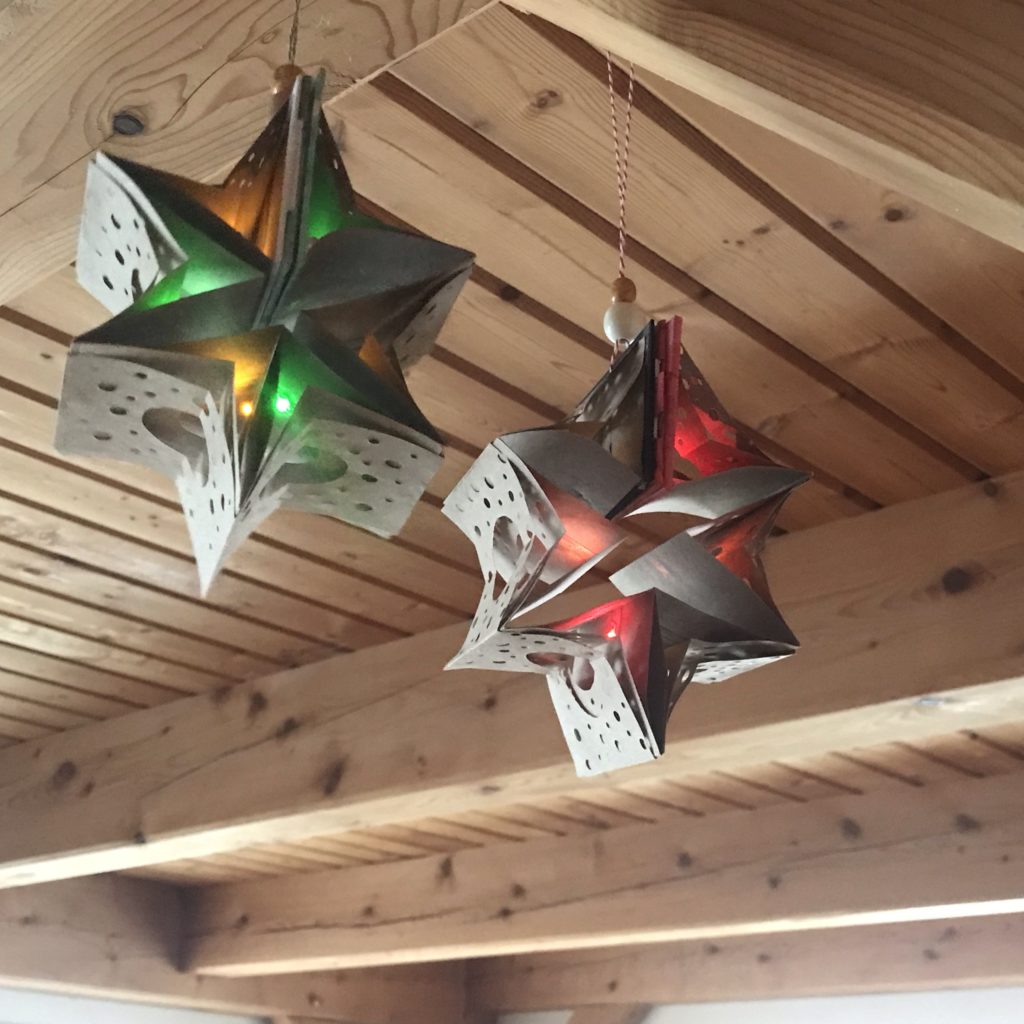
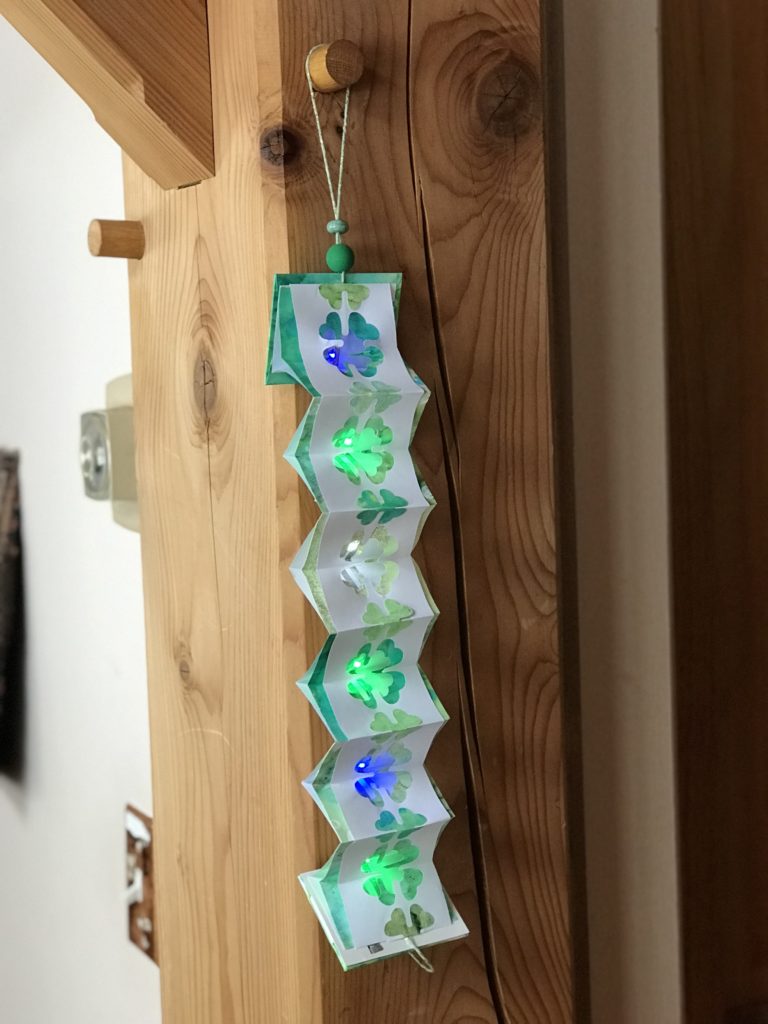
In this tutorial, we will show you how to make a versatile book lamp, using a structure that may be used as a hanging ornament, tabletop display, or nightlight.
Video
Carousel Book Light Video Tutorial
Introduction
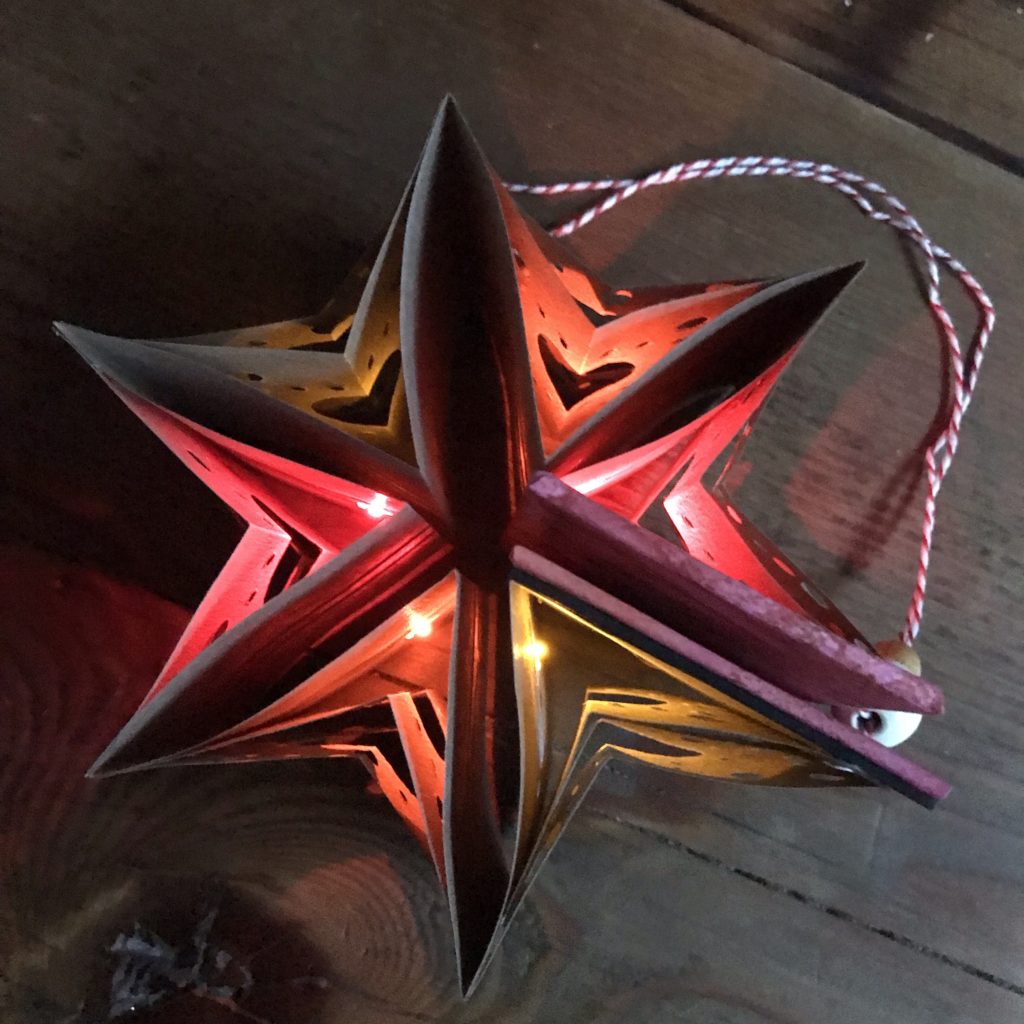
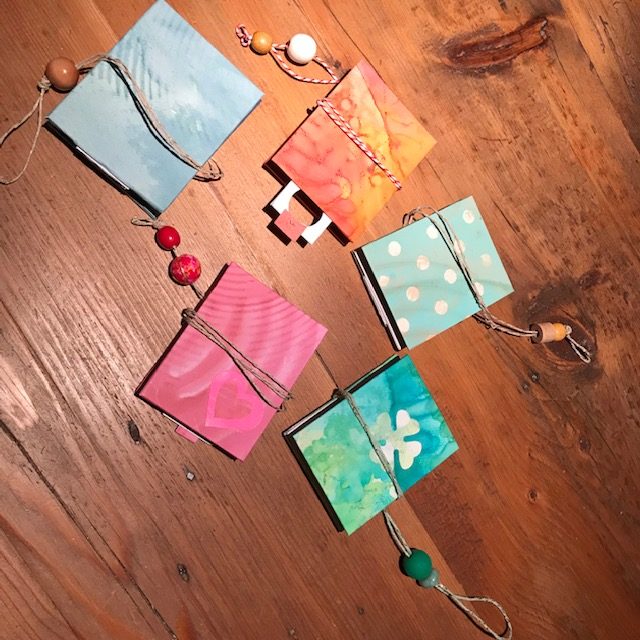
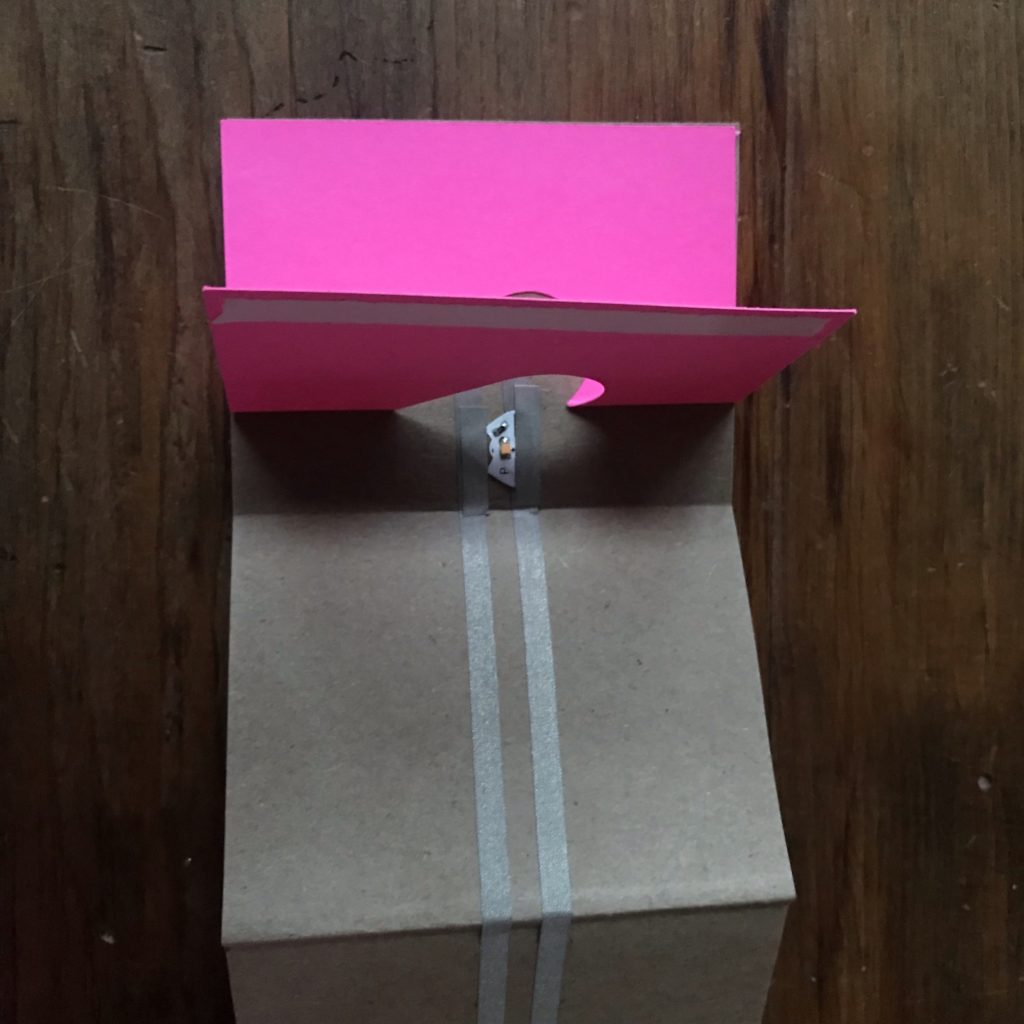
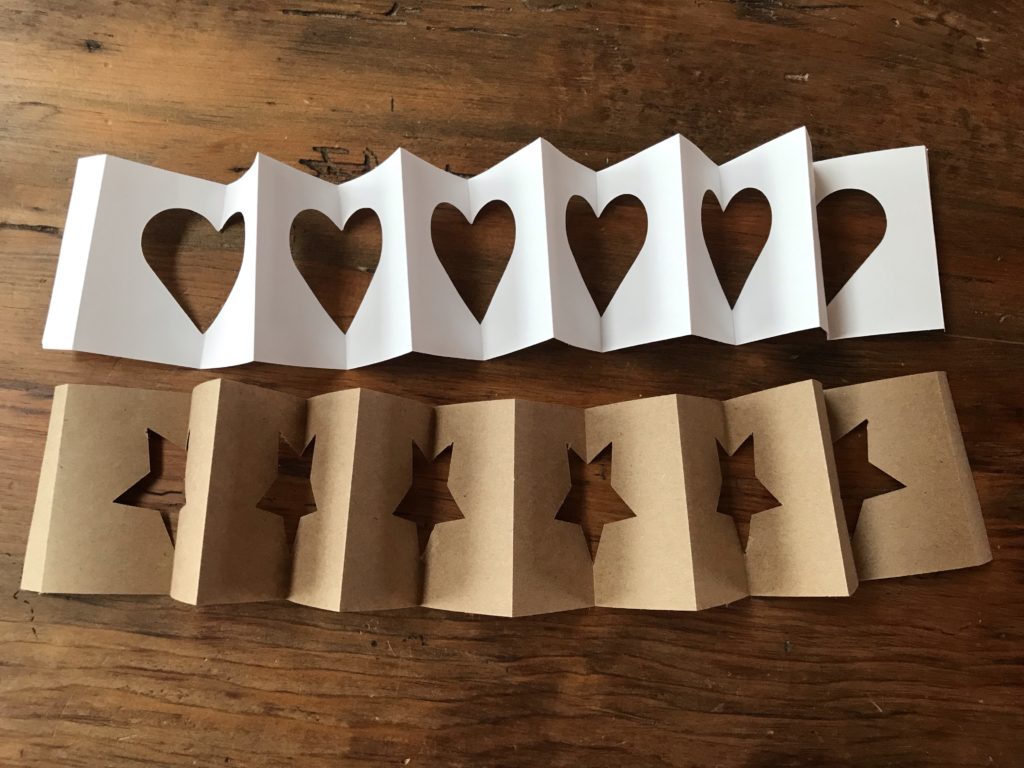
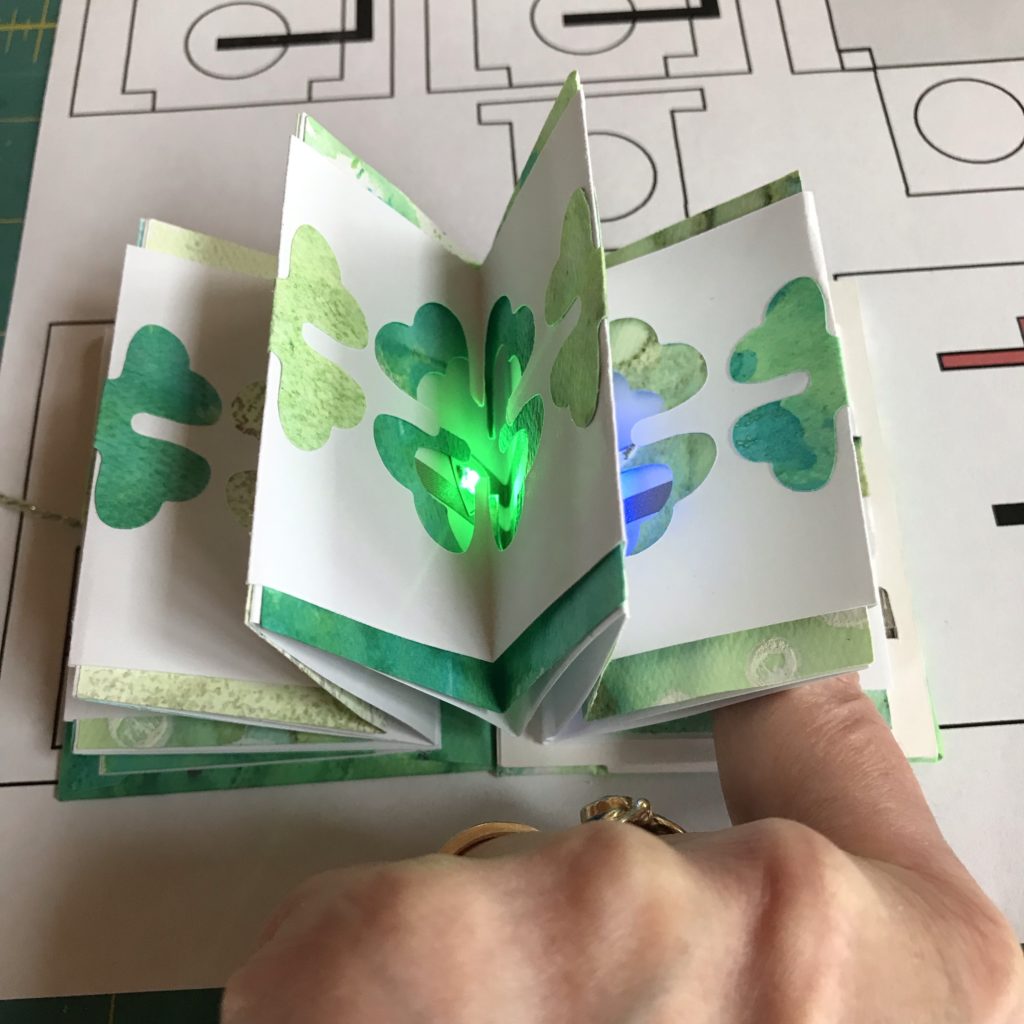
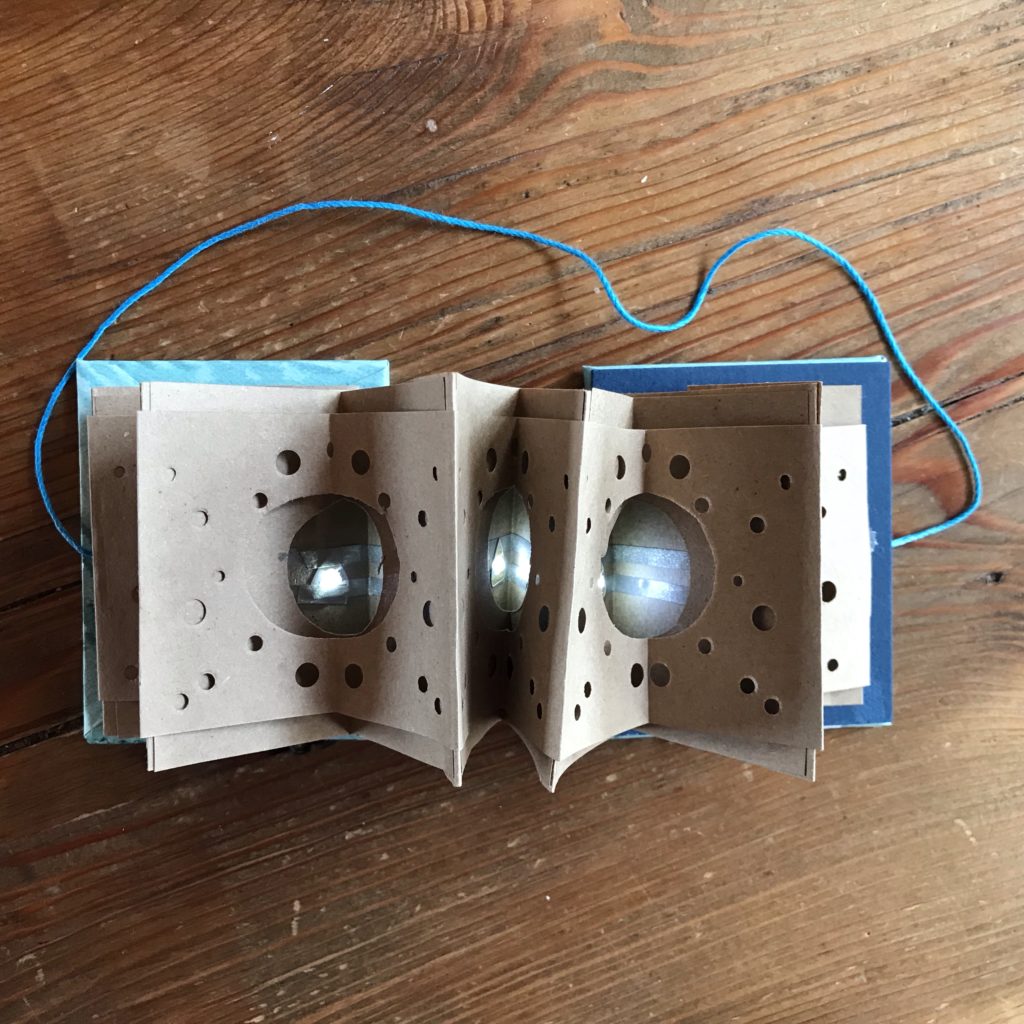
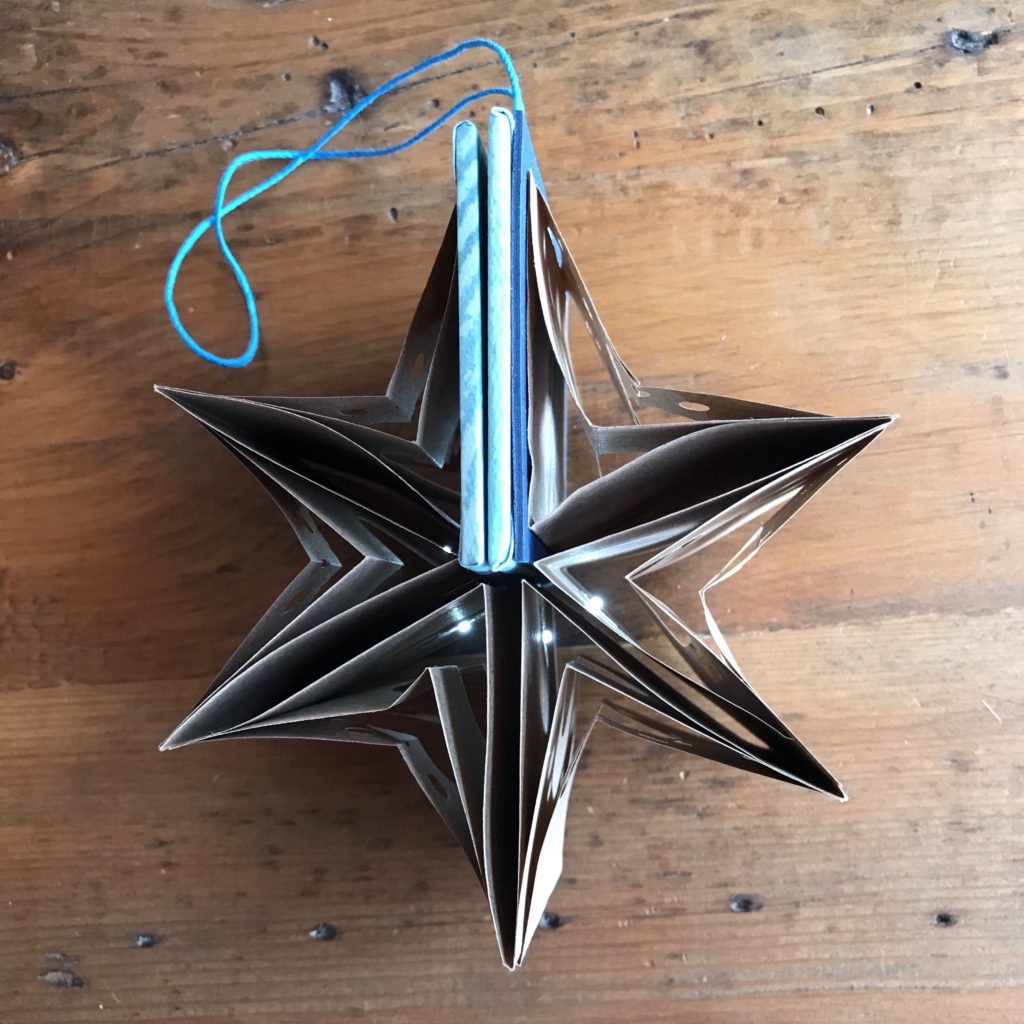
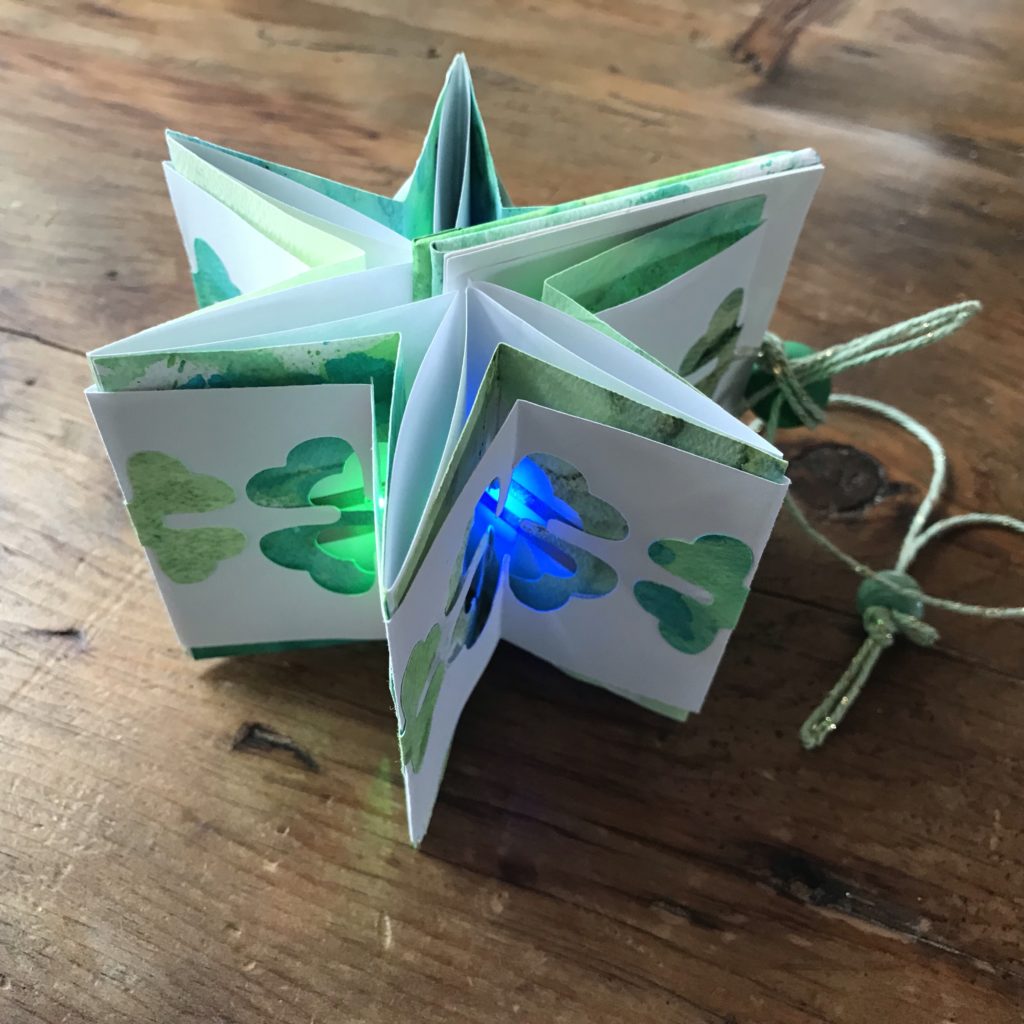
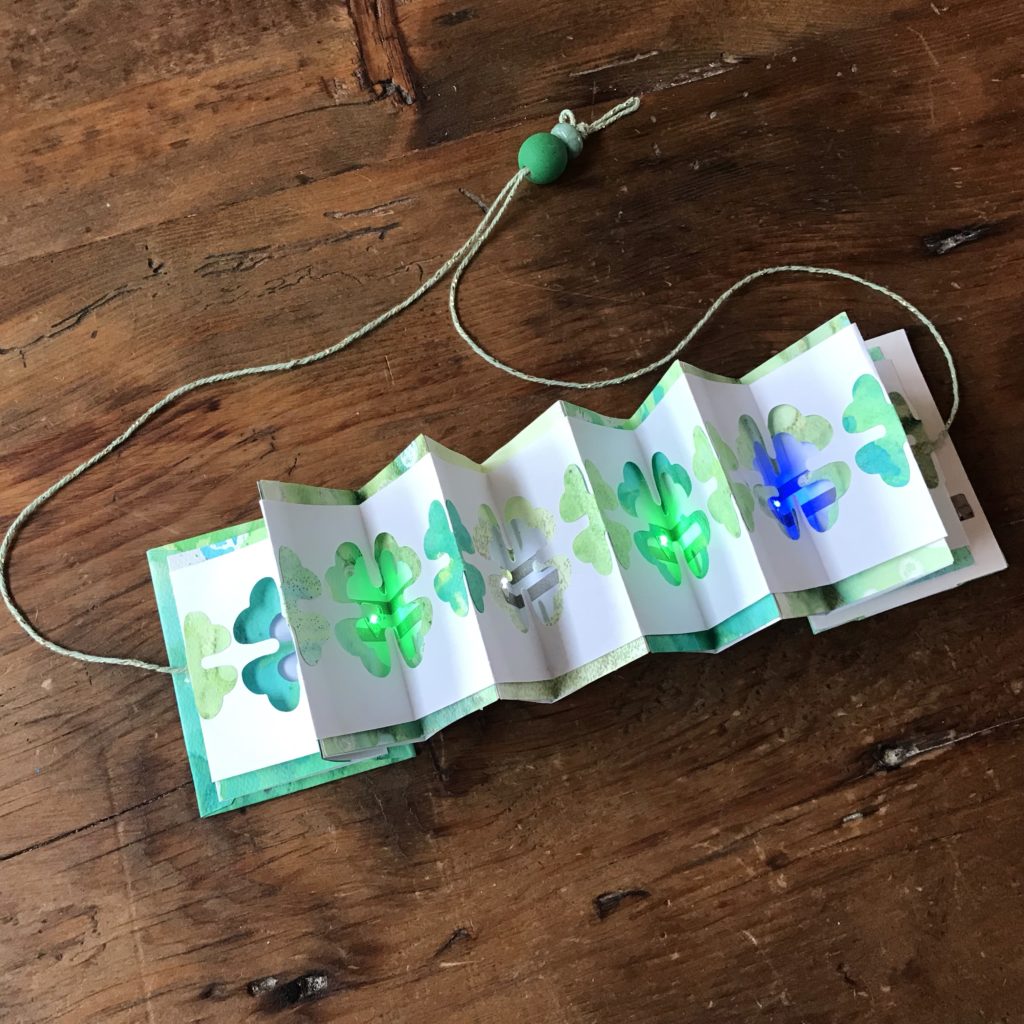
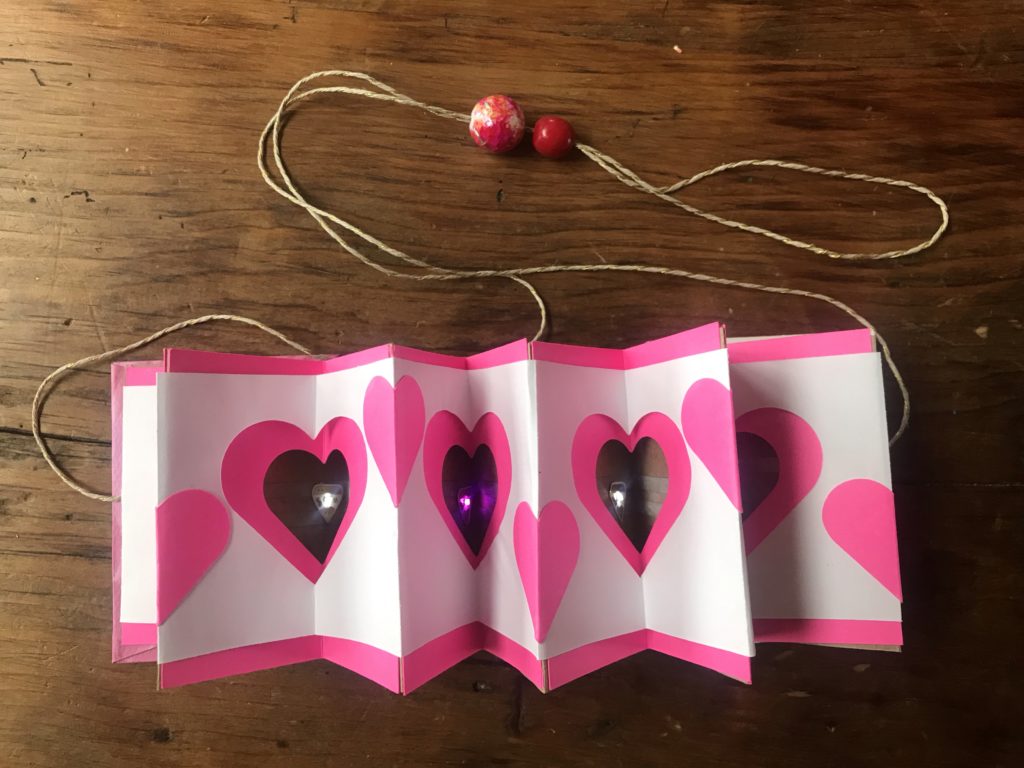
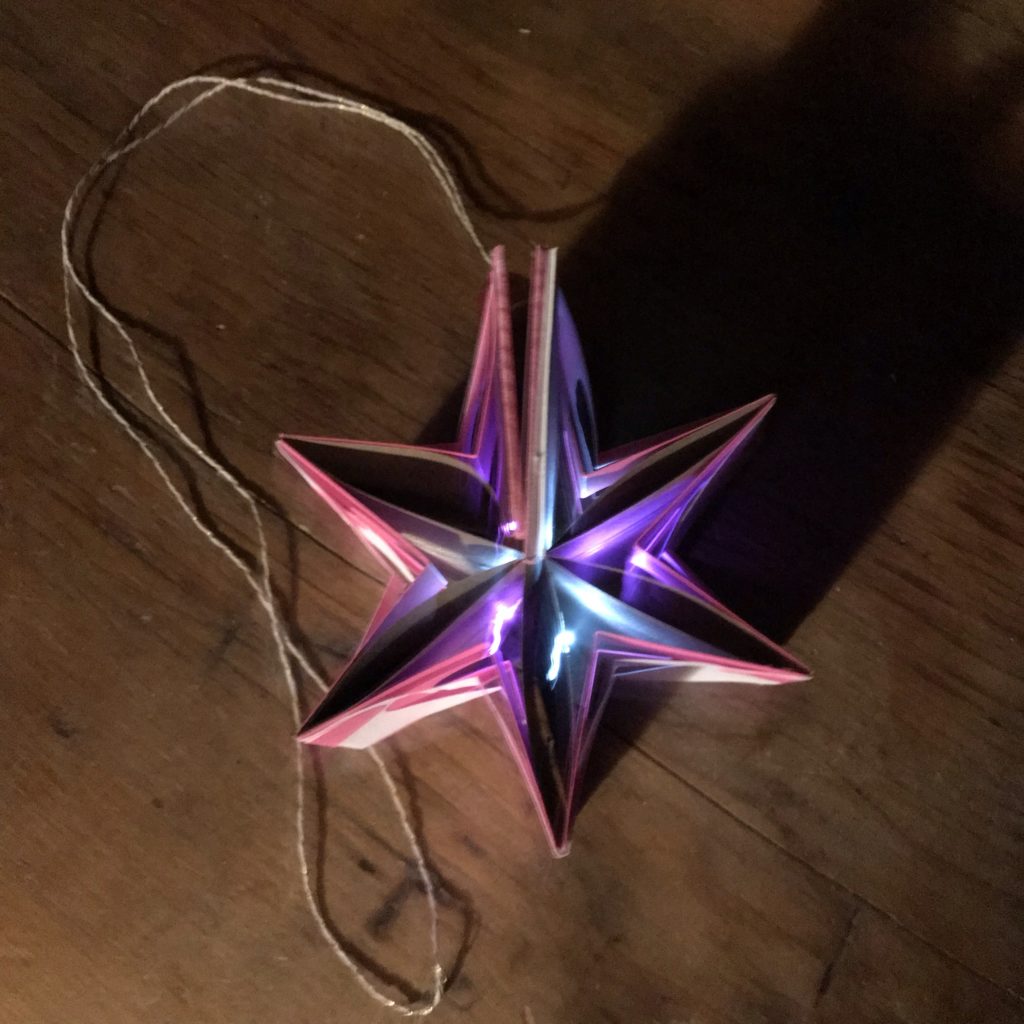
This project combines paper circuits with paper crafting to make a versatile book structure that may be turned into a hanging ornament, tabletop display, or nightlight. Changing the colors of the LEDs or the paper you use, as well as the shapes you choose for the cut-outs, will allow you to customize this project in a number of ways. From circles, to shamrocks, to hearts, this project has a lot of potential for adding color and light to your home décor. When not in use, the Carousel Book Light may be folded up compactly, the battery removed from its tray.
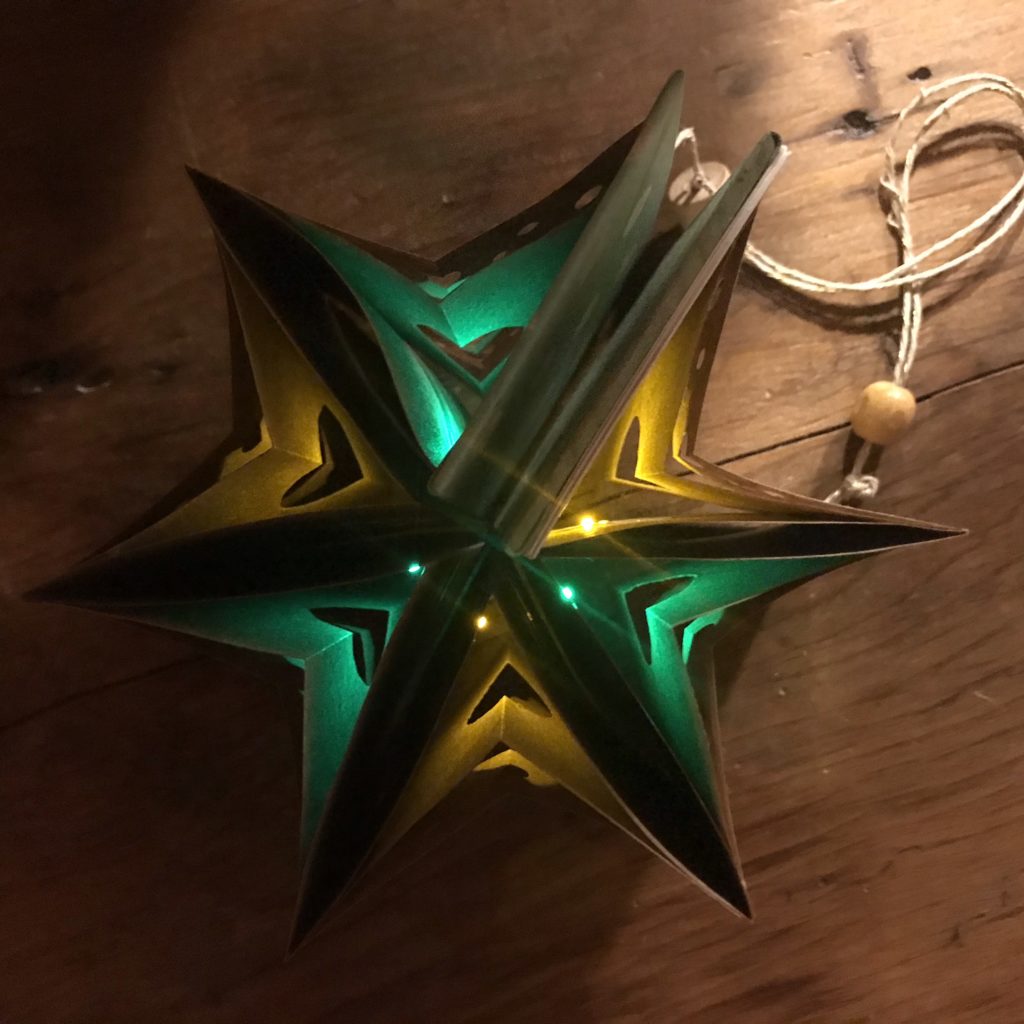
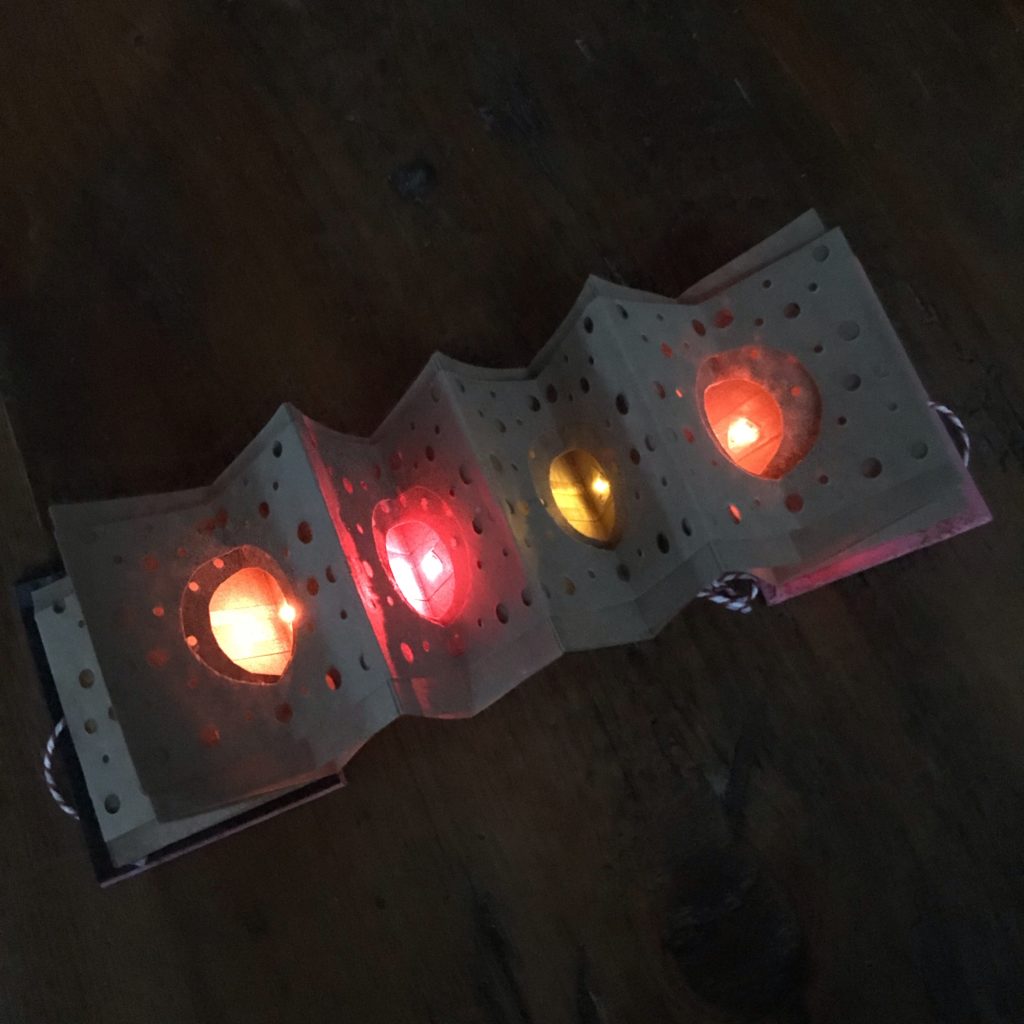

When not in use, the book may be folded up compactly, the battery removed from its tray.
Related
Categories
book art, book binding, lamp, ornament, home decor, night light, paper craft, paper engineering
Materials & Tools
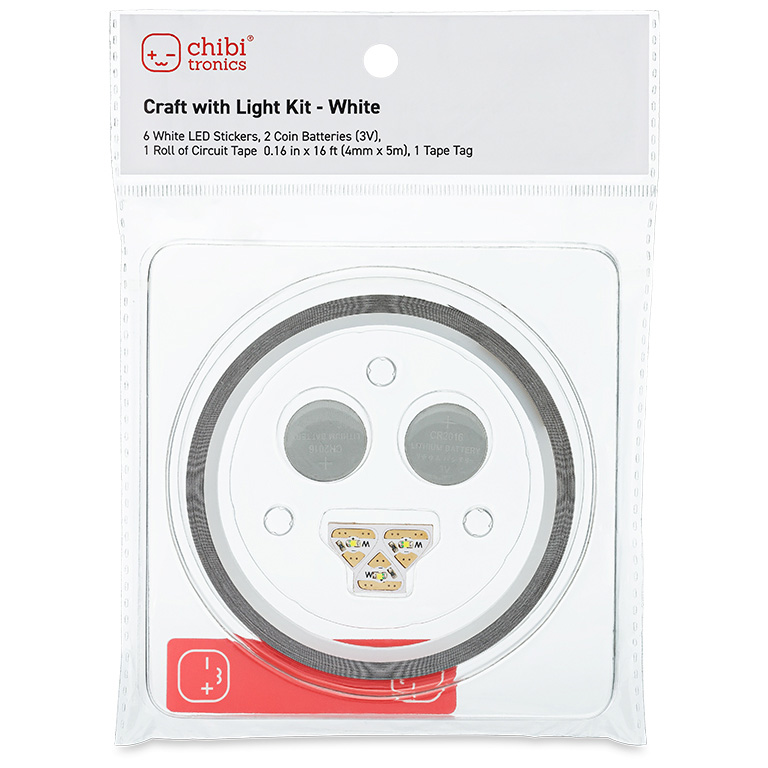
Note: A Chibitronics Craft with Light Kit (in White or Color) contains all of the electrical components required to make this project. Additionally, some of the book parts of this project may be cut with a craft machine (and glued together in layers) rather than by hand. (See Carousel Book Light PDF & SVG for more details.)
Electronics Supplies:
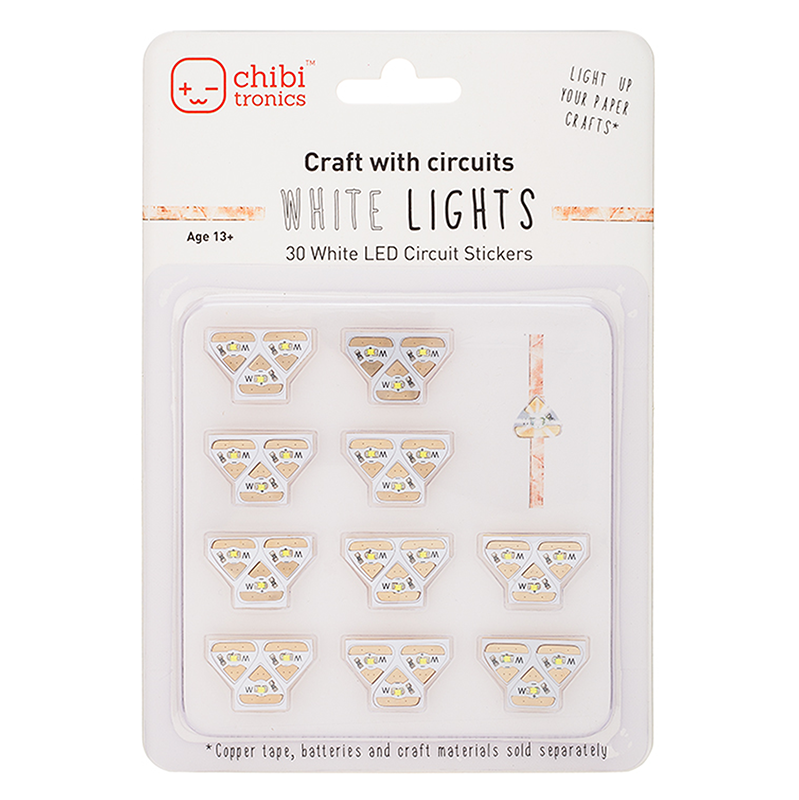
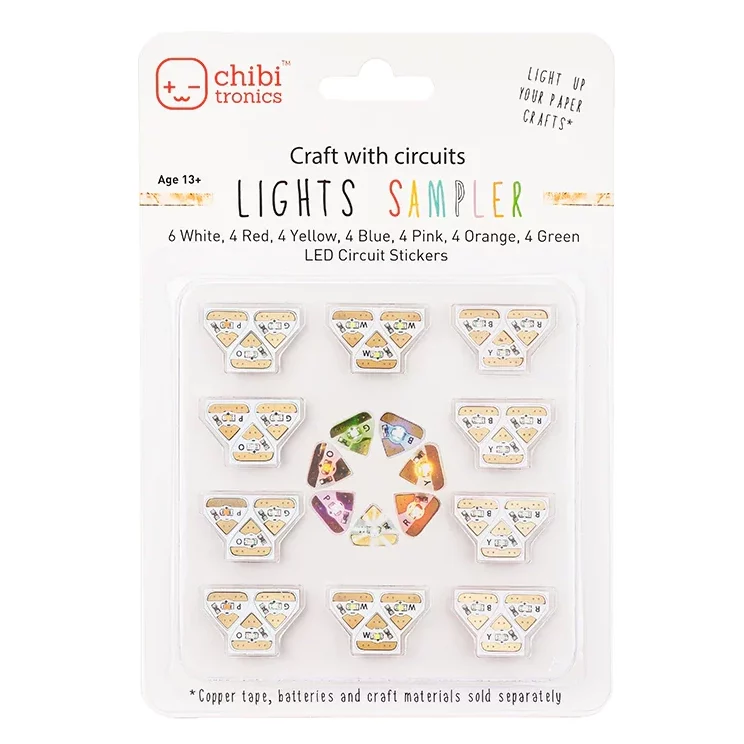
- 6 Circuit Sticker LEDs
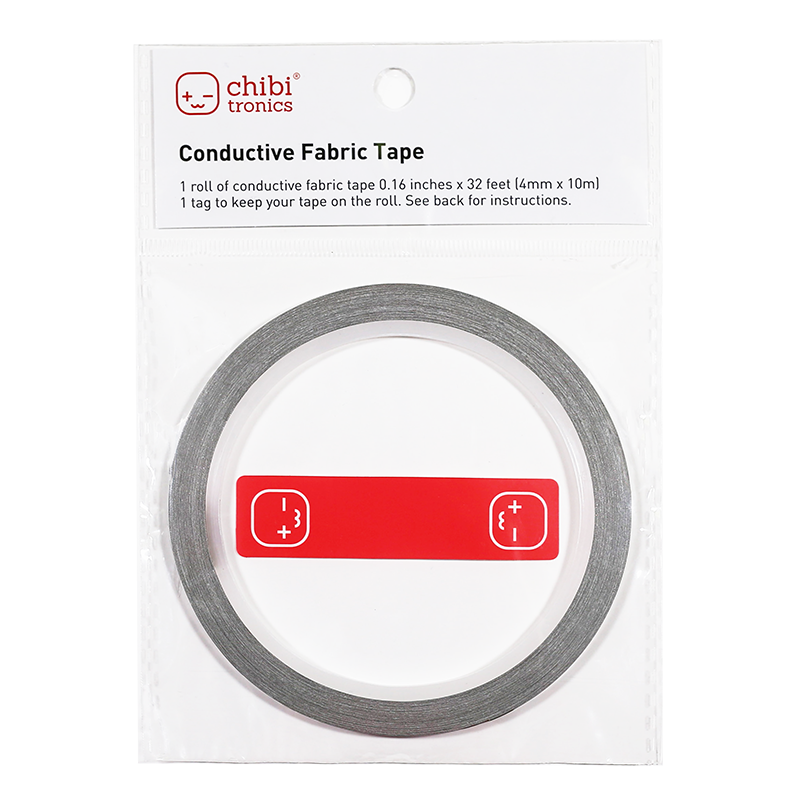
- Conductive Fabric Tape
- CR2016 Battery (thinner than a CR2032)
Other Tools & Supplies:
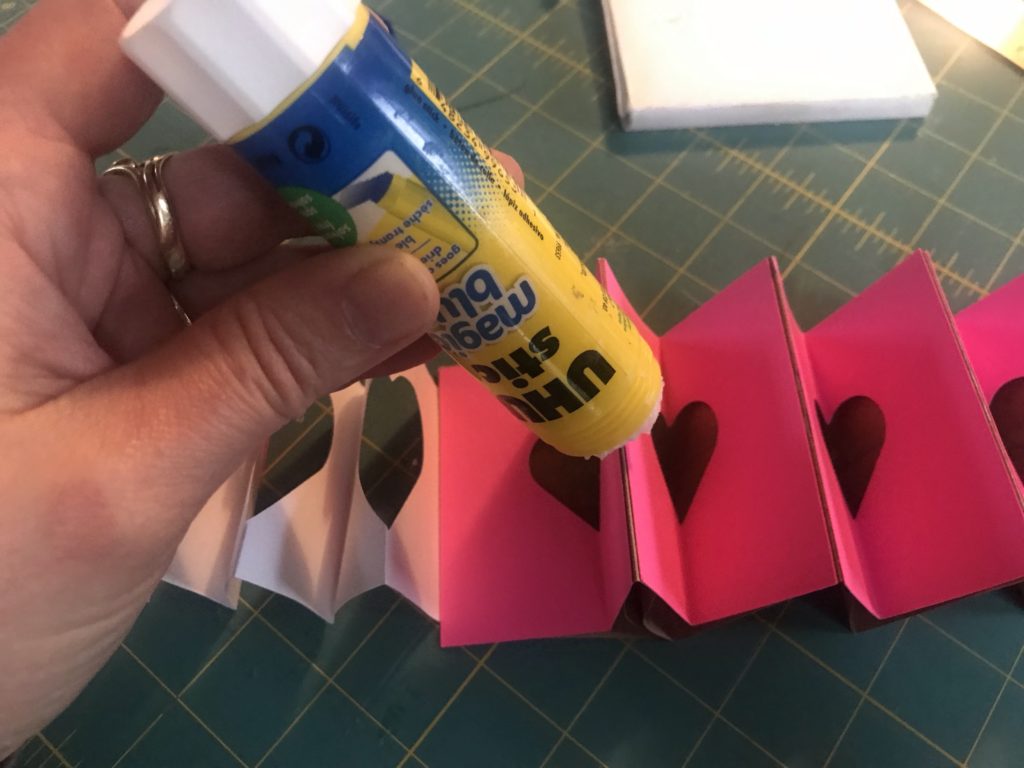
- UHU Glue Stick
- Double sided tape
- Scotch tape
- Scissors
- Bone folder
- Ruler
- Pencil with eraser
- Pen Knife
- (Optional) Japanese Screw Punch & Self-healing Mat
- (Optional) Home fabrication tool (I’m using a Cricut)
Book Parts:
1 piece of craft paper cut 3” H x 27” W, folded into a 12-page accordion measuring 3” H x 2 ¼” W (This will form the base circuit layer.)
6 pieces of paper (plain or decorative) cut 3” H x 3 ¼” W (These will be adhered to the base circuit layer.)
1 piece of craft paper cut 2 ½” H X 21” W, folded into a 14-page accordion measuring 2 ½” H x 1 ½” W (This will become the outermost layer.)
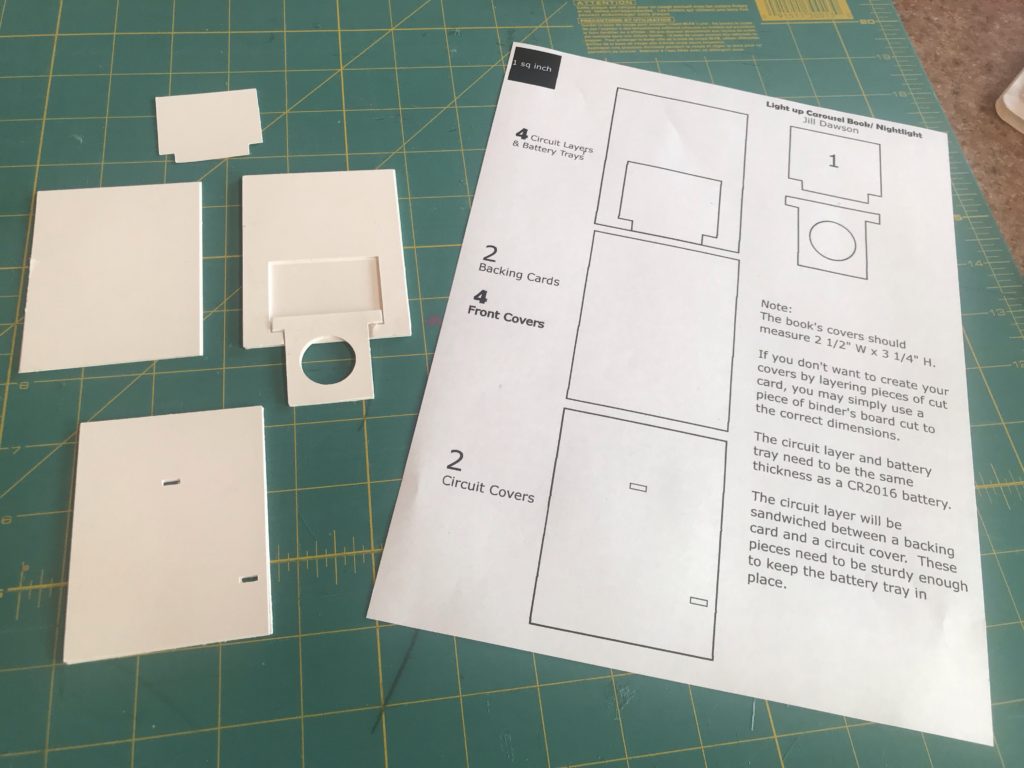
Two 2 ½” W x 3 ¼” H pieces of binder’s board (one for the front cover & one for the circuit cover)
4 battery holder drawers (layered & glued to the height of a CR2016 battery)
4 battery holder pages (layered & glued to the height of a CR2016 battery)
Two 2 ½” W x 3 ¼” H pieces of heavy card (for backing the battery holder)
Two 3 3/4″ W x 4 3/4″ H pieces of decorative paper (to wrap the front & back book covers)
12”- 14” of ribbon or heavy string
Decorative beads (for closure)
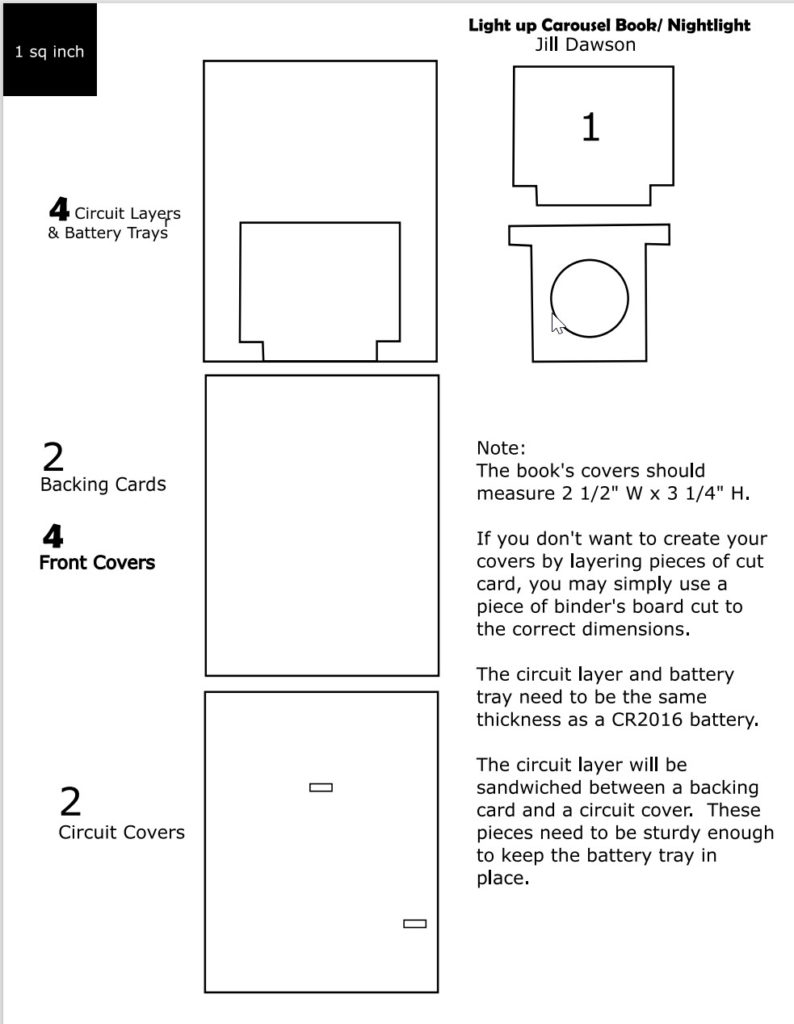
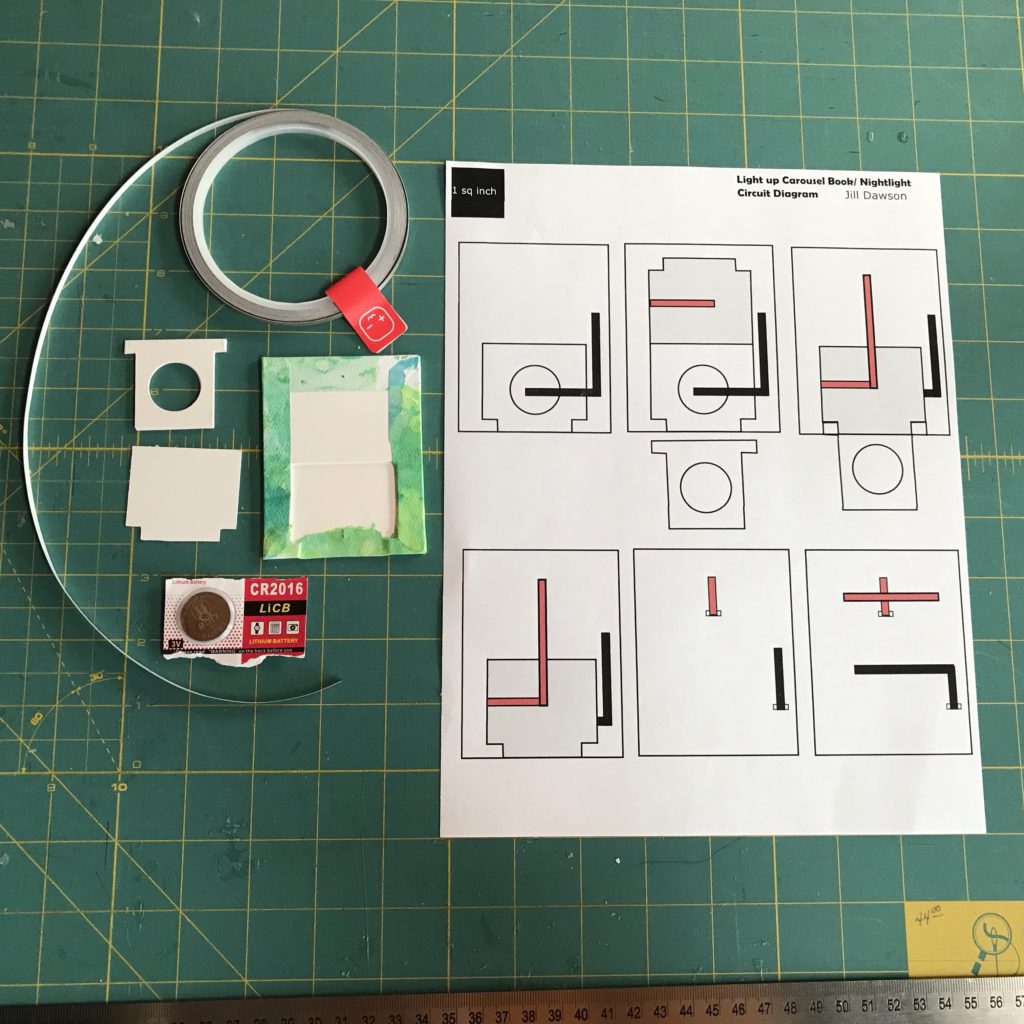
Carousel Book Parts and Circuit Diagram
Click on the buttons below to access the Carousel Book Parts PDF/SVG or the Circuit Diagram PDF.
Directions
Note:
While I’ve done my best to photograph and accurately describe every step, the video up top demonstrates each step in more detail.
Step 1: Create Circuit Layer
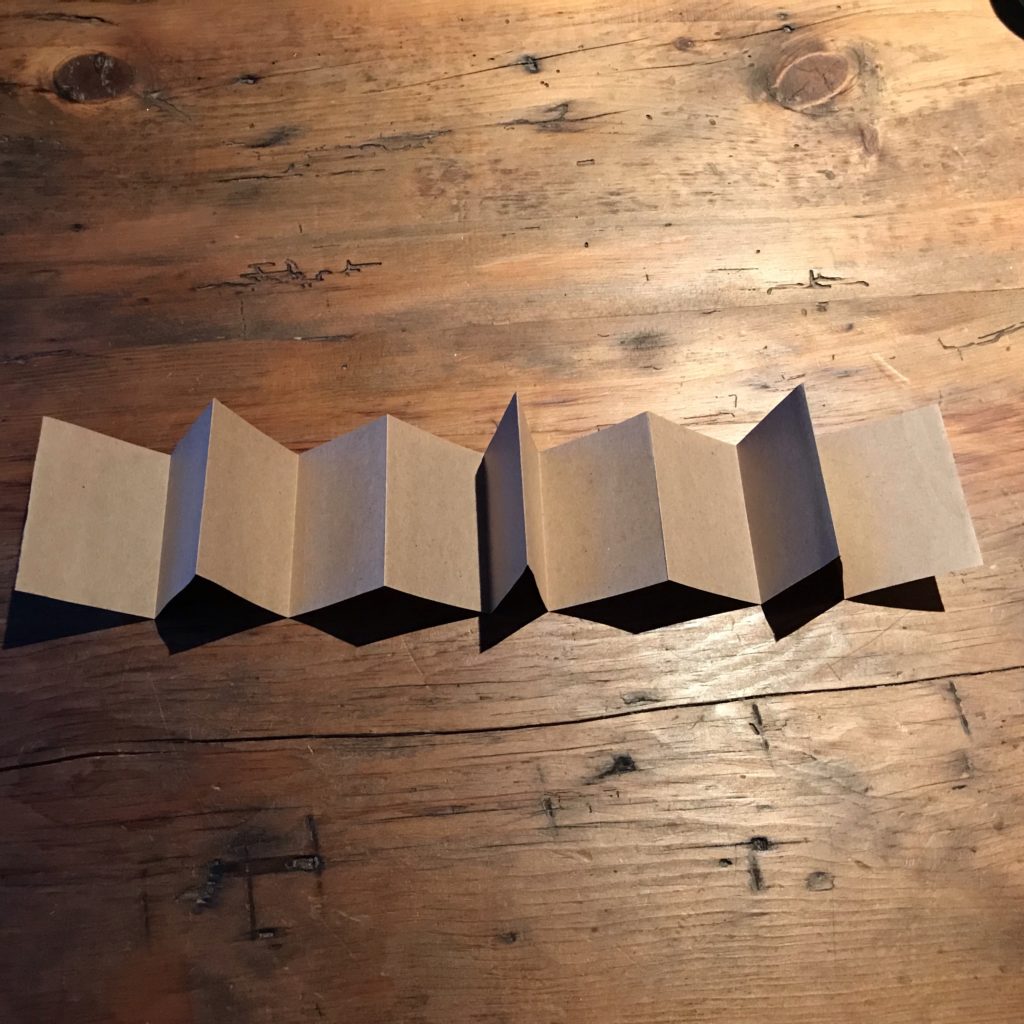
First, to begin creating your circuit layer, position the 12-page accordion on a flat surface so that it resembles six V’s.
Then, before constructing the first part of the circuit (which will span the length of your accordion base layer) use a pencil to mark the desired location of your six Circuit Sticker LEDs. There should be one sticker for each V-fold spread, offset from the crease.
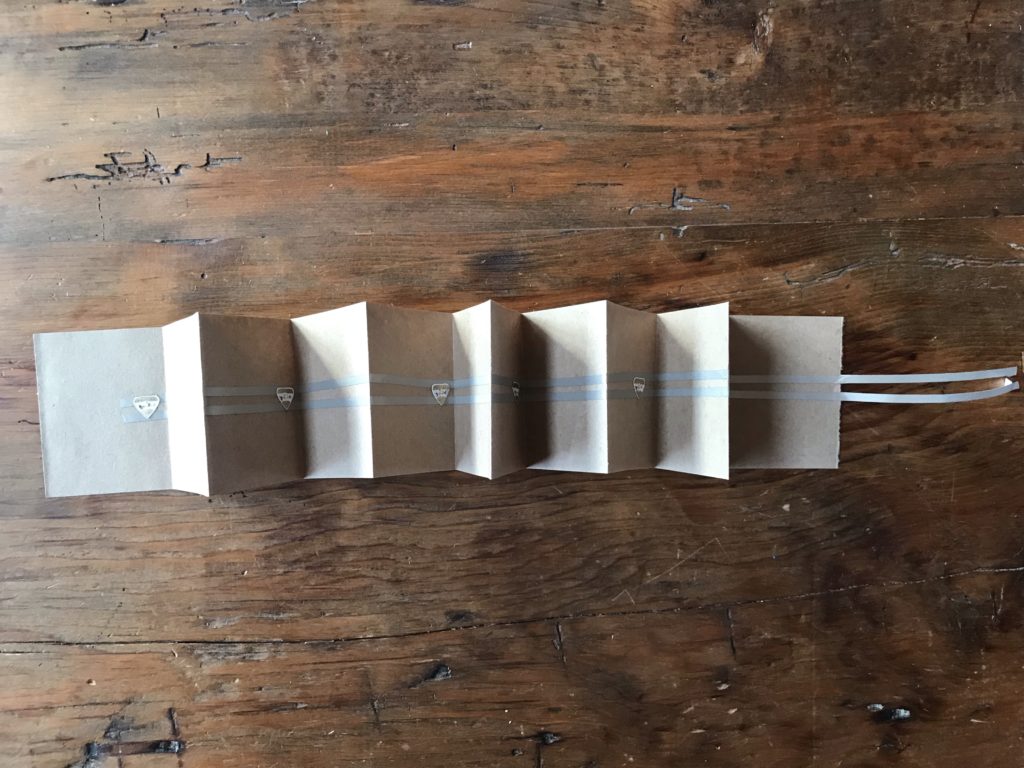
Next, adhere two pieces of conductive fabric tape parallel to one another, leaving a central gap for the Circuit Sticker LEDs. The top lead will connect to power and the bottom lead to ground. Allow a three to four inch tail of conductive fabric tape for each lead, extending beyond the right side of the accordion base layer; these will be connecting to another part of the circuit that will be concealed in the book’s cover.
Lastly, apply your Circuit Sticker LEDs, pointing down.
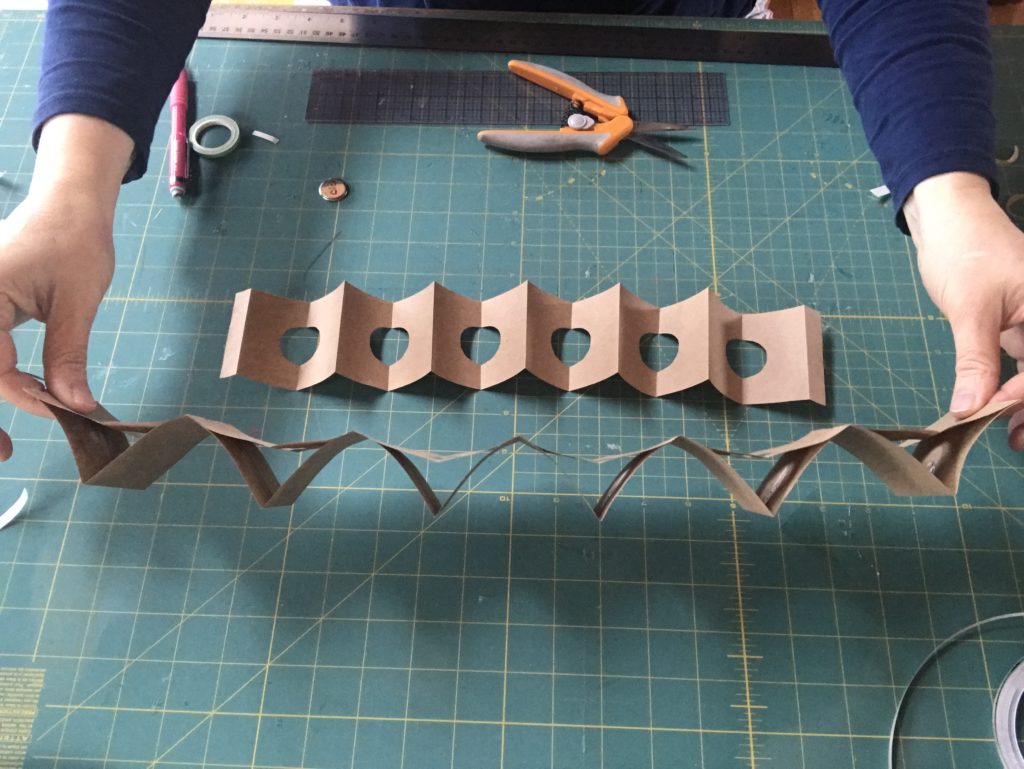
Step 2: Make Decorative Cut-outs
Before making any cuts, decide upon a decorative motif for your Carousel Book Light, such as a circle, diamond, or heart.
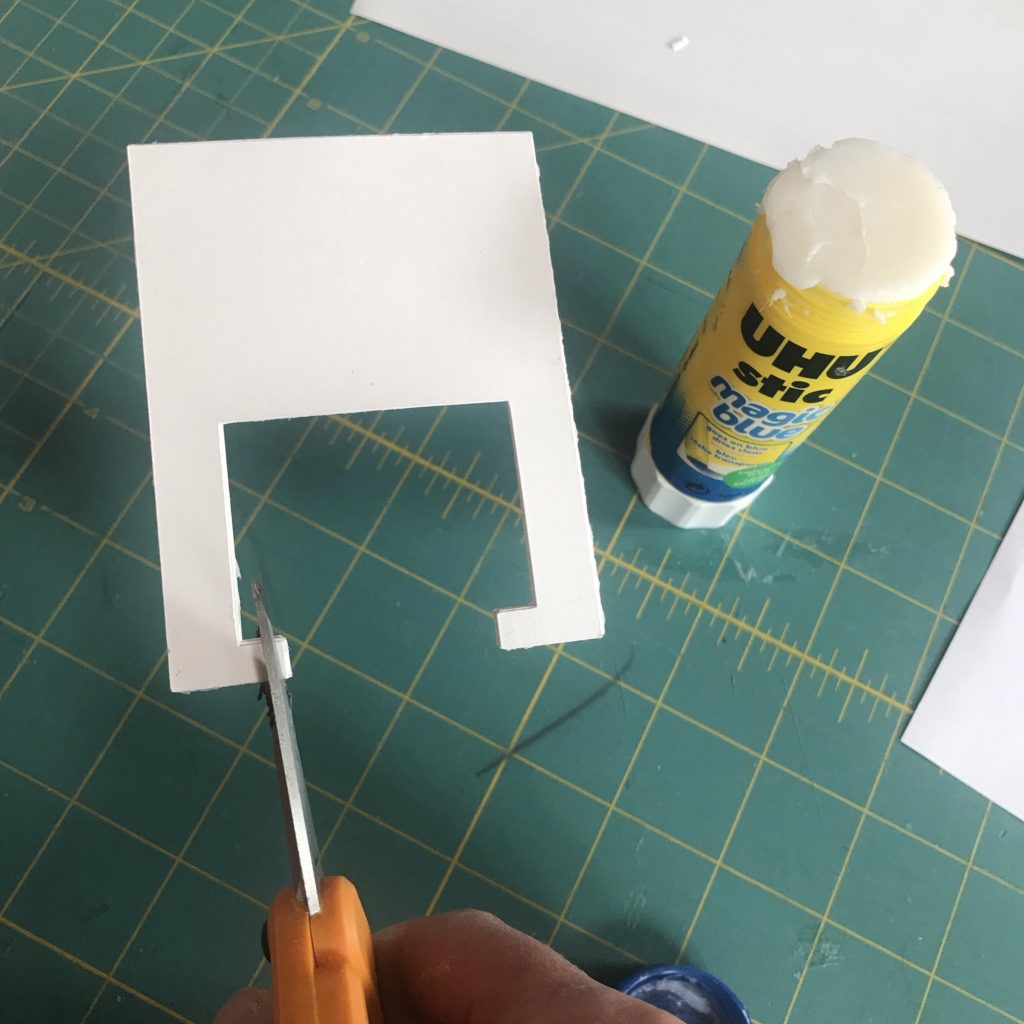
Then, fold each of the 3” H x 3 ¼” W pieces of paper in half vertically so they resemble a V.
Next, trace and cut your desired shape out from the center of all six folded pieces. (Note: I used a Cricut to make my shamrock and heart cuts, but I also experimented with hand-cut circles and stars).
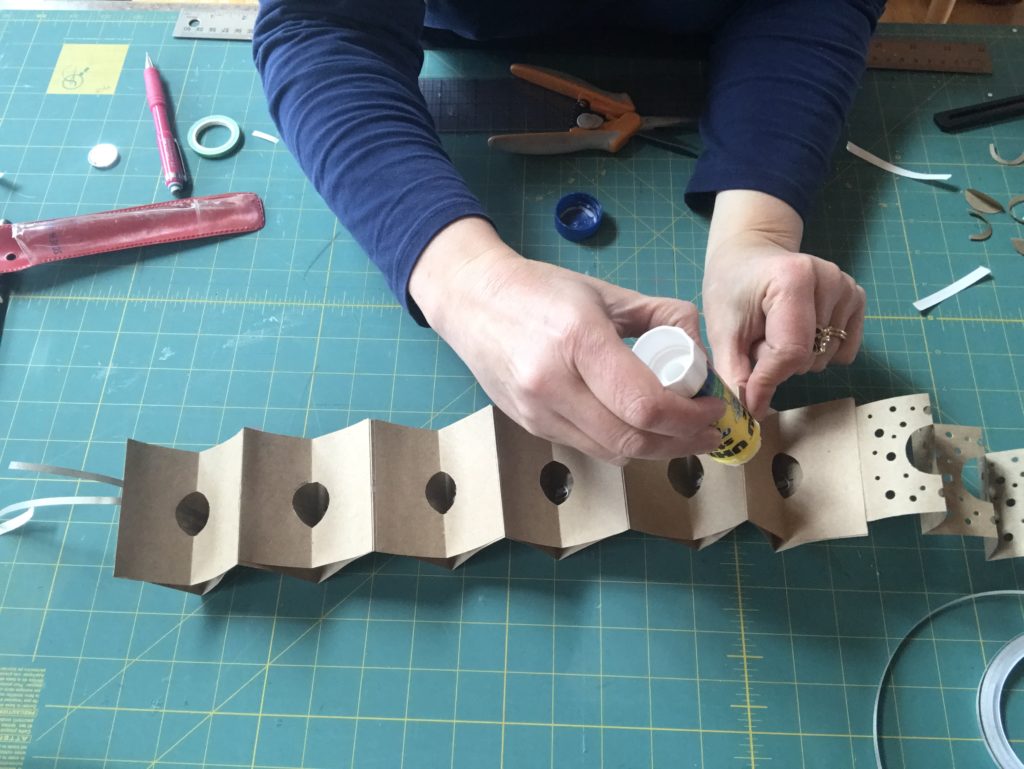
To add each piece to the accordion layer, adhere double sided tape to the front and back edges of the folded pieces.
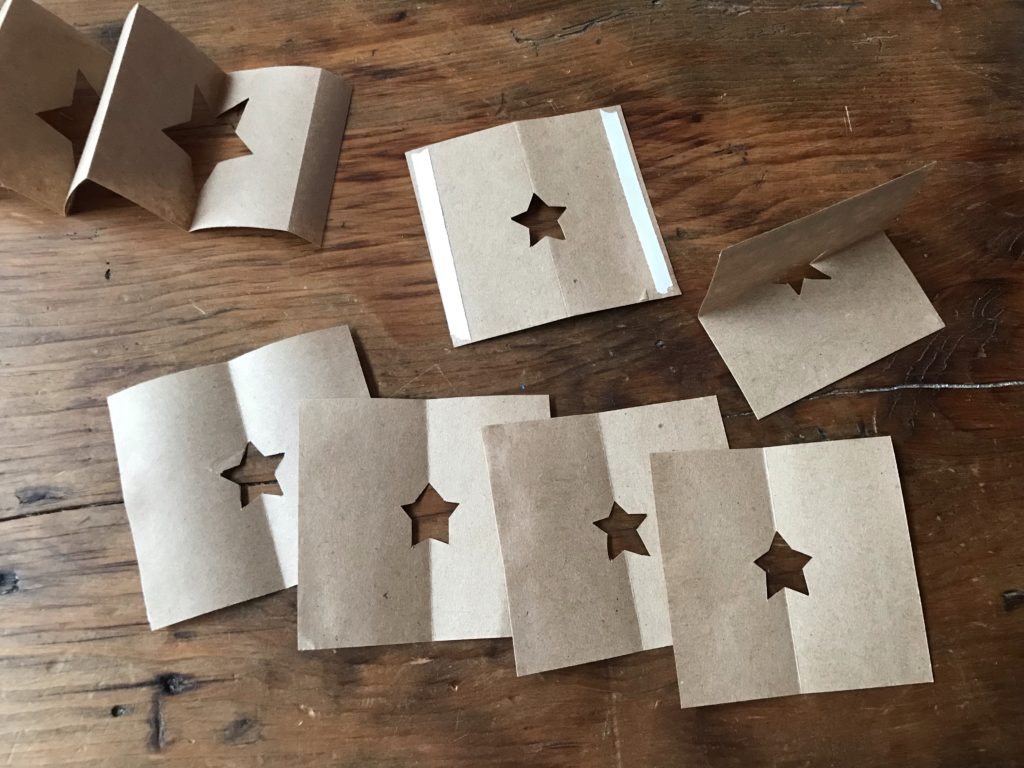
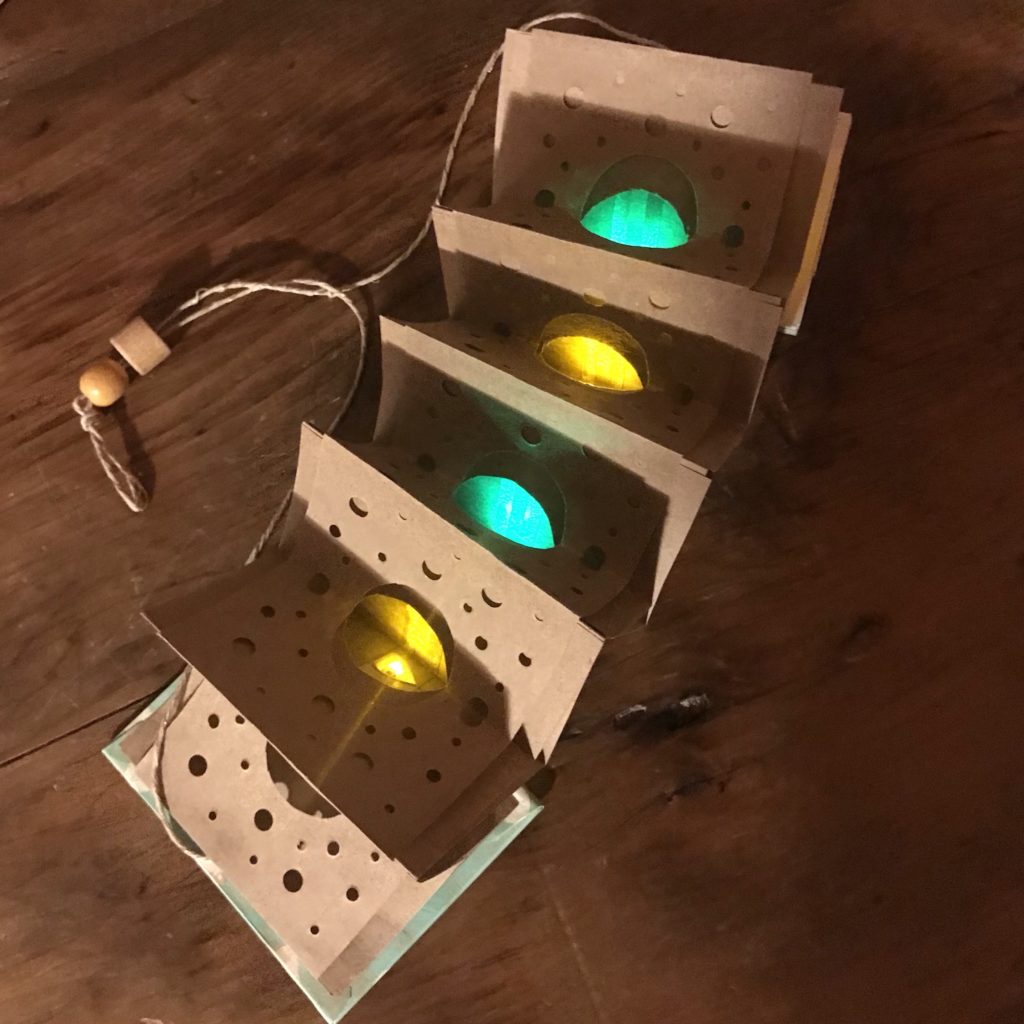
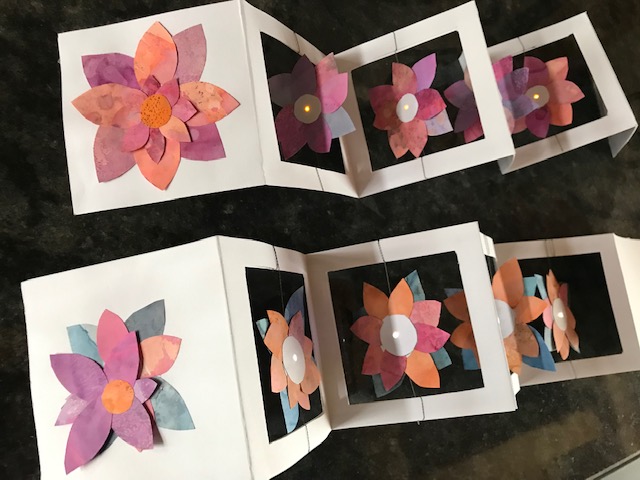
Each of these pieces will end up spanning one V-fold of the base layer accordion, adding depth and visual interest, while helping to diffuse the light.
When you’re happy with the way the pieces look, adhere them to the base layer from mountain fold to mountain fold as depicted.

At this point, it’s a good idea to test the circuit by temporarily holding the battery between the two conductive leads to ensure that you are happy with the way it lights up.
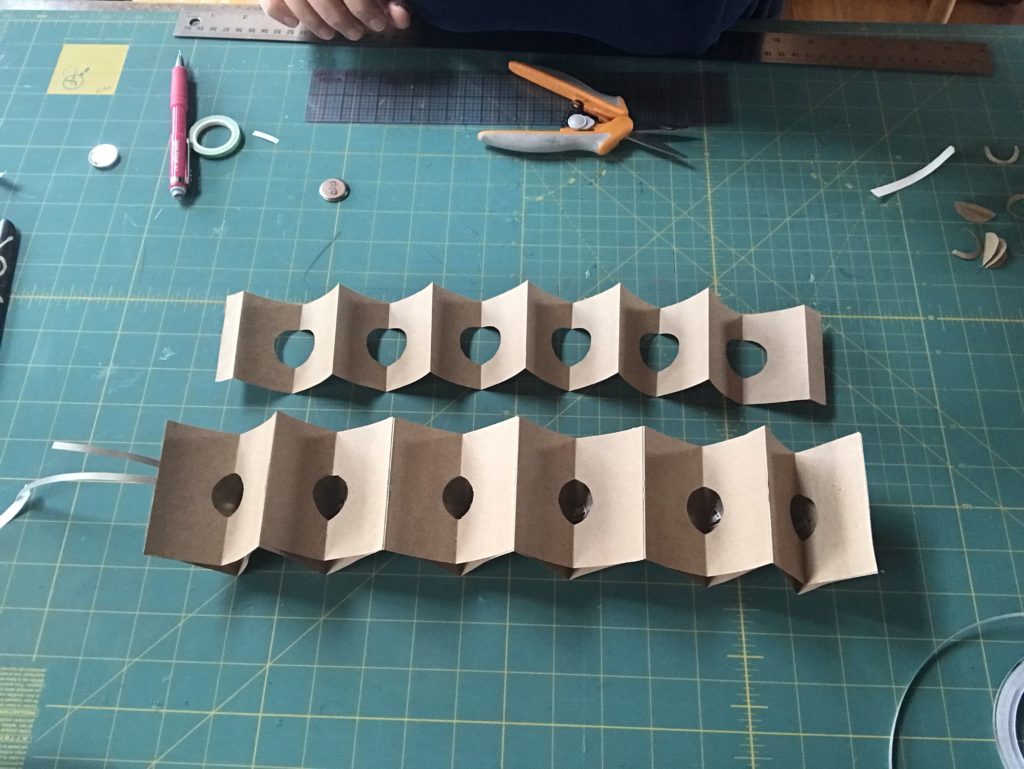
Step 3: Prep the Decorative Layer
To create the decorative layer, which will eventually be placed on top of the circuit layer, start by laying the 14-page accordion down upon a flat surface.
Then, cut 1″ off from each end, creating 1/2″ tabs on each side. This will leave you with a 12-page accordion with 1/2″ wing flaps on each end.
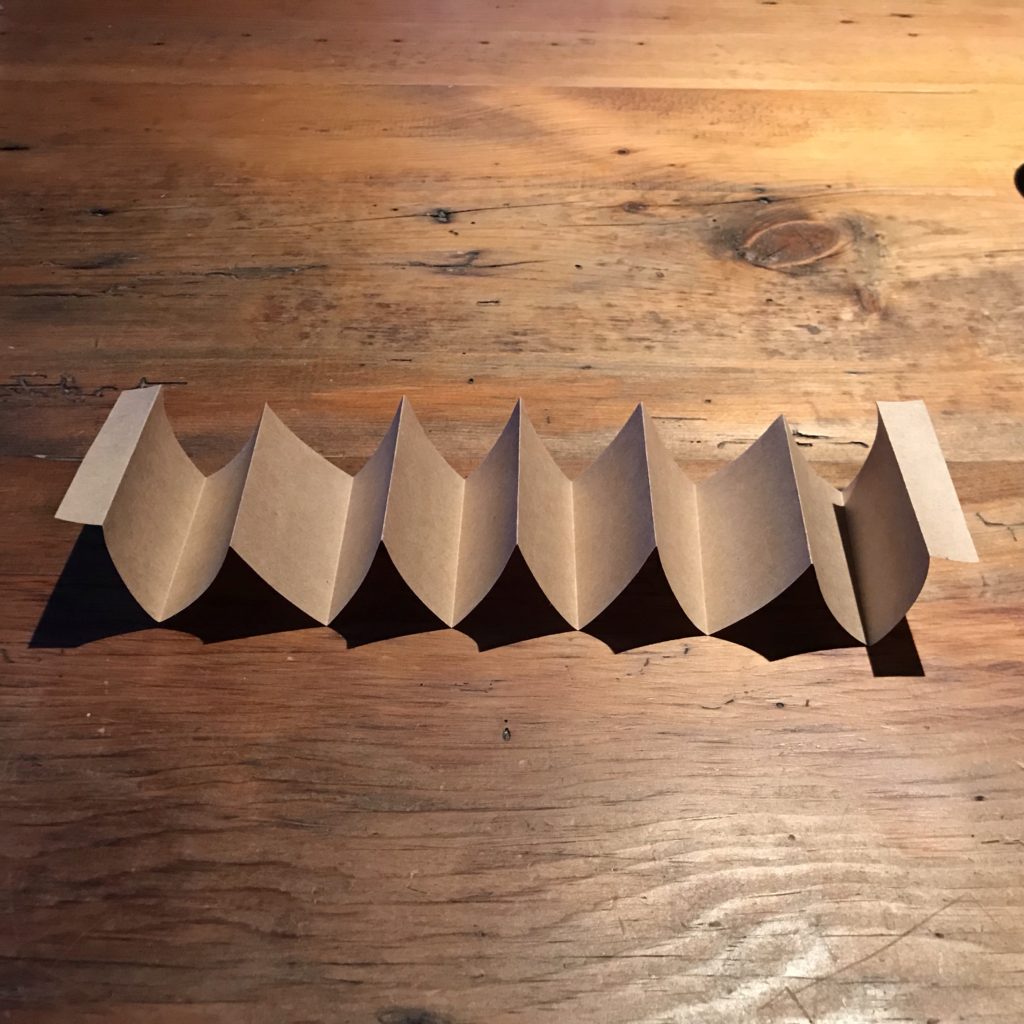
To prepare the paper for cutting, extend the accordion so that it resembles six V’s (with little flaps on both ends).
Then, refold the accordion with the flaps turned outward.
Lastly, cut a decorative motif, such as a circle, along the center of the opposing crease. For more visual interest, make this shape slightly larger than the one you cut on the six short pieces.
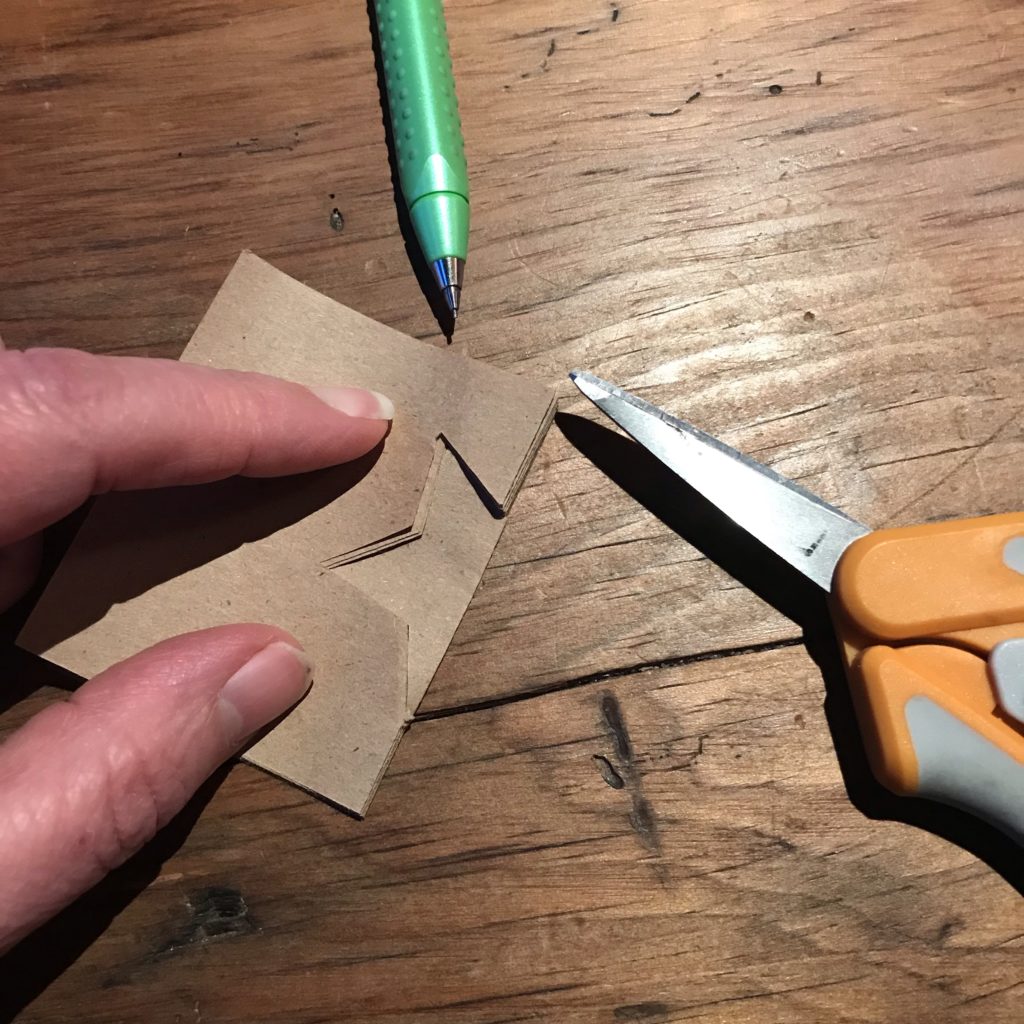
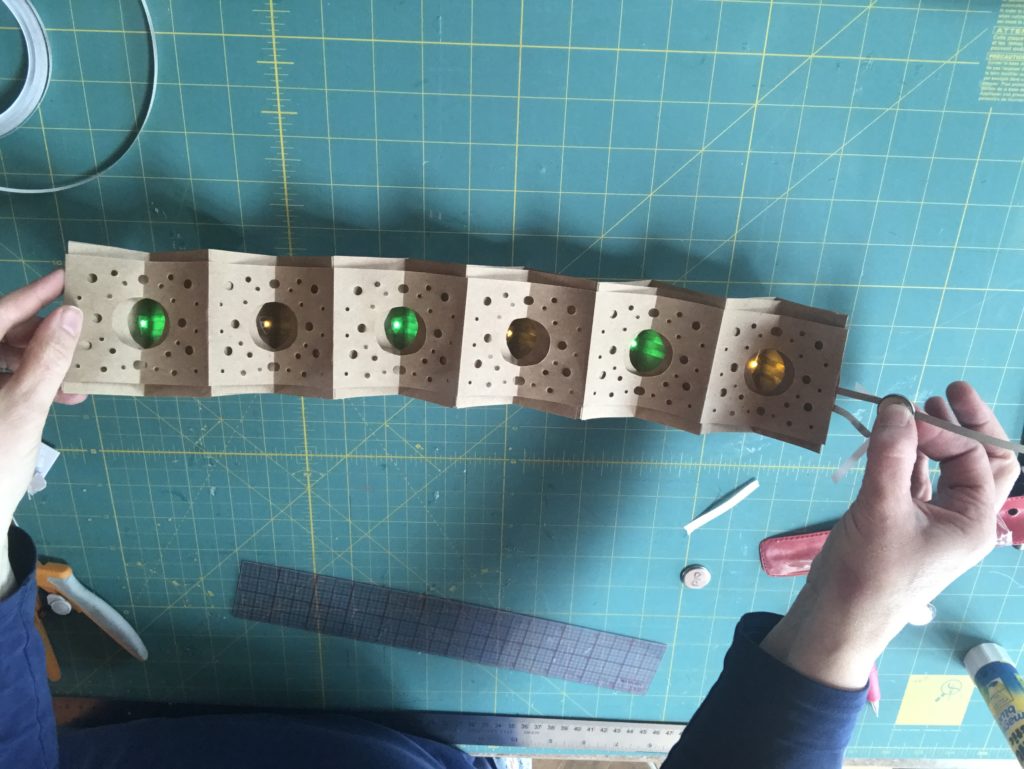
For added detail, you can use a Japanese Screw Punch or scissors to make additional cut-outs through all of the layers.
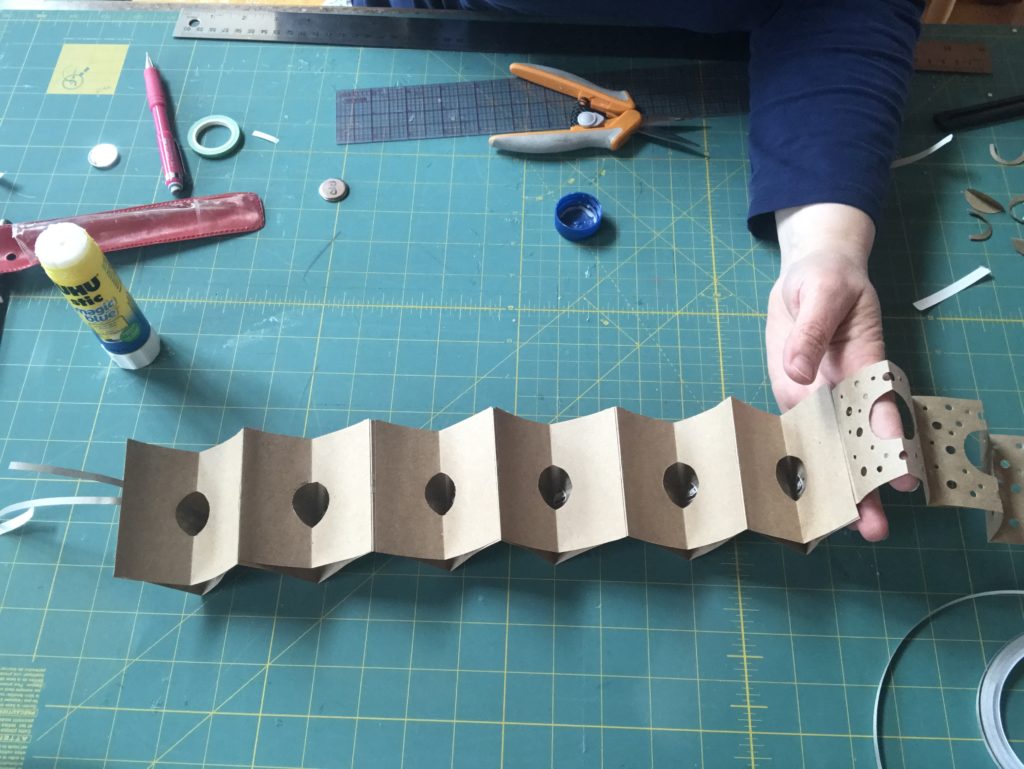
Step 4: Add Decorative Layer to Circuit Layer
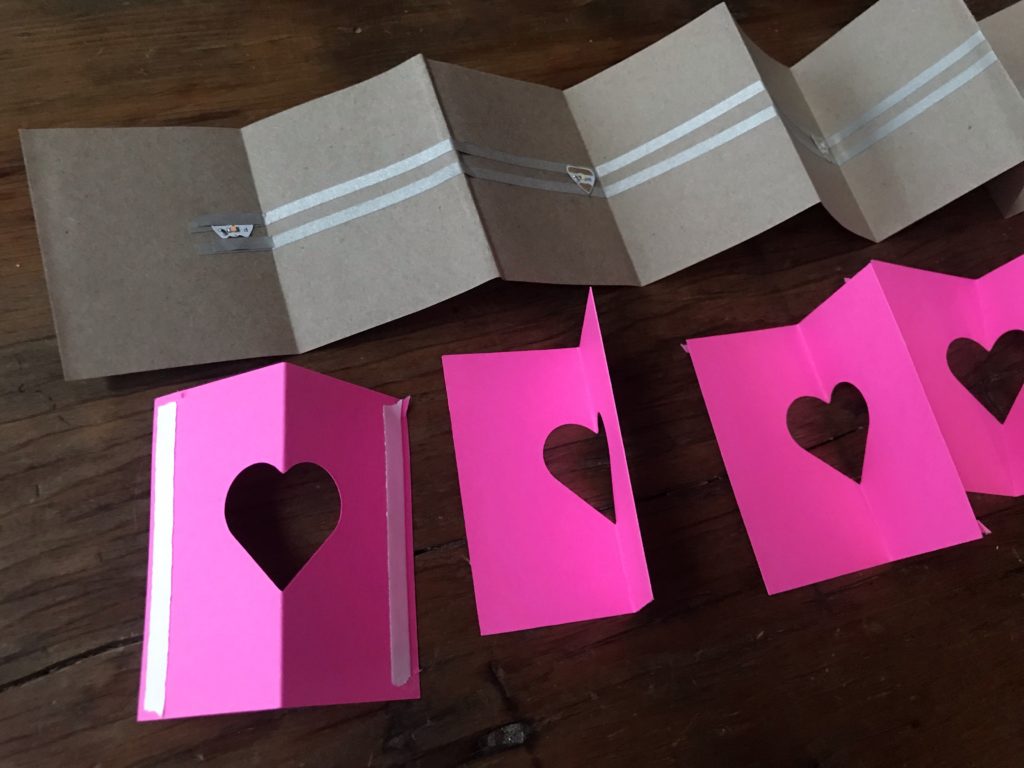
The next step is to begin adding the decorative layer to the top of the circuit layer. Starting with the left, 1/2″ tab, secure the decorative layer around the left edge of the circuit layer with a piece of double sided tape.
Once the left tab is in place, add glue to the tops of each mountain fold of the circuit layer. This will allow you to combine the layers and keep them from pulling apart.
Then, section by section, adhere the smaller accordion, pinching the layers closed as you go.
Continue adding glue to the mountain folds, securing the decorative top layer as you work.
Next, you need to use a pen knife to make a small incision for the positive and negative leads to pass through. To do this, make a small slit along center of the fold closest to the right flap.
After making the slit, pull the loose lengths of conductive fabric tape through it.
Then, lastly, secure the flap around the right edge of the circuit layer with a piece of double sided tape.
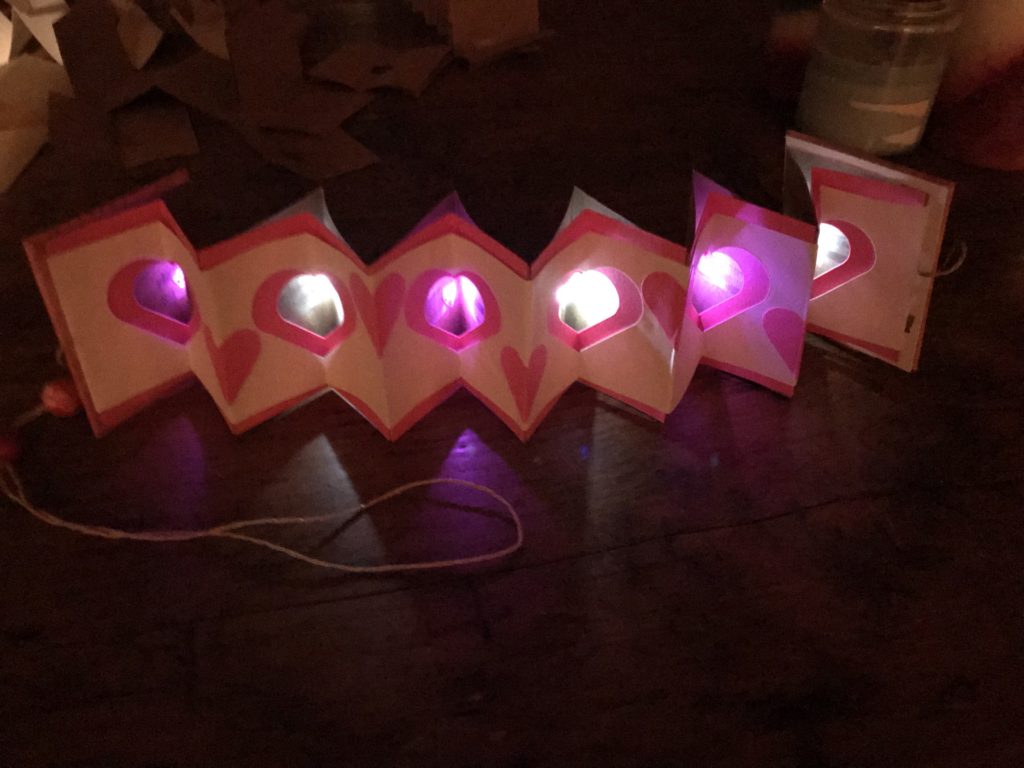
To see how the Carousel Book Light will look when lit, pinch the battery between the two leads.
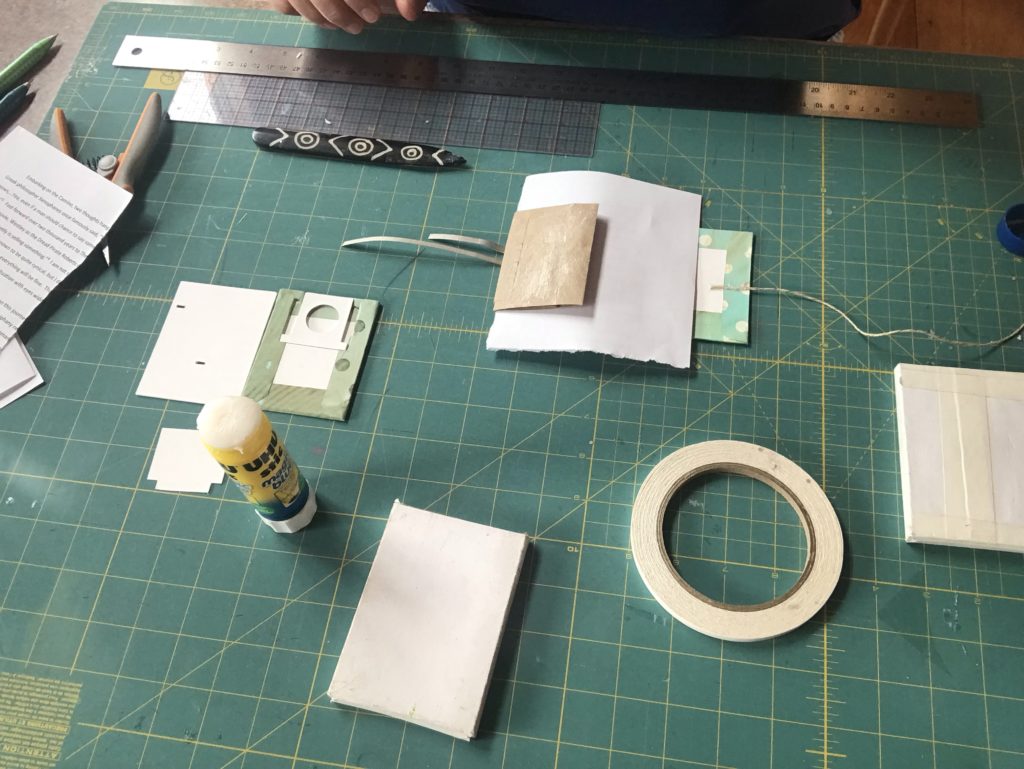
Step 5: Create Book Covers
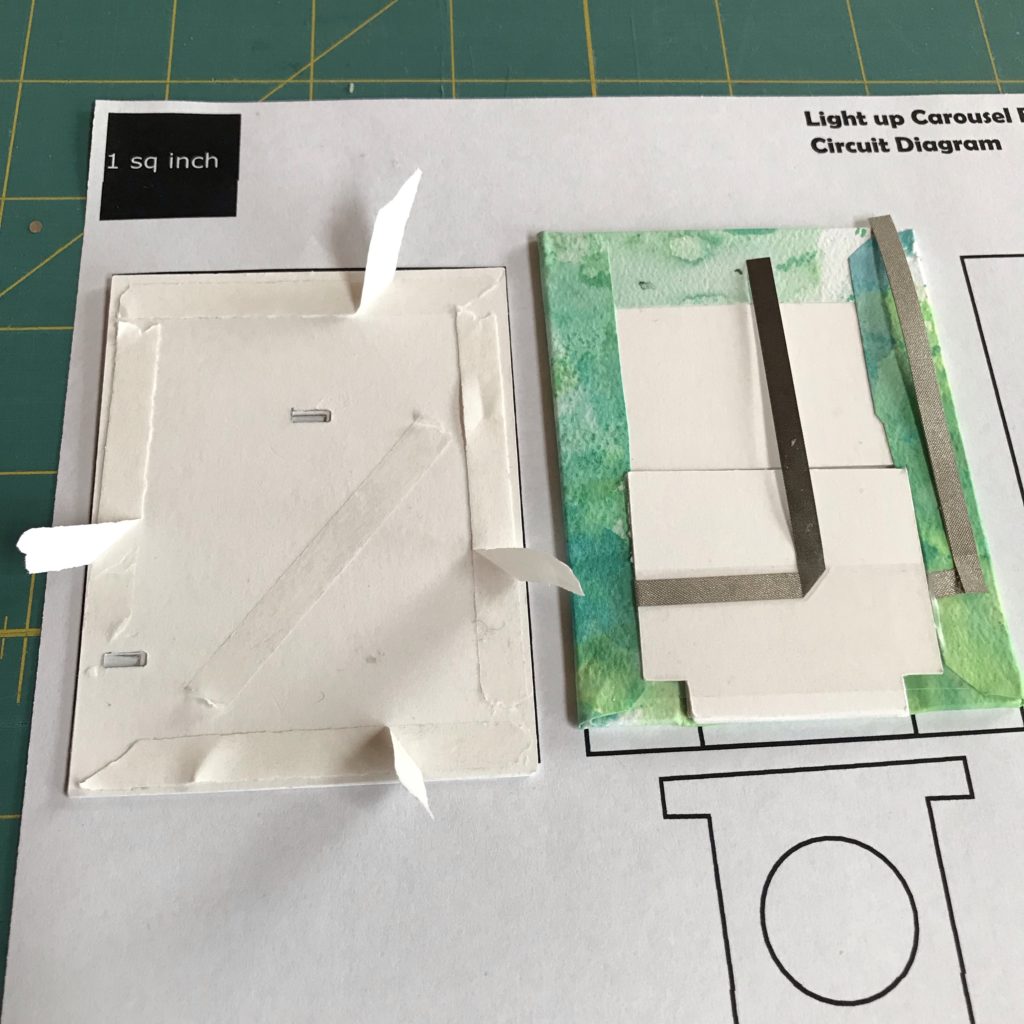
To create the front cover, cut a piece of binder’s board to the proper dimensions (2 1/2″ W x 3 1/4″ H), or glue four layers of cut card together.
To create the back cover, glue four battery trays and four battery holder pieces together so that they reach the thickness of a CR2016 battery. Trim them so that the battery tray slides well.
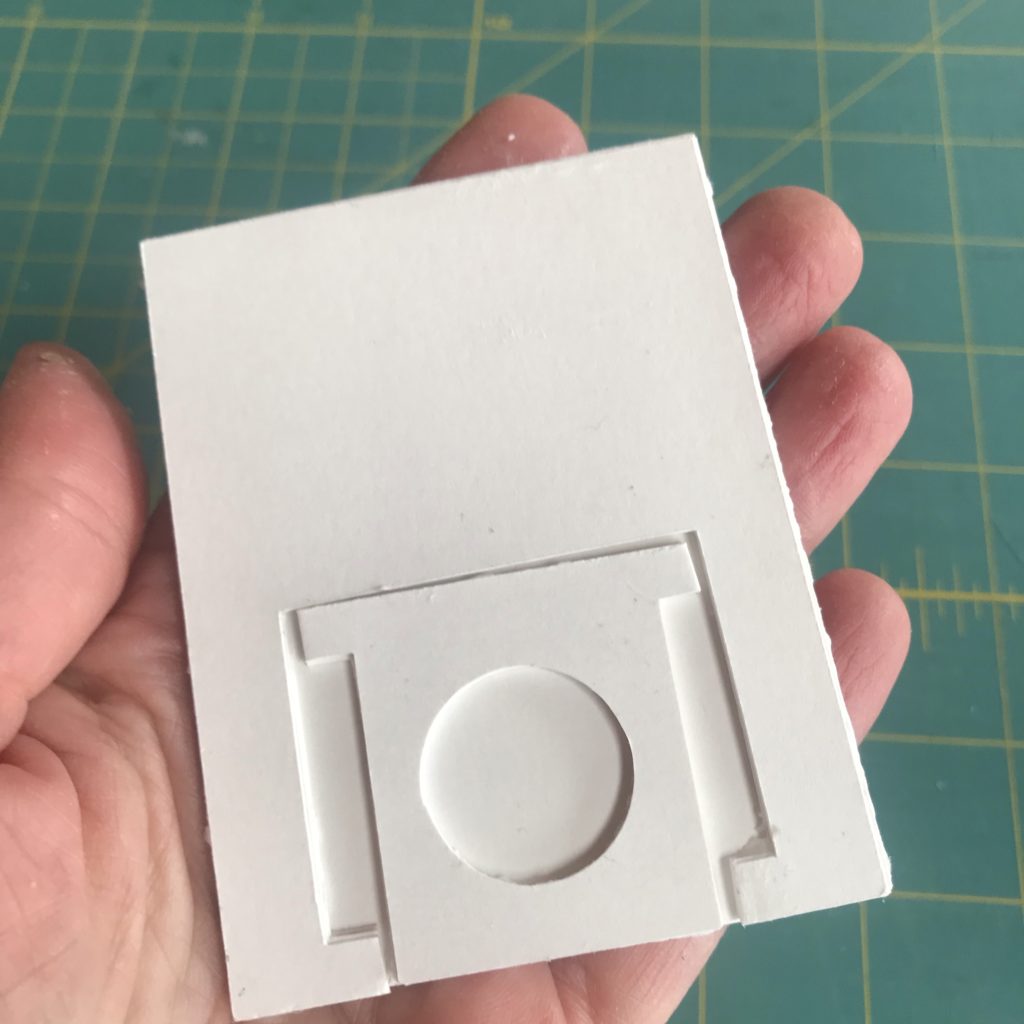
Glue two backing cards beneath the battery holder layer. Adding these layers will add strength and support behind the battery tray, while helping to increase the surface tension inside of the tray. This is important in order to help ensure a robust physical and electrical connection, once the conductive traces are added to the book cover.
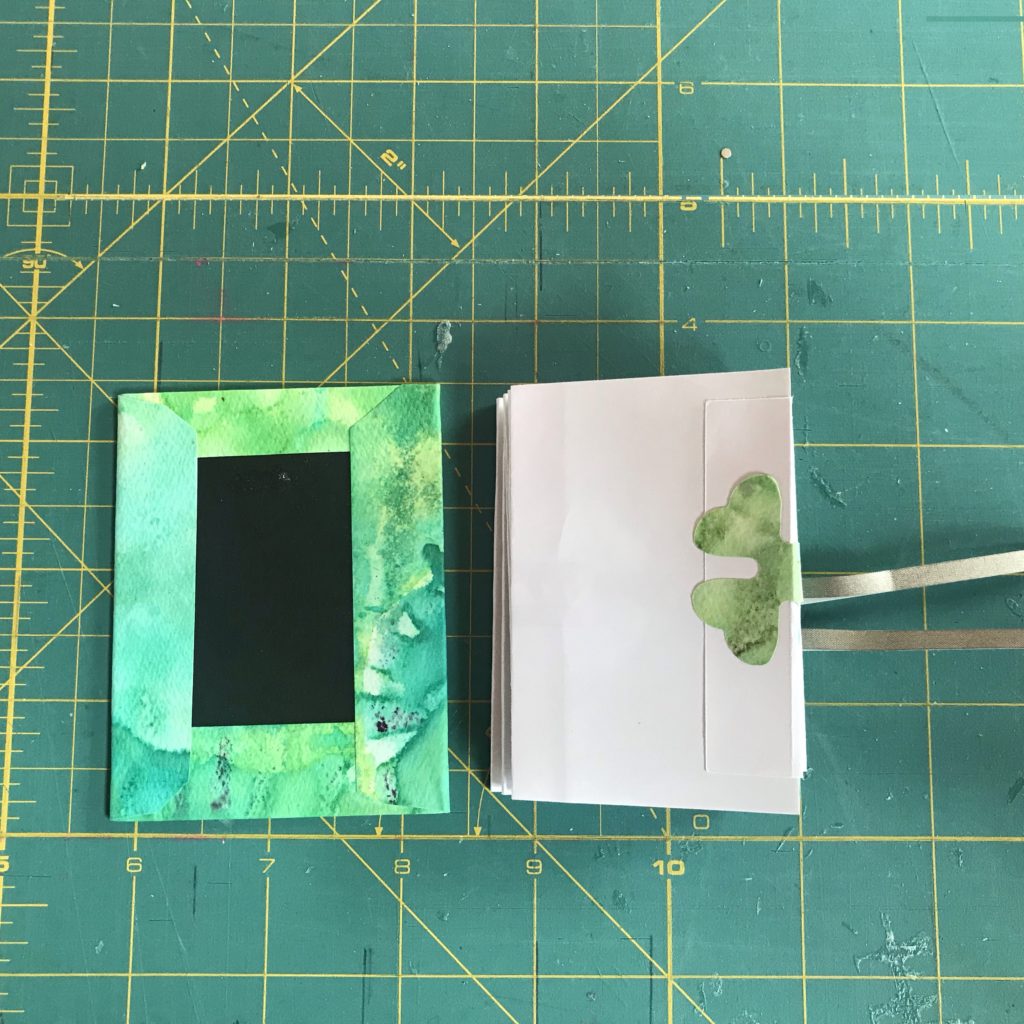
Wrap the front cover with decorative paper using a glue stick (or adhesive of your choice). Press it under a weight so that it dries flat.
Then, wrap the back cover with decorative paper, trimming any excess away from the recess where the battery tray will go.
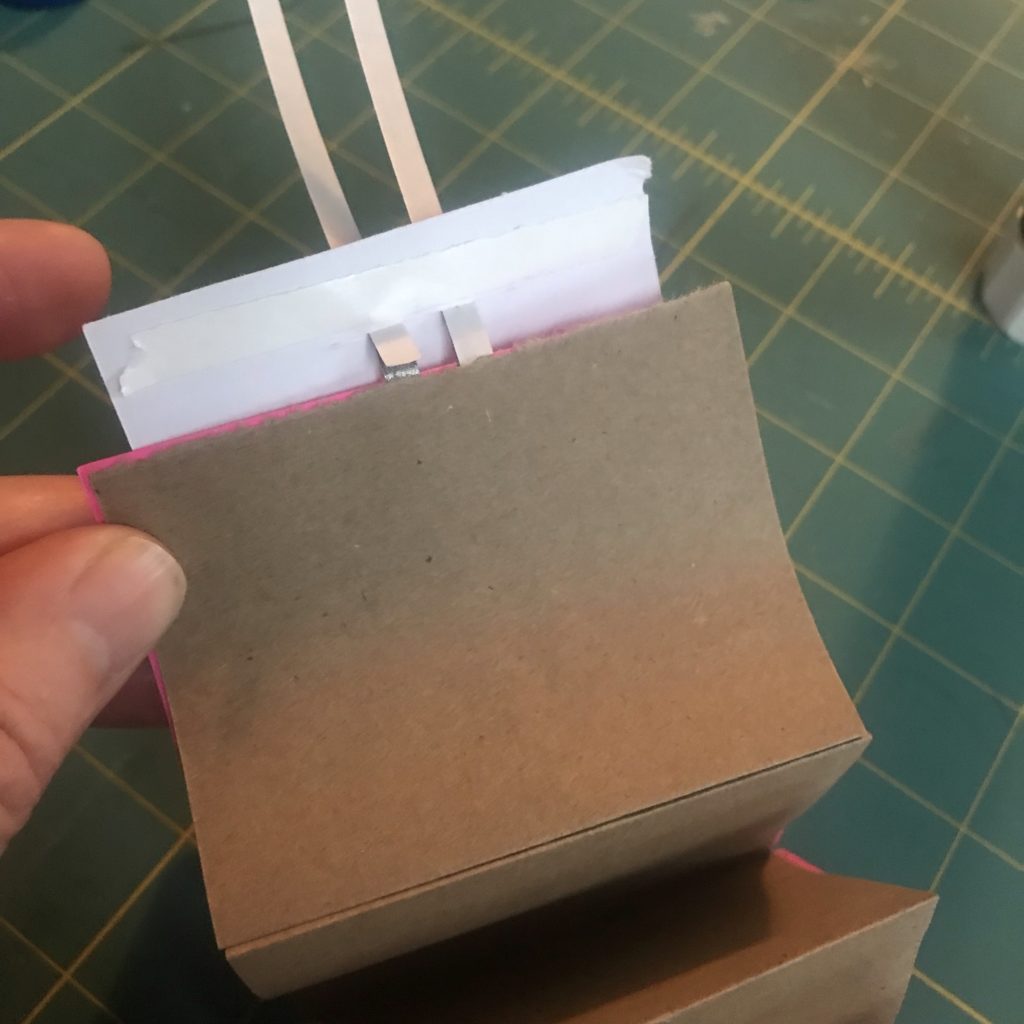
Place a piece of scrap paper under the first page of your accordion book and apply glue to the entire surface of the page.
Add a ribbon or piece of string to the left side of the cover, on the side opposite of the book’s back hinge, reinforcing it with double sided tape to keep it from pulling loose.
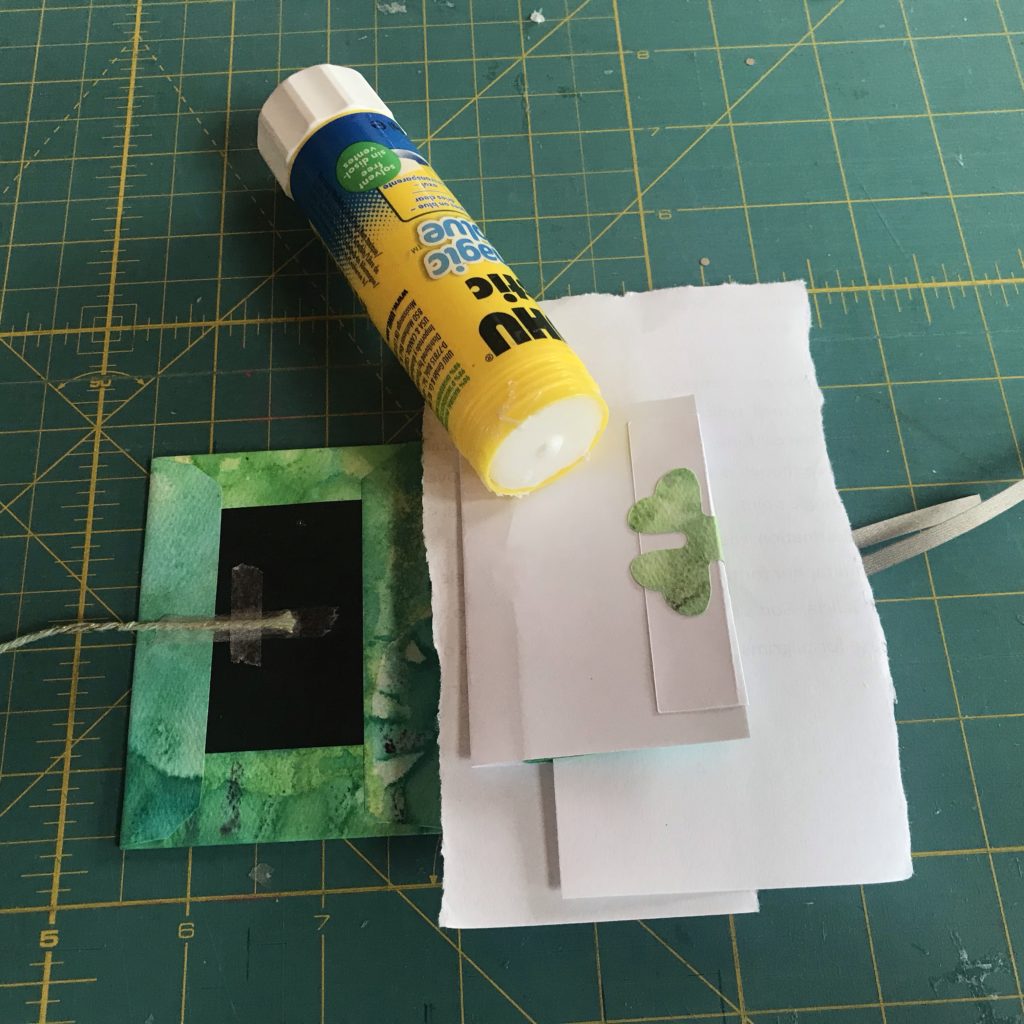
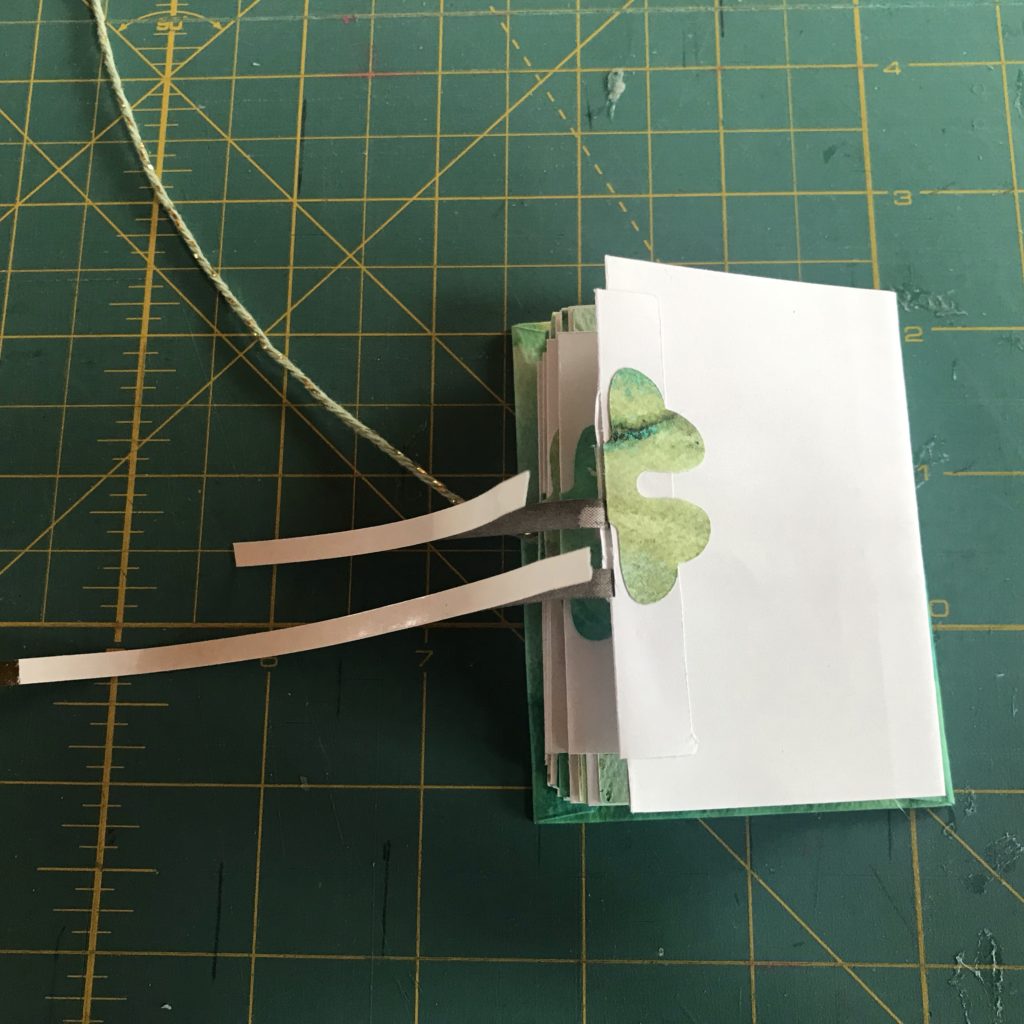
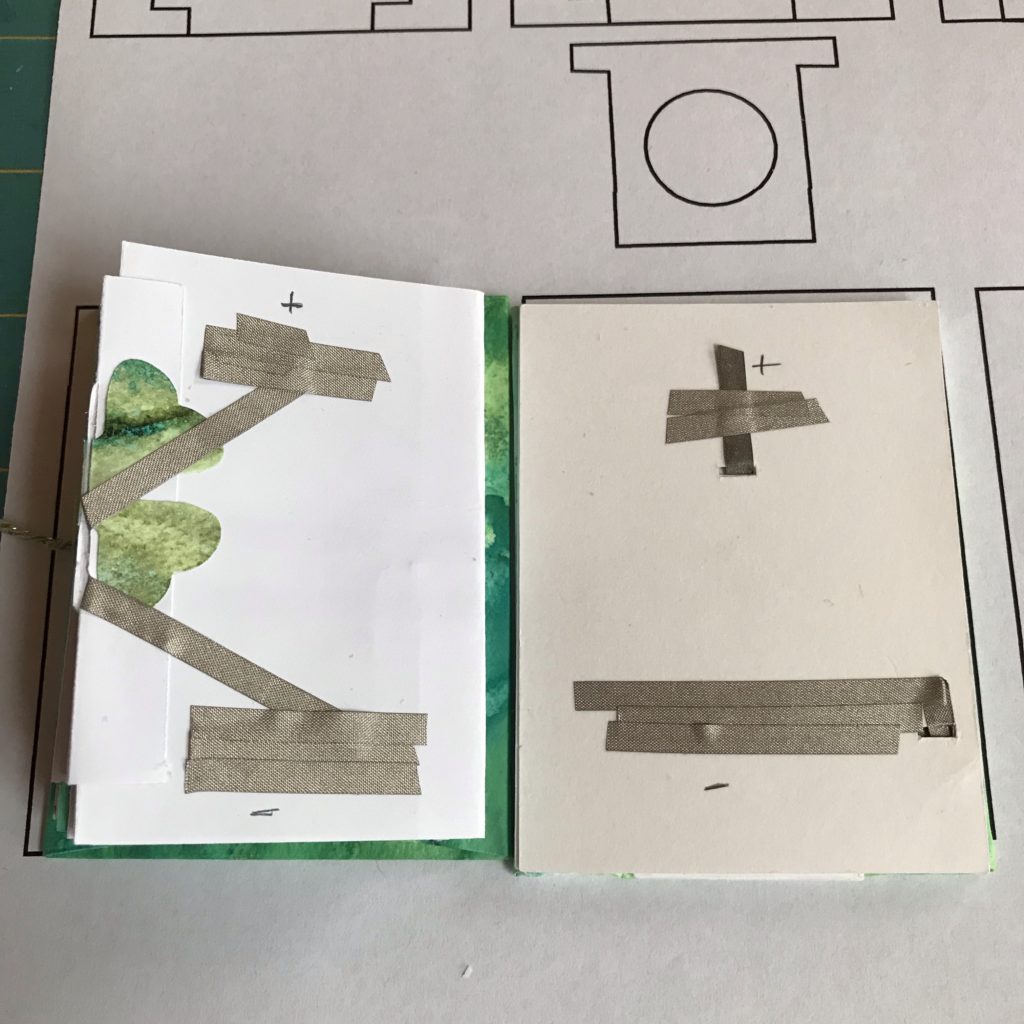
Then, adhere the book block to the center of the front cover and press it down well with the palm of your hand. The positive and negative leads should be protruding from the left side at this point.
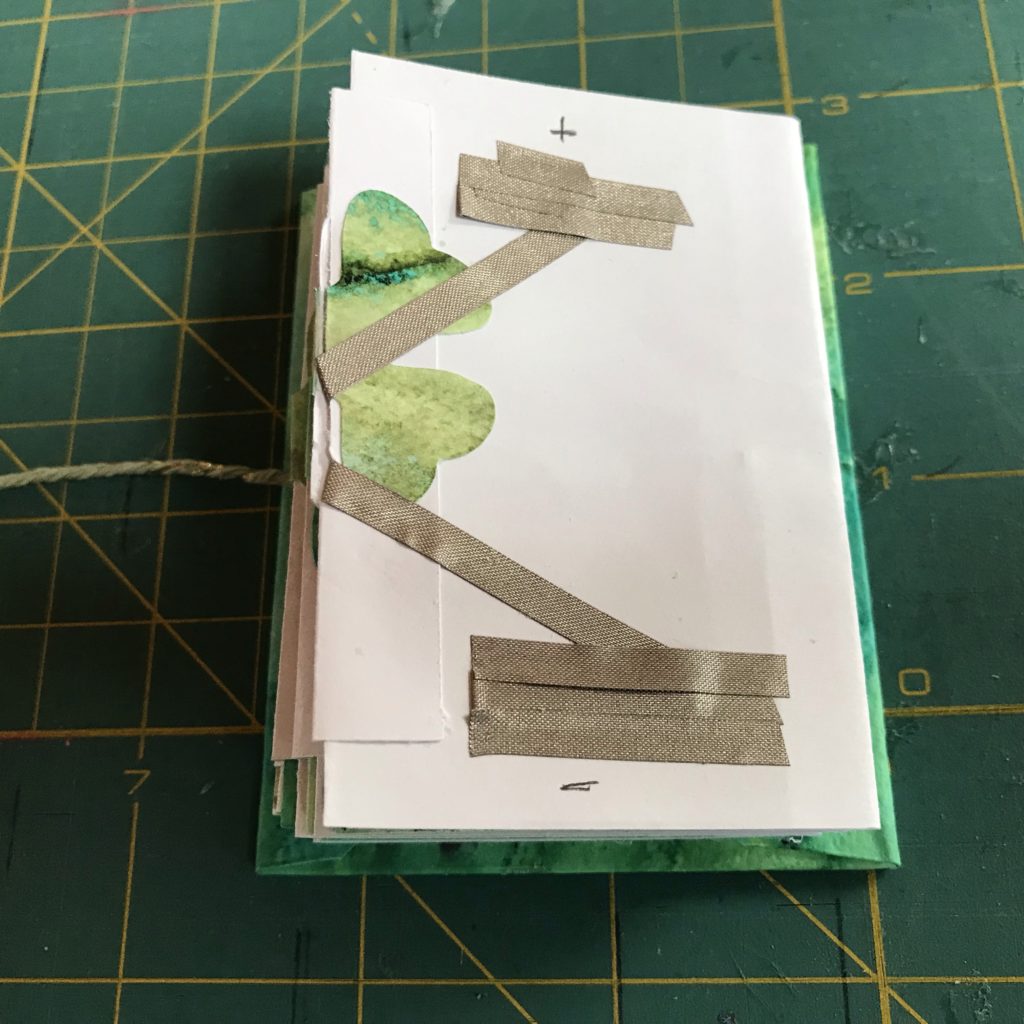
Next, in order to prevent a short circuit in the following step, you need to adhere the positive and negative leads to the back side of the book block, angled away from one another.
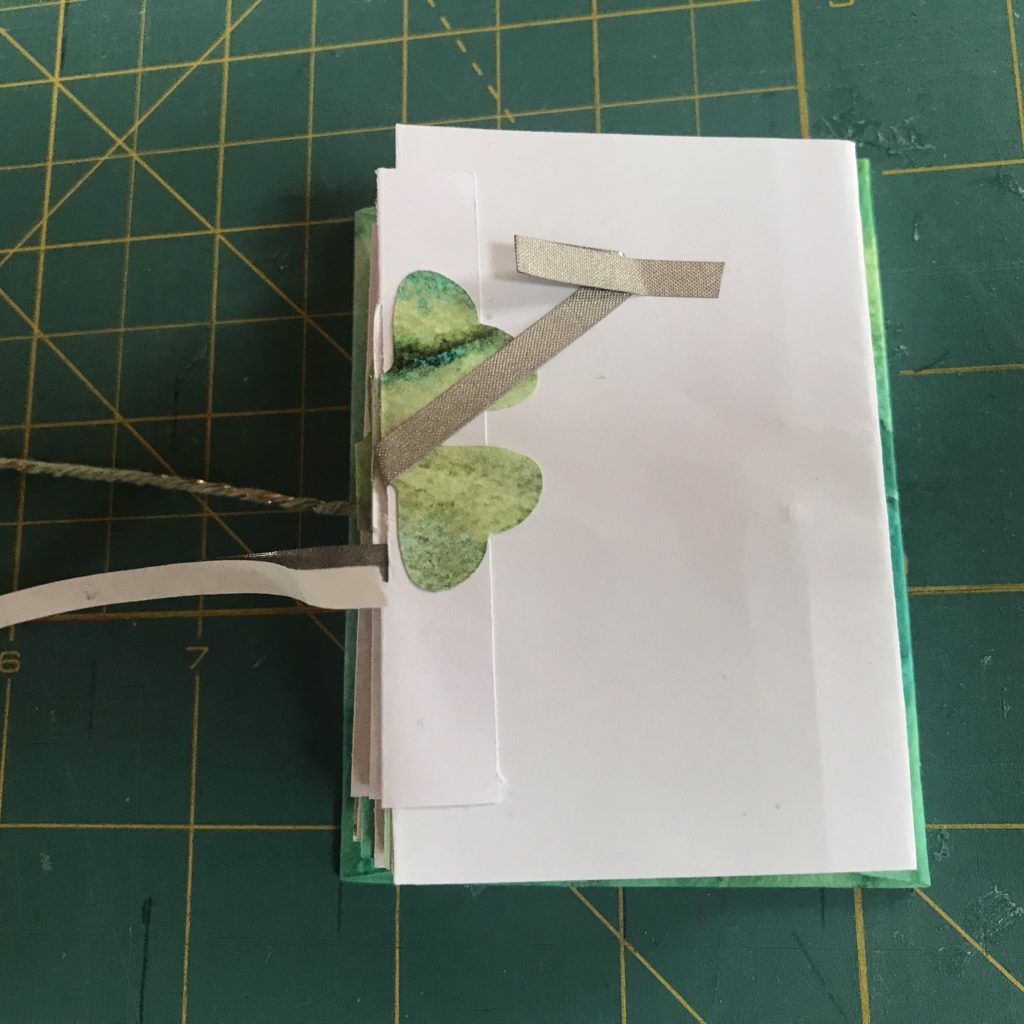
Then, to increase the conductive surface areas that will be connecting with the rest of the circuit on the book’s back cover, you need to add extra pieces of conductive fabric tape on top of the positive and negative leads. Adding a ball of conductive tape on top of each pad, prior to adding the back cover, will add extra strength to the physical/ electrical connection.
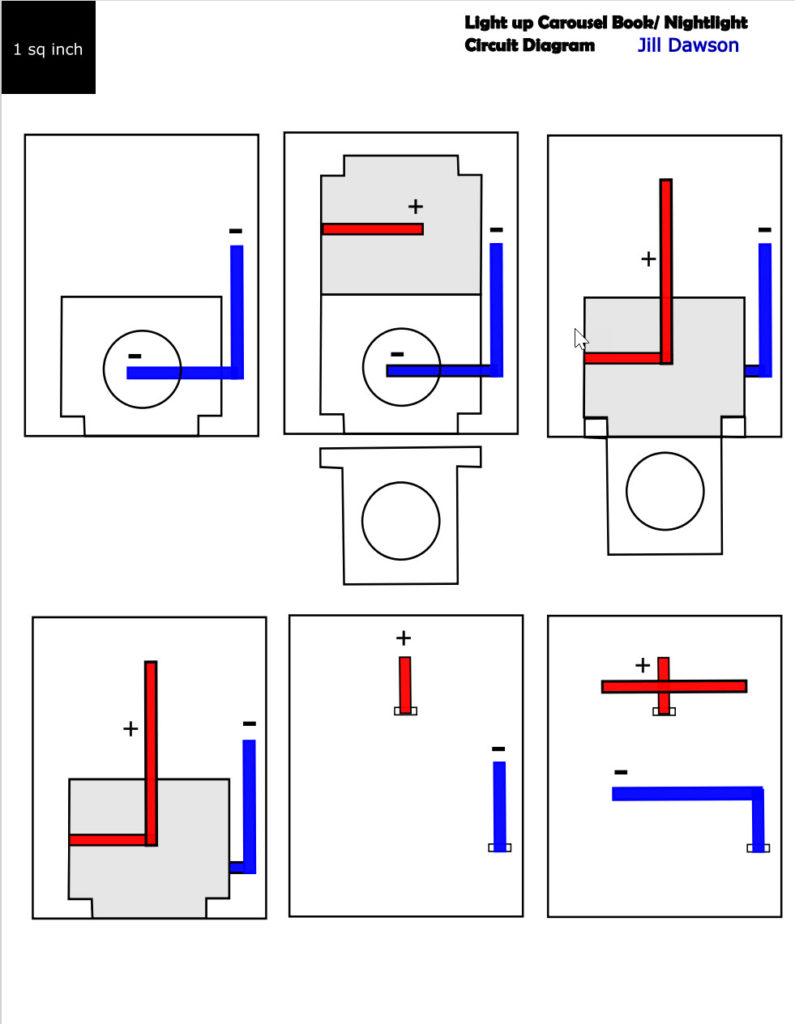
Step 6: Finish Assembling the Circuit
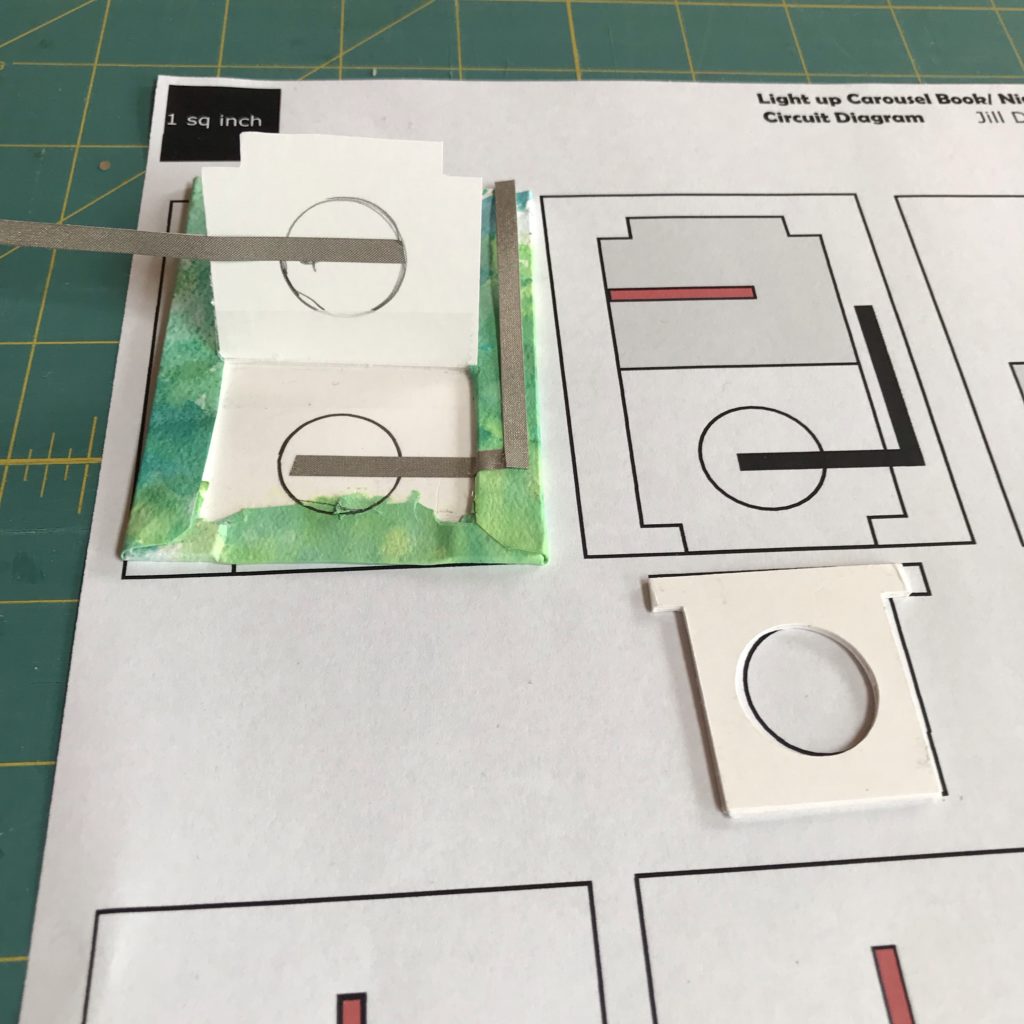
For this next step, please use the circuit diagram as a guide to lay down the rest of the circuit upon the back cover.
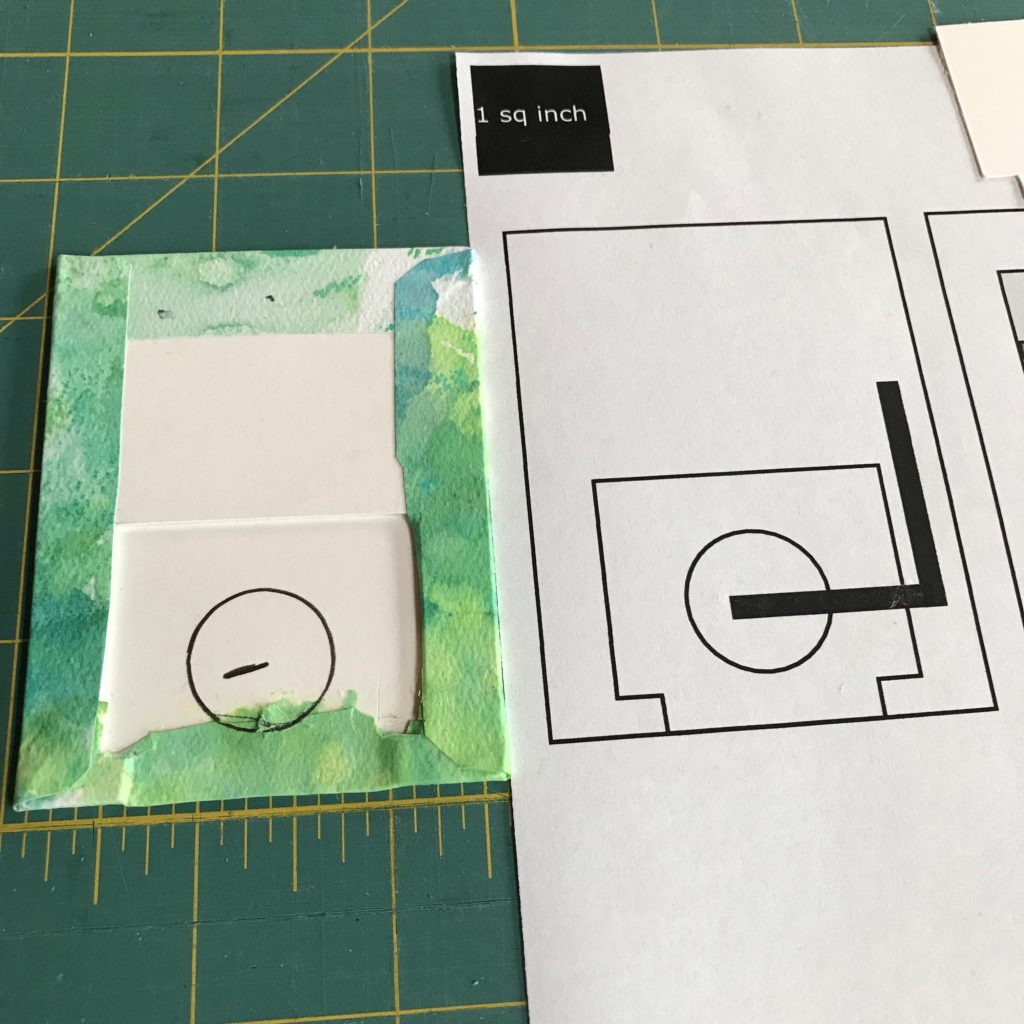
To complete the second part of the circuit, which will be concealed in the book’s back cover, start by tracing the battery location using the battery tray and a pencil.
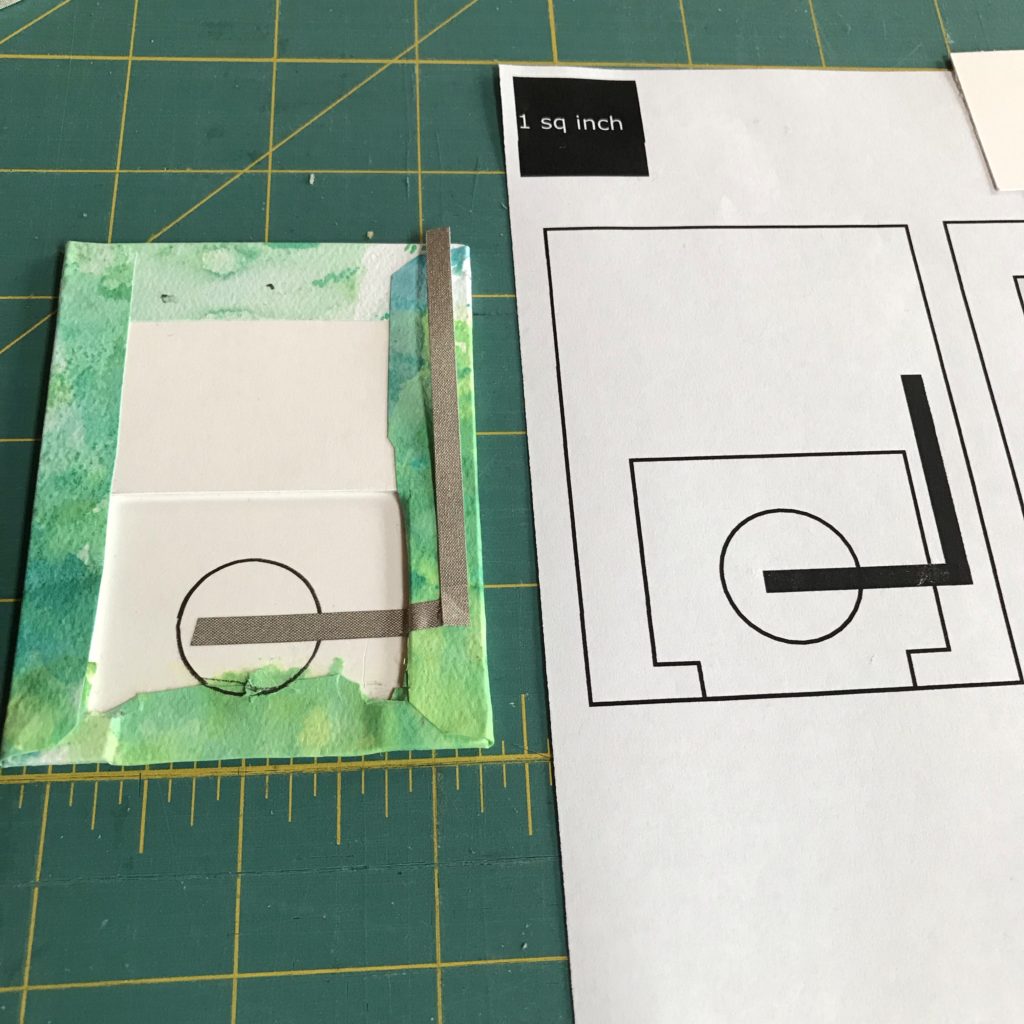
Then, use conductive fabric tap to add the negative lead as depicted below.
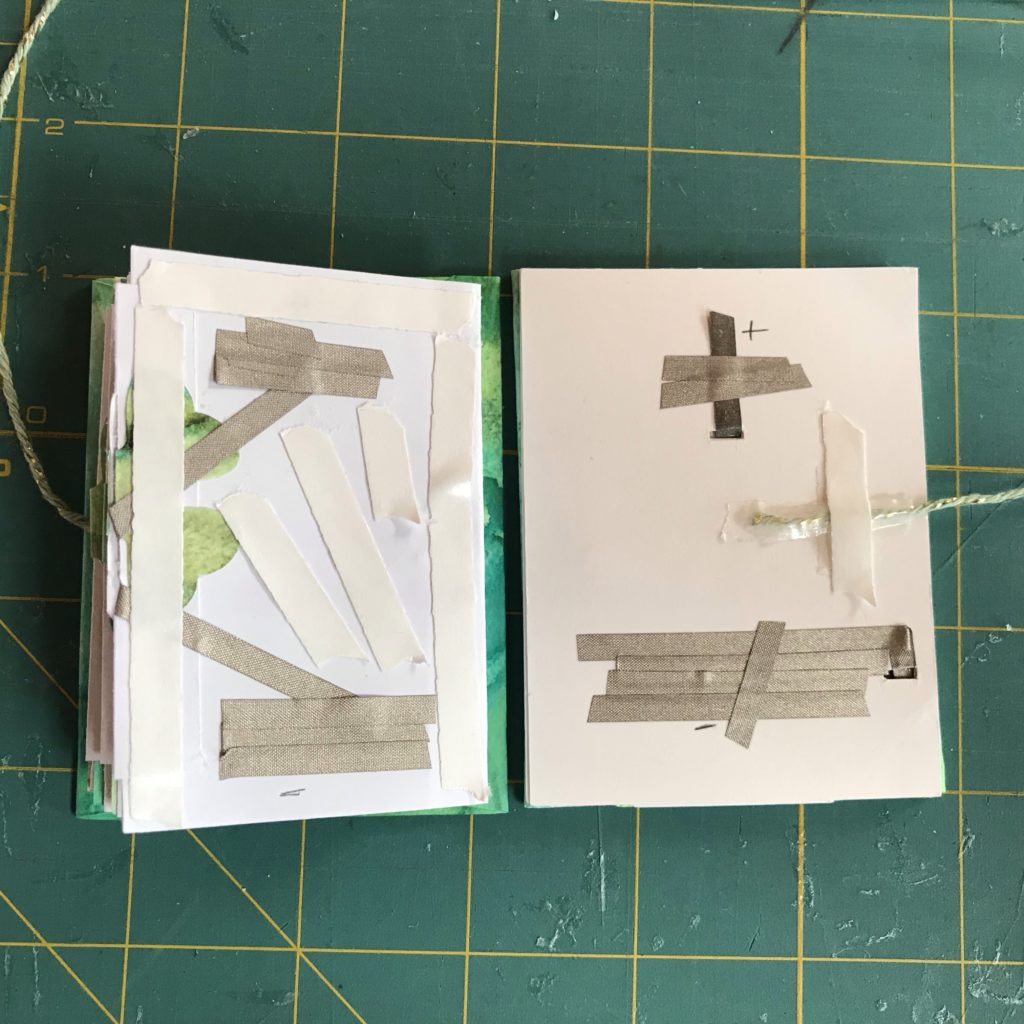
Use Scotch tape to create a hinge for the the battery cover and begin adding the positive and negative leads, following the Circuit Diagram.
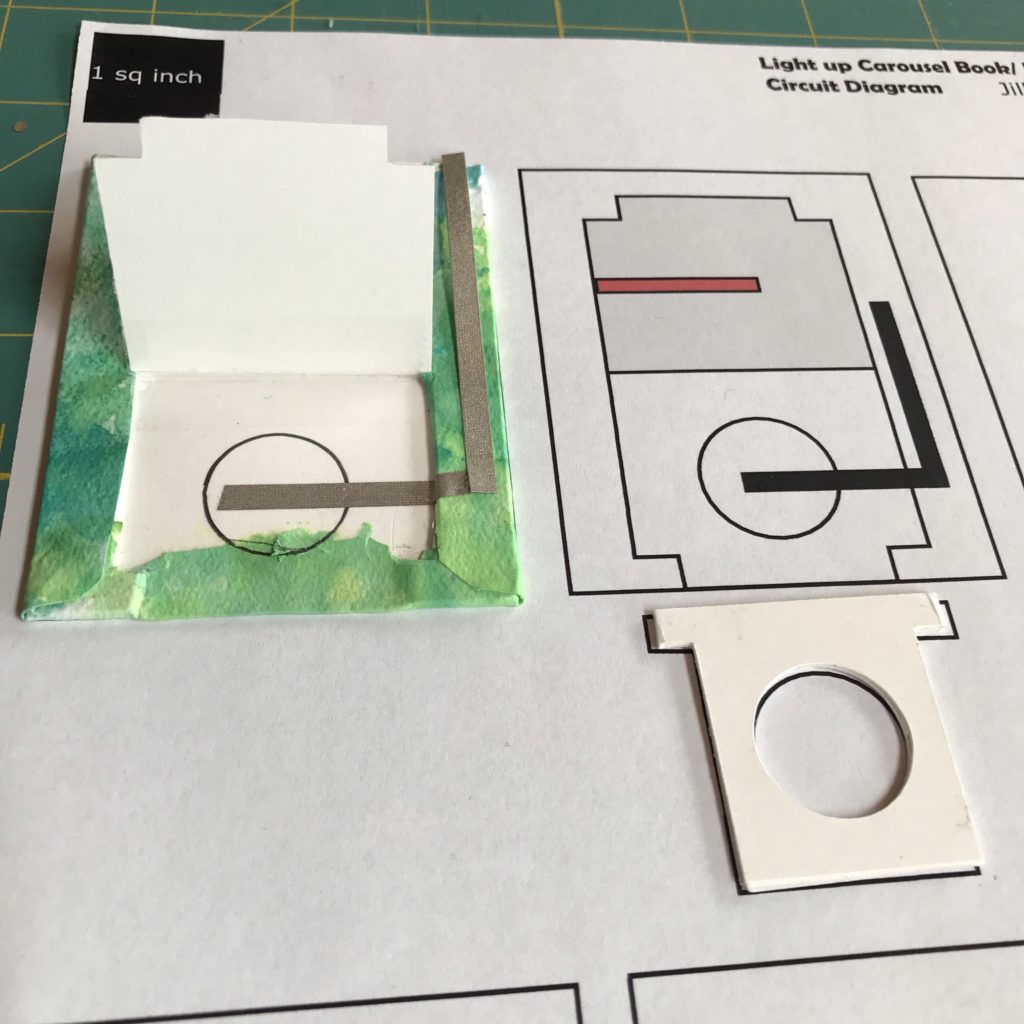
Insert the battery tray and tape the sides of the battery cover down.
Then, add double sided tape to the back of the circuit cover.
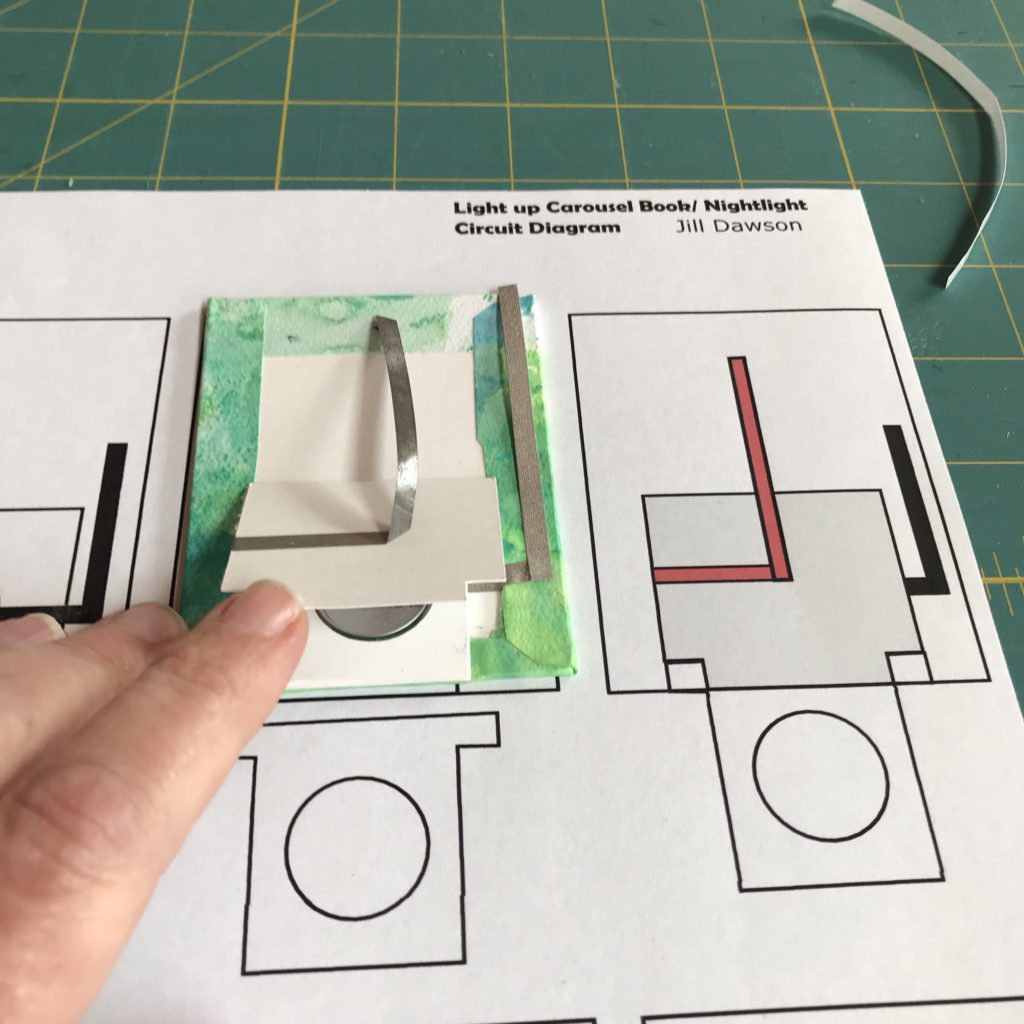
Holding the circuit cover over the battery layer, with the taped side down, pull the excess conductive fabric tape through the slots of the circuit cover, connecting the two layers with double-sided tape.
Using the photos as a reference, add conductive fabric tape to each lead to strengthen the physical & electrical connection.
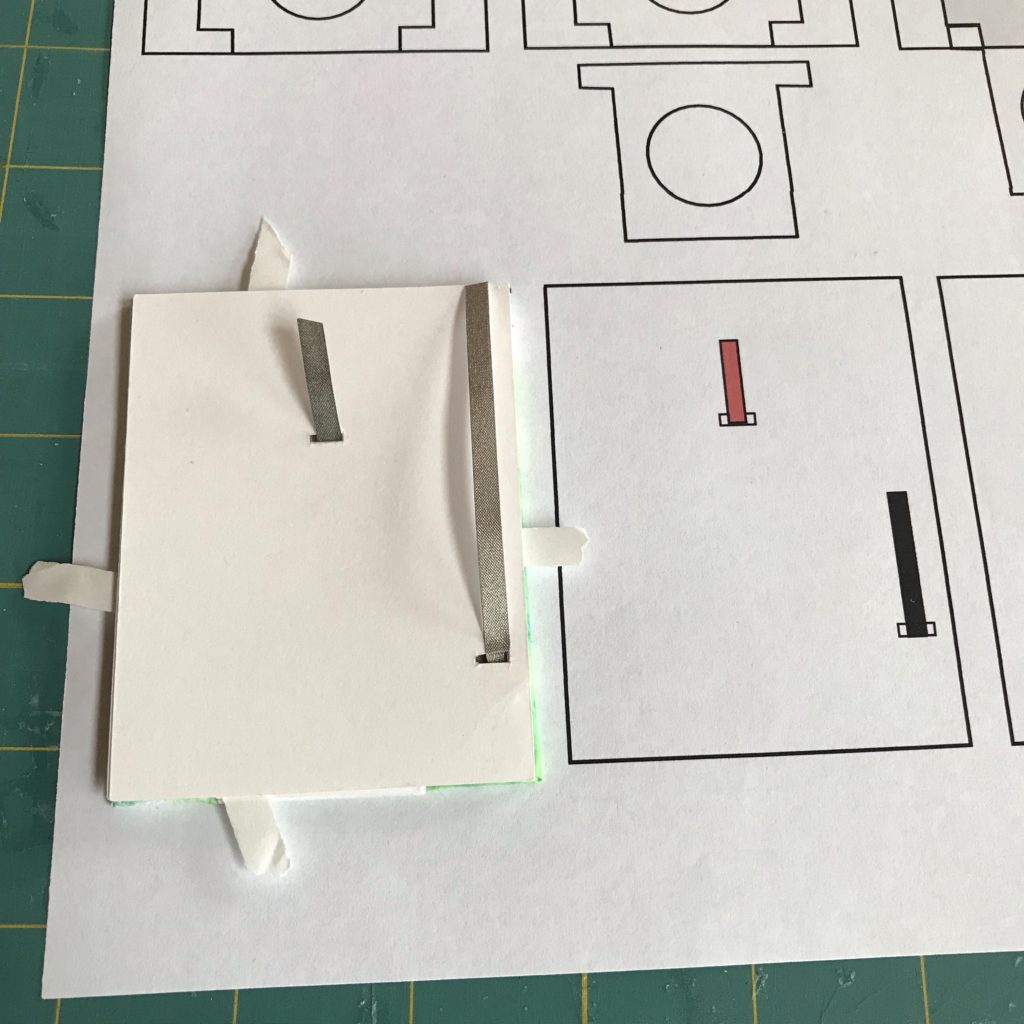
Next, add double sided tape to the back side of the book block, avoiding the conductive traces. Do not removed the backing from the tape until after you’ve tested the circuit by temporarily holding the book block and back cover together. If needed, add balls of conductive fabric tape to the positive and negative leads to help strengthen the physical and electrical connection between the book block and back cover.
Remember to adhere the other end of a piece of ribbon or string to the back cover (opposite the hinged edge) before connecting the back cover to the accordion book block.
With the Carousel Book Light now completed, it’s ready to display!
Gallery
Similar Posts You Might Enjoy
Refrigerator Magnets
See how Alisha Panjwani creates glowing magnets to decorate your refrigerator or home.
Paper Ornament
See how Lindsay Balfour makes a decorative, paper craft ornament that has a pattern of lights strung along its side.
Flying Concertina
See how Jill Dawson creates a decorative, light up accordion book using Circuit Sticker LEDs and conductive thread.
Featured Products