Hi everyone! It’s Nicorin, Yukiko I. Today I am showing you very Basic light up card and the push switch’s TIPS. I hope this blog can be helpful for you.
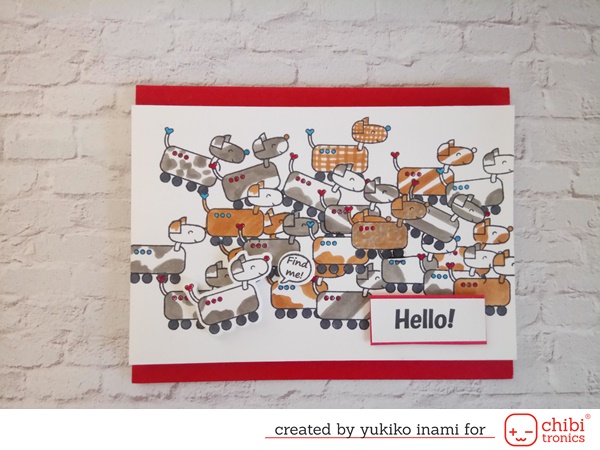
This is “Find Me” card. Robo-dog is the pattern on this card.
The original dog says, “Find another one just like me!” Please look for him. After you find it, push the original pop up dog. Then you can know the answer!
How to make
Supplies
・Heffy Doodle Bleep Beep stamp die set; Sorry, not for sale
・Paper; Neenah super crest #80, Red card stock
・Chibitronics LED sticker white
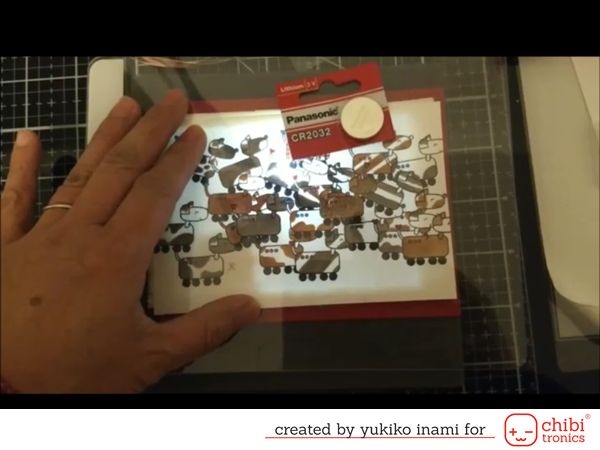
・Coin cell battery CR2016
・Foil ; from your kitchen
・Foam tape thickness 3 mm=⅛ inch
・Foam sheet for pop up ; any thickness is fine
Step by Step
1. Make parts as showing the below photo

・8 ½ x 5½ inches Red card stock
・3½ x 5½ inches white card stock ; 3 sheets
1) Top panel ; Stamp Robo-dog images using masking. Then I colored them with Copic markers.
2) Shield panel ; See through the answer dog image using light box or window and set the position of die. Cut the the answer dog’s place. Then stick foil sheet on the surface. Cut out the foil same place with die.
3) Circut panel
・Stamp one Robo-dog on the white paper and color then die cut it and the same shape foam attached to the backside.
・Stamp the sentiment and speech bubble and cut out. I use sentiment printed out for the speech bubble in this time.
・½ x 1 inch paper piece for switch part
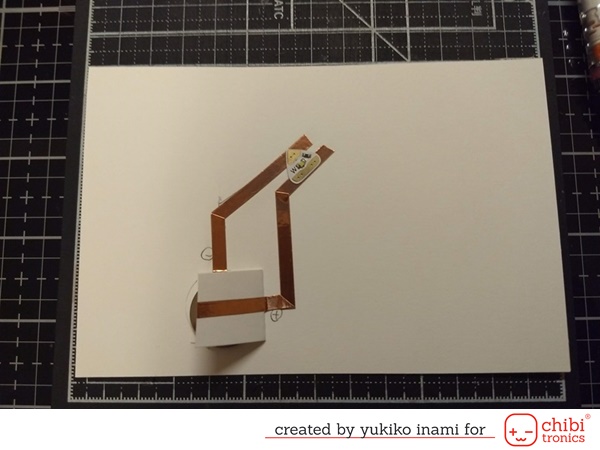
2. Make a circuit
・Mark the LED sticker place with pencil.
・Mark the battery place.

・Stick the switch part on the battery place of circuit panel. The folding side is set in the right side.
・Draw your circuit path with pencil ;Battery “+ ” positive connect to LED’s “+” positive and Battery “-” negative connect to LED’s “-” negative. I like to use the lid side of the switch for the positive side. I’ll explain why I do so next month.
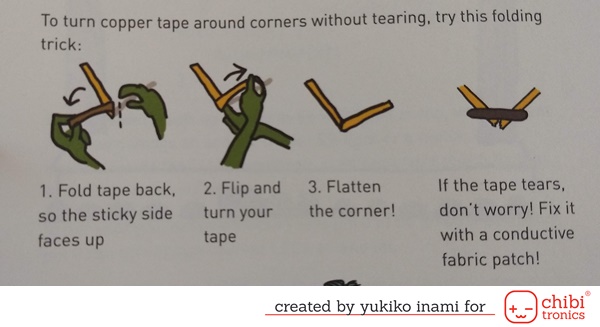
・Make a circuit with the copper tape. It is easy peasy! Only stick on. But be careful to not tear the copper tape. You can make the corner as showing the figure. You can make the corner as showing the figure.(Source: Love to code Vol.1)
・Set the Chibitronics LED sticker.Make sure the positive and negative sides are correct.
・Place the battery in the switch part with “+ positive ” side up.
・Test the operation! If it doesn’t work, please see the troubleshooting showing the last of today’s post.
・Reinforce with short copper tape on the pads of Chibitronics.
3. Assembly
・Backing the top panel with the shield panel. The foil surface is inside.
・Set the foam tape
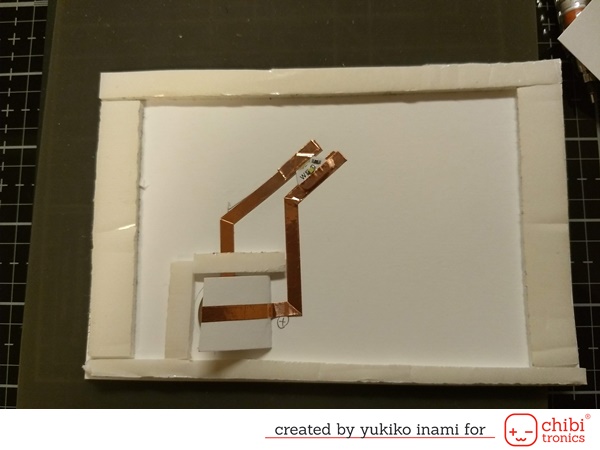
1) Make a enough space for battery and switch
Stick the form tape on the all edge of the circuit panel. The paper switch lid should not to touch the battery when you don’t push it. So you need to choose the tape thicker than the battery thickness. I chose the CR2016 Battery and 3mm foam tape.
I tell you about the battery name. “CR” means Lithium battery. The numbers show the battery size. The first two numbers show the diameter of cell. The last two is thickness. Both unit is in millimeter. So CR2016 means the lithium cell batterys diameter is 20 mm and thickness is 1.6mm.
When you set the top panel on the circuit panel, make sure not to stick in the switch lid. Keep some distance between the edge of the foam tape and the switch part.
2) To fix the battery in the switch, stick the foam tape on the open end of switch part.
3)“Don’t leave the light on” test
I recommend confirming this test before peel off the backing paper from the form tape. I named it “Don’t leave the light on” test 😉 I am going to use this word again and again!!! So please remember.
You can simulate the situation after it is set in. Place the top panel on the circuit panel. And place a hard plate like a cutting plate on the top panel. Then push! Now, you can check the status when the top panel is set in. If the light is on in this test, the same situation will happen when you adhere the top panel. So in this case, you need to check the distance the switch lid and battery.
To redo it again after you stick the panel is a bit annoying (Well,if I am be honest, it is PRETTY ANNOYING). So that, please test before stick the top panel.
It is a not good switch, because it keep turning on in this test…. You can see it before sticking on the cover panel.
OK, after you pass above test…..
・Stick the top panel on the circuit panel. I call it the cover panel.
・Stick the cover panel on the folded red cardstock.
・Set the robo-dog part and the speech bubble and sentiment part.
・All done!
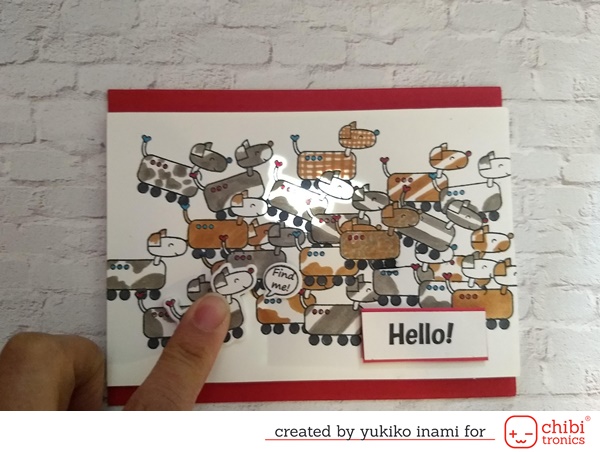
When you push Robo-dog, you can know the answer of the quiz,
where is the same Robo-dog? “ I’m here!” Yay!
In my making movie, I show you TIPS of the Push Switch and my Experiment in this card.
If you are interested in that, please come to my blog. I show the summary there.
Thank you for reading!
Enjoy!
Nicorin / Yukiko I.