Animating LEDs Instructions


Step by Step Tutorial
Download Test Circuit Template PDF
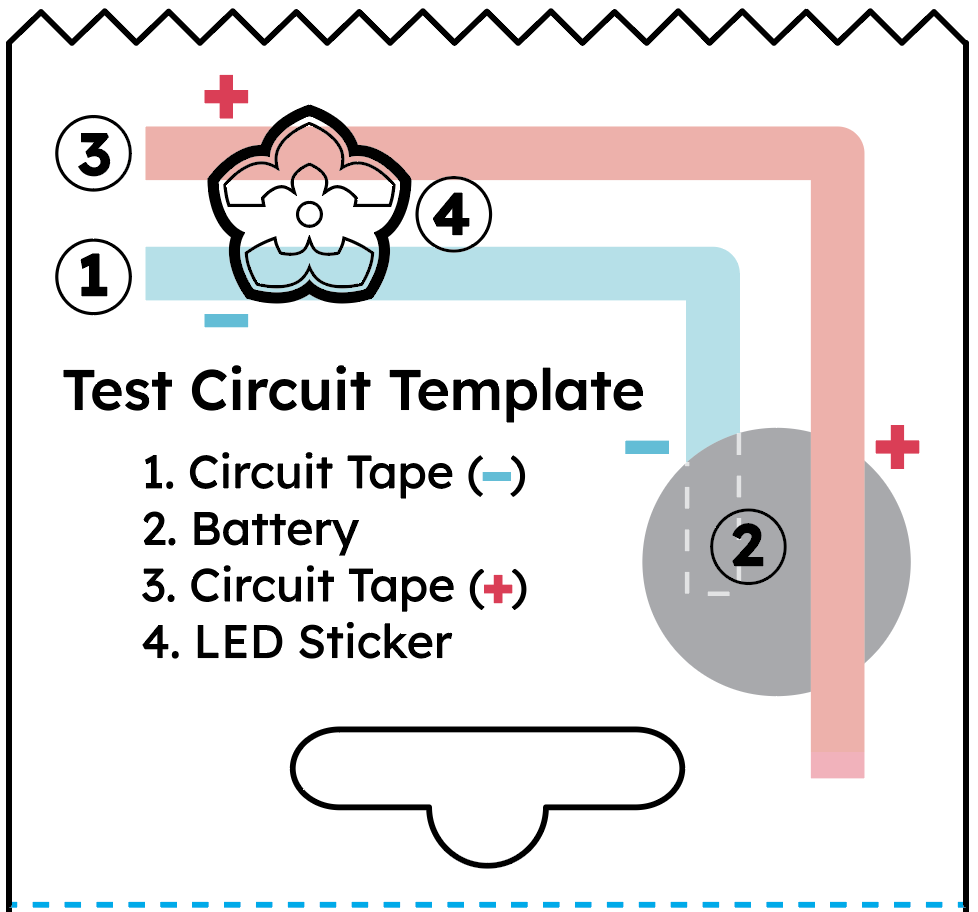
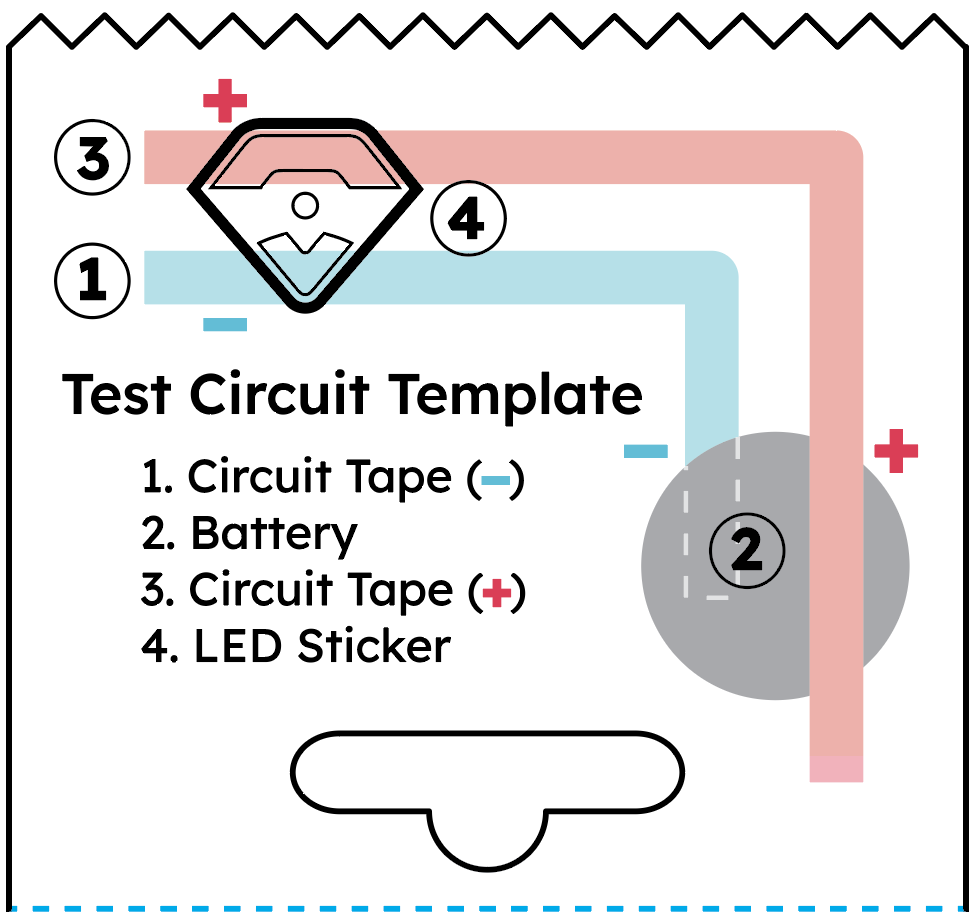
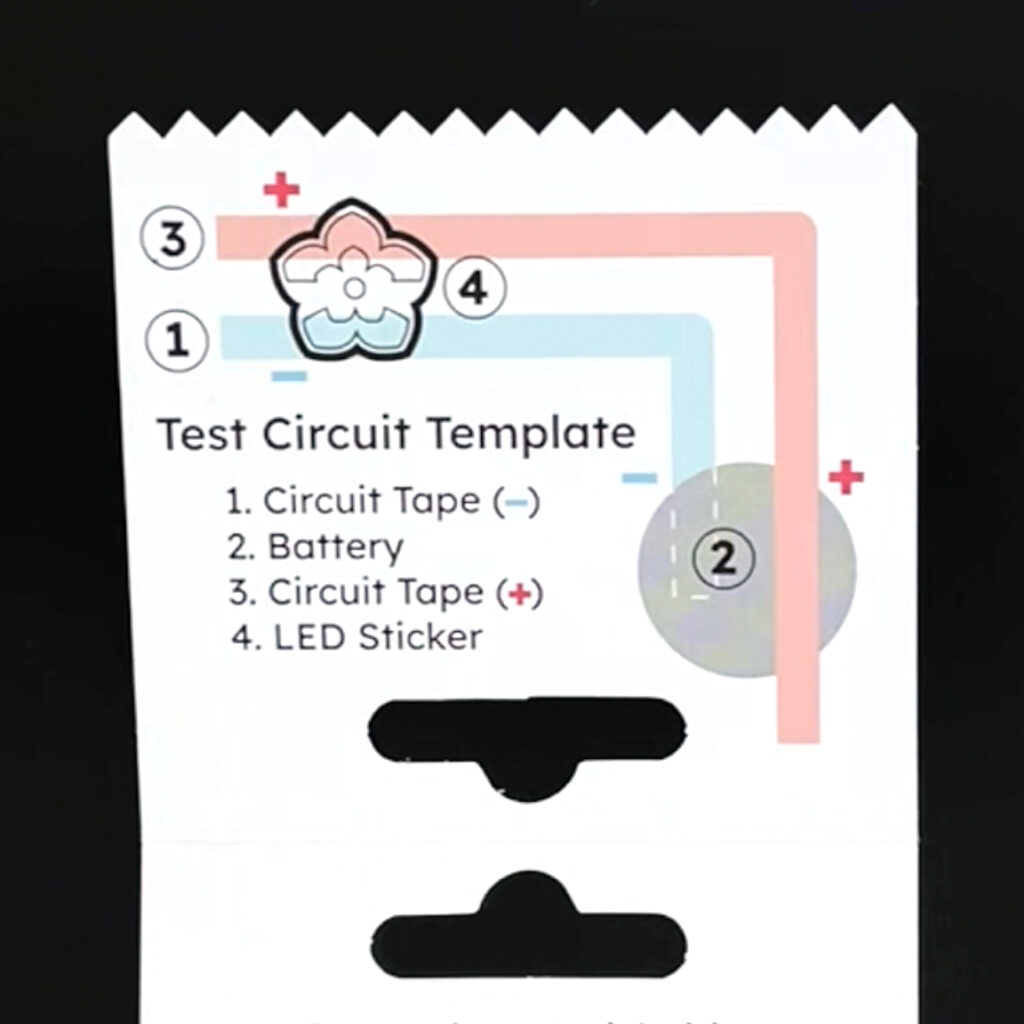
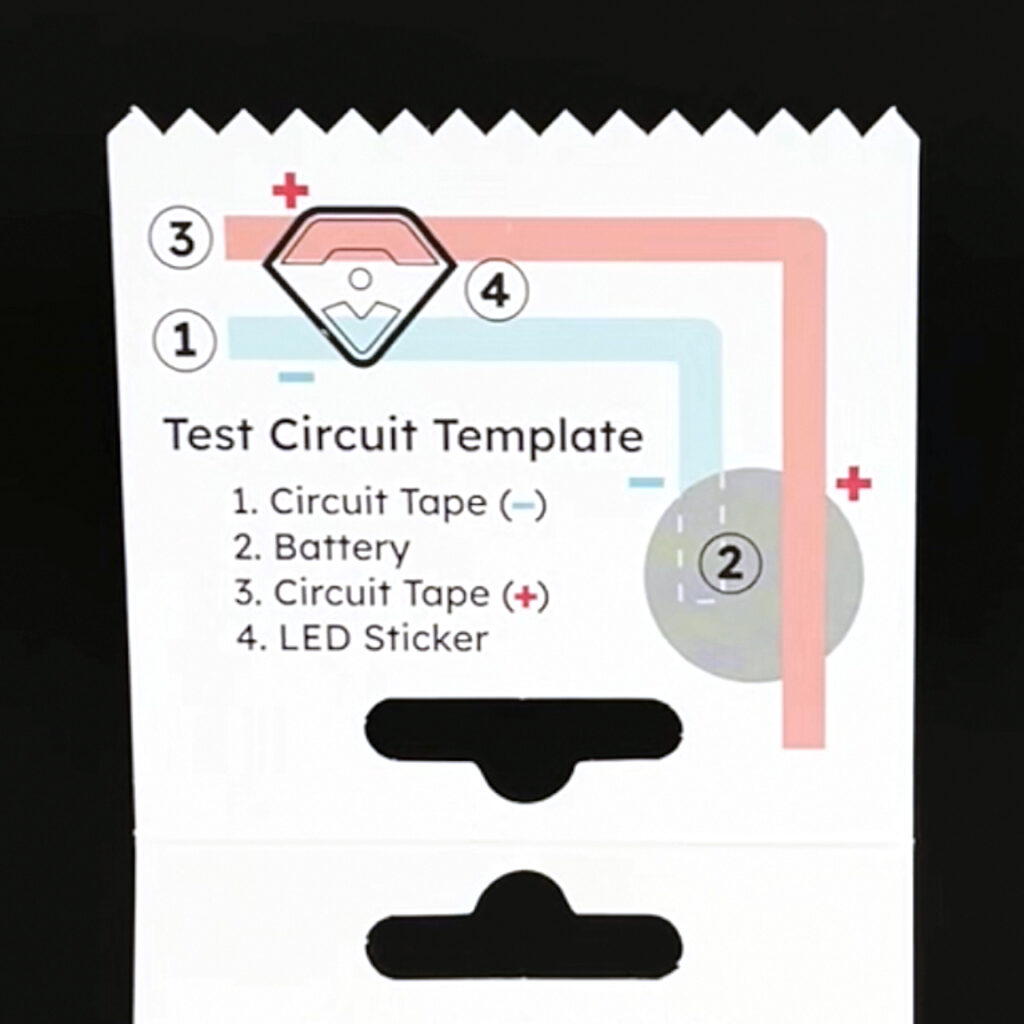
Each package of LED stickers comes with a helpful test circuit template printed on the inside of the packaging. Lift the top flap and you’ll find the test circuit template on the other side. Below you’ll find step by step instructions for creating each test circuit template, as well as a full video tutorial for each template.
Materials Needed:
- animating LED of your choice
- circuit tape of your choice (conductive fabric tape or copper tape)
- 3V coin cell battery (we recommend CR2032 or the thinner CR2016)
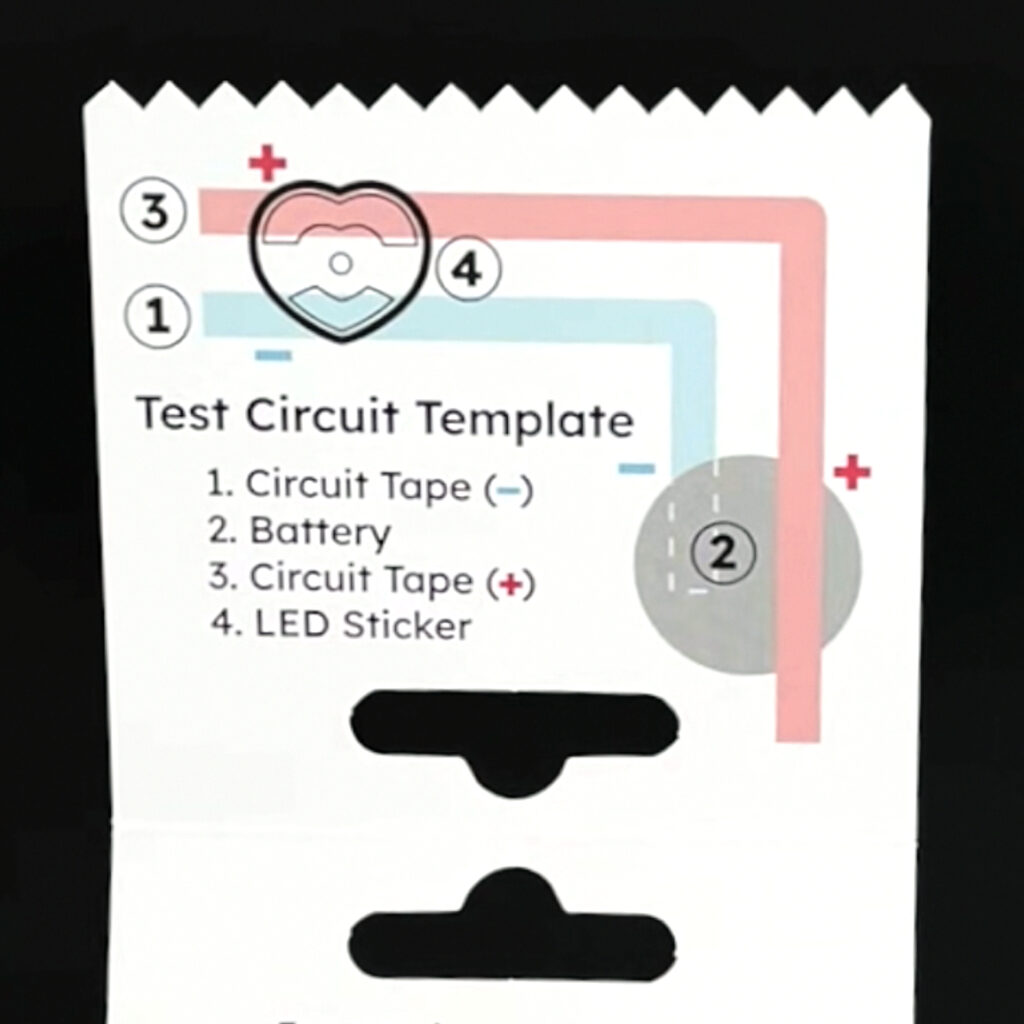
Step 1
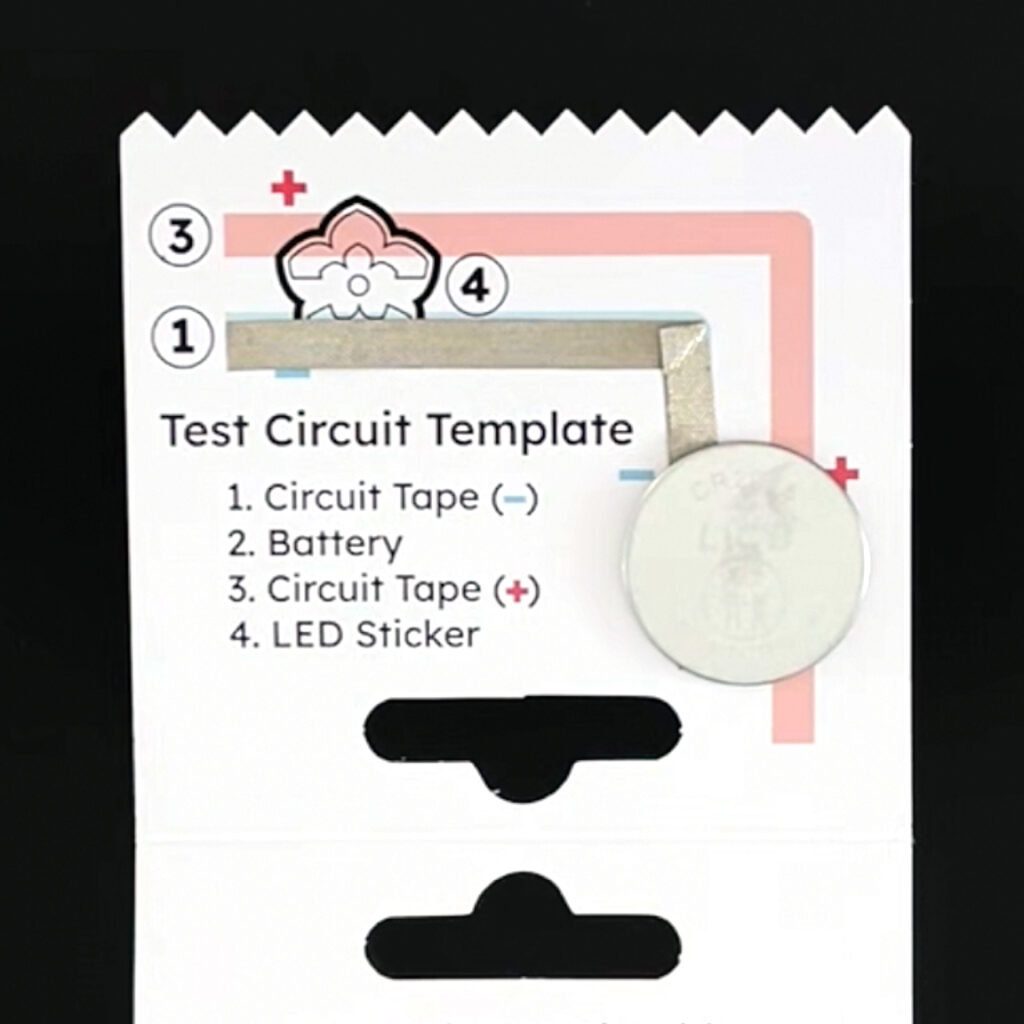
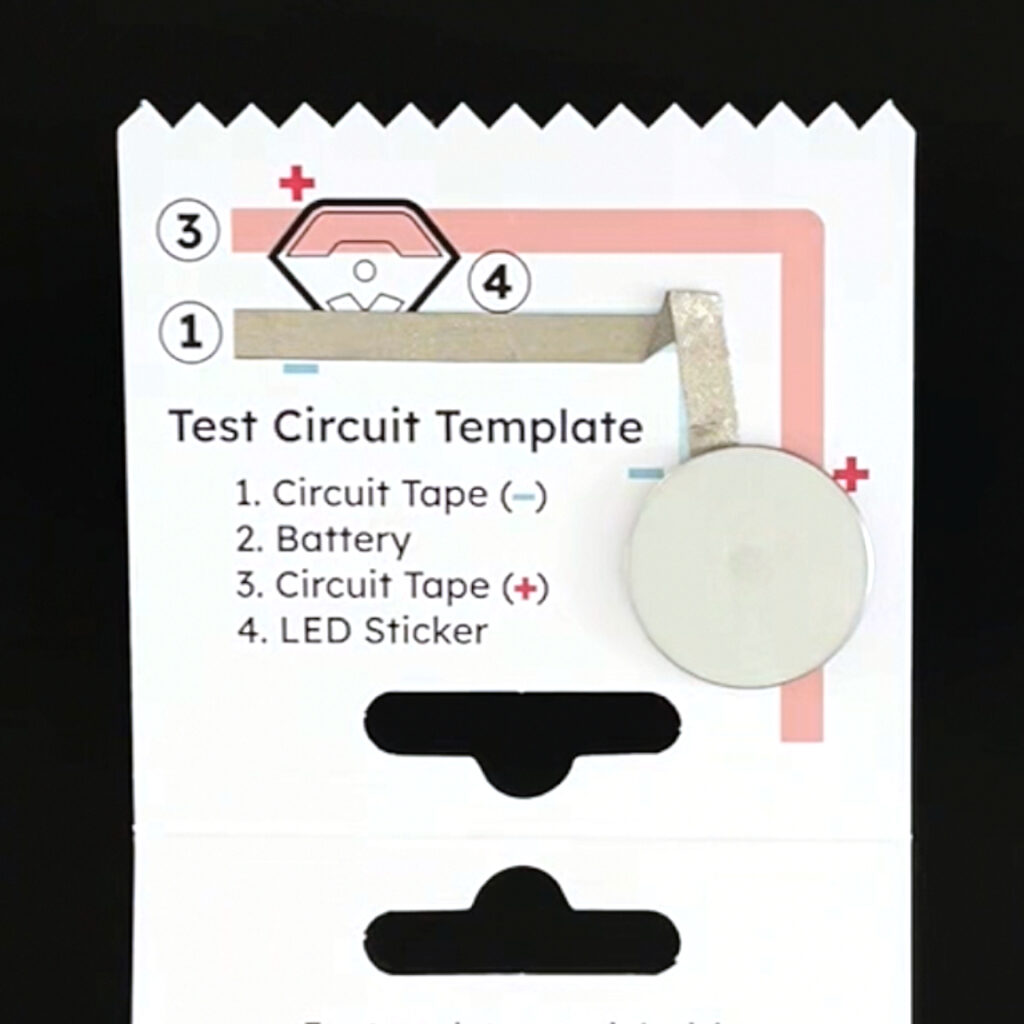
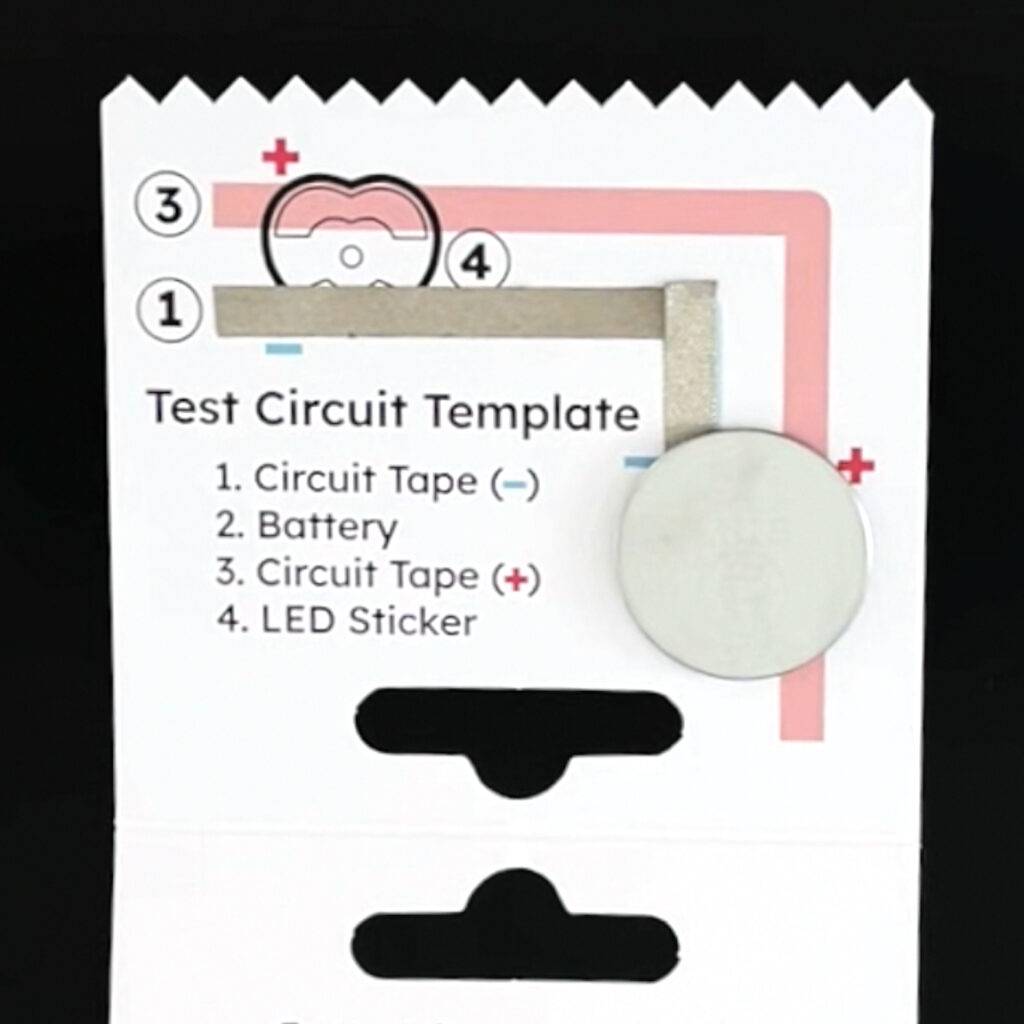
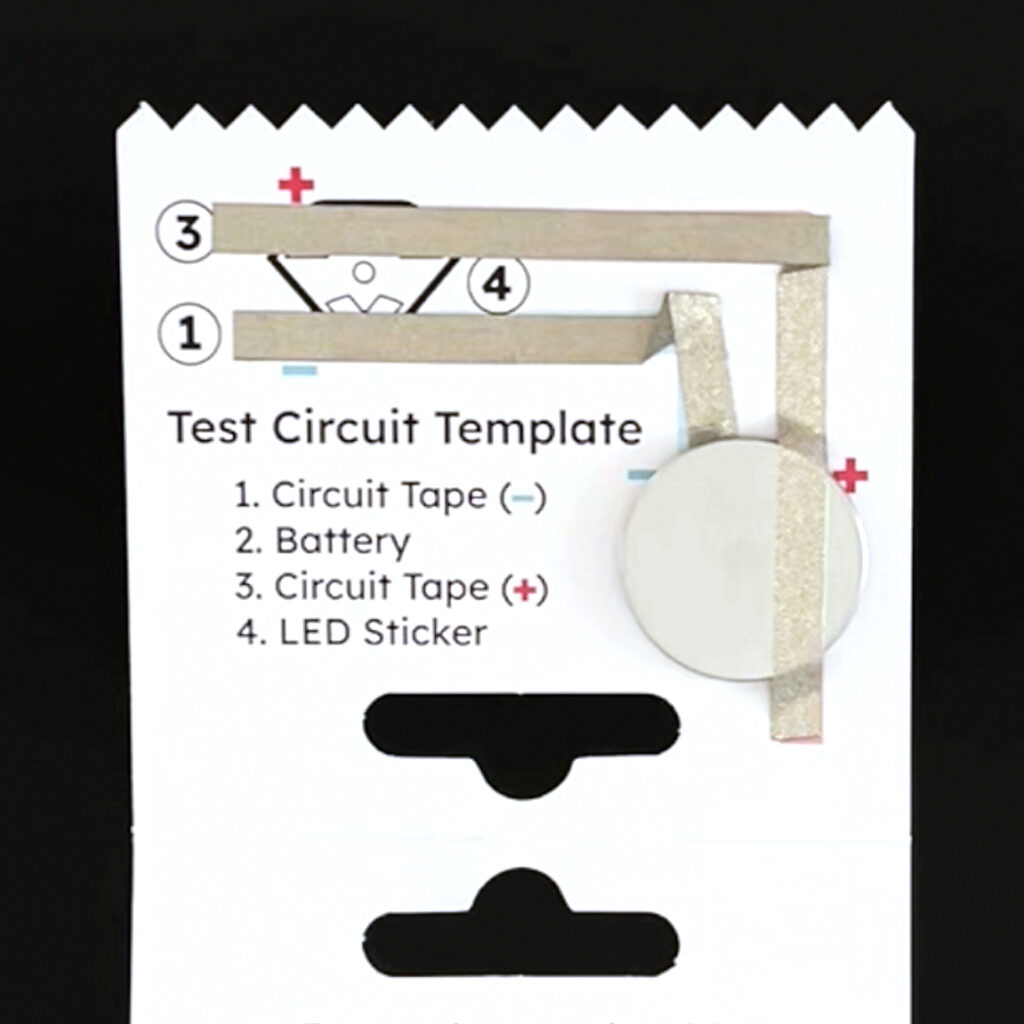
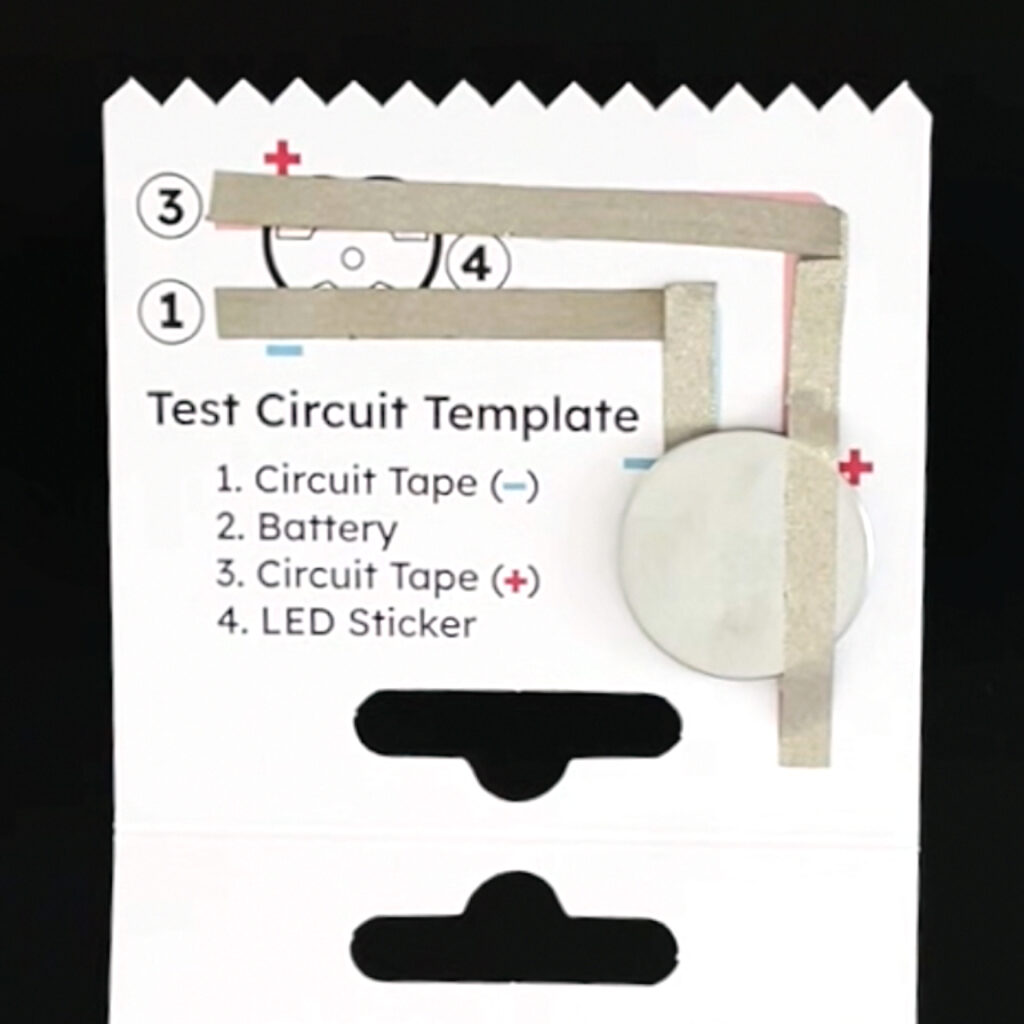
Stick a piece of circuit tape along the blue negative line.
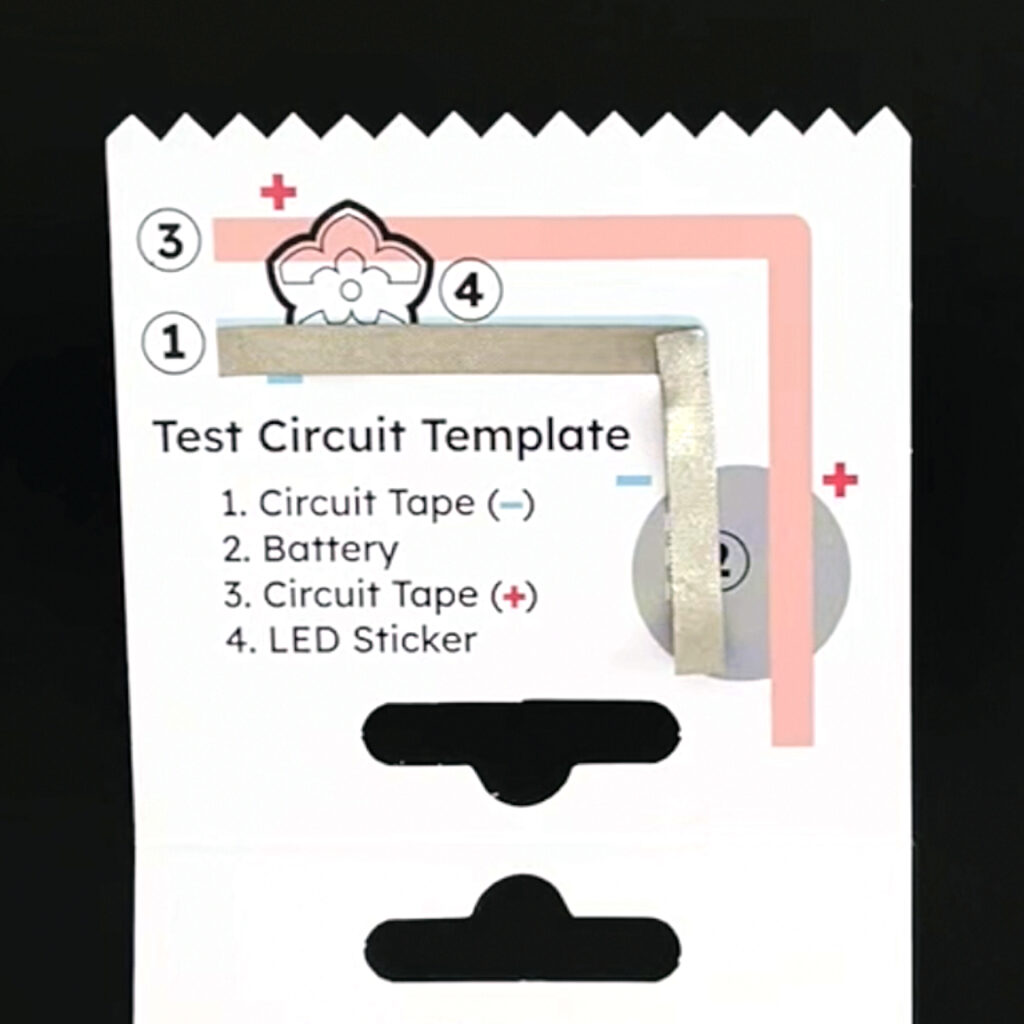
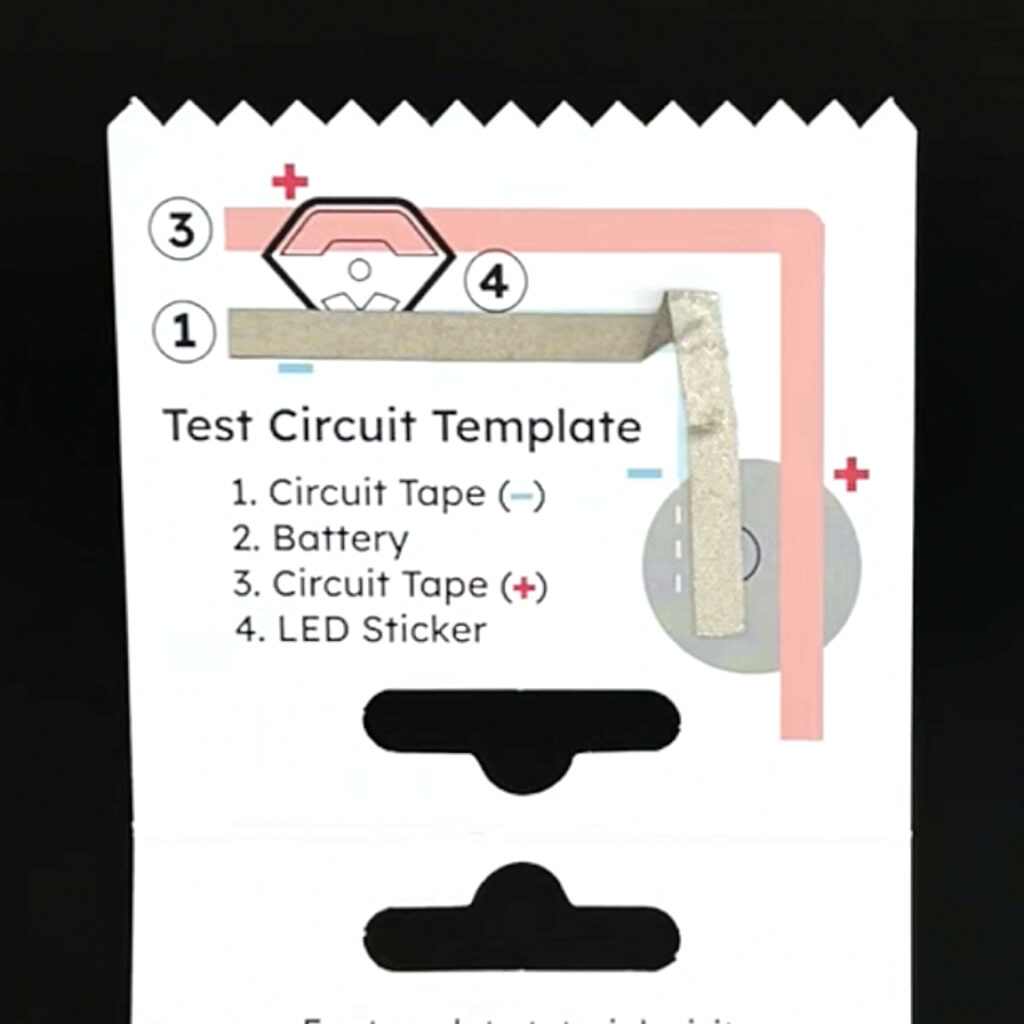
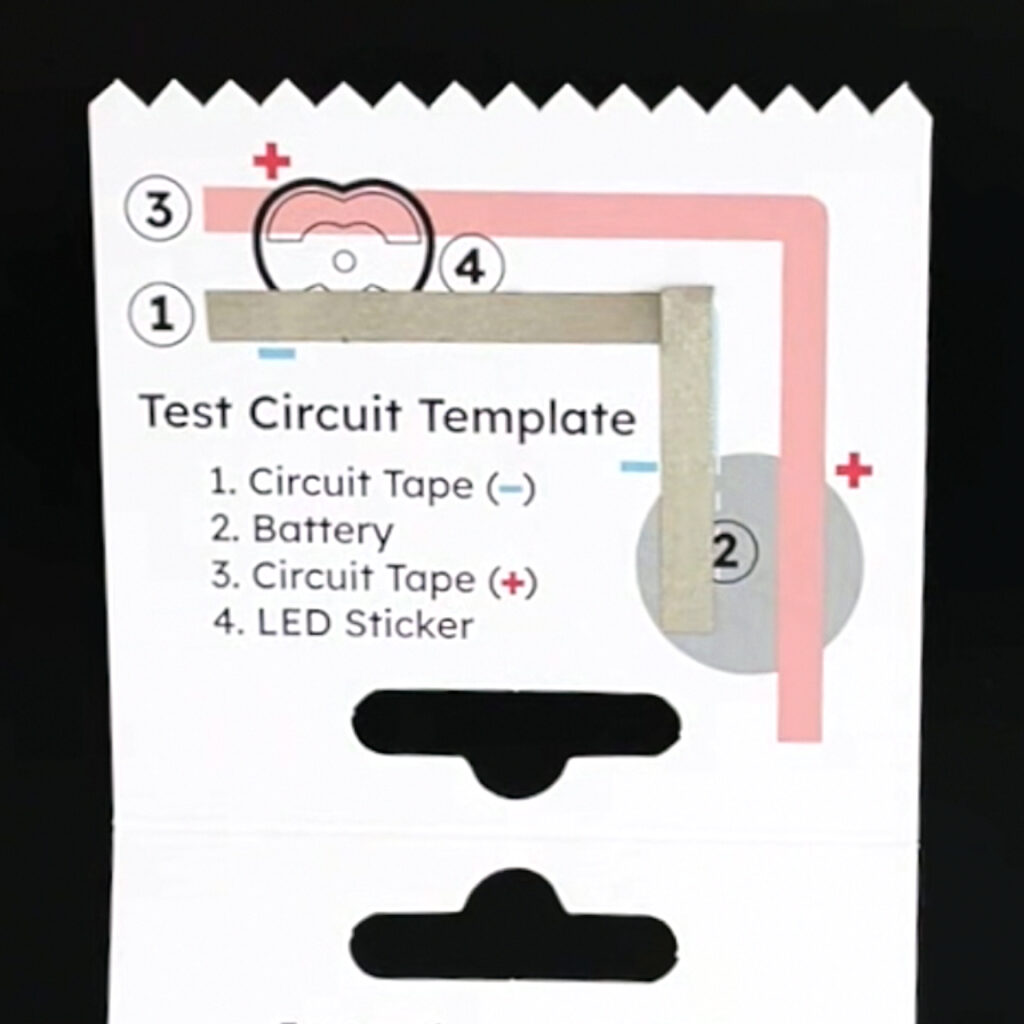
Step 2
Add battery with the positive side facing up (the side with + sign on it).
Step 3
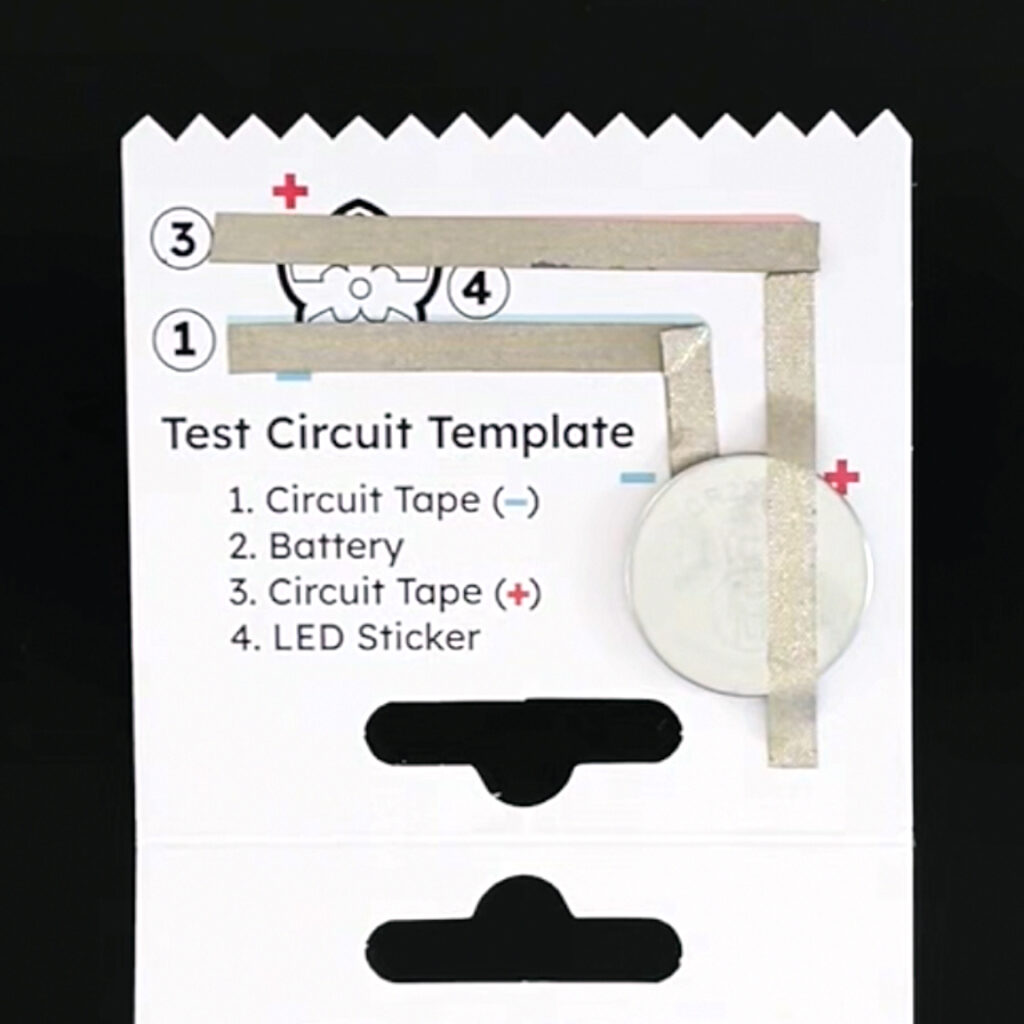
Stick a piece of circuit tape along the red positive line crossing over the top of the battery. This piece of tape will hold your battery in place.
Step 4
Add your LED sticker following the footprint of the LED shape on the template. Make sure the positive side covers the red positive line of tape and the negative side covers the blue negative line of tape.


*For demonstration purposes, both the red and white fade stickers are shown on one template; but, they may be used independently
Step 5
Enjoy watching your animating LED come to life!

