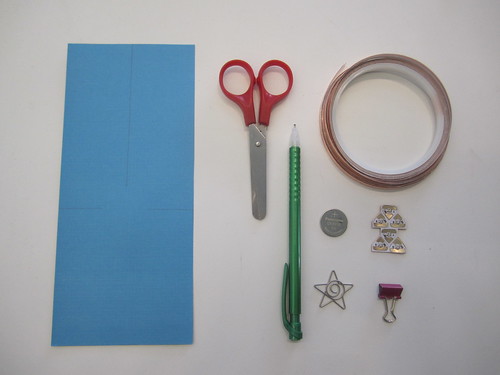
To make this paper helicopter with glowing wings, you will need:
- LED Circuit Stickers
- Conductive copper tape
- Plain card stock, or template (accessible here) printed on card stock
- 3V coin cell battery
- Scissors
- Pencil
- Binder Clip

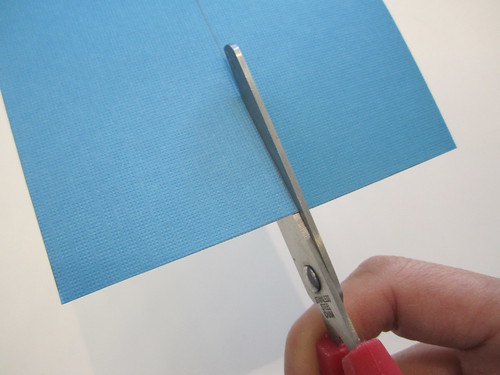
Step 1. Cut the card stock along the solid lines, or into a shape similar to the one indicated on the template. Include one slit down from the top for the two wings, and two half sideways slits, starting below the end of the top slit, to fold in to create the base.
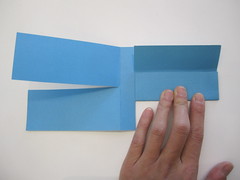
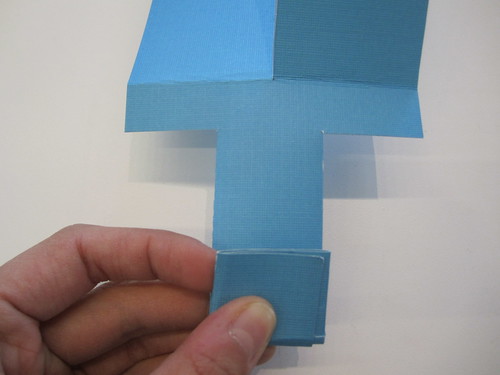
Step 2. Fold the two wings down on either side of the top slit, and fold the two sides of the base inwards. Fold the bottom portion of the base upwards. If using template fold along the dotted lines.
 |
 |
 |
|
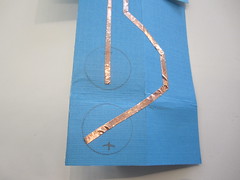
Step 3. If not using the template, trace two circles for battery on the bottom of the base. Place one on above and one below your bottom fold.

Step 4. Lay one piece of copper tape from the negative battery terminal onto one wing.
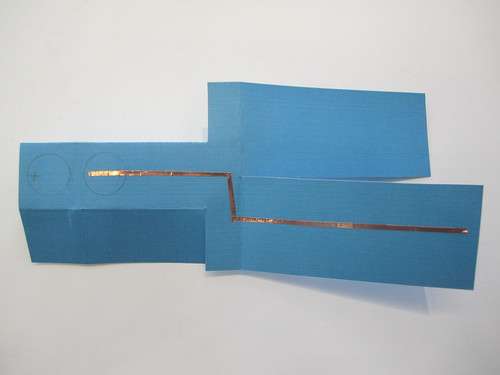
Step 5. Lay second piece of copper tape from positive battery terminal onto the same wing. Make sure the two pieces of tape are parallel on the wing, and will not touch on the base when the bottom is folded up.
 |
 |
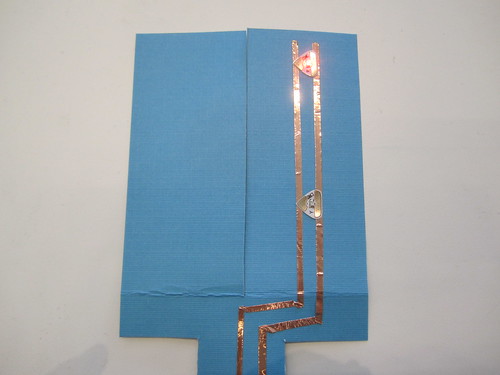
Step 6. Connect some LEDs to the copper tape, making sure to attach the positive end of the LED to the positive strip of tape, and negative to negative.
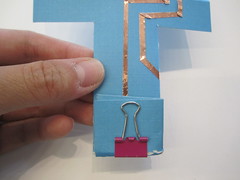
Step 7. Add the 3V coin cell battery to the base of your helicopter. Fold the bottom card stock up over the battery and clip in place.
 |
 |
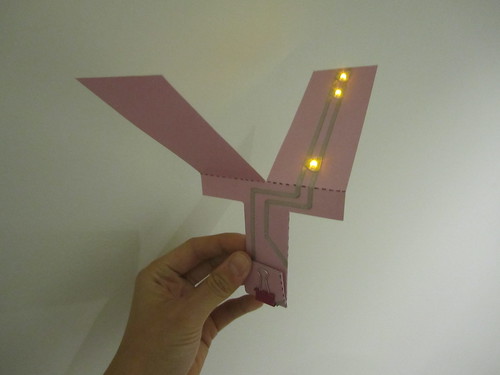
Step 8. Fold down wings and you’re ready to fly!

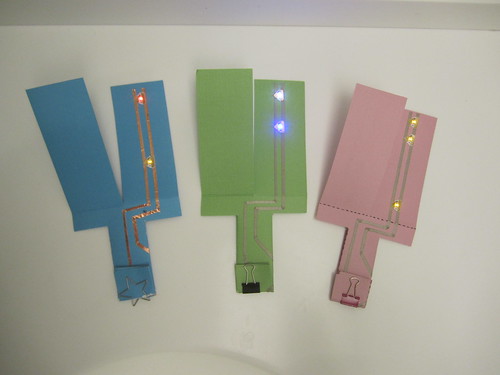
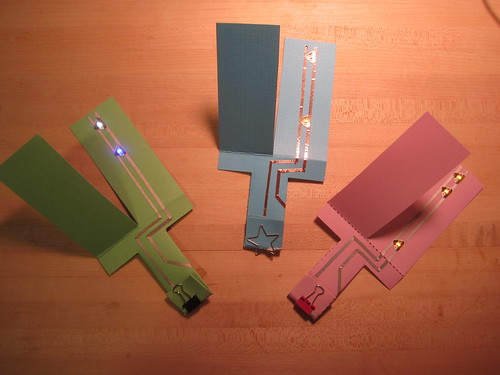
Congrats! Your helicopter is complete. Here are some fun pictures and videos of the completed paper helicopter. Feel free to try your own designs and experiment with different shapes!