This week I received lovely clear stamps from Lawn Fawn. I was so excited when I opened the package to find geography related designs including a map and a globe. I am fascinated by the idea of a fantasy crystal ball or a globe that shows you a visual of someone you are missing or thinking about. With Chibi lights and blinking slide switch, I decided to make a Magical Globe card using the lawn fawn stamps.
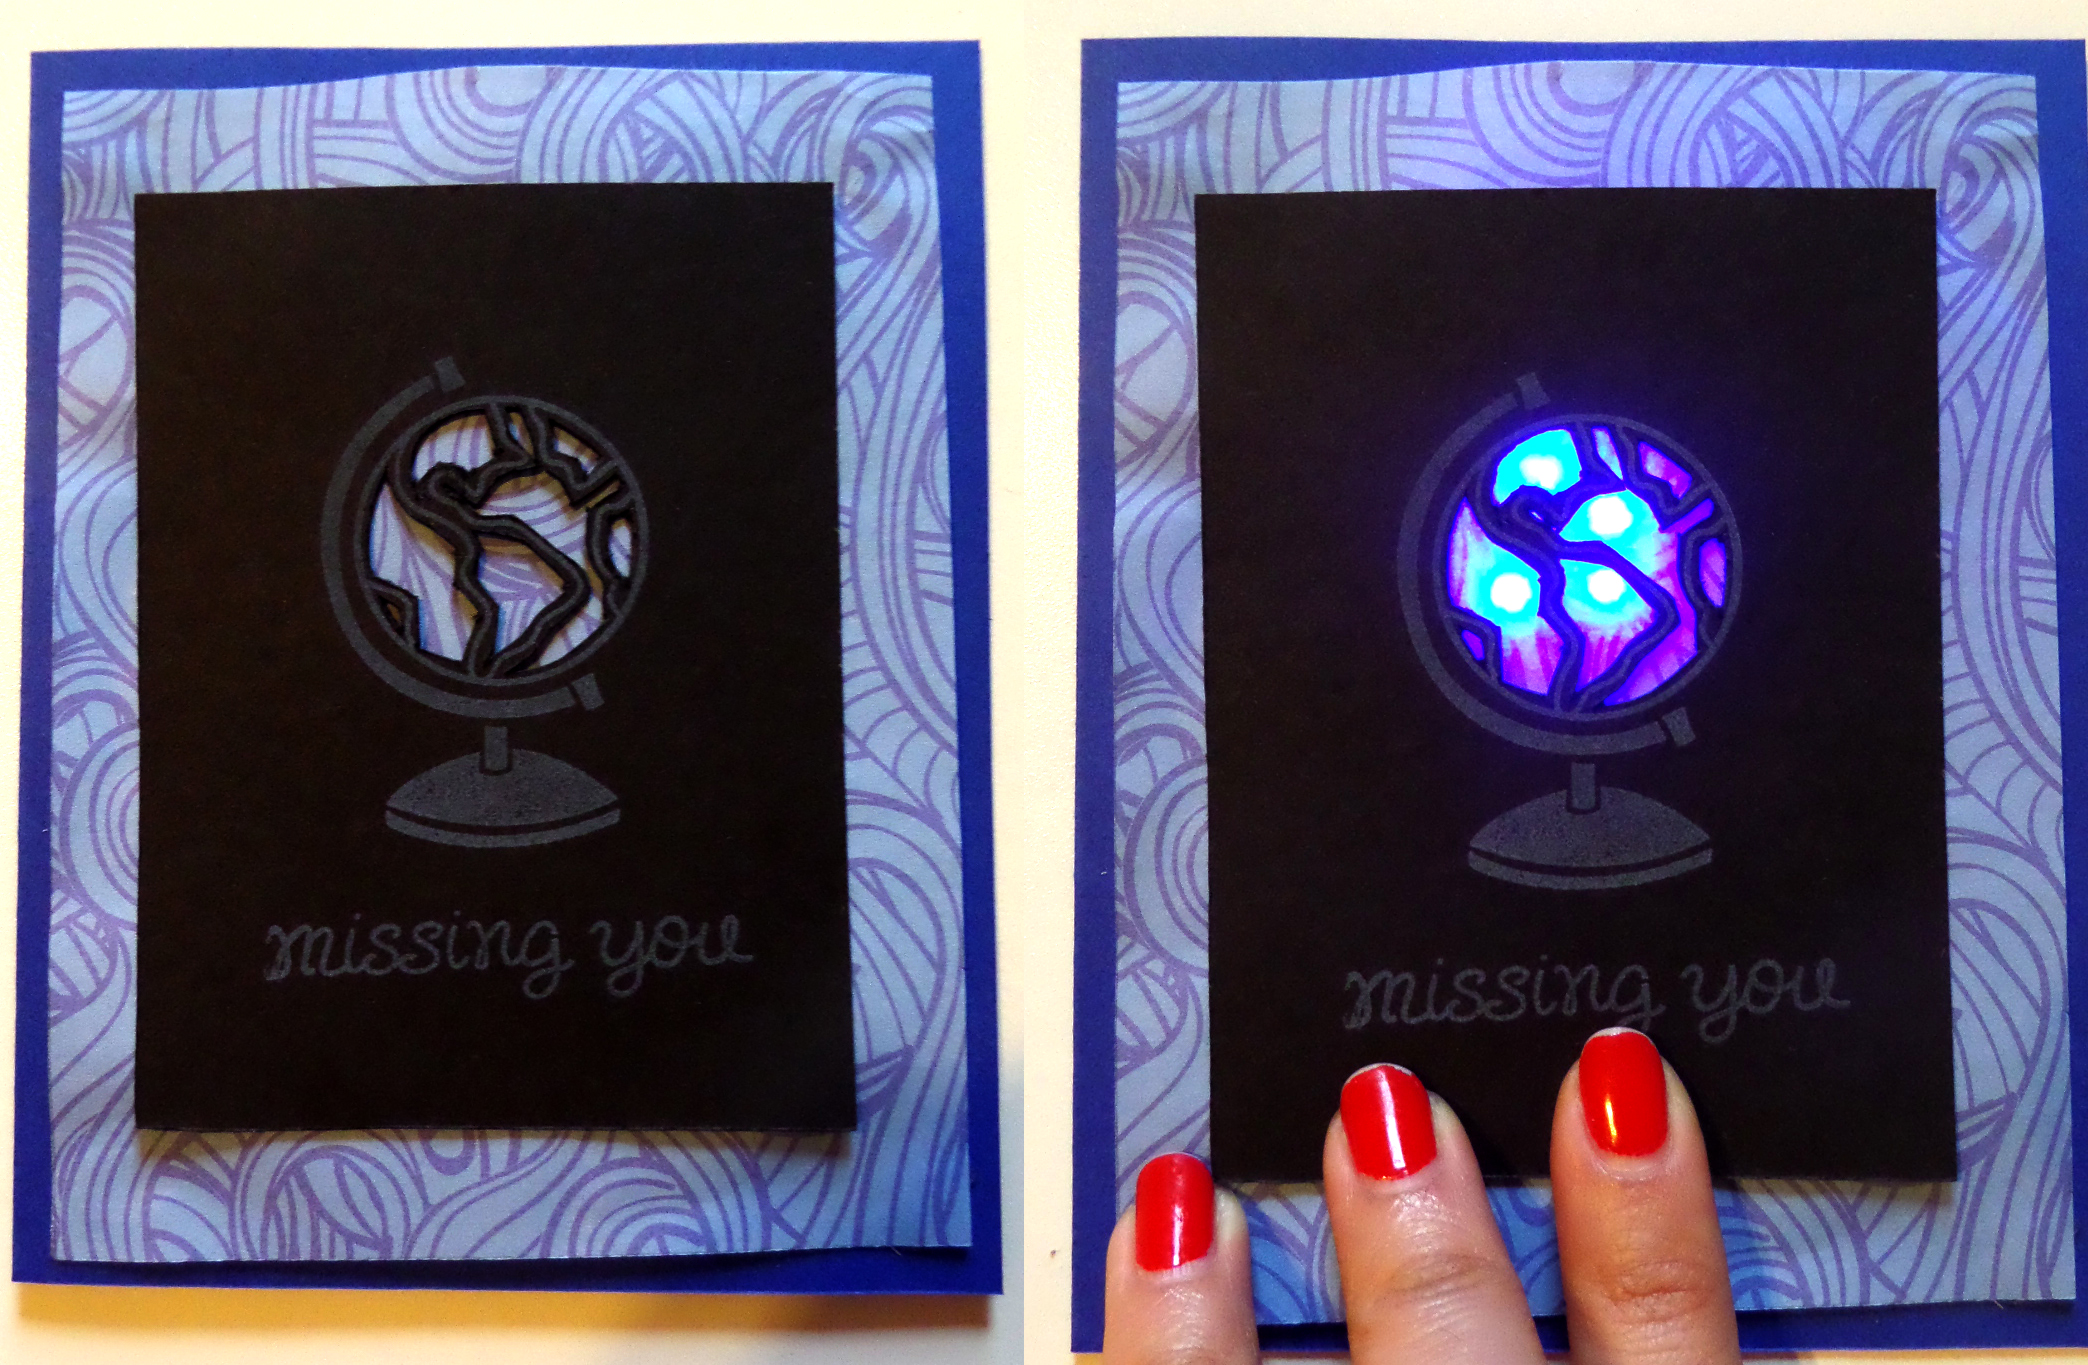
This is a tutorial for you to make your own Magical Globe light-up card with a blinking switch
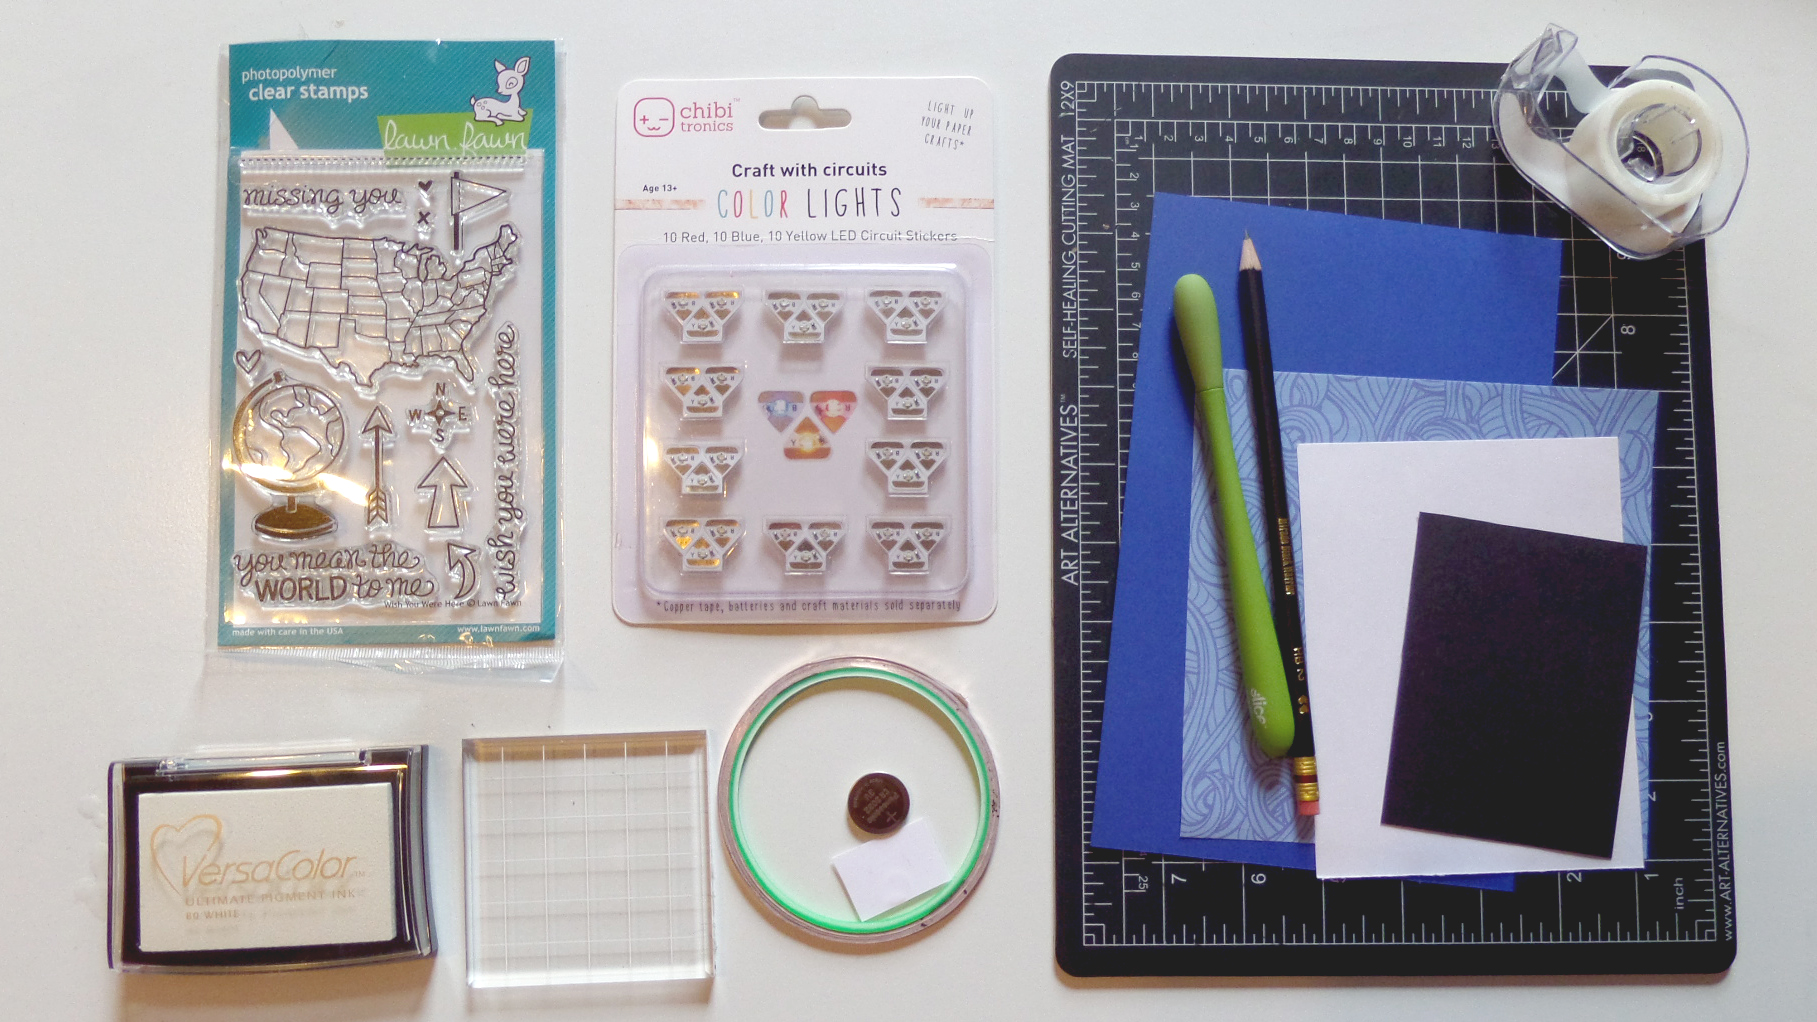
MATERIALS AND TOOLS
- Chibi Lights (I chose blue color for this project)
- Copper tape
- 3V coin cell battery (CR3032)
- Circuit Sticker Sketchbook for reference (optional)
- Lawn Fawn ‘wish you were here’ clear stamp pack
- Acrylic Block
- Blue card stock paper for card base (5.5″W x 8.5″H)
- White paper to make a circuit (5″H x 4″W)
- Blue Patterned Origami Paper (5″H x 4″W)
- Black card stock paper (4″H x 3.5″W)
- White Pigment Ink Pad
- Cutting mat
- Precision knife
- Pencil
- Clear Tape
- Tacky Glue
- Glue Dots
Step 1: Take the blue paper card stock paper and fold it in half.

Step 2: Place all the paper layers and mark their positions with a pencil. Follow this layer from the base to the top.
- Blue card stock
- White paper
- Patterned paper
- Black card stock
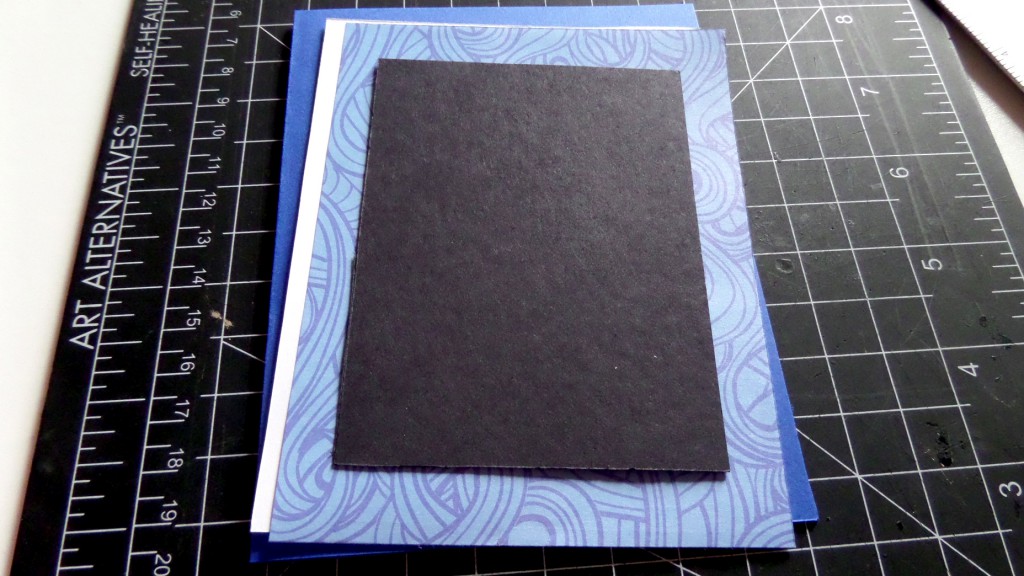
You could trim the edges of the paper. The circuit will be on the hidden white paper layer.
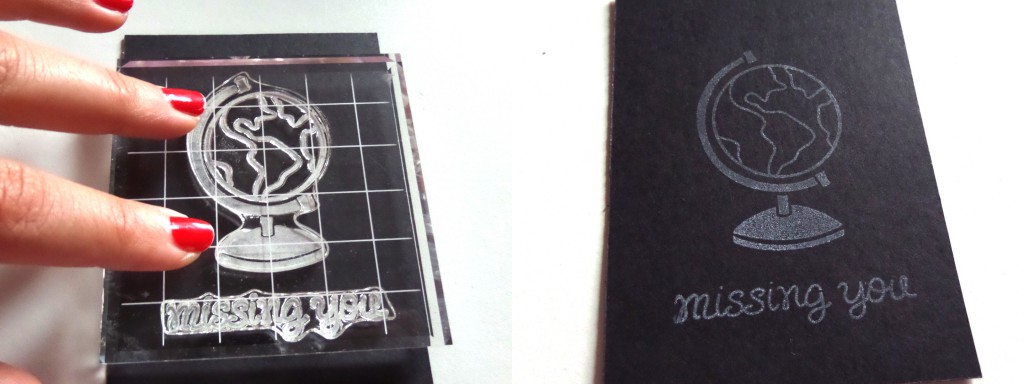
Step 3: Peel off the globe shaped stamp and ‘missing you’ text stamp from the lawn fawn stamp sheet. Stick them onto the acrylic block in the arrangement you want. Now you are ready for stamping.

Step 4: Bring your stamp to the ink pad and lightly tap it to the ink pad to fully cover the stamp with ink.
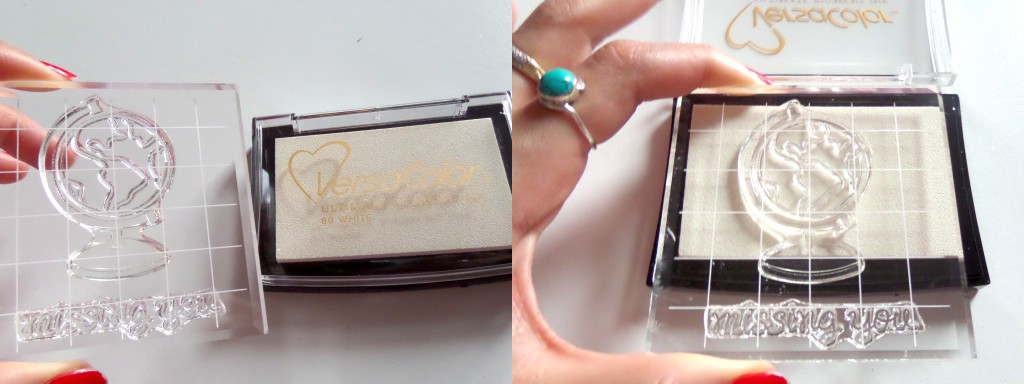
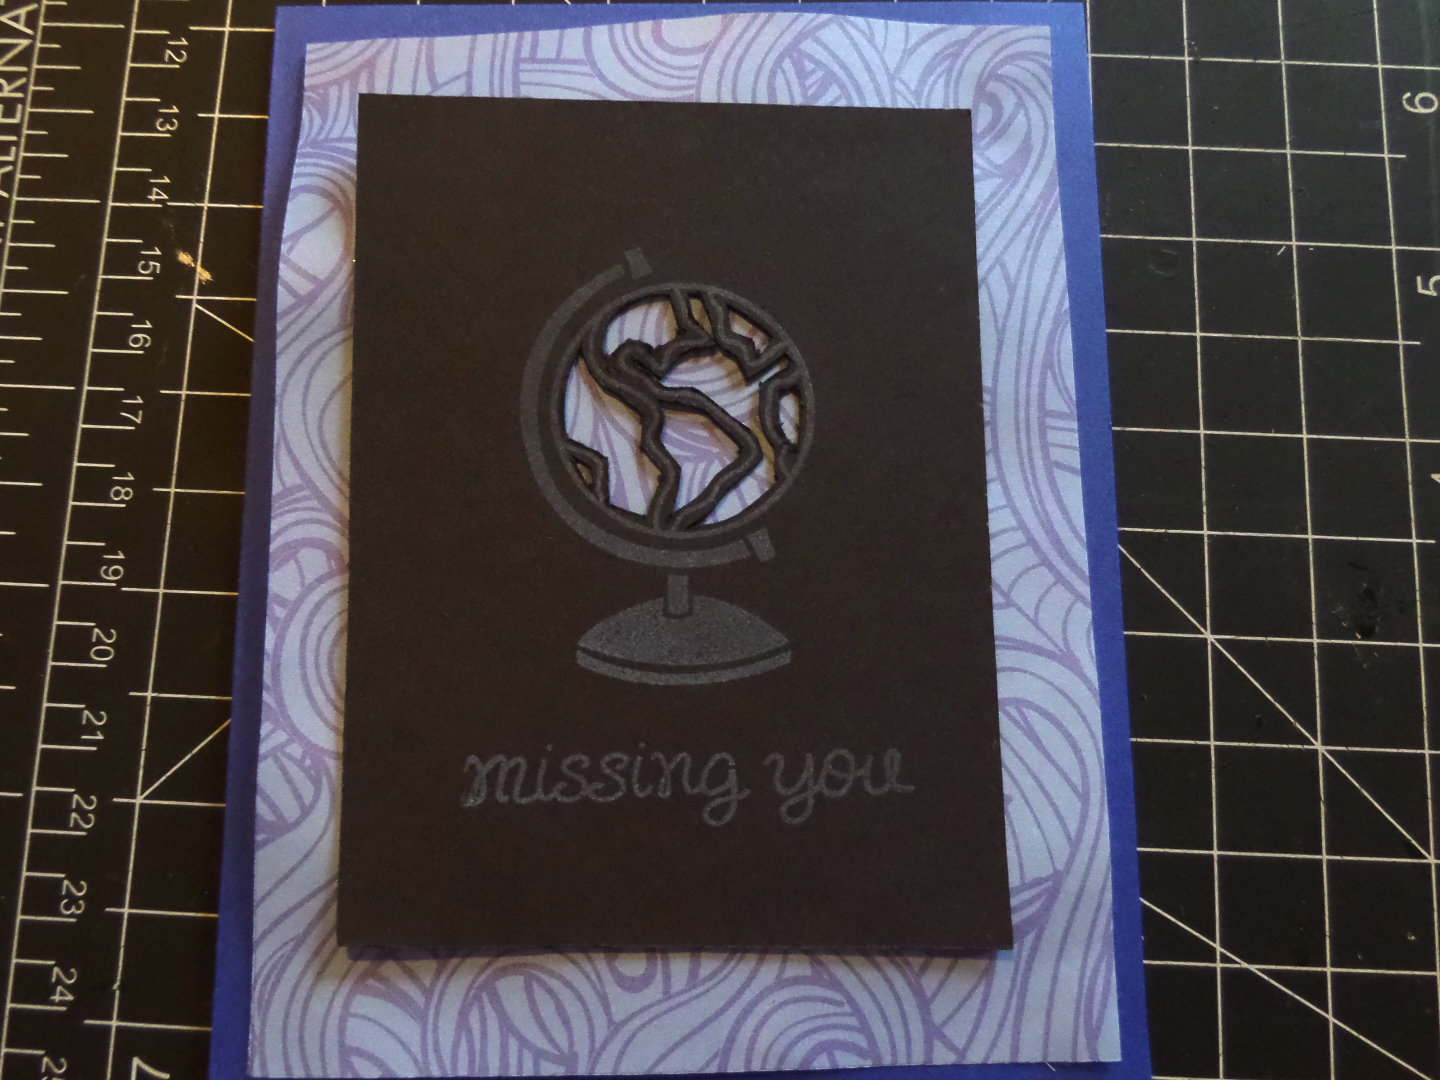
Step 5: Bring your inked stamp to the black card stock paper and lightly press with an even pressure all around. Now lift up your stamp. You will see that the image is now transferred on to the paper.
Step 5: Using a precision knife, cut out parts of globe design.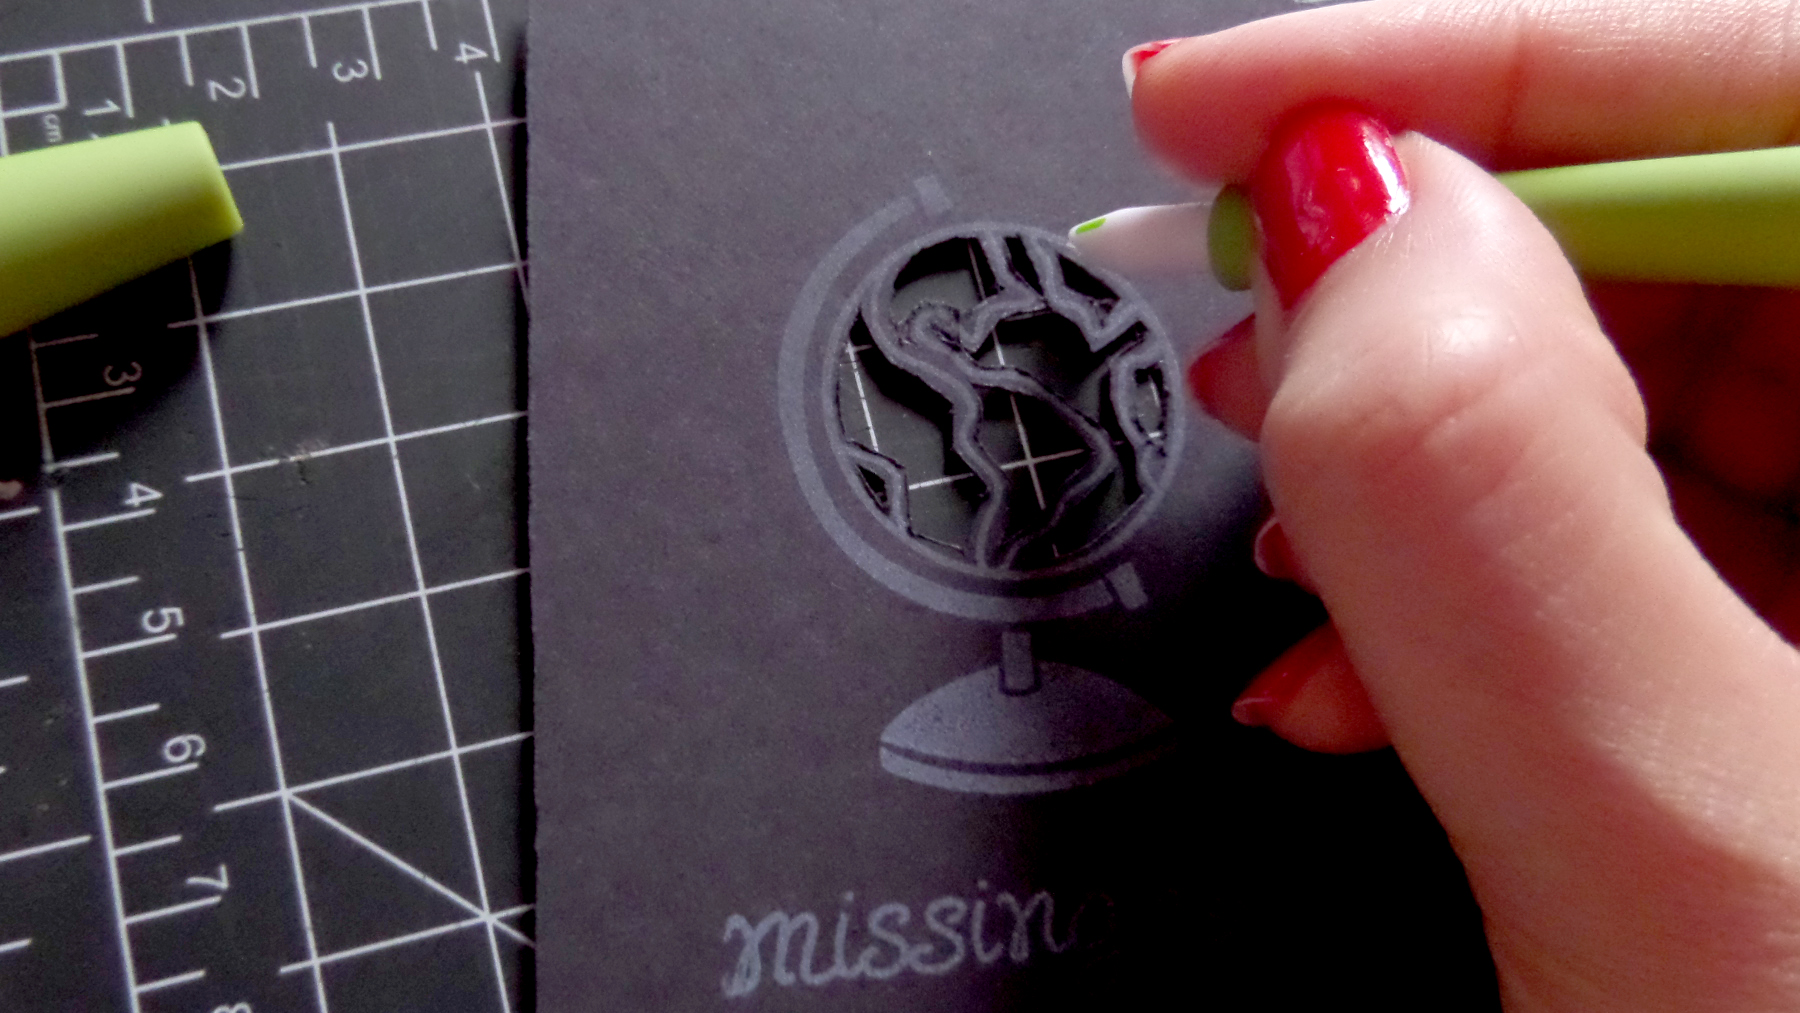
Step 6: Place the black card stock paper on the white paper and mark the places where you want the lights. In my design, I used four light stickers.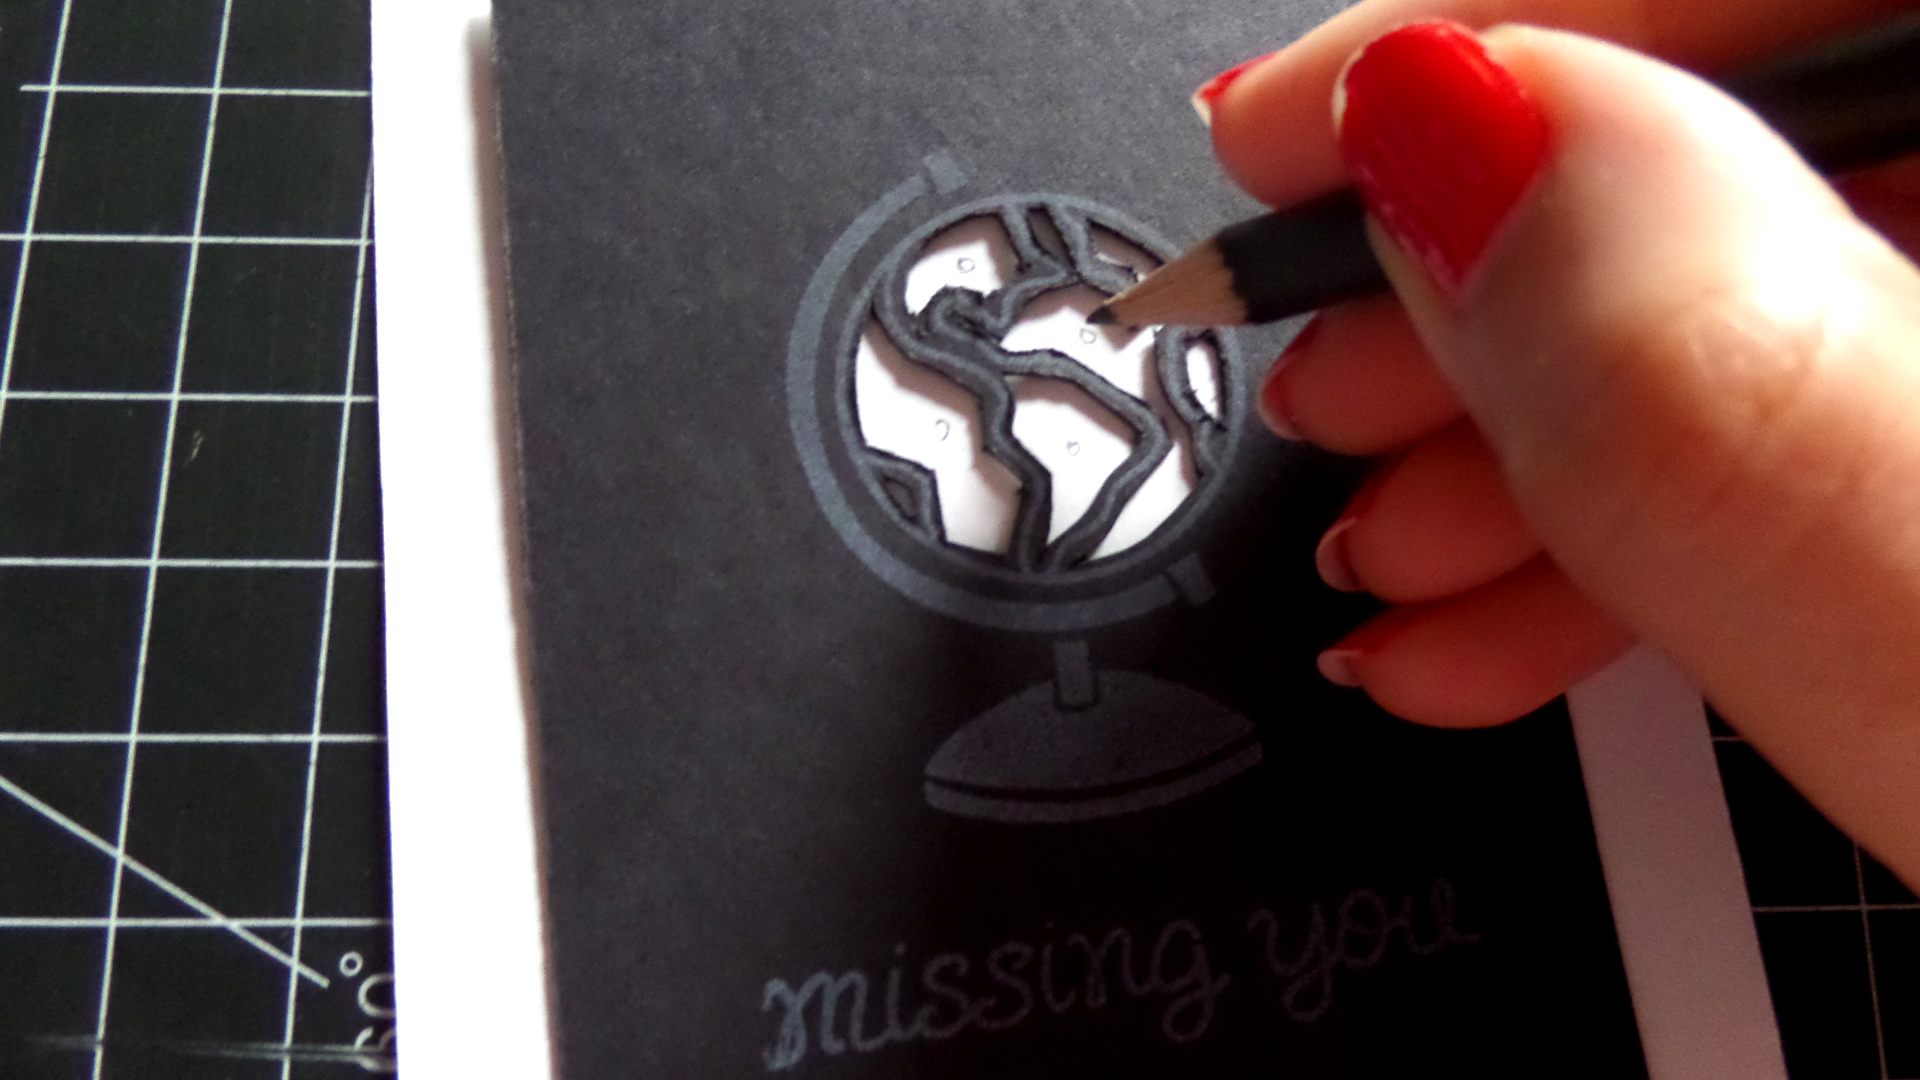
Step 7: Refer to the blinking slide switch page on the Circuit Sticker Sketchbook and draw your circuit on the white paper around the marks for lights. (You could also download the template here)
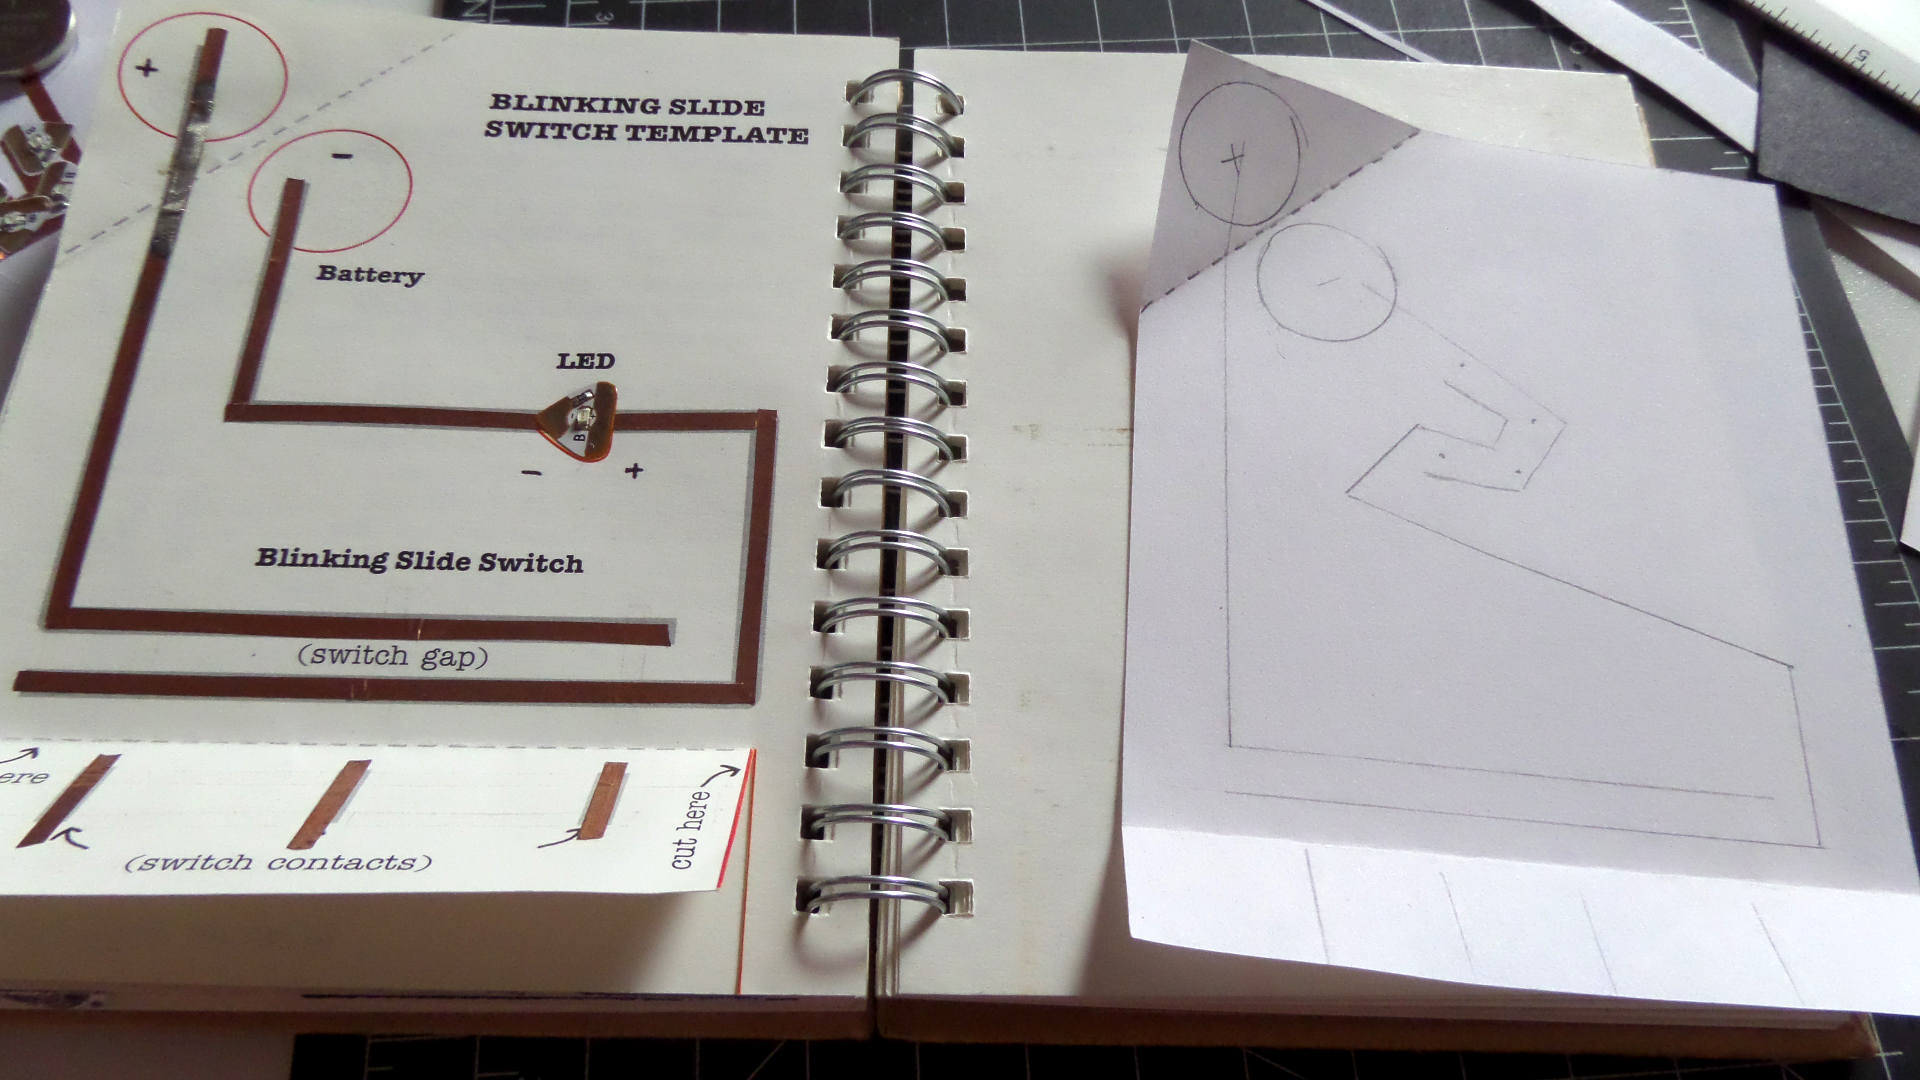
Step 8: Stick copper tape on the lines on your circuit.
Step 9: Add the battery and LED stickers.You could use clear tape to attach the battery instead of a binder clip. Press the LED sticker firmly and make sure the metal pads are in contact with the copper tape.  When you press any of the switch, the lights should switch on. When you slide your fingers through the switches, the lights will switch on and off frequency giving them a blinking effect.
Step 10: Stick the white paper on the blue base layer
Step 11: With the help of glue dots, stick the pattern paper on top of the white layer. Make sure it hides the white layer completely.

Step 12: Place the black layer on top and stick it with glue. Make sure the lights are aligned with the globe and the text is aligned with the blinking slide switch.
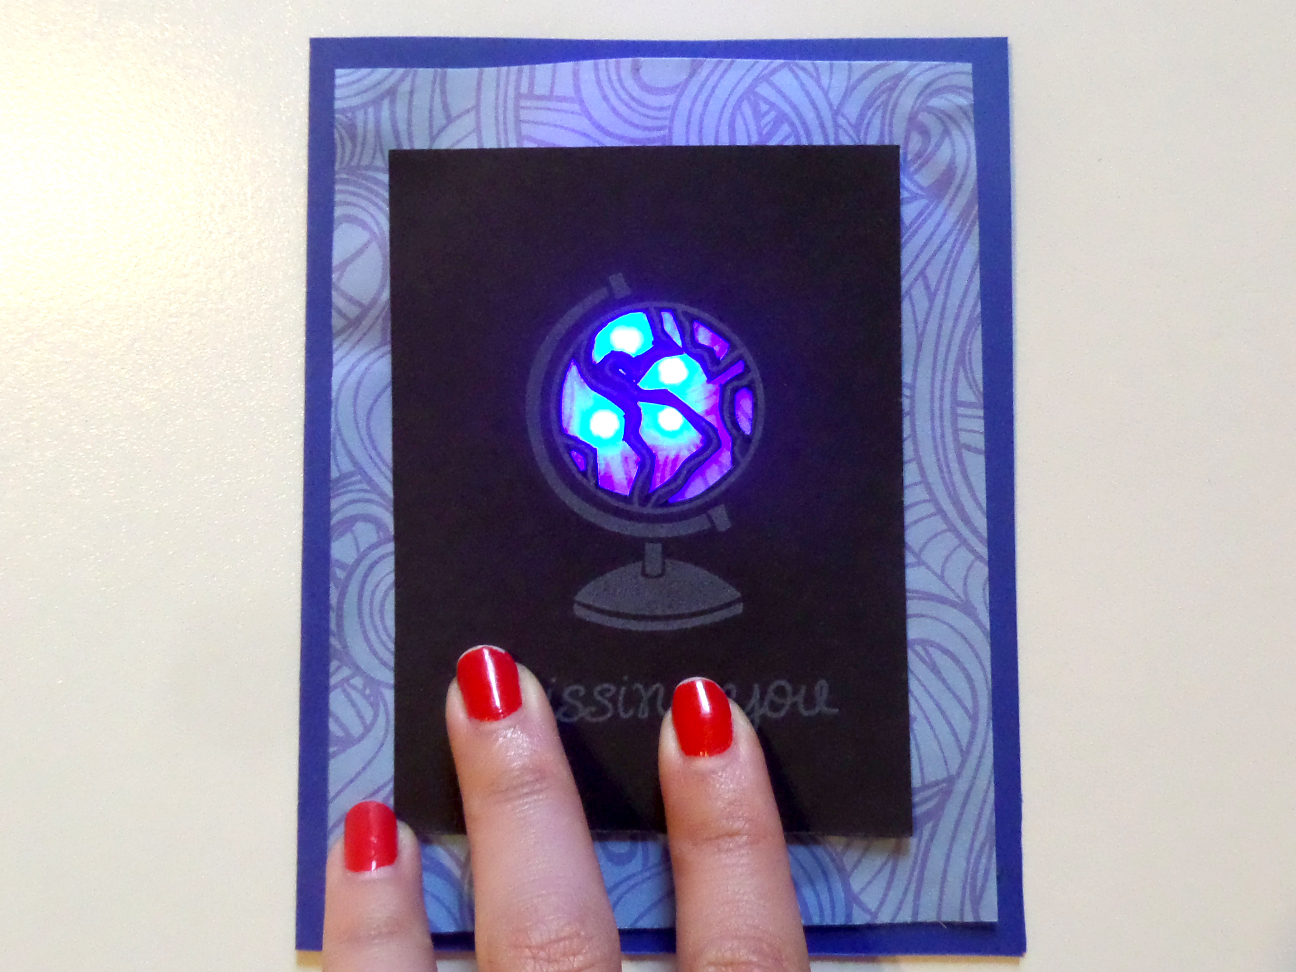
And your Magical Globe Card is ready! Slide your fingers along the text to the the lights on the globe blink rapidly.
Happy Making!
One thought on “Magical Globe Card with Blinking Slide Switch using Lawn Fawn stamps”
Comments are closed.