Objective: To understand how to use a multimeter to check voltage (power) at various points on your circuit, so you can locate problems and fix them.
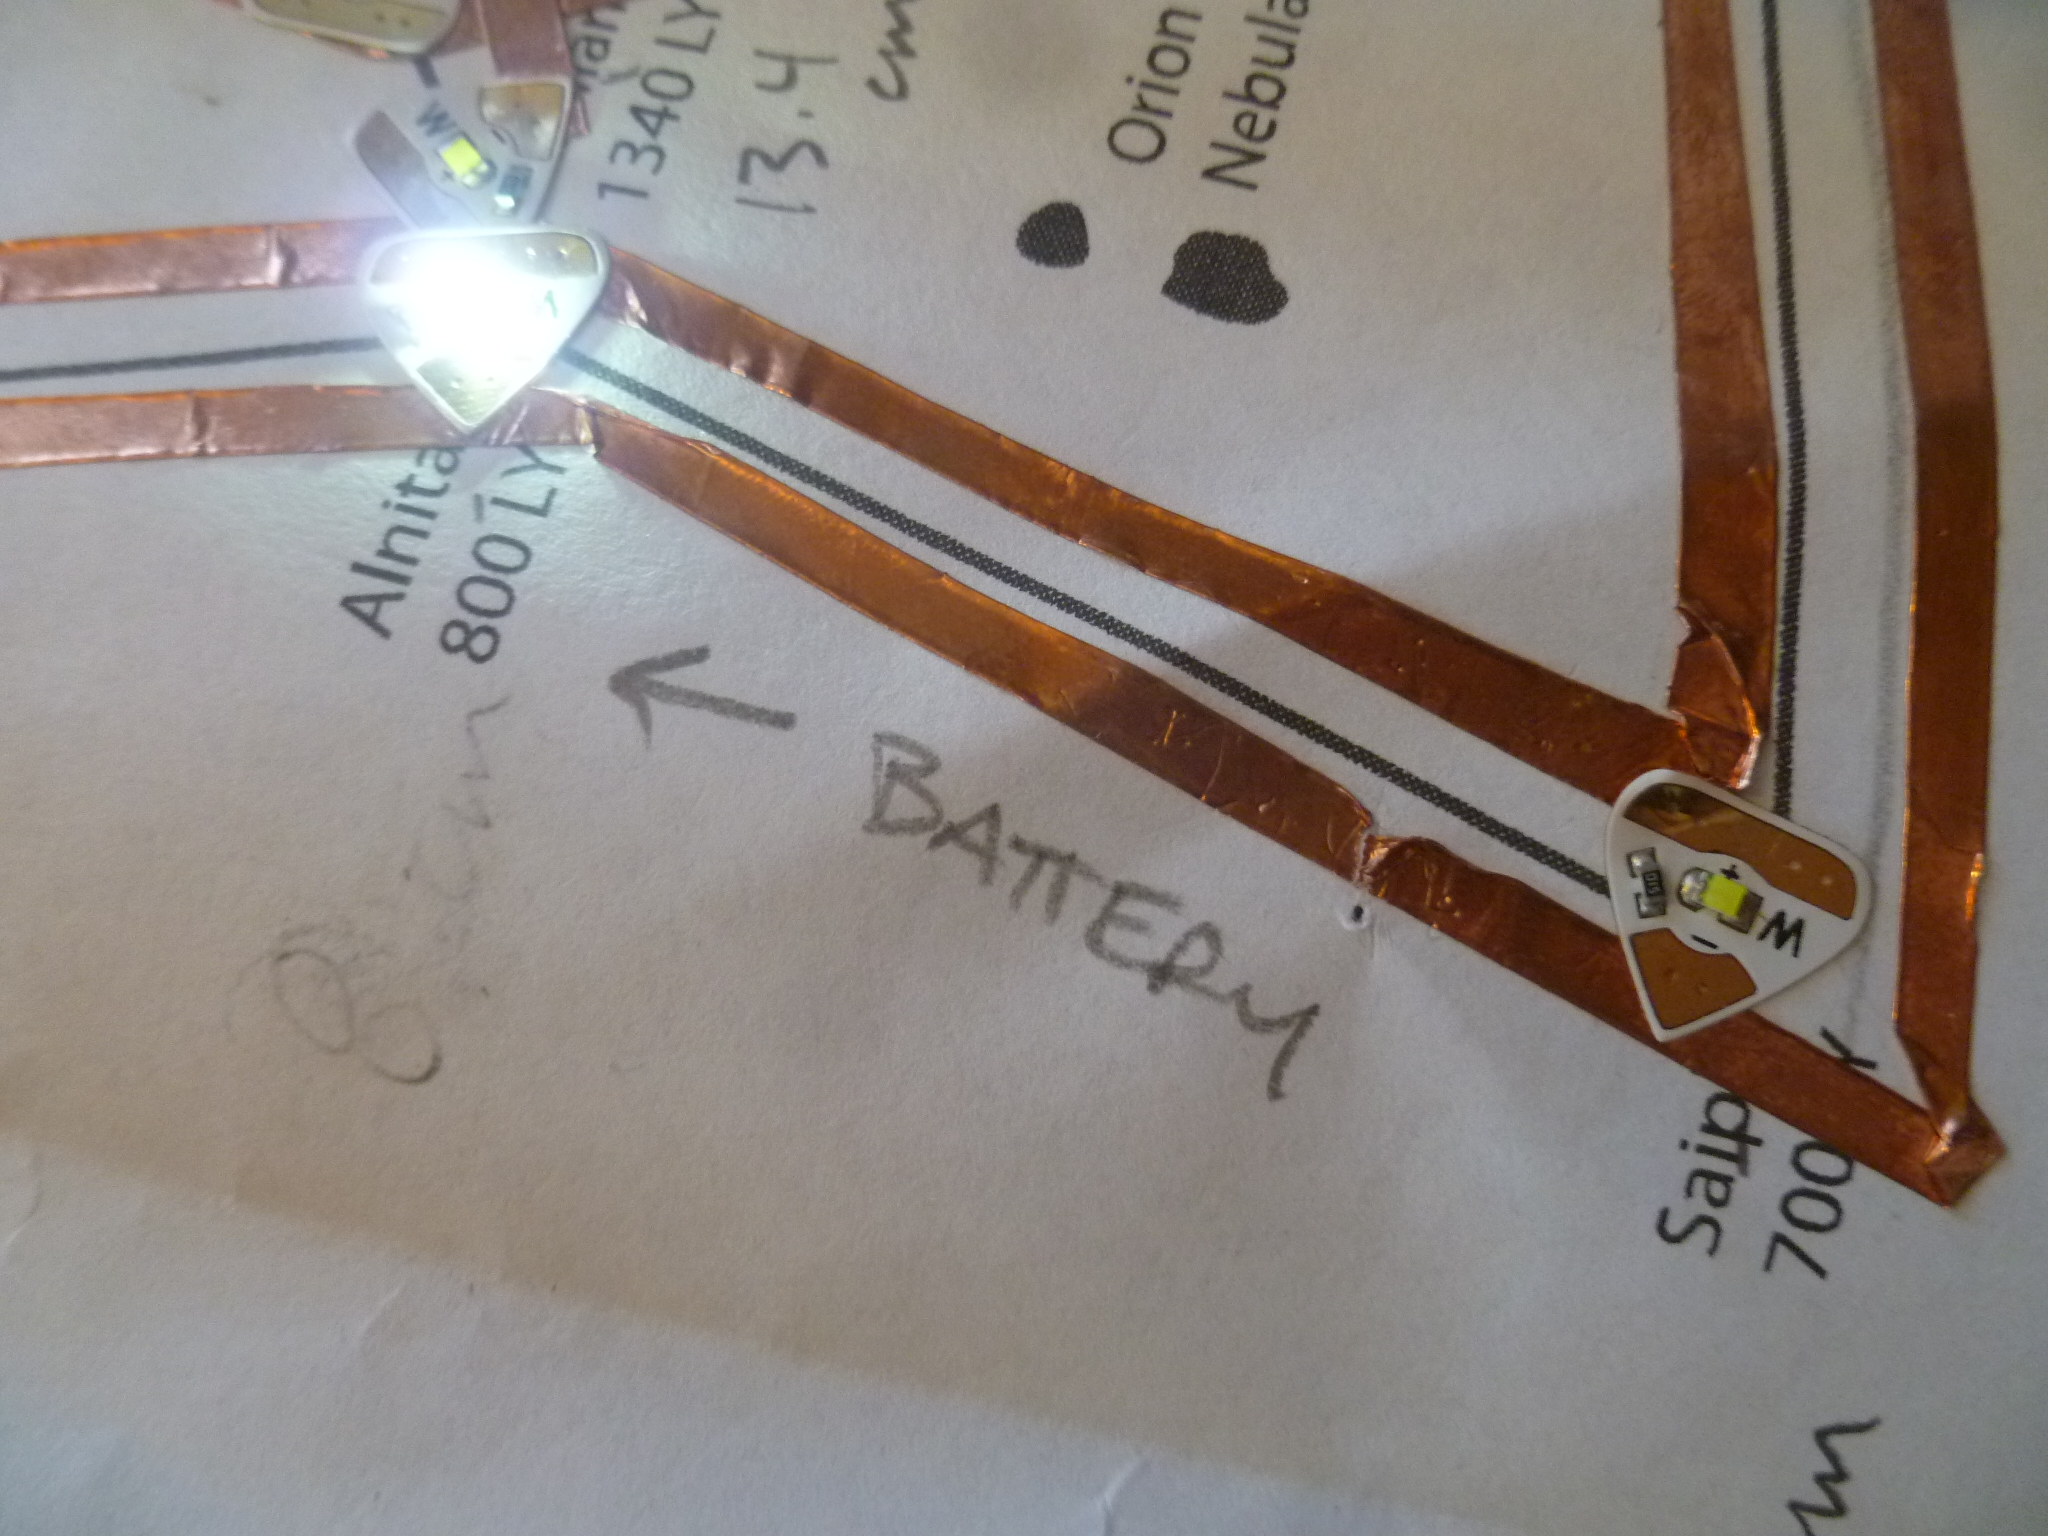
Overview: So you’ve made a beautiful circuit out of copper tape, but your LEDs are either flickering, or not lighting up at all. What gives?
The flickering / dark LEDs aren’t getting enough voltage (power). Using a multimeter, you can check how much power there is at various points in the circuit, pinpoint problems, and take steps to fix them.
There are plenty of other things you can do with a multimeter, as seen in this printable booklet by friend of Chibi Natalie Freed.
Topics:
Circuit continuity
Use of Multimeter
Materials:
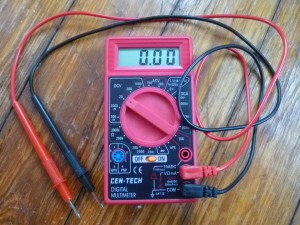
- A multimeter
- A circuit that may or may not work
- A battery (3V in this example) for your circuit
Steps:
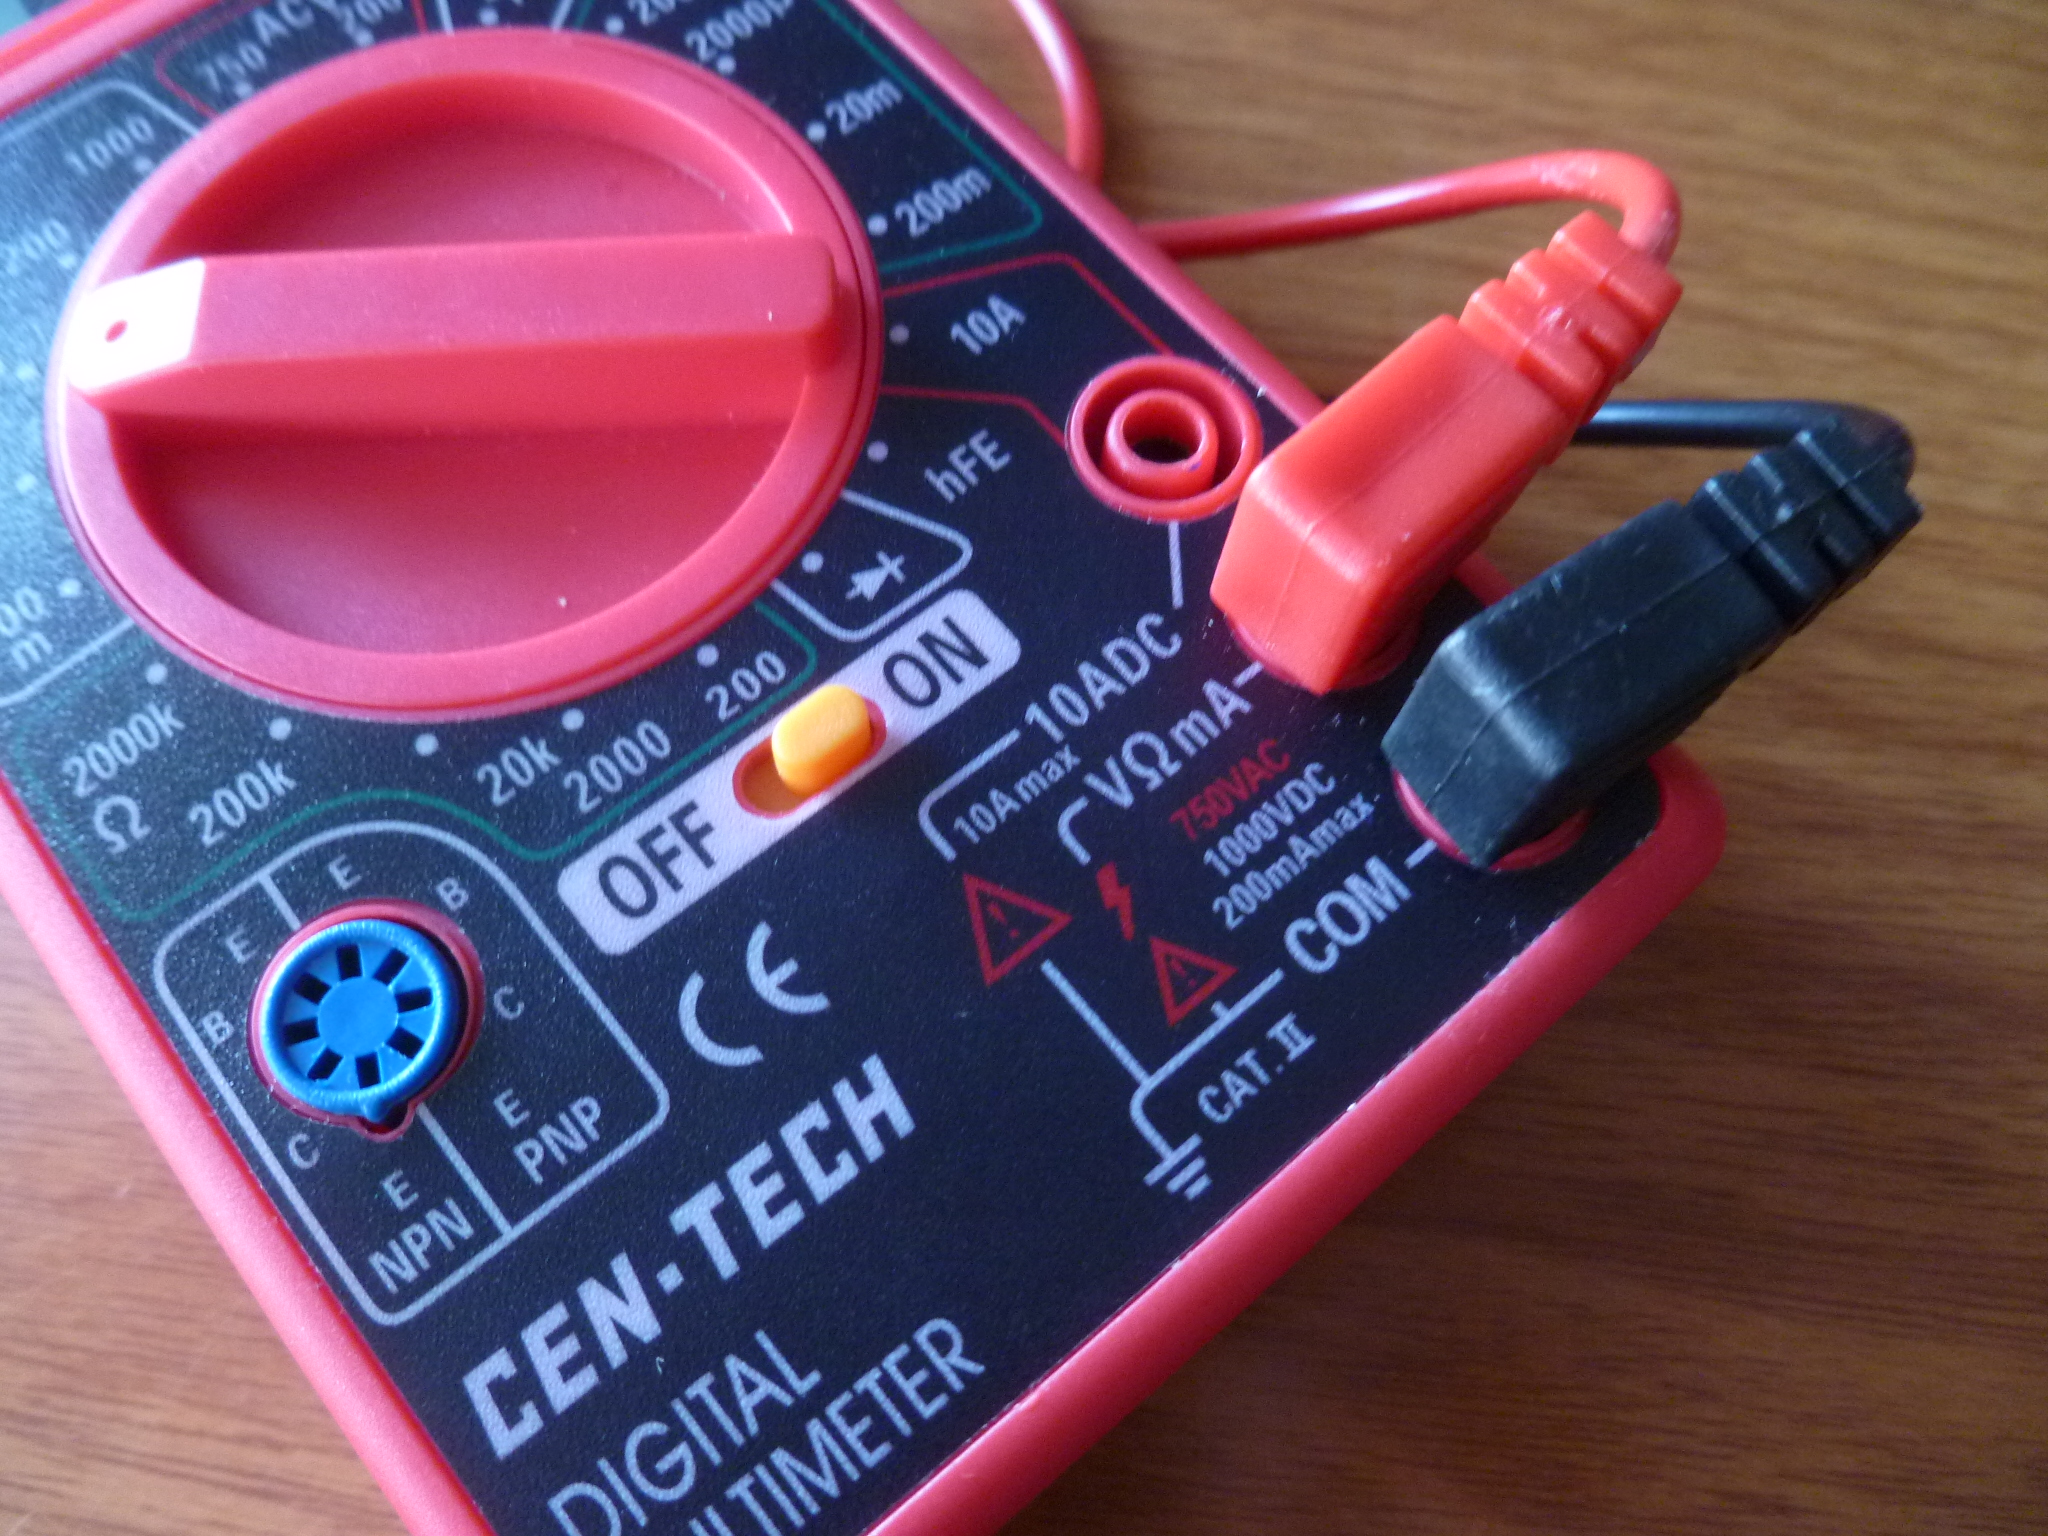
- To check the voltage, you first need voltage! Install your battery so that the circuit is “on.” Then, plug the red cable for your multimeter into the VΩmA, and the black one into COM.
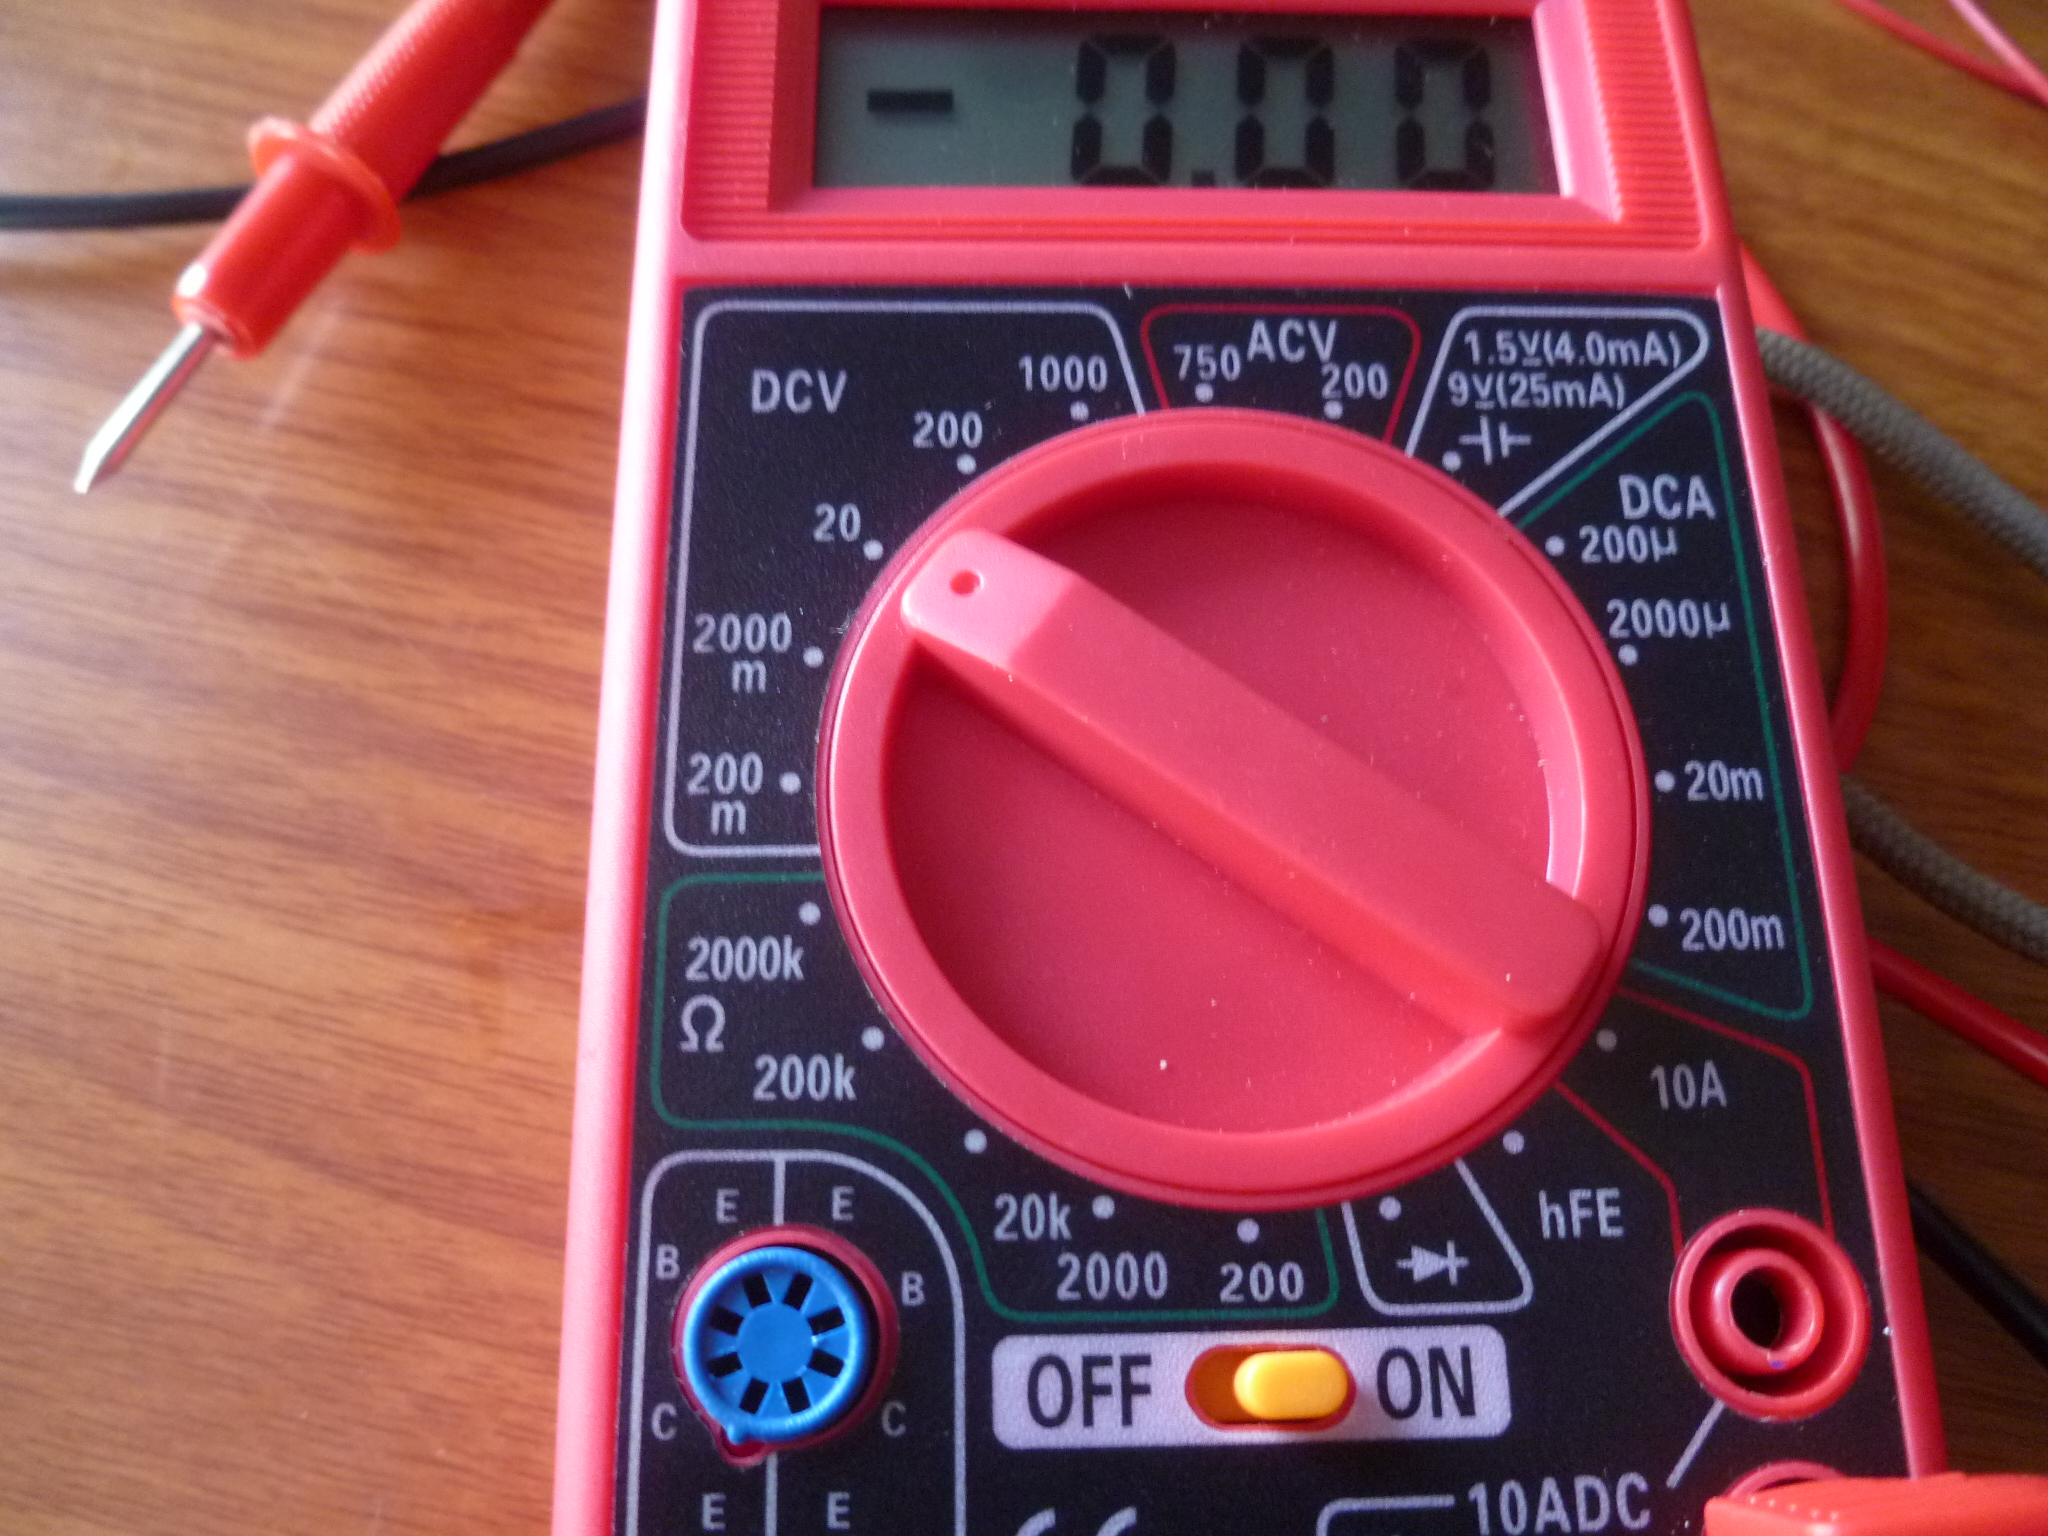
2. Turn the selector knob to DCV (DC Voltage), and select the sensitivity. In this case, since we’re using a 3V battery (CR2032), we want to be reading voltages on the order of tens (not hundreds or thousands) of volts, so we’ll select 20
3. Now the fun begins! If an LED is working, it’s getting enough power. If it ISN’T working, it isn’t getting enough power. This means there’s a problem. First, check to make sure the LED sticker is securely stuck to the copper. If pressing on one side or the other causes the LED to turn on, your problem is where the sticker meets the copper. If that does nothing, you have a problem somewhere between that LED and the battery. A problem usually occurs when your copper tape is torn or broken, or if you’ve had to connect two separate pieces of copper, and the connection isn’t very good.
First, do a visual scan, to see if you can spot a problem. If you see a break in the tape, or a loose connection, try fixing it, using conductive patches or solder
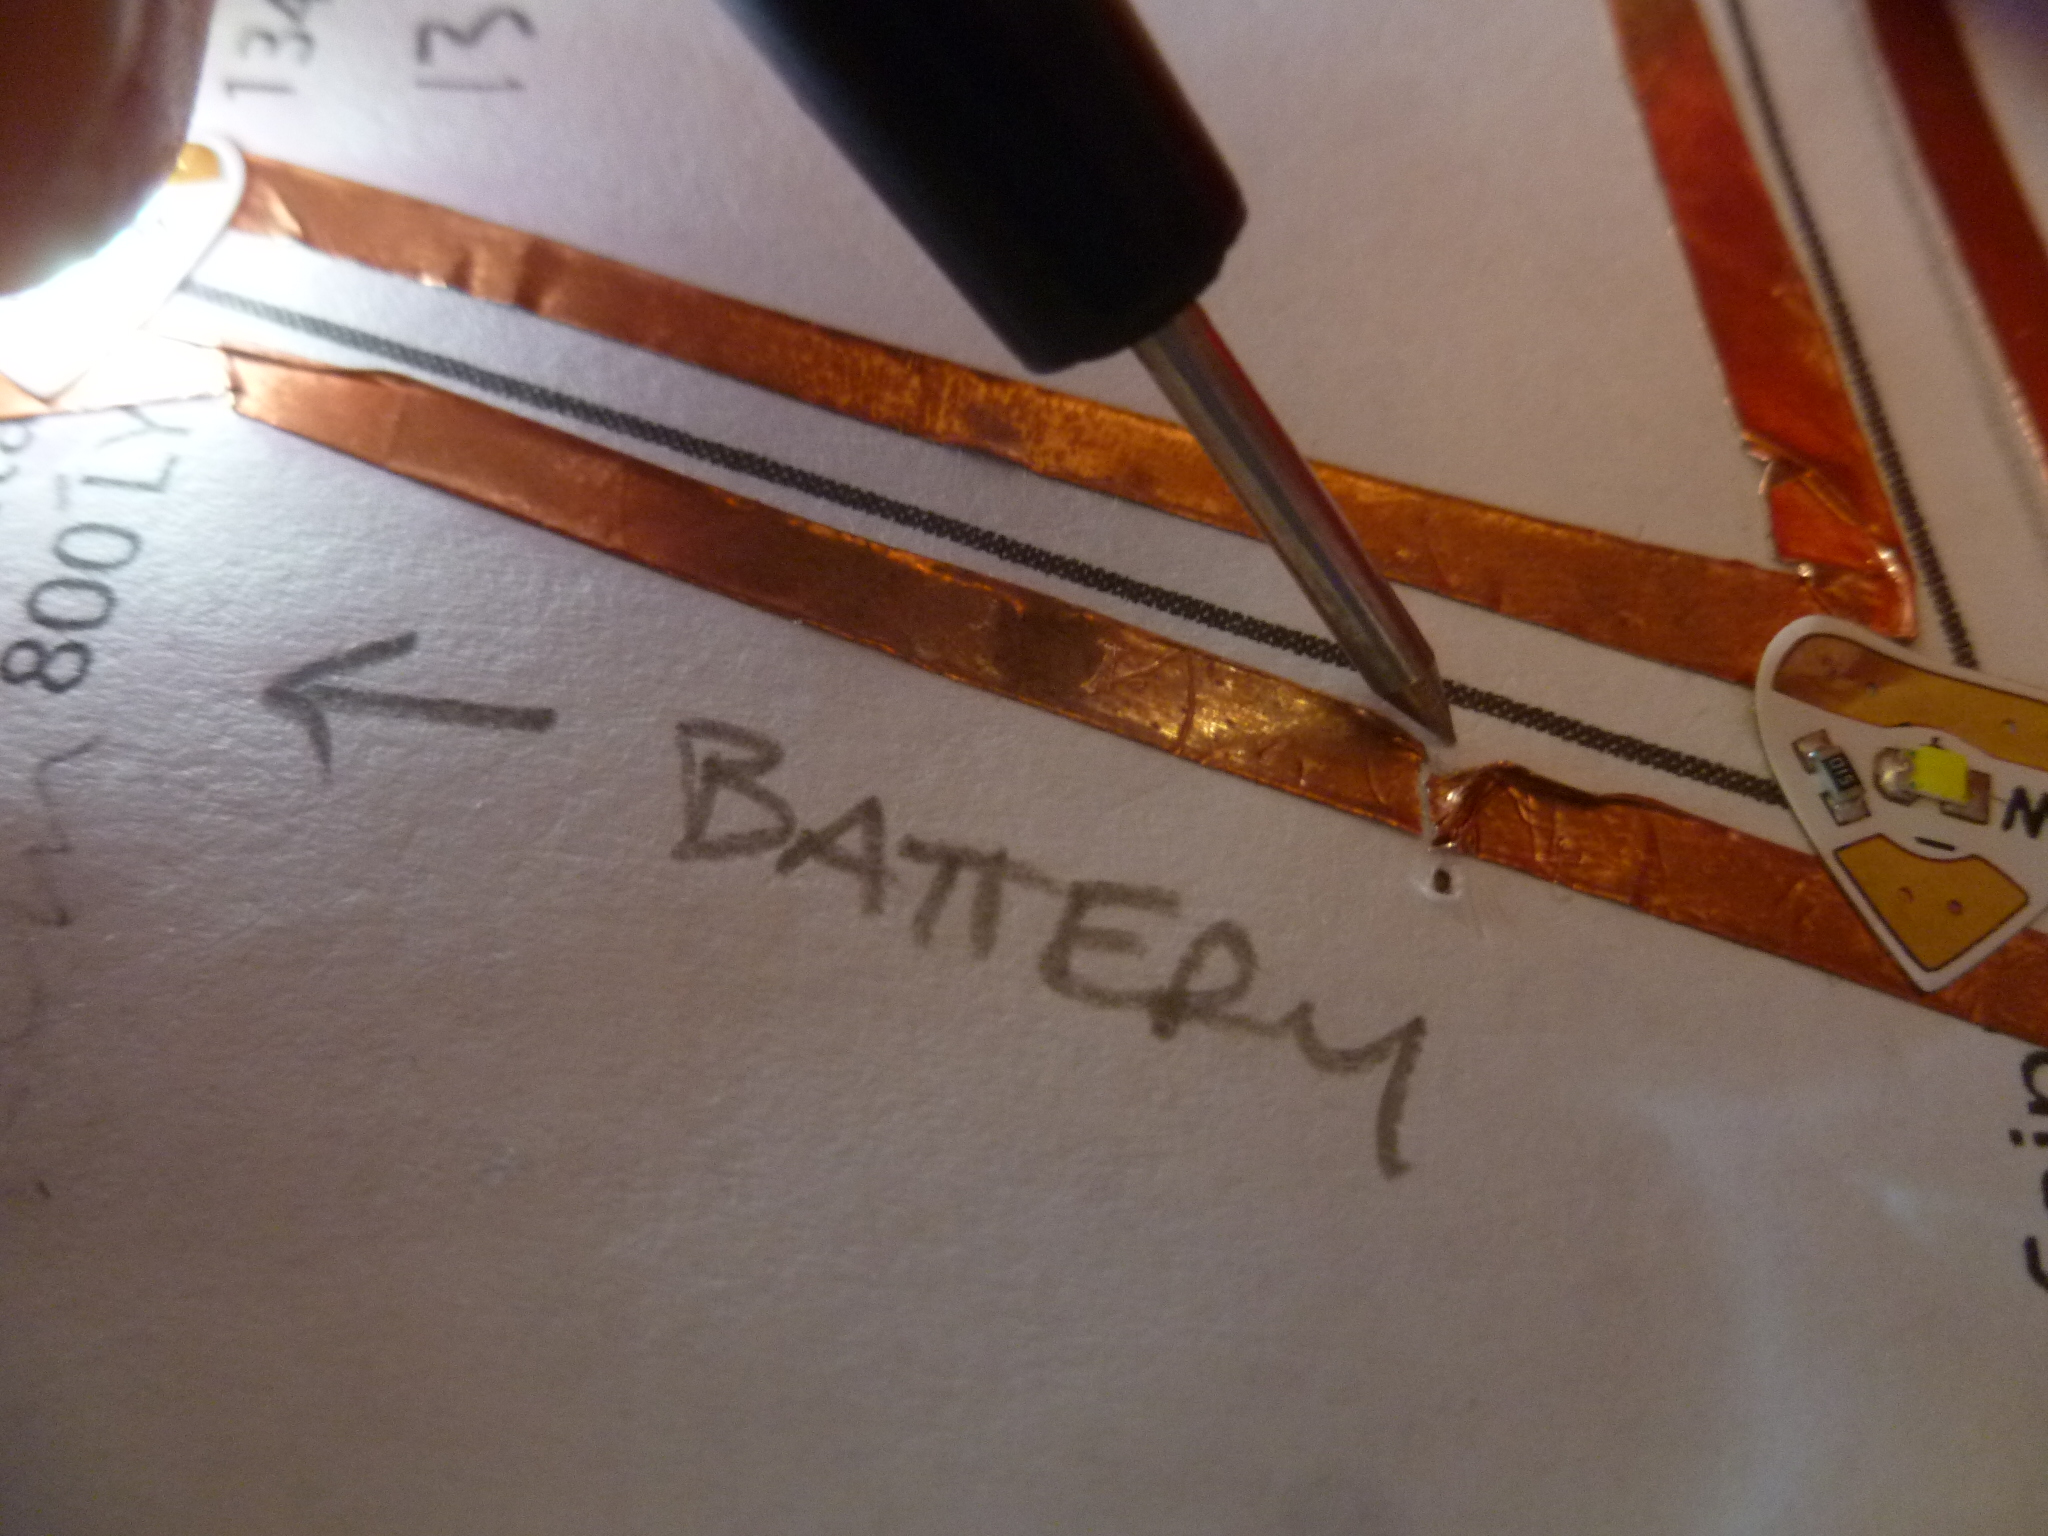
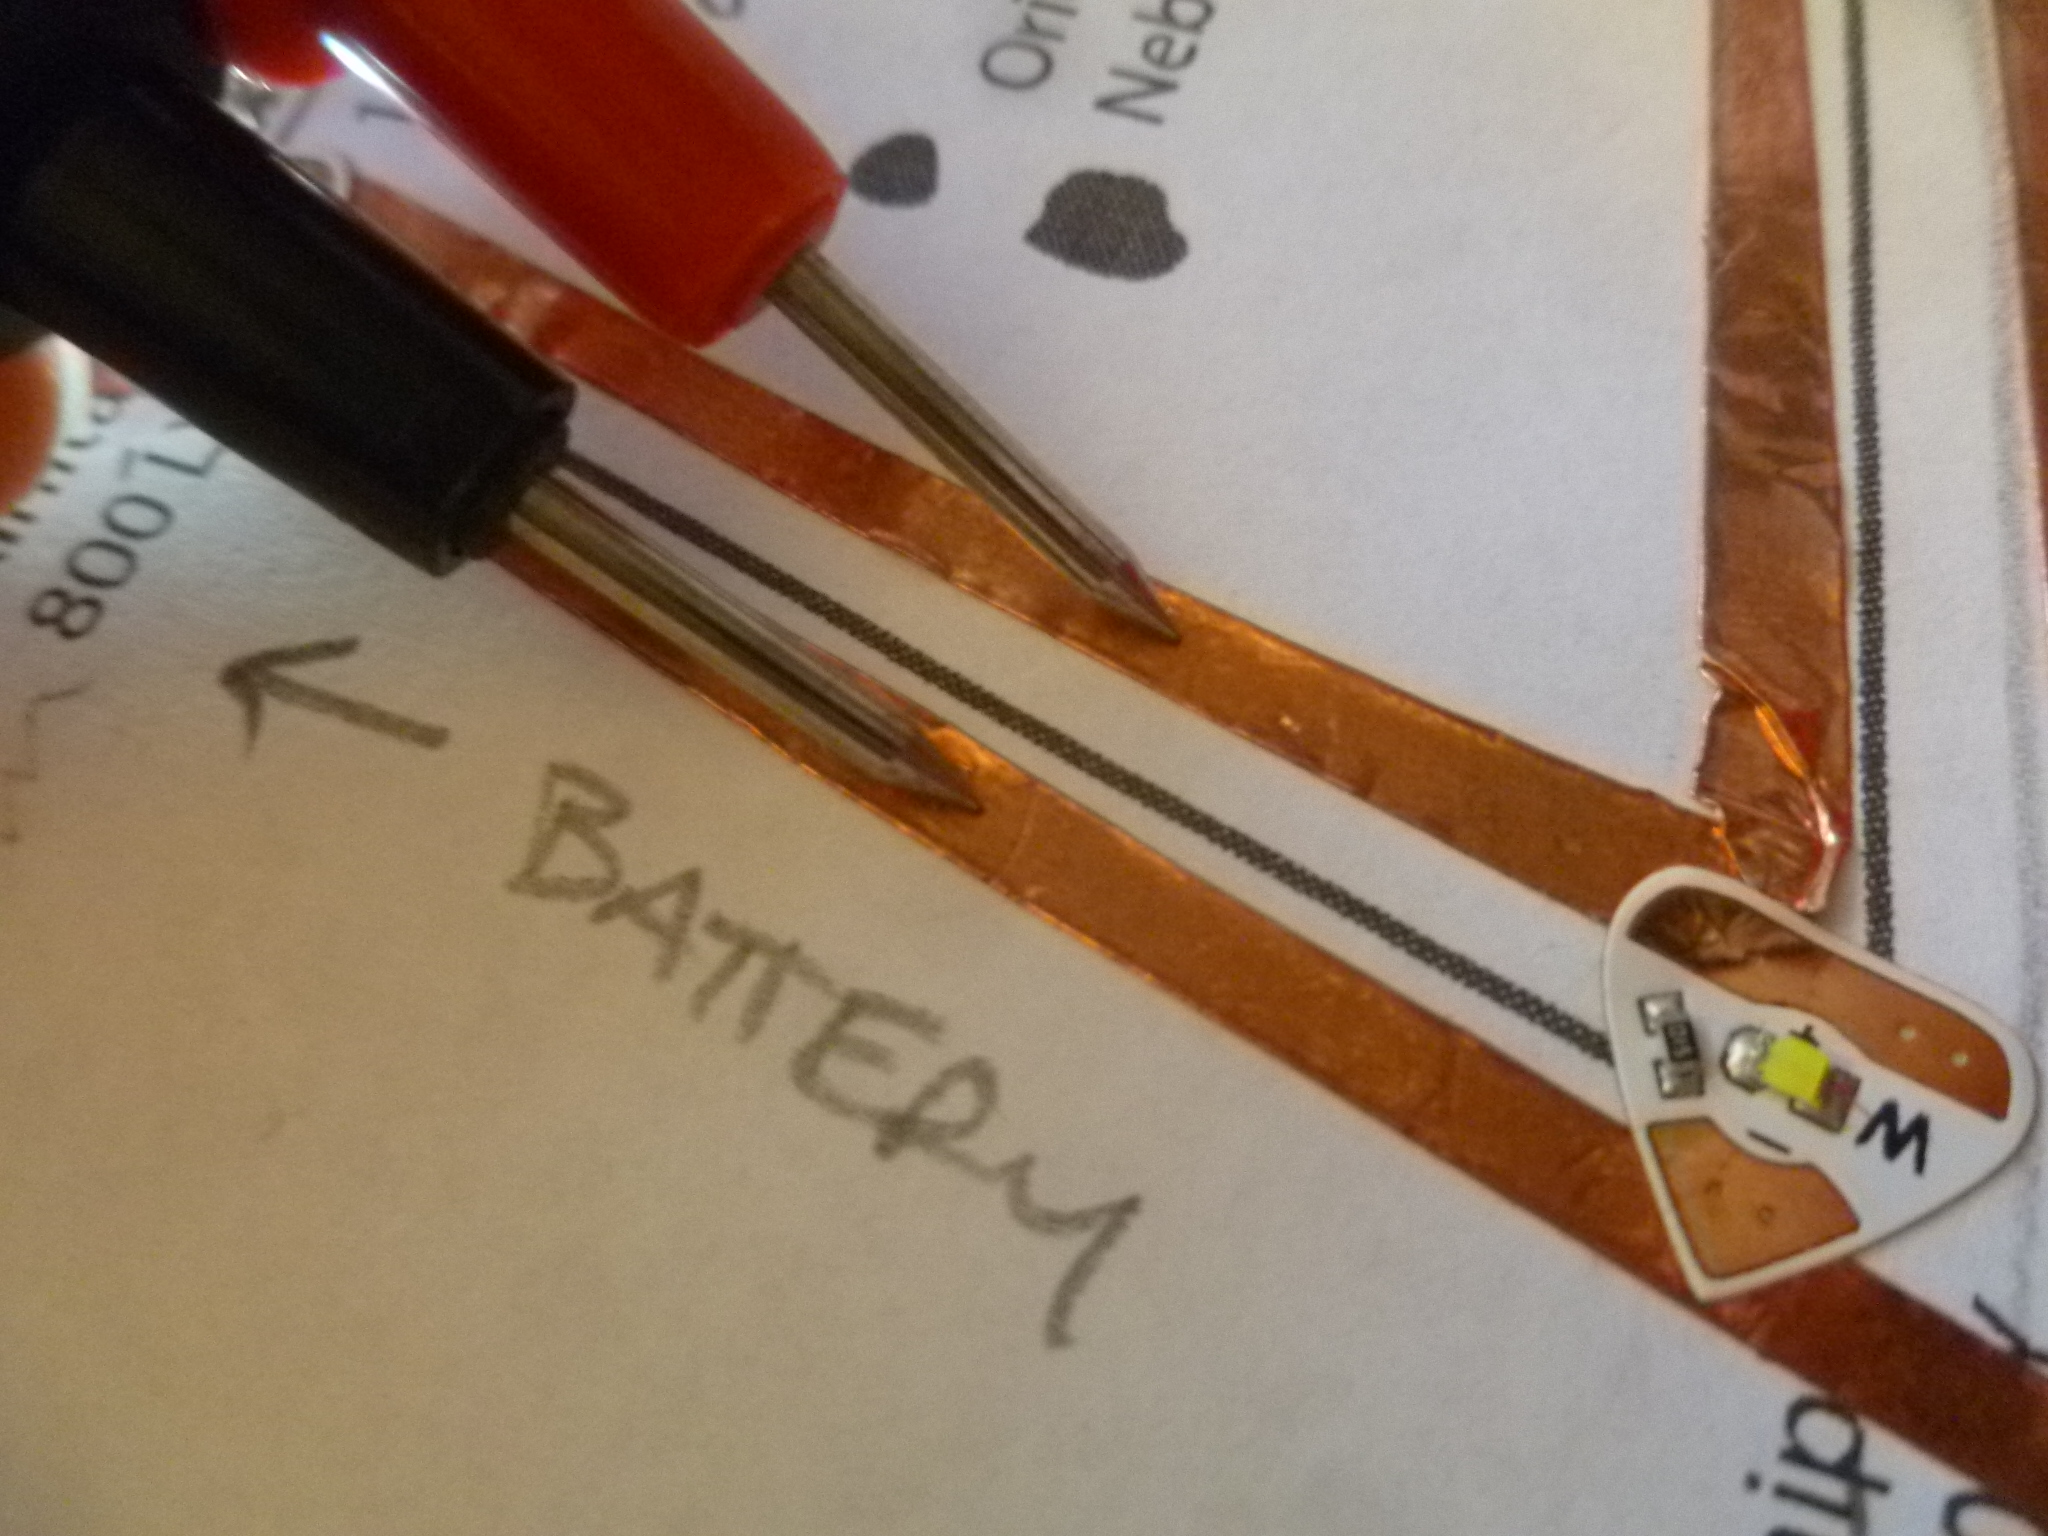
4. If you can’t see an obvious problem, time to use the multimeter. Place the probes somewhere on the copper tape on the battery-side of the malfunctioning LED. Your red probe is positive, black is negative*. Look at the reading.*If you reverse red and black, it’s not the end of the world, you’ll just get a negative voltage reading rather than a positive one. The absolute value will be the same. (e.g. -3 volts instead of 3 volts)
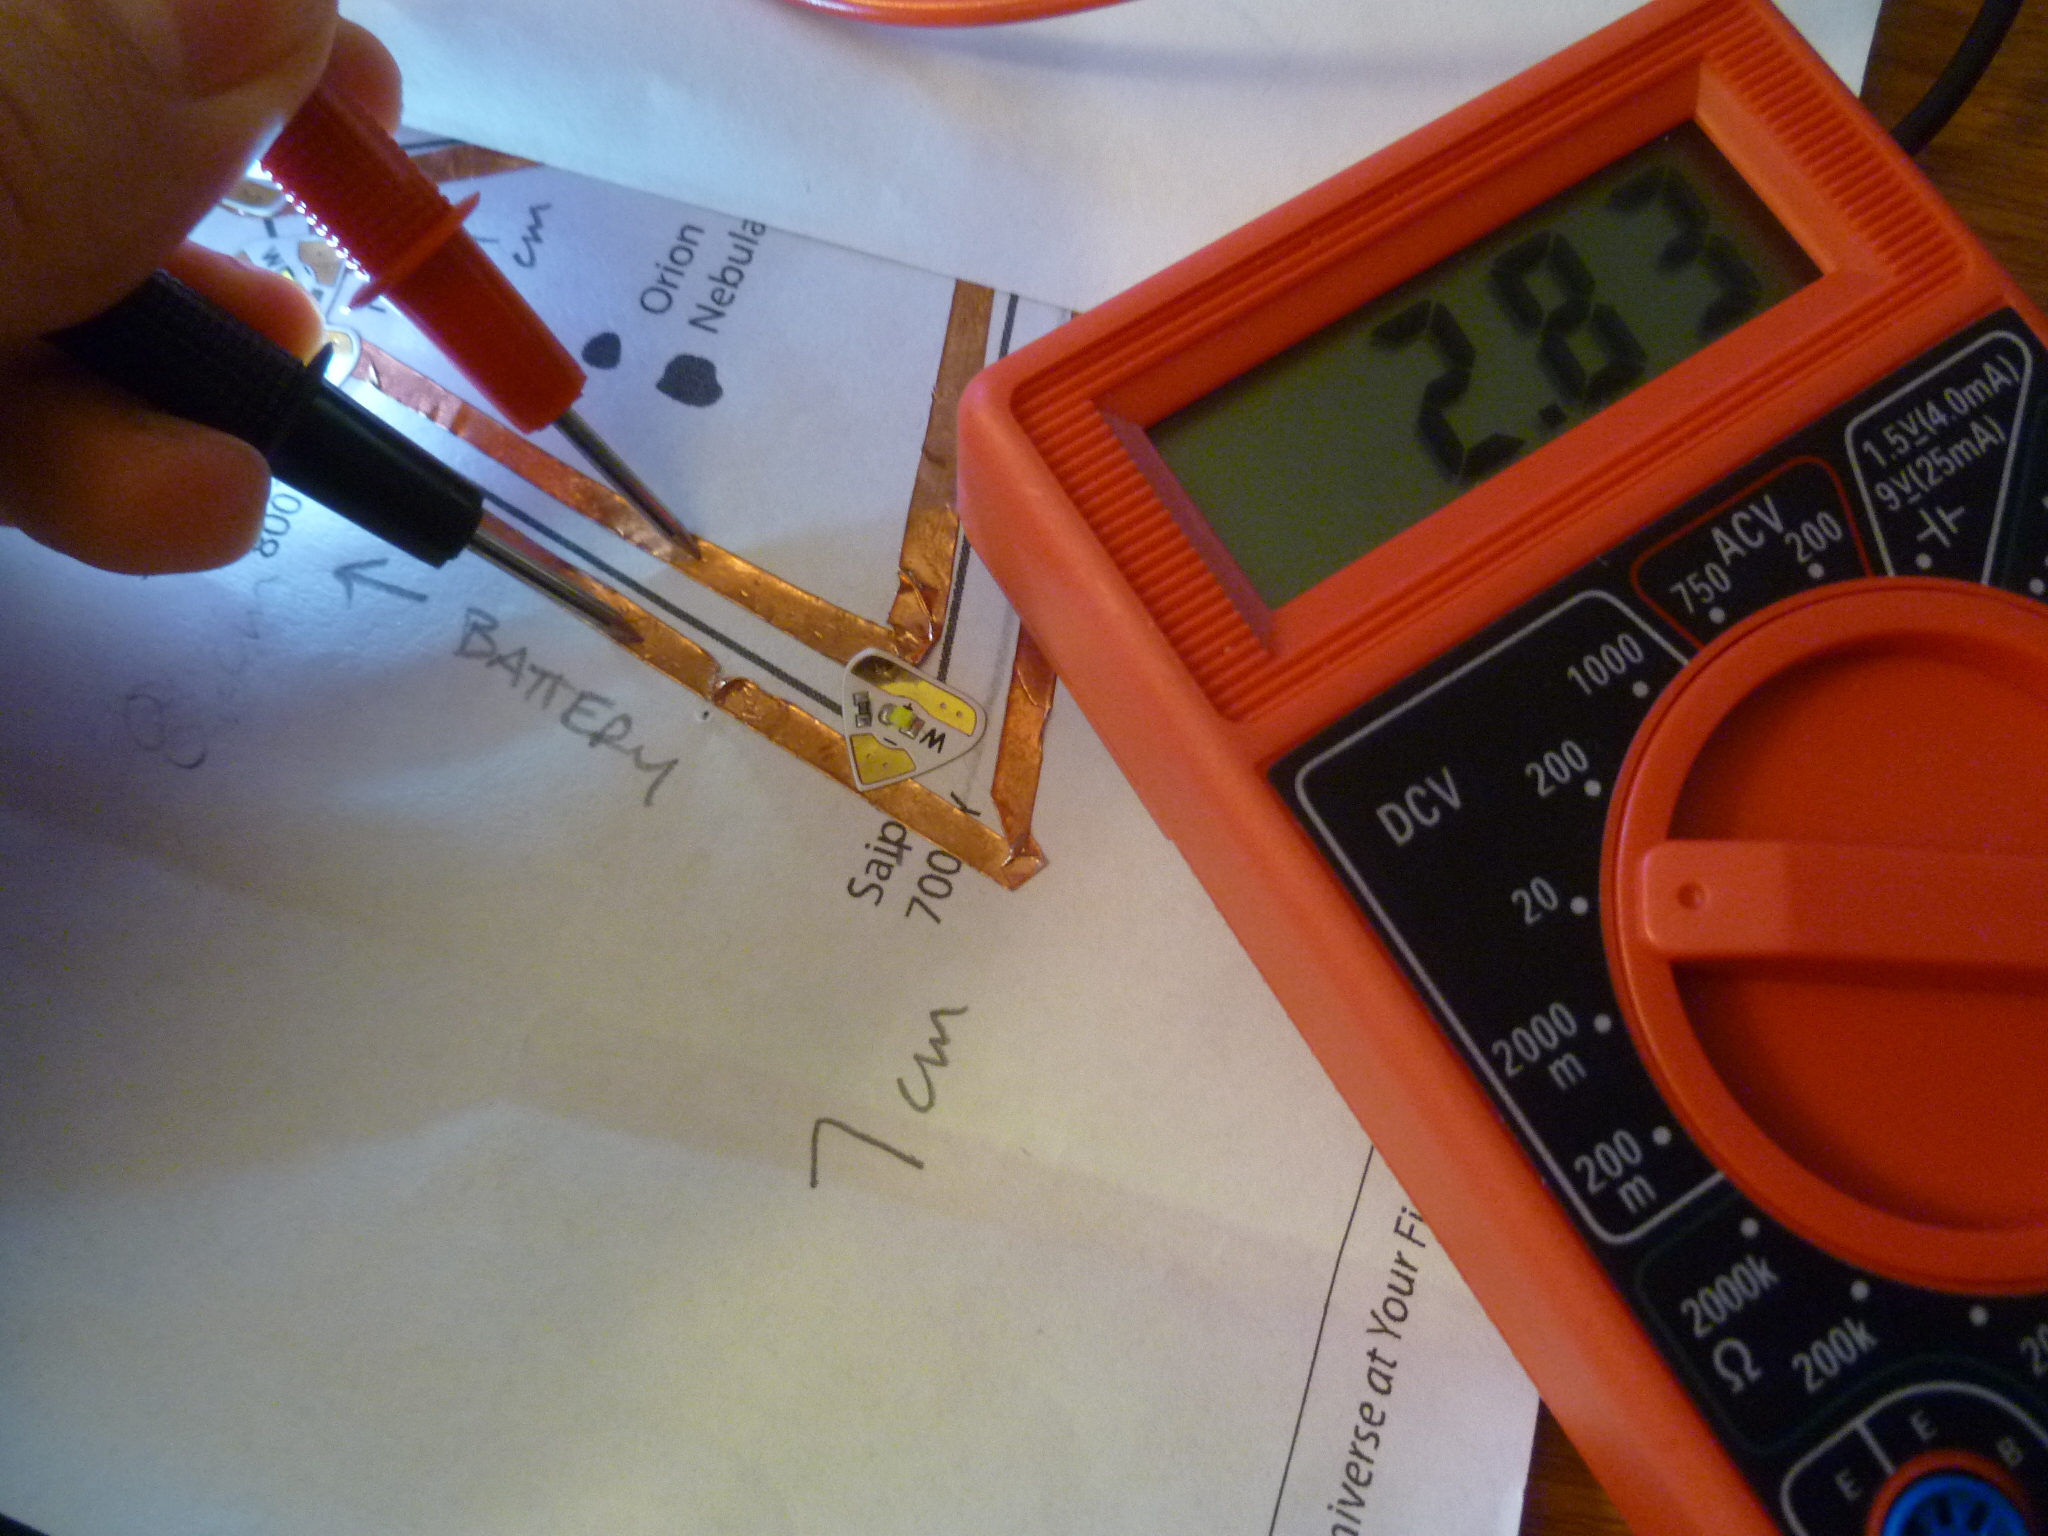
5. If your reading says something close to 3.00, that means there are 3 volts at that point in the circuit. This is a good thing. The problem is somewhere between that point you just measured and the LED itself
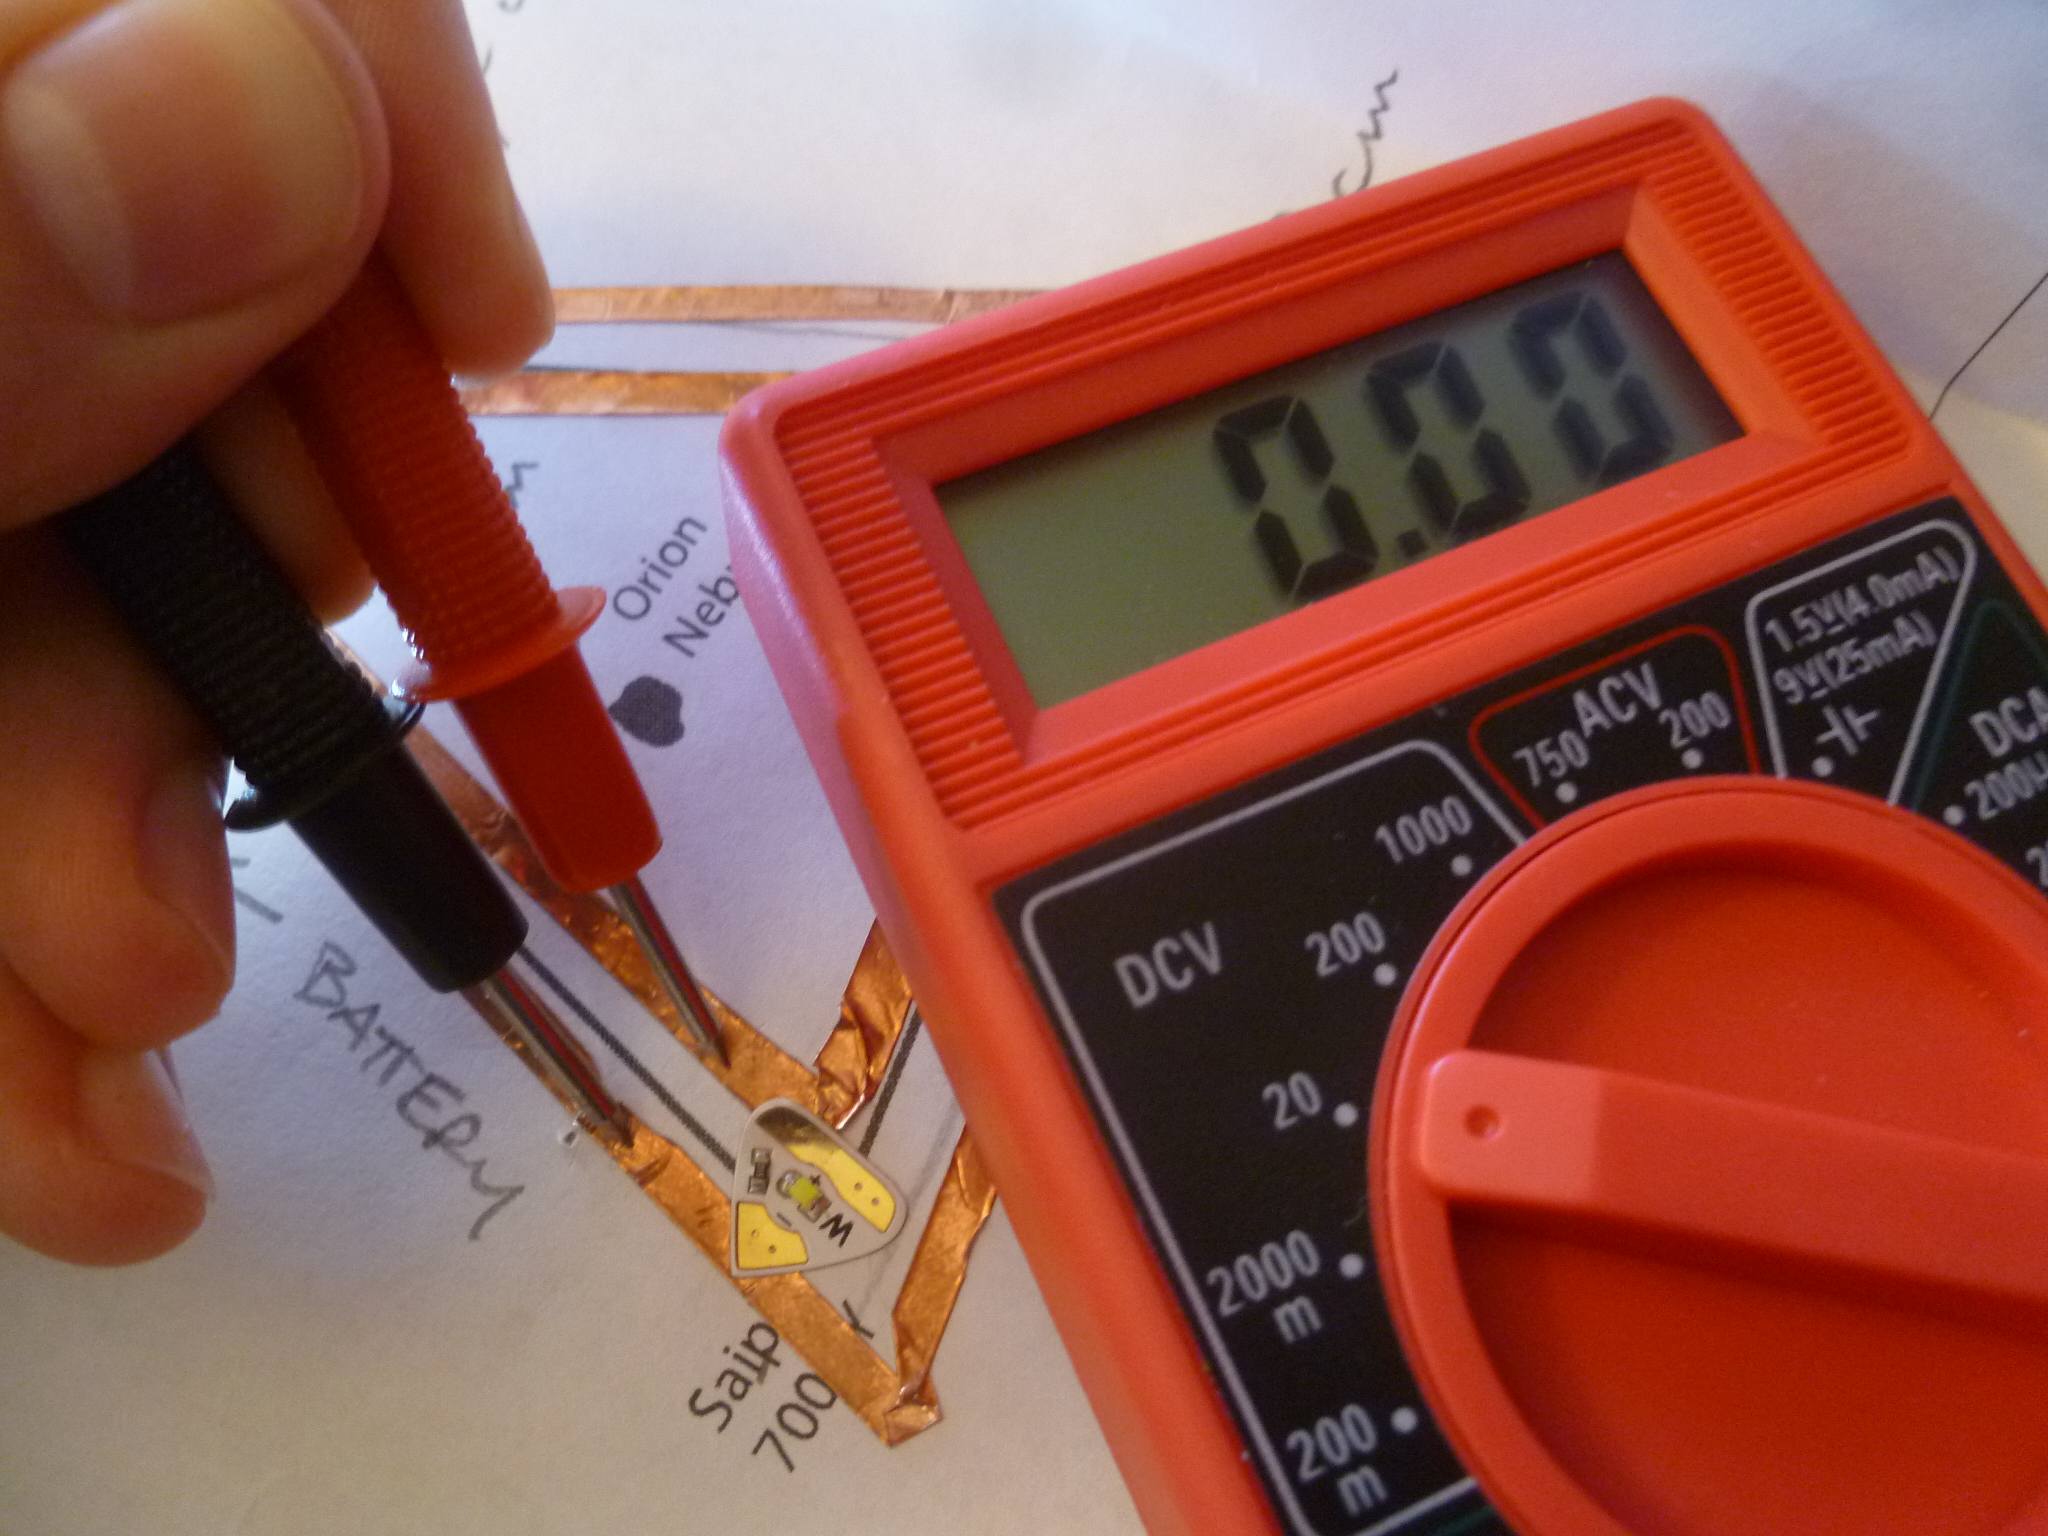
6. Move your probes closer to the LED (away from the battery) and check the reading again. When your reading says something less than 3 volts, or if it’s fluctuating wildly, congratulations, there’s a problem somewhere between the battery and your probes.
7. Try running your fingers along the tape between the battery and your probes, pressing down. If there’s a loose connection, your fingers might secure it, causing the voltage reading to rise. If you can’t find an obvious trouble spot, move your probes closer to the battery and take another reading. When you’ve passed the trouble spot, your voltage reading will jump back up to the desired 3 volts, and there’s a problem somewhere between where your probes read 3 volts and where they didn’t.
8. Move your probes closer to the LED (away from the battery) and check the reading again. When your reading says something less than 3 volts, or if it’s fluctuating wildly, congratulations, there’s a problem somewhere between the battery and your probes. The black probe is pointing at the problem; there is a tear in the copper tape.