This tutorial shows you how to make a paper battery holder for coin cell batteries (CR2032 and CR2016). Scroll to the bottom of this page for the video tutorial.
MATERIALS AND TOOLS
- battery holder template printed on cardstock (download PDF here)
- conductive copper tape
- regular tape (e.g. scotch tape or masking tape)
- scissors
- surface mount LEDs (White, Green, Blue, Red, Yellow)
- 3V coin cell battery (CR2032 or the thinner CR2016)

STEP 1: Cut out the battery holder template

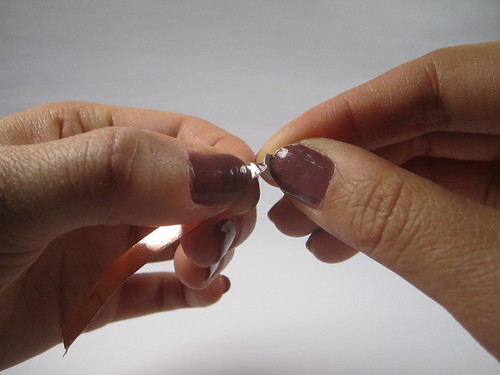
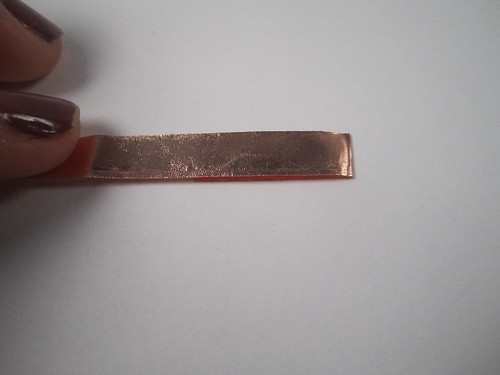
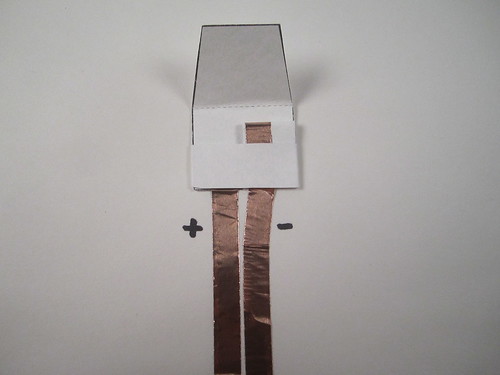
STEP 2: Cut two pieces of copper tape, about 3 inches long each
Step 3: make the positive lead
Take one of the copper tape pieces and peel off the paper backing.
Stick the copper tape over the horizontal part of the “L” shaped line, on the front of the battery holder, and fold the tape to follow the “L” shape. See below for directions on how to fold the copper tape.
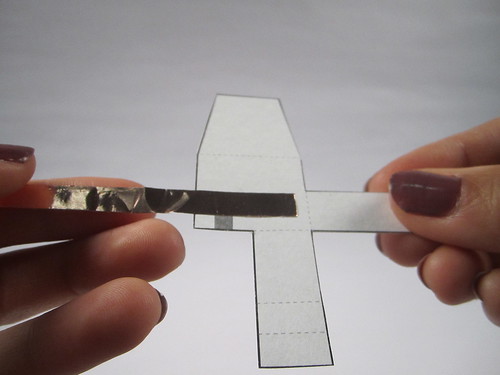

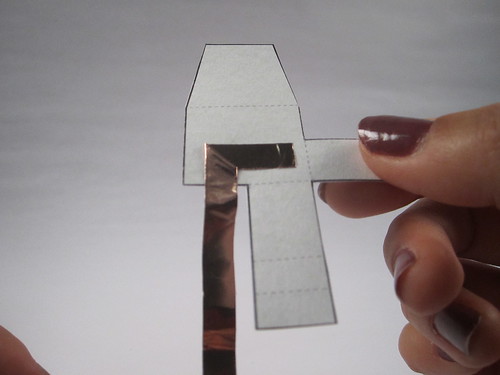
Leave the excess copper tape hanging off the battery holder. This is the + lead of the battery holder.
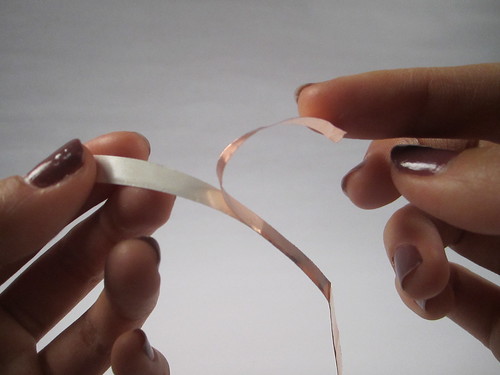
Folding to make the copper tape turn:
At the turn, fold the tape back over itself so that the sticky side is up.
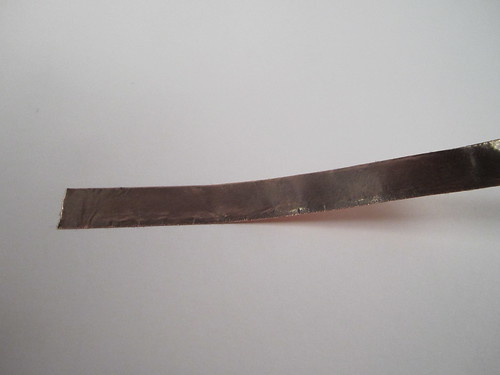
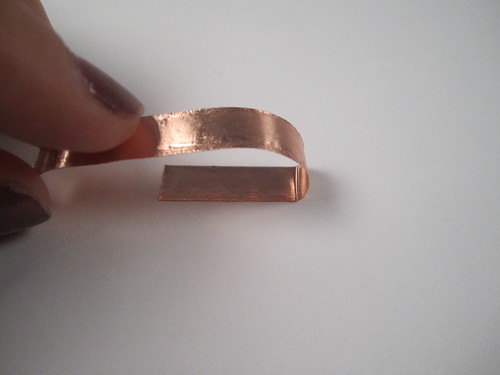
Flip the tape over, while introducing the angle and flatten the tape.
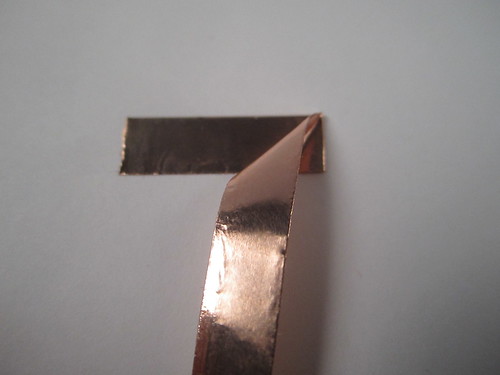
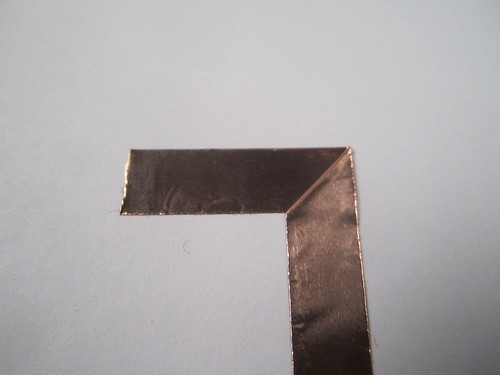
This completes the turn.
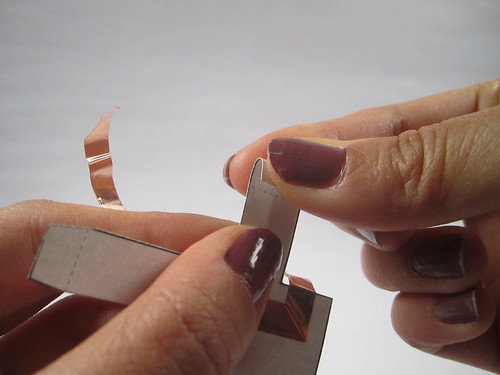
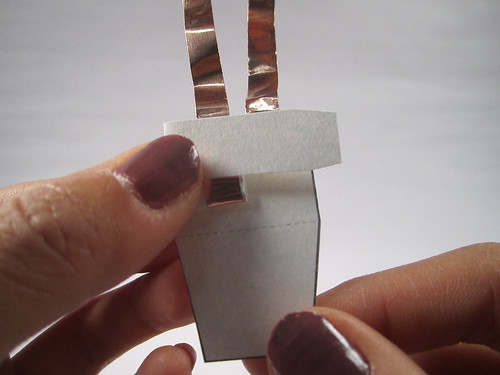
Step 4: make the negative lead
Flip the template over. Peel the paper backing off the other piece of copper tape and match the piece of copper with the vertical printed line. Stick the copper down over the printed line and leave the excess copper dangling off the battery holder.
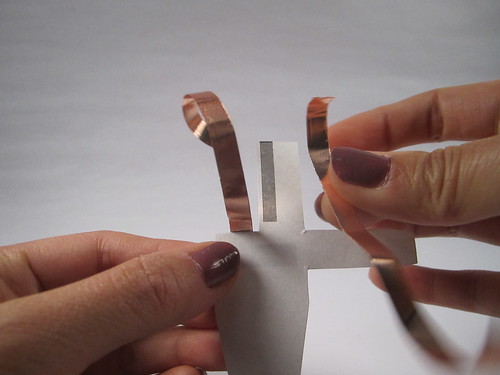
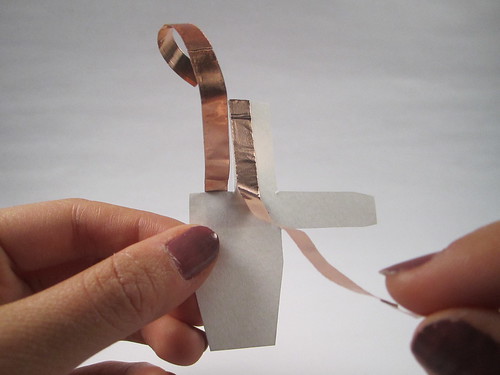
Flip the template over and fold the vertical flap along the top dotted line, so that the copper tape is on the outside. Then fold again along the next dotted line, as if you are rolling the flap down. This creates a springy tab which ensures good contact with the battery.
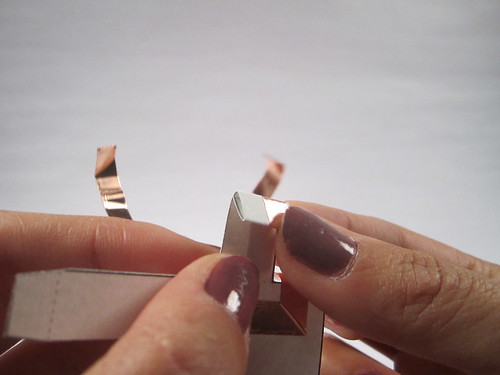
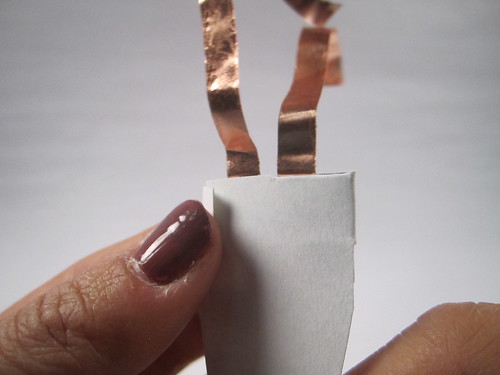
Finally, fold the entire flap once more along the third dotted line, so that the edge is even with the edge of the battery holder.
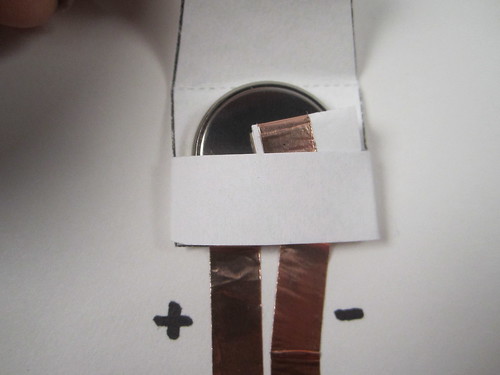
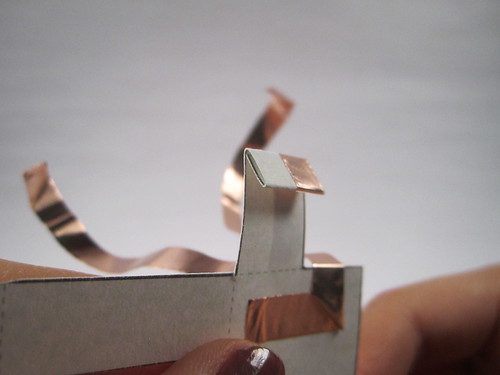
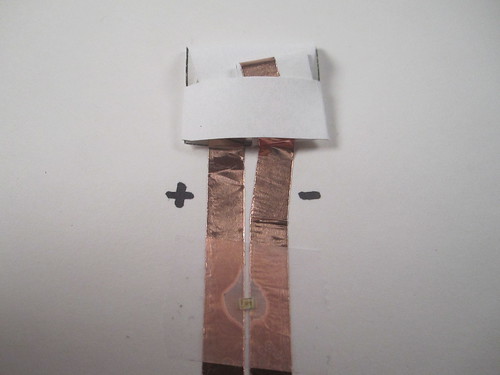
Step 5: make the battery envelope
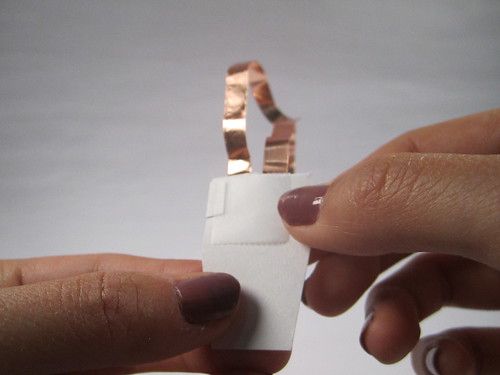
Fold the tab on the left over to the right.
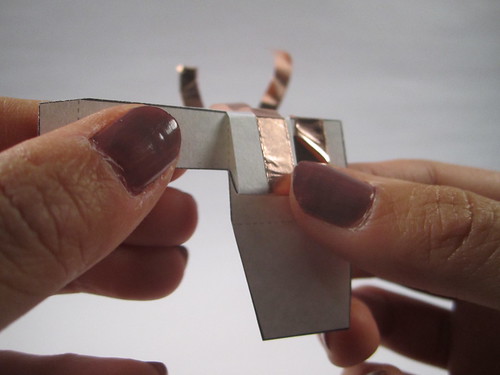
Flip the battery holder over and fold the extra bit of the tap around the back of the holder. This horizontal band holds the contacts to the battery, so make sure the band is tight to ensure a snug fit.
Tape this tab down with regular tape.
Step 6: fold down the top flap
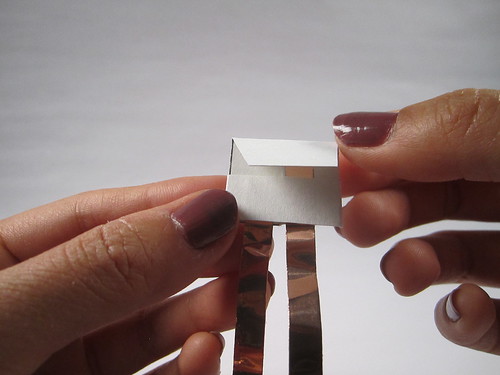
And you’re done!
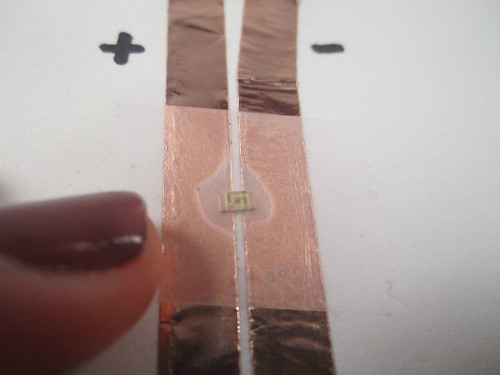
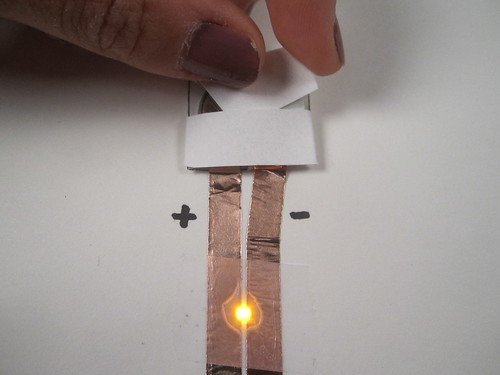
ADDING AN LED
The easiest way to add an LED is to take tape the LED directly onto the copper tape leads of your battery holder. Make sure that the LED spans the gap between the + and – leads of the battery holder and that it is oriented correctly.
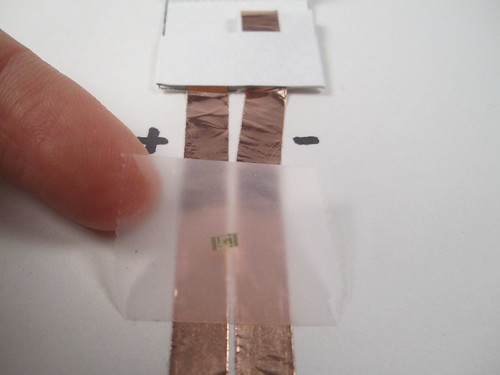
Once it is matched up, simply tape down the LED with regular transparent. If your LED is oriented incorrectly, it wont light up. In this case, simply peel it off and tape it back down the in the proper orientation.
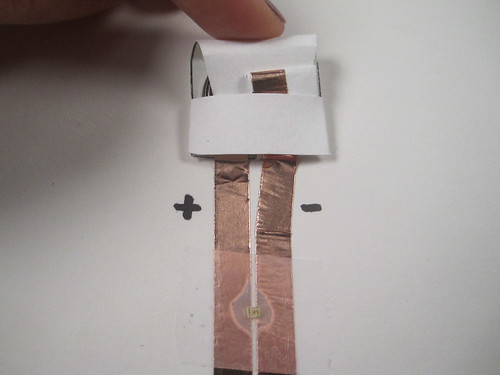
BATTERY ON AND BATTERY OFF
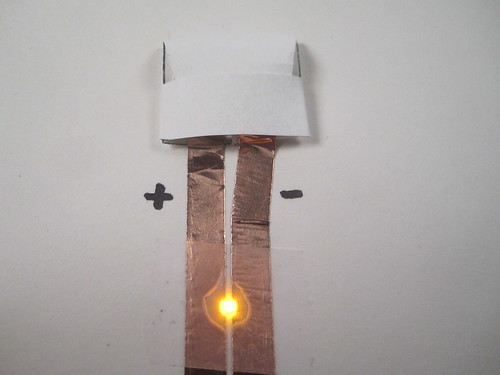
To turn the battery holder on, tuck the top flat between the outside band and the negative lead. This ensures a tight contact between the leads and the battery
To turn the battery holder off, tuck the top flat between the negative lead and the battery. This isolates the battery from the negative lead, ensuring that the circuit is off without needing to remove the battery from the circuit.
VIDEO TUTORIAL
One thought on “Paper Battery Holder Tutorial”
Comments are closed.