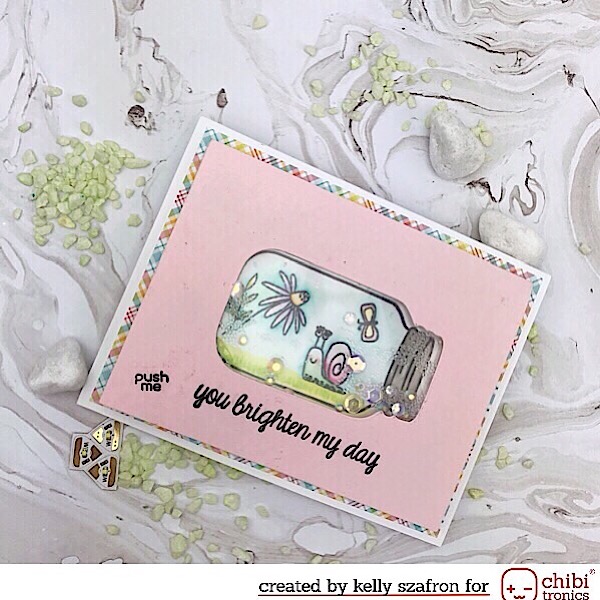
Recently Jennifer McGuire posted on her blog some fabulous shaker cards and it inspired me to make a shaker with Chibitronics. I have done this before but a bit differently. Like Jennifer McGuire I diecut a shape (jar die from Lawn Fawn) from the front piece of cardstock and a piece of fun foam. On the back of the diecut piece I built my circuit.
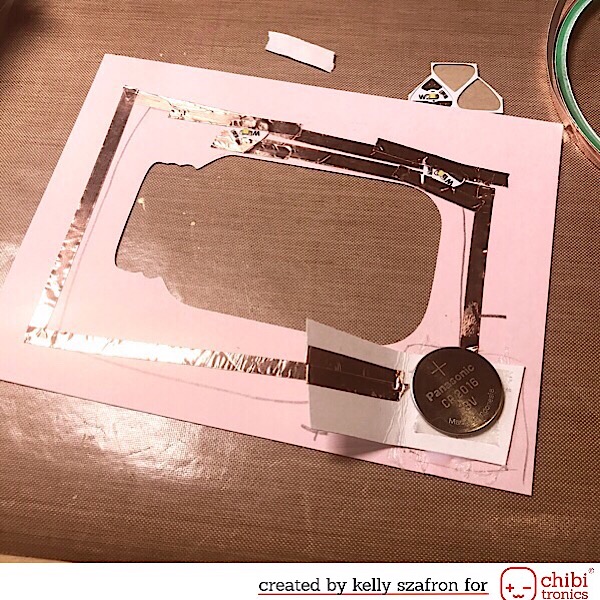
The battery, Panasonic CR 2016, is nice and thin so I don’t have to double up on the foam. This is a push card, so the circuit is completed when the recipient pushes on the battery.
I used the Fuse tool to seal the shaker goodies in a plastic pouch to ensure the didn’t leak out of the card. I adhered the pouch over the opening and then the fun foam over top of everything.
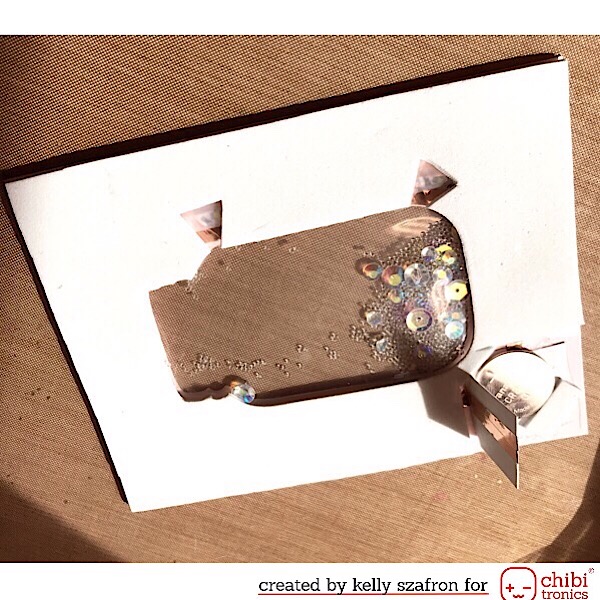
You can see in the picture two triangles cut around the Chibitronic LEDs for them to shine into the little jar terrarium.
I stamped the jar image, Lawn Fawn, onto watercolor cardstock and filled it with stamped images from Flora And Fauna. I used pastel TomBow markers to add color to the stamped images.
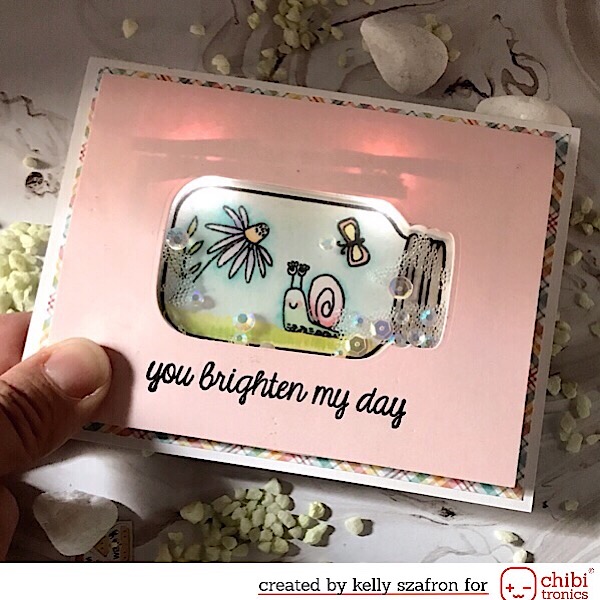
I adhered all the layers together when the watercoloring was dry. I like to share what I learned from making a card. In this case I thought I would try building a circuit on the back of the card front. The problem with this is when the card lights up the copper tape circuit shows through. Next time I would build the circuit around the watercolored terrarium and adhere the fun foam over it in between the card front and watercolored piece.
Thanks for stopping by, I hope some of my tips are helpful and inspiring.
Chibitronic Products Used (affiliate links use at no extra cost to you):
This is so sweet! I love the jar.
This one is just adorable! I am getting so much inspiration looking at these fun creations! Can’t wait to try the Chibitronics lights!