
This tutorial shows you how to make a magnetic on/off switch.
Materials:
- glue stick
- magnetic sheet
- paper
- scissors
- LED sticker
- battery
- copper tape
Steps:
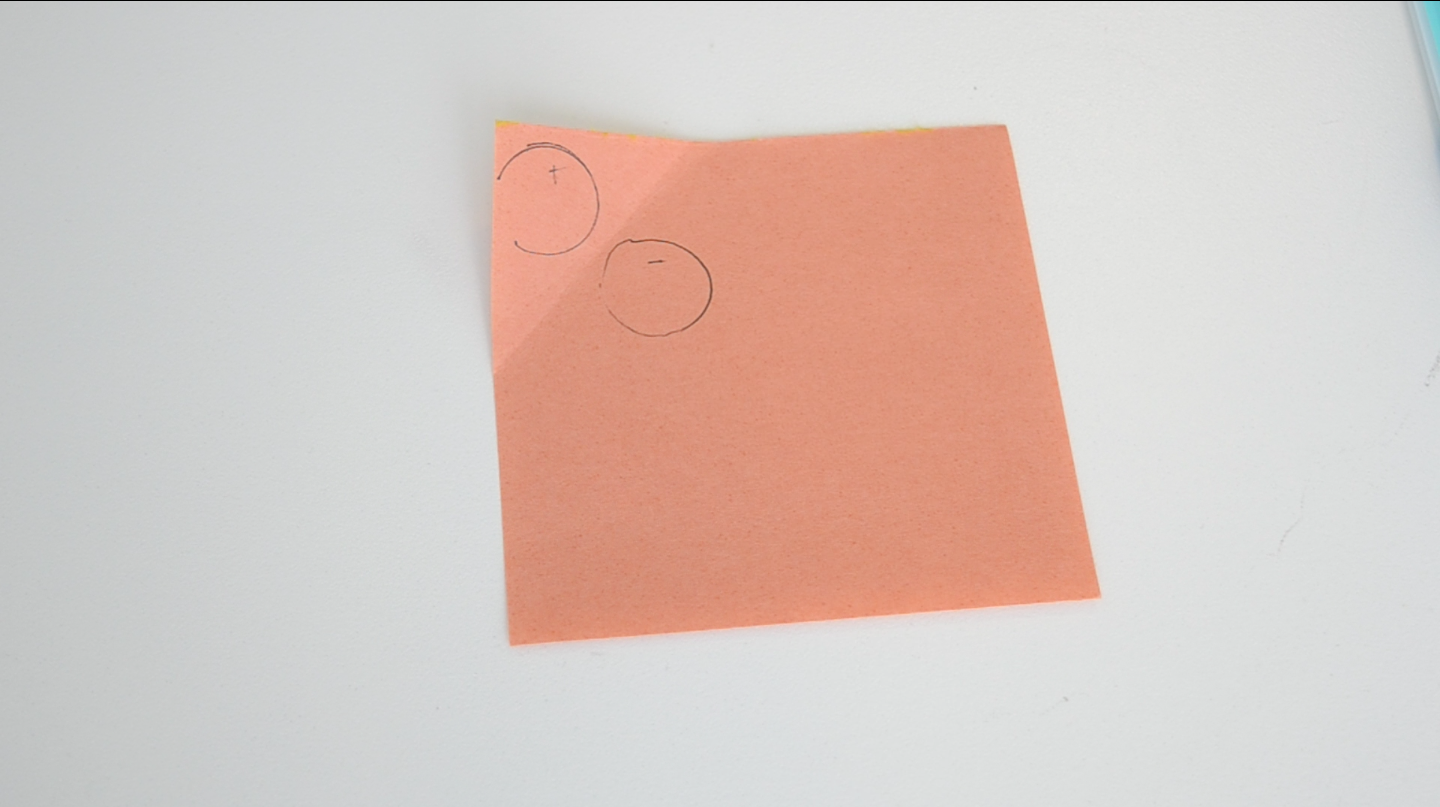
1. Fold the corner of the paper and trace your battery on both sides. Mark one circle plus and the other one minus.
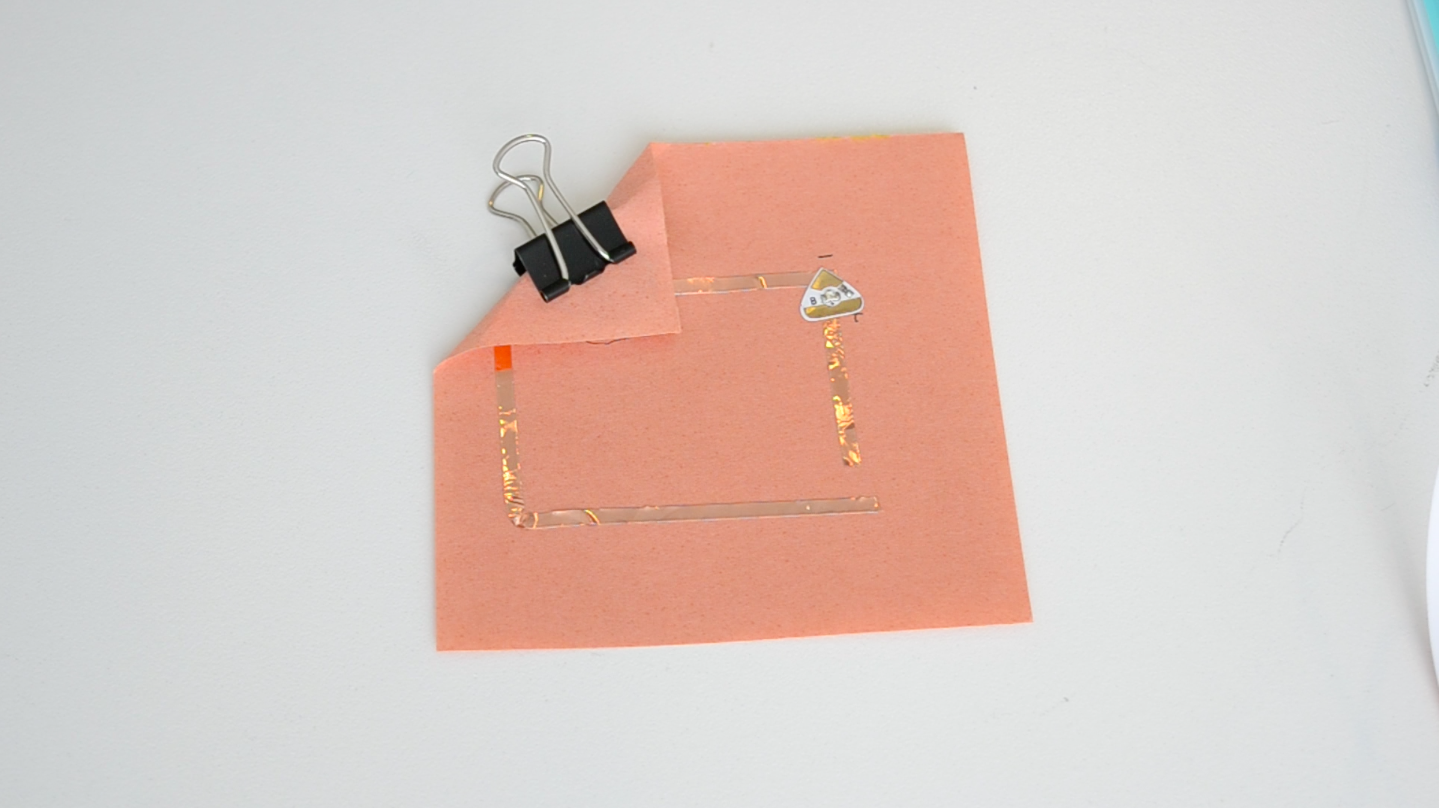
2. Build a simple circuit using copper tape. Leave one gap for the LED and a second one for the switch. Mark the negative and positive ends and put the LED in its place.
Clip the battery into its place.
3. Cut one big and one small piece of magnetic sheet.
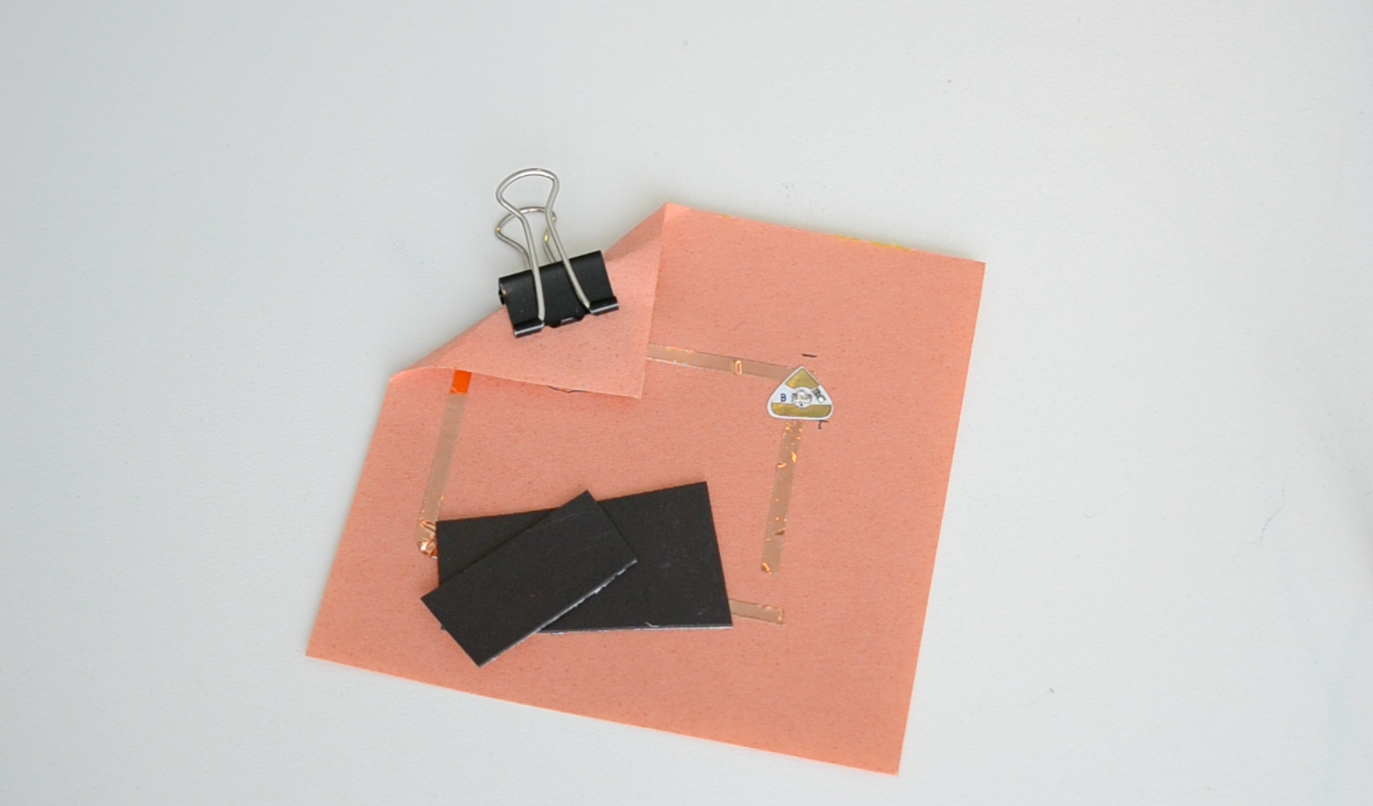
4. Apply glue to the dark side of the big magnet and stick the strip at the back of the paper, where the second gap is. This will be the base the switch will cling to.
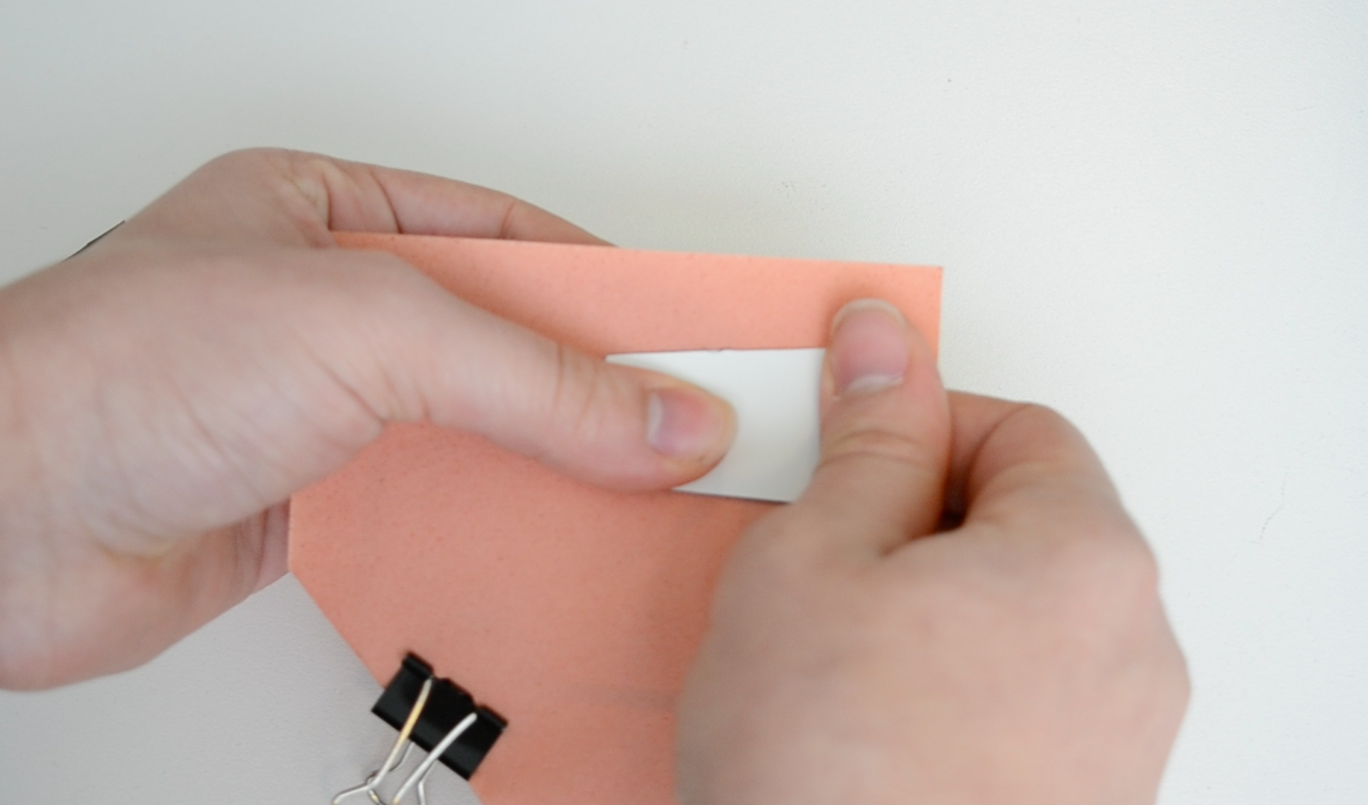
5. Cover one half of the smaller magnet with copper tape. When you put the magnet on the gap, it will bridge the gap between the two ends of copper tape on the paper, and complete the circuit.
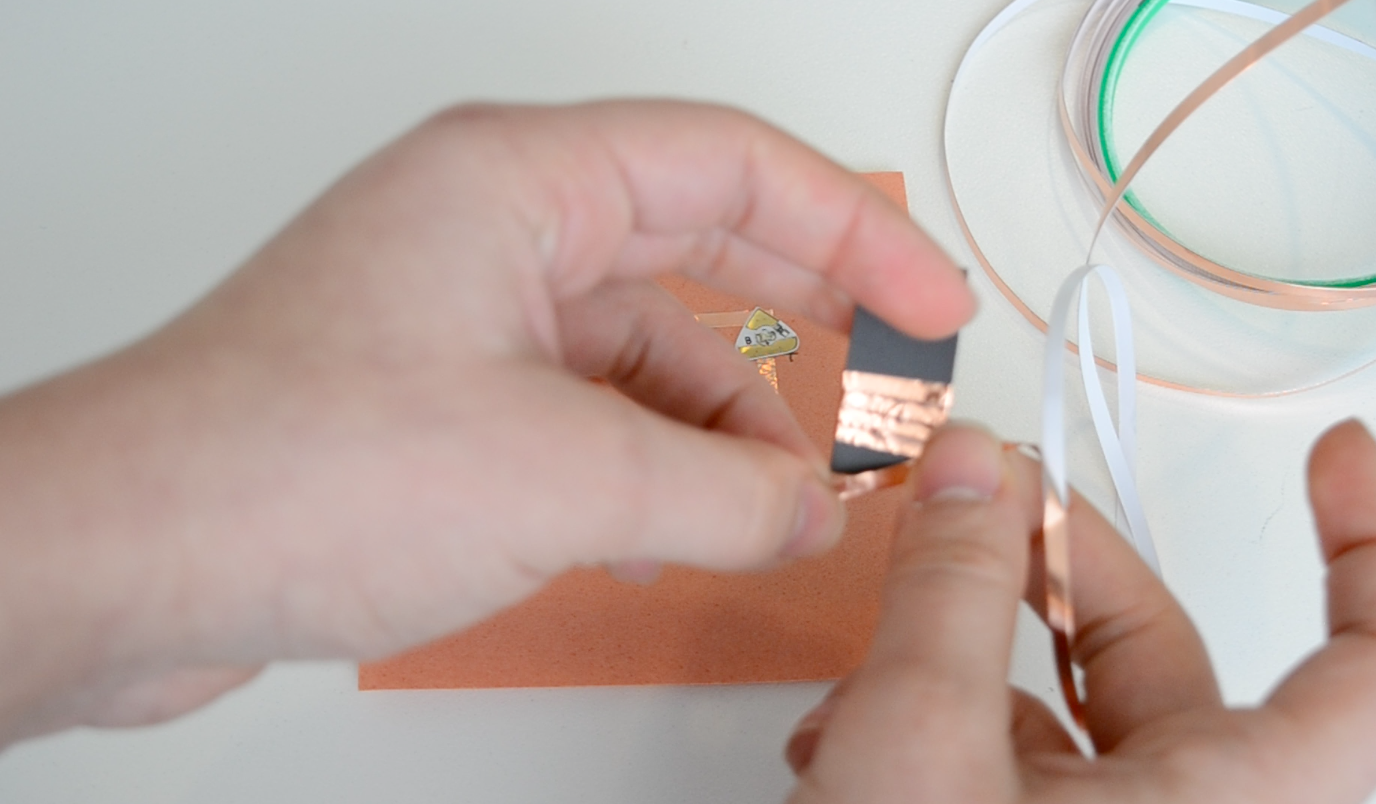
6. Now test it out! Your LED should light up. If it doesn’t, smooth out the copper tape on the magnetic strip with your hands and try again.

7. If you want to take it a step further, you can write on and off nest to the switch. Write ON next to the magnet when the light is on.

Slide the magnet and write OFF on the other side.
 8. You can get creative and cut shapes to decorate your switch.
Cut a shape from decorative paper and glue it on the magnet if you want to decorate your switch.
For inspiration, here’s a a nifty card tutorial that uses the magnetic switch as a storytelling element. One a cloudy day the flower is dim but when the sun comes out, the flower glows!
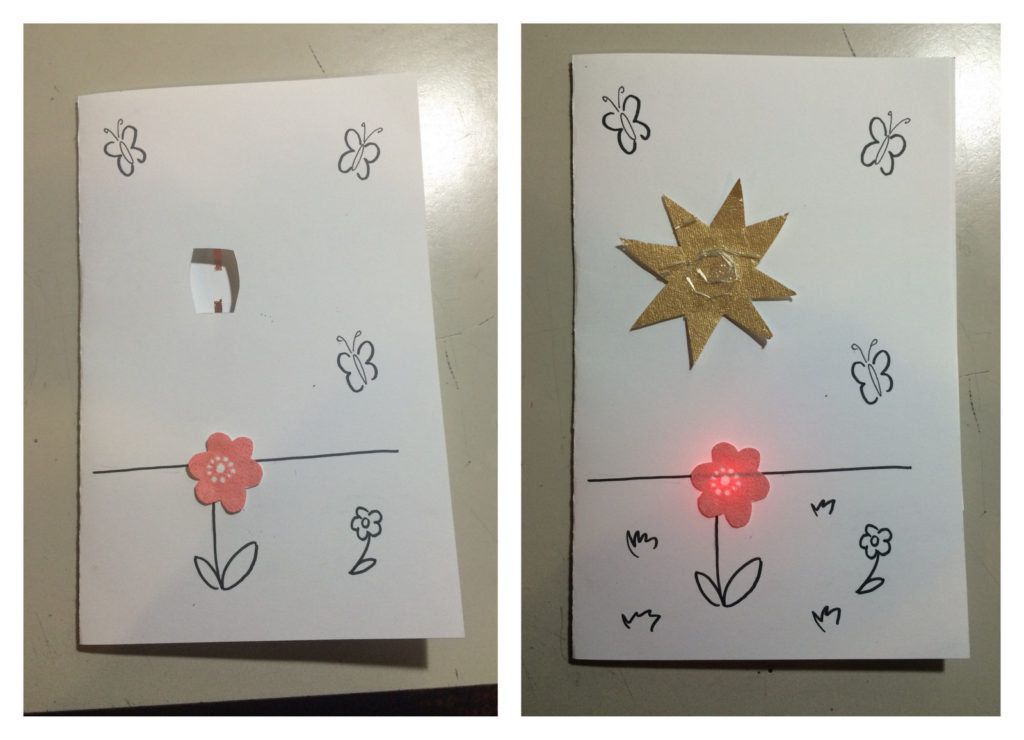
Happy making!