Learn how to make a simple circuit.
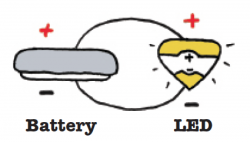
Let’s get started by lighting an LED. We will use the copper tape to connect a battery to the LED circuit sticker n a loop. The “+ side” of the LED circuit sticker needs to connect to the “+” side of the battery and the “-” point of the sticker needs to connect to the “-” side of the battery. This continuous loop is a complete circuit.
Materials:
Directions:
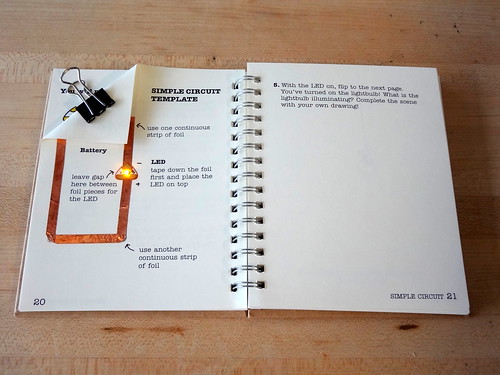
1. Use copper tape to and stick over the gray lines. Apply the copper tape as a continuous piece, rather than separate pieces, even when turning corners. The adhesive on the bottom side of the foil makes a weak connection.
2. Fold the page corner along the dotted line and place the battery “+” side-up over the “-” circle.
3. Fold the corner flap over, and clip the battery in place with a binder clip.
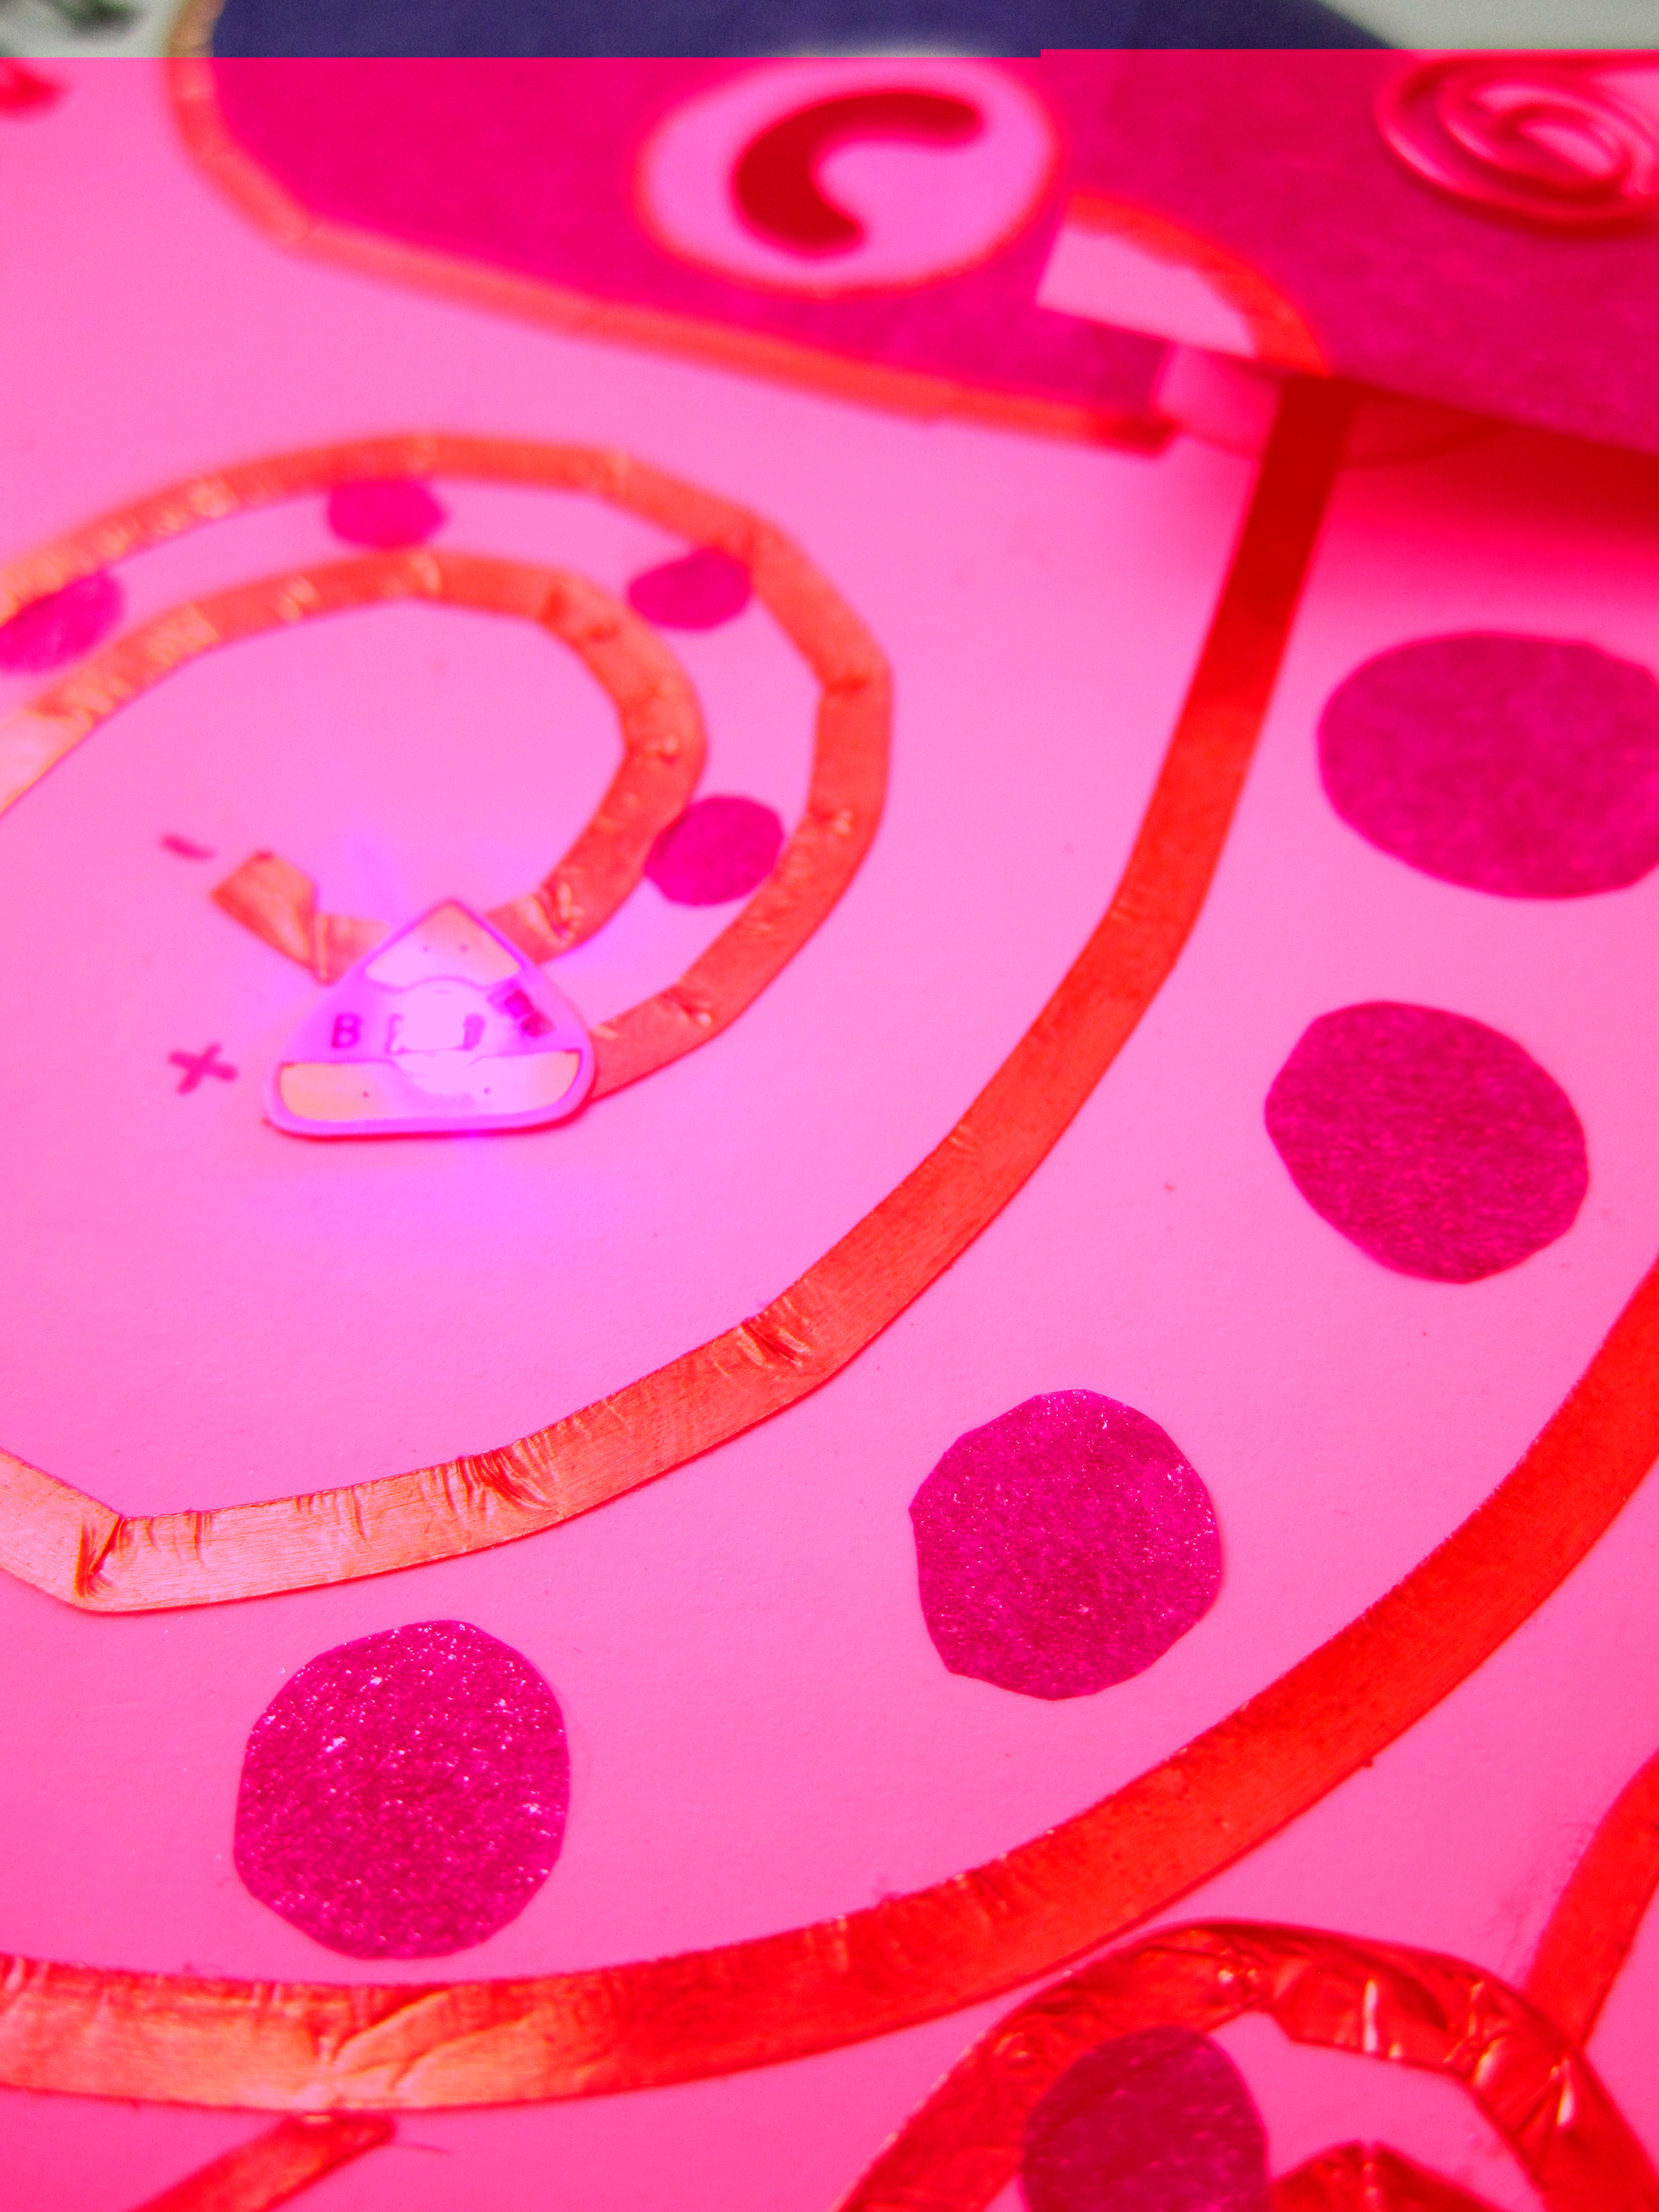
4. Stick the LED circuit sticker onto the copper tape over the triangular footprint. Congrats you’ve turned on the light in the room! What do you see? You have just built a simple circuit.
Come see what others have made and please share your projects with us!
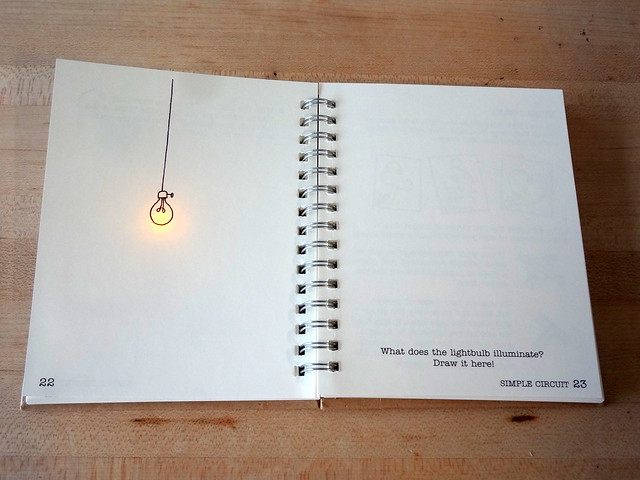
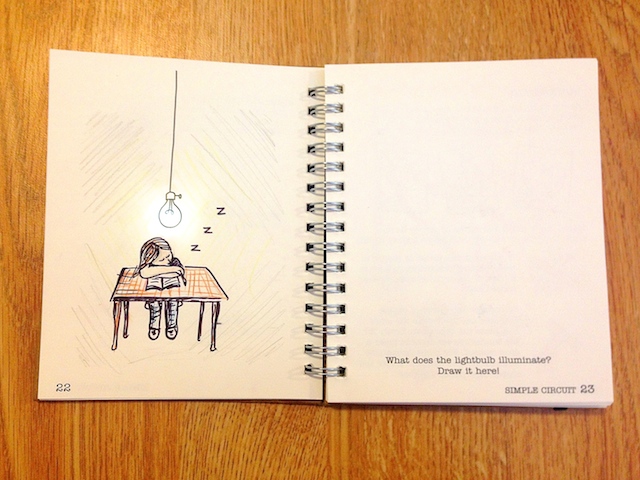
Here are some fun example pages for inspiration!
Shhh.. Looks like someone was caught napping!
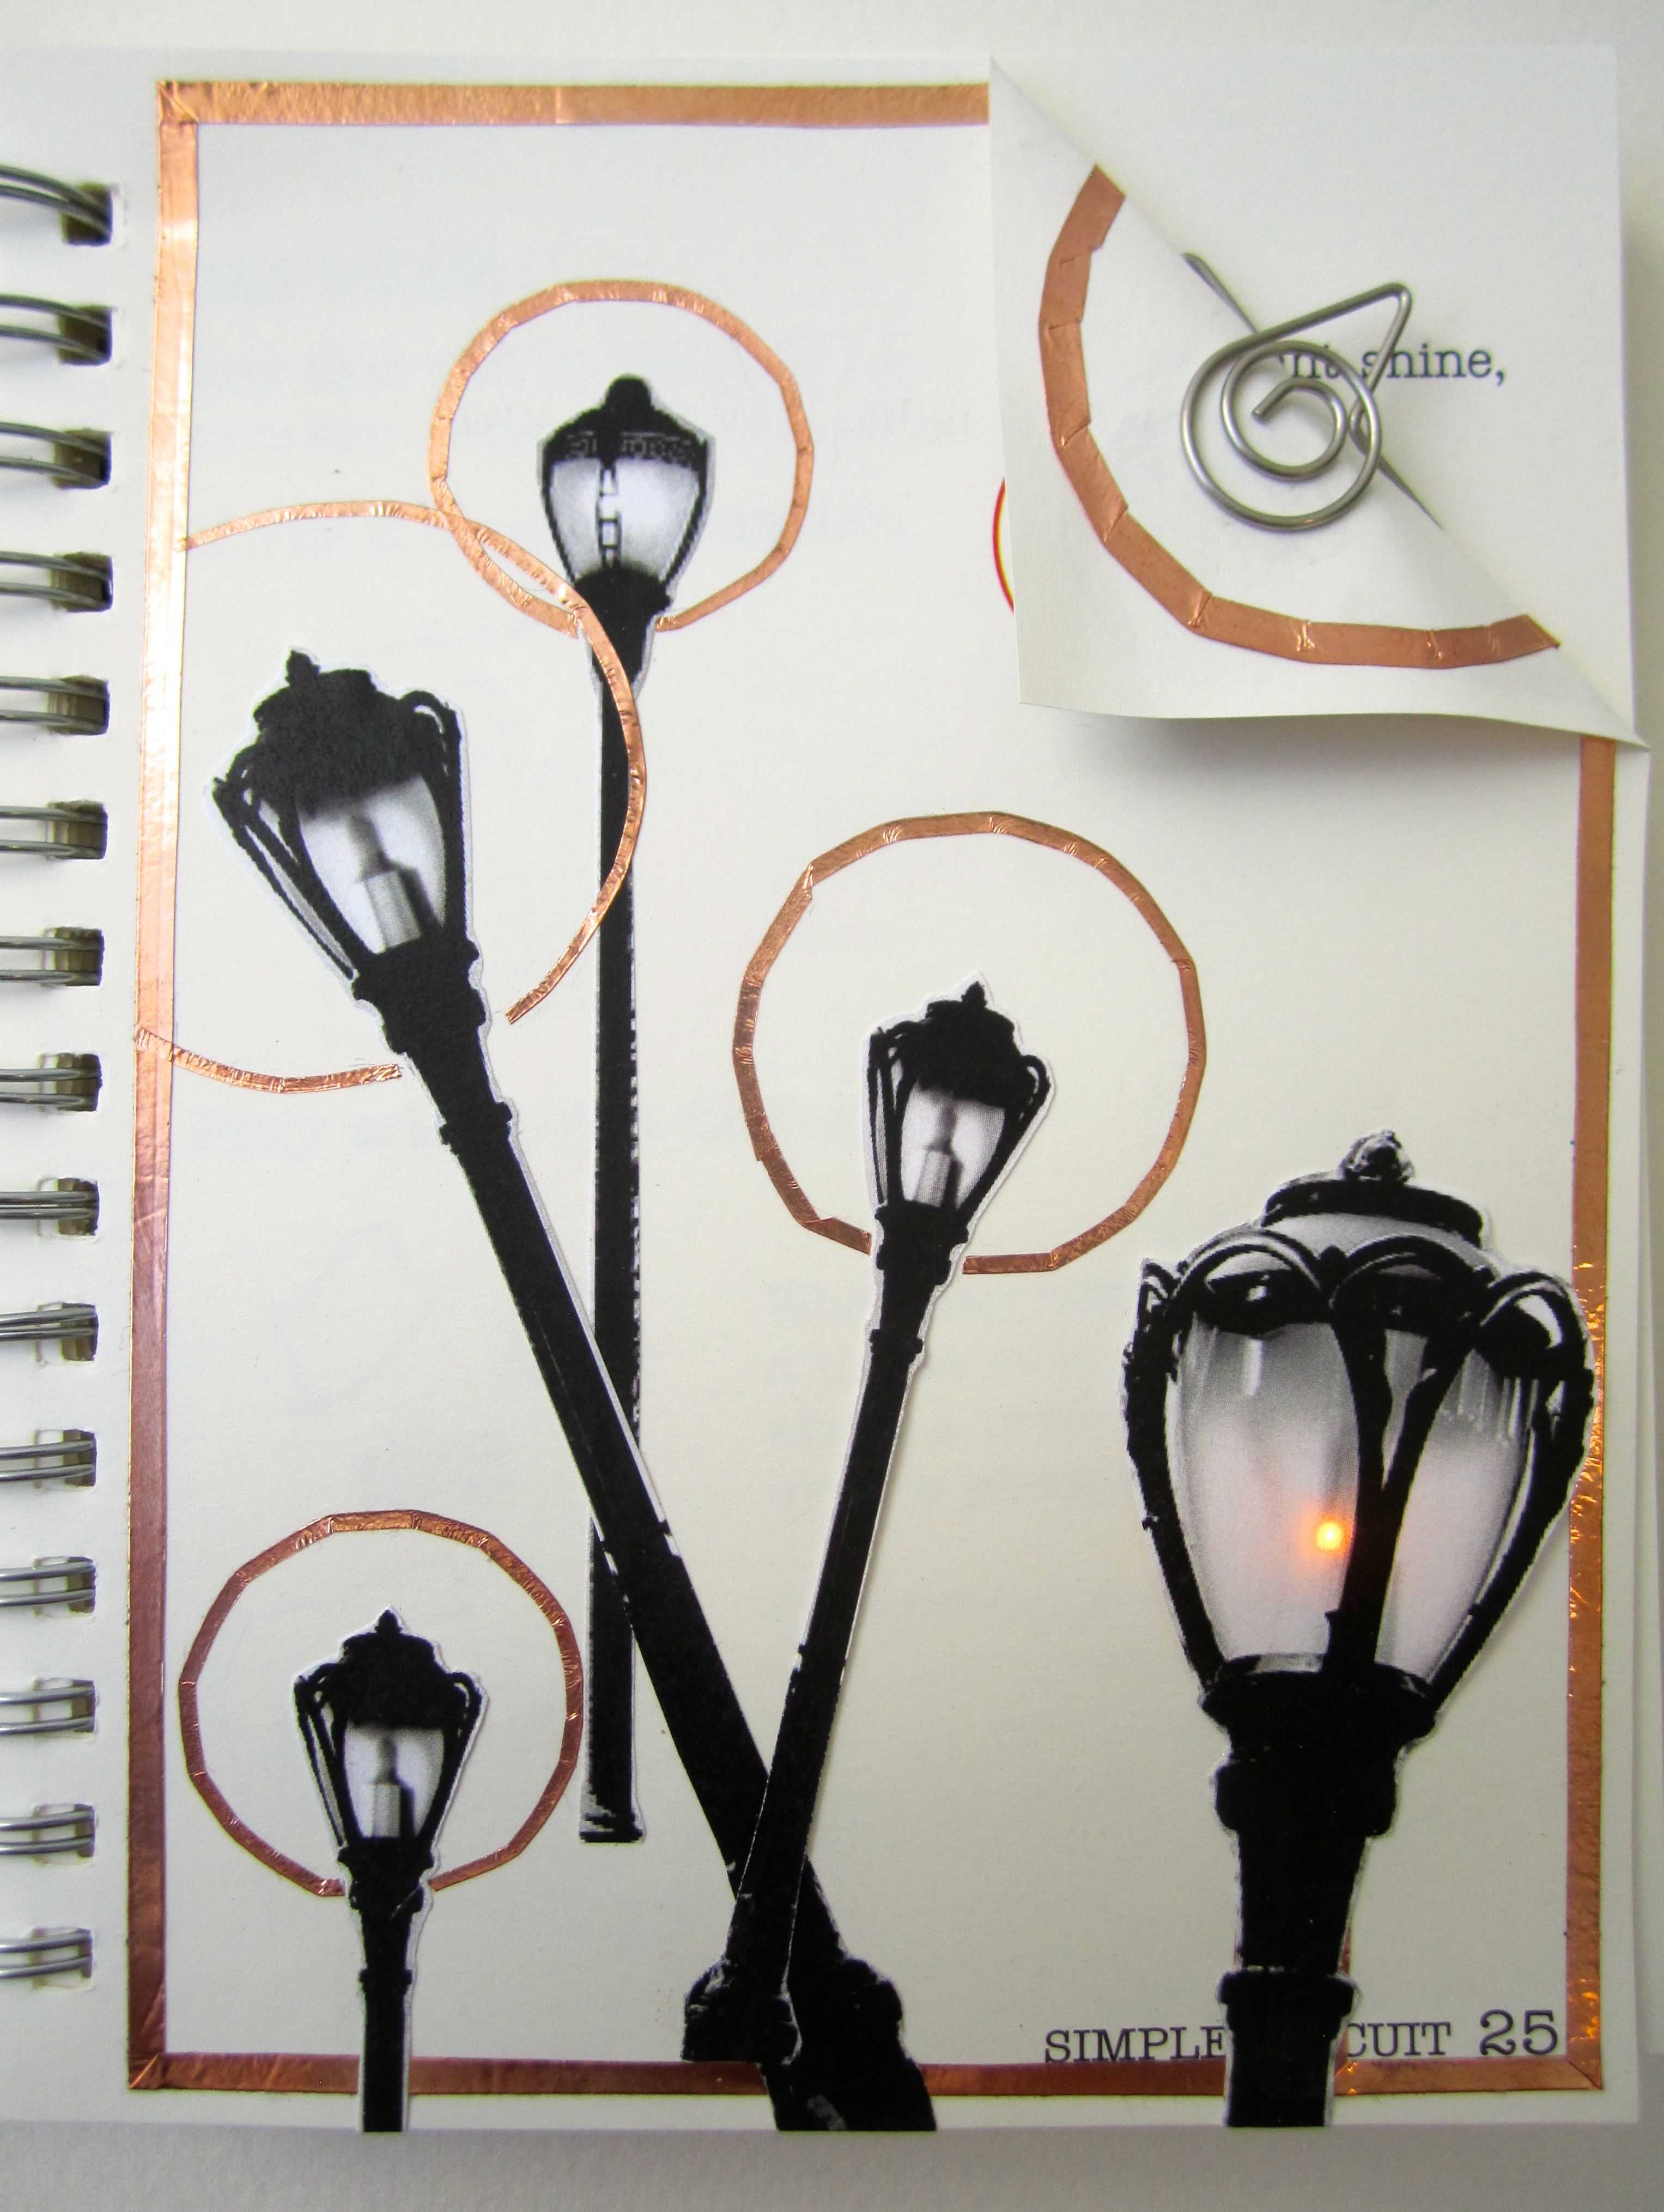
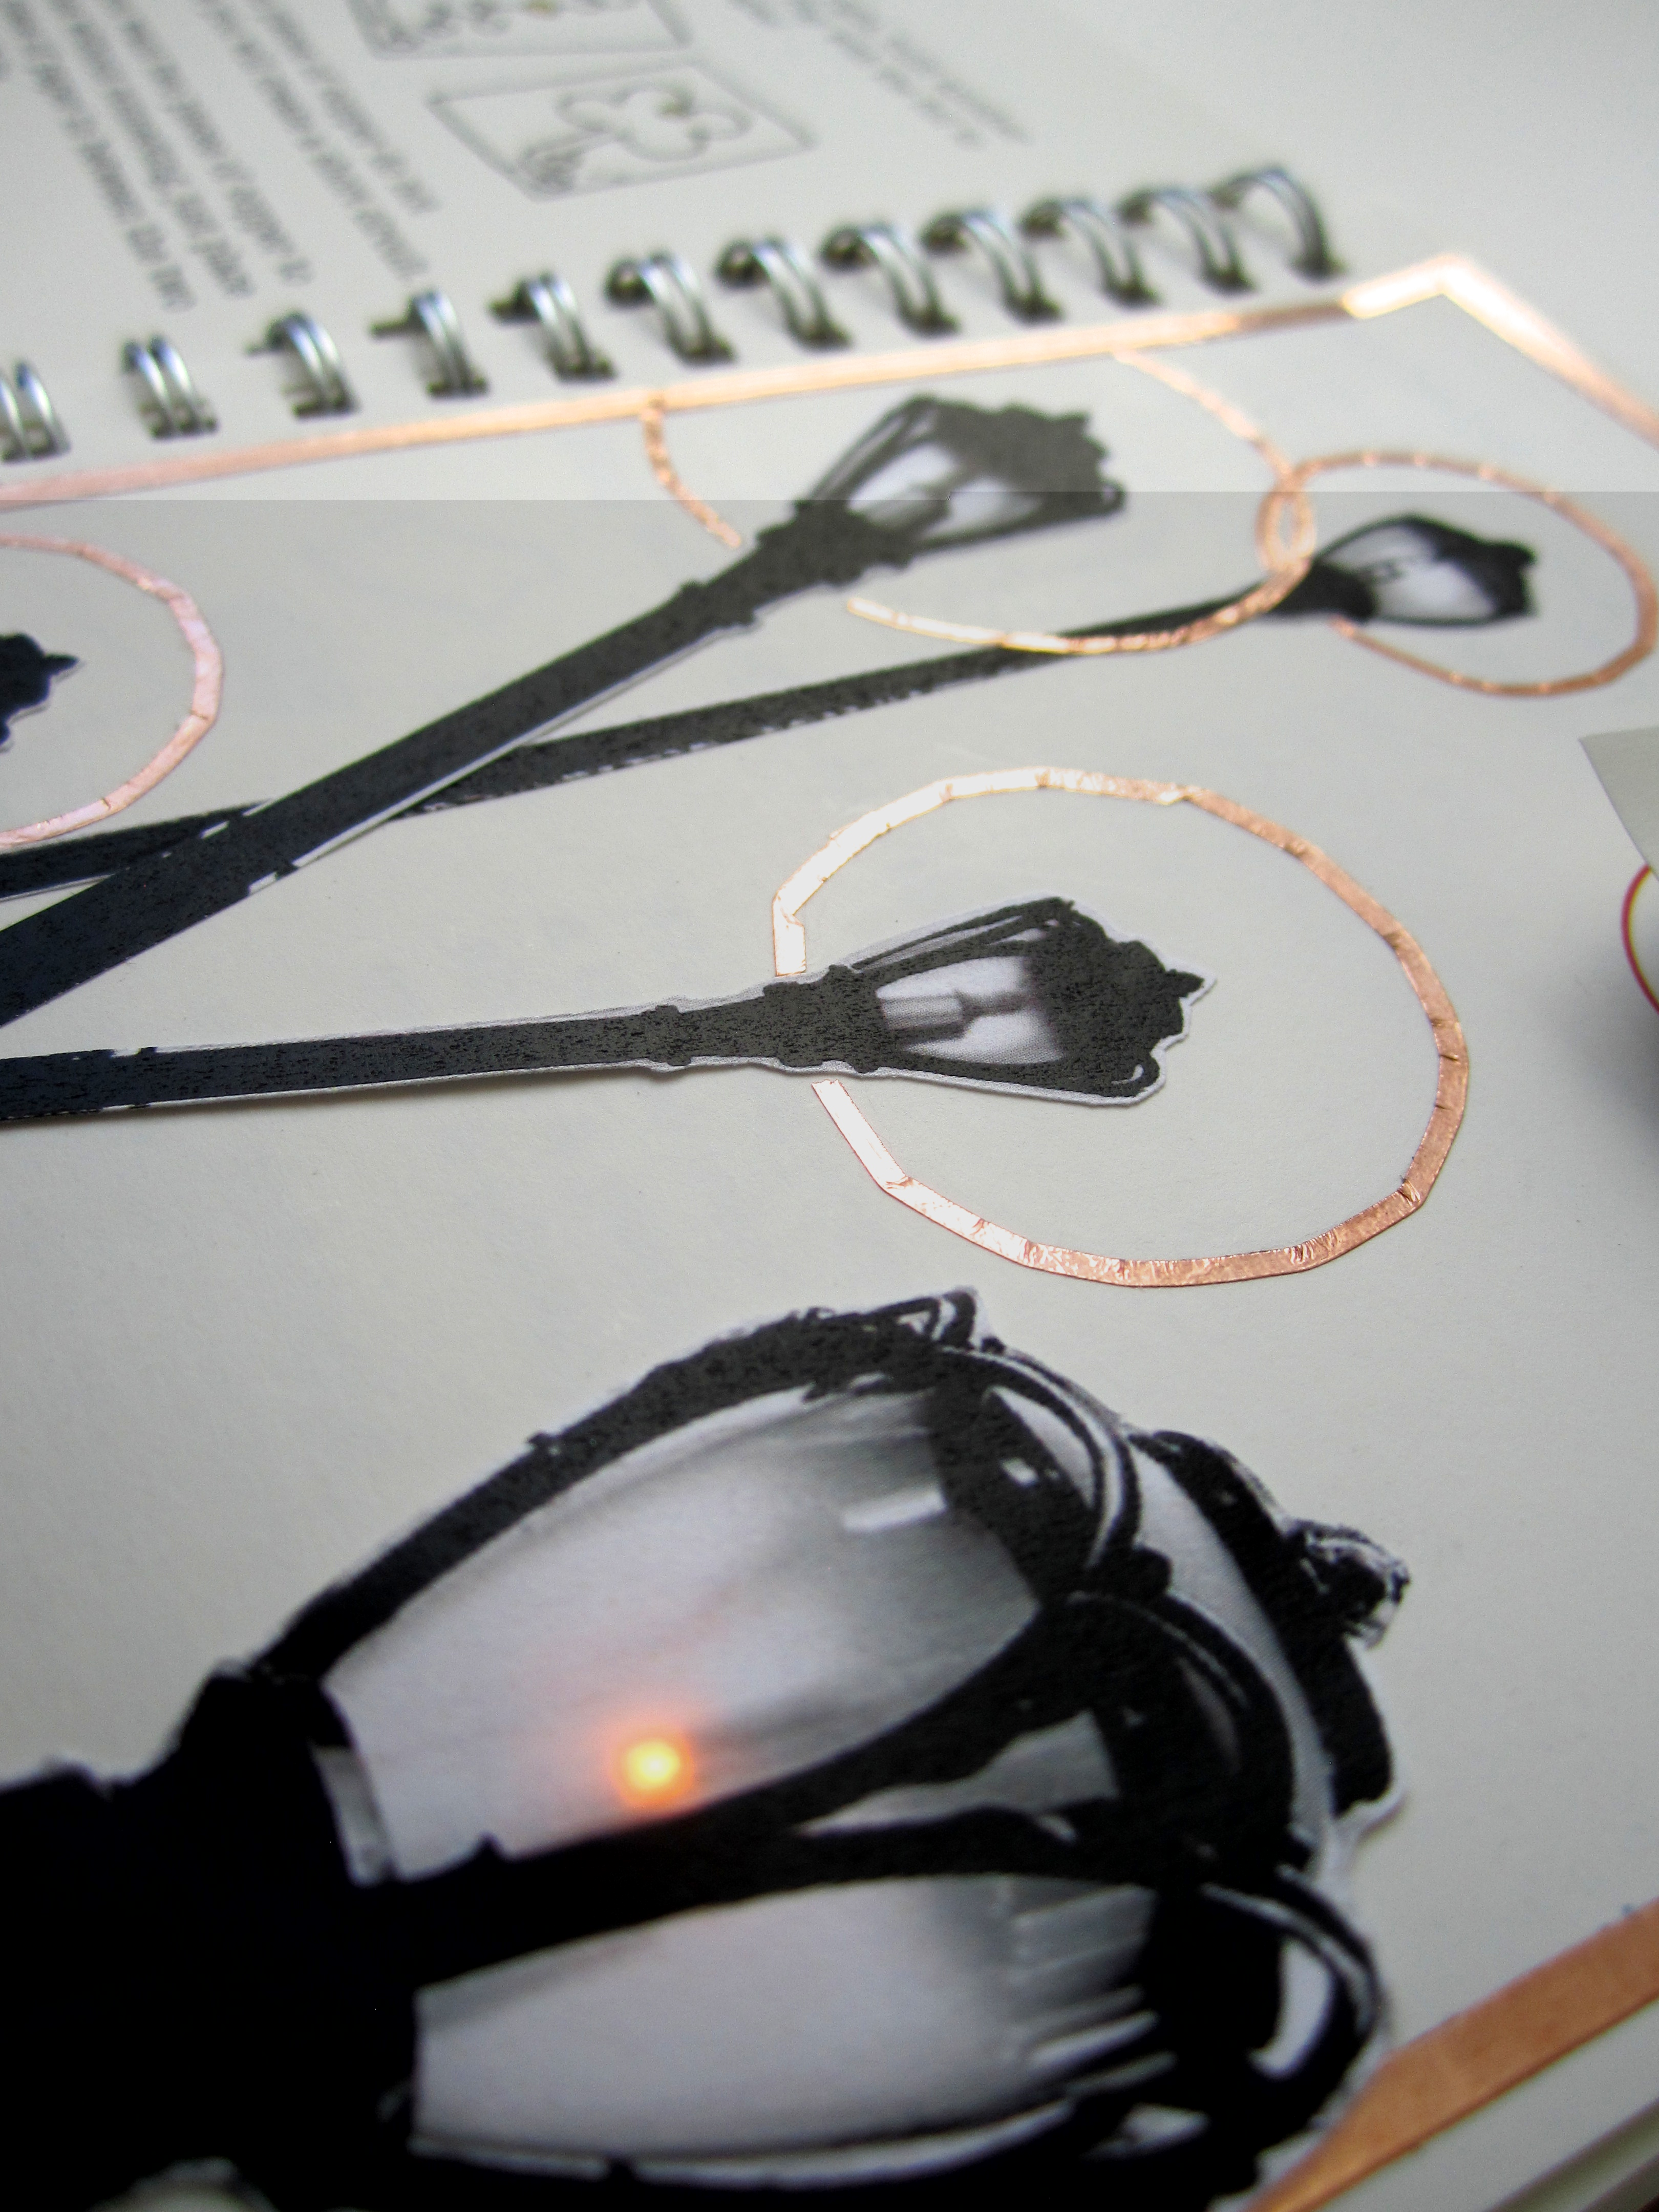
A Night in the City
 |
 |
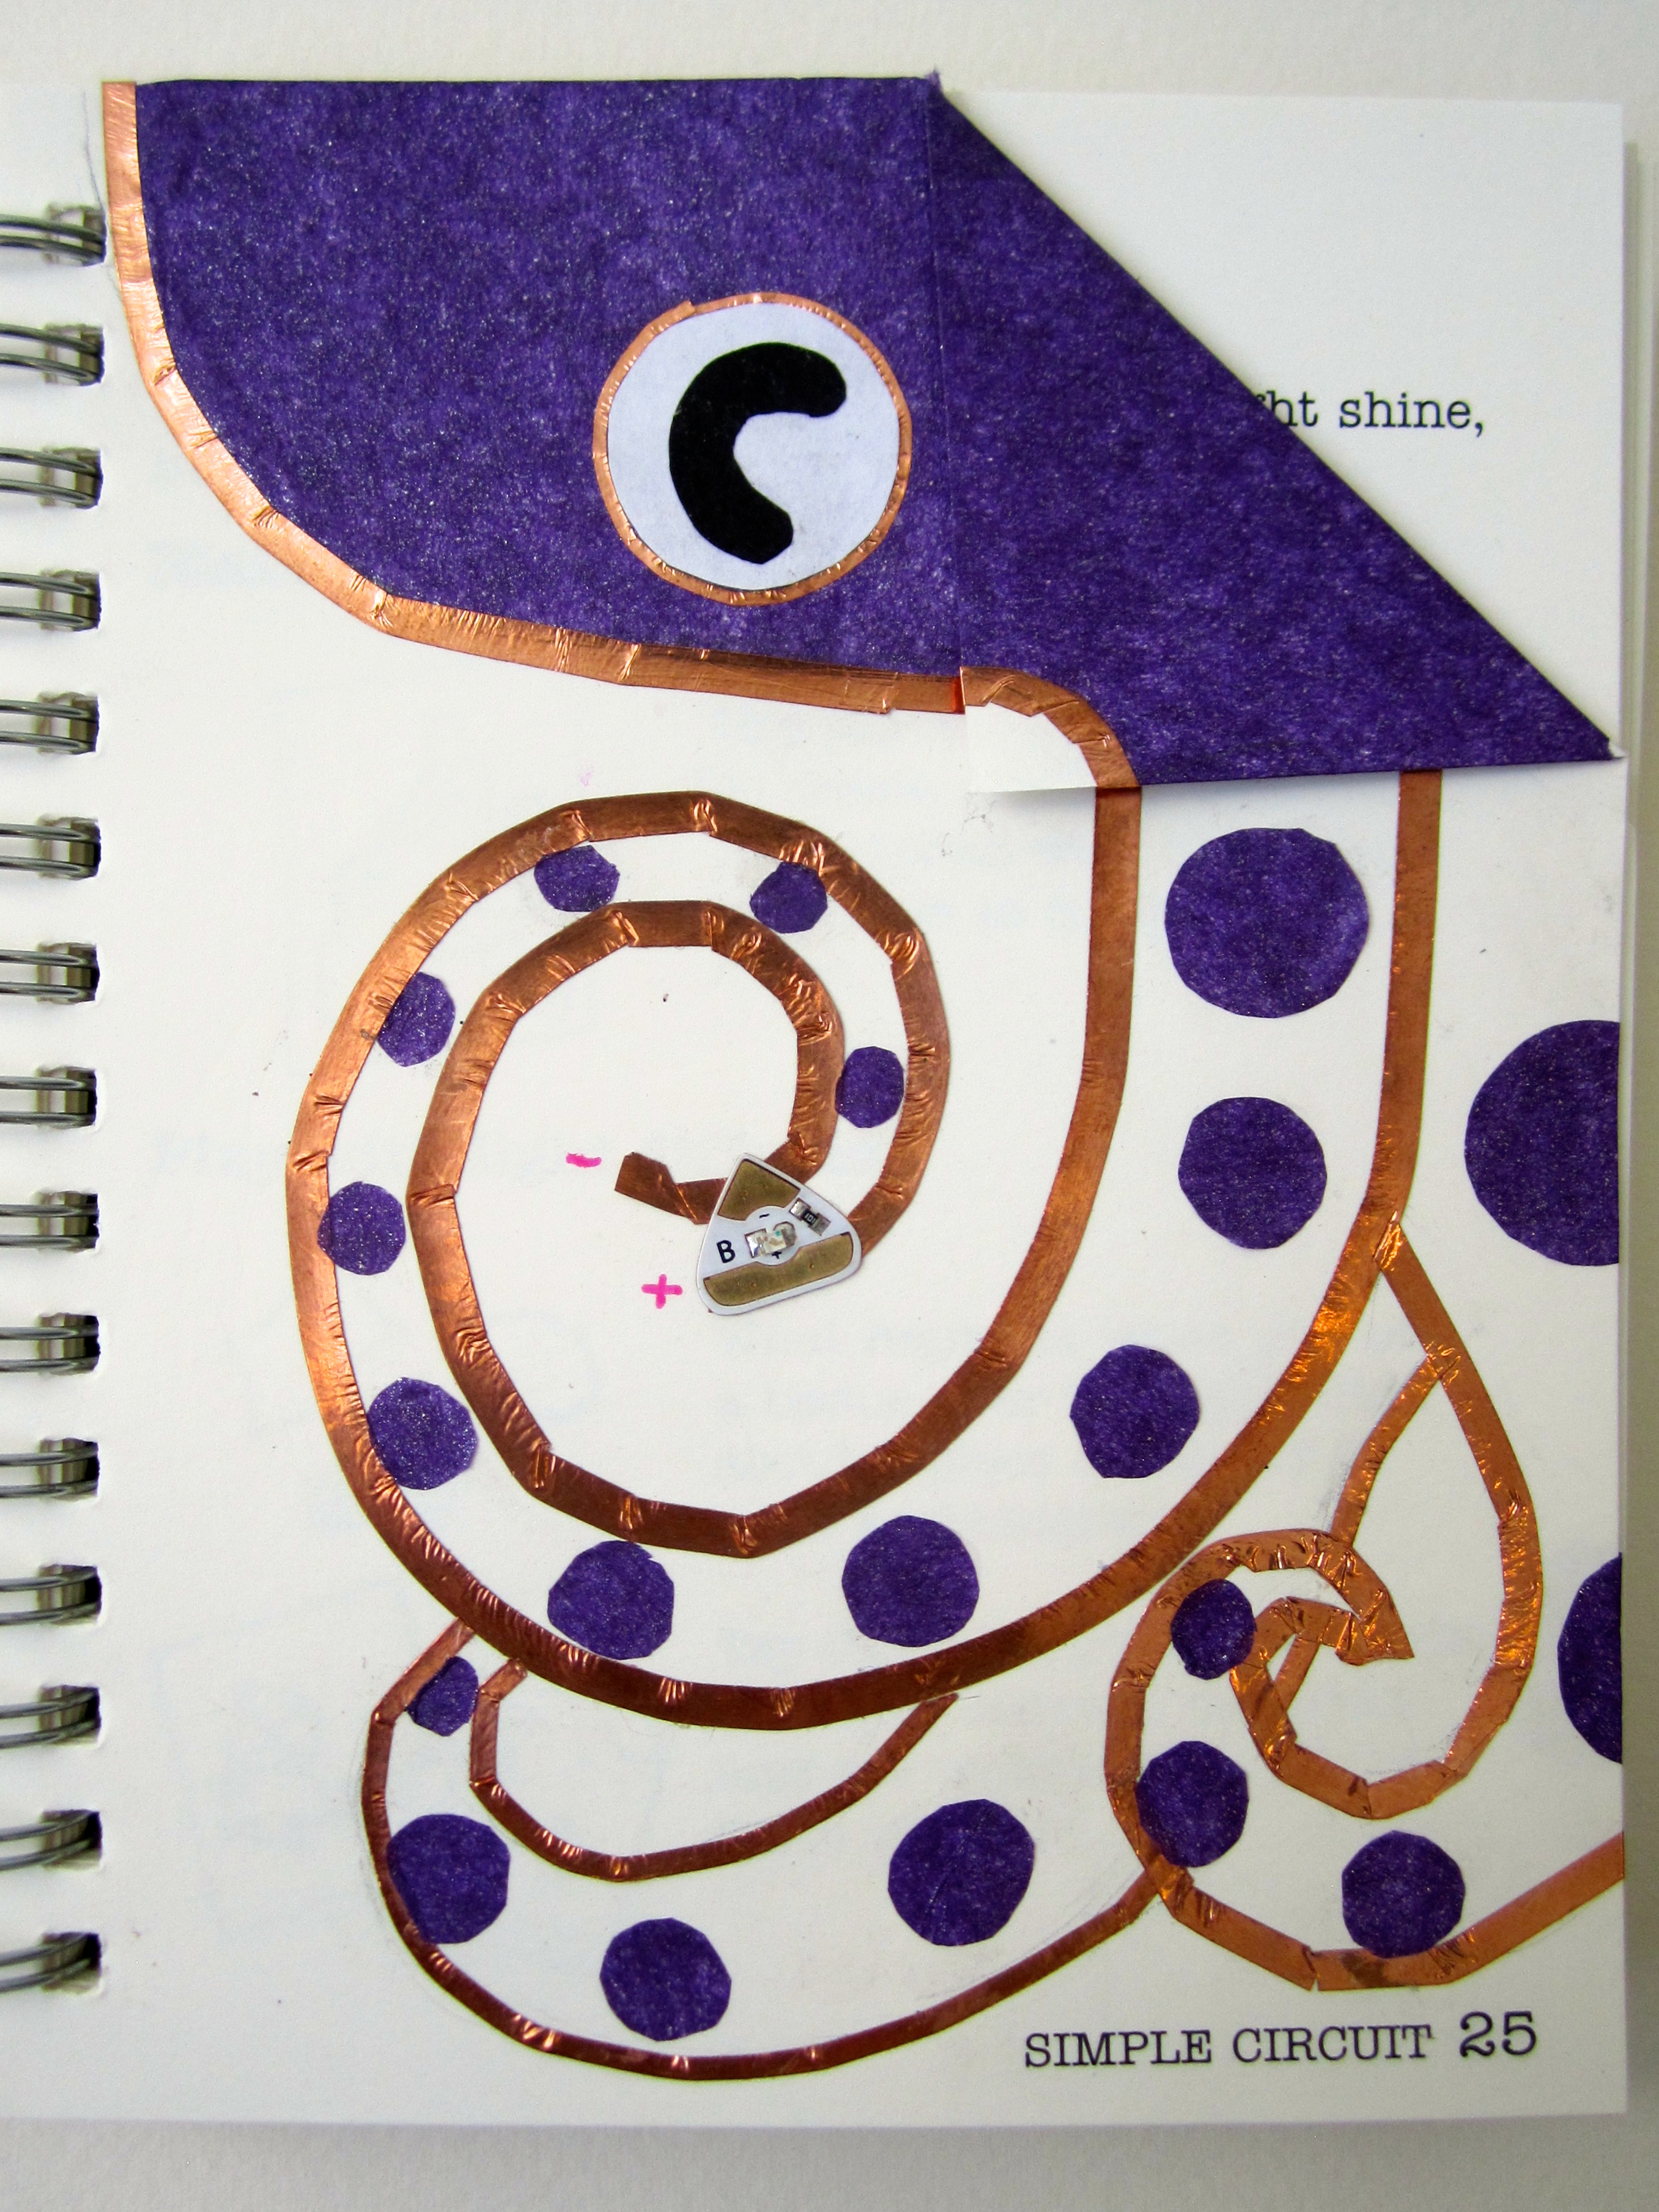
Under the Sea
 |
 |
 |
 |
One thought on “How to make a simple circuit”
Comments are closed.