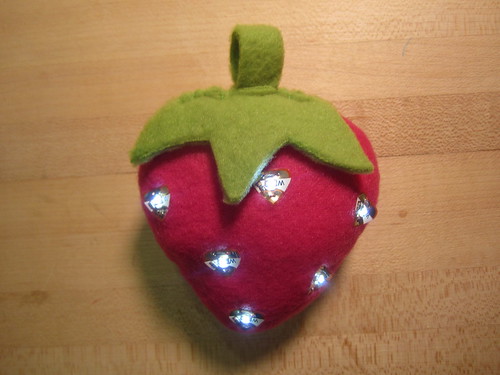
To make this strawberry with glowing seeds, you will need:
- white LED Circuit Stickers
- conductive thread (like this or this)
- needle
- 3V coin cell battery
- sewable battery holder
- pink and green fleece
- regular (non-conductive) thread
- fiber stuffing
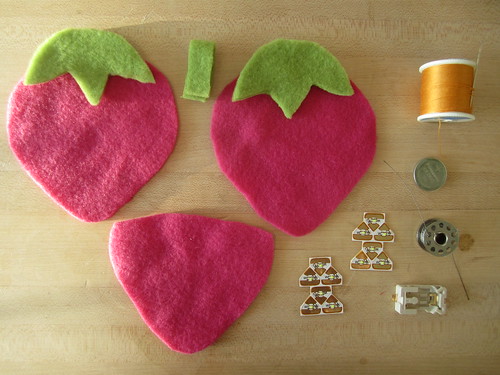
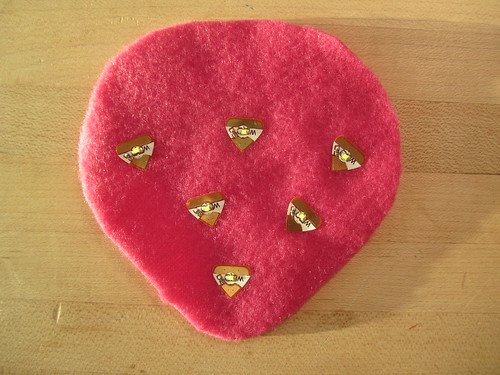
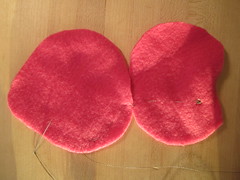
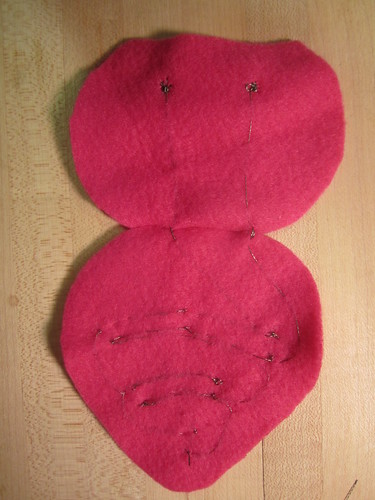
Step 1. Cut the pink fleece into the strawberry shape above. Then add some LEDs to the front (full shape) strawberry fabric.
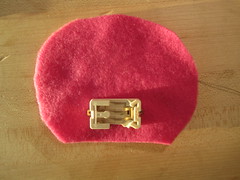
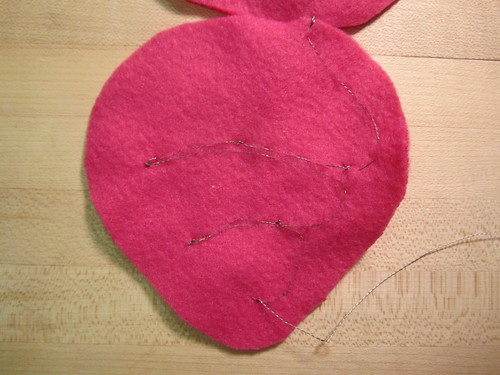
Step 2. Sew the negative (-) end of the battery holder (marked with a small “-“) onto the back piece of fabric with conductive thread. Make sure to loop through the hole on metal leg of the battery holder several times and tie a knot to secure. Without cutting this thread, sew through the fabric (so that the thread is embedded in the fleece) until the thread is at the top of the strawberry shape.
 |
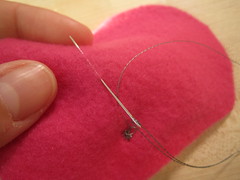 |
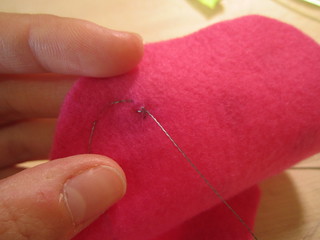
Step 3. Use the conductive thread to sew the front and back fabric pieces of the strawberry. Without cutting this thread, sew through the fleece to the negative (-) end of the first LED sticker.
 |
 |
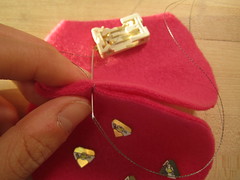
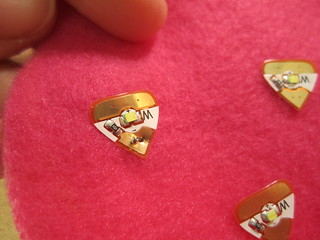
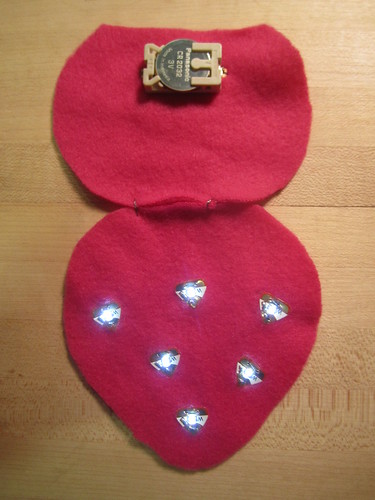
Step 4. Next sew the negative (-) side of the LED sticker down by sewing through the fleece, puncturing the pointy (-) metal pad and back down through the fleece again. Tie a knot to secure this connection and sew to the negative sides of the other LED stickers by using the pattern below
Step 5. Next, with a new piece of conductive thread, sew the positive (+) side of the battery holder down to the back of piece of fabric. Then use this thread to sew the front and back of the strawberry together along the top, as you did with the previous thread, and then sew down the positive (+) sides of the LEDs stickers. Make sure that this positive thread which connects the + of the battery holder does not cross the negative thread which connects the – of the battery holder. Try following the pattern below.
Now when you put the battery into the holder, the LEDs should turn on. When testing, make sure to spread the two fabrics apart so that the conductive thread from the back does not accidentally touch the conductive thread on the front (or else a short circuit may occur that connects the + and – of your battery and the lights wont come on).
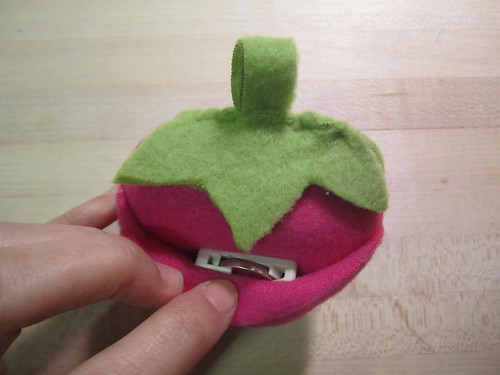
Step 6. Place the third piece of fabric over the back of the strawberry, so that it hides the battery holder. And then flip the fabric pieces over along the top of the strawberry (where the front and back attach) so that the battery holder and third fabric are on the inside. Then use the non-conductive fabric to sew along the edge of the strawberry but leave a small hole at the top for stuffing later.
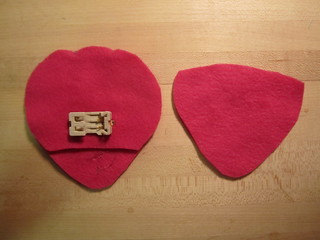
When you flip this inside out, the lights will be on the outside and the battery holder will be hidden underneath the third piece of fabric.

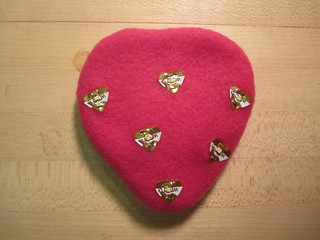
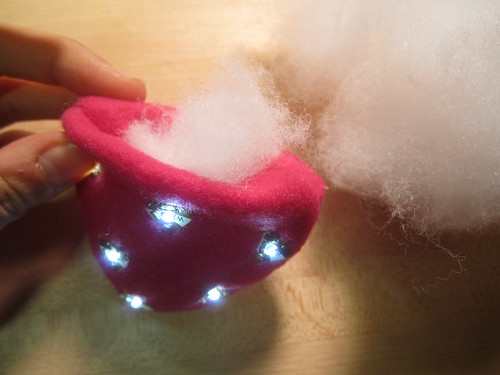
Step 7. Stuff the strawberry. Try doing this step with the LEDs on to ensure that there are no accidental short circuits inside.
Step 8. When the strawberry is full, cut two pieces of green fleece to be leaves and a long rectangle to be the stem. Then sew these to the top of the strawberry while closing the hole at the top.

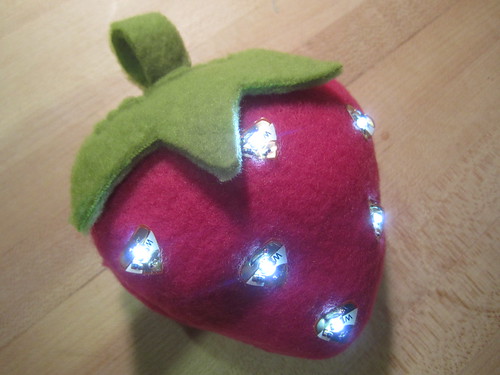
Congrats! The strawberry is complete. Simply take out the battery to turn the lights off and slip it into the pocket on the back of the strawberry