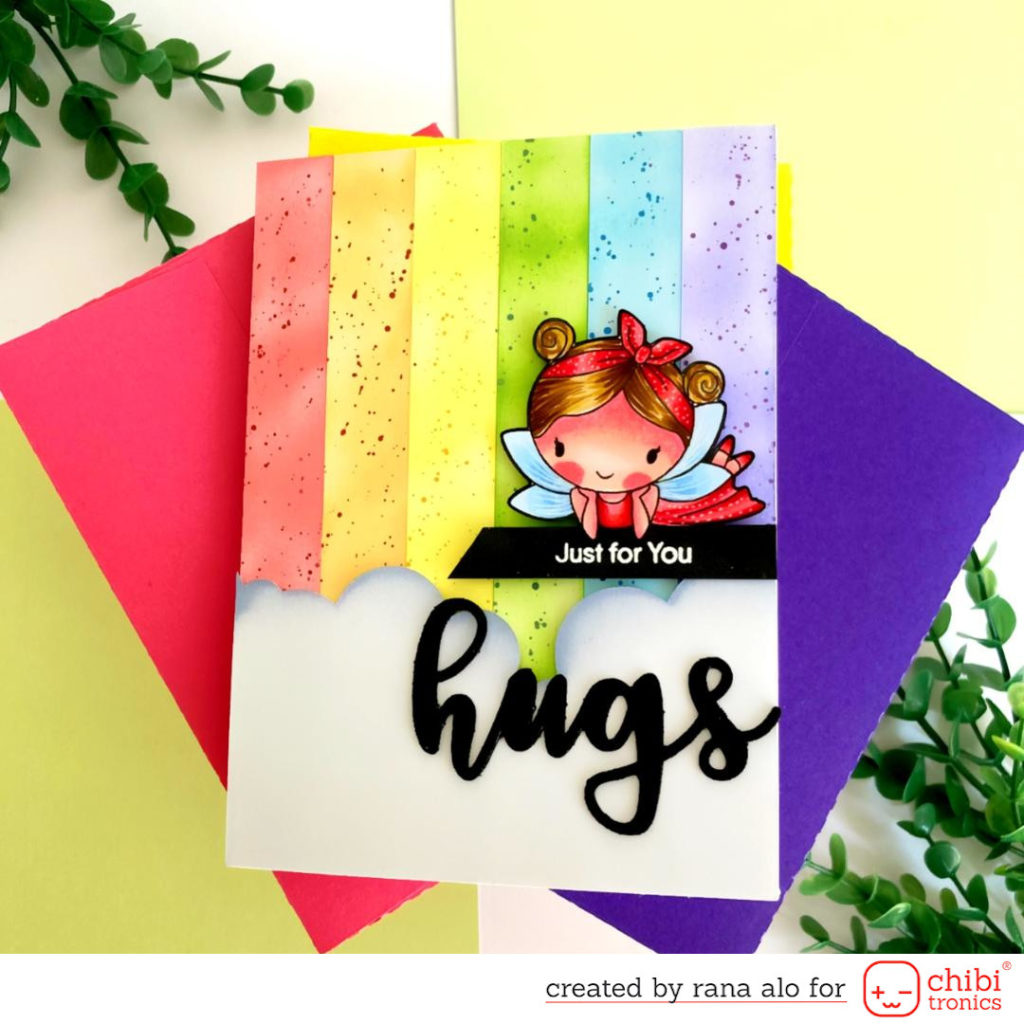
Hello crafty friends! this is Rana from Rana crafting place ,I’m so excited to share with you today a new light up card.
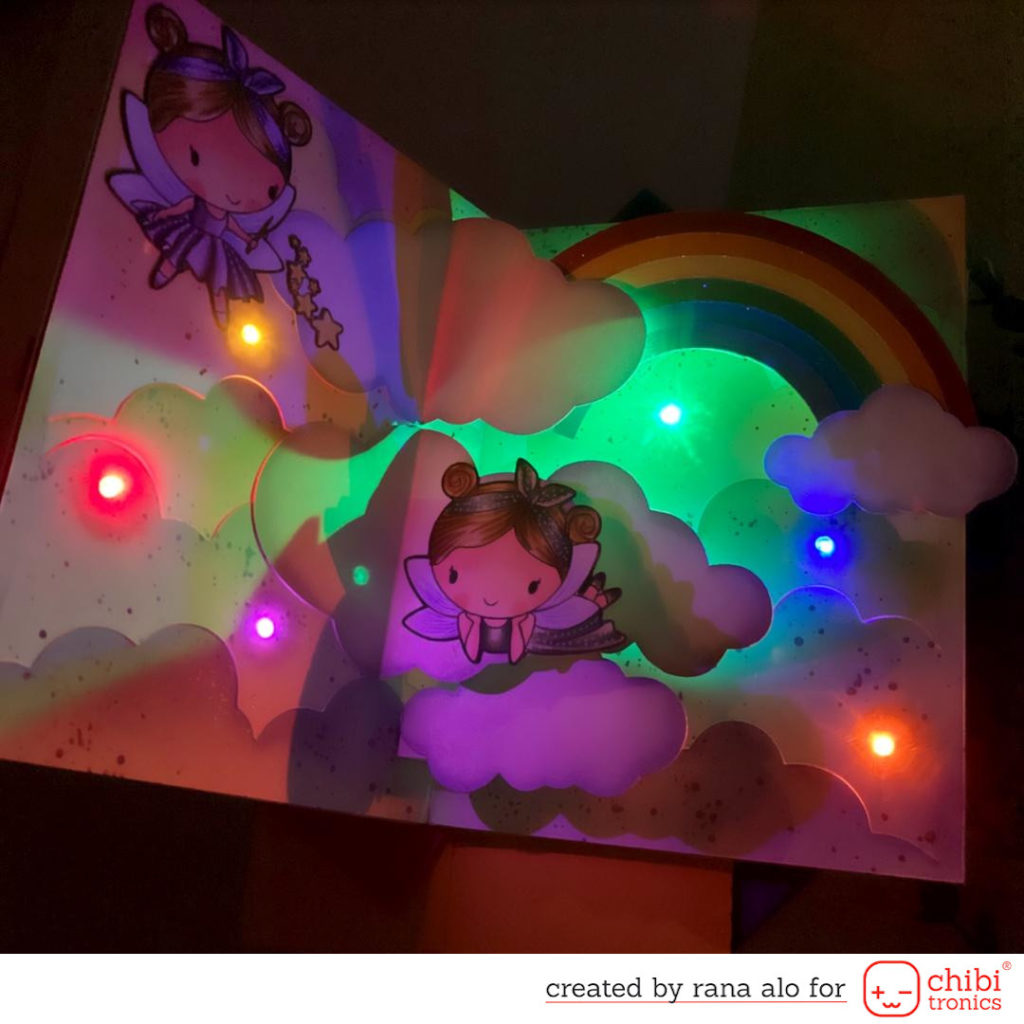
I always love to create the colourful cards and for today I thought it will be perfect to create one using love you fairy much stamp set by Magengo and of course the fairies need some sparkle and shine around so the magic can be happens, for that I added a lot of coloured lights from Lights Sampler Mega Pack by Chibitronics.
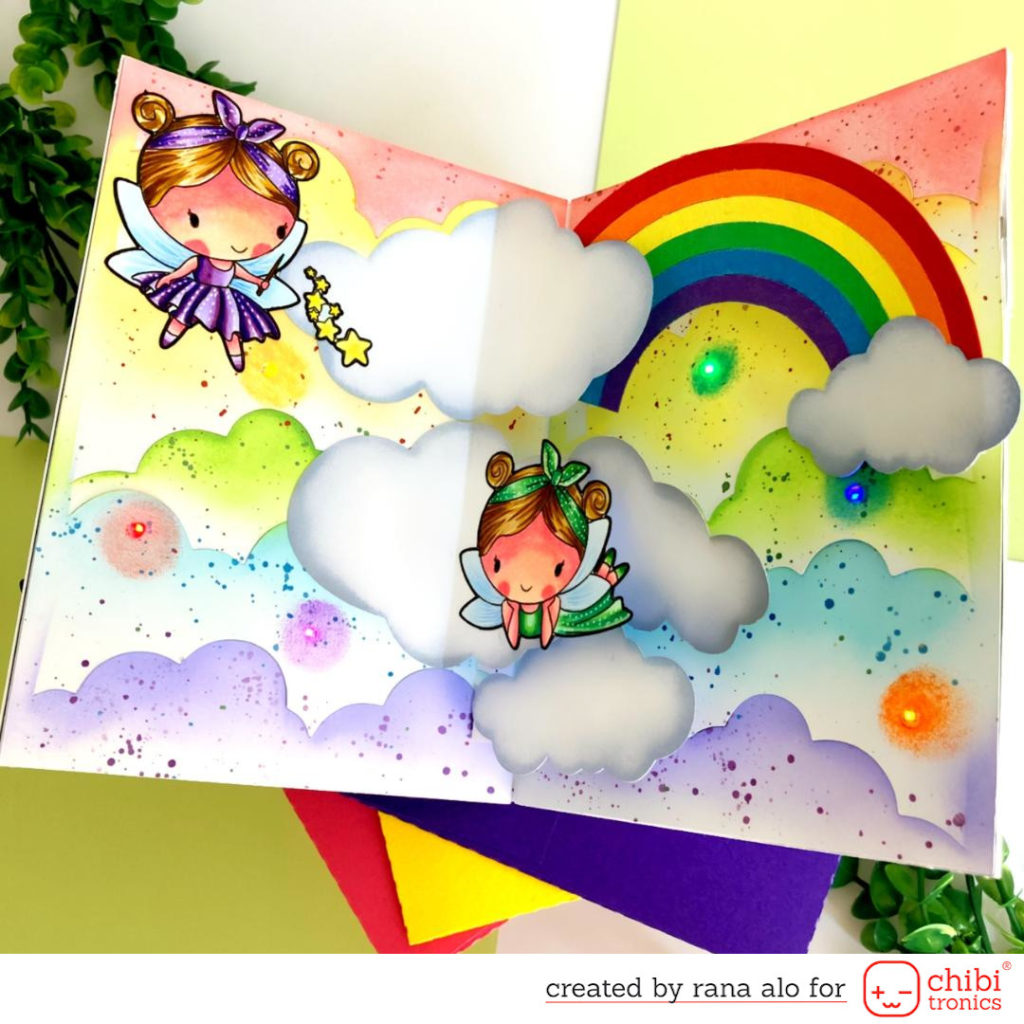
In addition to the lights my card has many interactive parts and movement elements when we open it, the rainbow moves in a circular movement and also some clouds moves and pops up, lets take a look at it:
And here is how my card looks when we open it:
Let’s turn the light off and see how the magic happens:
At first I started to design my card’s templets in my silhoutte studio software and for that I designed the clouds background then added my stamps (the fairies) and also added the clouds, after doing that I was able to know exactly where I want to place the lights, I did all that in my computer but you can easily create your scene using the die cuts.
Because I design my cards on the silhoutte studio software I can send my designs and cut them using my silhoutte portrait machine but as I mentioned above you can use the die cuts and cut similar elements using the big shot machine.
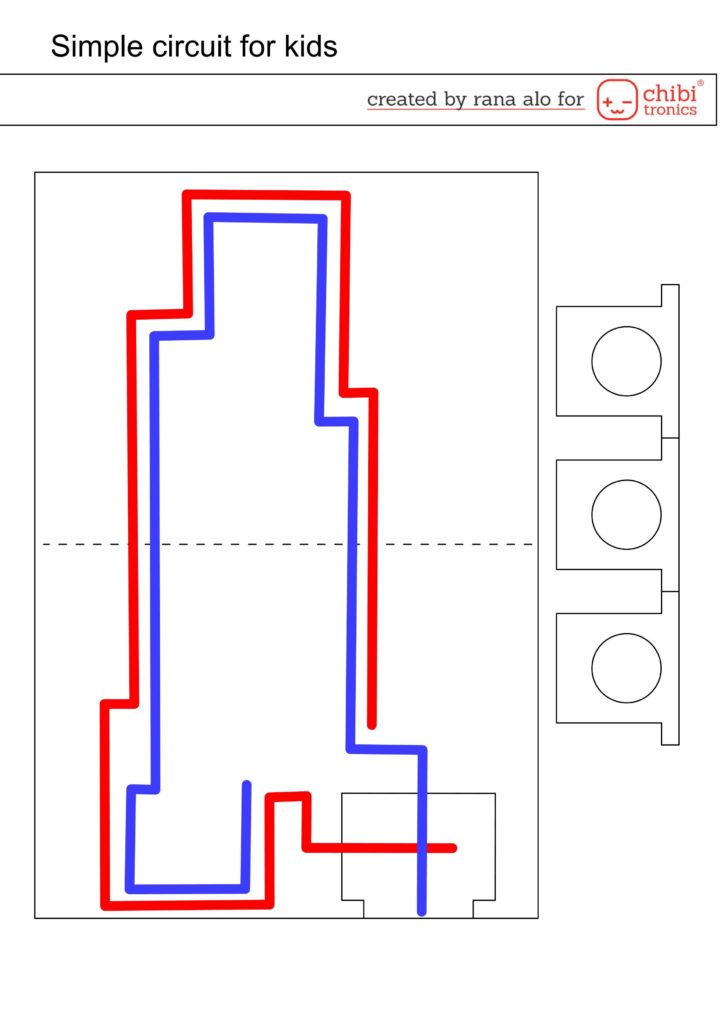
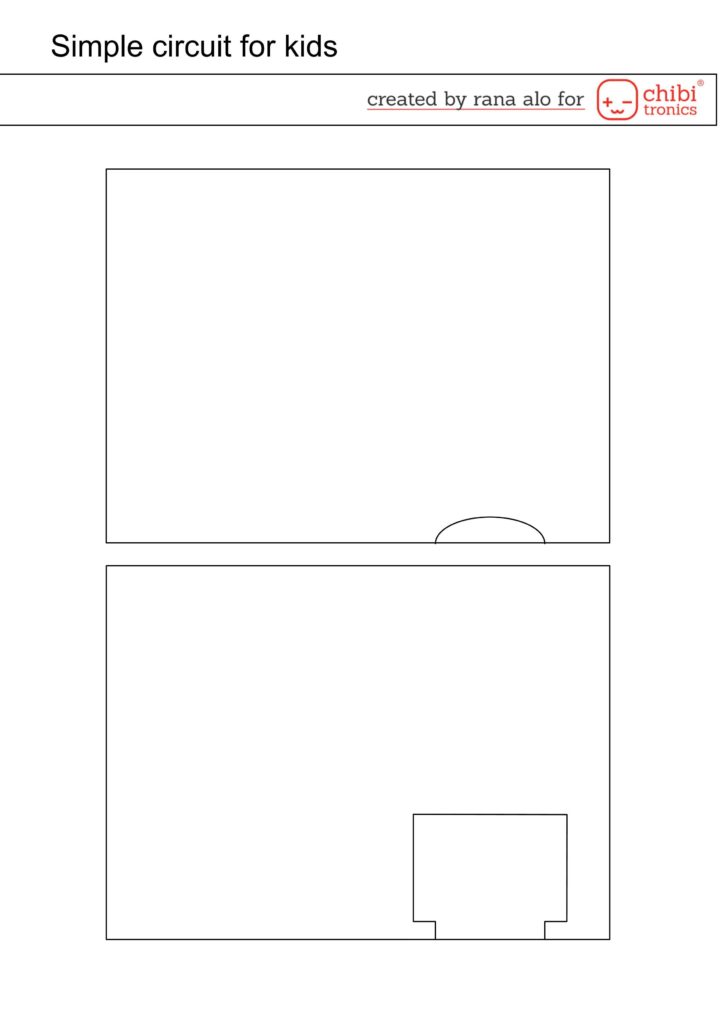
After cutting the card’s elements it will be so easy to sketch the circuit and for that I have prepared a printable sketch for the circuit, feel free to print it and use it for your card:
And here is also the templet for creating a thick board to hold the battery:
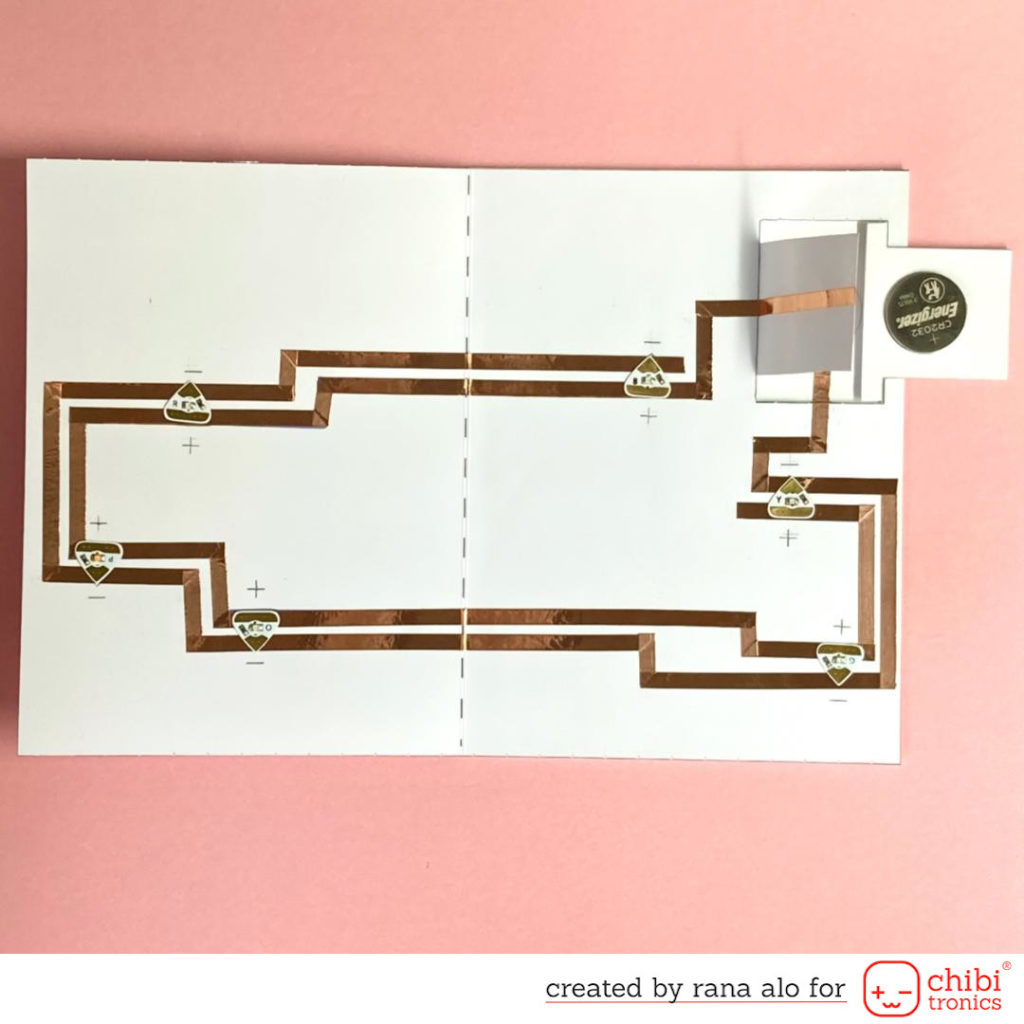
When I create a light up card the first thing that I try to finish it is the circuit and I make sure many times that my circuit works well and exactly as I want before going to the other steps, here is a photo for the finished circuit:
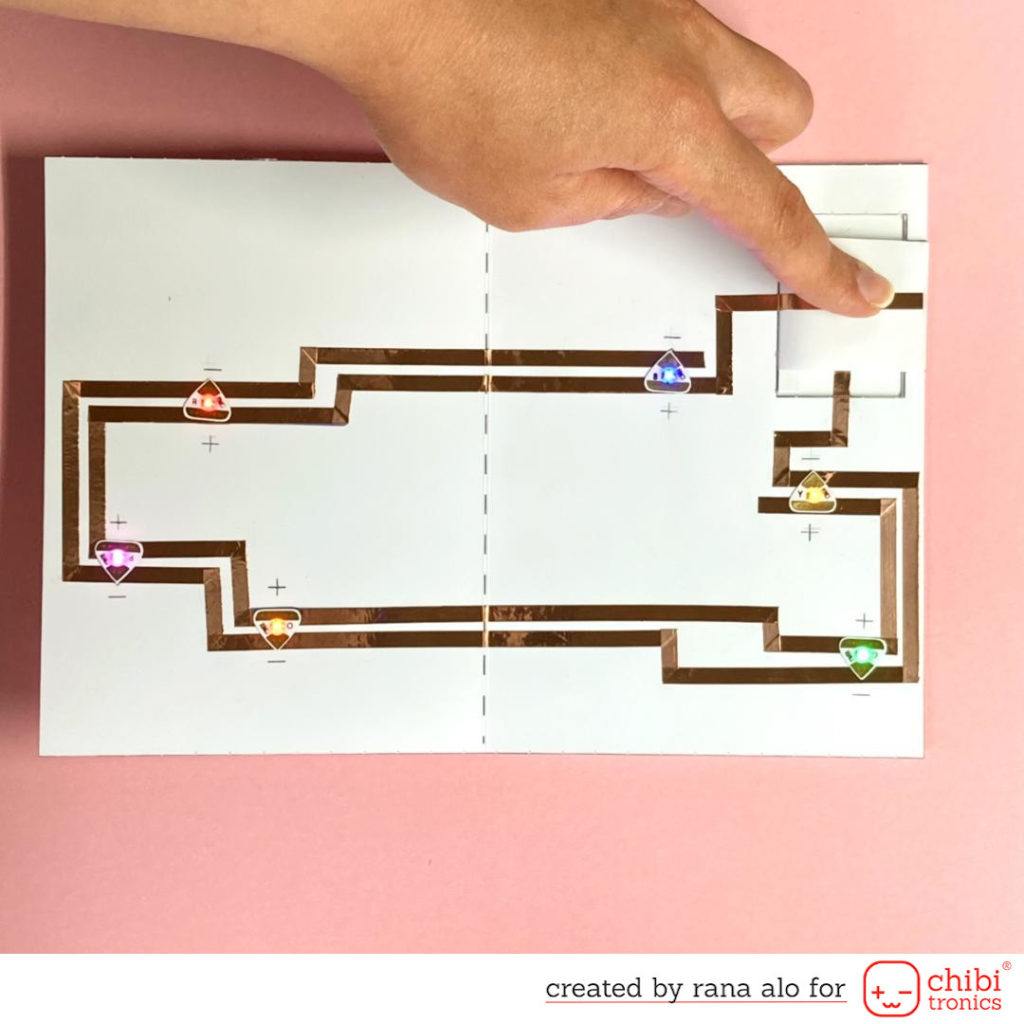
Let’s give it a quick check to see if everything works perfect:
Seems everything is ok, now let’s go to the next step and start blending the background with Shaded lilac, tumbled class, mowed lawn, squeezed lemonade, and worn lipstick distress oxide inks and I also inked the stripes on the front pannel of my card with the same distress oxides inks, to add some more details on the panels I splattered them with the Gansai Tambi gem watercolours using a small paint brush.
Next, I inked the clouds with stormy sky distress oxide ink to give them some dimensions, after that I assembled the rainbow that I also designed in my silhoutte studio and sent the elements to my silhoutte portrait and cut them from different colours of 300g Folia card stock and add some shine using Nuvo shimmer pen.
I coloured my stamps after sketching and cutting them in my portrait machine and I used some Ohuhu brush markers to colour them, here is the colouring plan:
- The fairy with the red dress: R8,R4,R2,R9
- The fairy with the purple dress: P5,P4,P3
- The fairy with the green dress: G1,G2,GY2,GY3
I added some dotes on the dresses using white gel pen so they look like as sparkle dots.
For the front pannel I stack the strips next to each other and also cut a small cloud pannel and inked the edges with stormy sky distress oxide ink then I wrote the word ( HUGS) in the silhoutte studio and cut it twice with my silhoutte portrait machine from some black card stock then I stack the 2 layers together using liquid adhesive and embossed it using versamark ink and clear embossing powder, I chose a simple sentiment from (little birthday note) clear stamp set by my favourite things and embossed it using versamark ink and white embossing powder from lawn fawn.

Next I assembled my card and you will see exactly in the video below how I created the interactive elements (they are so easy to create):
Products for the circuit:
Stamp sets:
Inks and colouring medias:
- Shaded lilac distress oxide ink
- Tumbled glass distress oxide ink
- Mowed lawn distress oxide ink
- Squeezed lemonade distress oxide ink
- Worn lipstick distress oxide ink
- Stormy sky distress oxide ink
- Versamark embossing ink
- Ohuhu brush markers
- Nuvo shimmer pen
- Gansai tambi gem colors
- White embossing powder
- Clear embossing powder
Tools
- Efco paper trimmer
- Silhoutte portrait machine
- Tim holz scissor
- double sided adhesive
- liquid adhesive
Papers and card stock:
- Folia dunkelviolet 300g card stock
- Folia mittelblau 300g cardstock
- Folia hell grün 300g card stock
- Folia limon 300g card stock
- Folia Ocker 300g card stock
- Floia hoch rot 300g card stock
- Folia shwarz 300g card stock
- Mond color copy fabricpaper 220g
I hope you liked my card for today and please feel free to ask me in the comment if you have any questions, I will be so happy to answer you.
Thank you so much for stopping by and have an awesome day.
Rana