Howdy everyone and Happy Wednesday! I’m Allison Cope and today I’m sharing a fun Halloween inspired card with you!
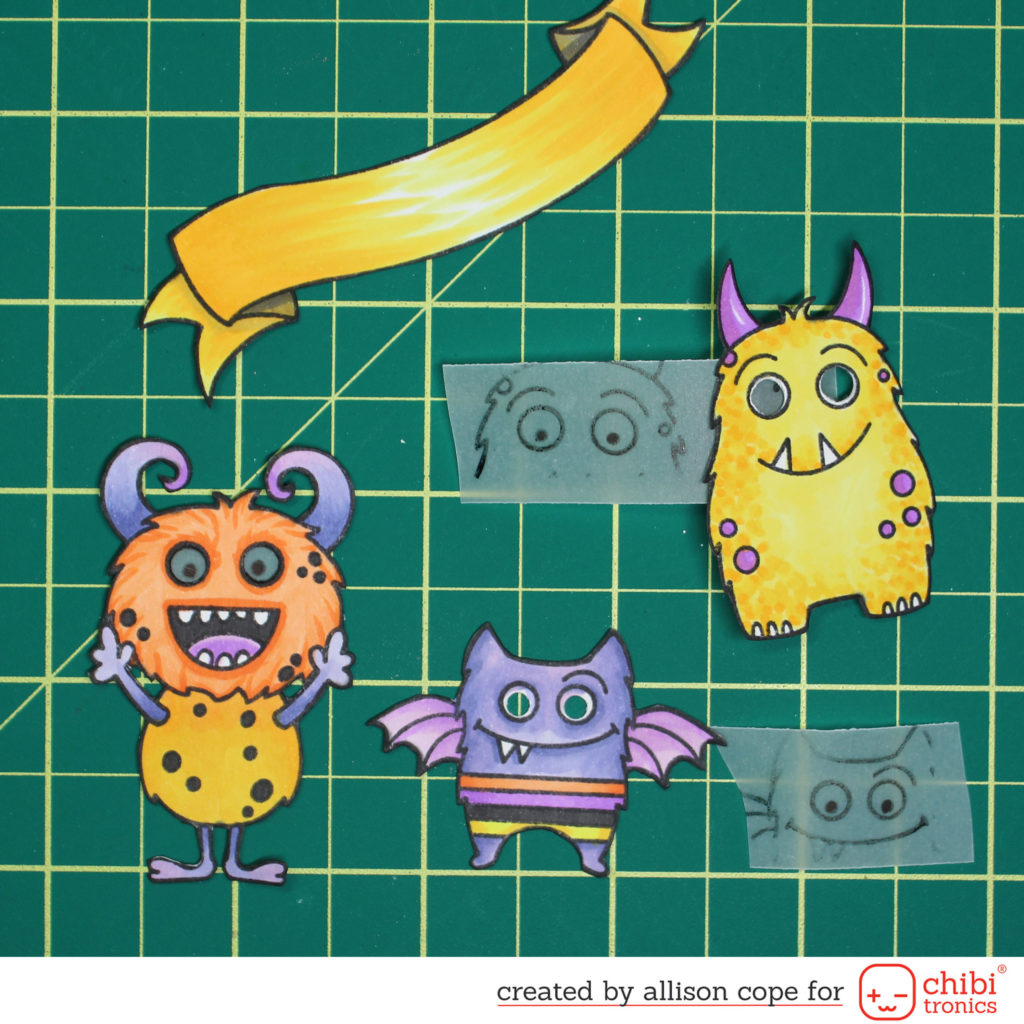
I first began my card by stamping and coloring all of the images using Copic Markers. I also stamped each monster’s head again on some vellum paper to mount behind their cut out eyes. I did trim their eye holes a little bit smaller before adhering the vellum to the back.
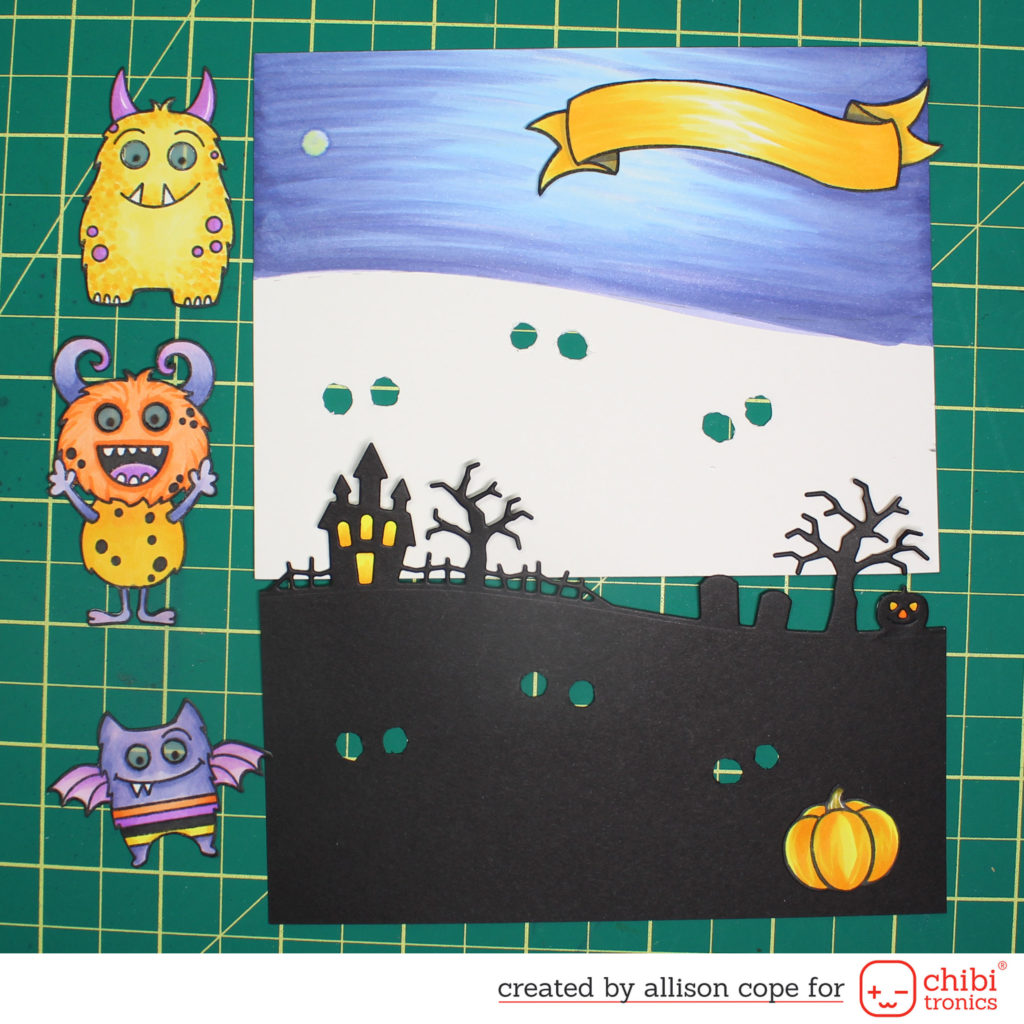
Then I die cut a silhouetted background from black cardstock and I also colored in a sky to set behind the spooky landscape. I also cut through both pieces of cardstock where each pair of eyes would be located on the card.
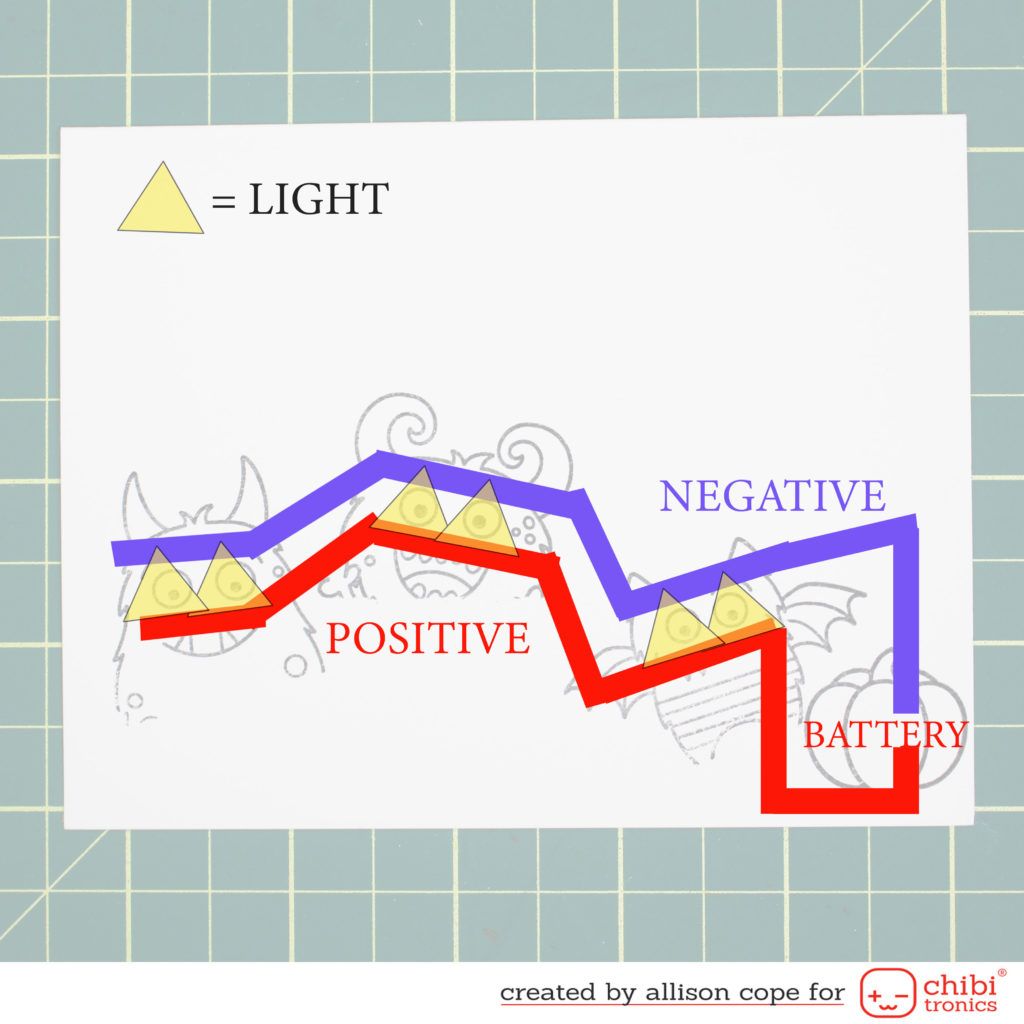
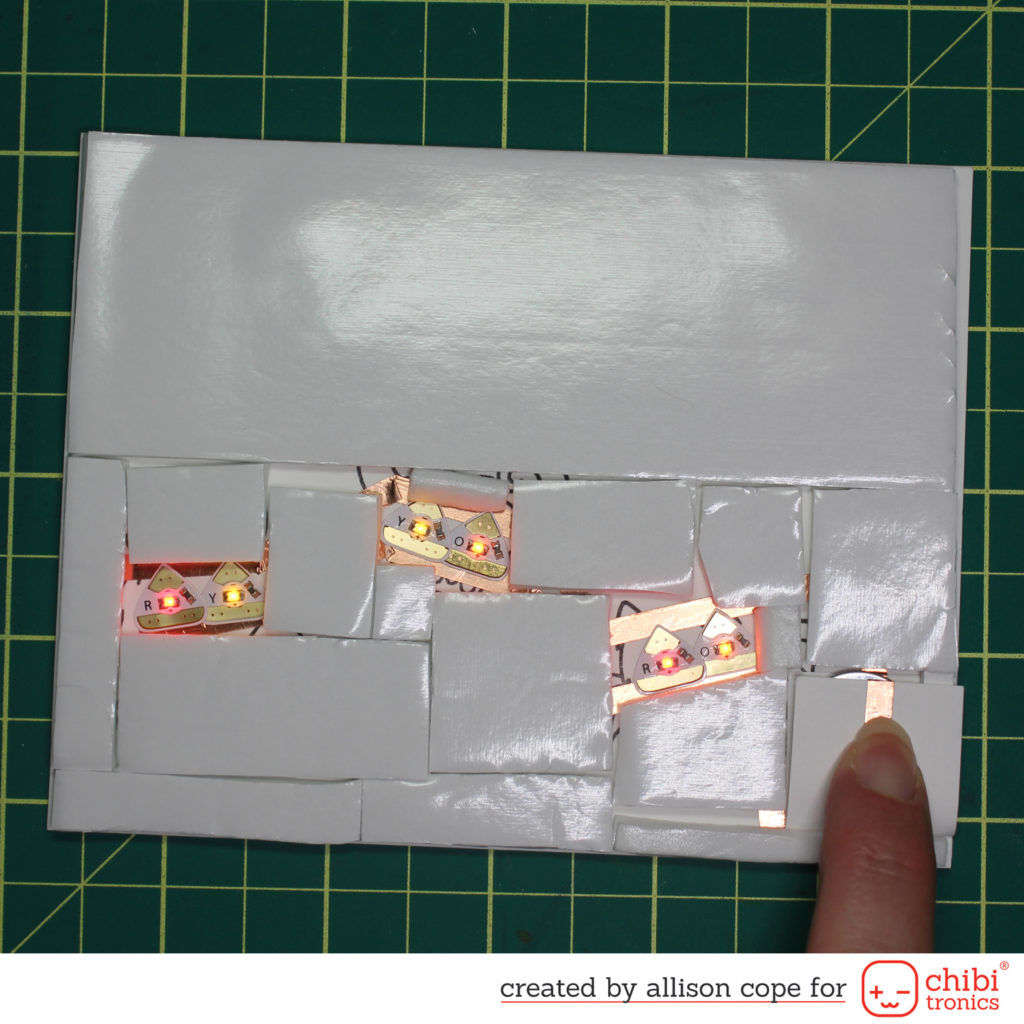
Next I took my card base and lined up my monsters and the pumpkin and stamped them down exactly where they were place on the card front panel. This helped out with perfect placement of our fun LED Lights from the Lights Sampler MegaPack. The purple/blue lines indicate the placement of the negative side of the circuit and the red lines indicate the positive side. The battery pack will be located under the mini pumpkin image.
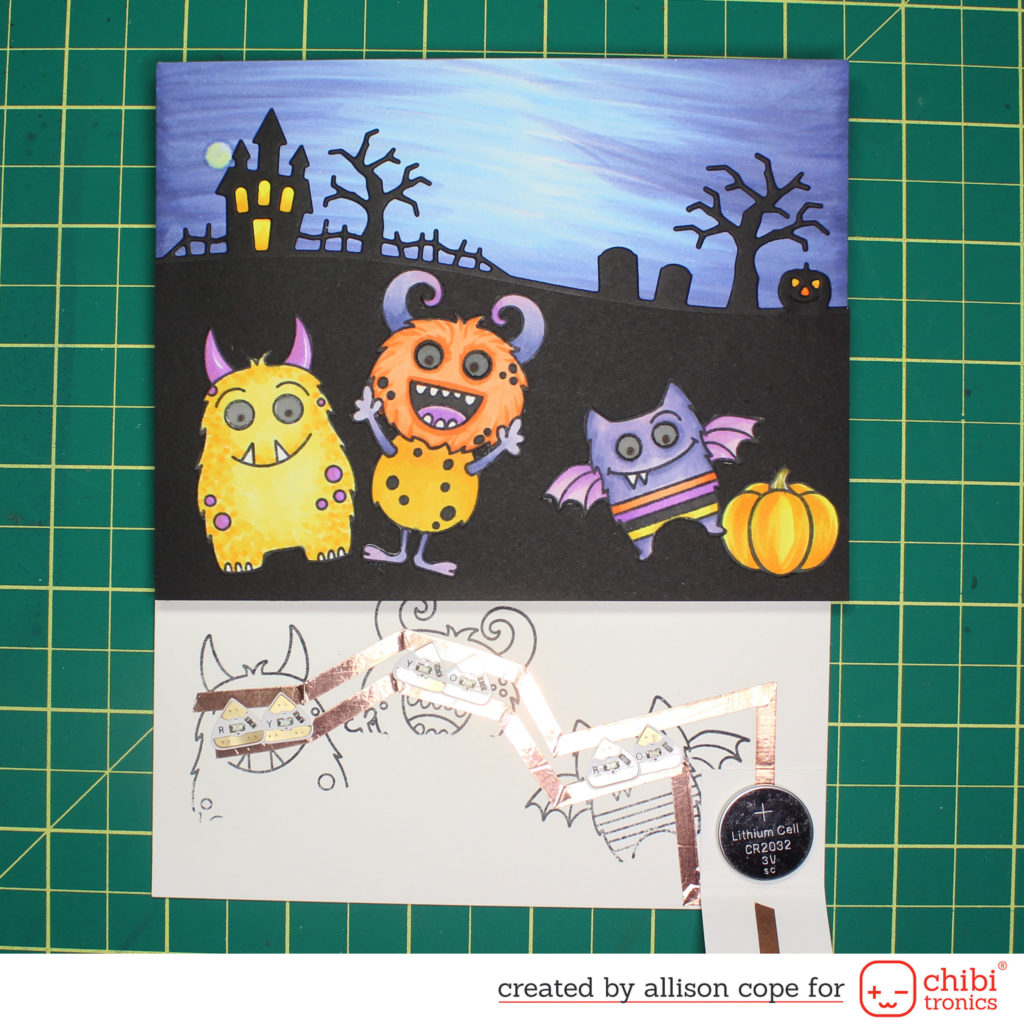
So I created a little fold over battery housing for our 3V battery and then ran my positive and negative lines of Copper Tape. To ensure good contact with the battery, you need to wrap that Copper Tape over the top flat of the battery housing. I used a combination of red, orange and yellow LED lights from the new Lights Sampler MegaPack.
Then I added a double layer of 1mm thick foam adhesive (to make a 2mm thick layer) to the entire back drop of the circuit. Since foam tape doesn’t conduct electricity, you can apply it directly over your circuit! Look at those lights GLOW!
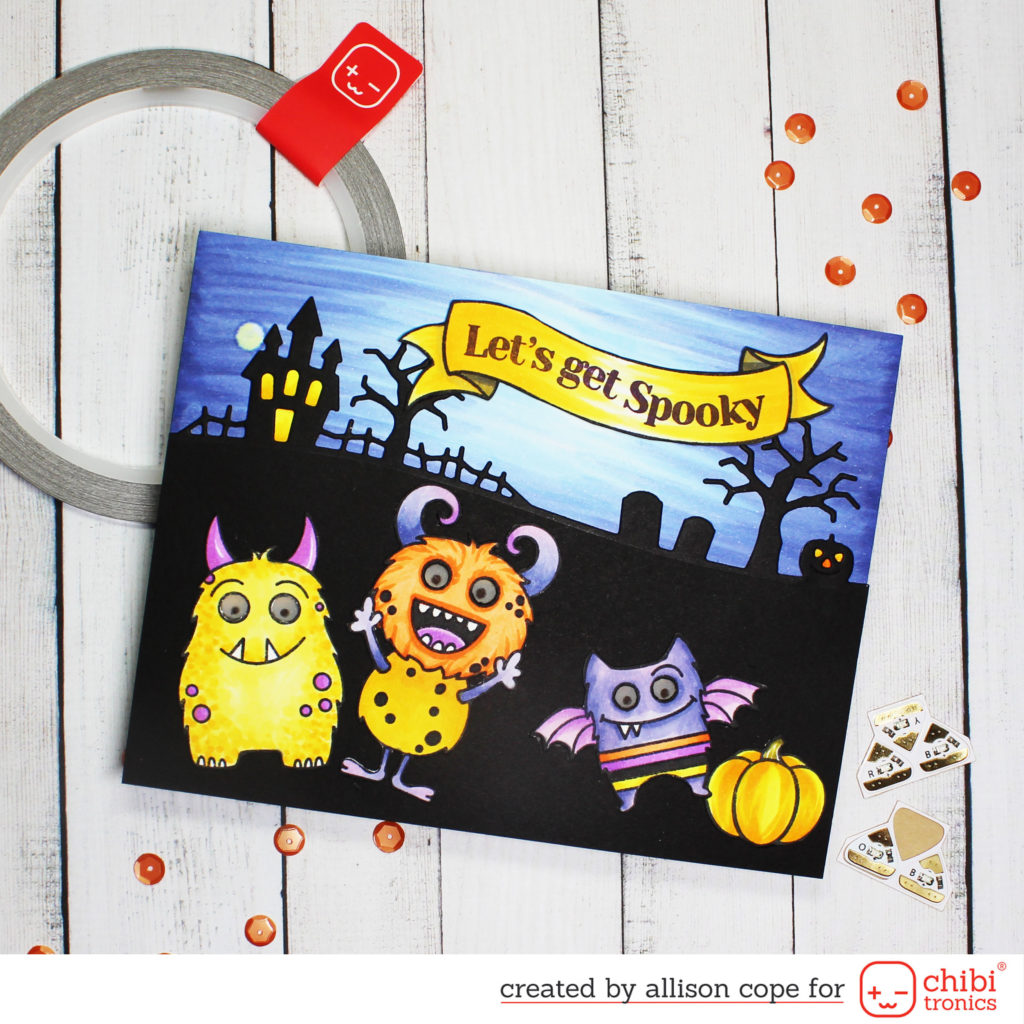
Here’s the final card including the fun greeting banner…
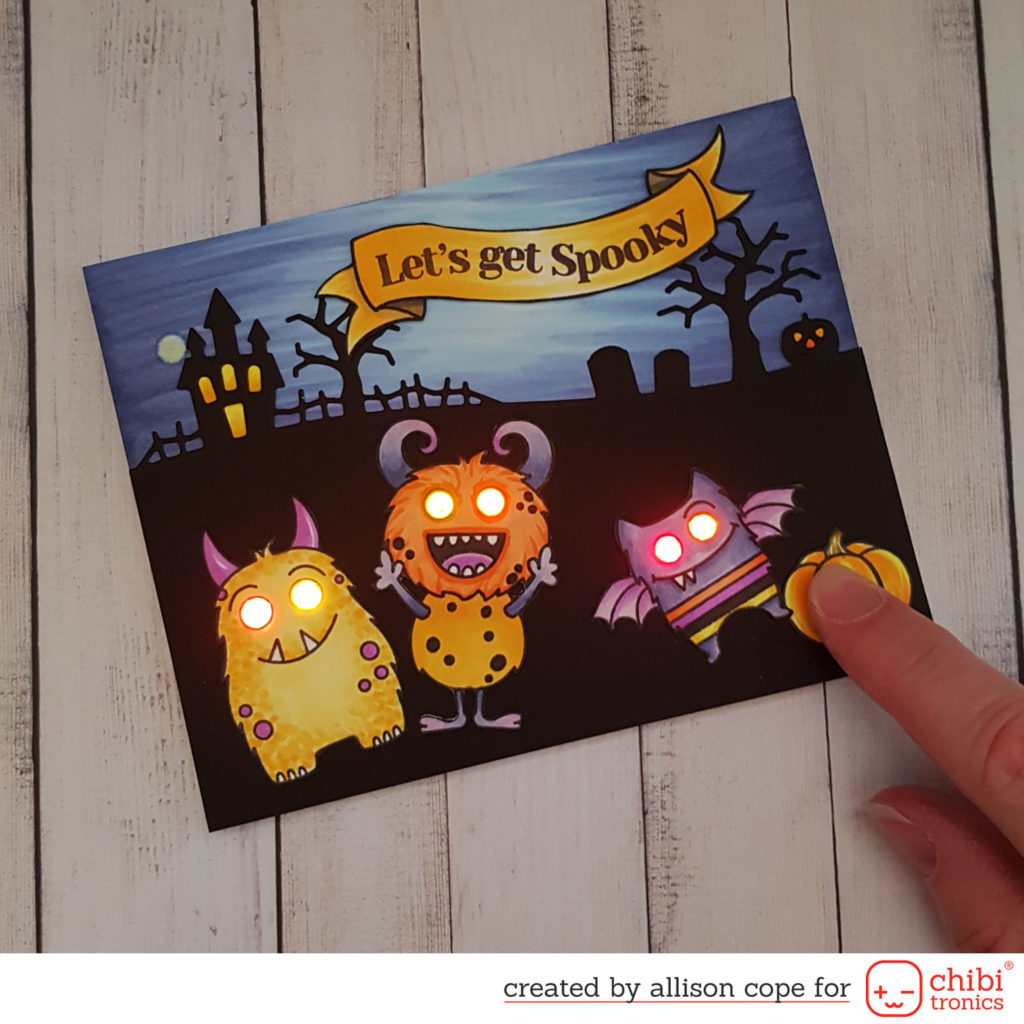
And here it is all lit up!!!! It’s SOOO much cooler in real life!
Thanks for stopping by! I hope this inspires you to get out all your fun Chibitronic goodies and great creating!!!
~ Ally ~