Hi, crafty friends! I’m so happy to share my project here again.
I’d like to show you an endless birthday card today.
I featured the conductive fabric tape. It is a must-have for today’s project.
Check out how useful is the fabric conductive tape in this project!
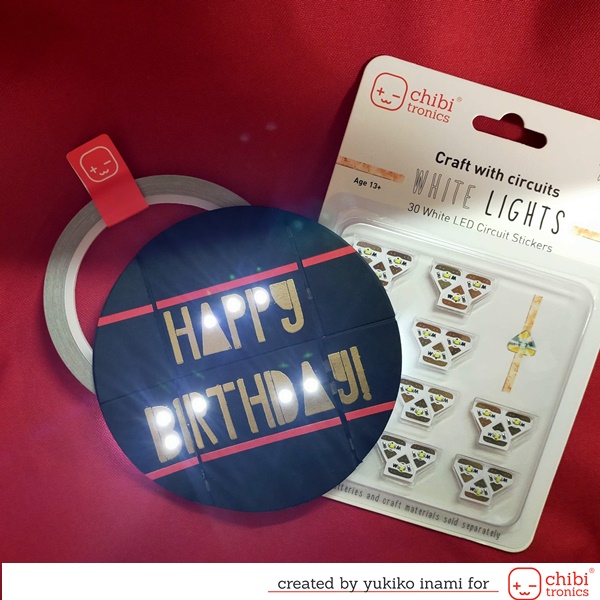
This card has the 4 sides inside. When you open the lids, you can see next sides and you can open the lids endless!
And I set the lights on the first side and 4th side.
“What’s going on with it?”
When you would like to celebrate someone’s birthday, this card can make him or her happy!
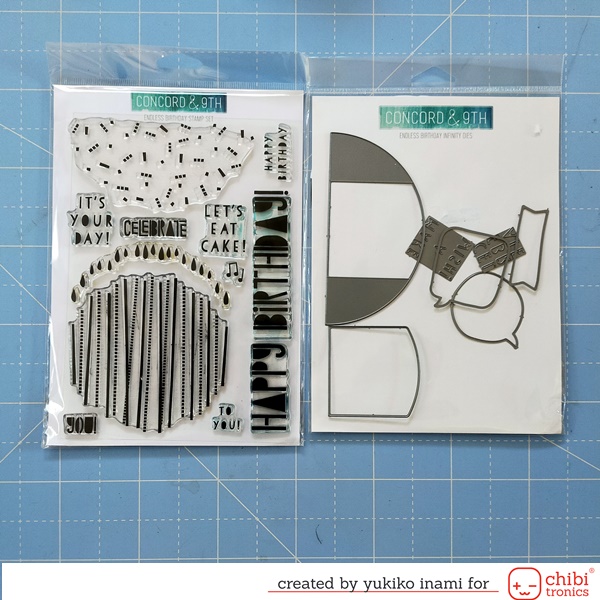
I am using the Endless Birthday Infinity Dies by Concord and 9th. It has semi-circle die. It works well!
You can make it yourself if you don’t have the die.
When you search with “Never Ending Card” or “Endless Card” , then you can find many tutorials and templates.
The Square shape is standard. The circle shape is an advanced version.
1. Supplies
Today’s TIPS; Use the couductive fabric tape for this project.
The conductive fabric tape is the must-have for this card. You can’t use the copper tape today.
The copper tape tear at the hinge point easily. This card have many hinges and bending point.
If you make it with the copper tape,the circuit breaks right away. That’s why we need to chose the conductive fabric tape for this.
The conductive fabric tape is robust and it is suitable for the progect with hinge.
You don’t have the conductive fabric tape but you would like to make this immediatry, you can chose the option using the conductive fabric patch or conductive thread on the hinge point.
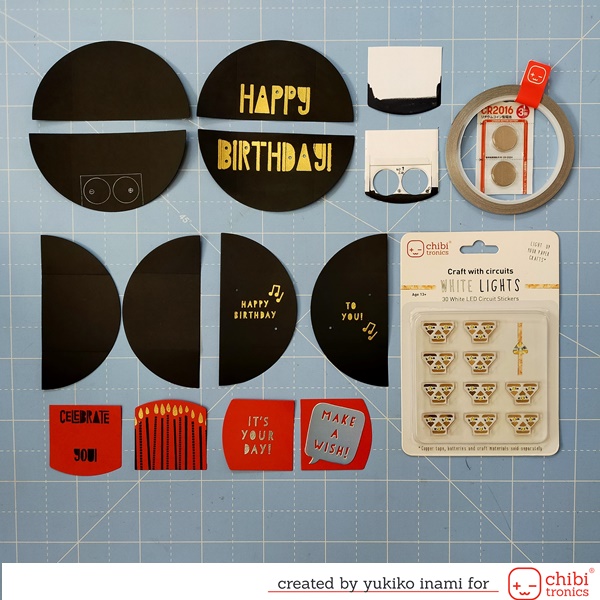
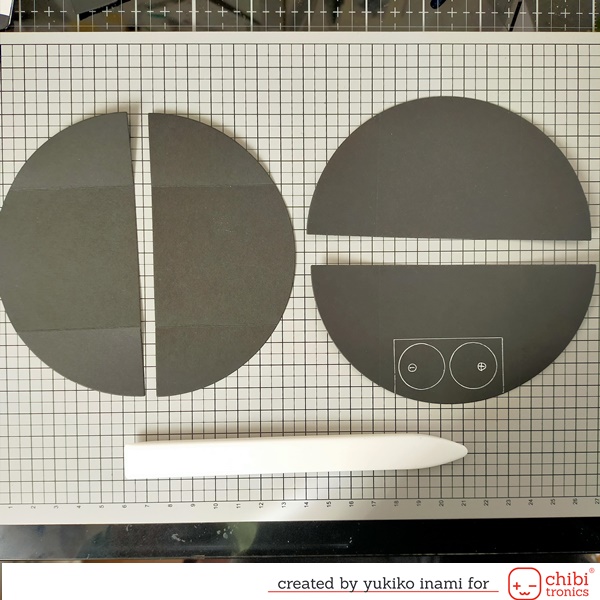
・Basement and top panel; 8 semi-circles Cut out the 80lbs black paper with Endless Birthday Infinity Dies
Design the Scene panel and heat embossing the images with Endless Birthday Stamp Set and make the hole for the lights.
I use the light the first side and the 4th side. You can add the lights on the 2nd and 3rd too. But it is more complicated.
・Battery folder ; I cut out the rectangle having a circle edge with the die. I made two circular holes for the battery as shown photo.
And cut out inside parts.
・Conductive Fabric Tape; Chibitronics Must-have for today!
・LED stickers; Chibitronics
・Cell battery; CR2016 ( This number means the diameter;20mm, thickness;1.6mm) ;2
・Embelisshment parts; I cut out some speech bubbles and panels with the Endless Birthday Infinity Dies.
・Banner of sentiment; I cut the strips and stamp “press here” for the switch.
Endless Birthday Infinity Dies ;Concore and 9th
Endless Birthday Stamp Set ;Concore and 9th
2. The Mechanism of the Endless Card
You can check the assembly movie on the Concord and 9th site. The Assembly part is starting around 5:00 in the movie.
I recommend that you check it before starting yours.
These are the parts. There are 4 semi-circles. It’s simple!
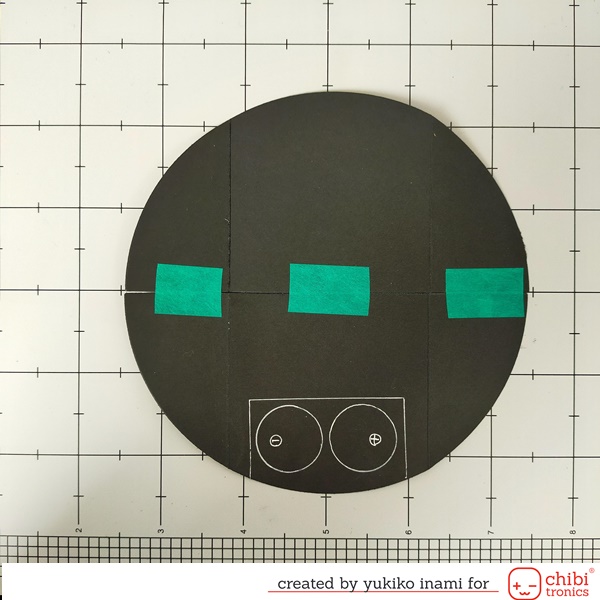
I assembled 2 parts to Circle as showing below. And I stuck the 2 Circle parts crossing at right angles.
The sticking the parts with Washi tapes helps you easy to assemble.
You can see the 4 sites for the adhesive below. These four small triagle sites keep the basement.
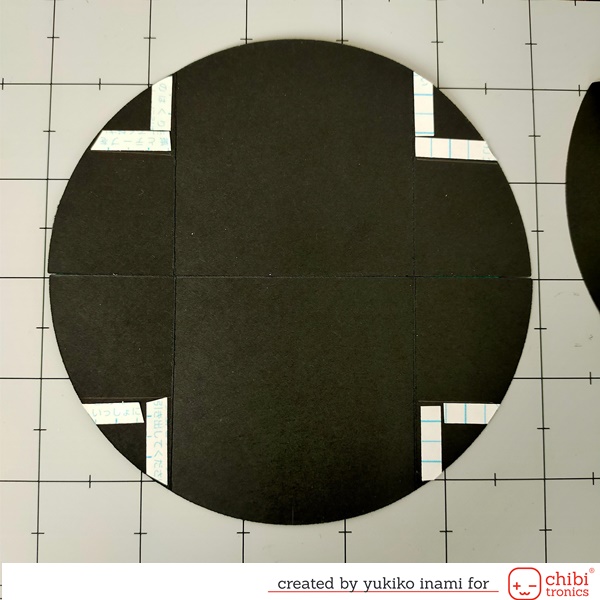
Just these small 4 sites keep connecting while the card shape is changing.
Would you believe it?
And I used these sites for going through the circuit boundlessly. I cut the slits refferencing the blueprint of the circuit showing next sections.
3. The Circuit
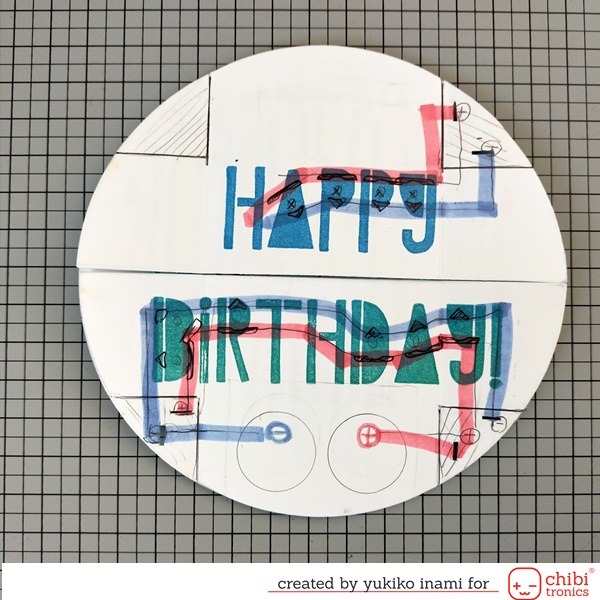
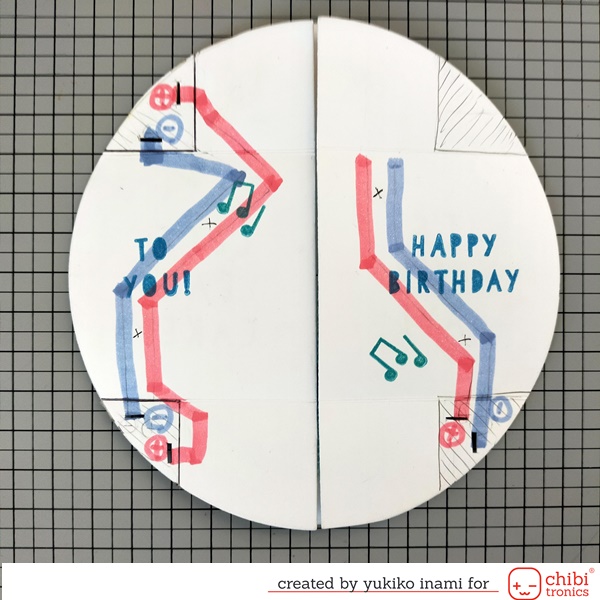
These are the blueprint of the circuit.
I use two batteries because I plan to use 12 lights. Therefore, I am using the two 3V betteries in series. They can supply 6V.
4. Make the Circuit
I used two batteries in this project because I planed to use 12 lights in this circuit. The two 3V betteries in series can supply 6V.
I talked about when you should use two battery in this blog before. You can check about it and how I made the battery holder for two batteries there.
To put it simply, when you use many lights or the various color lights in the circuit, it is better to supply 6V than 3V to shine all lights beautiful.
Caution; Don’t use over 6V! If you use the power over 6V, the lights burn out and never shine.
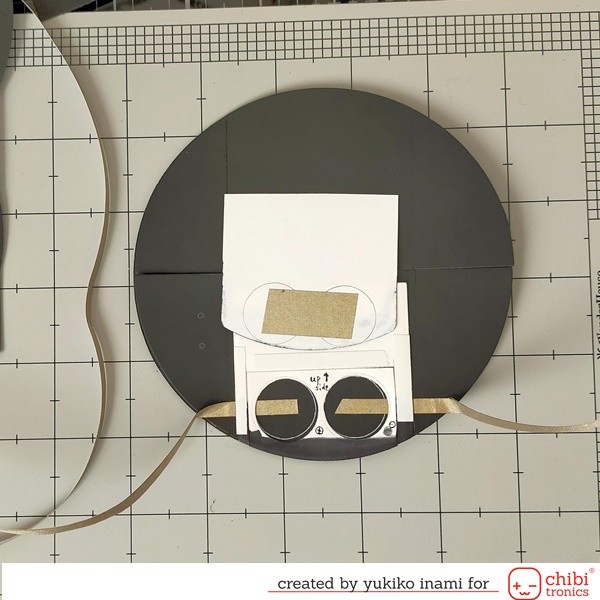
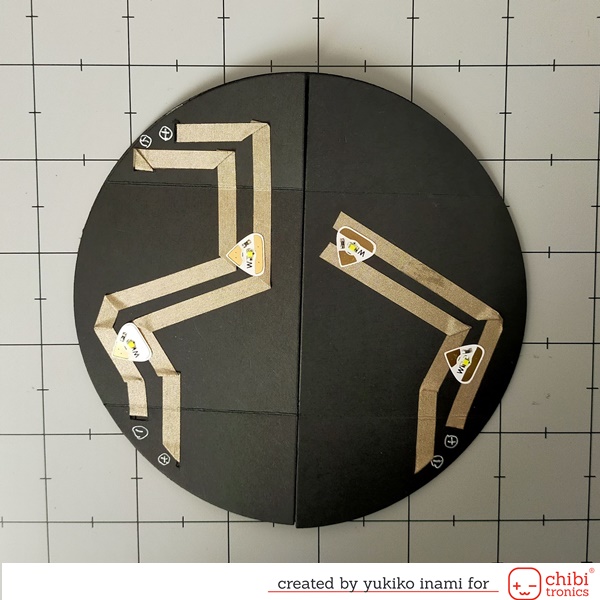
First, I put the conductive fabric tape starting the bottom of the battery sites. The right site is for the positive side and the left site is for the negative side of the batteries. Next, I set the battery folder frame as shown below photo. Then I stuck the lid of the battery holder on the top.
The lid has the conductive tape and it connects two batteries in series.
After this I stuck the circuit. I use the slits for going through to backside and the other side.
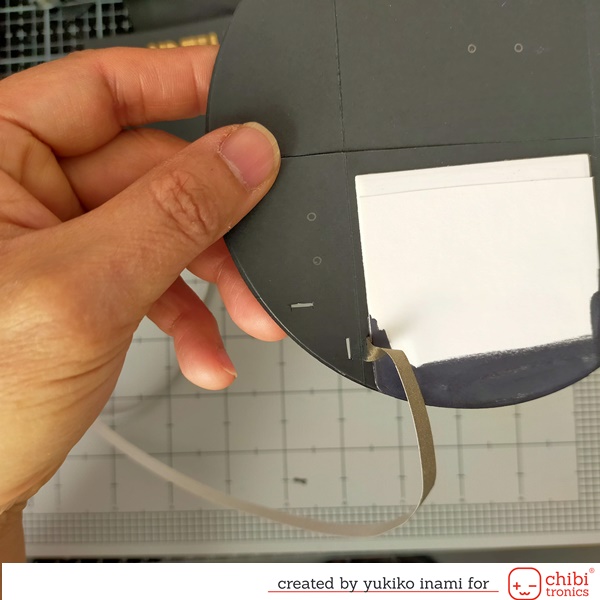
The conductive fabric tape can be used as like the thread showing this movie.
In the movie I made the tab for the branch connecting point.
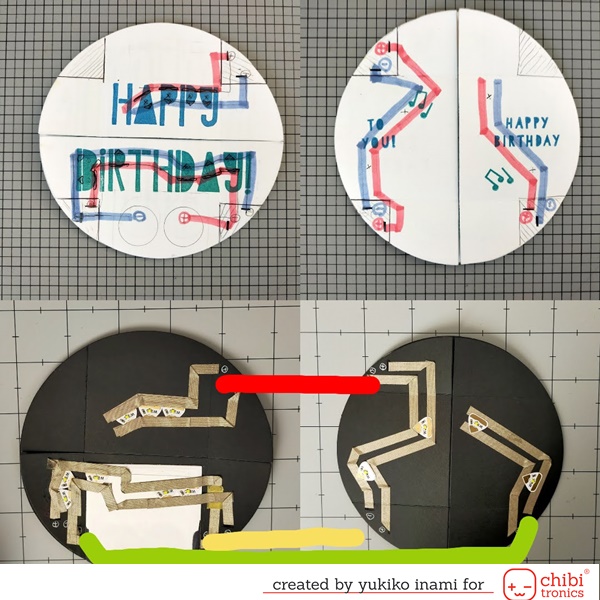
The circuit of the front side is here.
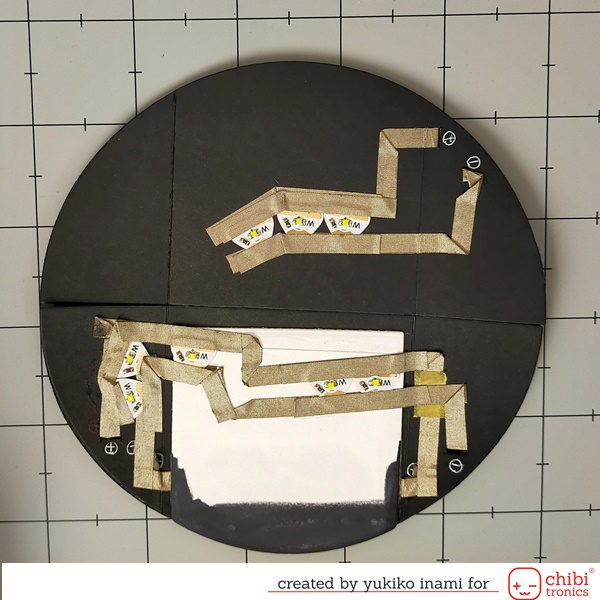
The circuit of the 4th side is here.
I show the circuit connecting to the frontside, backside, left-side, and right side.
You can see the connection showing the color lines on the below 2 photos.
Sorry, there are some differnce with upper 2 blueprints and below actual circuit.
Find the differnce between two!
5. The finishing
Make the finishing touch!
Open the panels and enjoy to make 4-sides designes!

I used the top layer with the 80lbs paper. So,I need to cut it on the folding line and set on the basement.
I colored the conductive fabric tape with the black marker. If you would like hide the tape completery, the more thin paper may cover those.
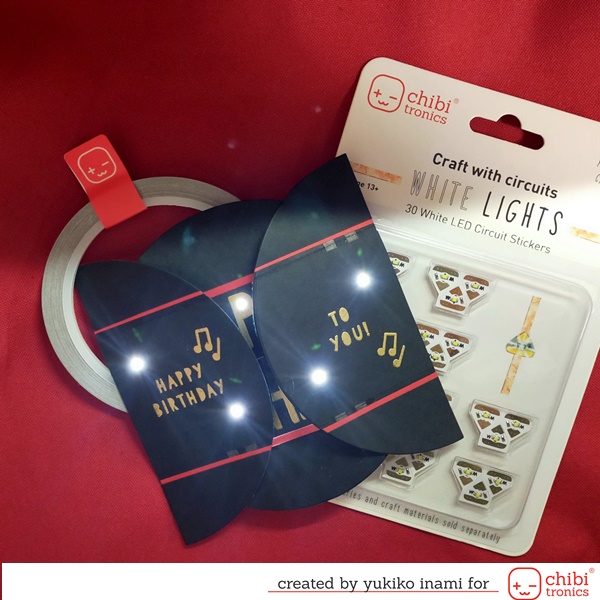
OK. It has completed. When you open the center, the next side reveal. There are 4 sides and they make loop, never-ending!
Happy Birthday to you! The birthday celebration is endless!!
Thank you so much for stopping by!
Have a wonderful day!
Yukiko I.