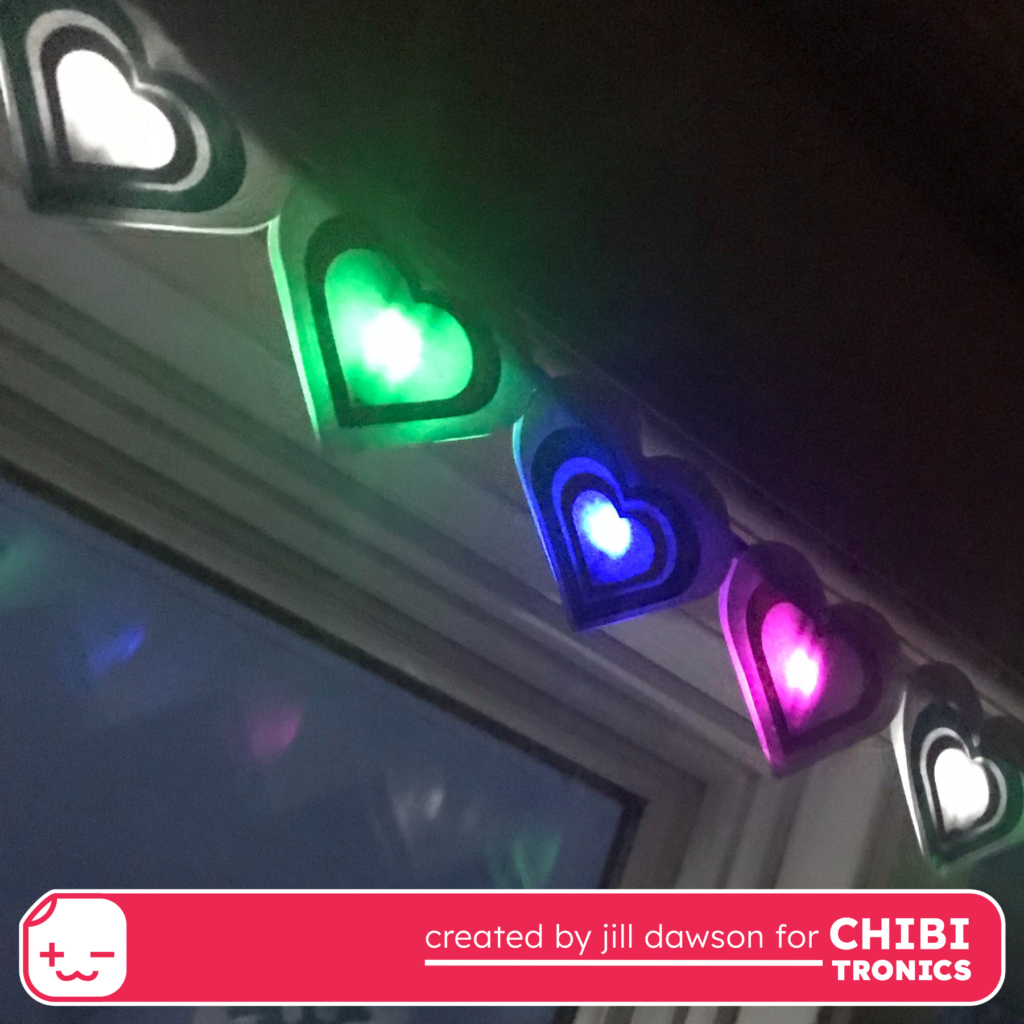
Have you considered making your own Glowing Garland: Paper Circuit Streamer to decorate your home or help celebrate a special person or event?
If so, or you’re on the fence, we’d like you to know that there’s an easy way to extend the life of your battery while you do!

An optional upgrade to your glowing garland strands is adding a reed switch (magnet on). Incorporating a reed switch, triggered by a magnet, allows you to control whether the lights are on or off without needing to disconnect your battery each time!

Build the Circuit
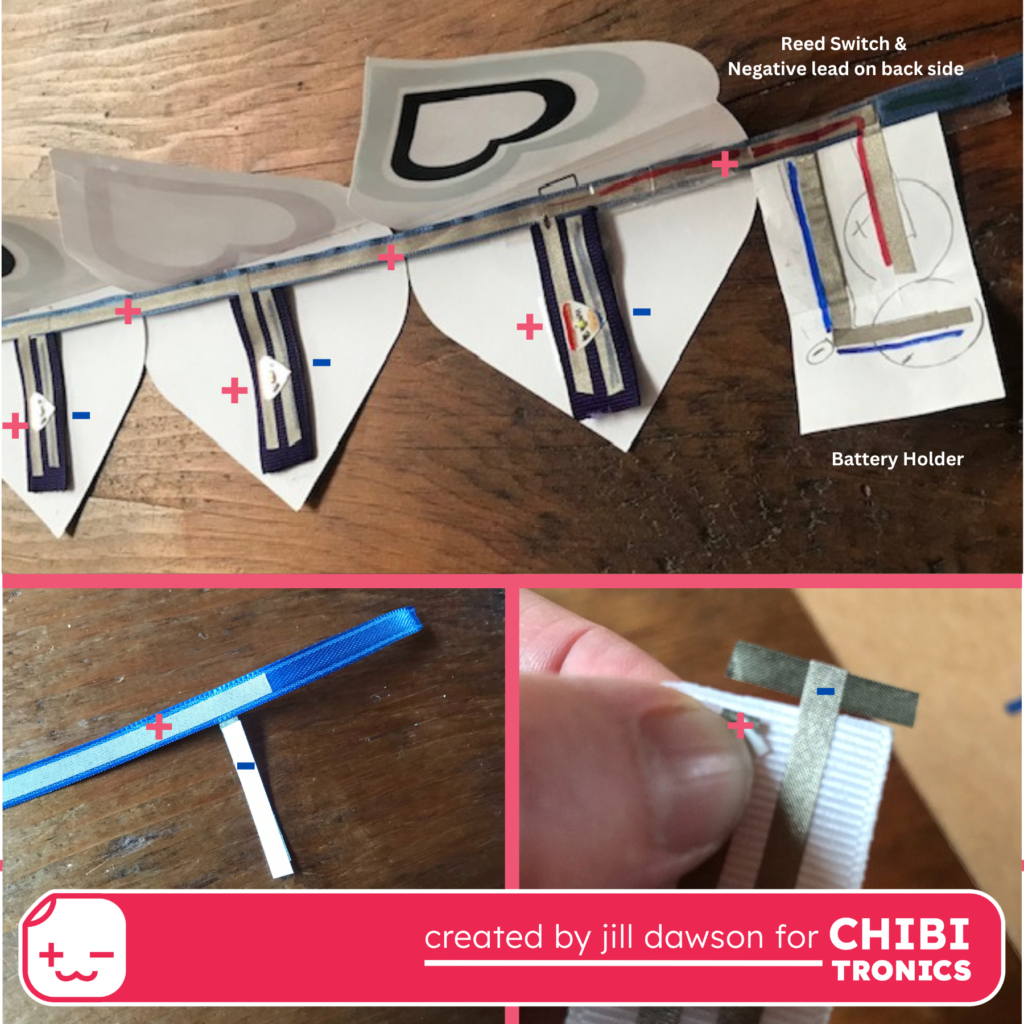
Add a Reed Switch
The ideal place to insert a reed switch (magnet on) is the back, negative side of the ribbon, between the battery and the first Circuit Sticker LED. To add a reed switch to an existing project, simply create a gap in the negative trace and secure the switch between the gap with Conductive Fabric Tape.
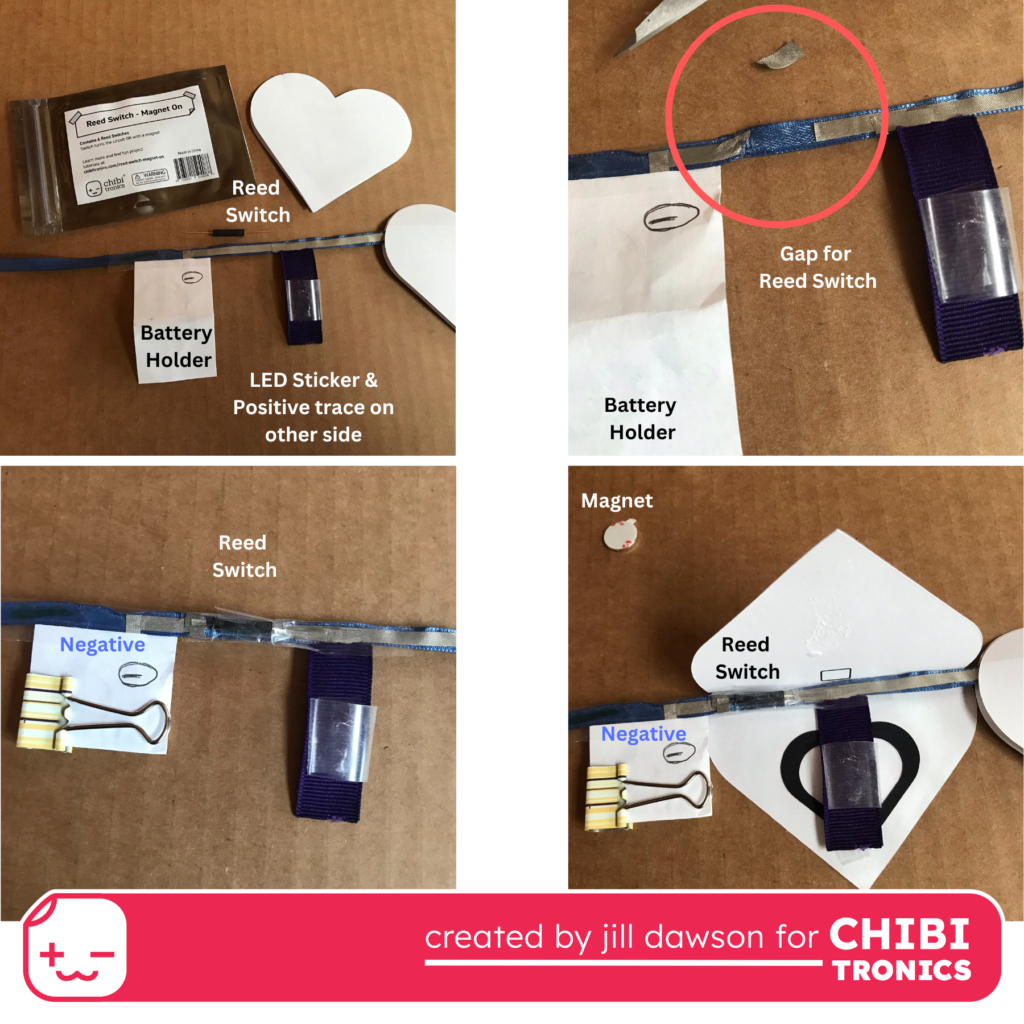
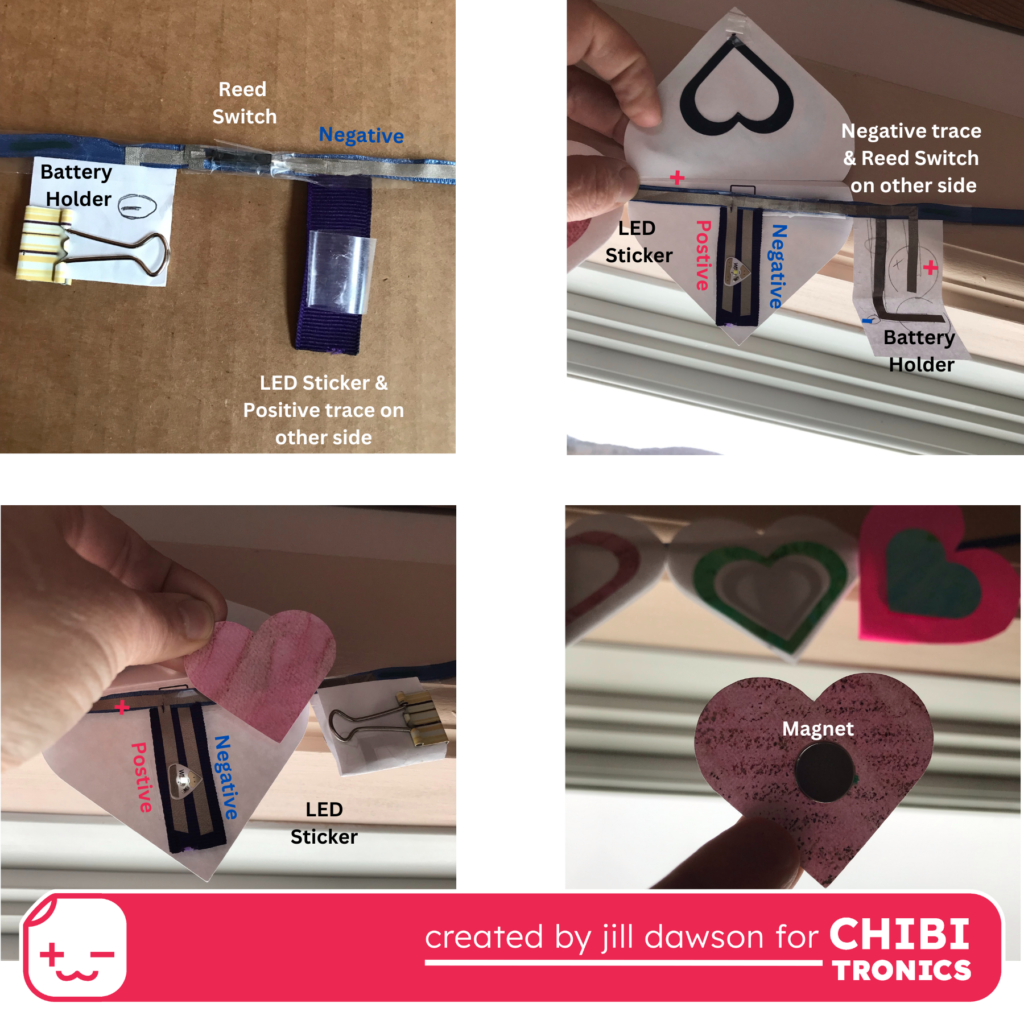
Conceal Battery Holder & Magnet
Using a metal clip to hold your battery in place will provide a convenient place to rest your magnet, when it isn’t being used to trigger the reed switch in your circuit. Of course, it’s a good idea to disguise it with a decorative element to preserve an element of intrigue!
Learn More
Should you wish to learn more about constructing your own paper circuit garland, please visit the full Glowing Garland: Paper Circuit Streamer tutorial (which includes a detailed video overview), supply list, and glowing garland examples.