In my latest tutorial, Reed Switch Shadow Box, I’ll show you how to use one or two reed switches (magnet on) to control lights (and the mood) in a story-telling shadow box!
The example below uses two reed switches (magnet on). One triggers a path with white LEDs and the other triggers a path with colored ones. The Reed Switch Shadow Box tutorial also shows how to create a simpler version with a single reed switch.


The circuit for this project is completed in two steps. One part is created on the back of a recessed box frame, while the second part is created inside of a tray that slides into the recess. Both pieces of the circuit join up on the back of the frame with help from conductive fabric tape.
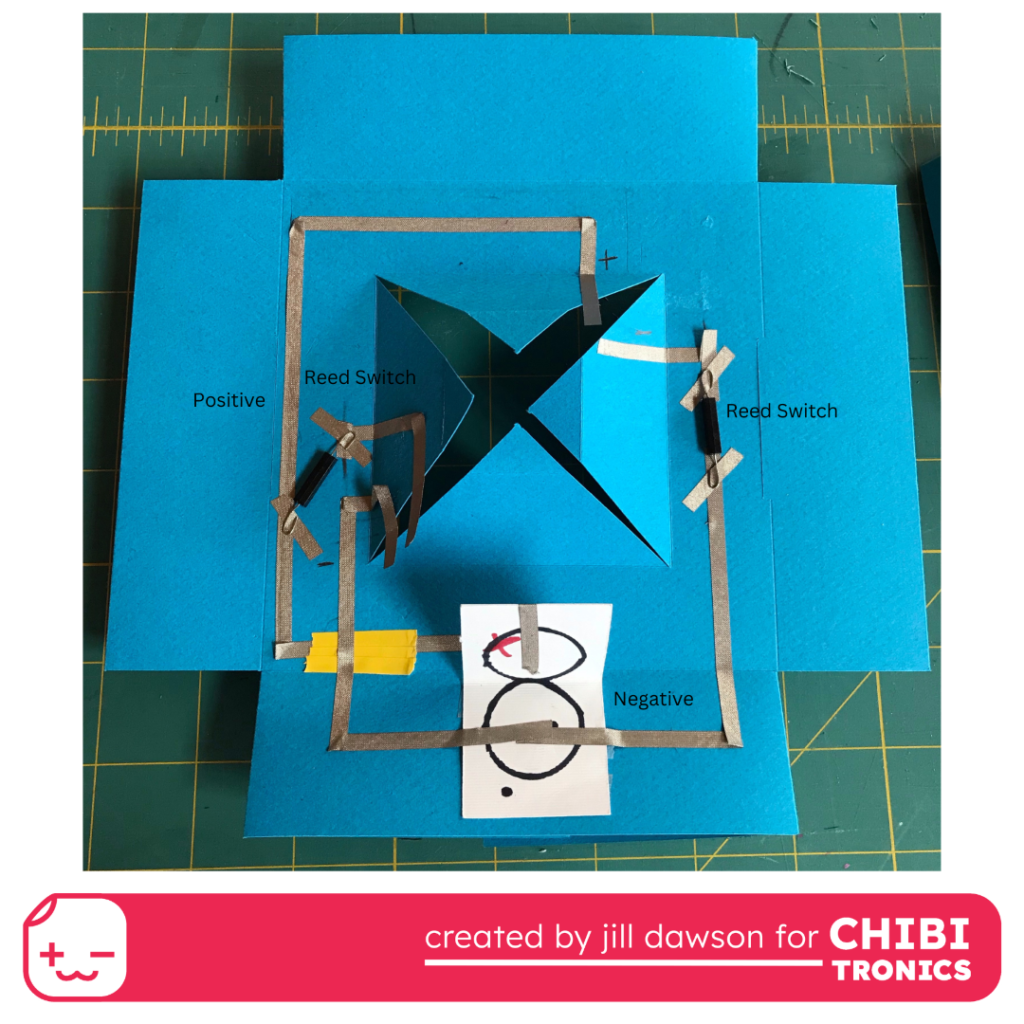
The way that this works is by hiding a magnet on the back of a moveable bird which engages with one of two reed switches placed on each side of the frame. The switch on the left connects with a circuit path containing white LEDs. The switch on the right connects with a circuit path containing colored LEDs.

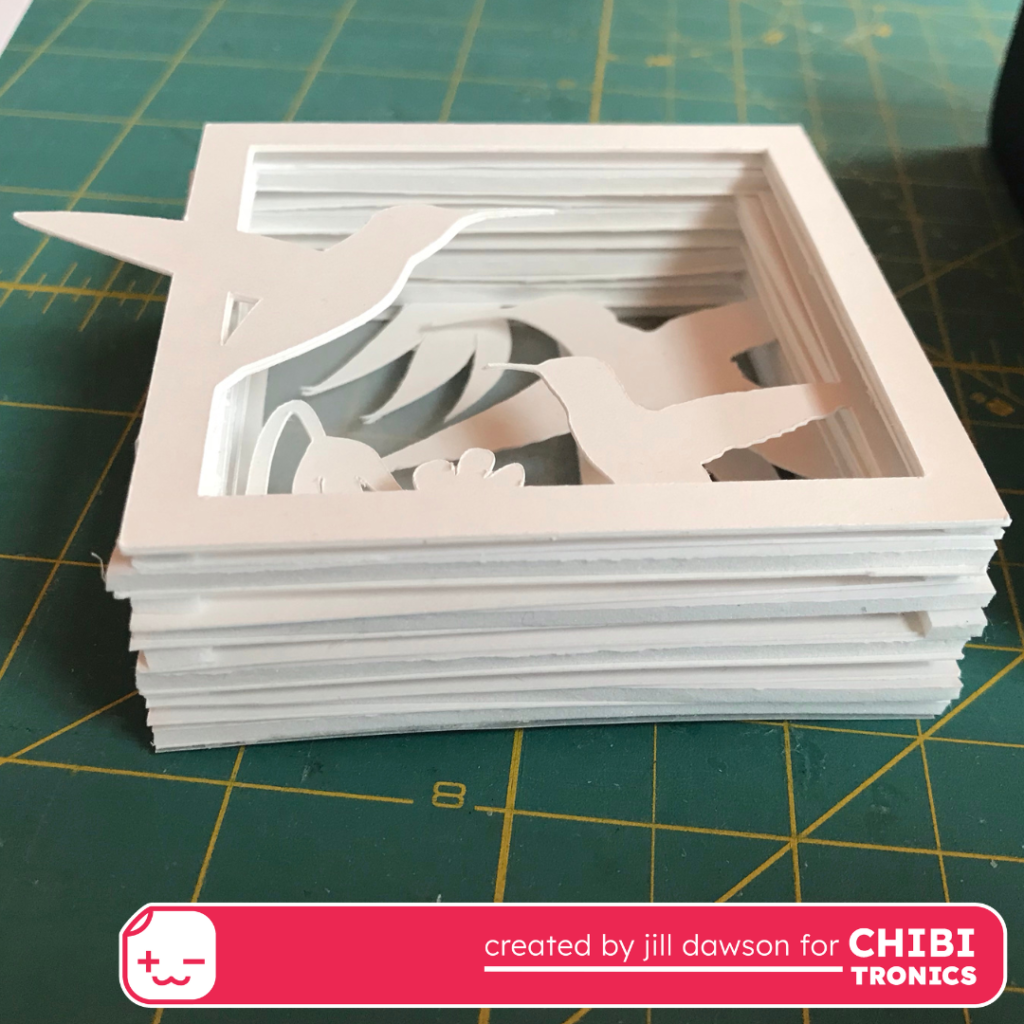
I created the interchangeable shadow box insert by alternating machine cut paper pieces with foam tape. Each layer features a part of a whole image that may only be viewed in its entirety when assembled.
To learn more, visit the full tutorial Reed Switch Shadow Box. There, you’ll find a video, circuit diagrams, and a cut file you may use or adapt. You’ll also see additional shadow box examples.