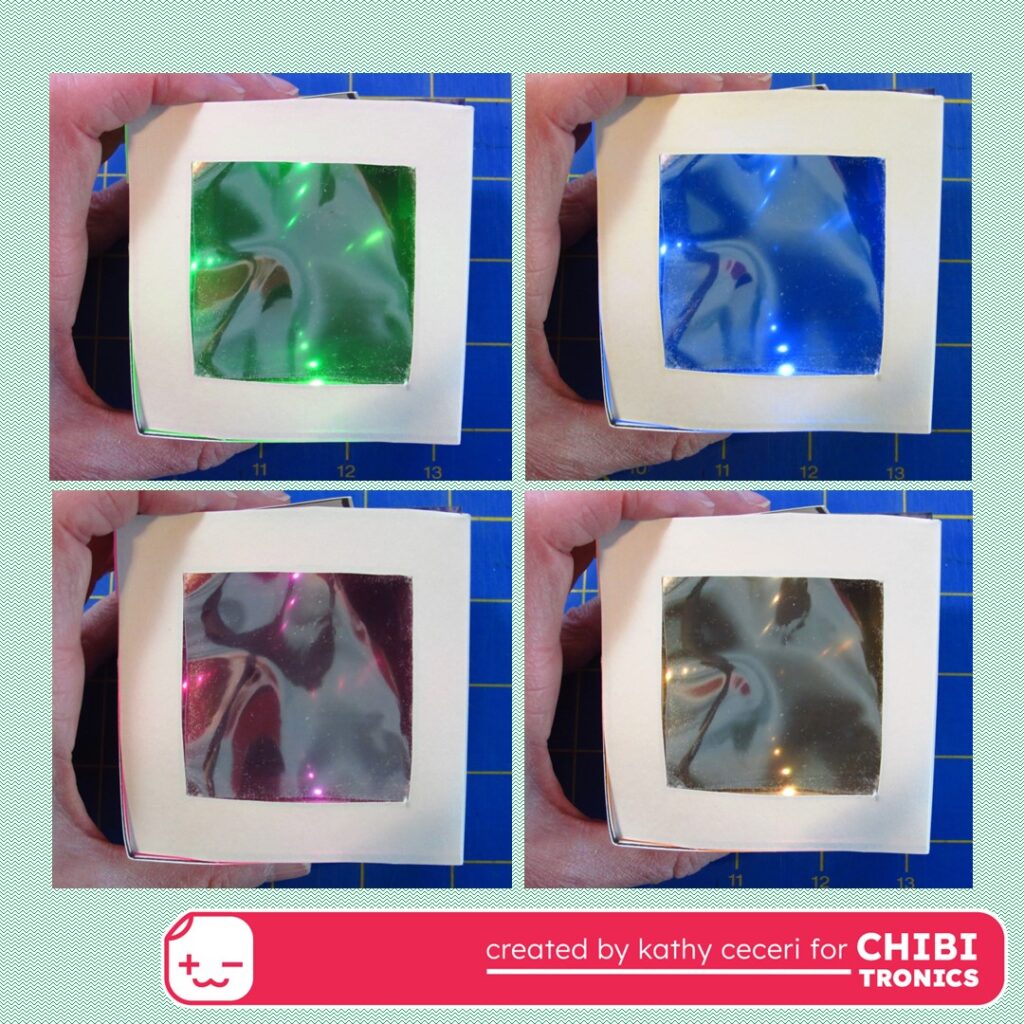
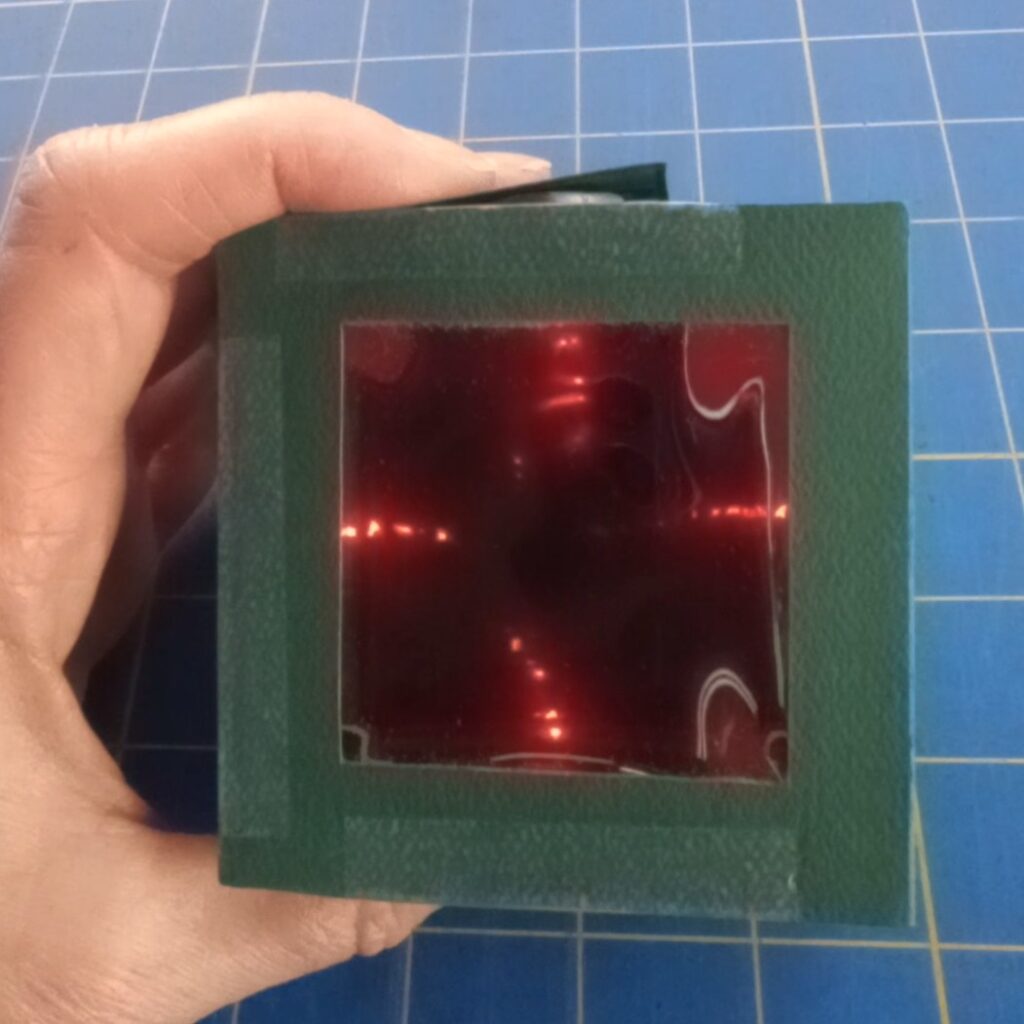
Hi! This is Kathy with a new version of a fun optical illusion, the Infinity Mirror. An Infinity Mirror consists of two mirrors facing each other, with a row of lights sandwiched in between. The reflections bounce back and forth between the two mirrors, making it look like you are gazing into an endless tunnel of light. And when you add the new color-changing Chibitronics Animating LED stickers (coming this summer), the Infinity Mirror gets even more fascinating!
As with most of my projects, this one is easy enough to make with kids. I kept the fold-up paper box design simple, but you can dress it up with stickers and other decorations to help hide the taped joints. For the mirrors, you’ll use small squares of one-way reflective window film. Here’s what to do:
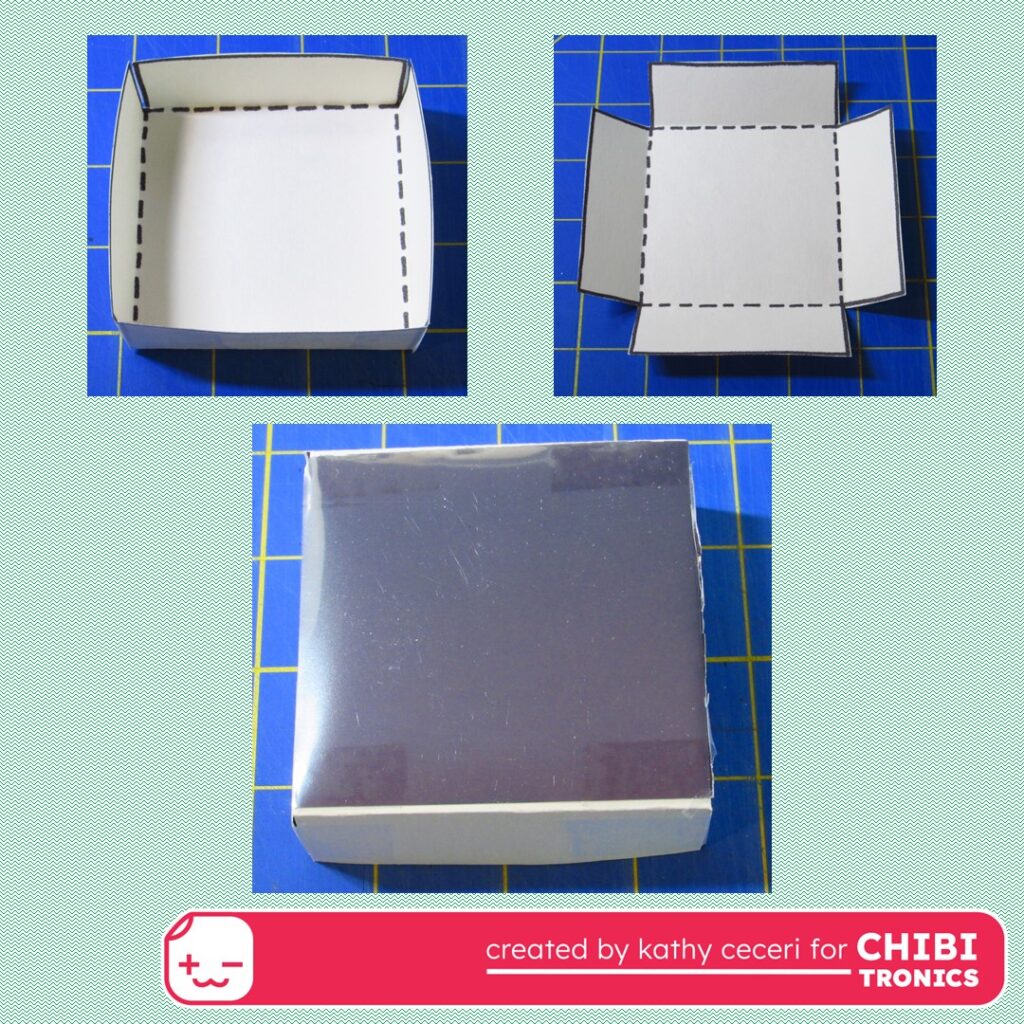
Print out the templates on the heaviest cardstock you have. Dark colors will make the effect more dramatic. (I used white cardstock in the photos to make it easier to see what I was doing.) If needed, you can reinforce the top with the “extra window” marked on the template. Attach it with glue or double-sided tape before adding the window film.
For the top of the mirror, cut out the top template pieces, including the window opening. Tape the two halves together, matching conductive tape lines as shown on the template and the photo of the circuit below. Score along the dotted lines. Fold back the end with the longer negative (-) tape line. The end sections are the tabs for your battery and on-off switch. Fold the remaining fold lines in. Make the creases as sharp as you can. Then unfold the box and open it up again, printed side up.

Lay out the conductive tape where shown on the template. Attach one or more color-changing LED stickers on each side of the box. Use extra tape or a patch on the positive and negative sides of the sticker if needed to ensure a good connection.
Cut out two squares of window film, using the template as a guide. There may be clear plastic backing — if it makes it hard to flatten the film, peel it off.
On the inside of the window, put strips of double-sided tape around the edges. Attach one window film square over the inside of the window, smoothing it out as you go. The smoother the film, the better the optical illusion!
For the battery, fold back the negative (-) tab against the outside of the box (the unprinted side) and hold in place with double-sided tape. Make a loop of conductive tape a little smaller than the battery, sticky side out, and press it on across the negative tape strip. Press the battery on top of the tape loop, positive (+) side up.
Fold up the rest of the box again and use regular clear tape to hold the corners together. Seal as tightly as possible. The clear tape can go over the conductive tape but try not to cover the LEDs.
Fold the positive tab towards the battery, but let it hang loose. When you press the tab down, the LEDs should light up.
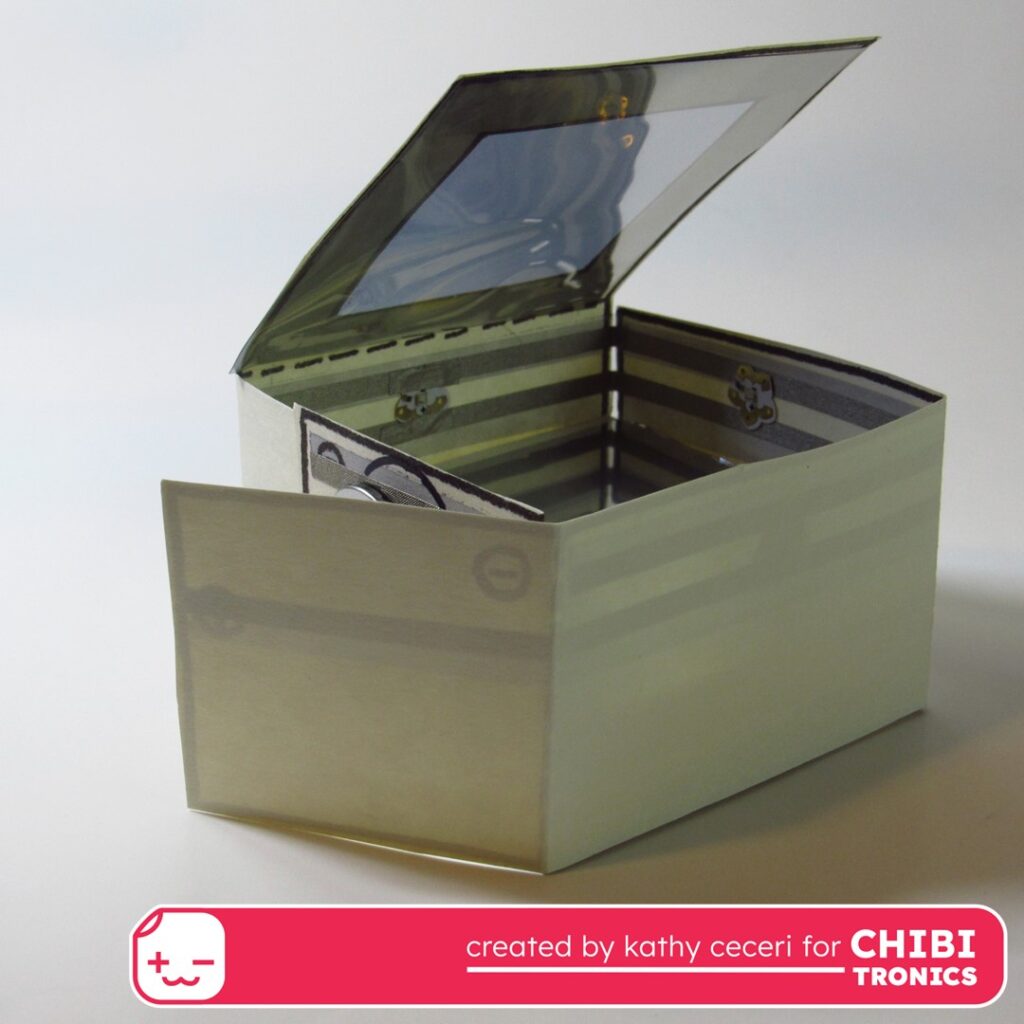
To make the bottom, cut out the template, and score along the dotted lines. Fold the sides in and tape them together. Flip the bottom over. Attach the other reflective window film to what is now the upper side of the box.
Slide the bottom of the box inside the lid, so the reflective film is facing up. Press the on-off tab closed to see if the infinity mirror illusion appears. You may have to slide the bottom mirror up, or tilt the box around, to get the best effect.
Supplies
- 3 Pack Chibitronics Conductive Fabric Tape
- Animating Chibitronics Color-Changing Circuit Sticker LED Stickers (coming soon)
- One-Way Reflective Window Film (such as this)