Hi, crafty friends! Are you enjoying the summer season?
I am happy to share my project here again.
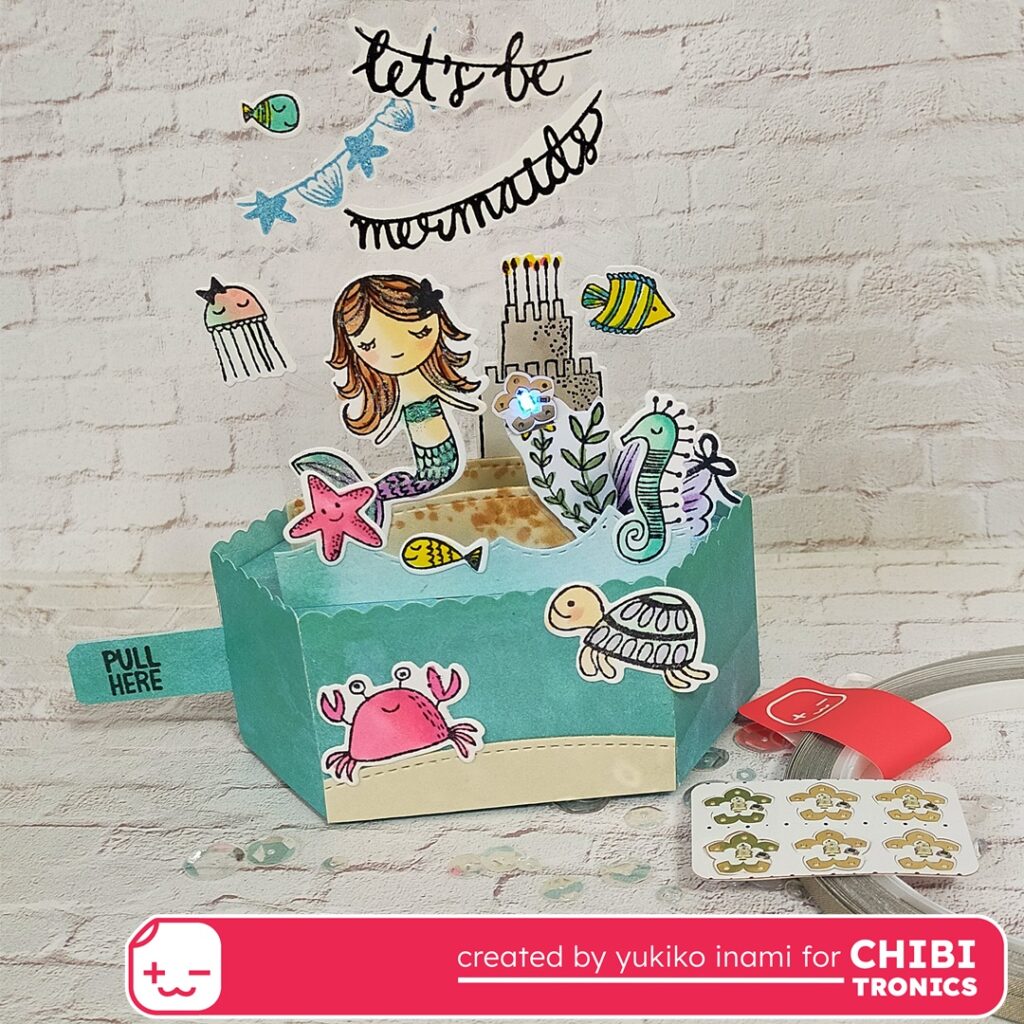
I made a pop-up card with an interactive die by Lawn Fawn with light.
When you pop this card up, You can see the world under the sea!
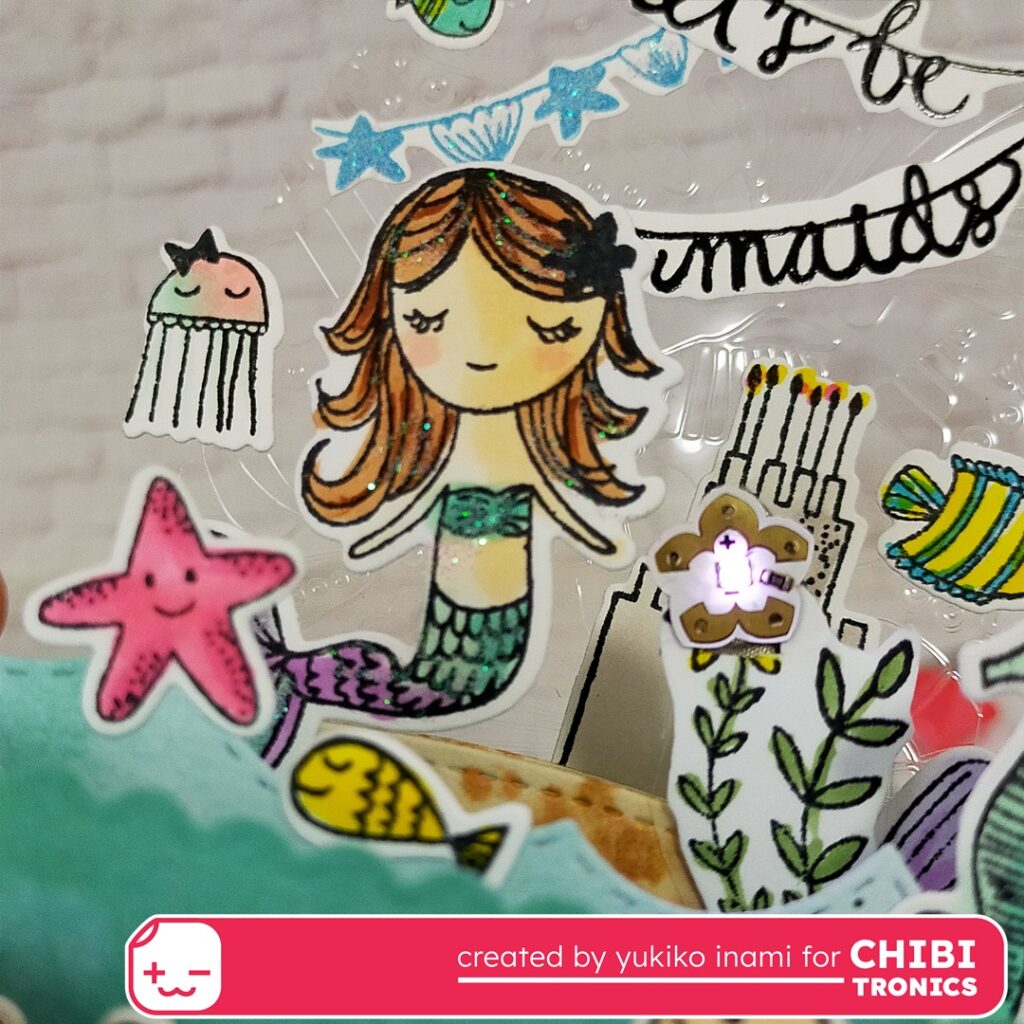
A mermaid watches a flower changing its color to a rainbow. It is a magical flower!
Chibitronics is going to have a new release. They already showed it to you at the NAMTA, trading show.
So we, DT team members make some cards to inspire new-coming crafters.
Check how it works with the next movie.
1. Supplies
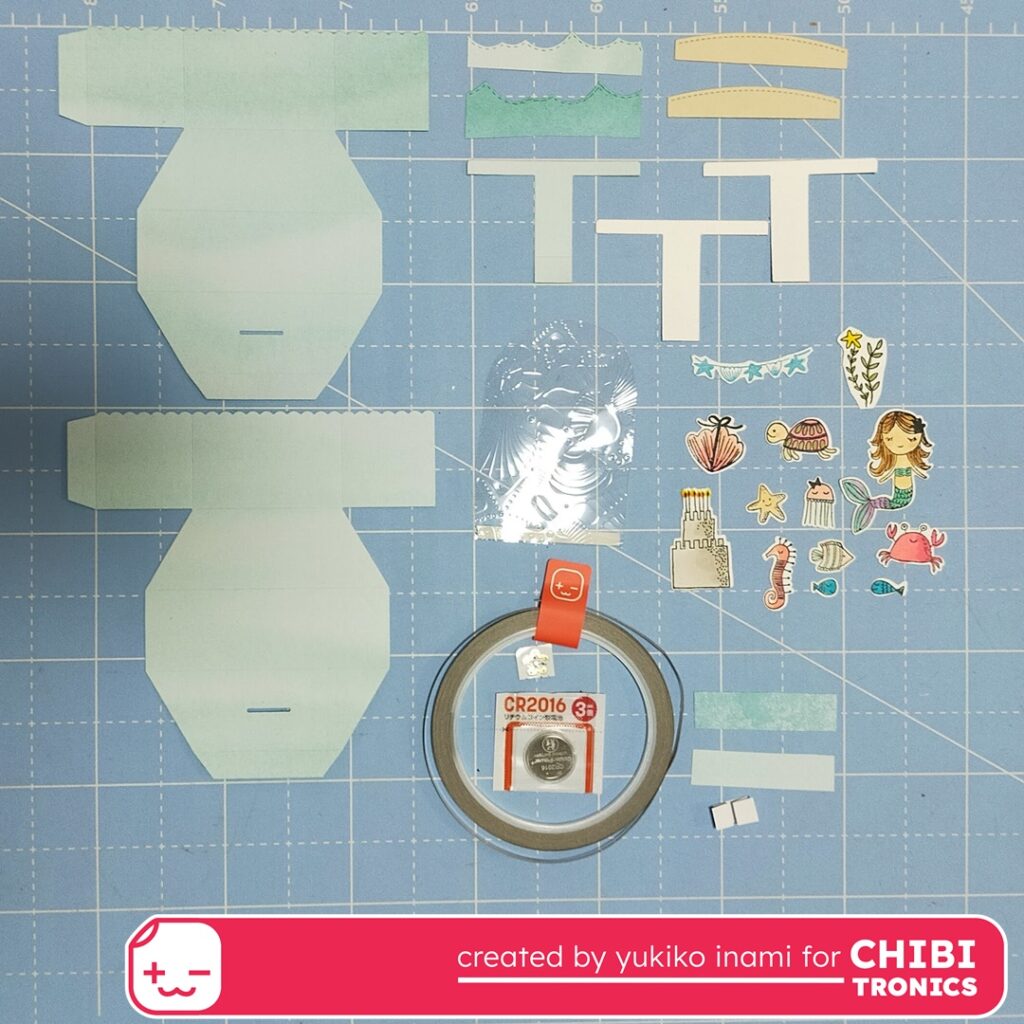
・Platform pop-up parts ; Cut out with the Platform pop-up; Lawn Fawn
・Platform parts; 2 sheets
・T shape bar; 3
・Wave parts and beach parts
・Back panel; cut out the acetate sheet and make it dry embossed with a shells pattern
・Parts of the friends of the sea; I stamped and cut out from the “Mermaid Birthday Party ” stamp and die set. I colored them with Copic markers.
・Switch parts; 1/4×1.5″; I stick the conductive fabric tape then folded on 1/4″montain,1/2″ valley,1 valley,1 1/4 “mountain
・Pull tub for the switch; 2 pieces 1/2x 2″
・Animating LED stickers; Chibitronics; It will be released at the end of this summer. You can use an original Chibitronics LED sticker to substitute the animating LED now and exchange them easily later!
・Conductive fabric tape; Chibitronics
・Cell battery; CR2016 ( This number means the diameter;20mm, thickness;1.6mm)
Platform pop-up; Lawn Fawn
Mermaid Birthday Party stamp set: sorry, it’s discontinued; Flora and Fauna
2. The Mechanism of Platform Pop-up
You can check how to assemble it with the platform pop-up’s assembly movie on the Lawn Fawn site.
I recommend that you check it first if you would make it for the first time.
This is a platform part.
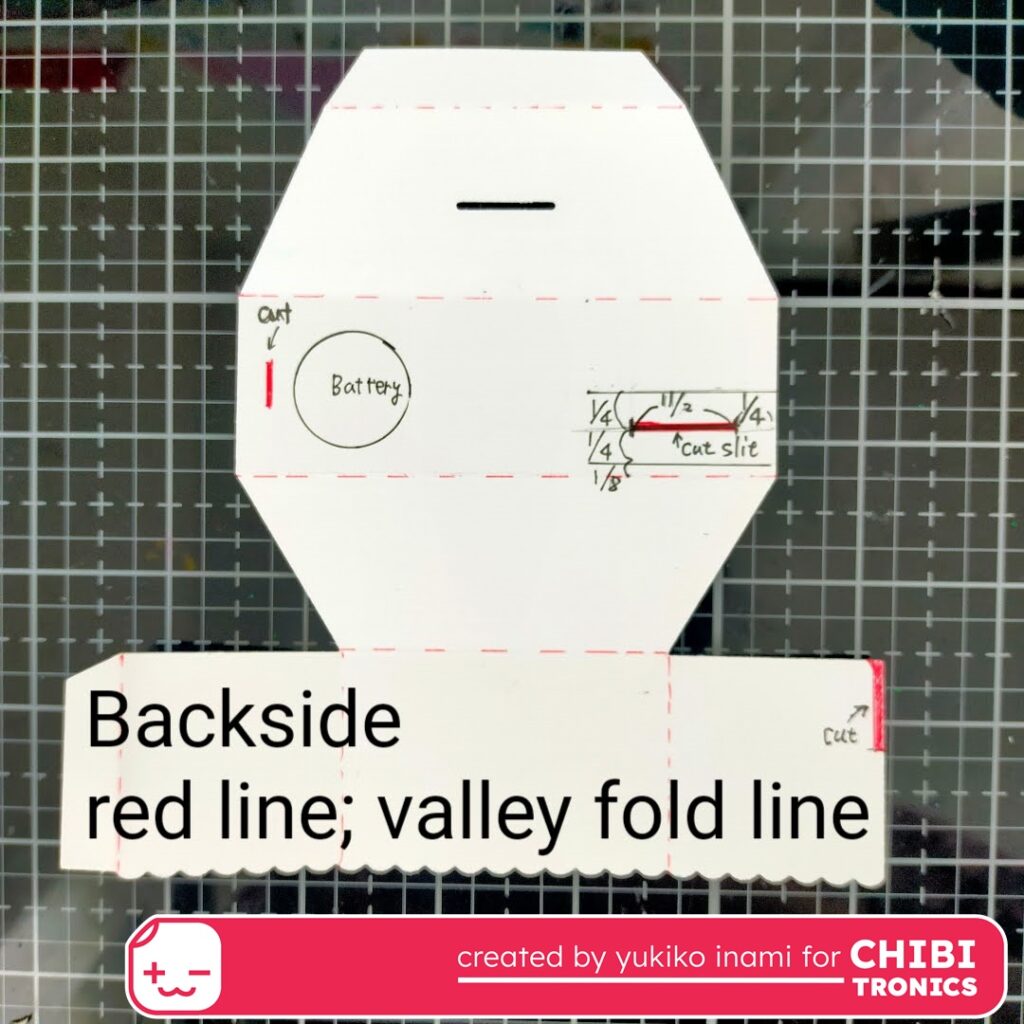
The red dotted lines are valley folds.
I cut two slits for the circuit. One is as the switch slit and the other is as the pathway from backside to frontside.
Two boxes are assembled for the platform. And this can be flattened when it is folded.
Is it a very cool mechanism, isn’t it? I love it so much!
3. The Circuit
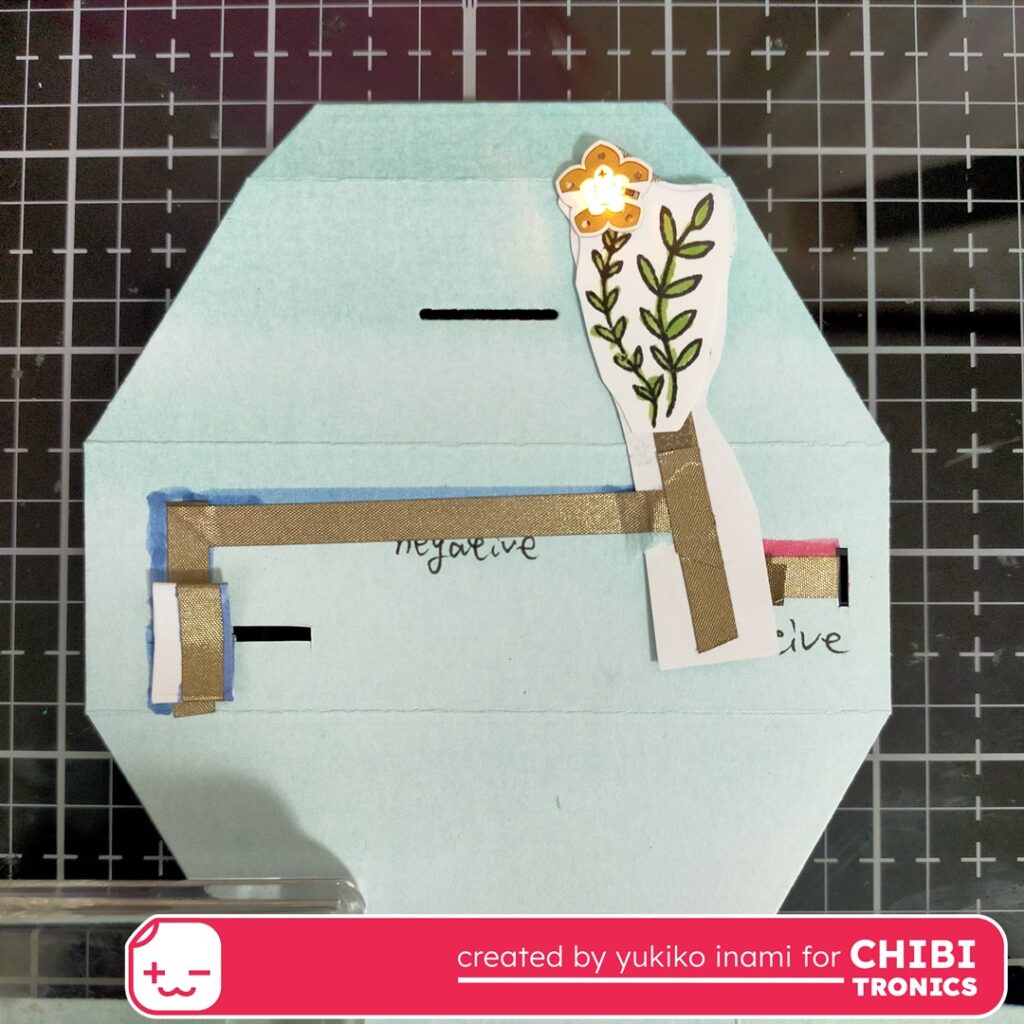
I planned to set the circuit on the site of the pop-up platform box’s central side.
I used the front and backside as shown in the below photos.
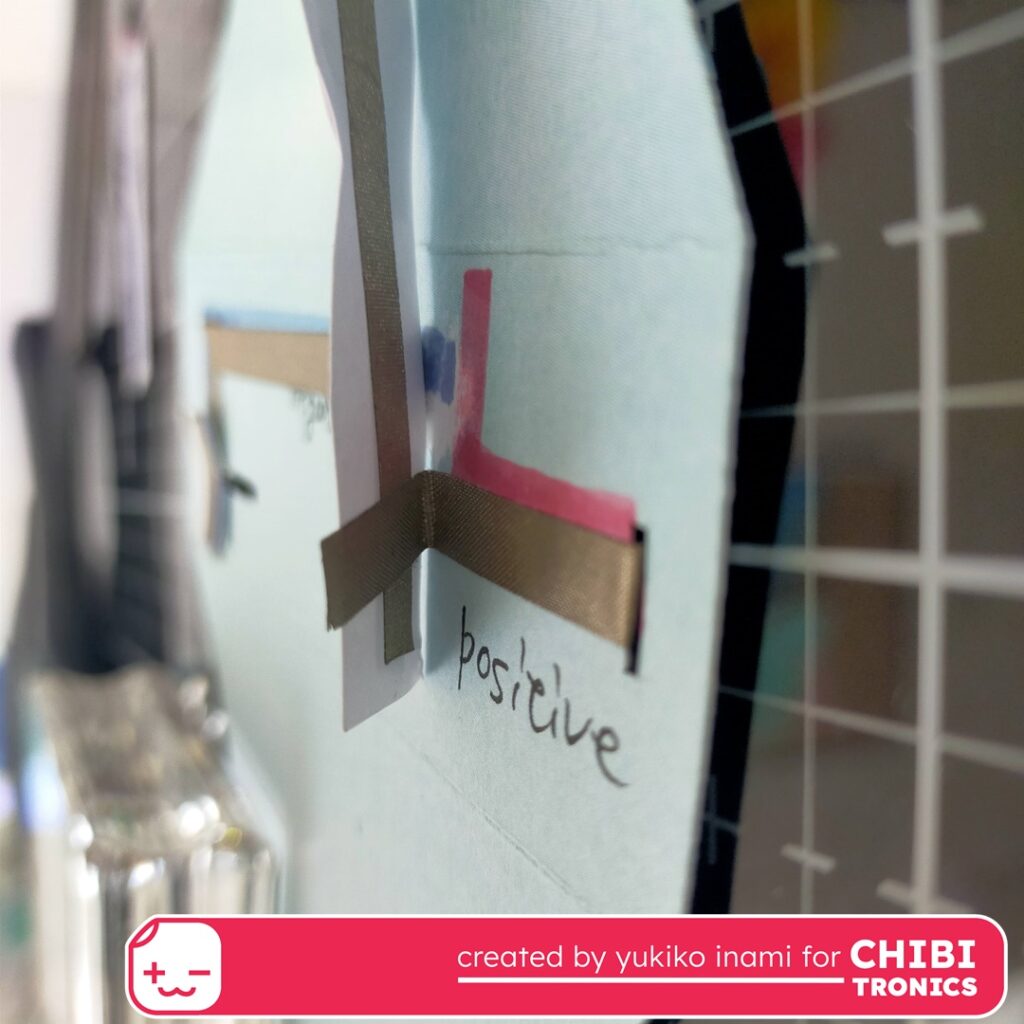
The front side has a port connecting the flower part. And the back side has a battery.
I used the pull tab switch in this circuit.
Then I cut the slits as the switch and the pathway for the front and backside of the circuit.

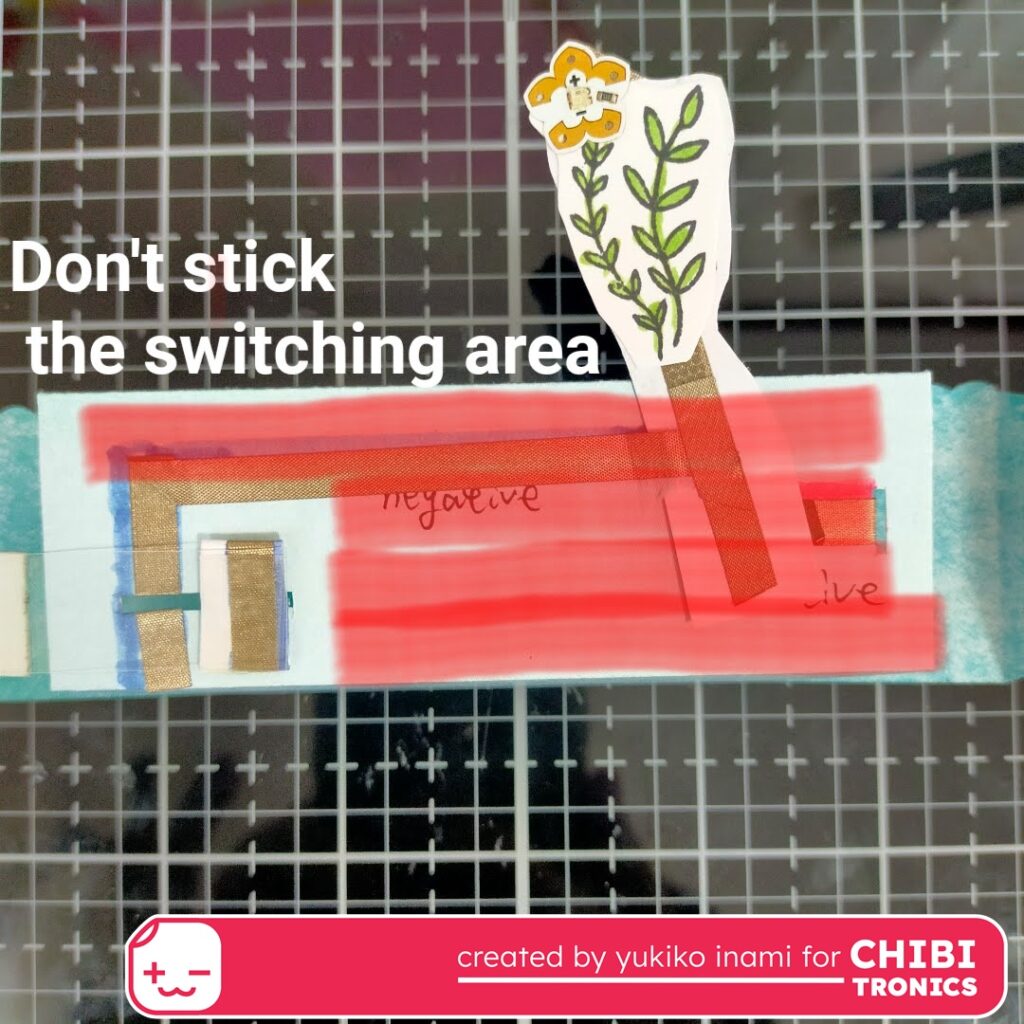
I show the circuit of the flower part here.
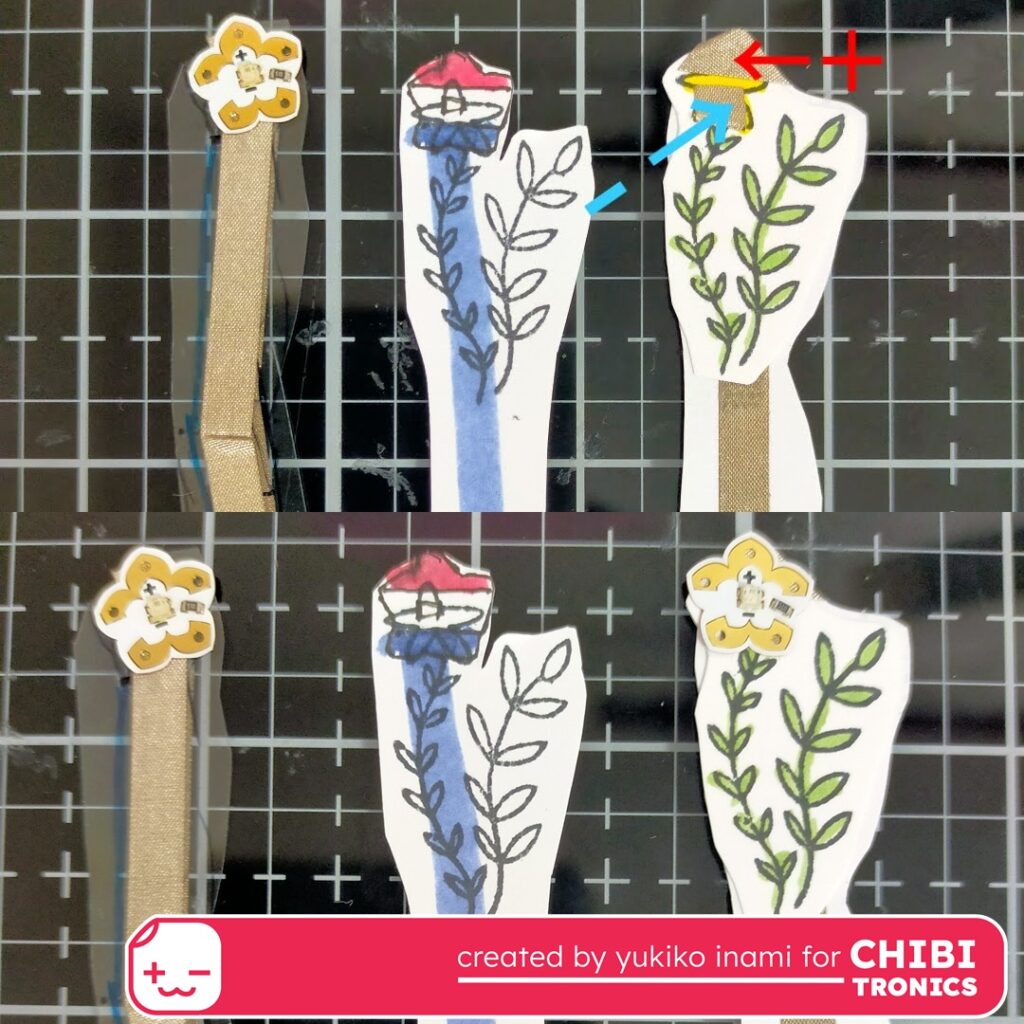
The front side has a negative line and the back side has a positive line to the LED sticker. I connected this flower part to the port on the platform.

4. Assembly Pop up mechanism and Circuit
I assembled two box parts for the platform.
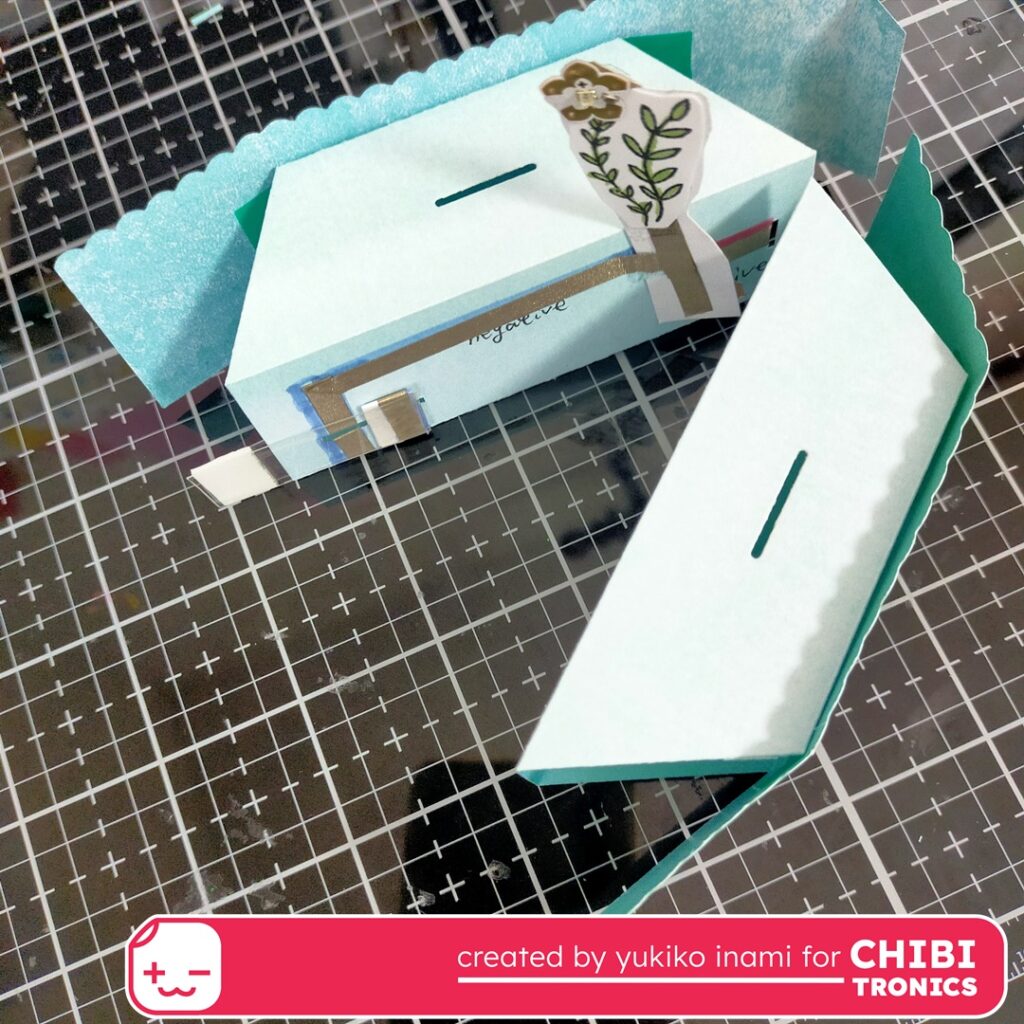
Be careful to not stick the pull tab switch space.
I show the area for glue with a red marker in the below photo.
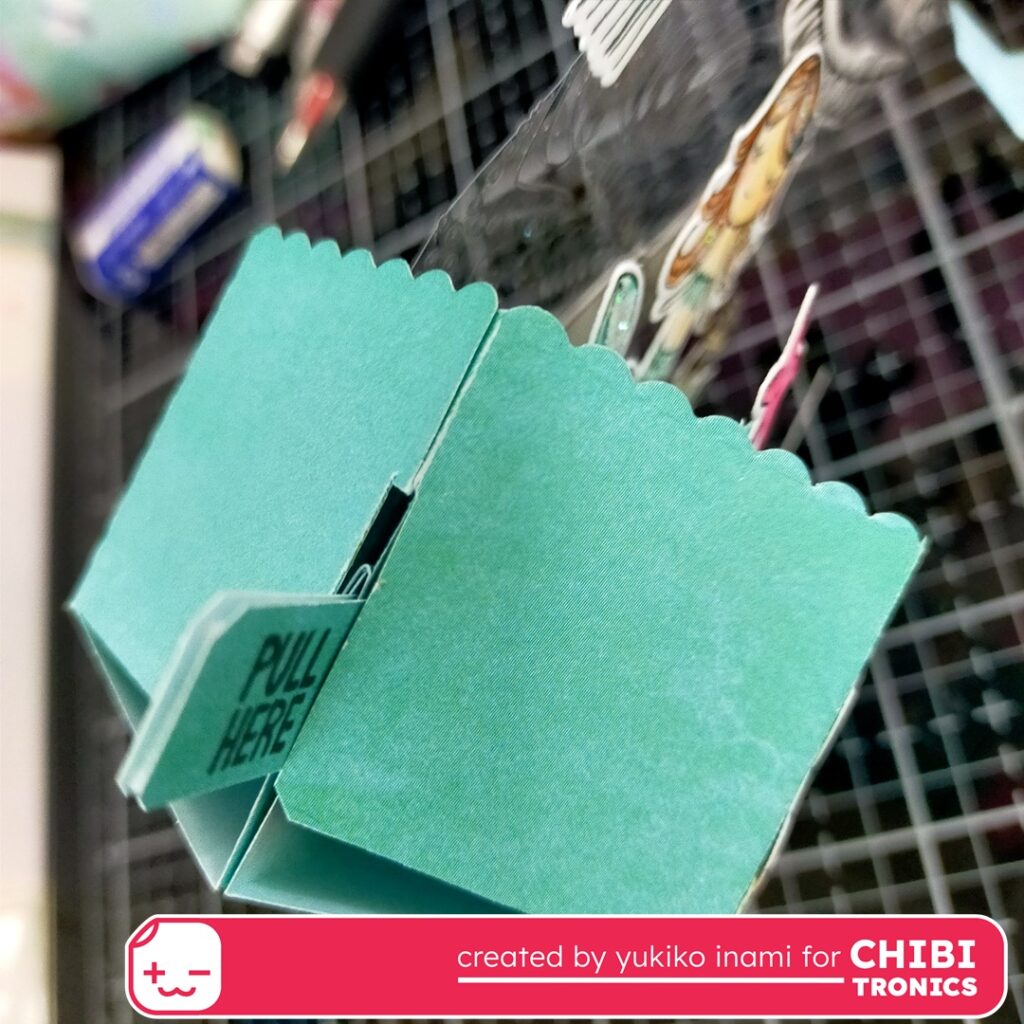
I cut the slit on the side of the platform for the pull tab.
5. Making the Scene
It’s a fun time!
I set the wave parts and sand parts on the tab of the T-Parts. Then I enjoyed making the world of the under the sea.
I put the acetate back panel. It can make fish look swim just like in the water!
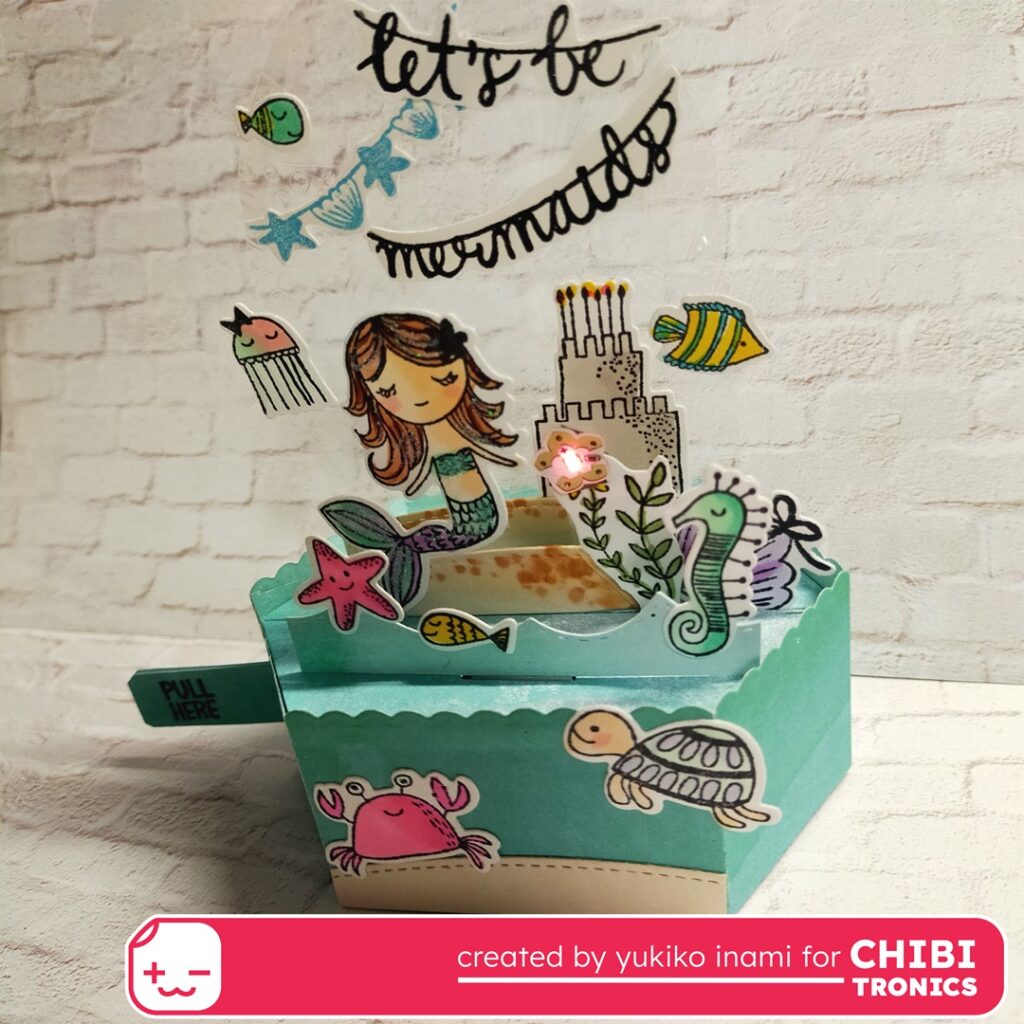
OK. It has been completed.
I am happy to imagine that this card can make my friend who will receive it smile!
I made another project with this platform die before. If you are interested in it, jump from here.
And when you make some projects with Chibitronics, please show us them!
We are so happy to see from the hashtag #chibitronics .
Thank you so much for stopping by today!
Have a wonderful summer time!
Yukiko I.