
Hold Onto Your Empty Spools
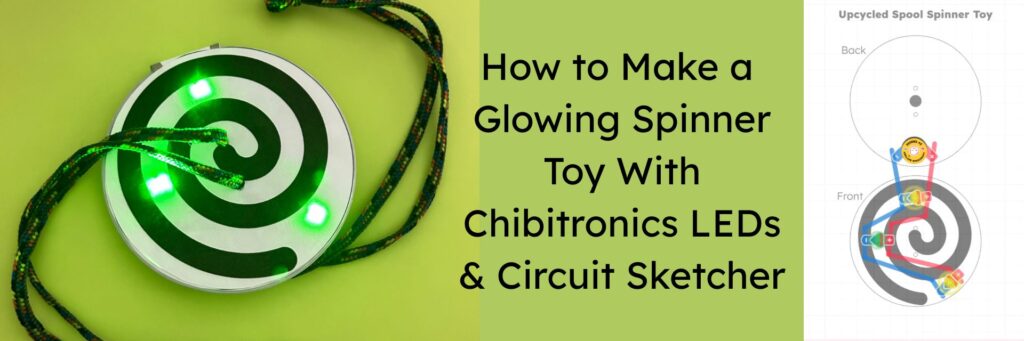
After using up one of my spools of Conductive Fabric Tape, I had a burst of inspiration!
Rather than throwing the nice, round cardboard packaging into the recycle bin, I thought it would be a good challenge to come up with a way to repurpose it!
Why not transform it into a fun and flashy toy with a little bit of help from Circuit Sketcher, our new digital design tool?
Making a Glowing Spinner is Easy
While this project was designed to repurpose one of the cardboard spools that our conductive tapes come packaged upon, you can still make your own spinner by substituting a piece of cardboard, and using the template below to trace around.
Tools & Supplies
- 1 empty Conductive Copper or Conductive Fabric Tape Spool (or a piece of cardboard, cut into a 4 1/8″ diameter circle)
- Printed copies of the Spiral Spinner Circuit and Art (or you can remix your own)
- 1 Launchpad Battery
- LEDs of your choice. (I’m using three Launchpad LEDs, because they are reusable.)
- Conductive Fabric Tape
- Scissors
- Hole Punch
- Awl
- Pencil
- Double-sided tape (or glue)
- Yarn or a very long shoe string
Directions
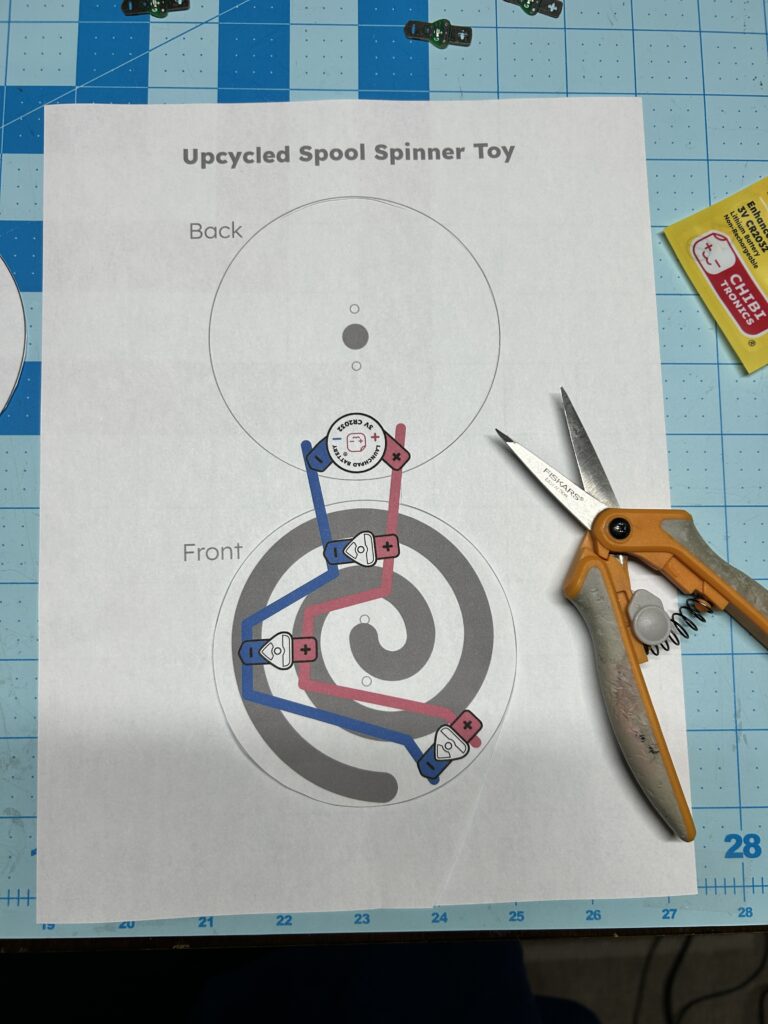
Step 1: Print the Circuit Template (or Remix to Make Your Own in Circuit Sketcher)
The first step is to print out a copy of the circuit template you plan to use for your project. You may use the one I’ve provided below, or you can remix one of my projects to make your own in Circuit Sketcher.
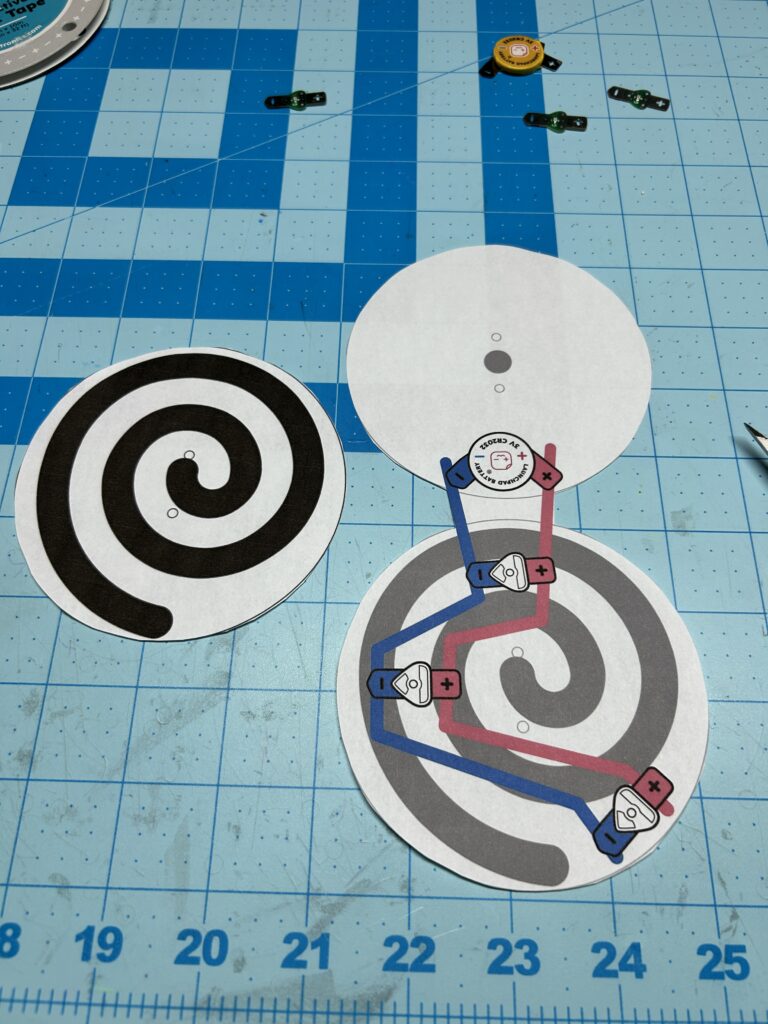
Step 2: Cut Out the Circuit Template
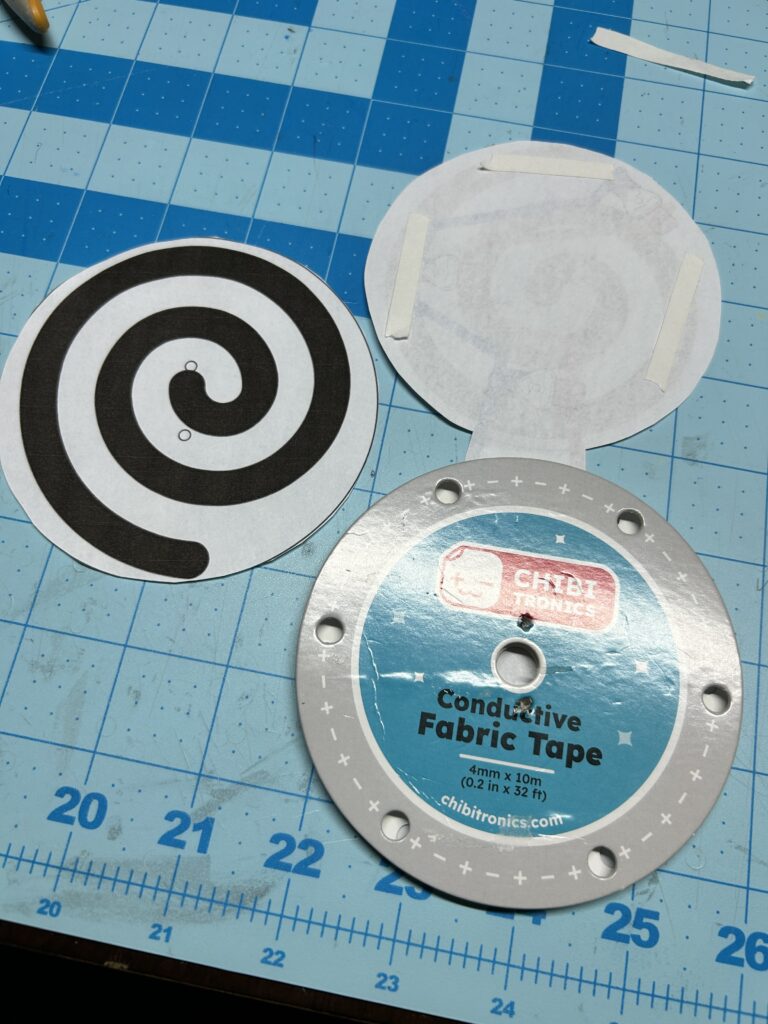
The next step is to cut out the circuit template (and optional spiral art topper). Be sure to cut around the circuit diagram at the point where the two circles meet, because you’ll be wrapping the template around the spool and building the circuit right on top.
Step 3: Adhere the Circuit Diagram Template to the Spool
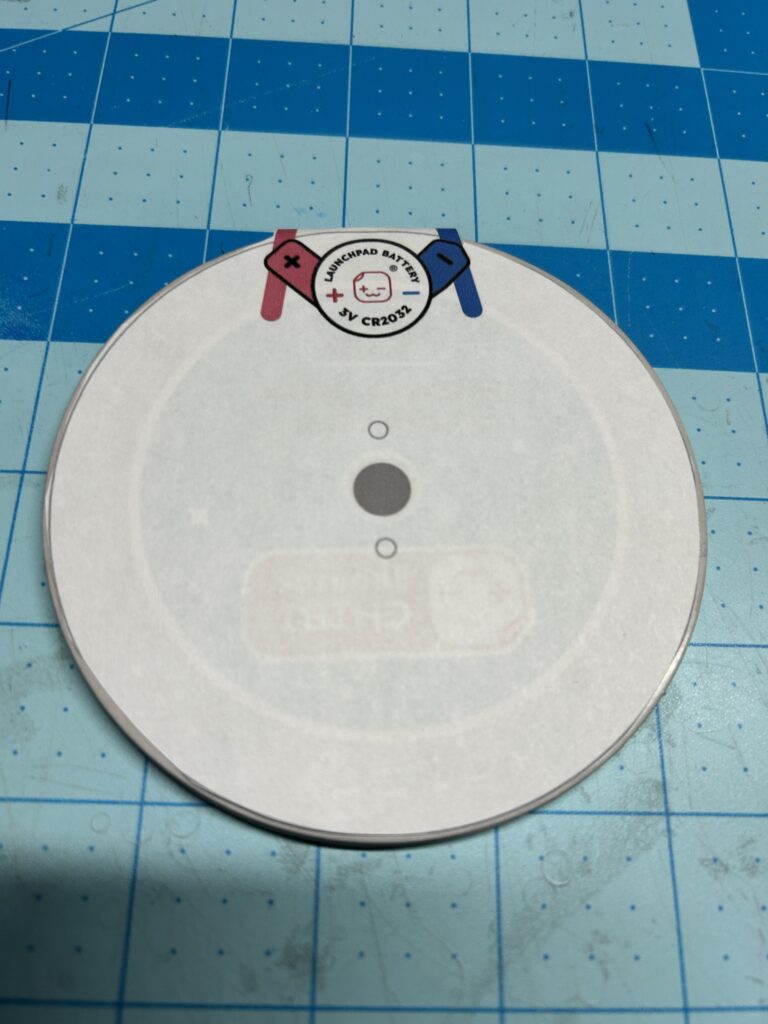
After cutting out the circuit diagram template, use double-sided tape or glue to adhere it to the outside of the empty spool.
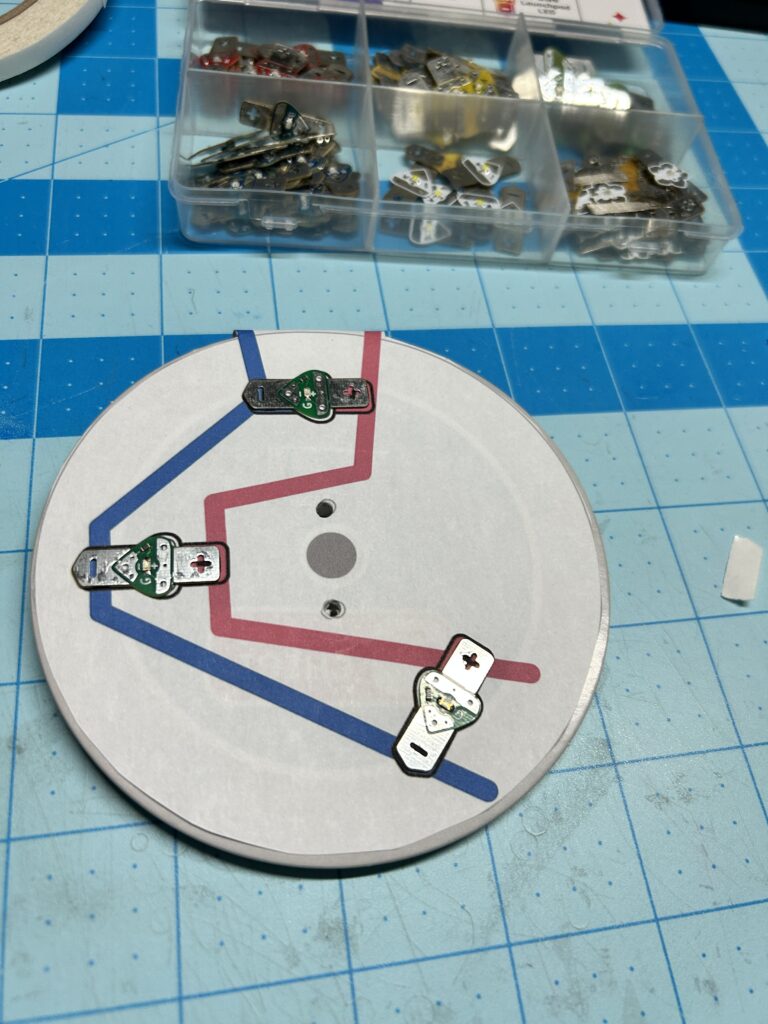
Step 4: Secure Components
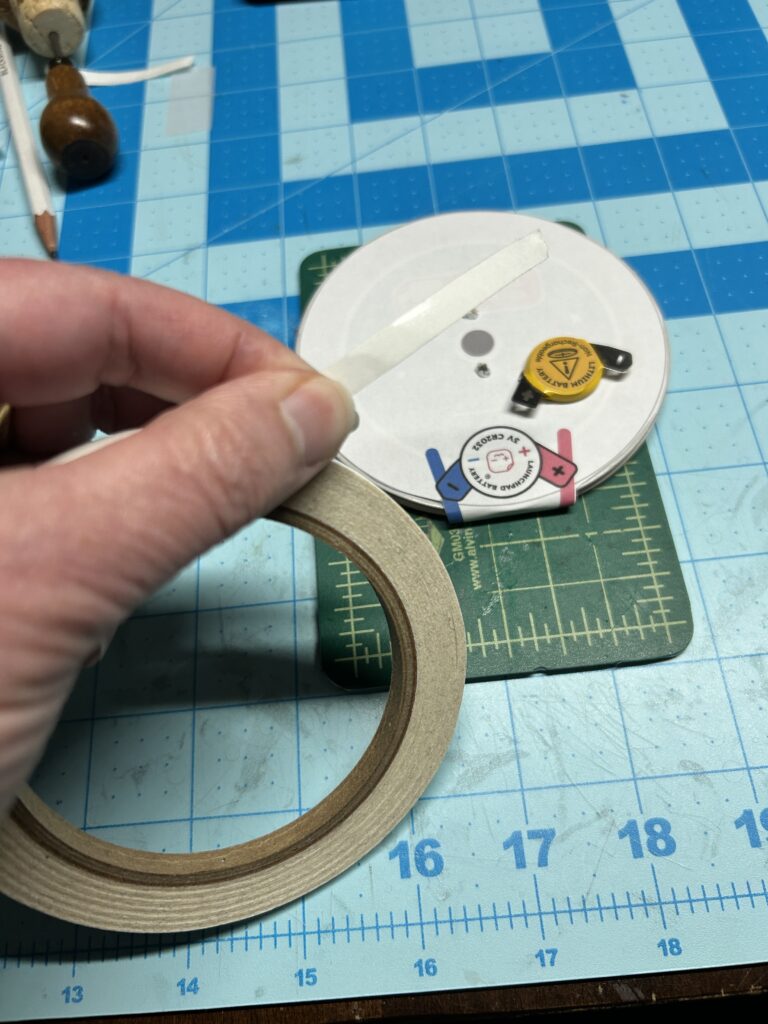
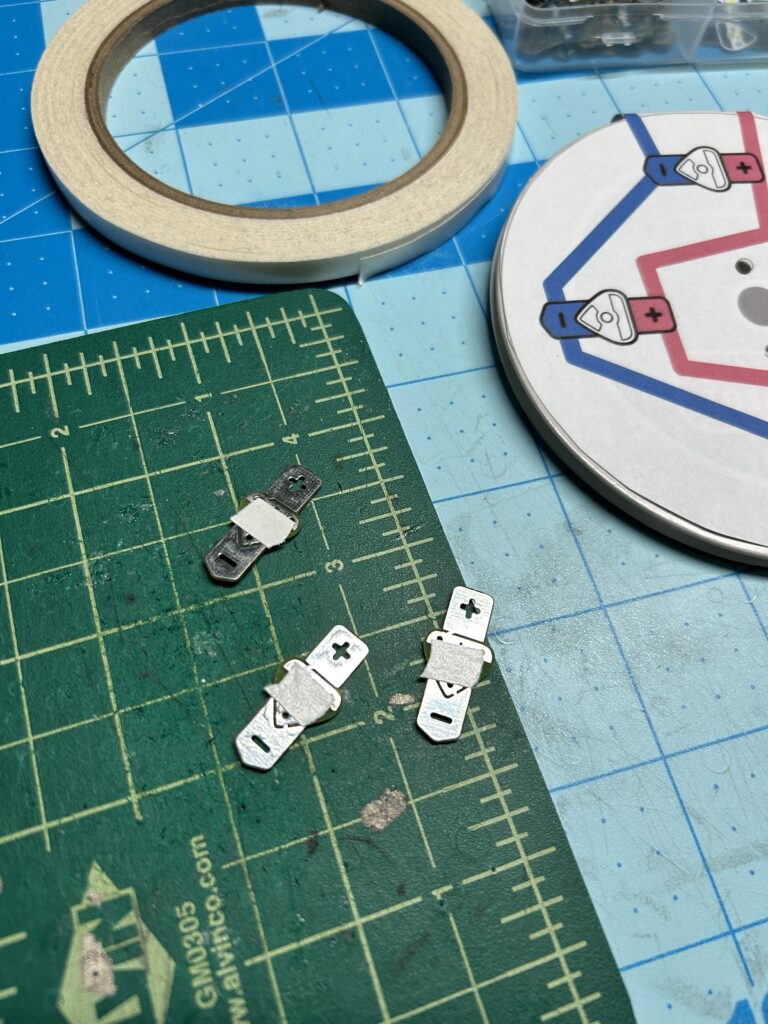
After attaching the circuit diagram to the empty spool, apply double-sided tape to the backs of your Launchpad Battery and Launchpad LEDs. If you are using Circuit Sticker LED, you will not need to add the tape. Adhere the components to their matching footprints on the circuit diagram.
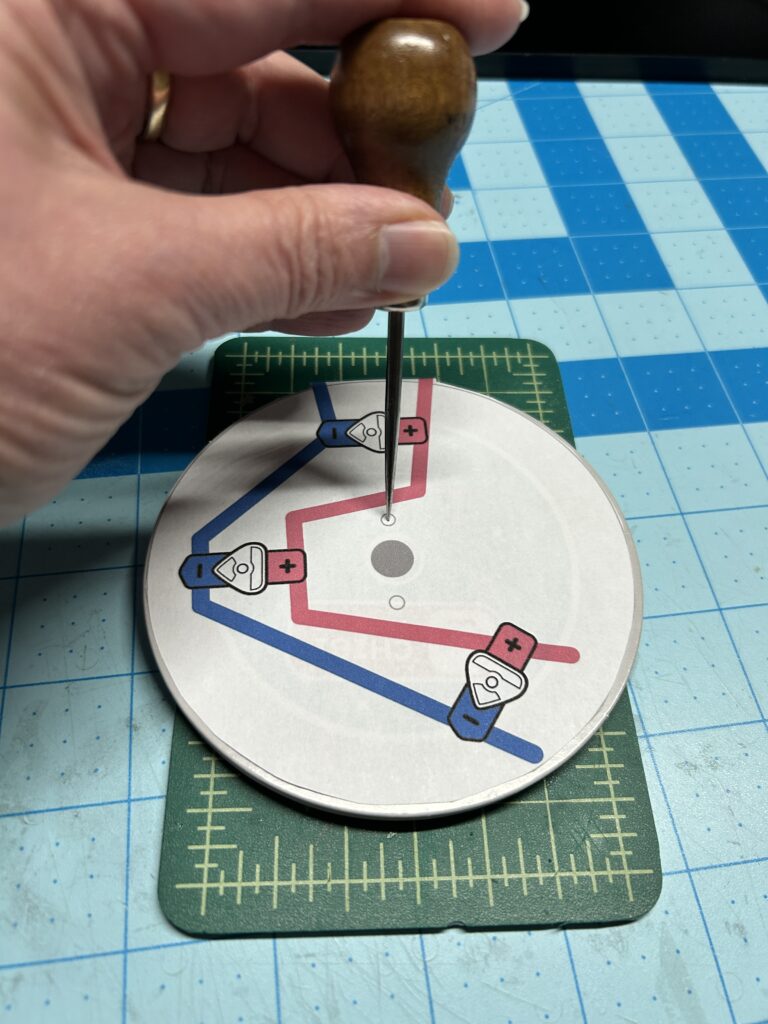
Step 5: Poke Holes
Next, use an awl to carefully poke holes above and below the center of the spool, using the template as a guide.
Step 6: Complete Circuit and Add Artwork
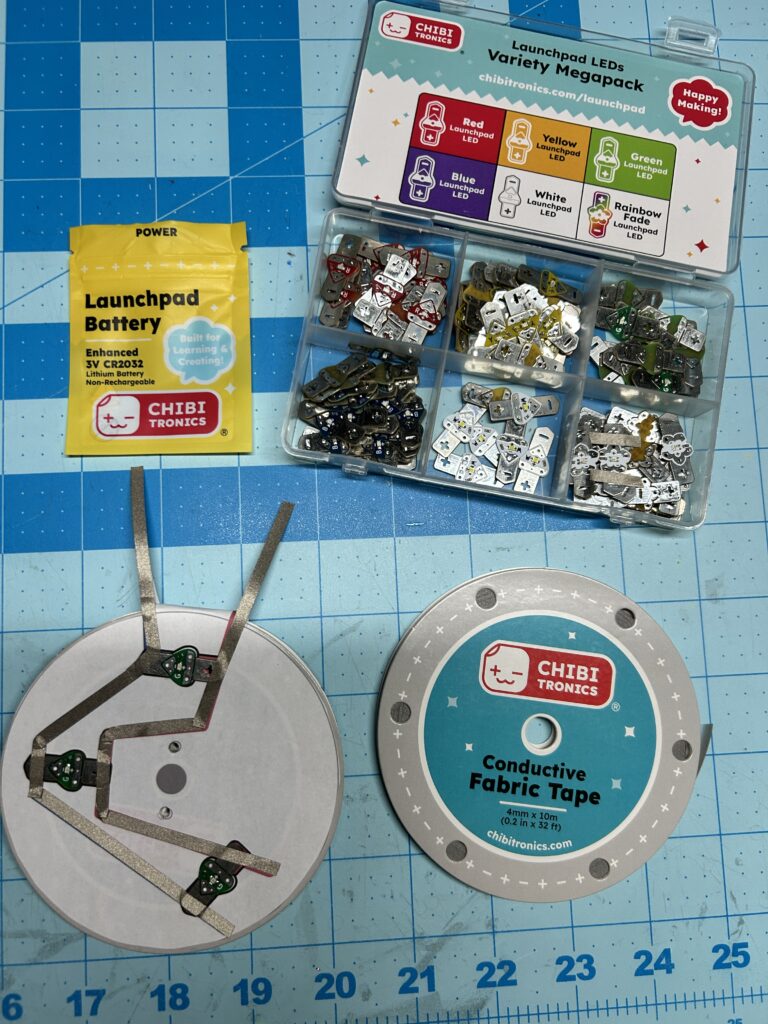
Then, apply Conductive Fabric Tape directly to the red and blue lines on the template. The red line marks the positive trace that will connect to the positive pad of the battery and the black line marks the negative trace (that will connect to the negative pad.)
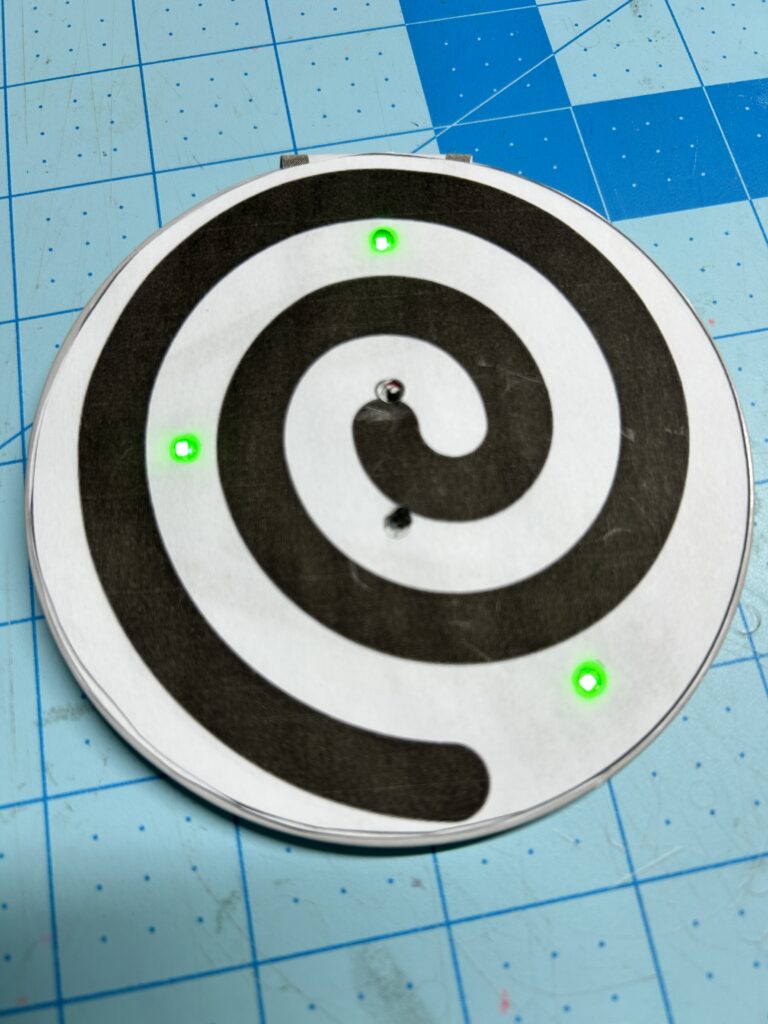
If you wish to add the optional spiral artwork to the top of your circuit, use a hole punch or an awl to remove the two small circles located above and below the center of the artwork.
Then, line up those holes with the holes you made in the spool. For brighter lights, use a pencil to trace around the lights and use an awl or hole punch to make holes where you traced.
Adhere the artwork on top of the circuit layer with double-sided tape. If you use glue, try to avoid the circuit when applying it.
Step 7: Add a Stringy Handle
The last step is to thread a long shoelace or piece of yarn/string through one hole in the front of the spool and back through the second hole so that the two ends match up. Tie a knot and try to ensure an equal amount of shoelace/ yarn is on both sides of the spool.
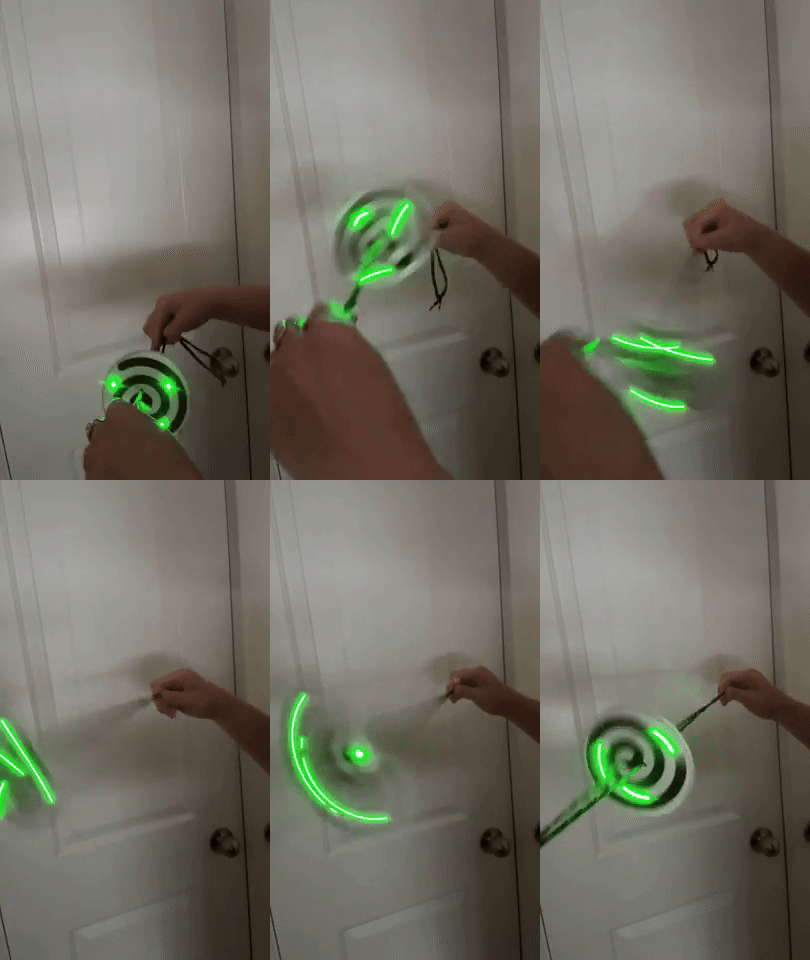
Then, use a rocking motion to make the spool twist around the handle. The handle will tighten as it winds. When you feel it tighten, pull it sideways with both hands to make it spin faster! Enjoy!
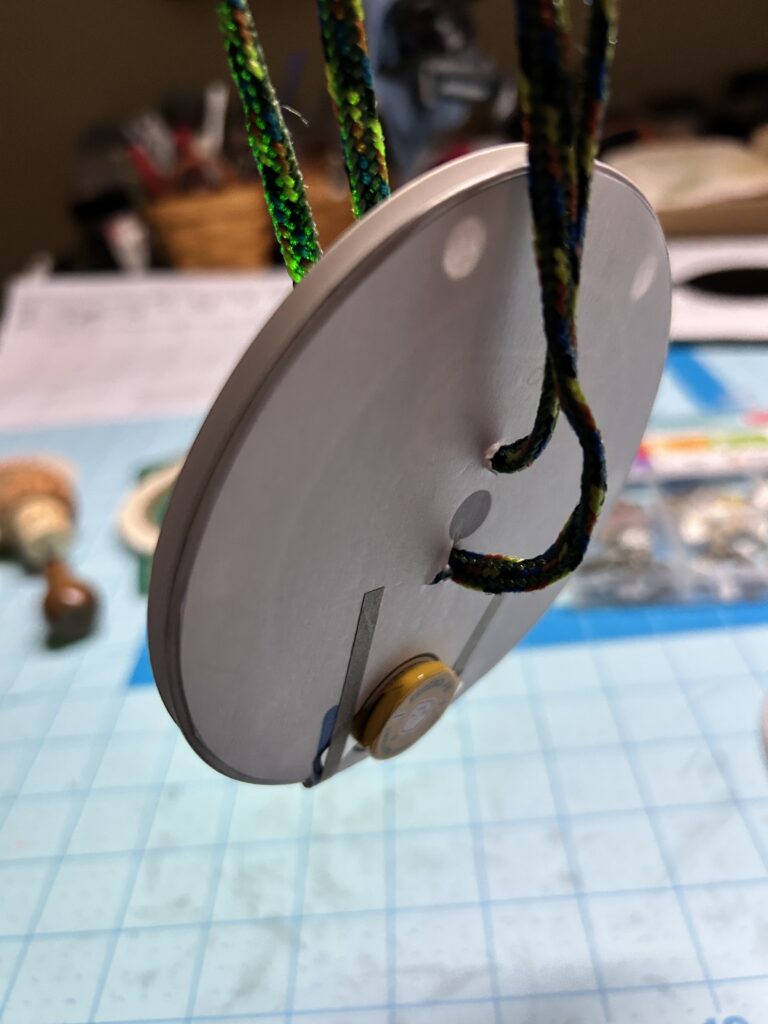
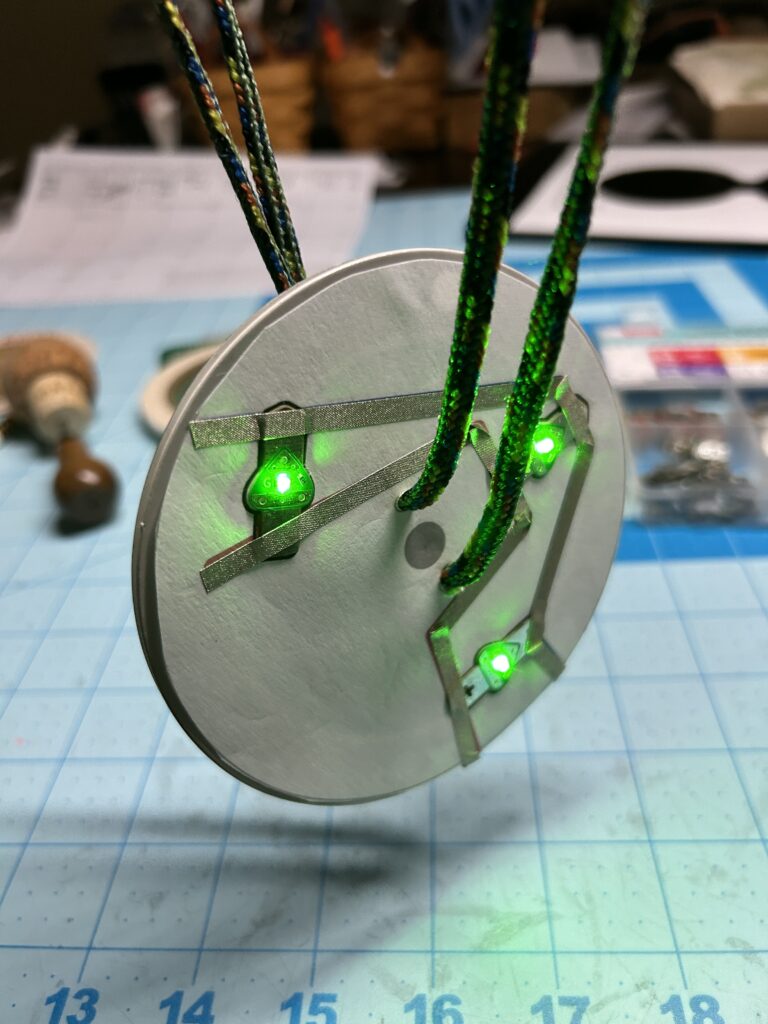
To preserve battery life, when you aren’t playing with your toy, detach the conductive tape from one or both pads of your battery. This will open up the circuit to keep the power from flowing through it.
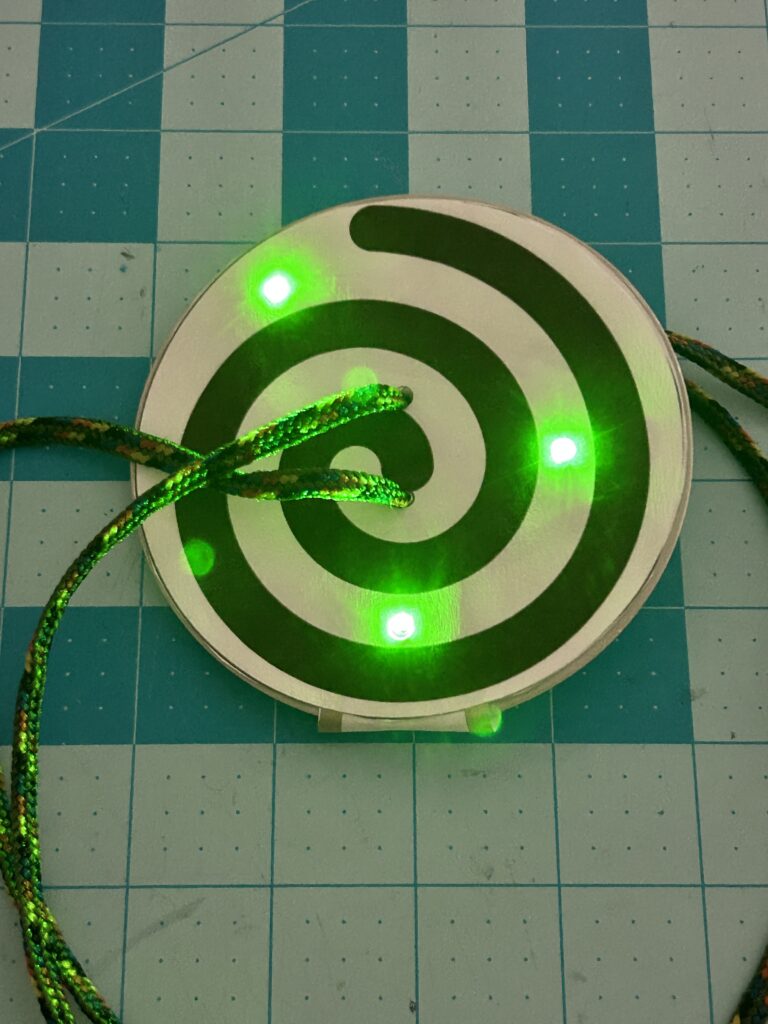
Enjoy!