This tutorial shows you how to program your Chibi Chip microcontroller board! We will write our code in a browser-based code editor and then transmit code through sound to your board. Ready? Let’s get started!
You will need:
- Chibi Chip programmable microcontroller board
- programming cable with USB and audio connectors
- USB power supply (such as a computer, wall plug or portable USB battery charger)
- programming device (such as a computer, phone, or tablet)
- internet connection
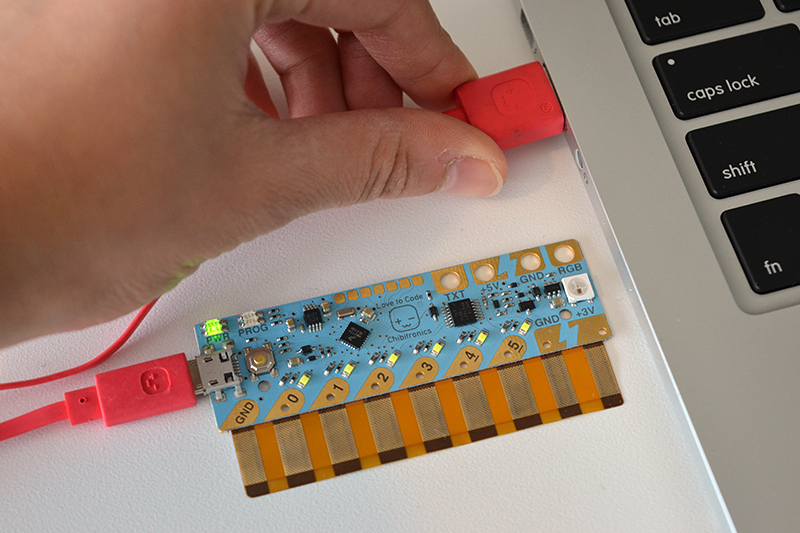
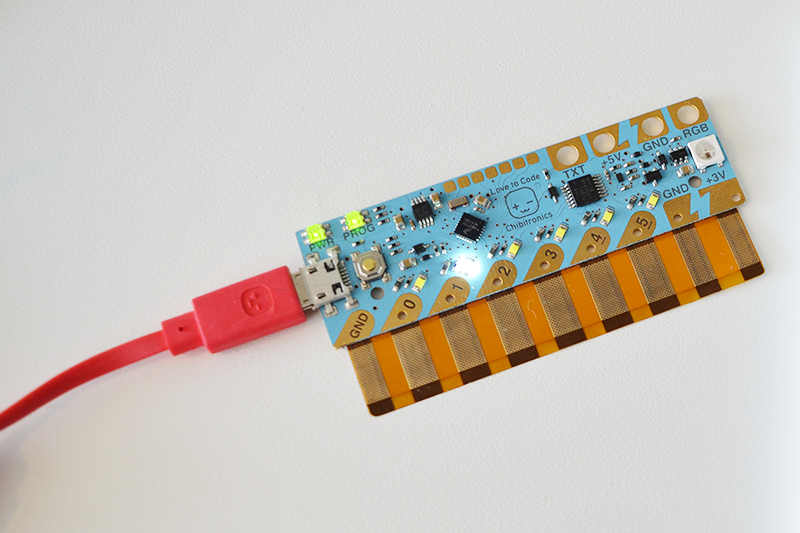
Step 1: Plug in the microUSB into the Chibi Chip board

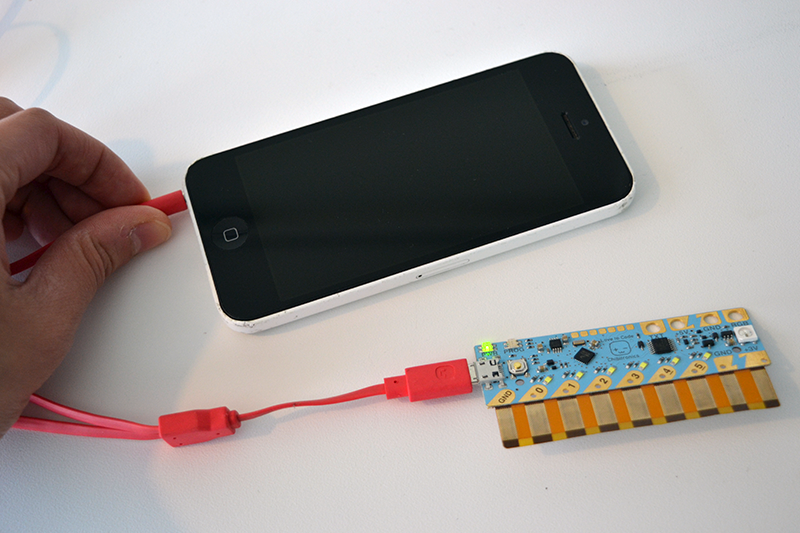
Step 2: Plug the USB cable into your power supply

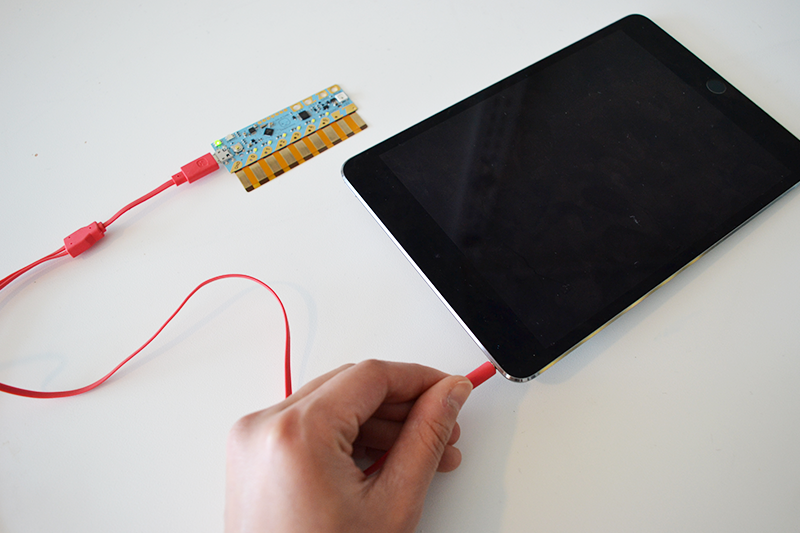
Step 3: Plug the audio cable into the audio jack of your programming device (phone, computer or tablet)
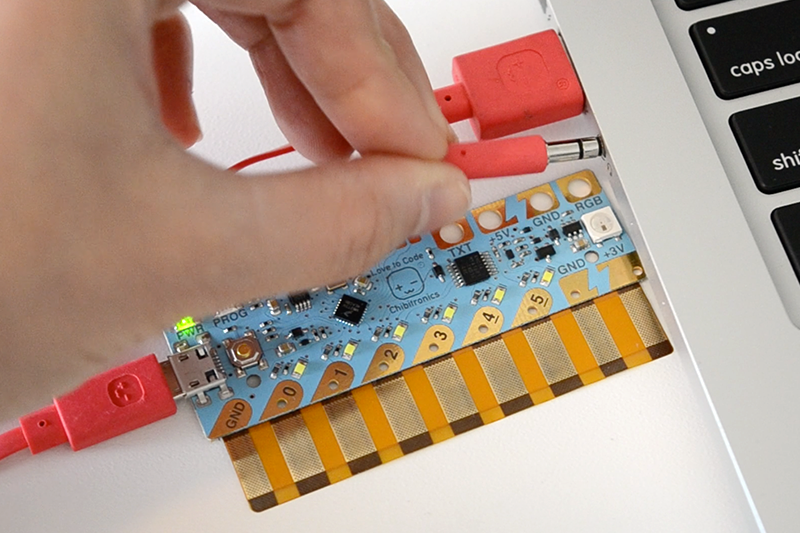
Step 4: Unmute your device and turn the volume all the way up. This will make sure the code plays to your Chibi Chip loud and clear!
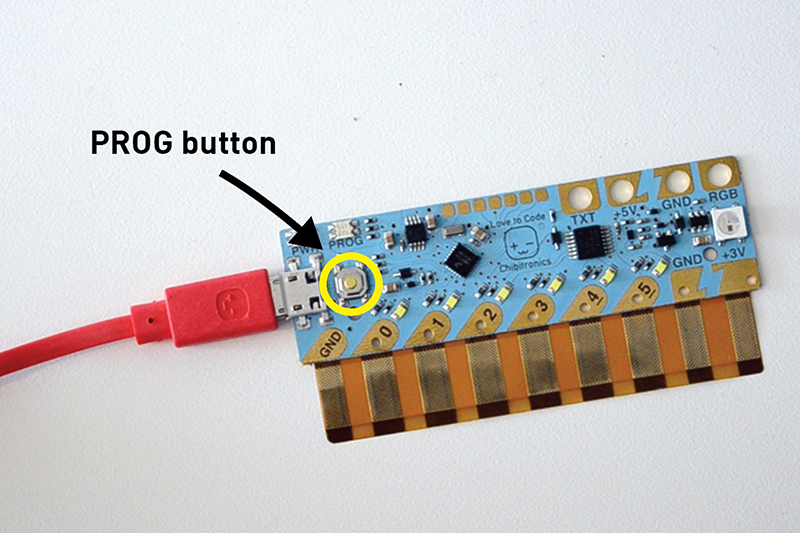
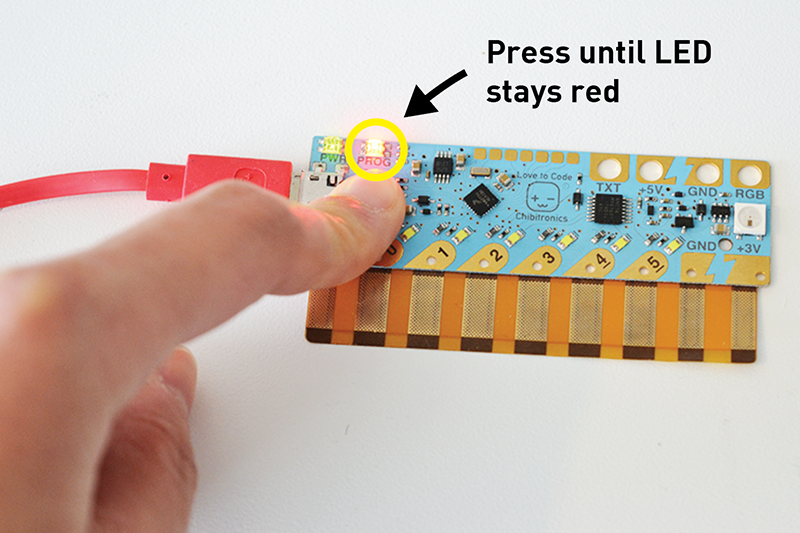
Step 5: Press the PROG button on the Chibi Chip and hold it until the PROG light blinks and stays red. This puts your Chibi chip into programming mode– it’ll know to listen for code!
Step 6: Open your programming editor and write some code! You can either go with our text-based code editor or block-based code editor:
Text-based Code Option:
If you want to use the text-based code editor, go to LTC.chibitronics.com :
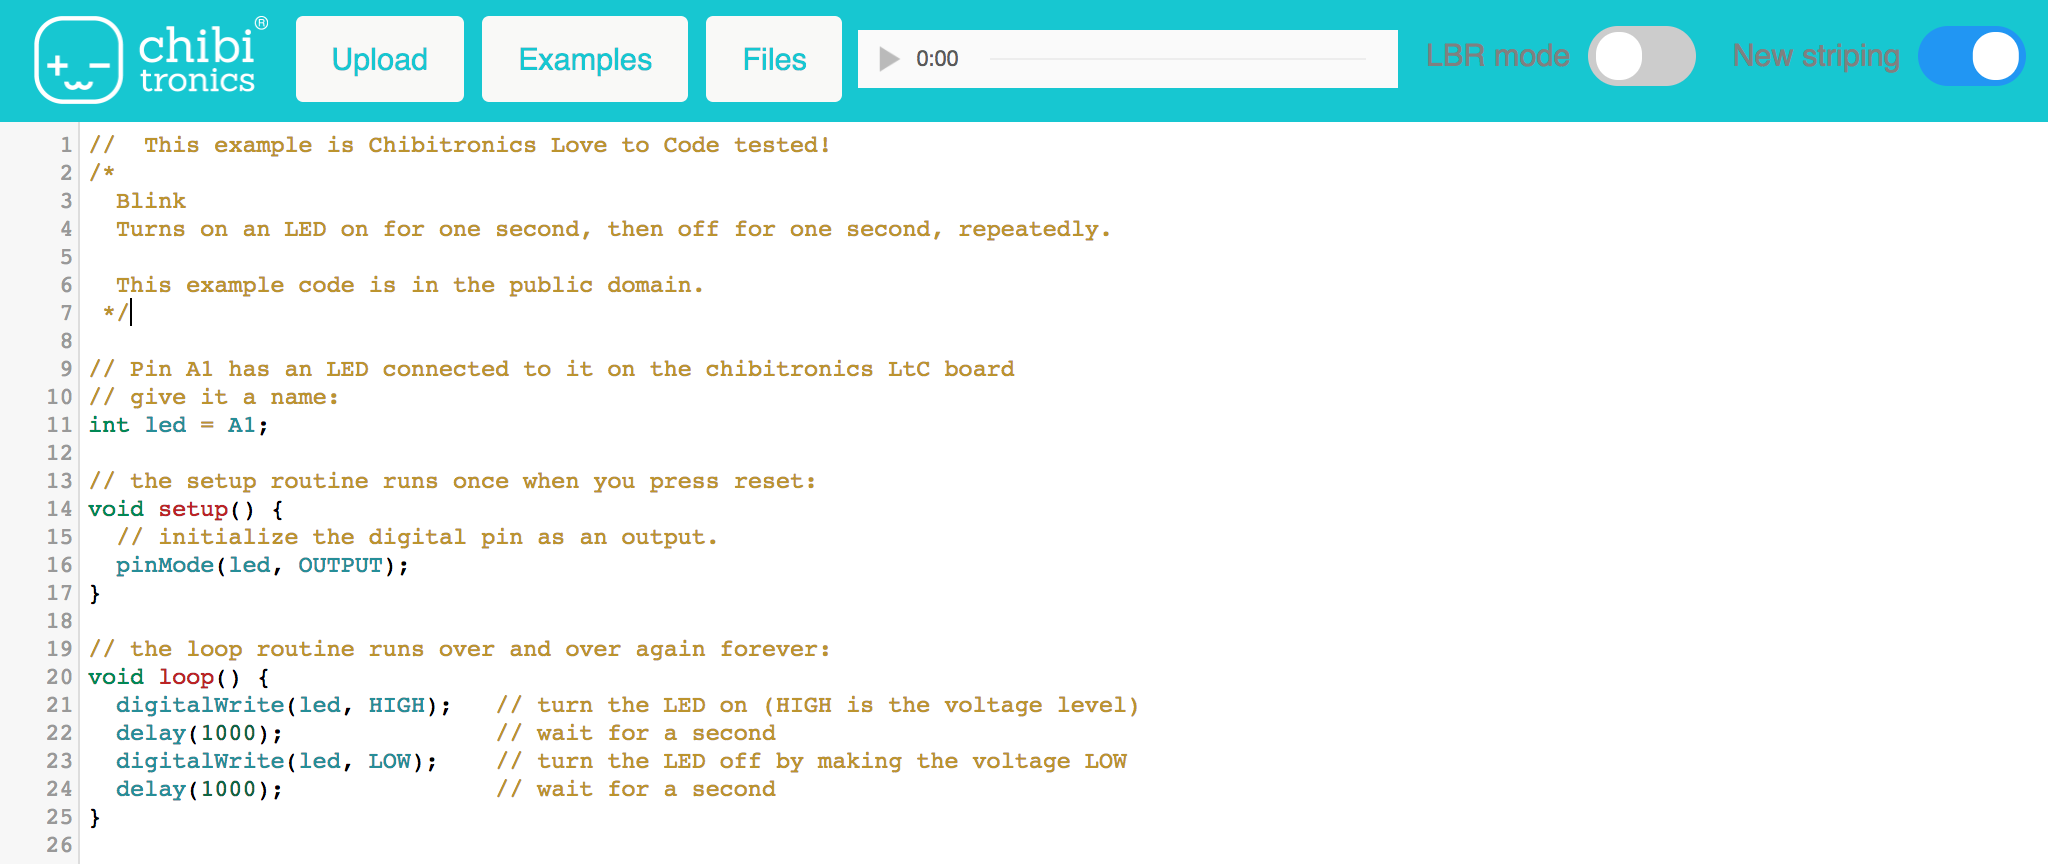
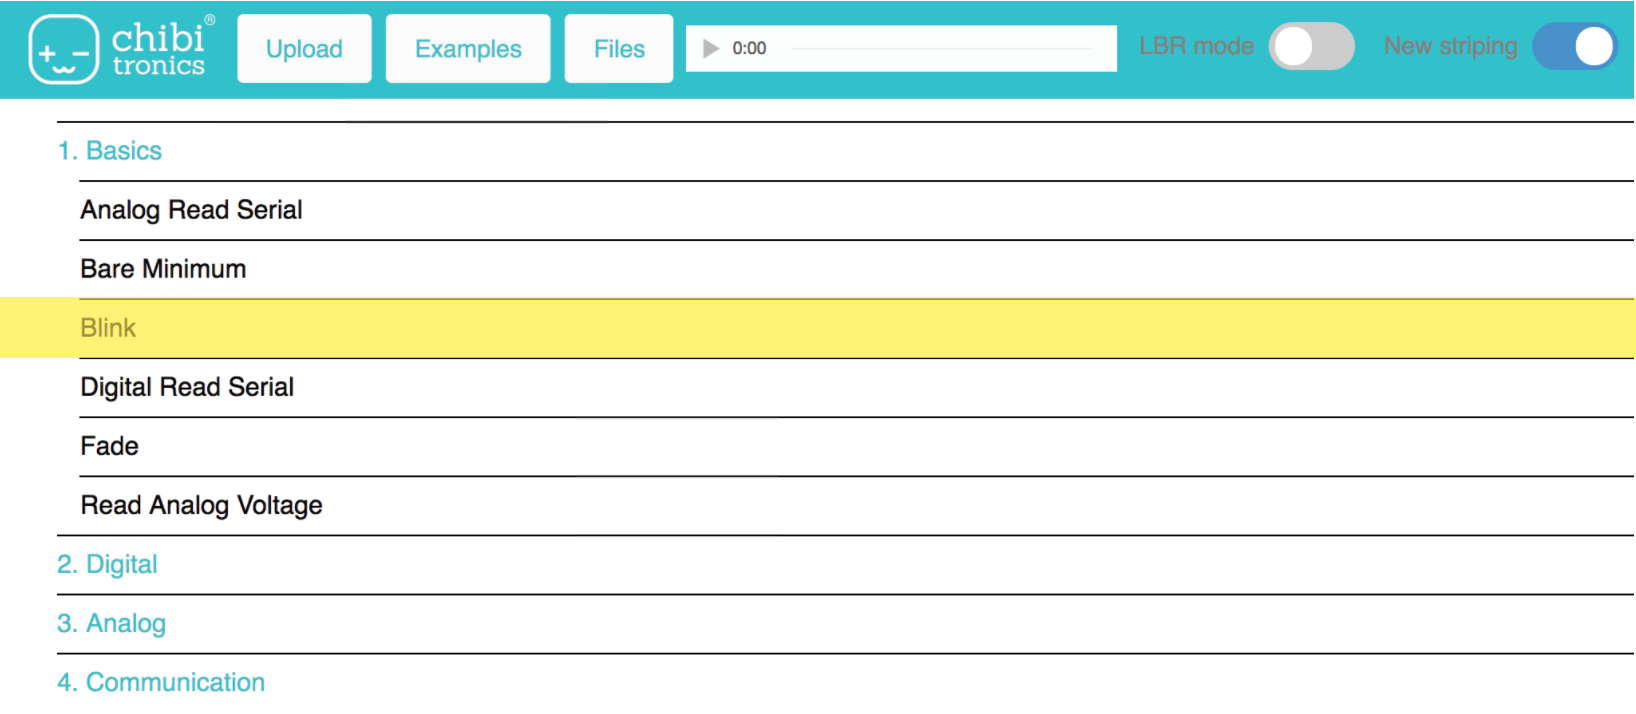
Then click on Examples –> 1. basics –> Blink to open up the blink example code.
Check to see that the PROG light on your board is red. If it isn’t, press the PROG button until the light stays red:
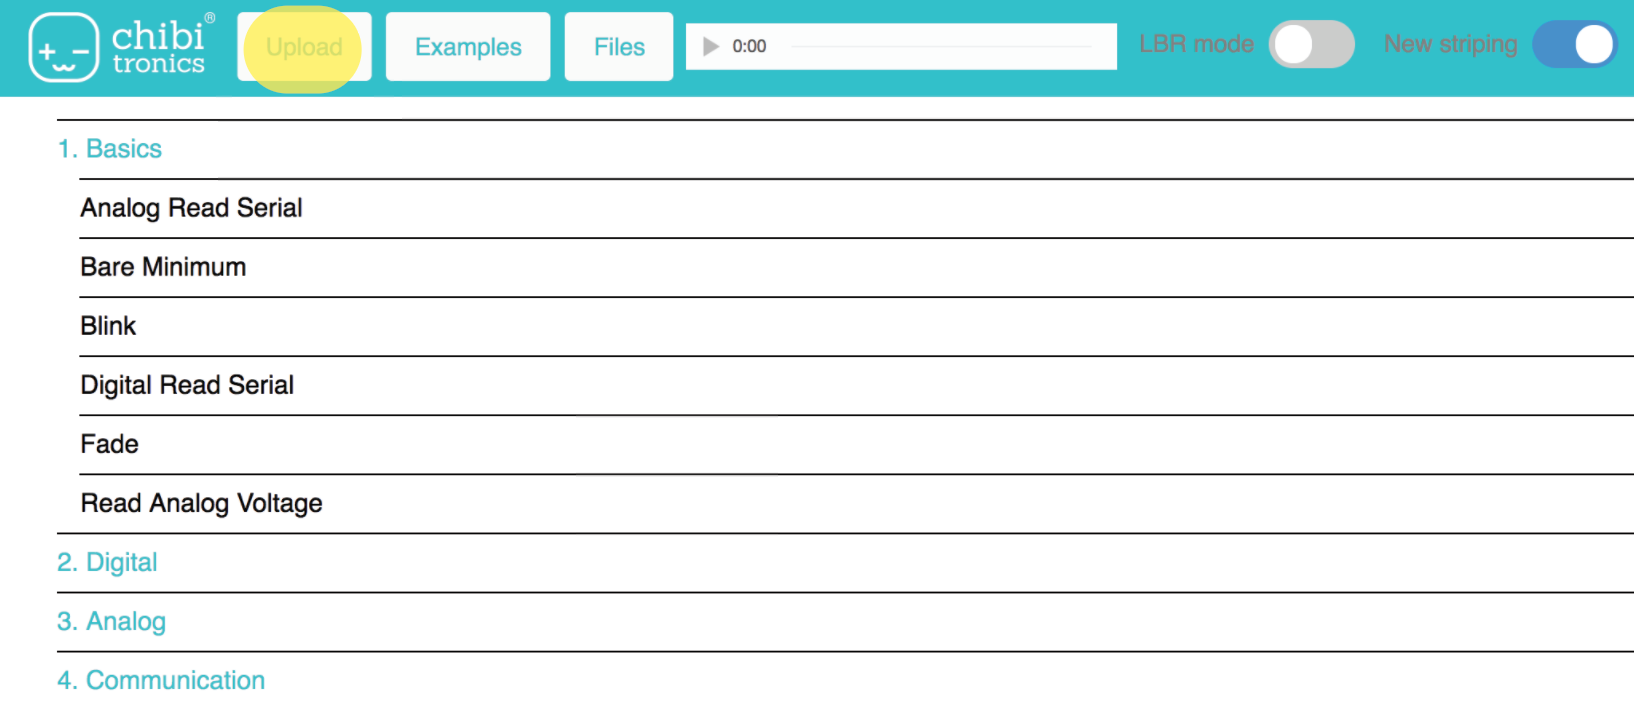
Finally click the Upload button to play the code to your Chibi chip!
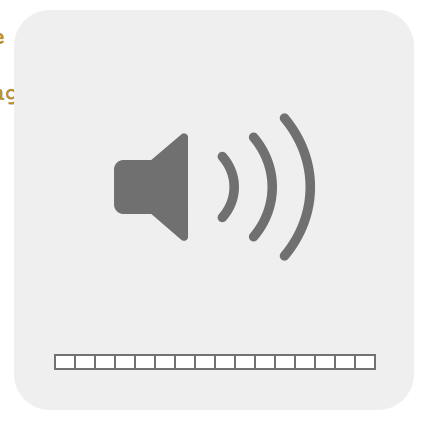
You will see a sound animation appear on the bottom of the screen:
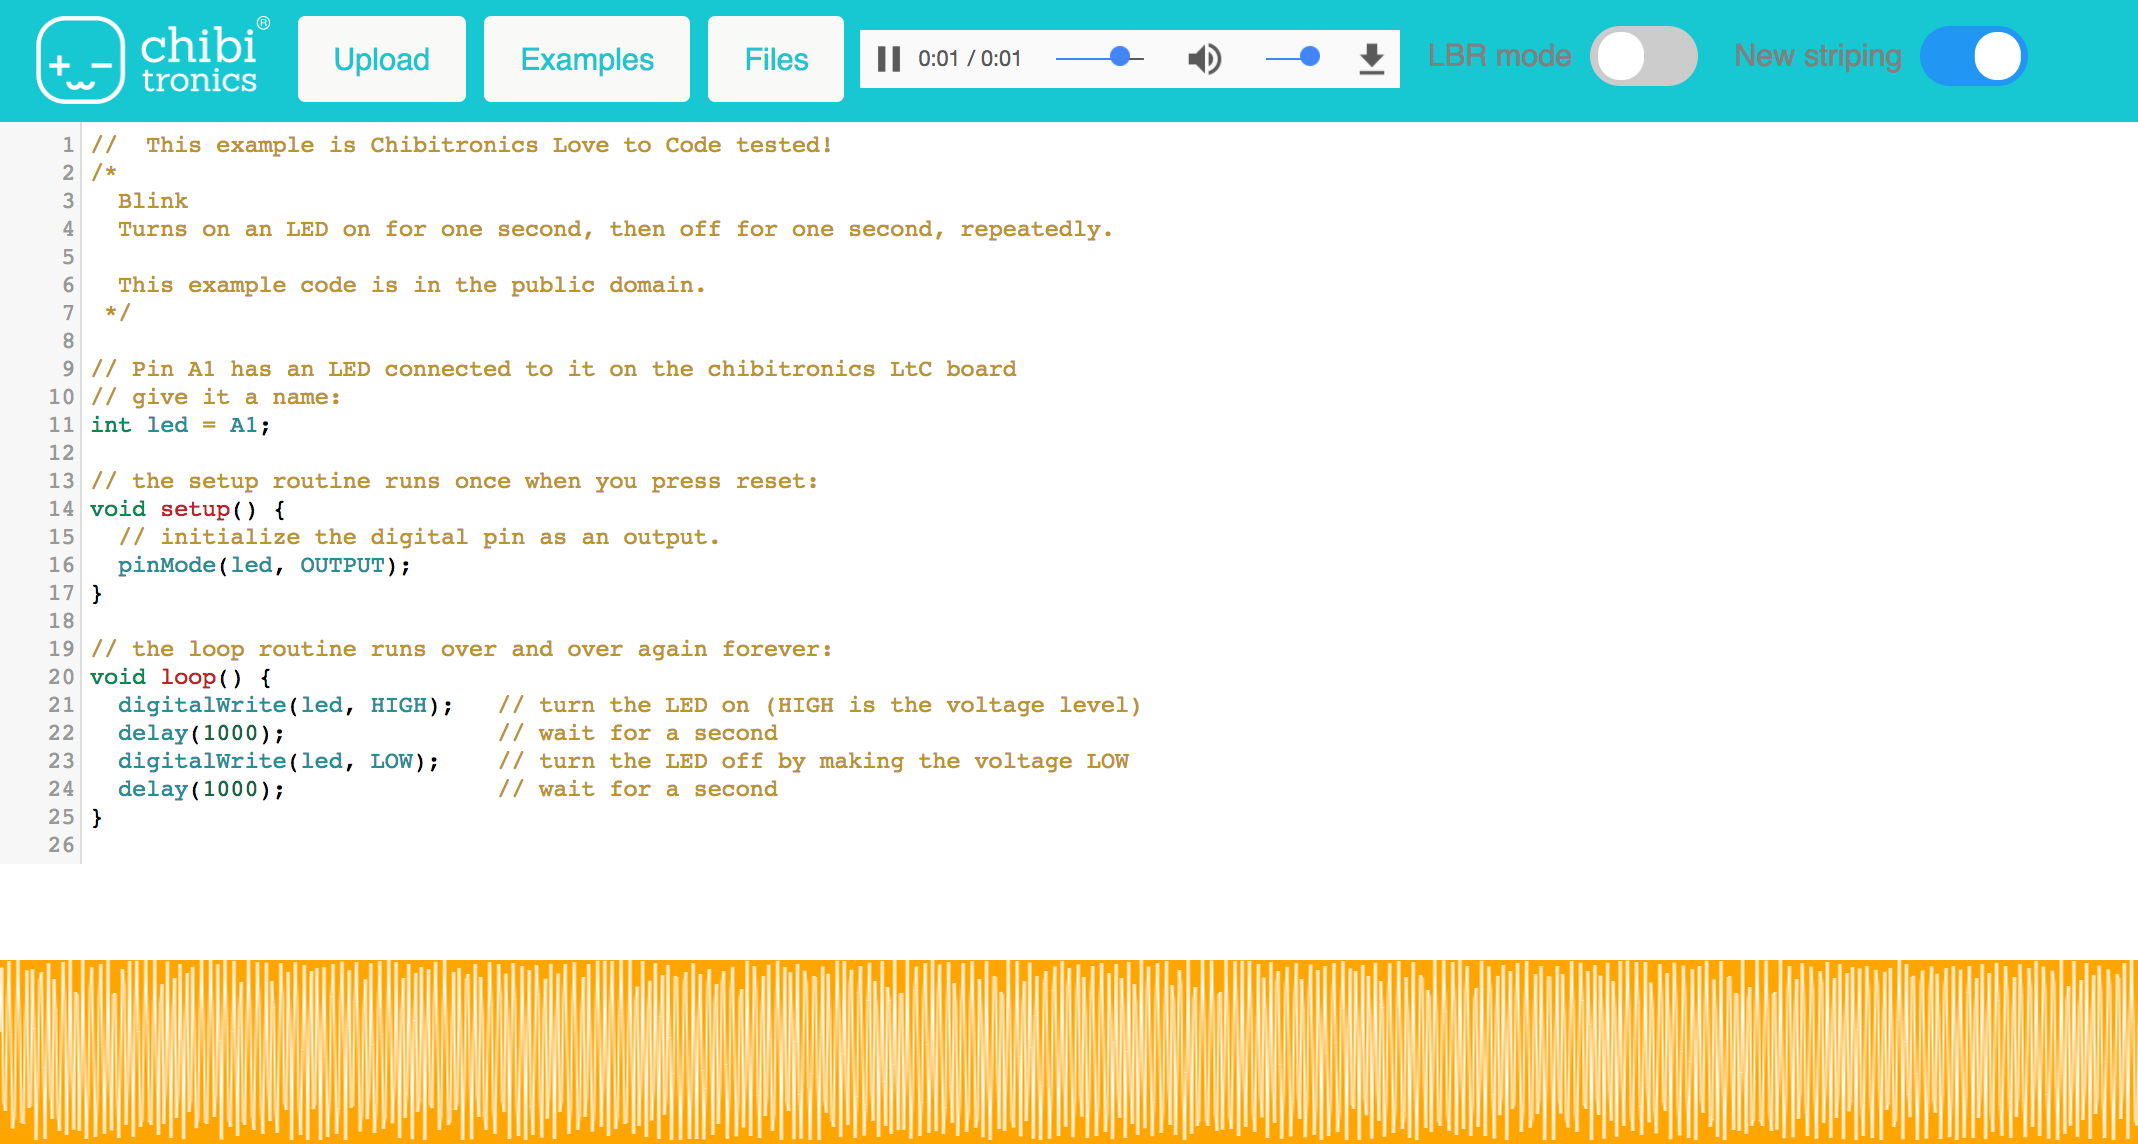
That means the code is being uploaded!
When the code is done uploading, the red PROG light on your board will turn back to green to let you know that programming is done successfully. Now you should see your LED blink. Congrats! You’ve uploaded your code. Your Chibi Chip should now have a light blinking!
Didn’t work? Try:
- If the sound bar didn’t appear, try refreshing the page and uploading again
- Check that your volume is all the way up and unmuted. You can test this by unplugging the audio cable and see if you can hear the static (that’s your code!) when you press upload. If you hear the sound then plug the audio cable back in and try uploading again.
- Remember to press the Prog button on your board before you click upload so that it’s in programming mode and the PROG light is red
- Still having challenges? Send us a note at info@chibitronics.com!
Block-based Code Option:
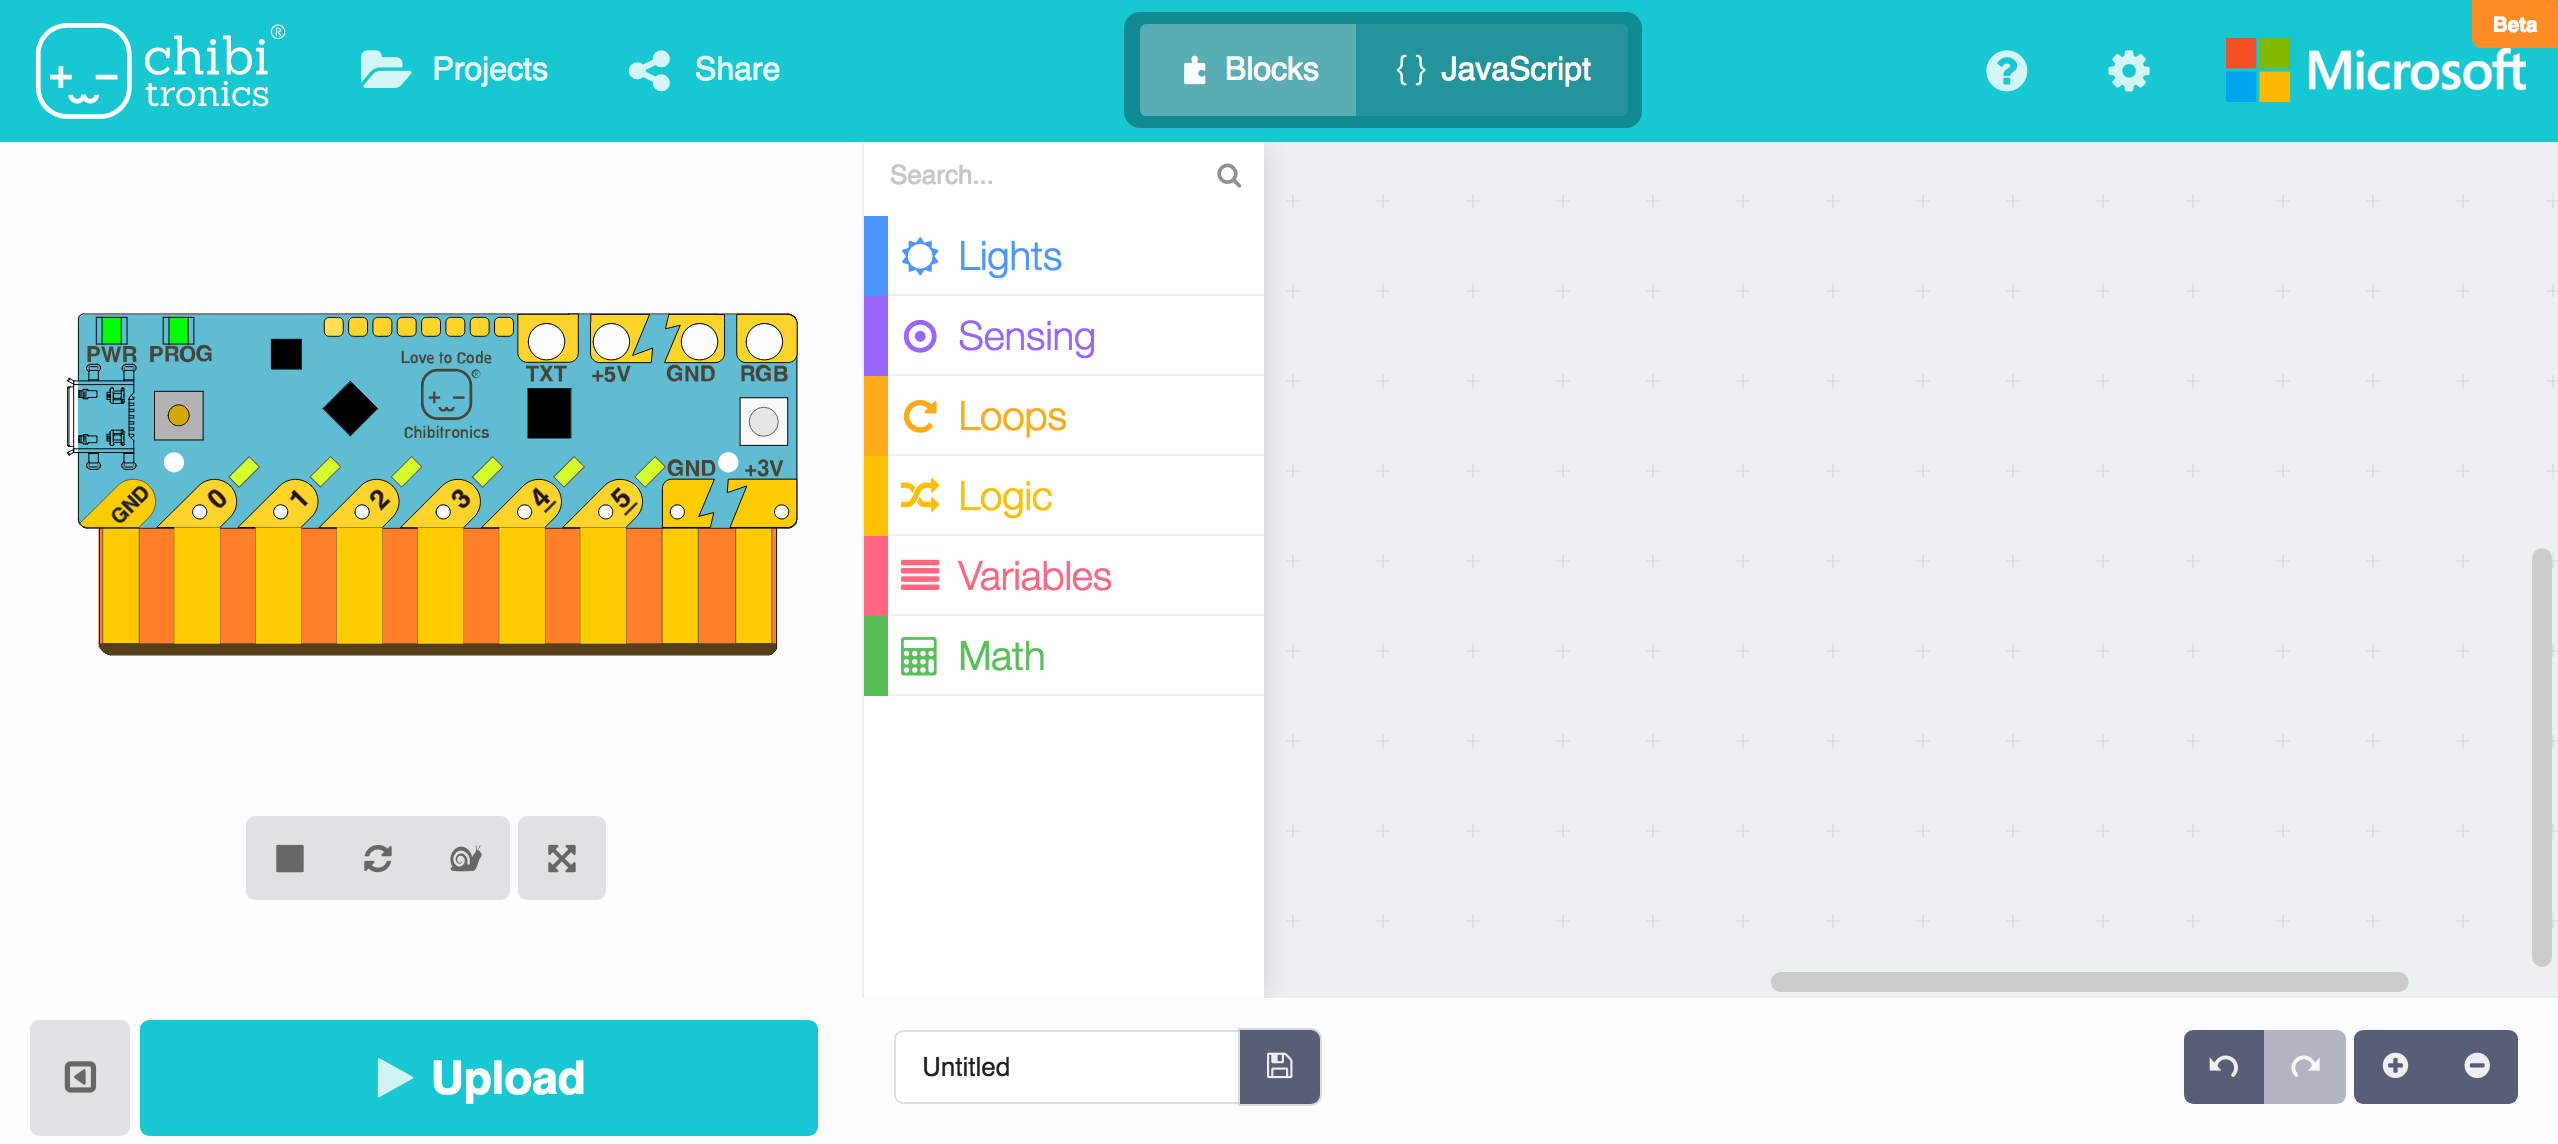
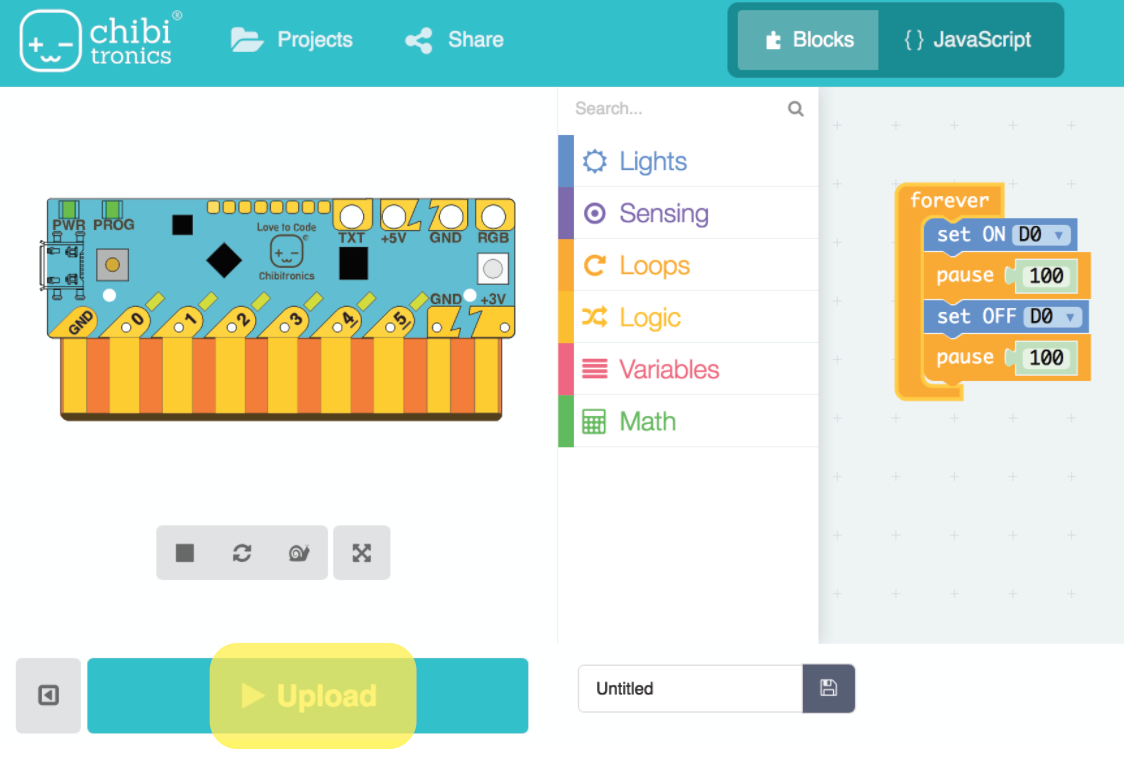
If you want to use the block-based code editor, go to Makecode.chibitronics.com:
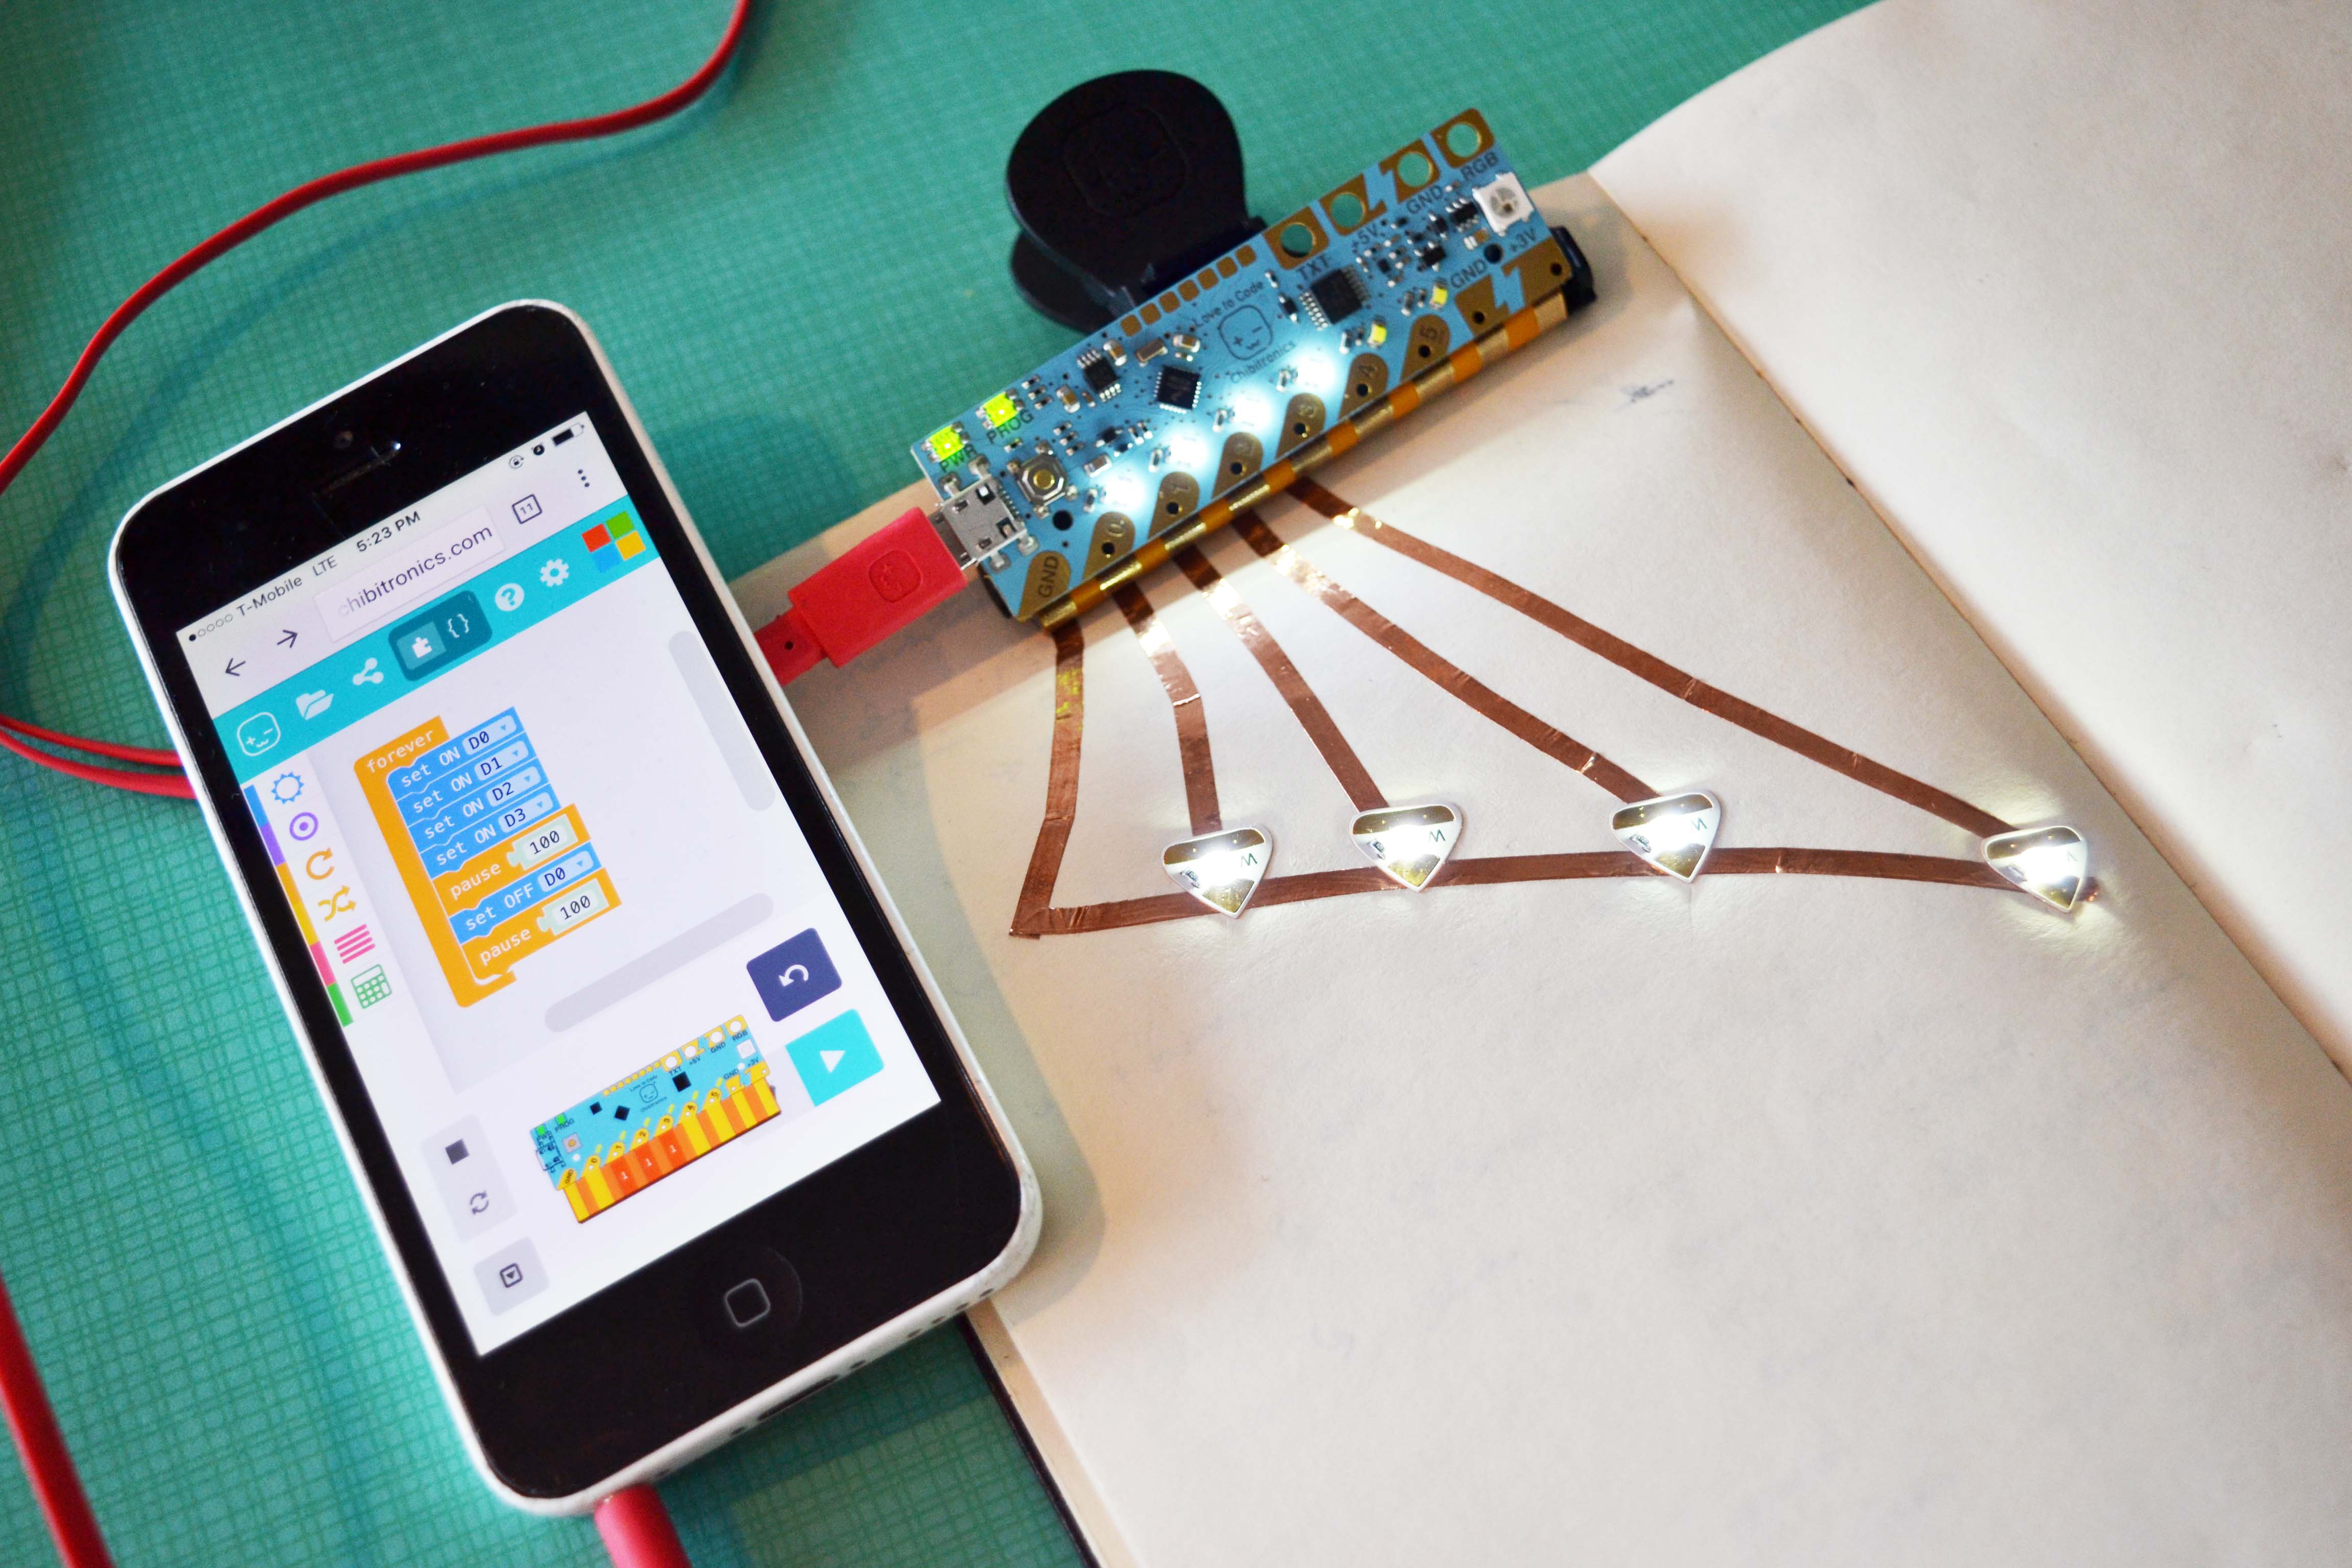
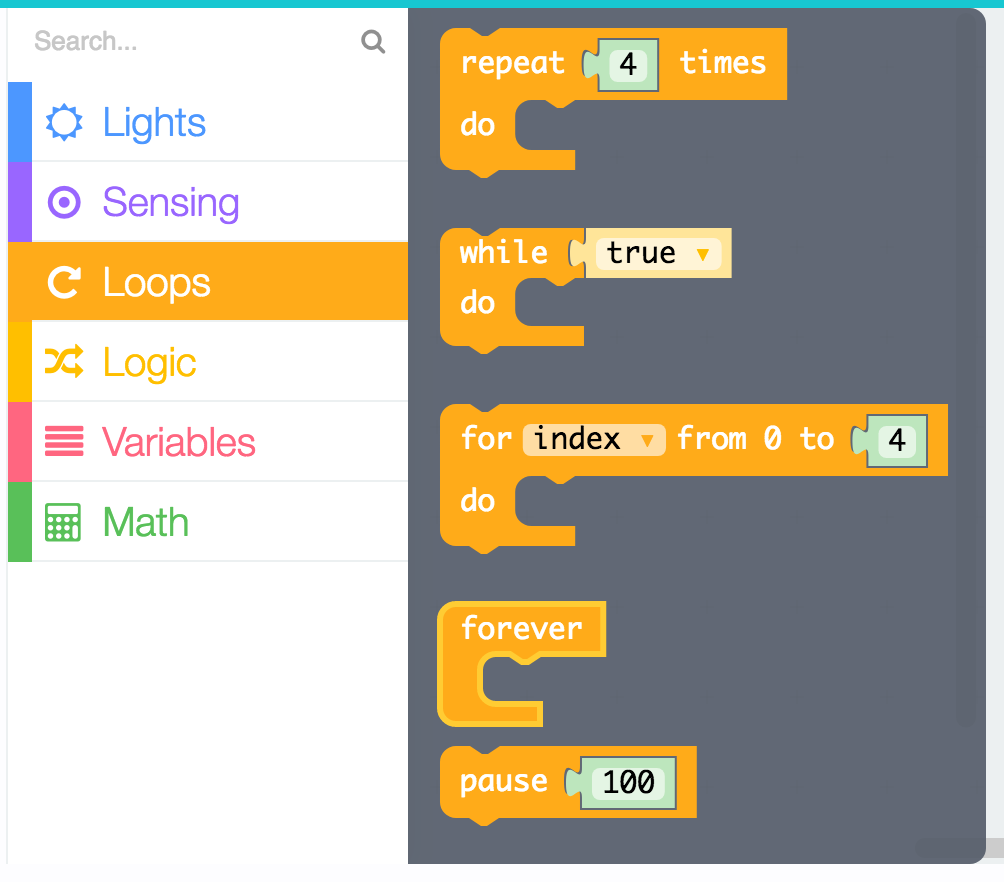
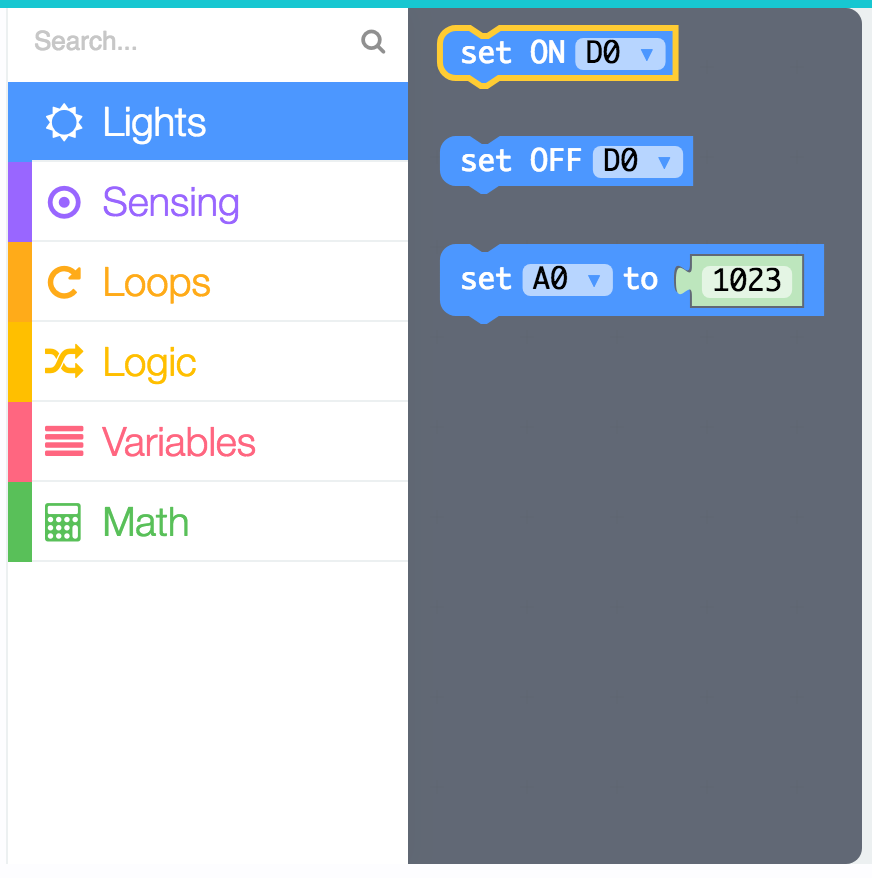
Then drag and drop the forever and pause blocks in the Control category and the set ON and set OFF blocks of the Lights category:
to make the following blink code:

Check to see that the PROG light on your board is red. If it isn’t, press the PROG button until the light stays red:
Then press the Upload button at the bottom of the page:
Now you should see this sound animation appear in the upper left corner:

When the sound animation stops, the code is finished uploading. Congrats! You’ve uploaded your code!
Now your board should have a blinking light:
Didn’t work? Try:
- If the sound animation didn’t appear, try refreshing the page and uploading again
- Check that your volume is all the way up and unmuted. You can test this by unplugging the audio cable and see if you can hear the static (that’s your code!) when you press the upload button. If you hear the sound then plug the audio cable back in and try uploading again.
- Remember to press the Prog button on your board before you click upload so that it’s in programming mode and the PROG light is red
- Still having challenges? Send us a note at info@chibitronics.com!
Now that you have your first program uploaded. Try playing with the code and creating your own light and blink patterns!
Thanks for trying out our Love to Code beta boards. We would love your feedback to make the experience even better! Do you have ideas or comments for us? Please send them our way at info@chibitronics.com
Happy making 🙂