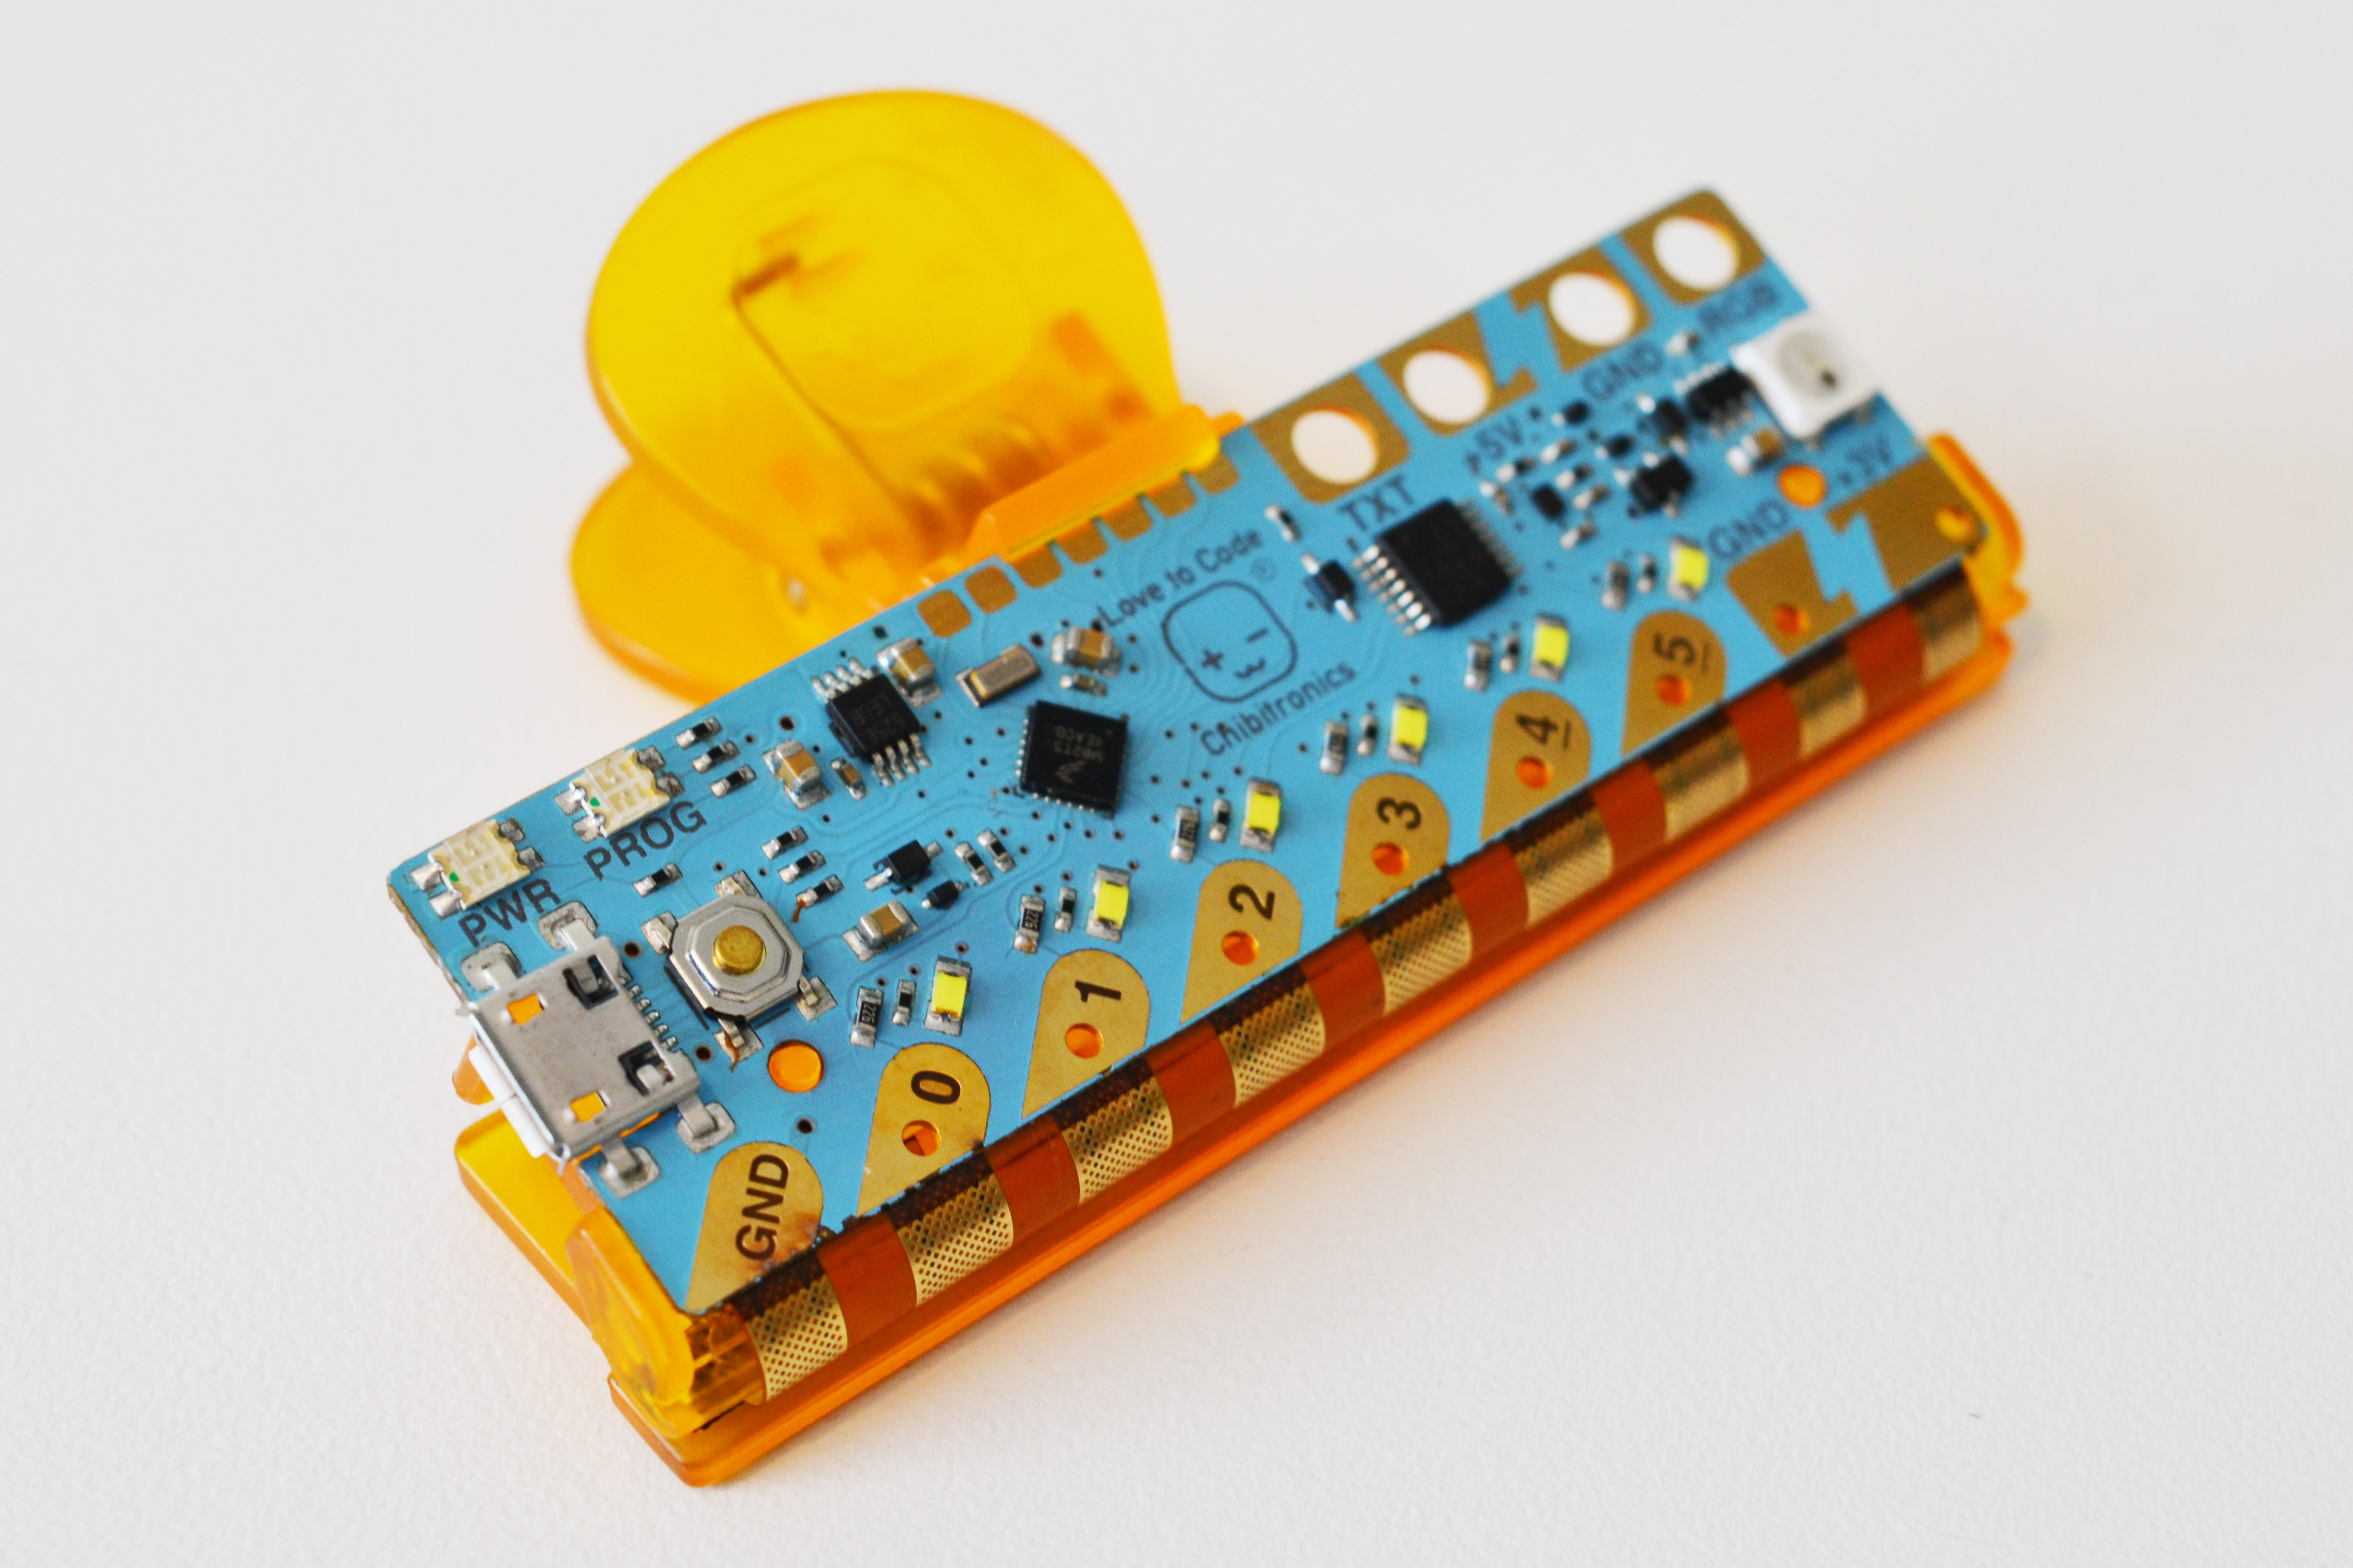
This tutorial shows you how to turn your Chibi Chip programmable board into a reusable clip!
You will need:
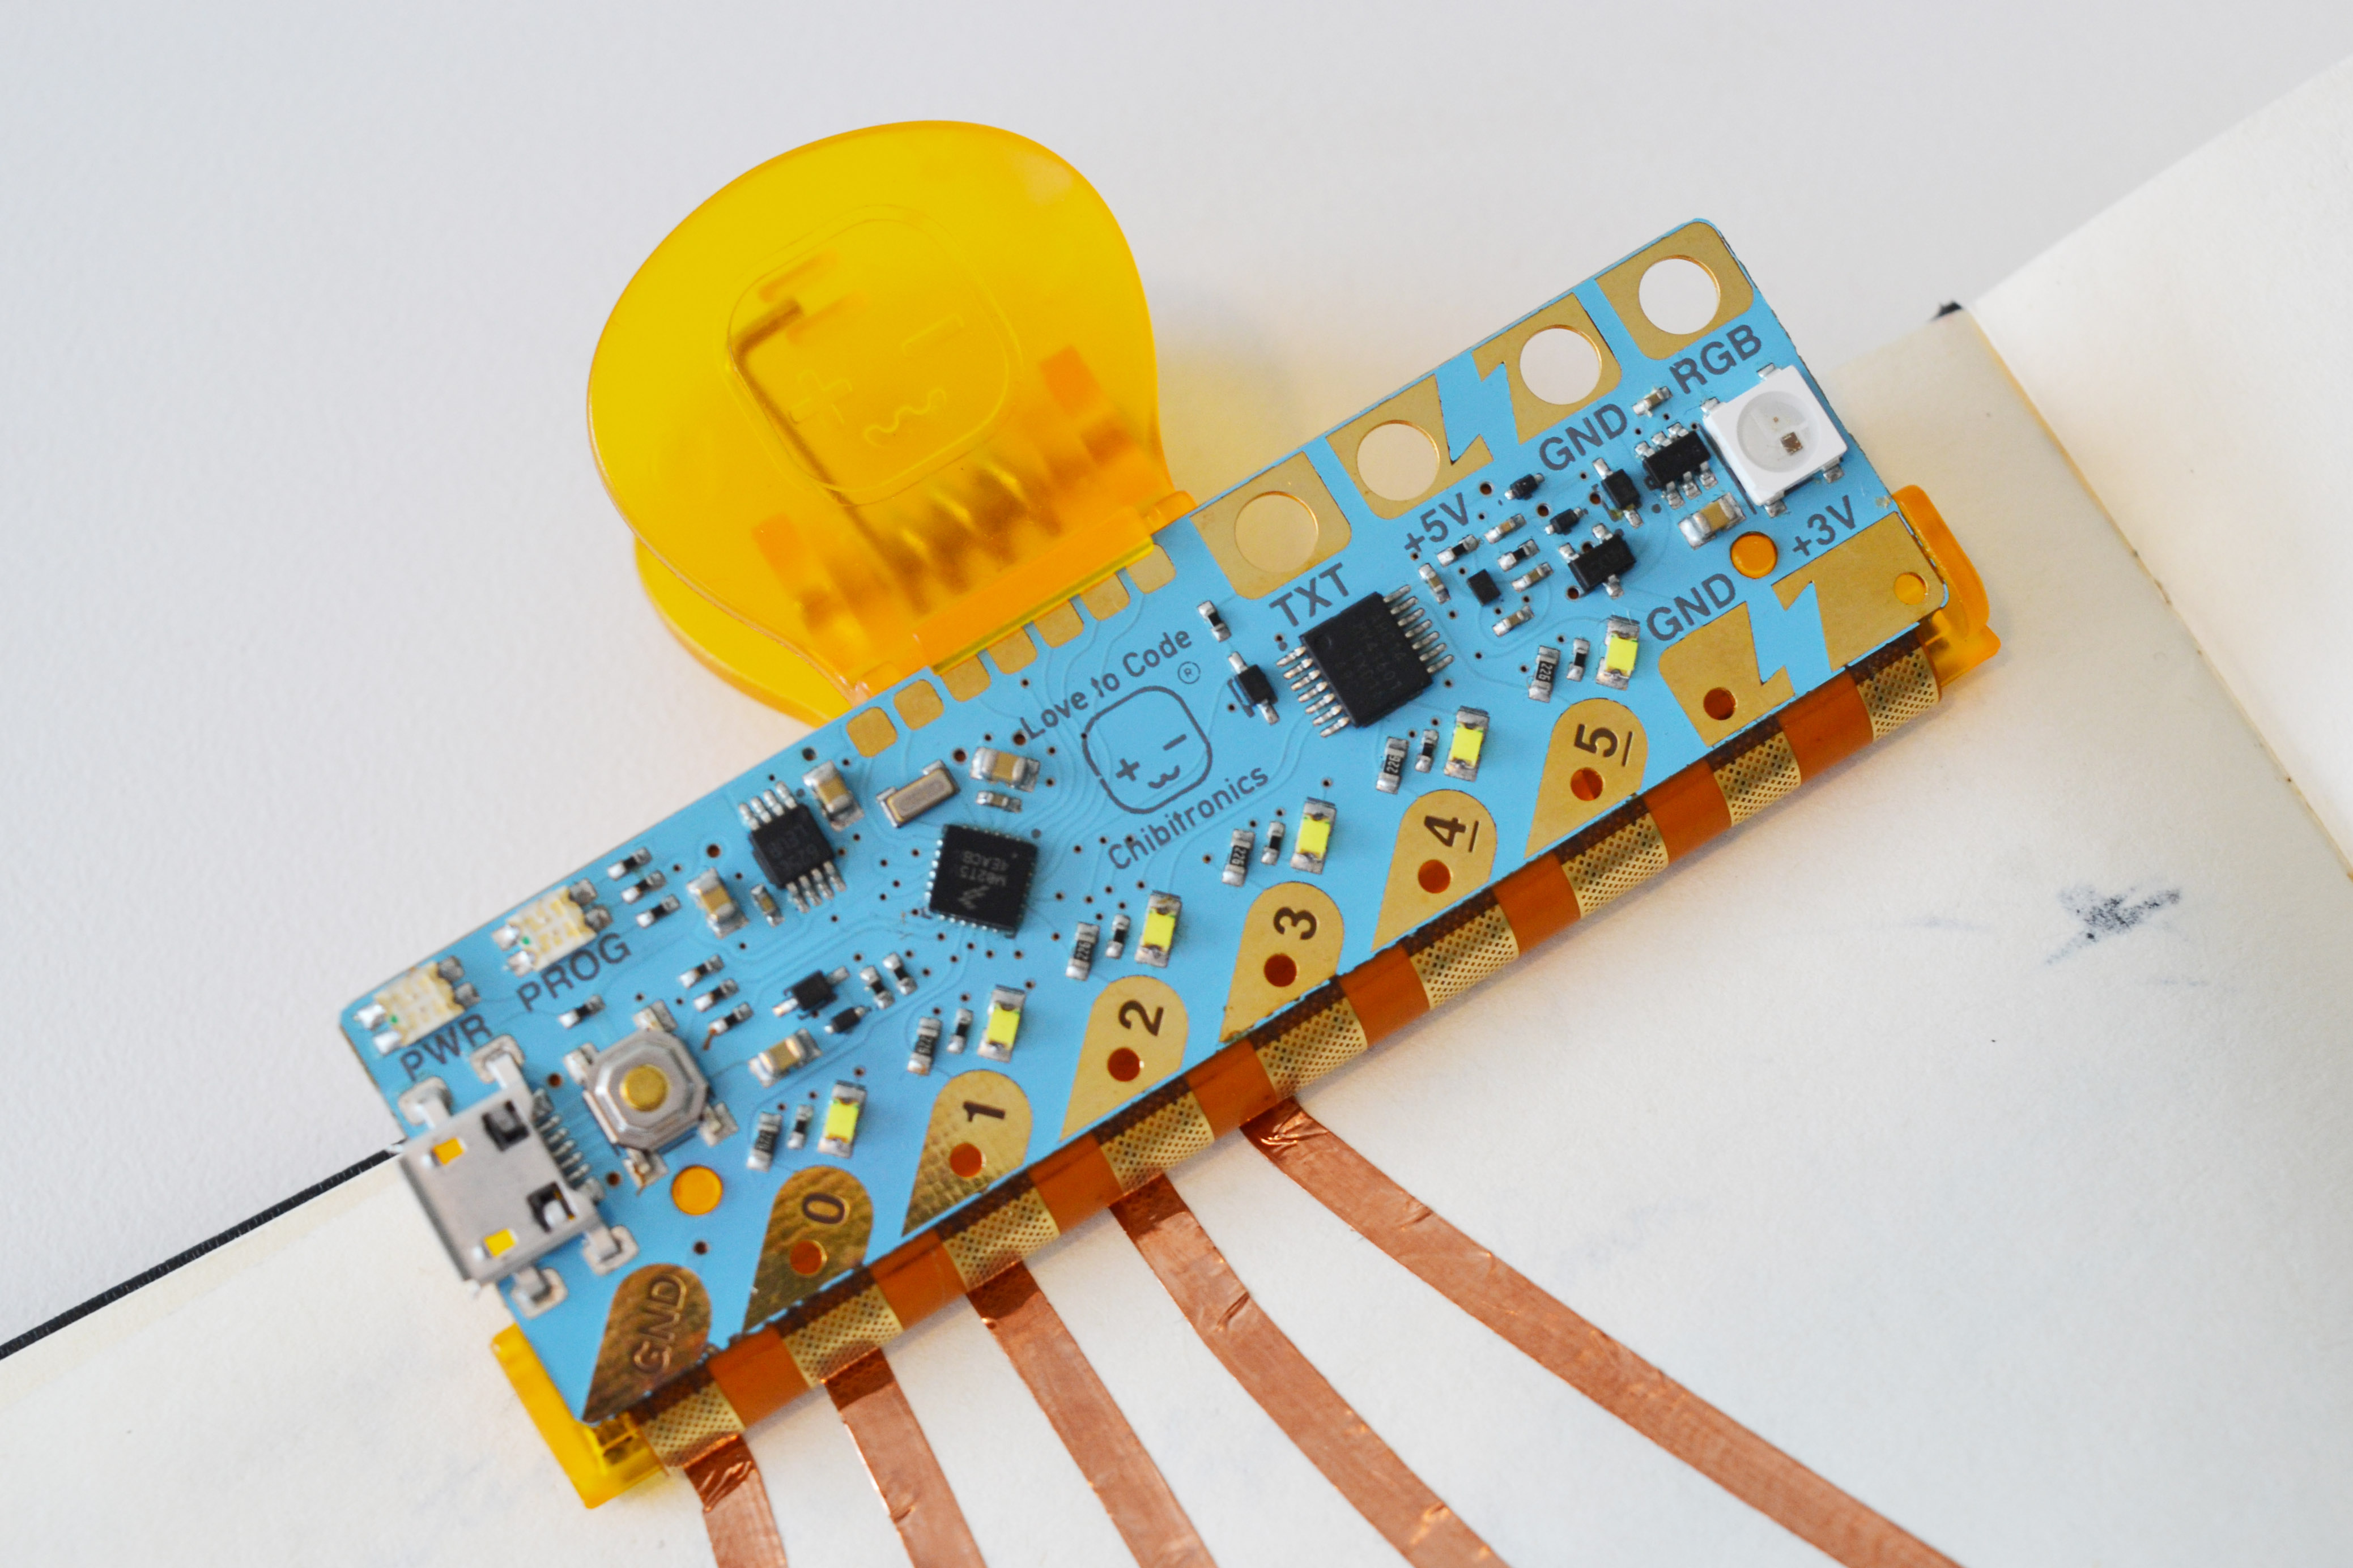
- Chibi Chip programmable microcontroller board
- Chibi Clip holder
Video Tutorial:
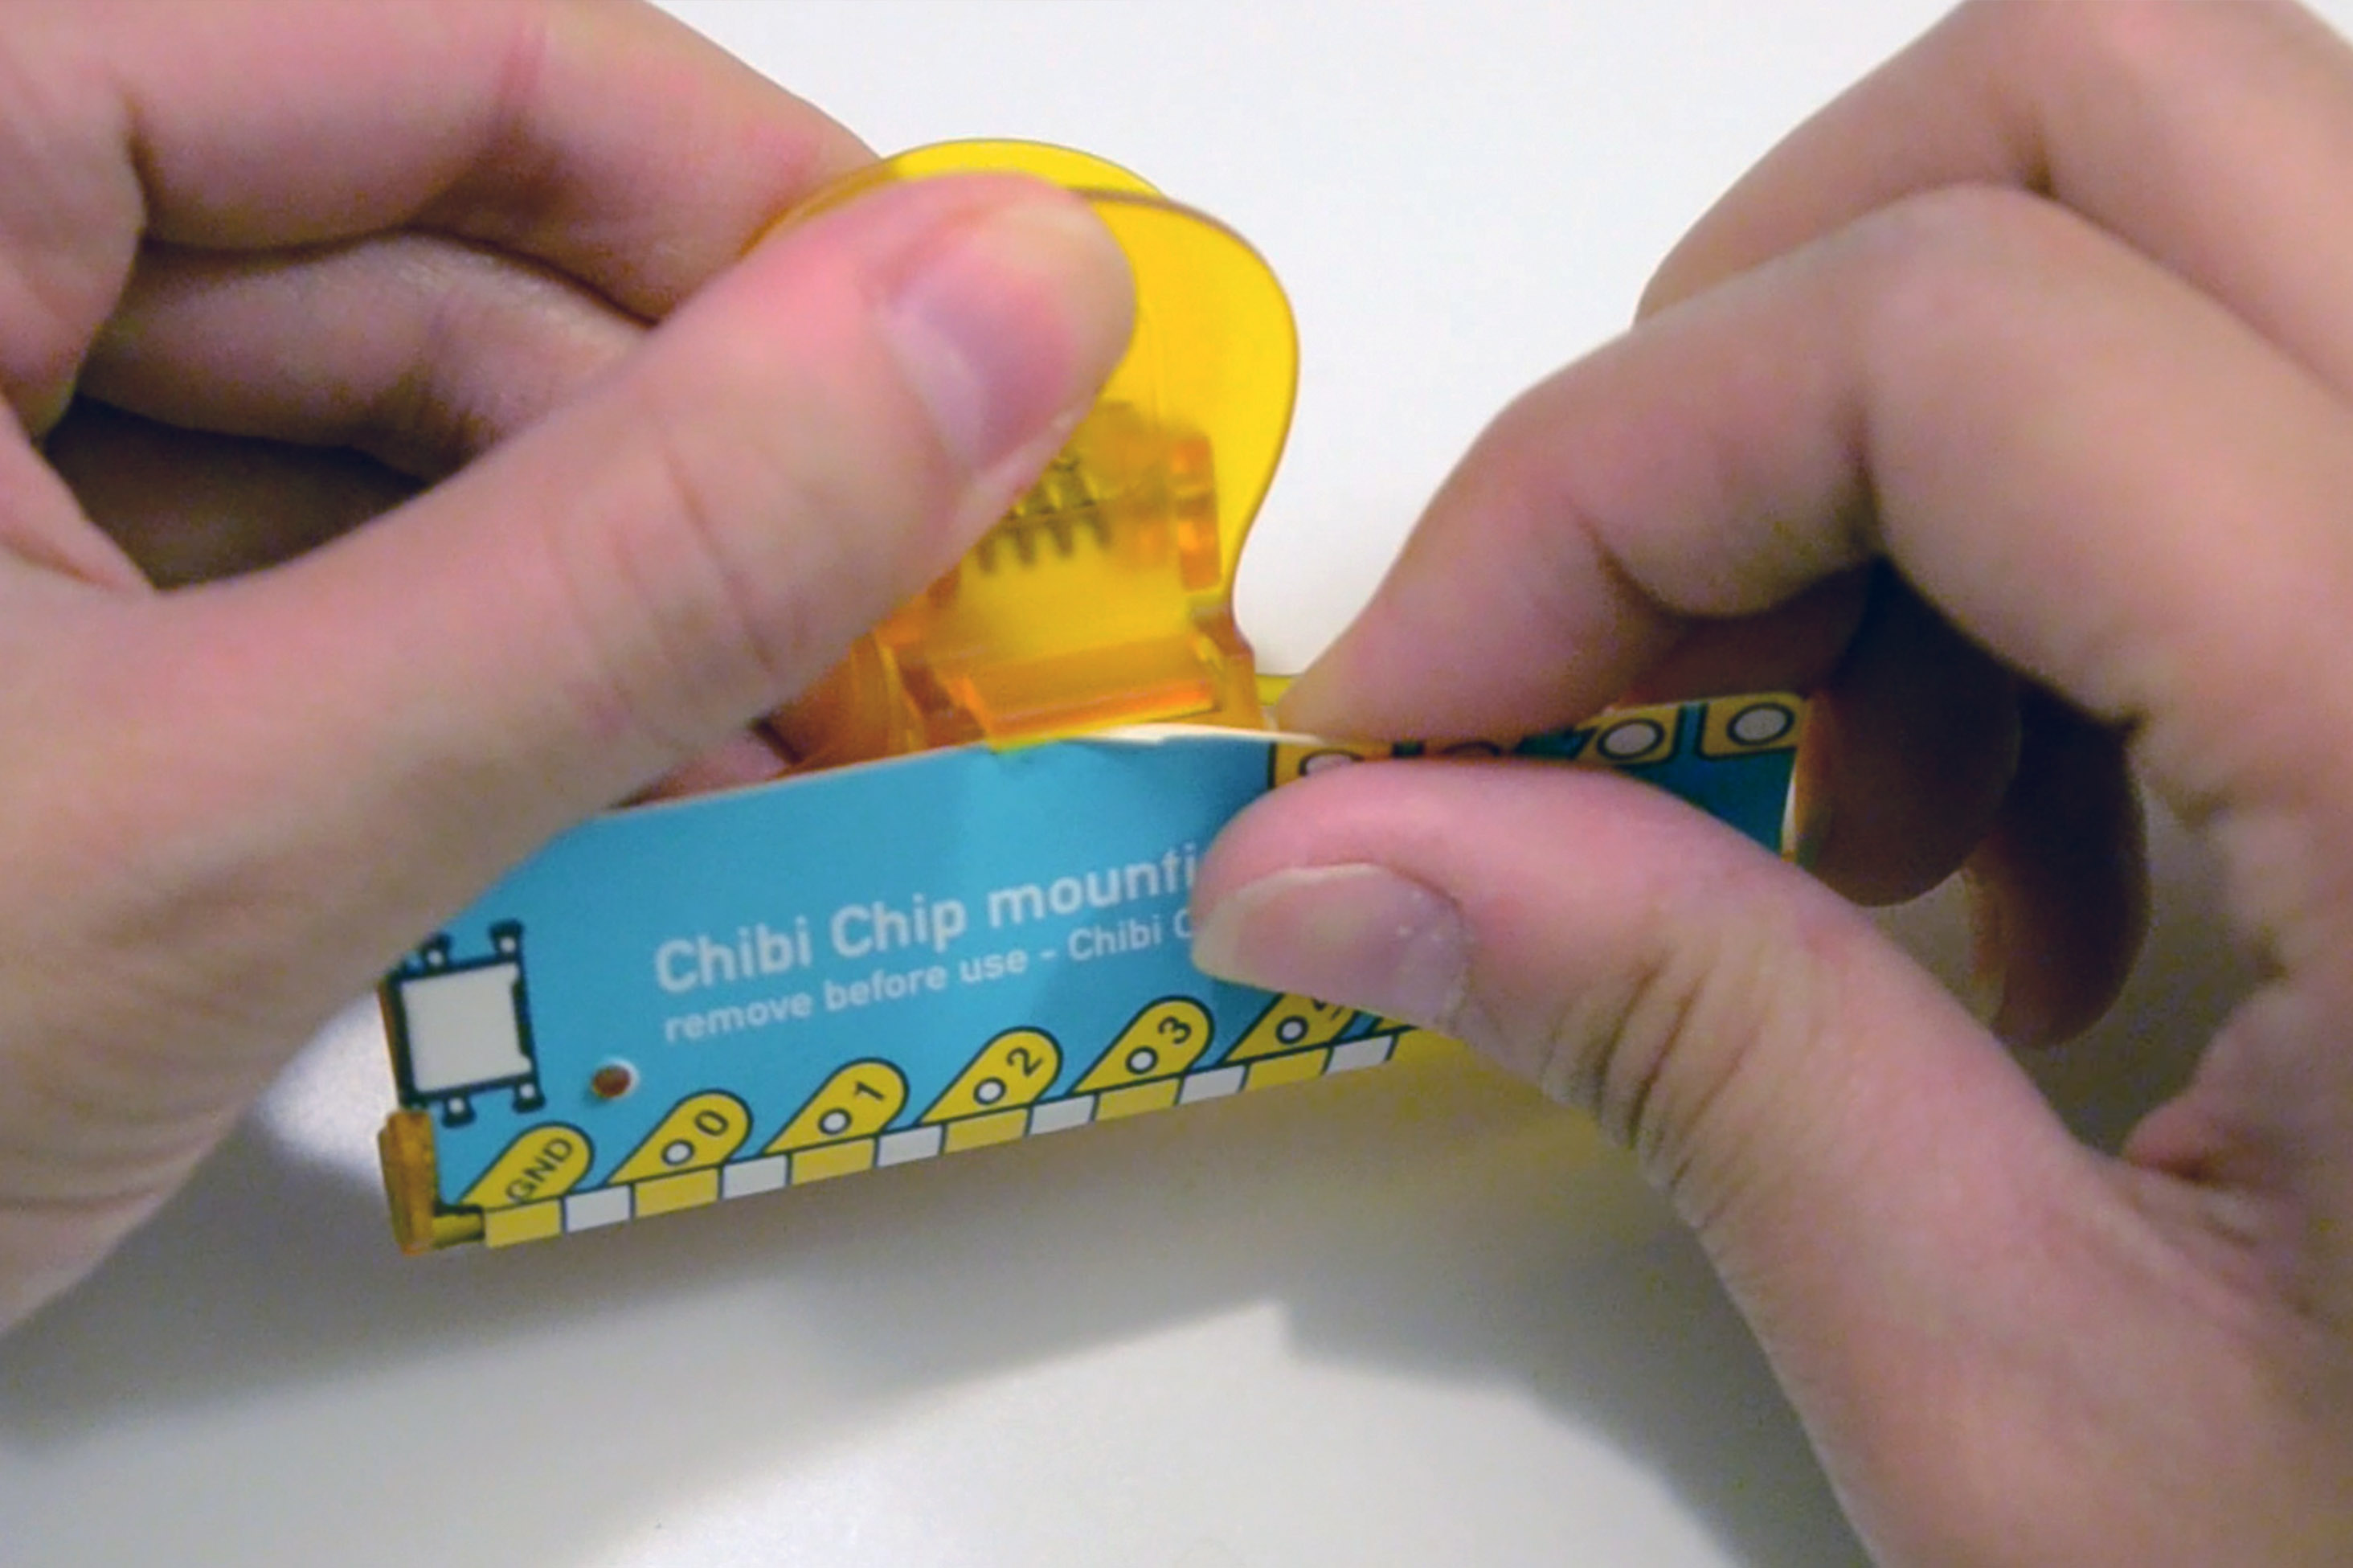
Step 1: Remove example paper insert
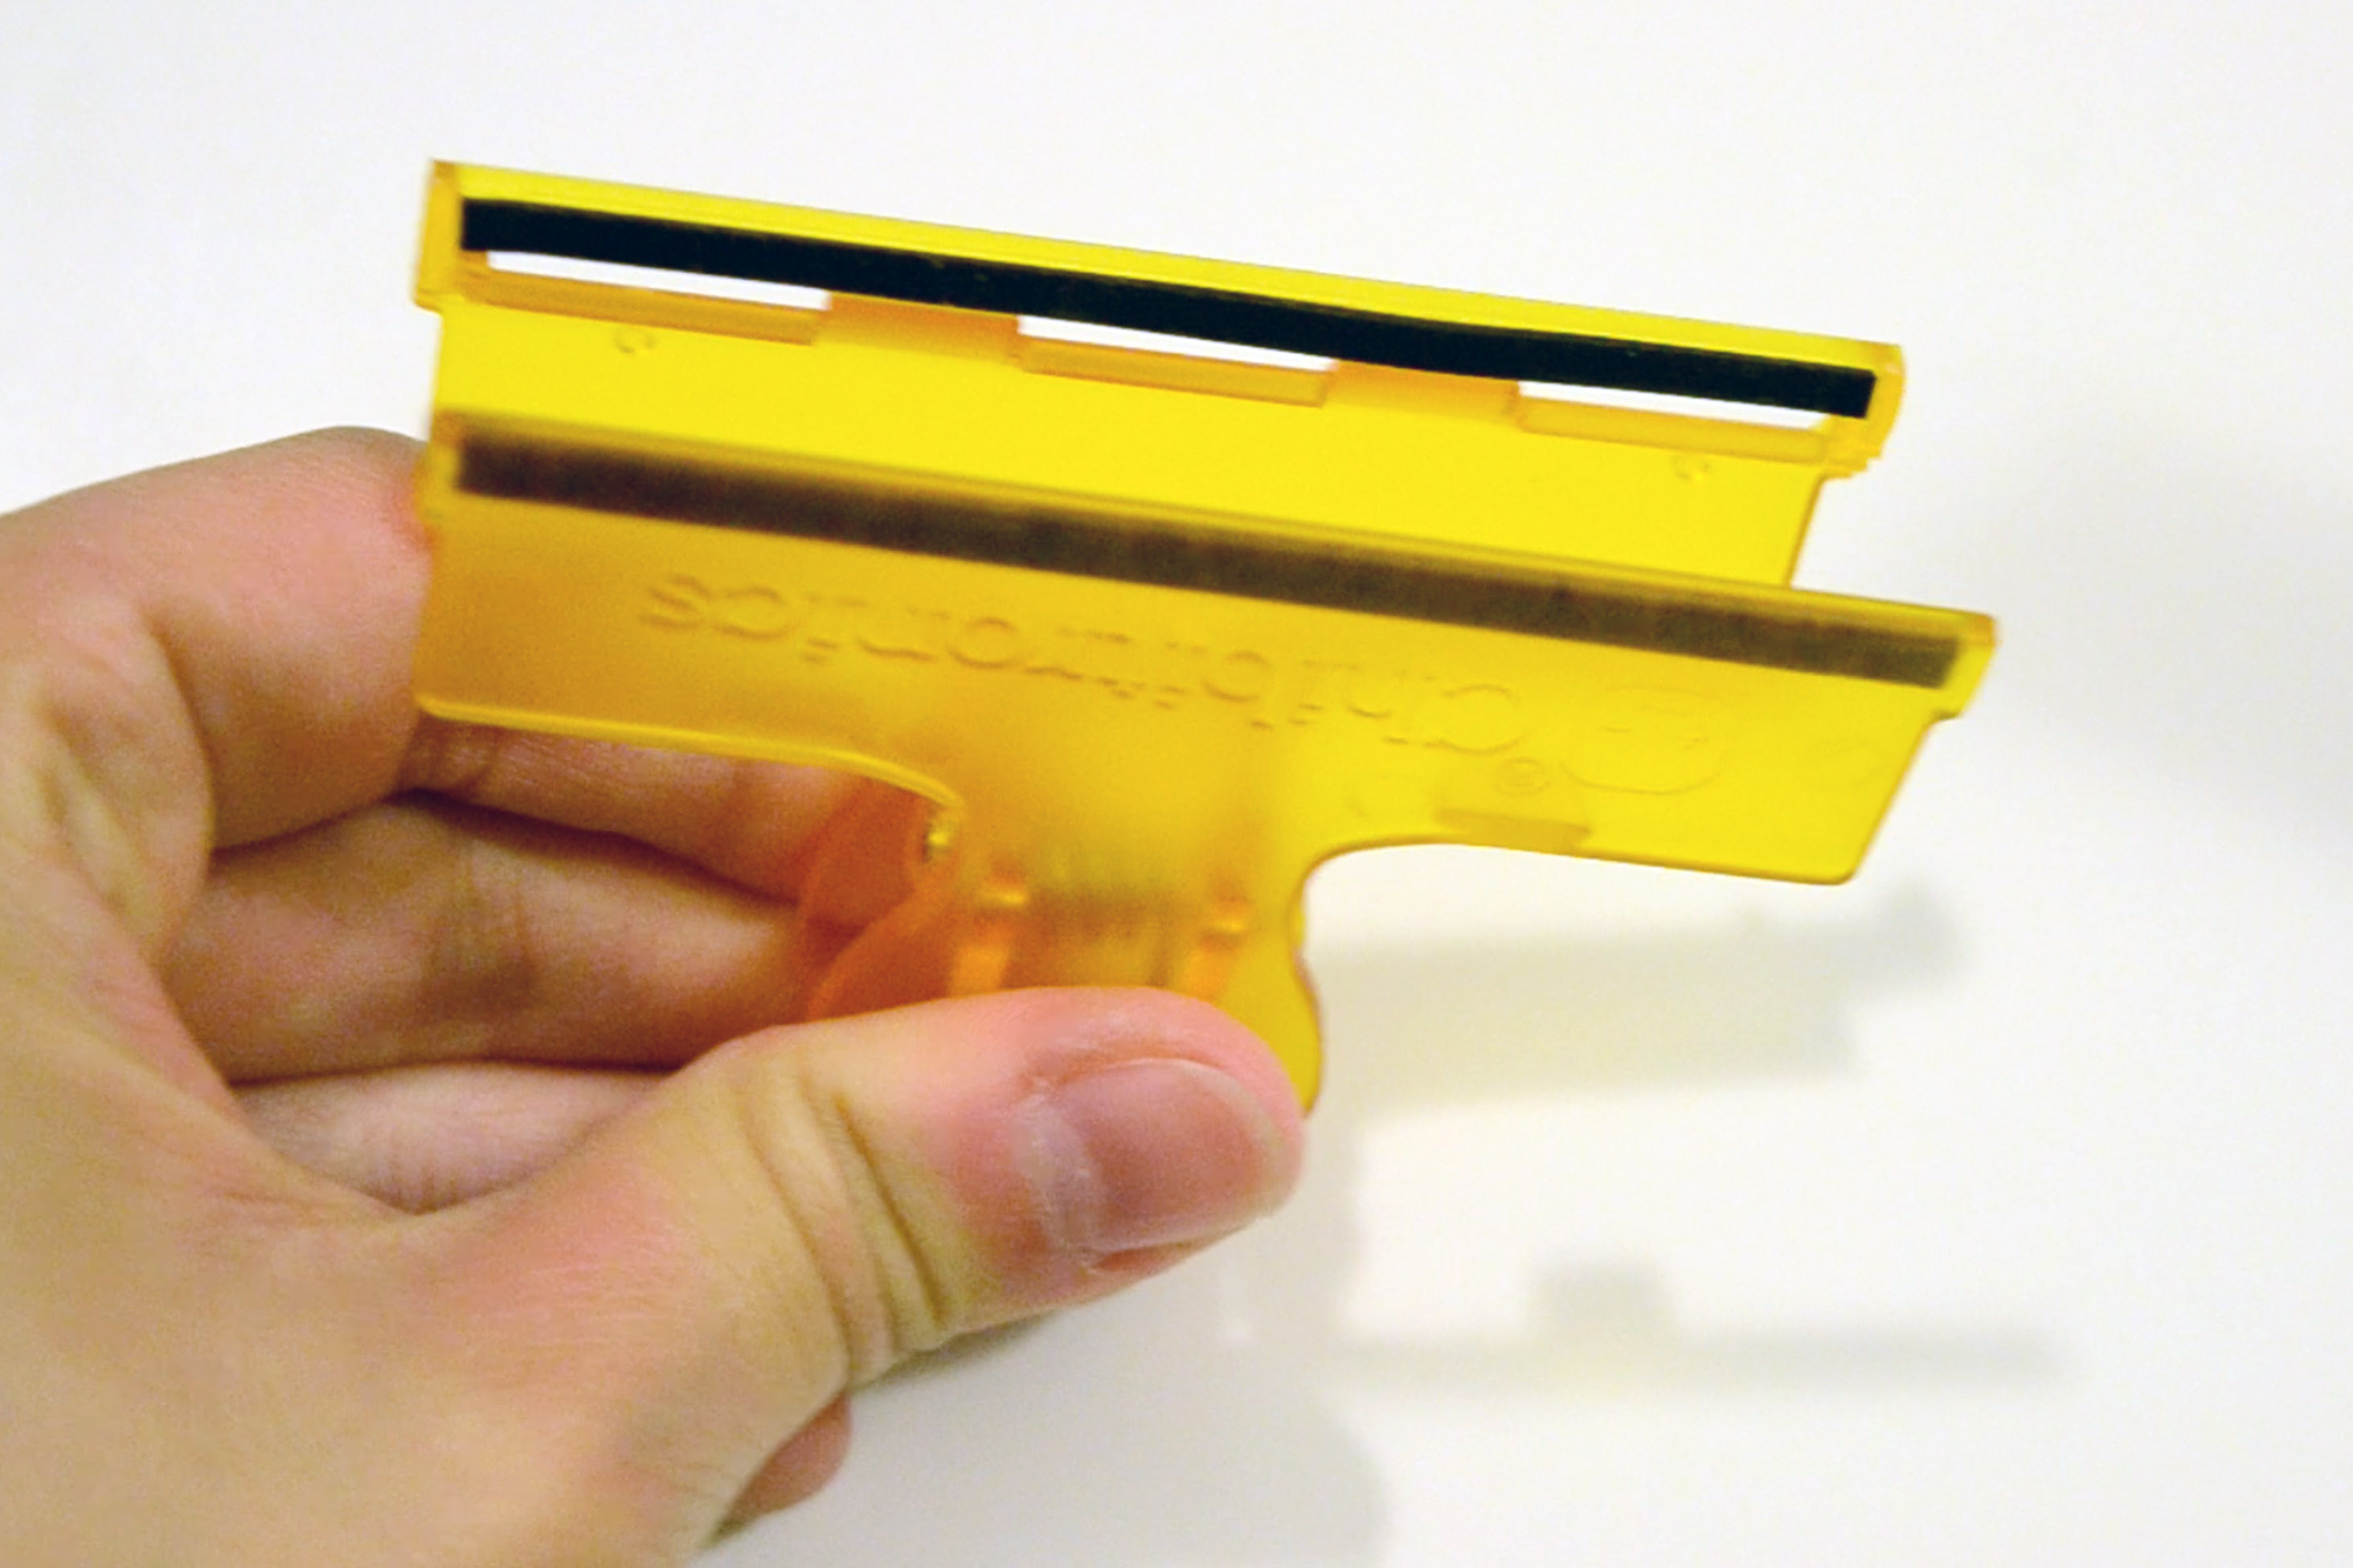
Step 2: Remove the adhesive tape from your clip holder

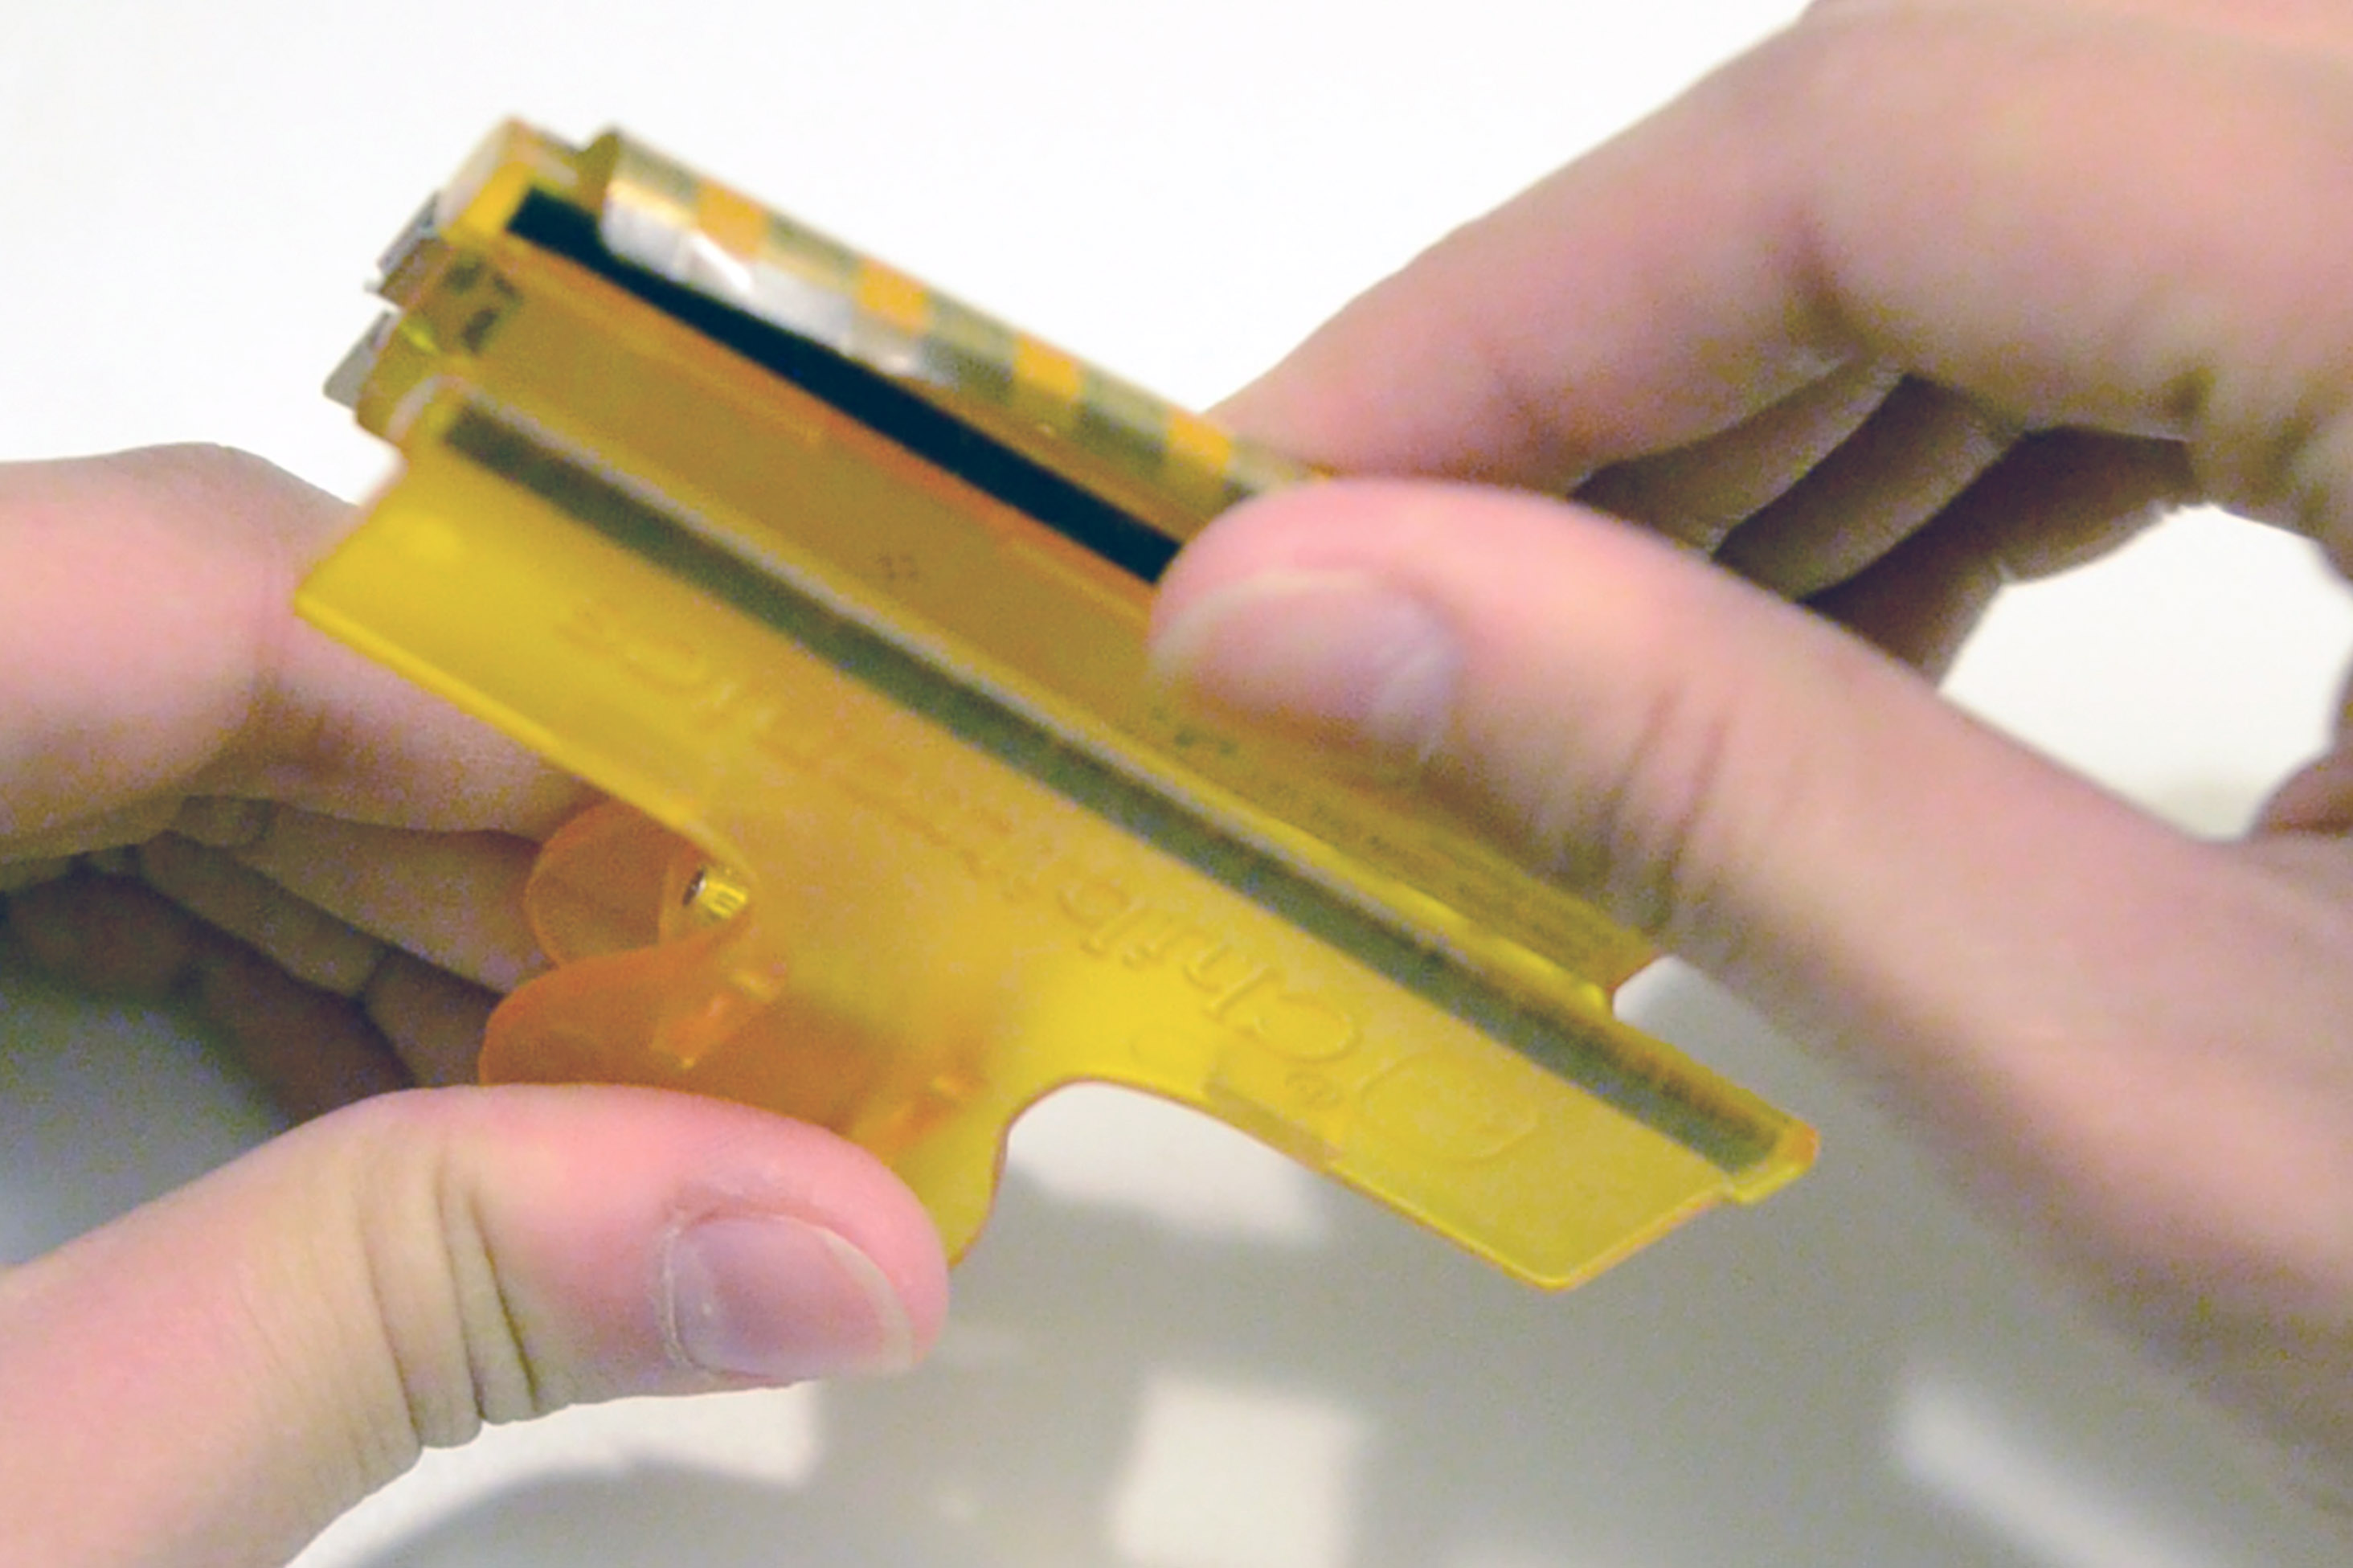
Step 3: Flip the clip over so that the flat side showing “Chibitronics” faces up and open the clip.
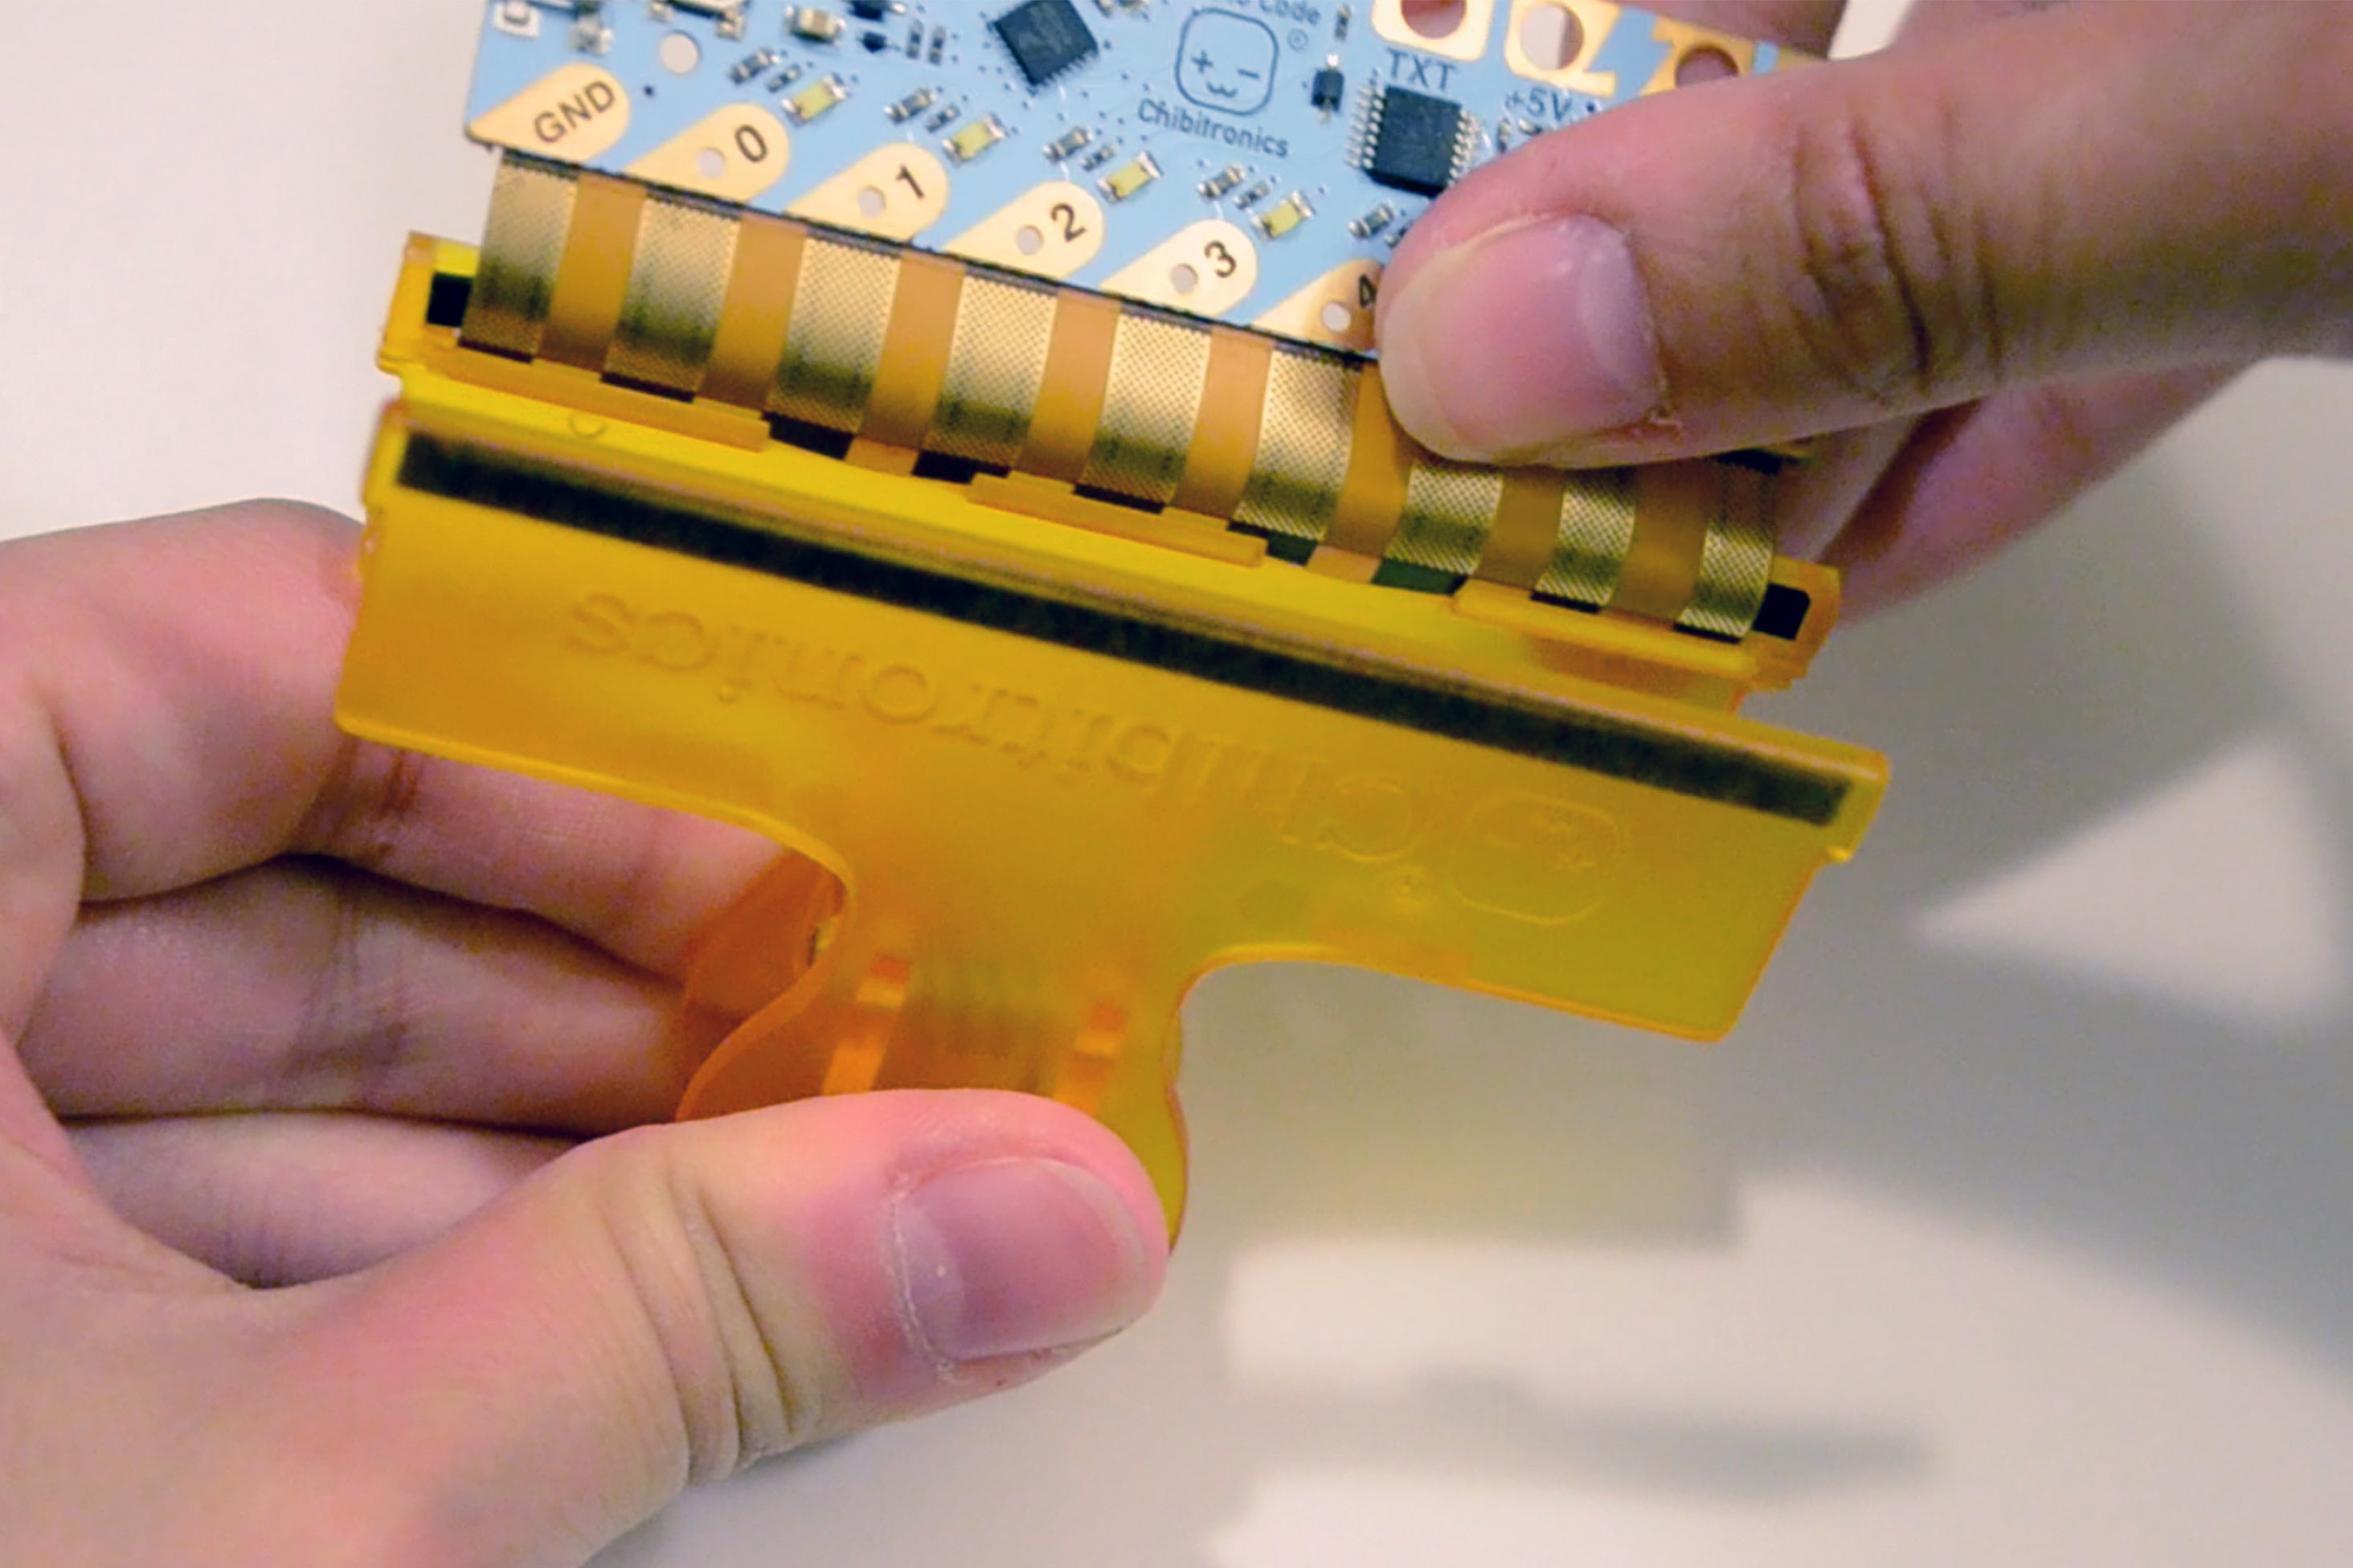
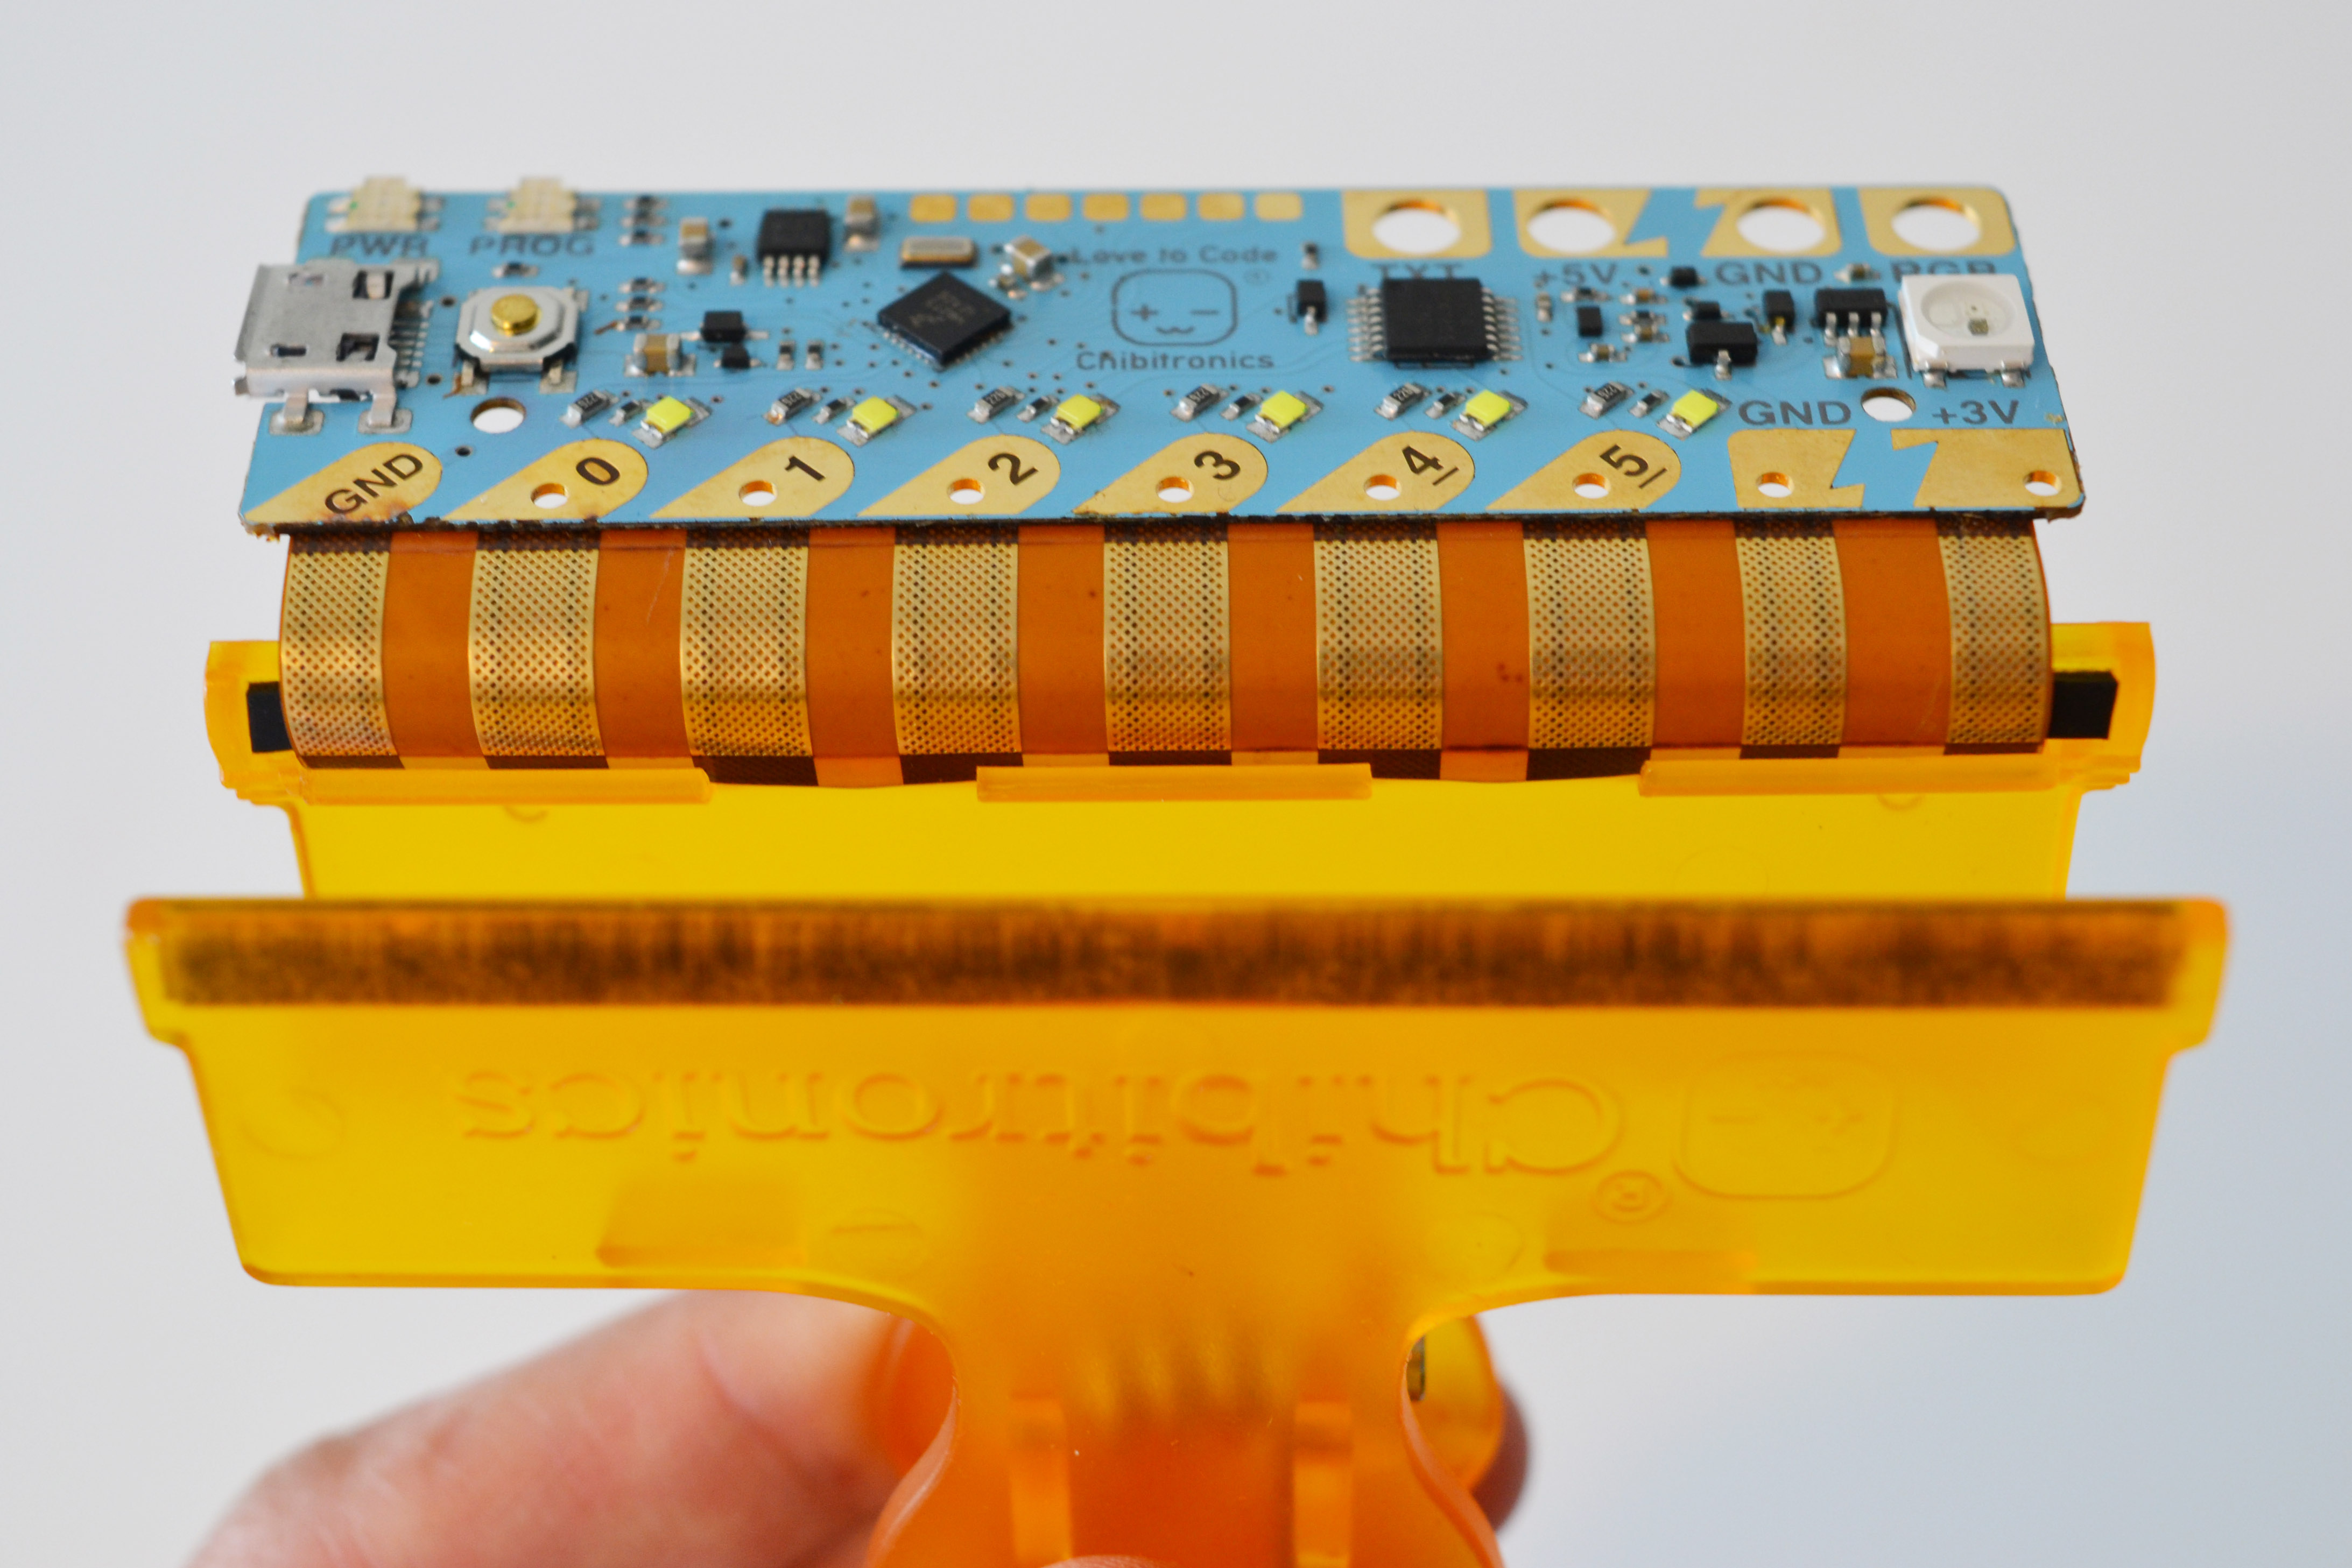
Step 4: Hold your Chibi Chip with blue side facing up and Insert the flexible part into the three notches on the mouth of the clip.
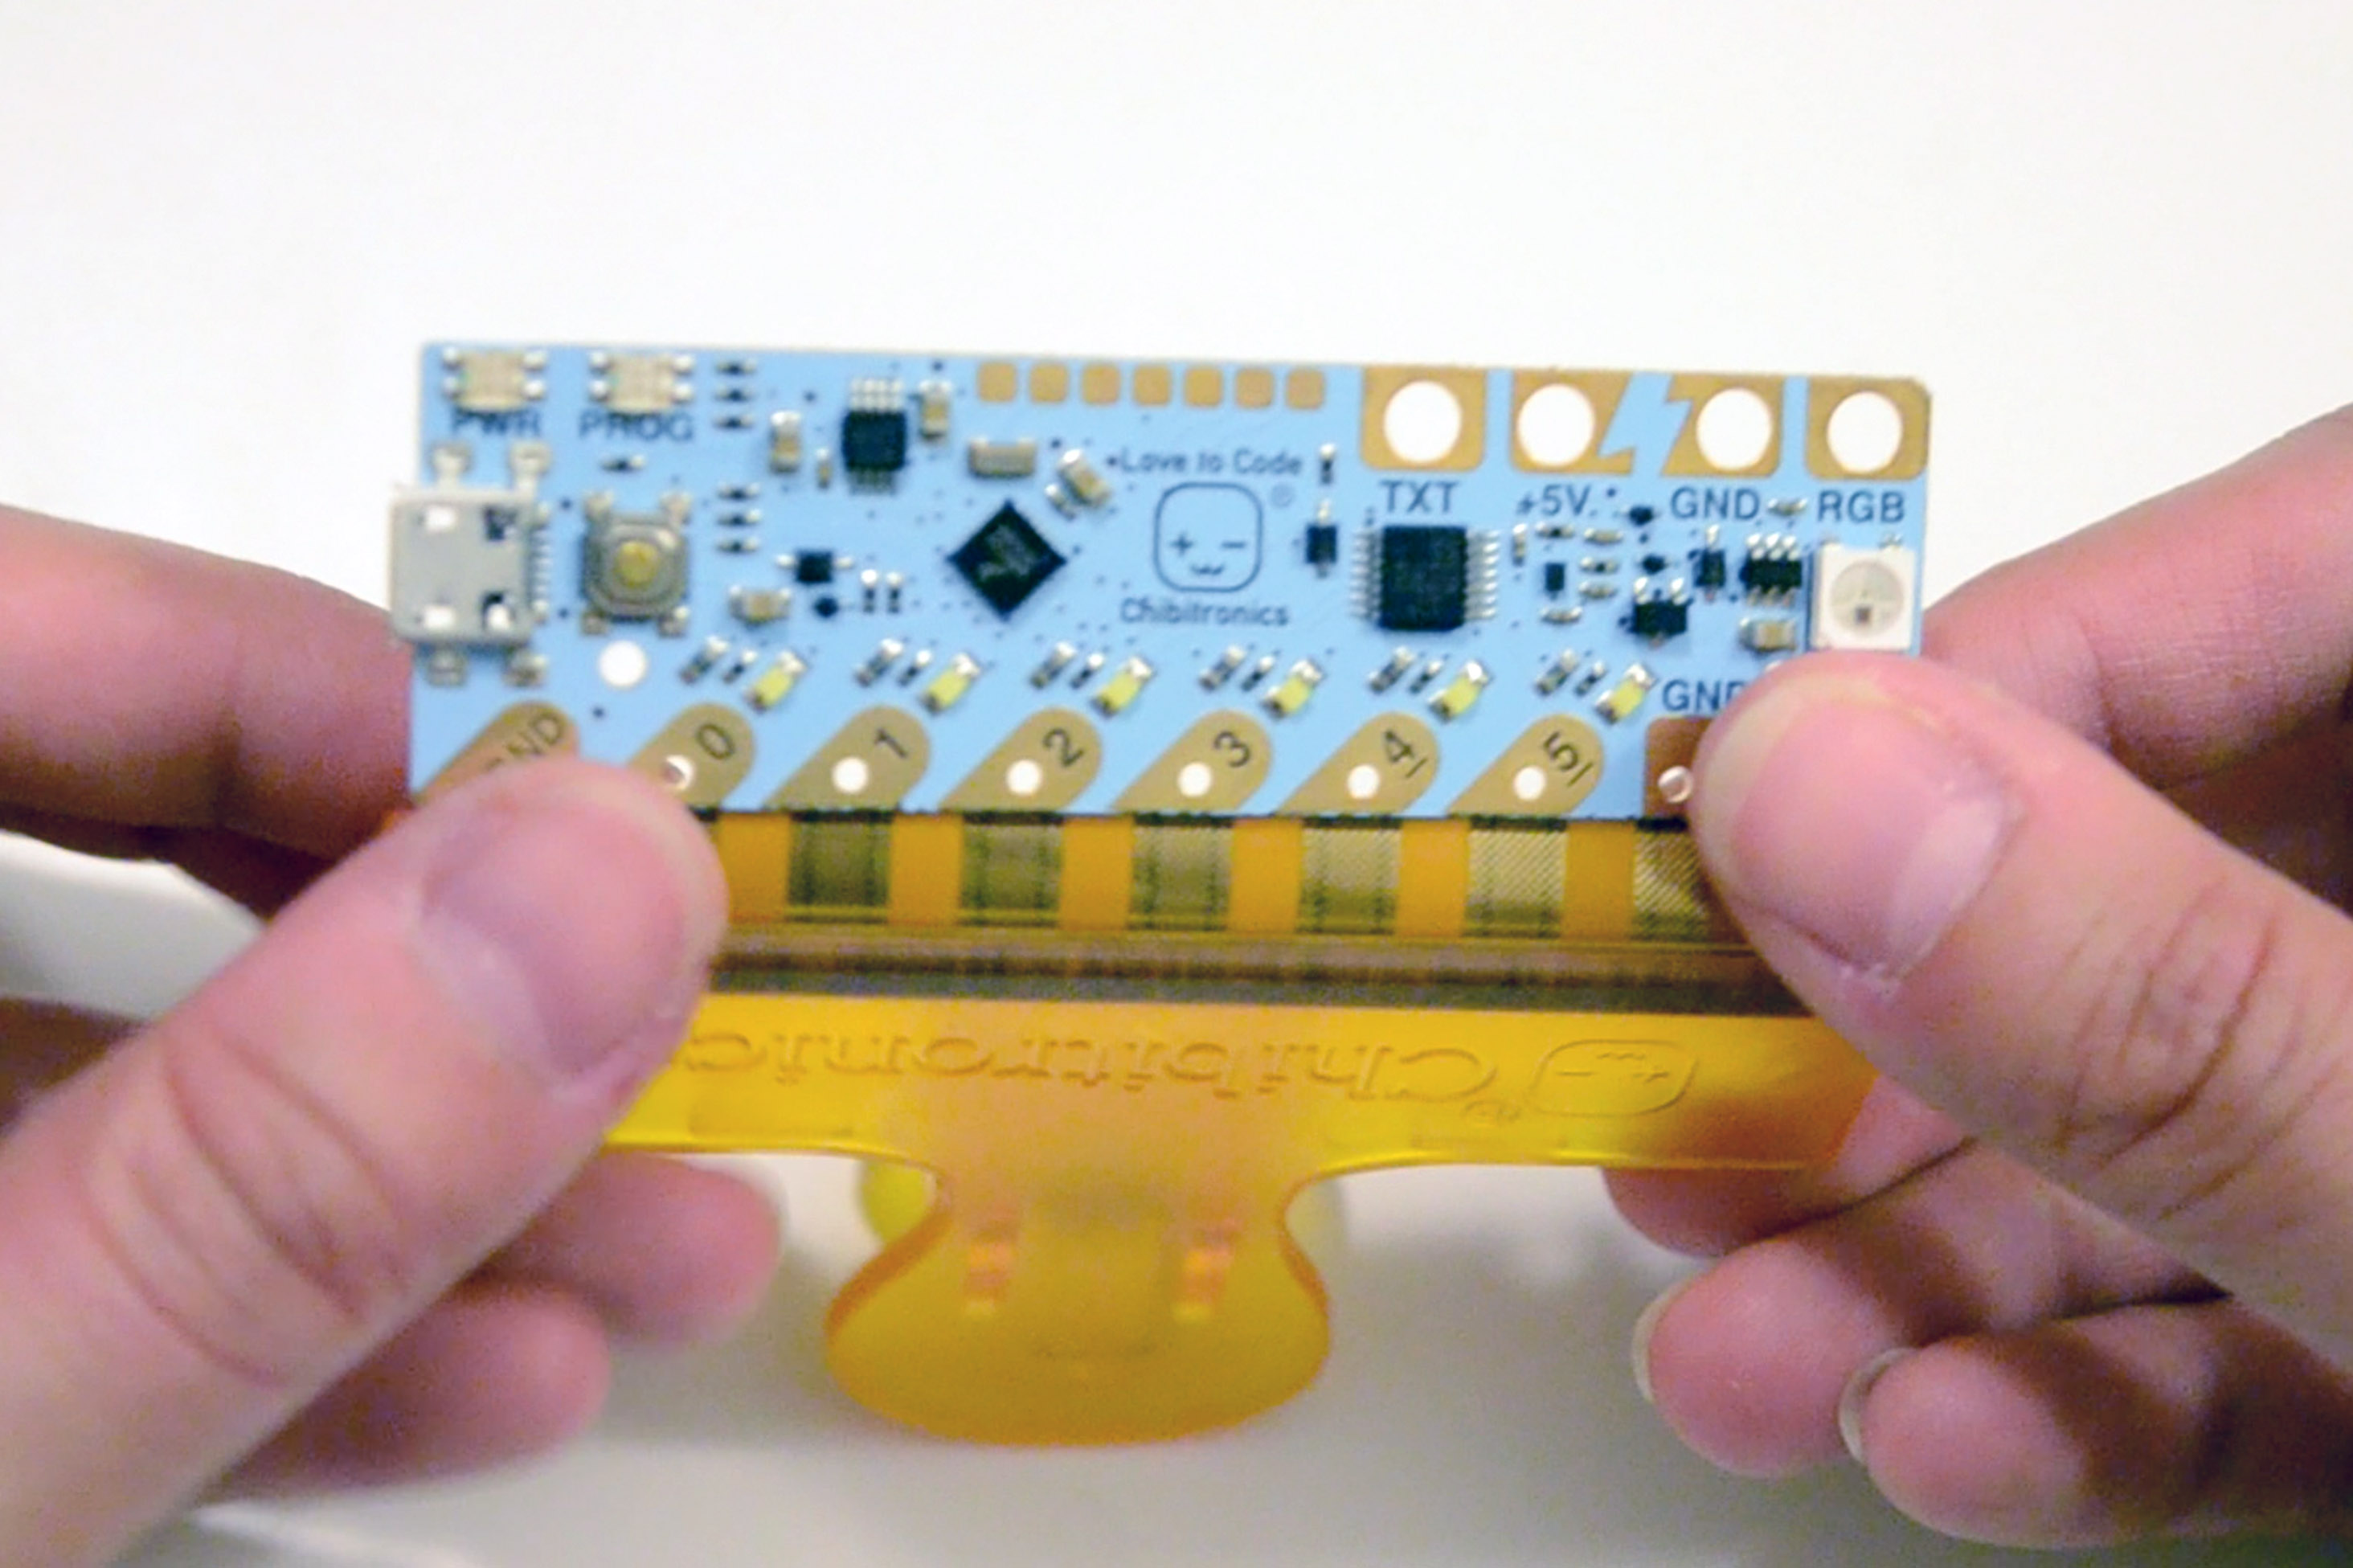
Step 5: Close the clip and gently bend the board up over the clip.
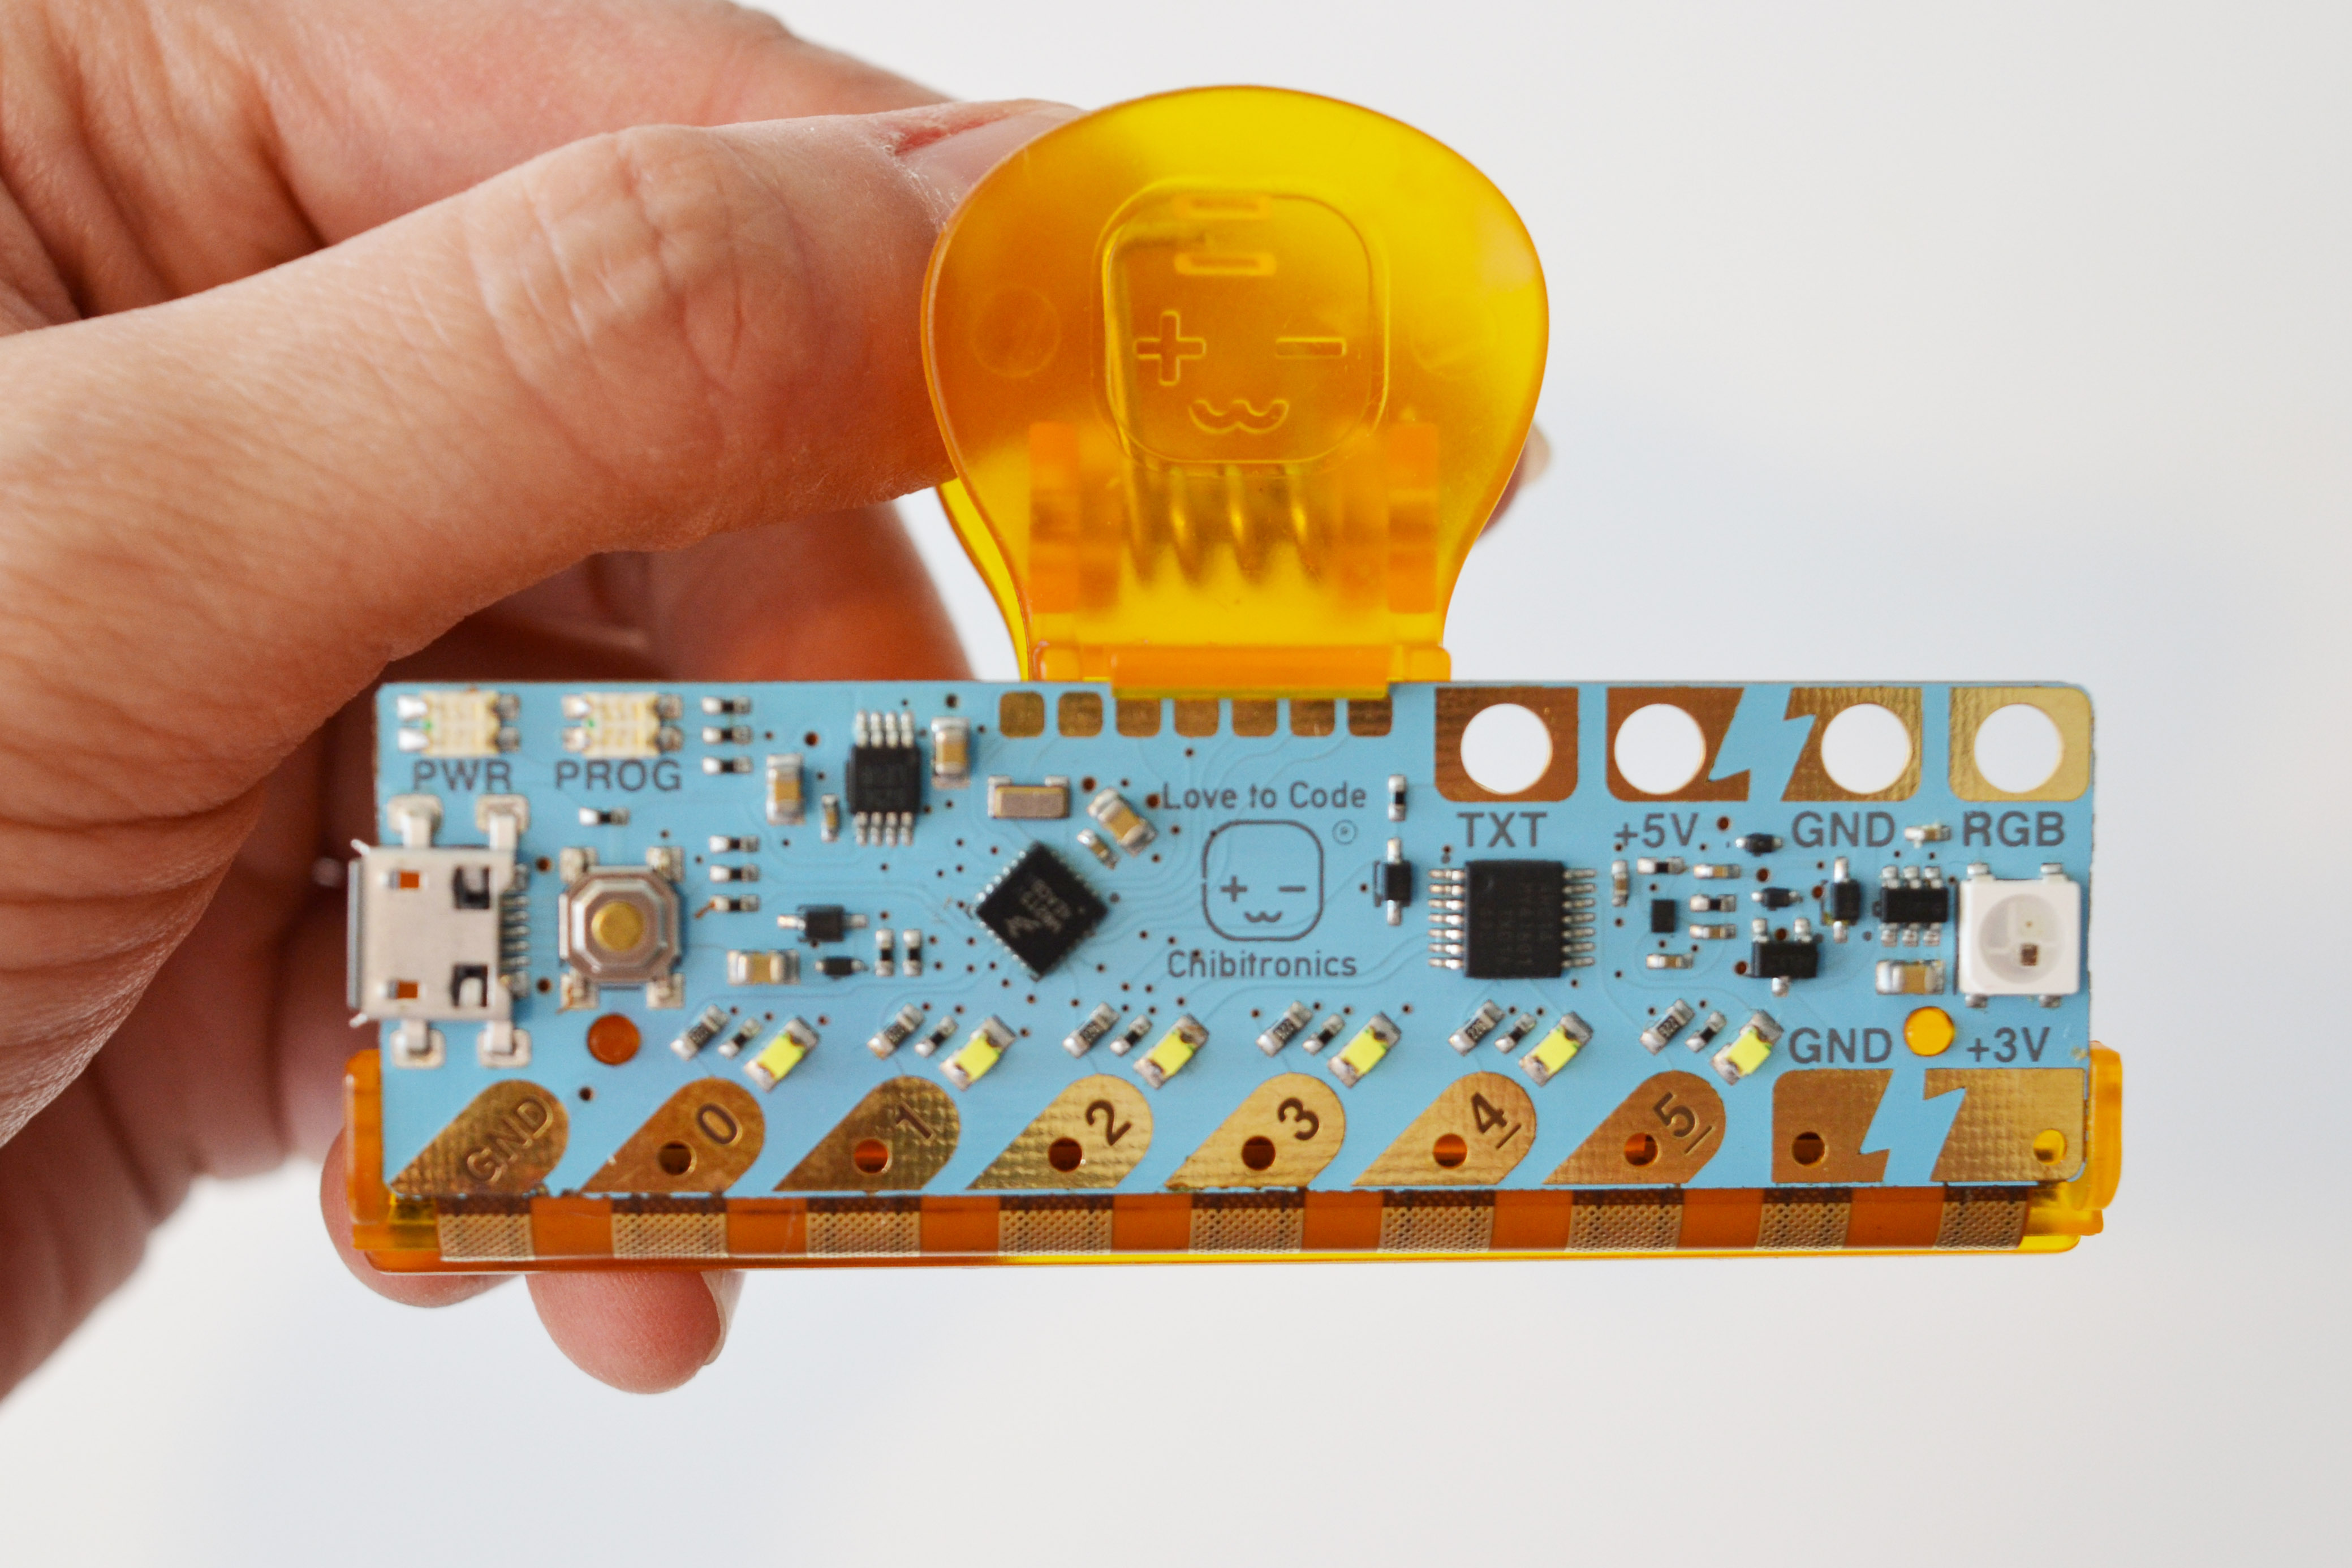
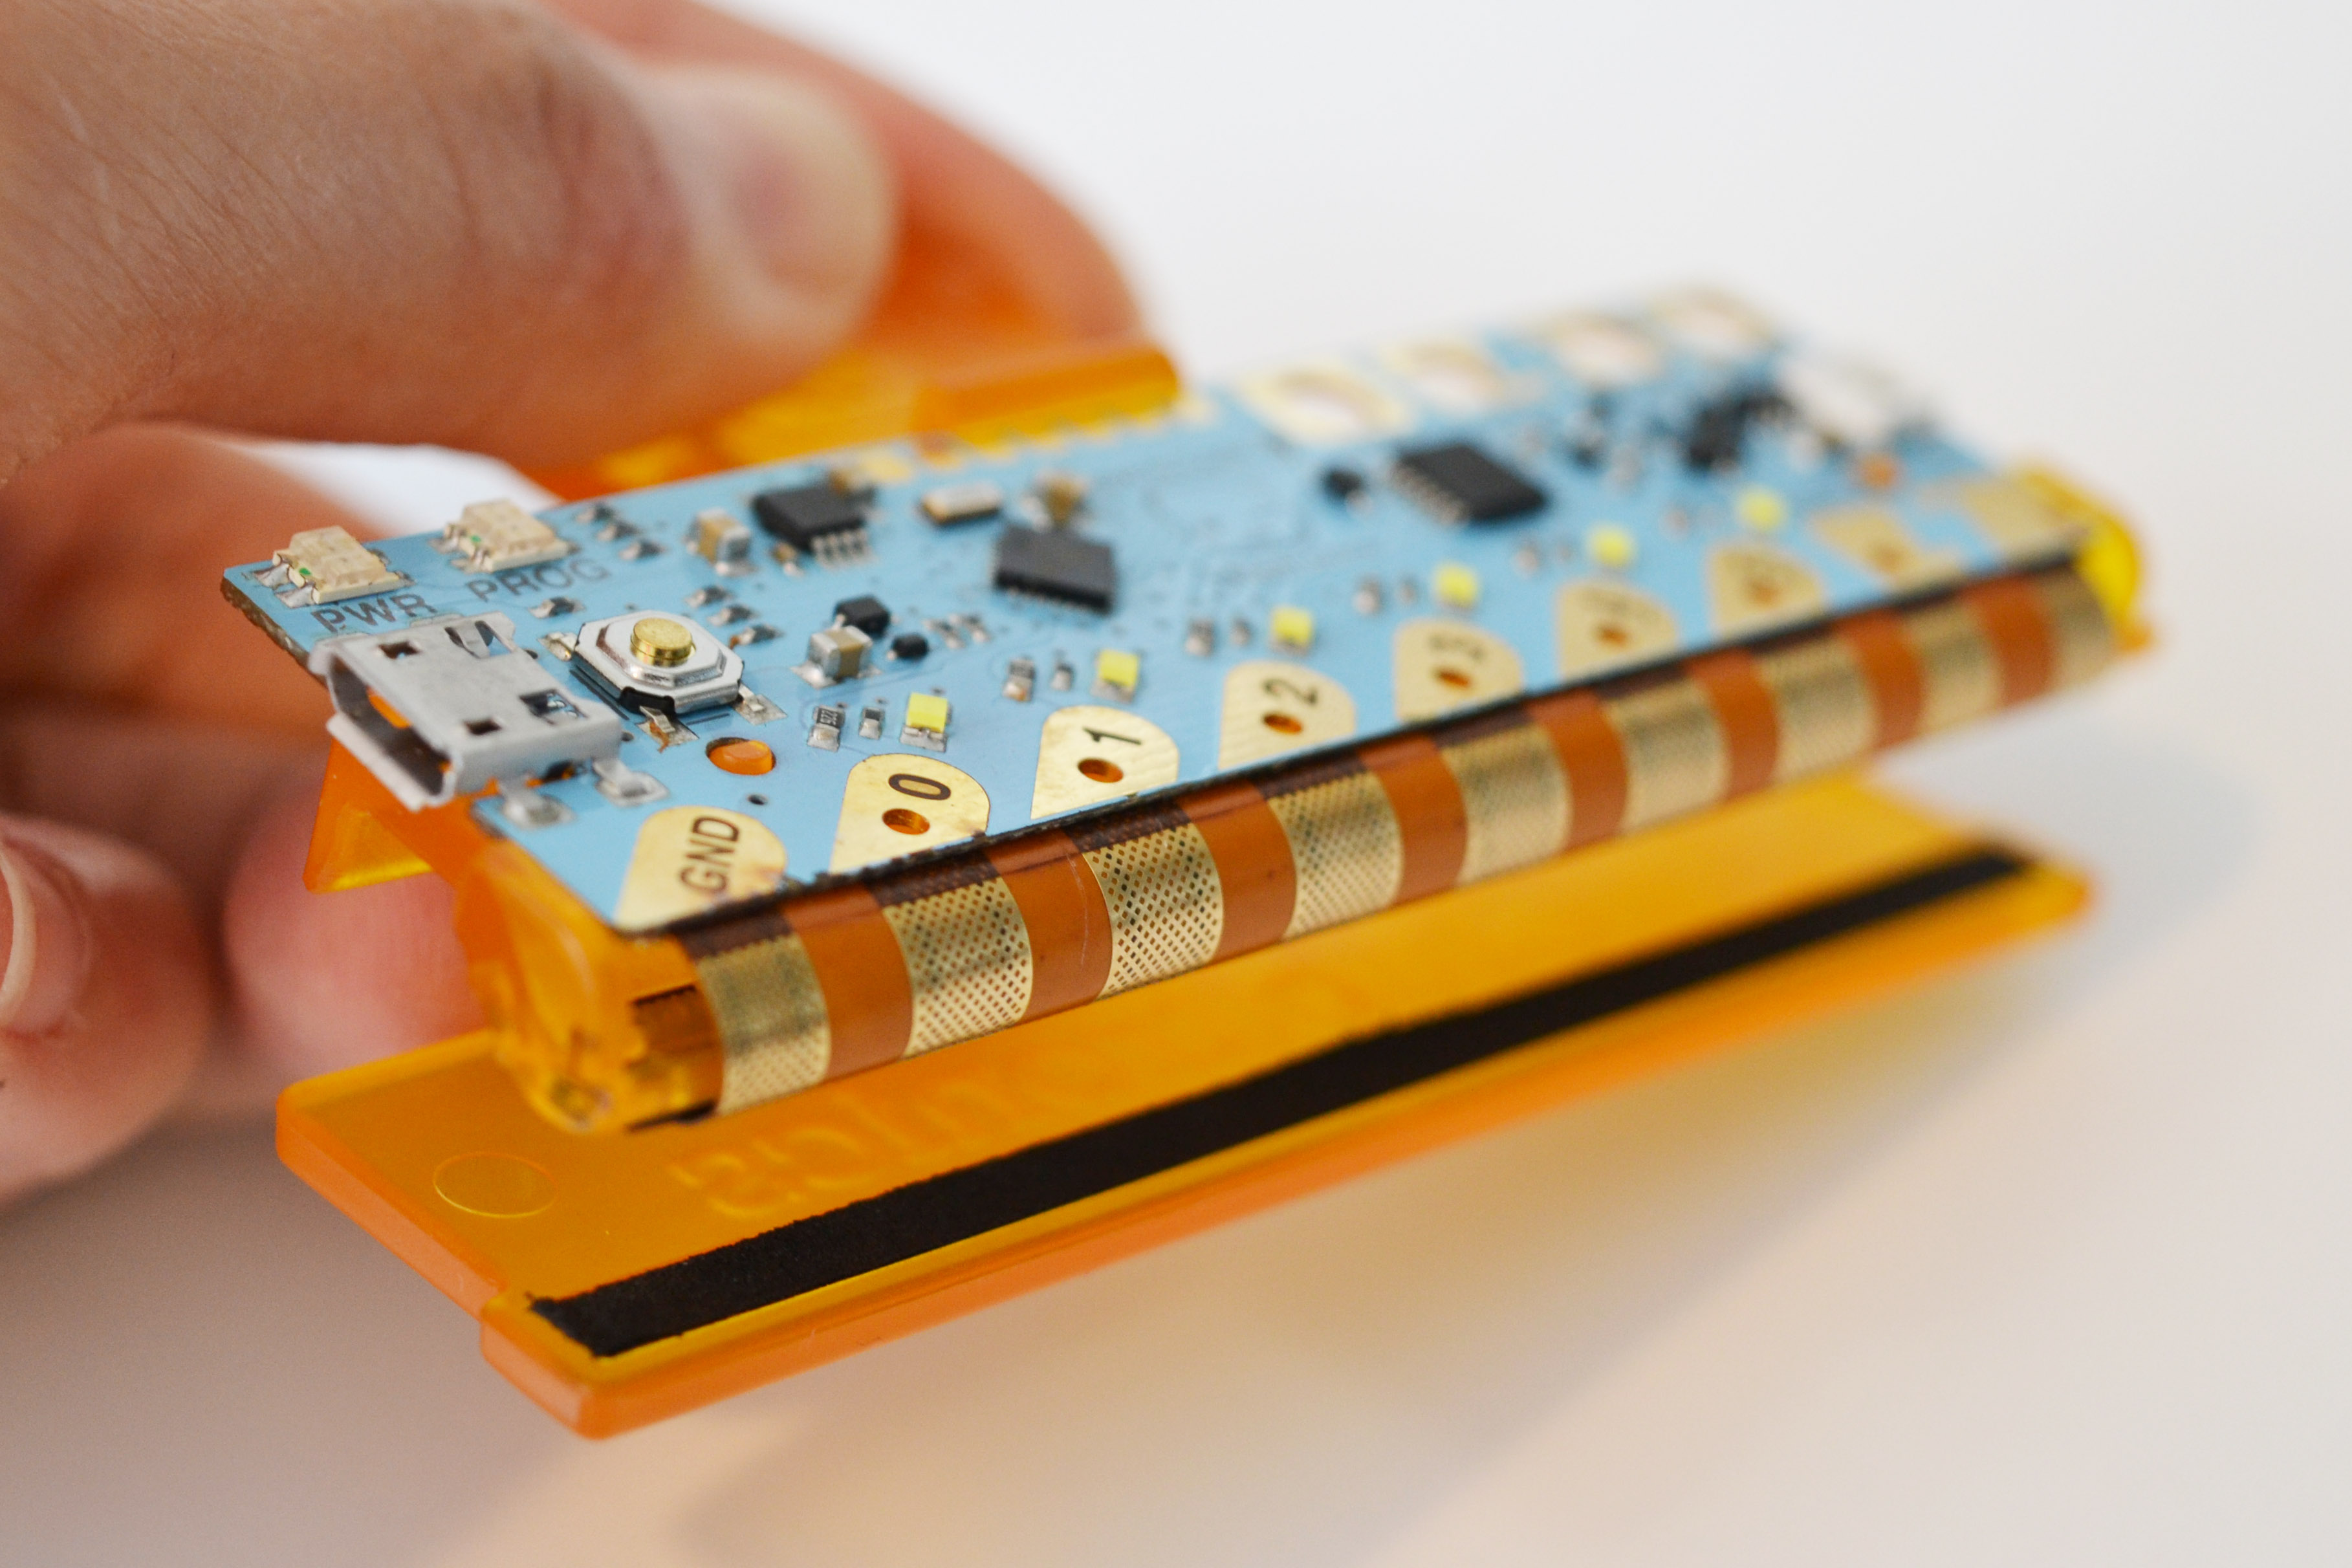
Step 6: Slide the rigid board into the hook at the top of your clip.

You’re done! Now you can open and close the clip with your Chibi Chip attached.
Check out chibitronics.com/lovetocode to start coding and creating with your clip!
To remove the Chibi Chip from your clip: slide out the flexible part from the clip and the rest of the board will slide off.
Thanks for trying out our Love to Code beta boards. We would love your feedback to make the experience even better! Do you have ideas or comments for us? Please send them our way at info@chibitronics.com
Happy making 🙂