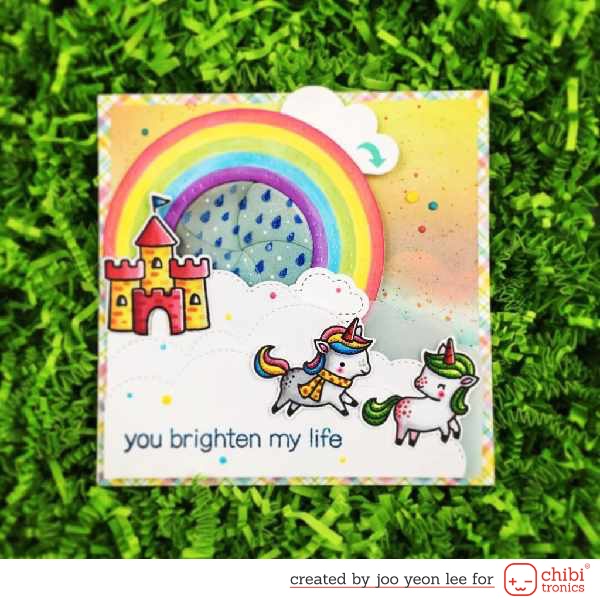
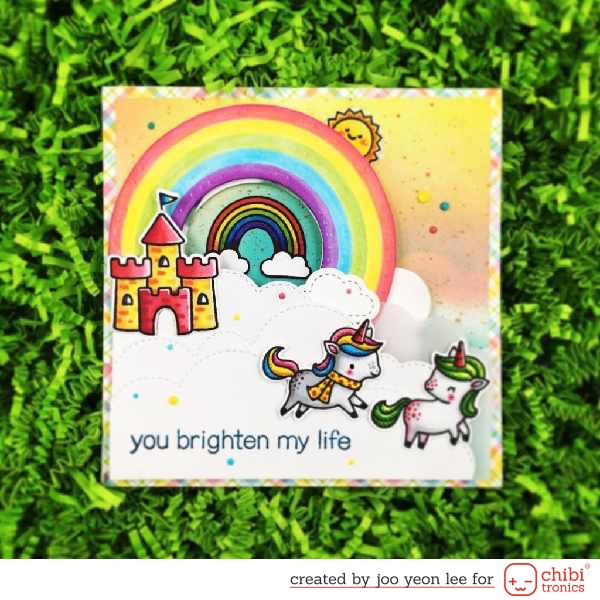
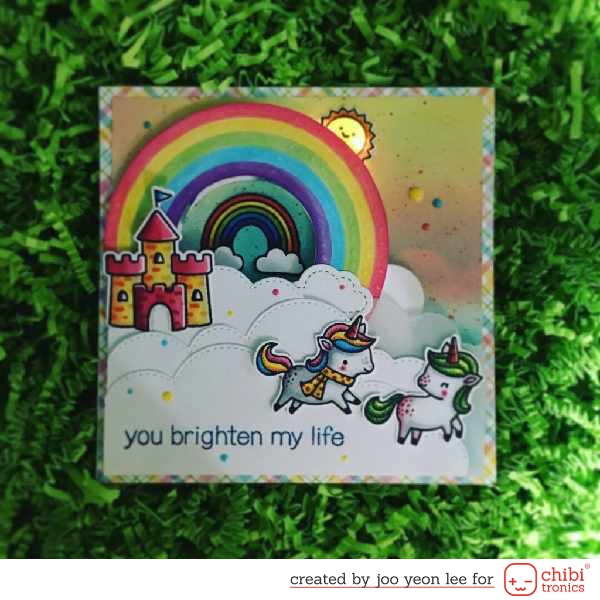
Hello! my crafty friends!
I am June. I used Paper-Mechanical-Iris to make this light-up card. You can see another Paper Iris Cards on my Instagram.
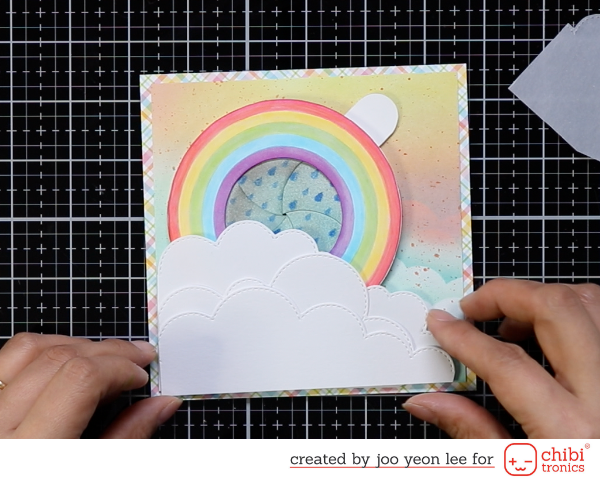
This card is an interactive card and pop-up card. When you turn the tab, the sun behind the cloud will shine and then you can see Double Rainbow!
Let’s make a Double Rainbow Light-up Card!
1. Downloading Free Templates & Making Paper-Mechanical-Iris
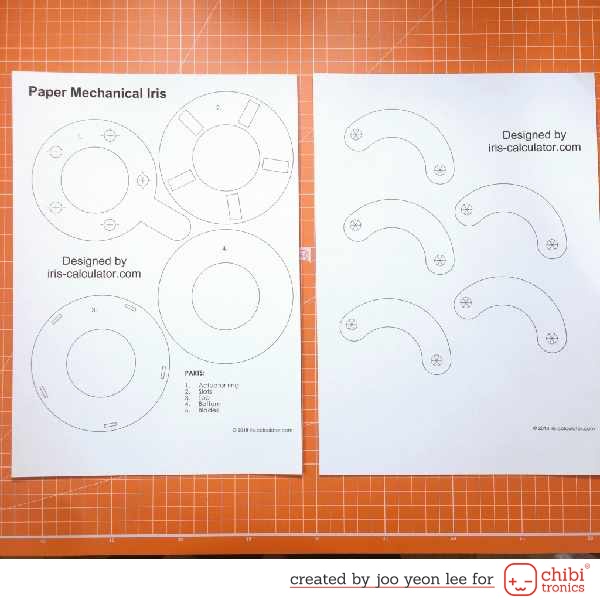
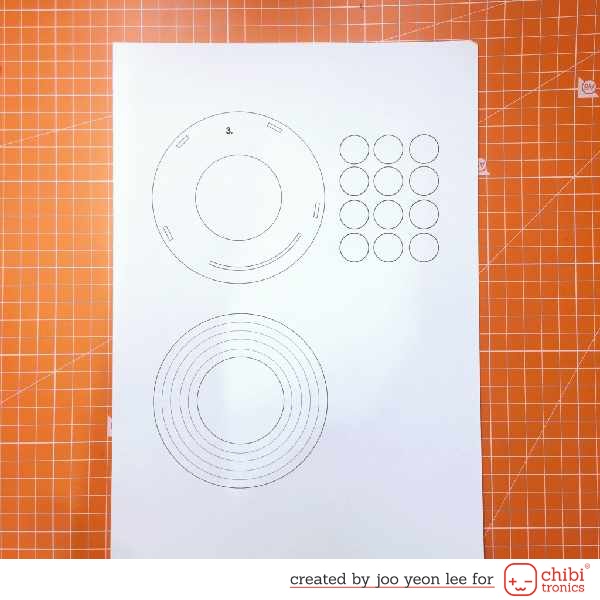
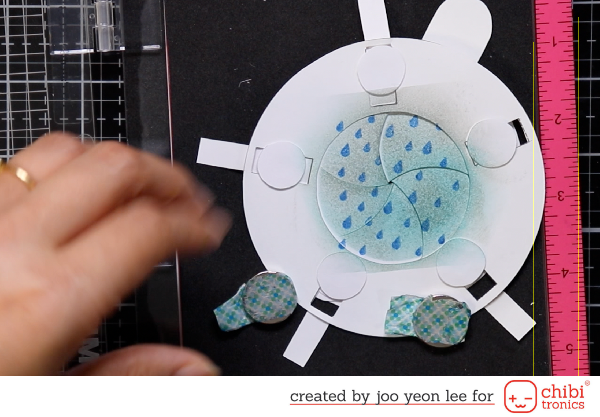
Stamp rain drops on Paper Mechanical Iris.
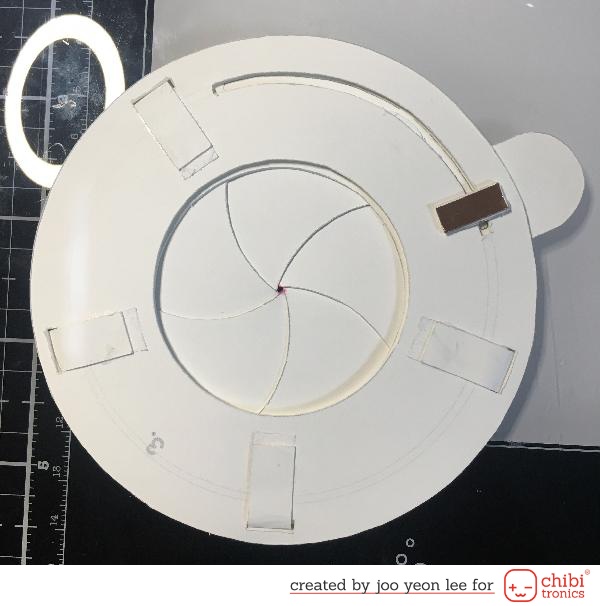
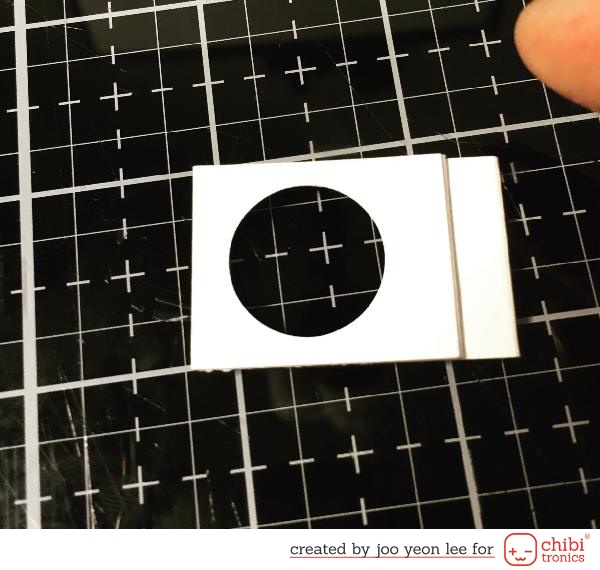
Adhere a piece of copper tape and conductive fabric tape on the switch.
This switch moves along the arch hole.
2. Making Card Base & Front Panel
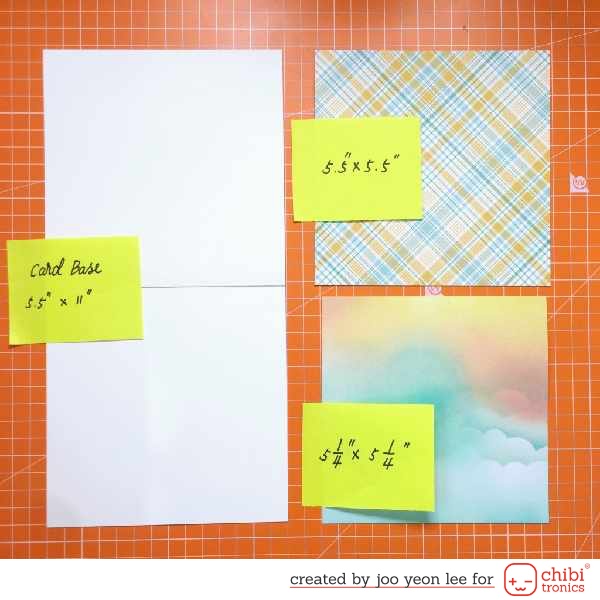
Pattern Paper(5.5″x5.5″)
Background Paper(5 1/4″x5 1/4″)
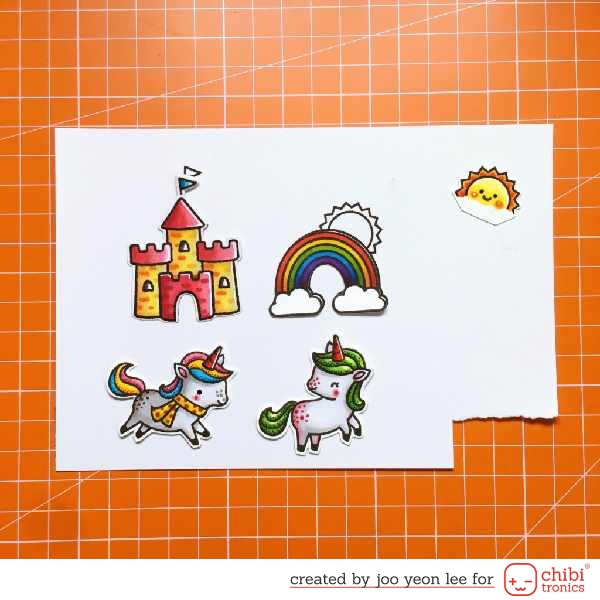
3. Stamping, Coloring and Cutting
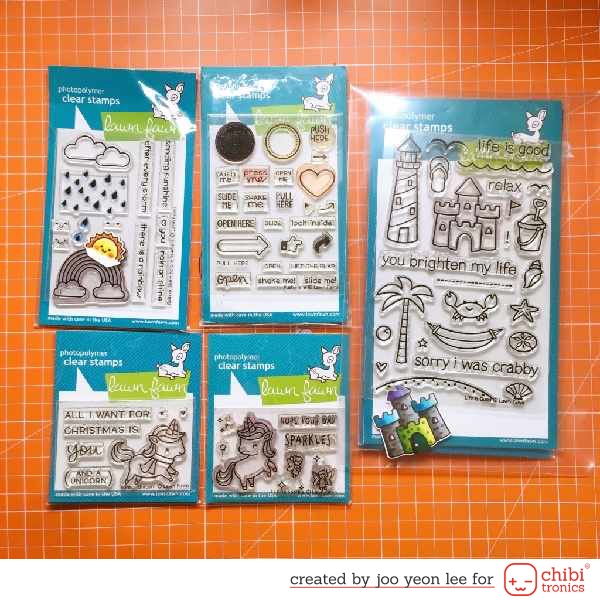
<Rain or Shine Before’n Afters>, <Life is Good>, <Winter Unicorn>,
<A Little Sparkle>, <Push here>
4. Making Battery Holder
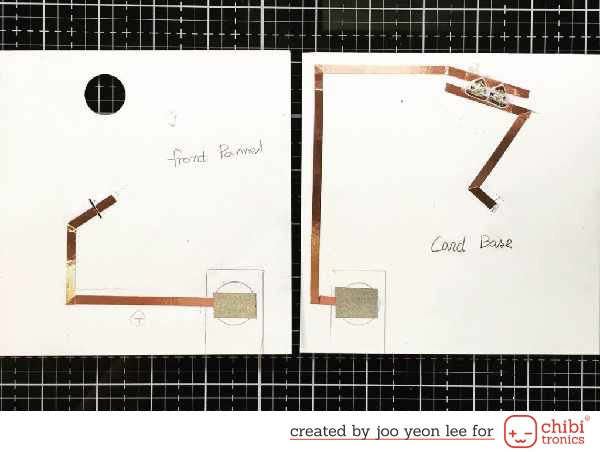
5. Circuits
6. Covering with Foam Board
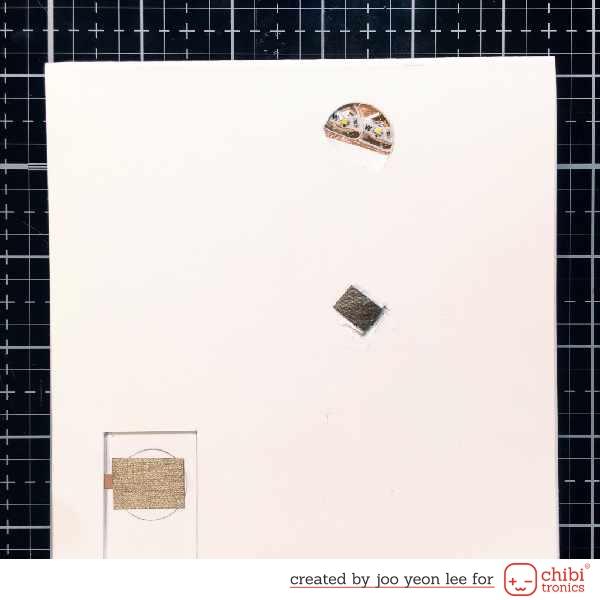
Make the hole for connecting cathode and anode of a battery. And adhere a piece of conductive fabric tape which is rolled up. The adhesive side is must be curled outward.
7. Decoration
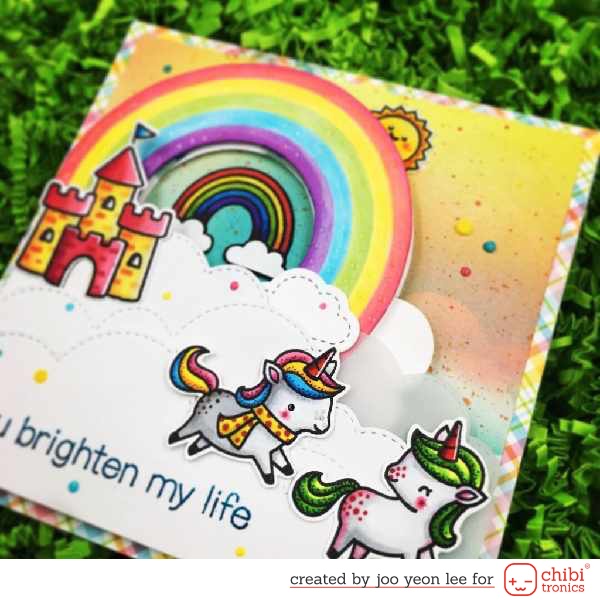
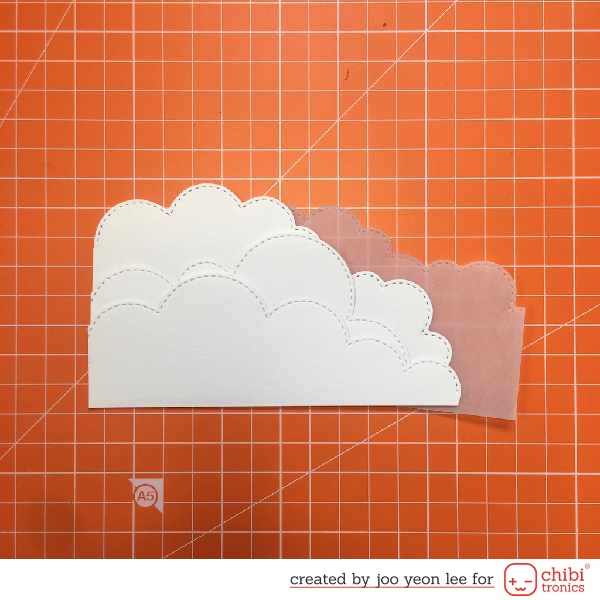
Adhere a shape of cloud on a tab for iris.
Adhere the stamping images on the front panel like the picture.
We’ve done it. Yay!
Supplies List
- Chibitronics White Sticker
- 3V con cell battery(CR2016)
- Copper tape
- Conductive Fabric Tape
- Lawn Fawn Stamp Sets
- Rain or Shine Before’n Afters
- Life is Good
- Winter Unicorn
- A Little Sparkle
- Push here
- Die Set
- Stitched Cloud Frames @ Lawn Fawn
- Outside in Stitched Cloud Stackables @Lawn Fawn
- Mixed cloud shape die sets
- Paper
- White Card Stock(5.5″x11″)
- Pattern Paper(5.5″x5.5″)
- Background Paper(5 1/4″x5 1/4″)
- Foam Board(1T, 5.5″x5.5″)
DOUBLE RAINBOW LIGHT-UP CARD

