Hello. Everyone! This is June! I can feel the perfect autumn. I don’t think there’s anything more fun for card makers than making Christmas cards for this fall day. It’s October, so it’s not too early, is it? I hope you enjoy crafting for Christmas!
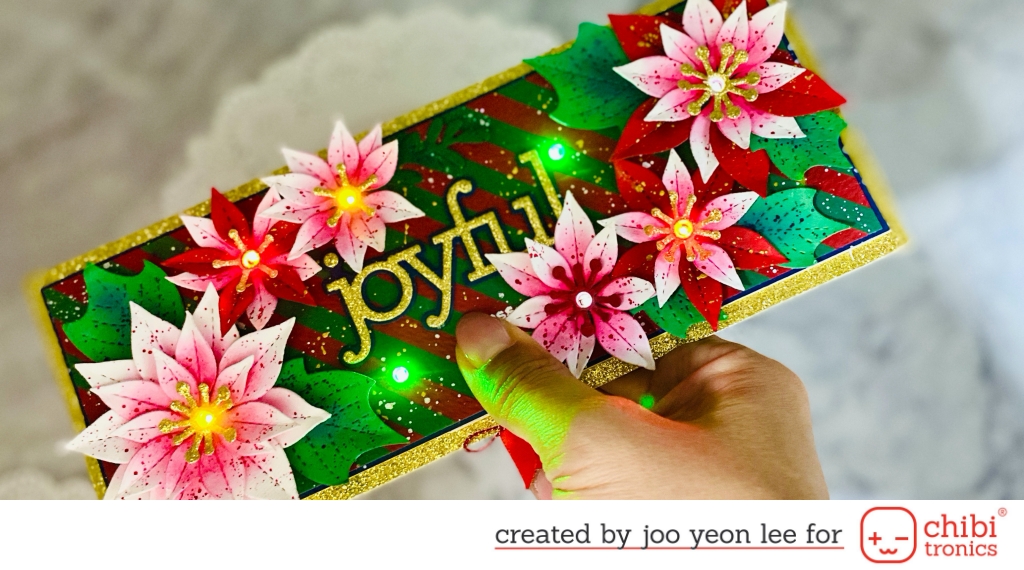
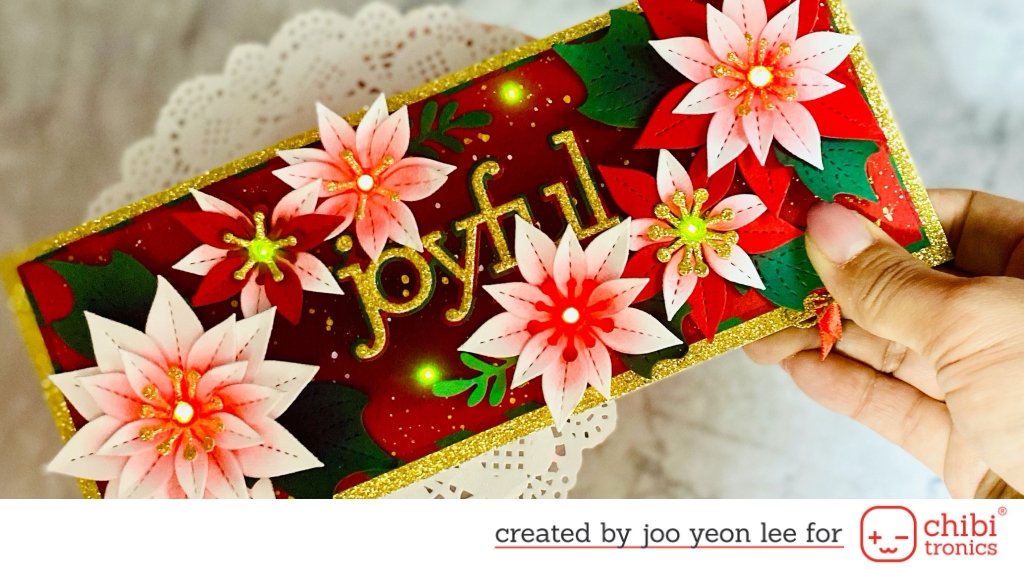
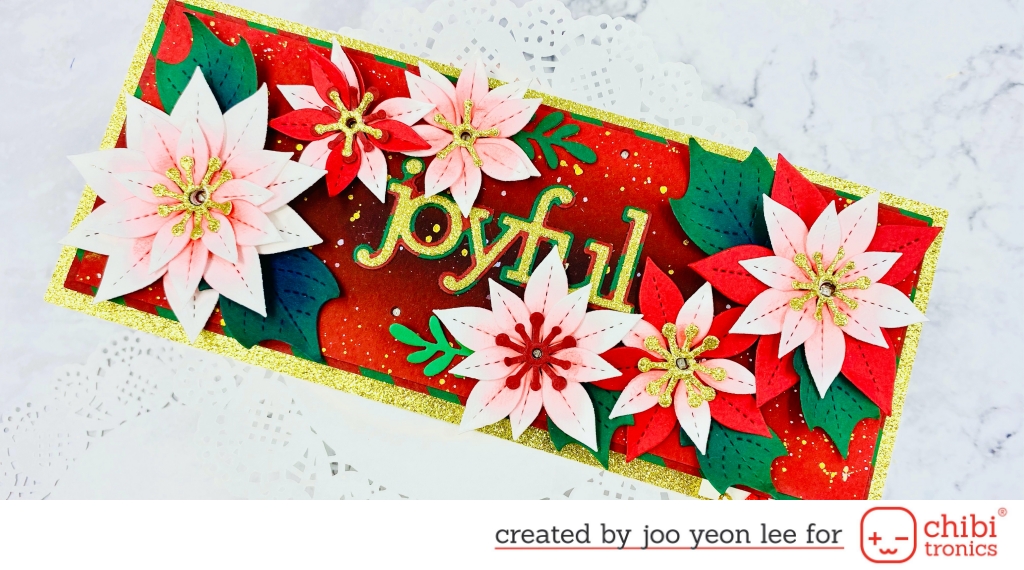
This monthly project had been designed as a circuit with a pressure sensor using Pressure Sensitive Conductive Plastic that slowly brightens and darkens the lights. If you apply force to your finger and slowly press the switch, yellow and red lights will light up first, followed by green and white lights in order.
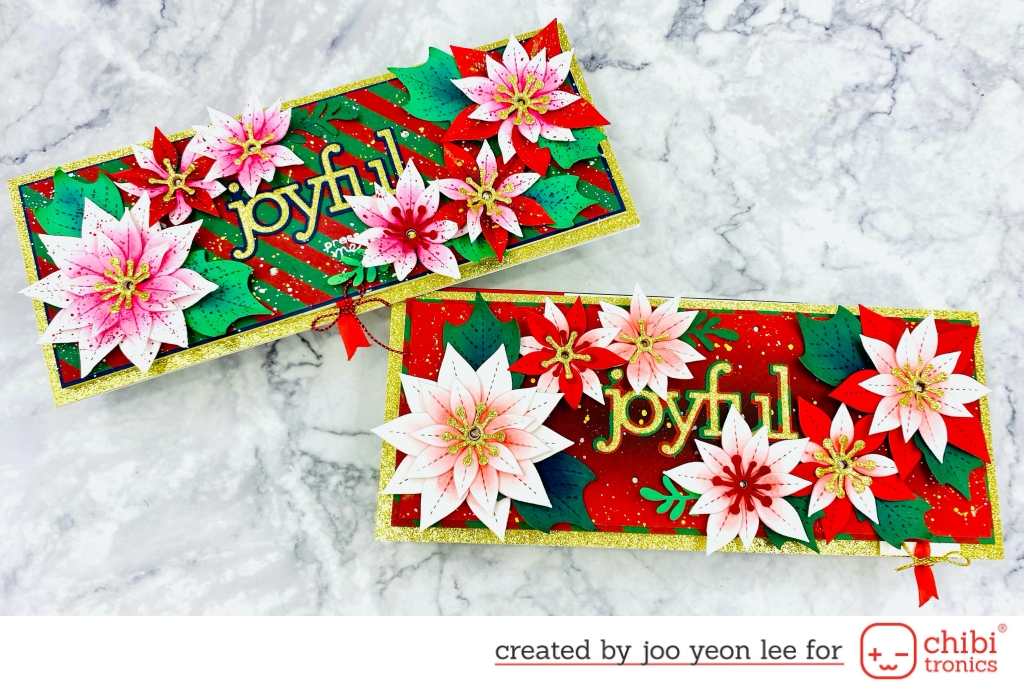
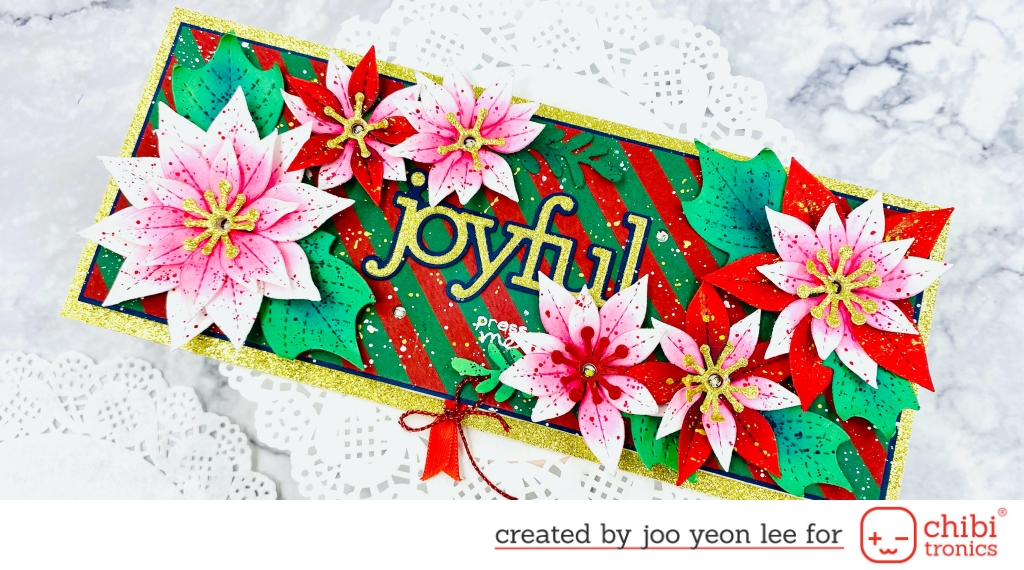
I made two cards using a Pressure Sensitive Conductive Plastic. Each has a similar but different charm.
Please watch my YouTube video tutorial if you want to make the card. And follow these instructions.
This video tutorial show you how to make this Pressure Sensor Light-up Card step by step.
Supplies
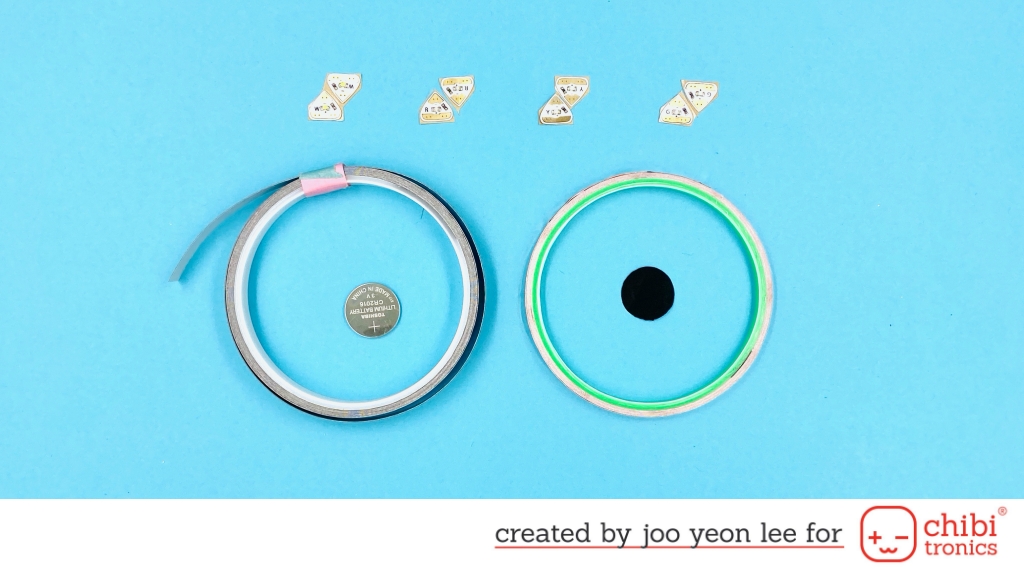
- White LED’s Sticker from Chibitronics
- Yellow, Red and Green LED’s Sticker from Chibitronics
- Pressure Sensitive Conductive Plastic
- Copper Tape from Chibitronics
- Conductive Fabric Tape Patches from Chibitronics
- 3V Coin Battery (2016)
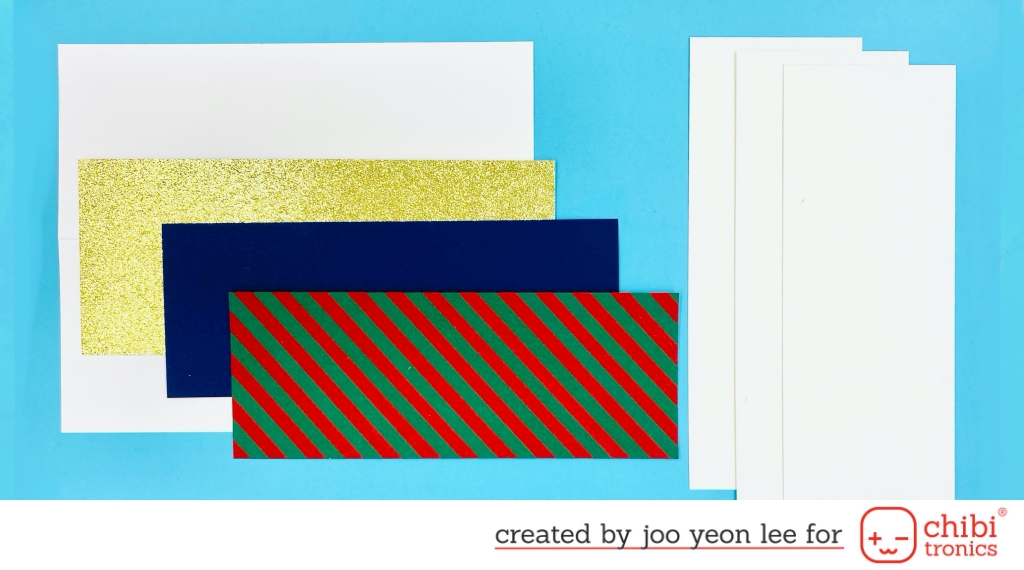
- Card Base(8.5″ X 7″)
- First Panel(8″ X 3″)
- Second Panel(8 1/8″ X 3 1/8″)
- Third Panel(8.5″ X 3.5″)
- Thick Board (8 1/8″ X 3 1/8″) X3
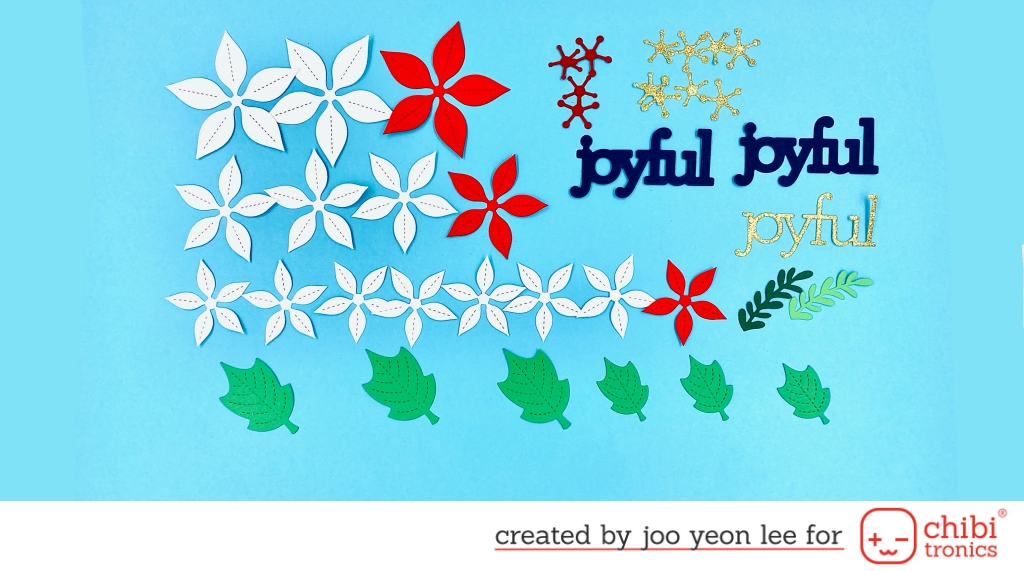
- Lawn Fawn STITCHED POINSETTIA Die Cuts
- Lawn Fawn LARGE WREATH Lawn Cuts
- Lawn Fawn PUSH HERE Clear Stamps
- CZ Design Wafer Dies JOYFUL
In addition, I used these tools to make holes and make a battery holders.
Circuit Composing
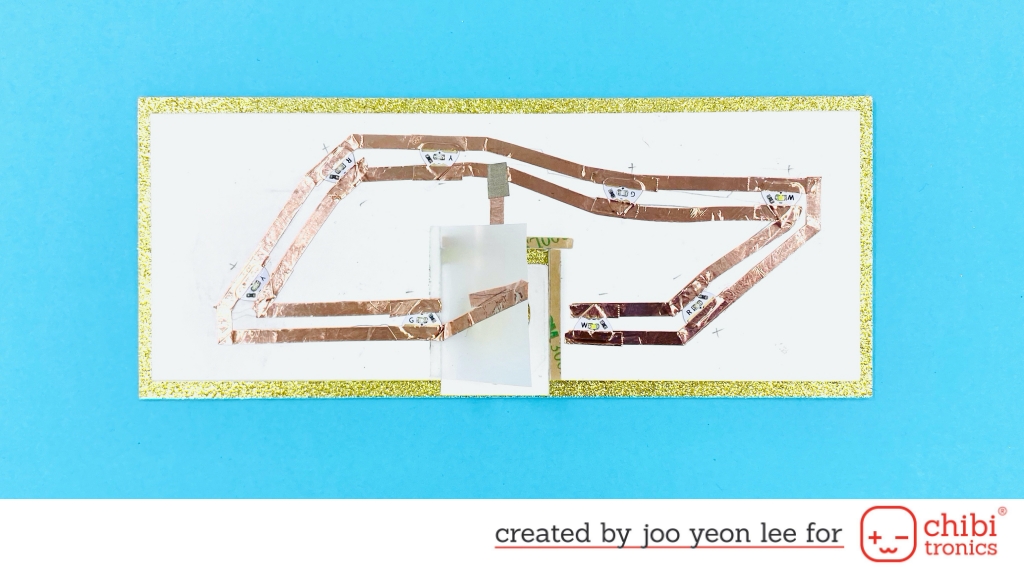
Although complex with multiple LEDs, this circuit is a very simple parallel circuit. You can make a pressure sensor circuit by adding only Pressure Sensitive Conductive Plastic to it. It’s really easy, isn’t it?


If you add a panel on the simple circuit, then you can decorate at your disposal like above the pictures. The slowly and gradually brightening lights will serve to make your own card design more beautiful.
Hope you can enjoy this post.
Thank you for stopping by. And have a safe and joyful day!
June Lee (Instagram : paperandcircuit)
YouTube chanel : Paper & Circuit