Hello, crafty friends! This is Yukiko from Prima Crafts.
How have you been doing?
I am enjoying Spring Break with my girls.
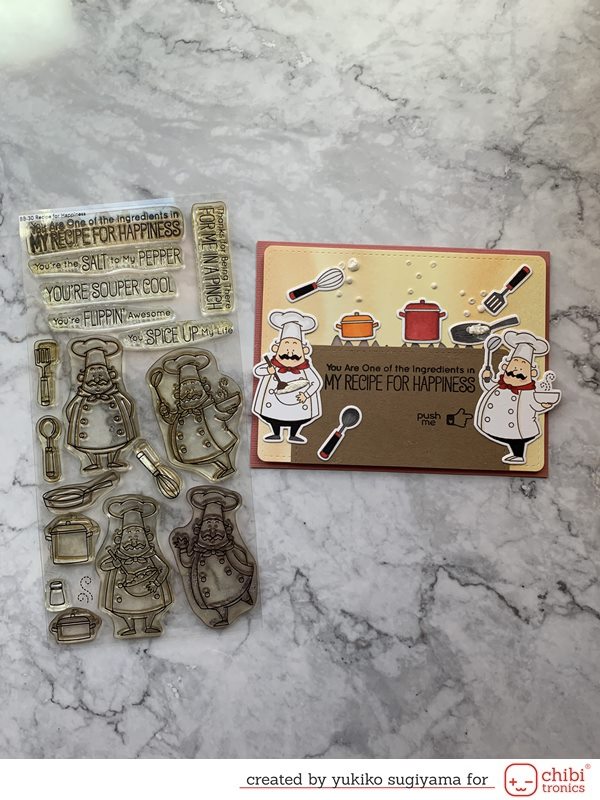
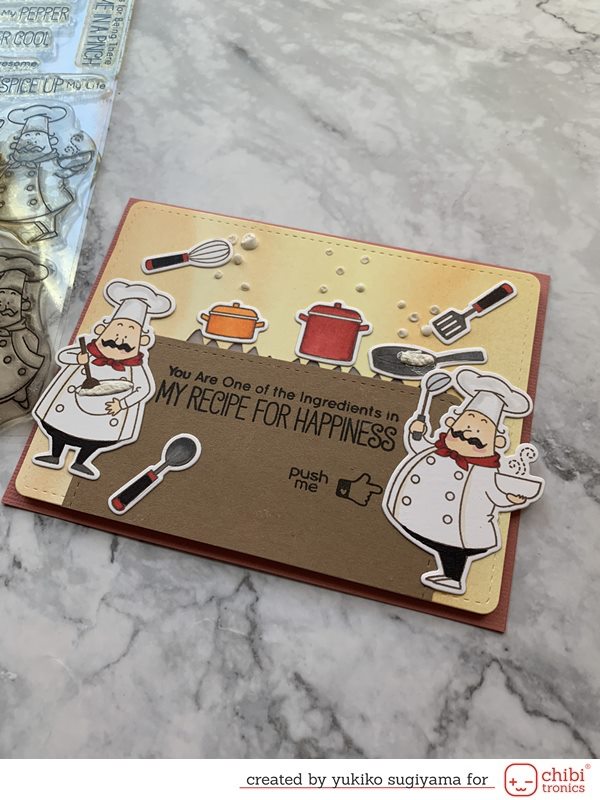
Today, I am showing “Let’s Cook!” Light Up Card.
I love this chef stamp with a potbelly. It’s so cute!
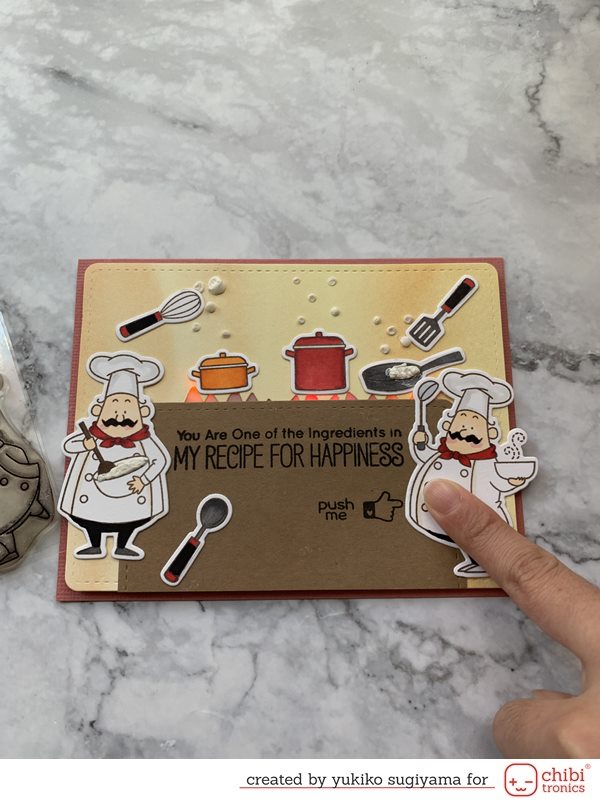
So I turned his belly into the Push Button for light up.
These are the materials that I used.
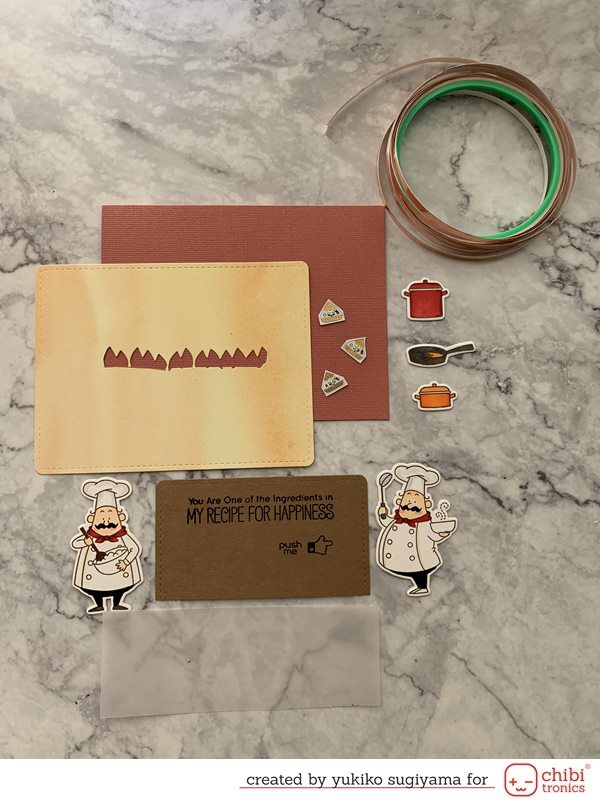
1 Base Card Stock
1 Panel Card die-cut with the candle die
2 Chefs+Cooking pots and pan and some other cooking tool
1 Kitchen with sentiment stamped
Peice of Vellumn
3 LED Stickers
1 Copper Tape
I made the circuit like this.
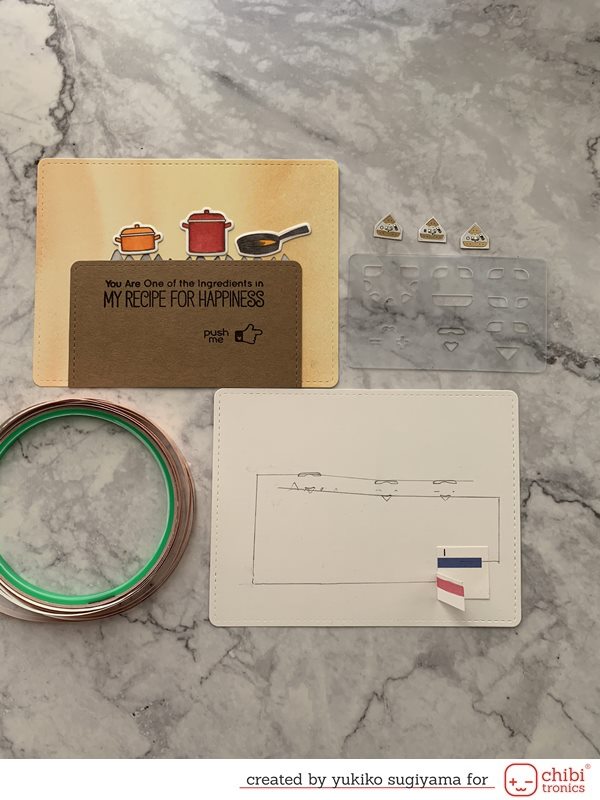
Place the sticker mark where you want to light up and figure out the circuit.
This time, I used the push button switch, so there is a flap where the coin battery will be placed.
Once you write the circuit, then use the copper tape and complete the circuit.
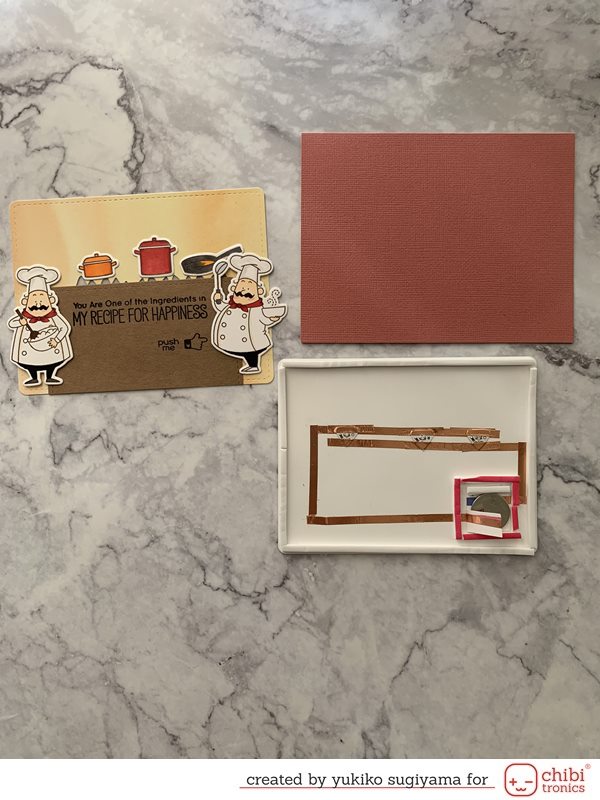
When you are done with the copper tape, then place the LED stickers.
When you finished this step, then check out the light that really shines.
If those lights are not working, then the circuit or LED lights are disconnected or being short circuits.
So please figure out your circuit is okay.
Once you assure your circuit is okay, I recommend using short copper tape to enforce LED stickers.
Now you will need thick double-sided foam tape.
I put double-sided foam tape for the 4 sides and around the switch button.
Peel off 4 sides tape but not around the switch, so that we can keep the depth but the button will not come out from the place.
Then stick it to the panel.
Thank you for reading!!! I hope you find it easy to make light-up cards!
Happy Crafting!
Yukiko
Stamps and Die:
MFT STAMPS: BB Recipe for Happiness
WPLUS9: Love Mom (Sorry! This Die Set was old, they don’t sell any more…)
Concord&9th: Birthday Stacks
Chibitronics Products:
Copper Tape
LED Lights