Hello, my crafty friends!
I am Joo Yeon Lee. Just call me June. It’s my first blog posting for Chibitronics.
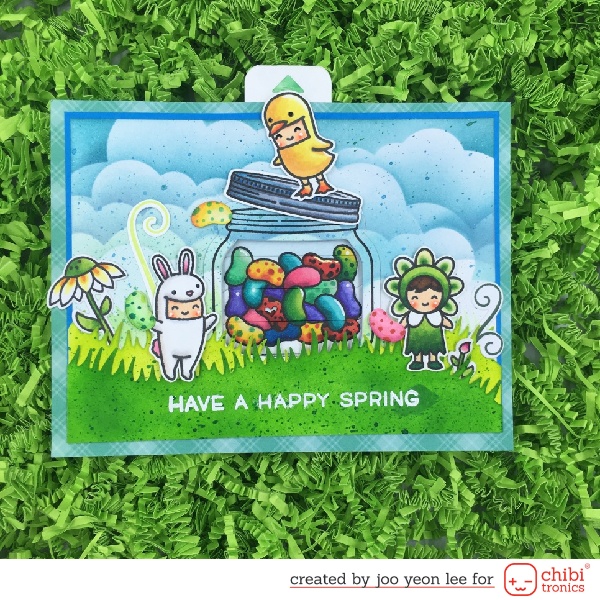
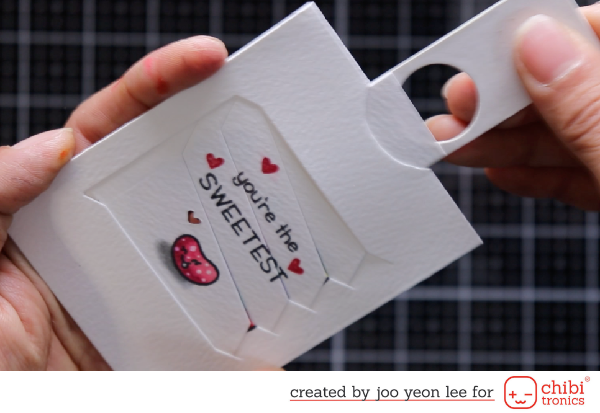
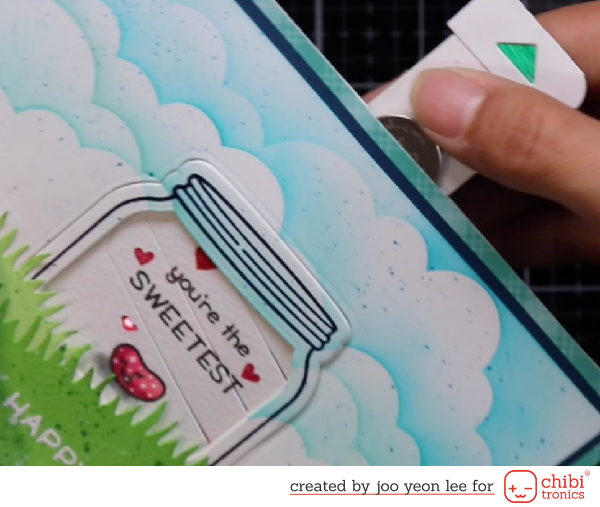
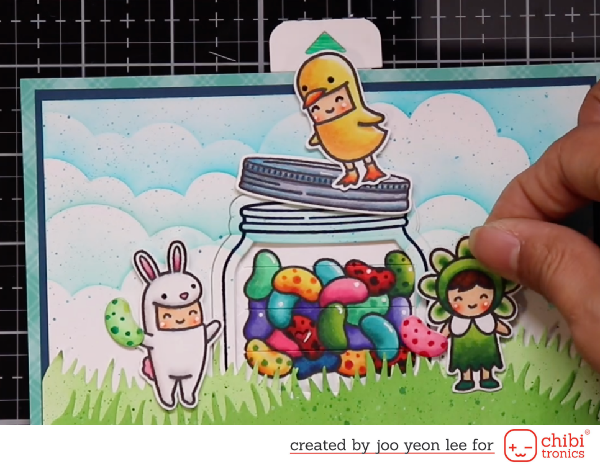
I made a light-up card using Chibitronics and Magic Picture Changer dies.
When you pull a tab of Magic Picture Changer, you can see another picture and a something glows.
Let’s make it with me.

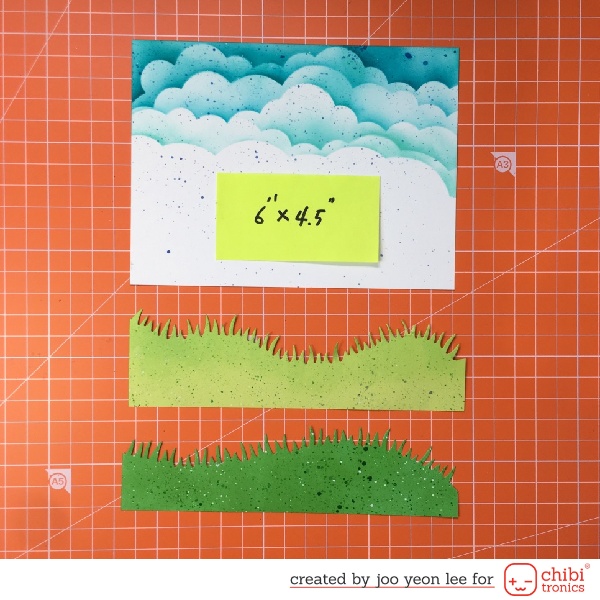
Front Pannel : Card Base – 6.5″x10″ (scoring at 5″)
Green pattern paper – 6.5″x5″ Nave paper – 6 2/8″x4 5/8″
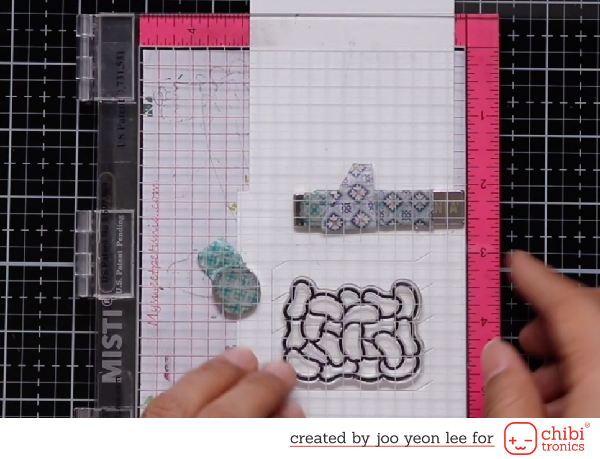

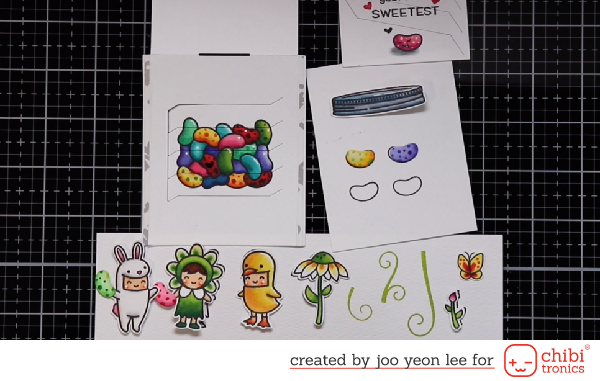
Next step, stamp a jar on the front panel.
Cut out using die cutter.
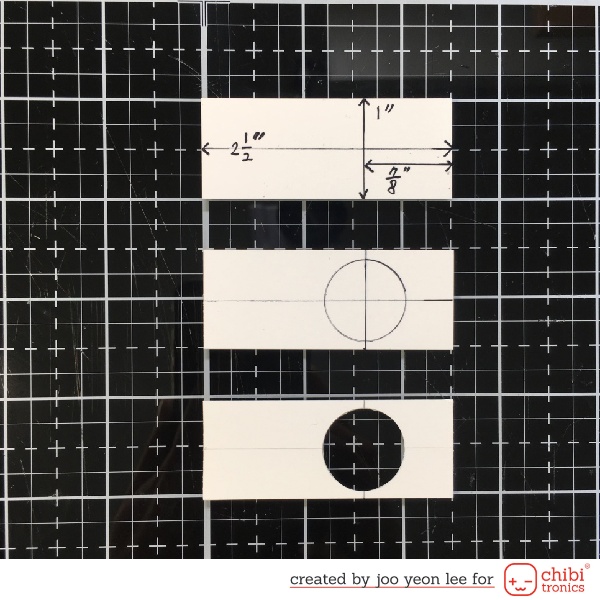
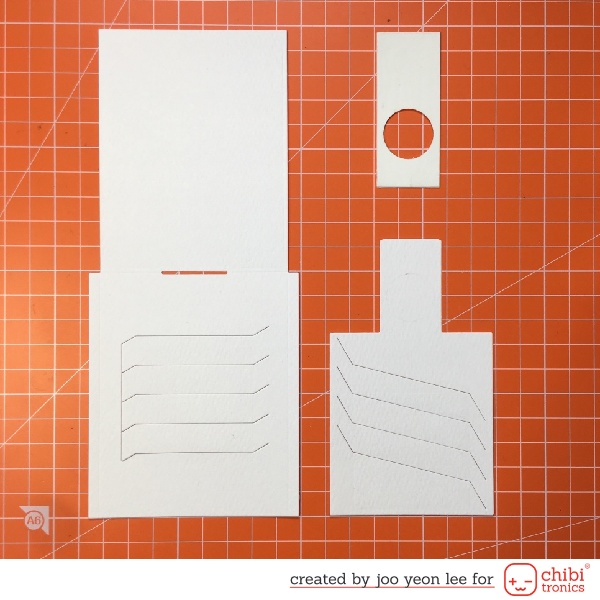
Diameter of the circle is 2cm, because of diameter of battery.
Cut 2 1/2″x1″ with thick paper which is not thicker than a battery’s thickness.
Mark 1/2″ from bottom, and mark 7/8″ from right side. Cut out a 2cm circle.
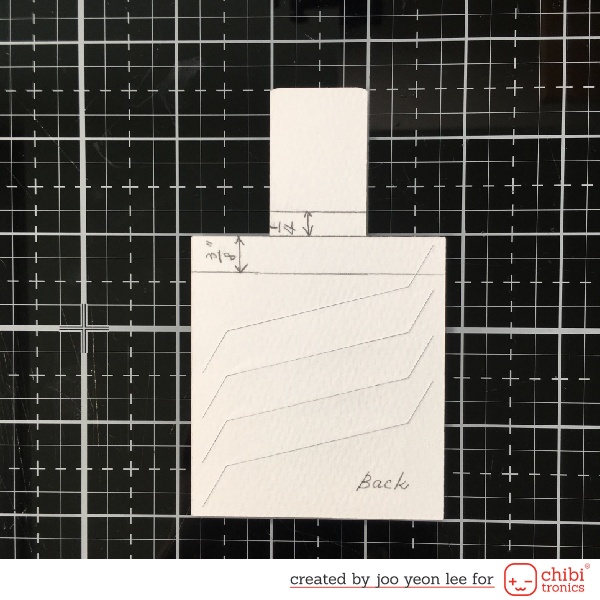
And adhere the battery holder on 3/8″ marked of backside.
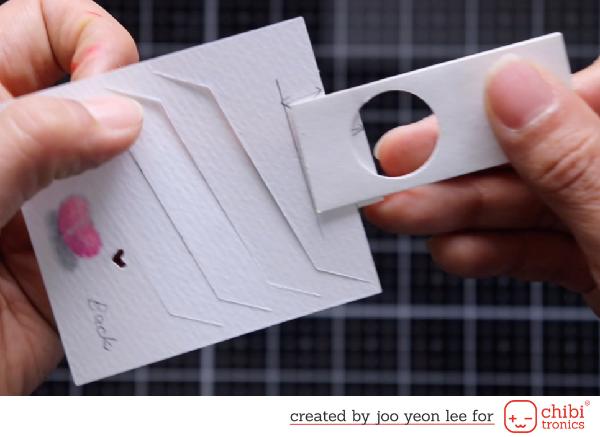
Then assemble the Magic Picture Changer.
Below this hole is for a led.
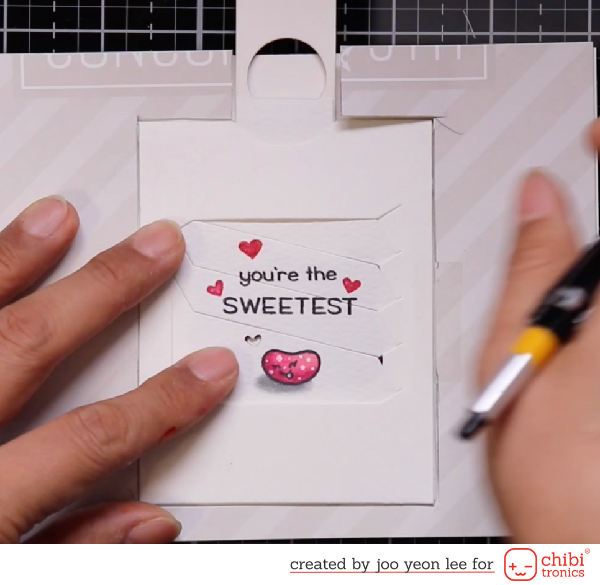
Assemble Magic Picture Changer to make sure work well.
Position the Magic Picture Changer so that the jelly bean can be seen clearly under the bottle-shaped cutout.
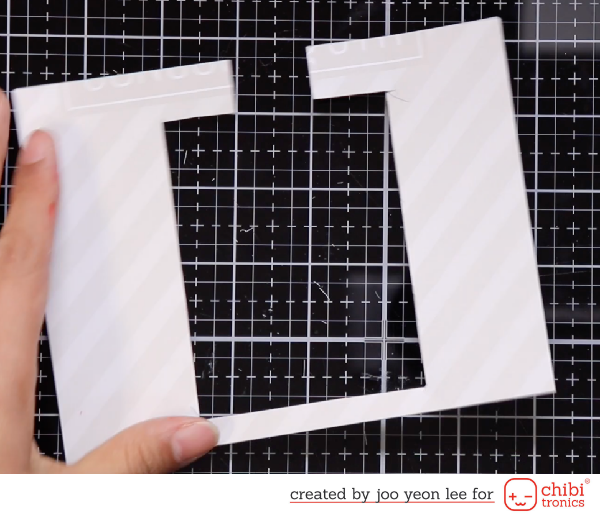
The stack of papers is attached to the back of it and remove the cover and mark it on the thick paper according to the shape of the Magic Picture Changer.
Cut it with scissors along the shape.
Don’t forget marking the position of the heart and battery with a pencil.
Draw the shape of Magic Picture Changer on the back side of the front panel.
Mark the position of the battery.
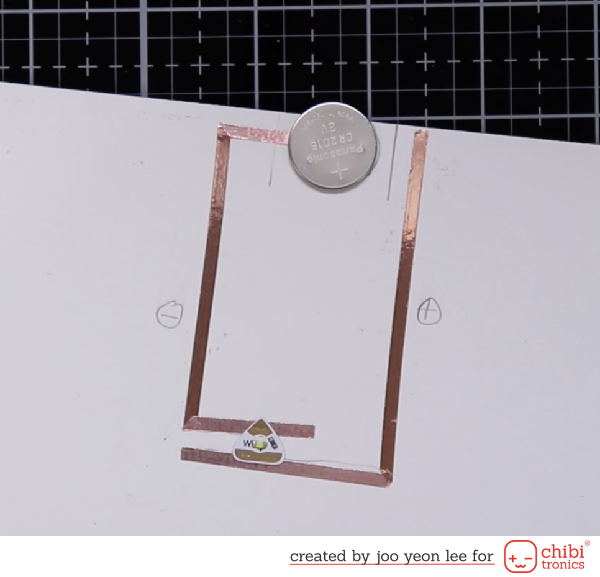
Adhere the copper tape along the circuit.
Then adhere the Chibitronics on the heart marked.
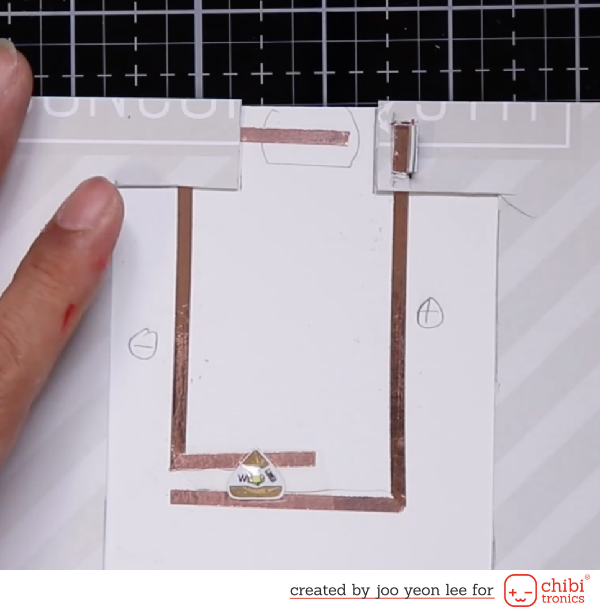
Then Draw a rectangle to make a hole where a piece of conductive fabric tape will attached.
Cut the rectangle drawn..
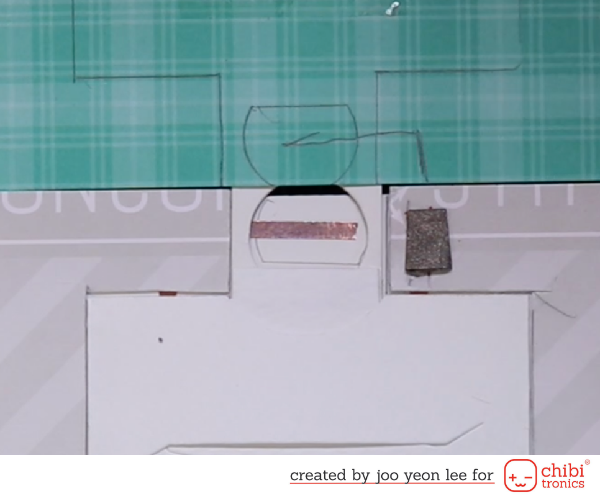
Adhere it on the copper tape inside of the hole.
The important thing is that the adhesive side is curled outward.
Draw a circuit on the back of the front panel.
Adhere a copper tape along the mark.

Make sure curled conductive fabric tape attach with copper tape on the other side.
Yay! We have done it!
Supplies list
- Chibitronics White LED Sticker
- 3V coin cell battery (CR2016)
- Copper tape
- Conductive fabric tape
- Lawn Fawn stamps : How You Bean?, Easter Party, Simply Celebrate Spring
- Lawn Fawn dies : Magic Picture Changer, How You Been? Shaker Add-On, Coordinates with “how you bean”, Grassy Hillside Border
- White cardstock, pattern paper and foam board(1T) or thick board
Battery Holder on Pull-Tab
Adorable details on this fun card! Love all the cute stamps and the coloring! The Magic Picture Changer die set looks so fun! The addition of the light adds so much to your cute scene!