Hi, crafty friends!
This is Eiko and I make light up Japanese fan Uchiwa using pre-made plastic fan kit. Uchiwa is a flat round paper fan with a bamboo or a plastic handle. It is used to keep oneself to cool or to kindle fire.
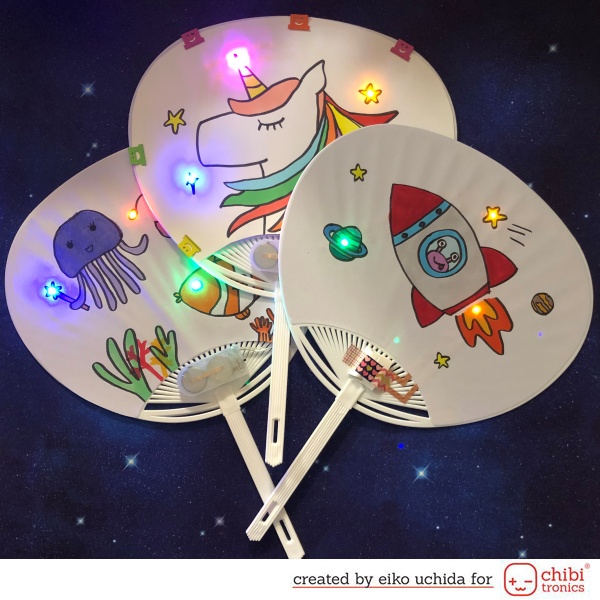
I will make the parts referring to the picture below.
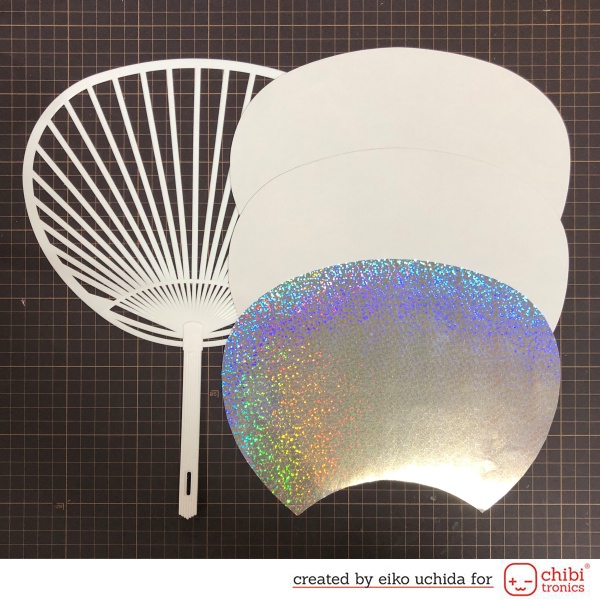
- Plastic fan frame
- Two fan covers using white sticker: one for the circuit and the other for the picture
- Back fan cover using hologram sticker
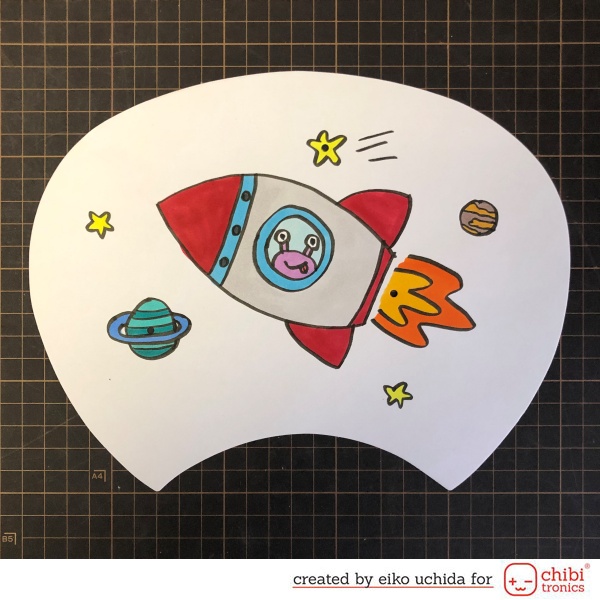
- Draw a picture on the white fan cover.
- Make the holes at the position of the lights.
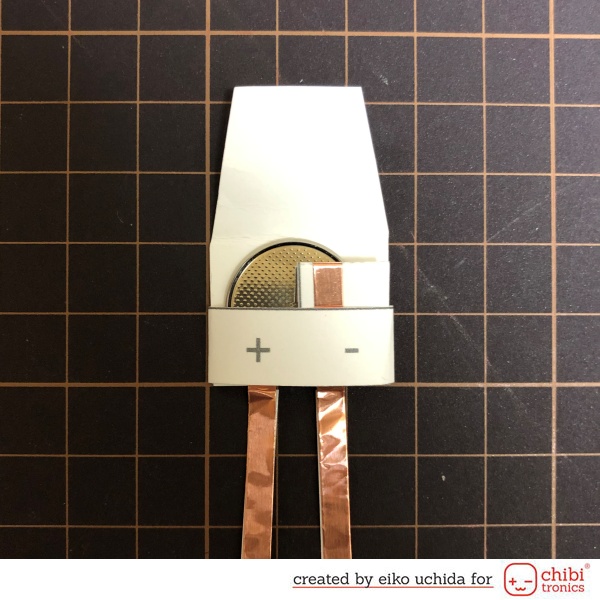
Make an envelope battery holder referring to this page.
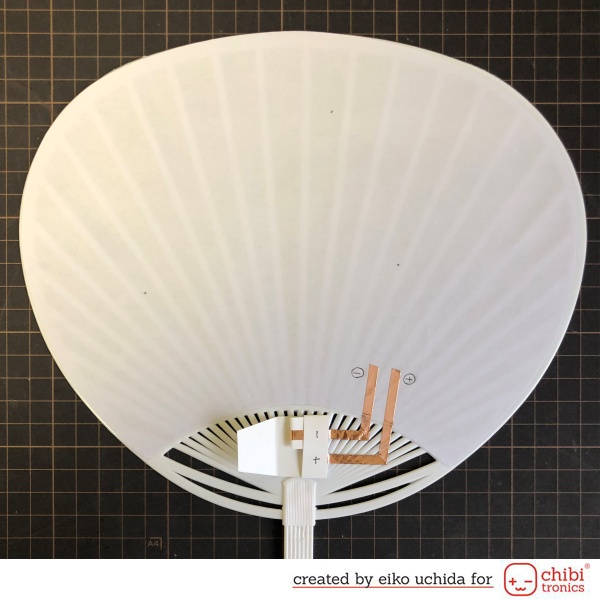
- Stick the circuit fan cover on the fan frame.
- Put the envelope battery holder on the fan cover.
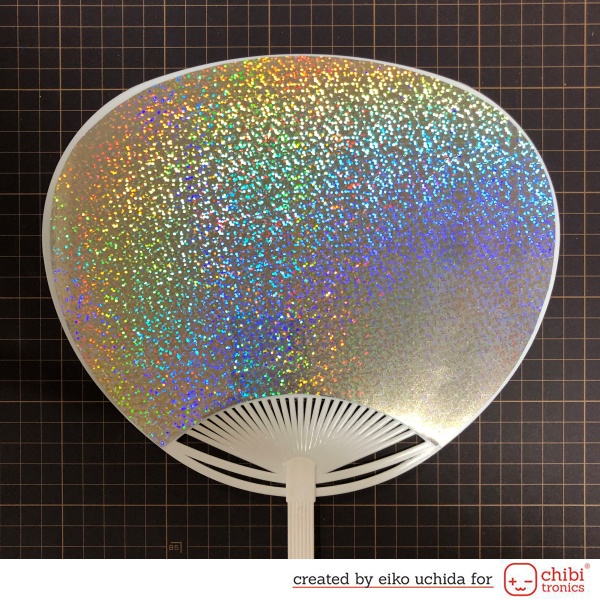
- Stick the back fan cover on the backside of the fan frame.
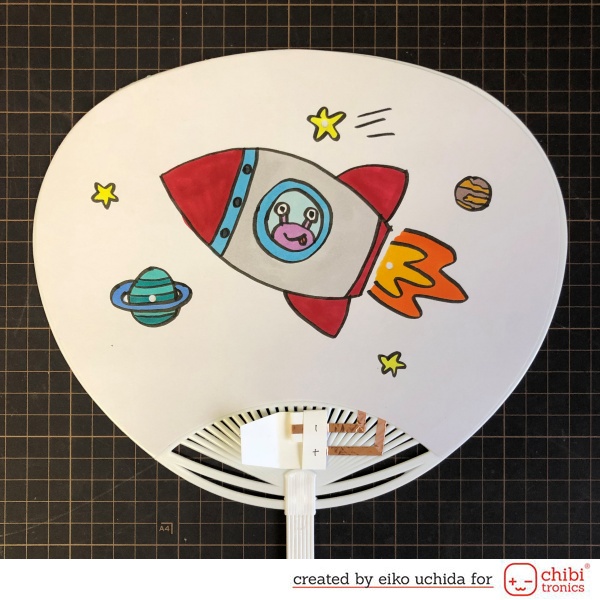
- Put the picture fan cover on the circuit fan cover and mark the lights with a pencil.
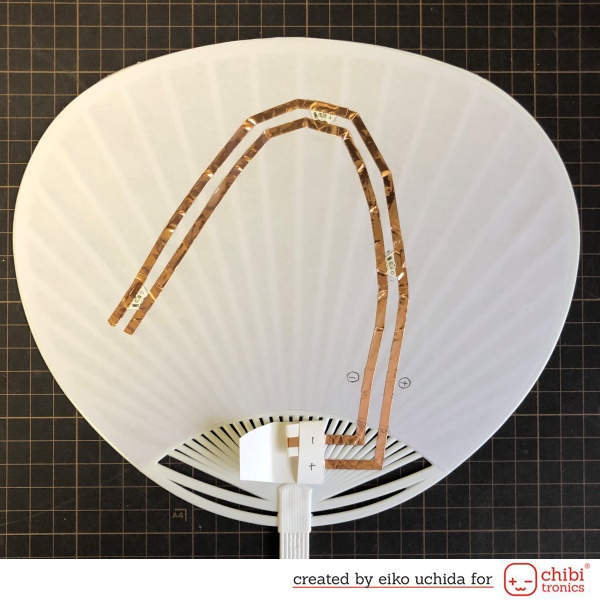
- Mark the position of the Chibitronics and the battery.
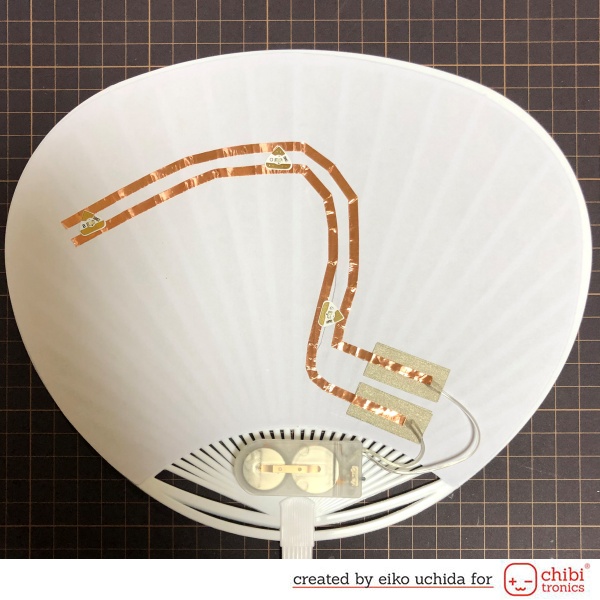
- Draw the circuit with a pencil.
- Stick the copper tape on the pre-drawn path.
- Attach the LED to the copper tape, over the outline.
- Stick short copper tape on the edges of the LED to reinforce.
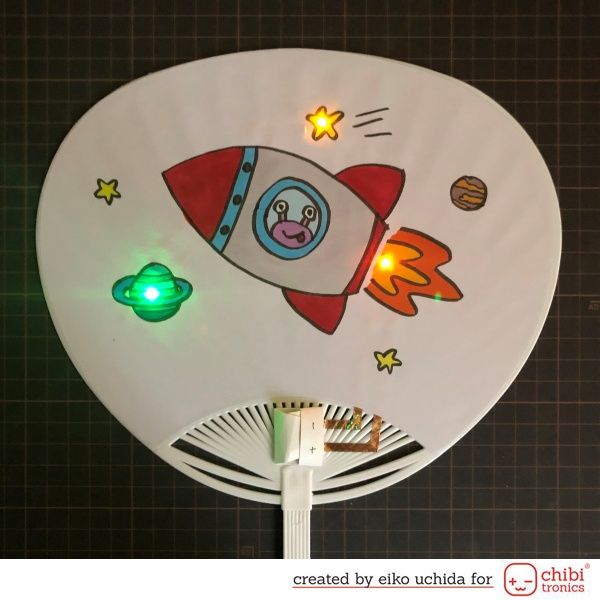
- Stick the picture fan cover on the circuit fan cover.
- Put the CR2032 coin cell battery in the envelope battery holder.
- When you tuck the top flat of the battery holder between the outside band and the negative lead, the LED turn on.
I finished it! If you have a ready-made battery holder, you can use it instead of the envelope battery holder.
Please draw your favorite picture and create your own fan!

Thank you for stopping by!
Eiko Uchida
~Supplies list~
- Red, Yellow, Blue Megapack
- Pink, Orange, Green Megapack
- 3V coin cell battery (CR2032)
- 5mm wide Copper Tape
- Plastic fan frame
- White sticker sheet
- Hologram sticker sheet
How to make light up Japanese fan.
