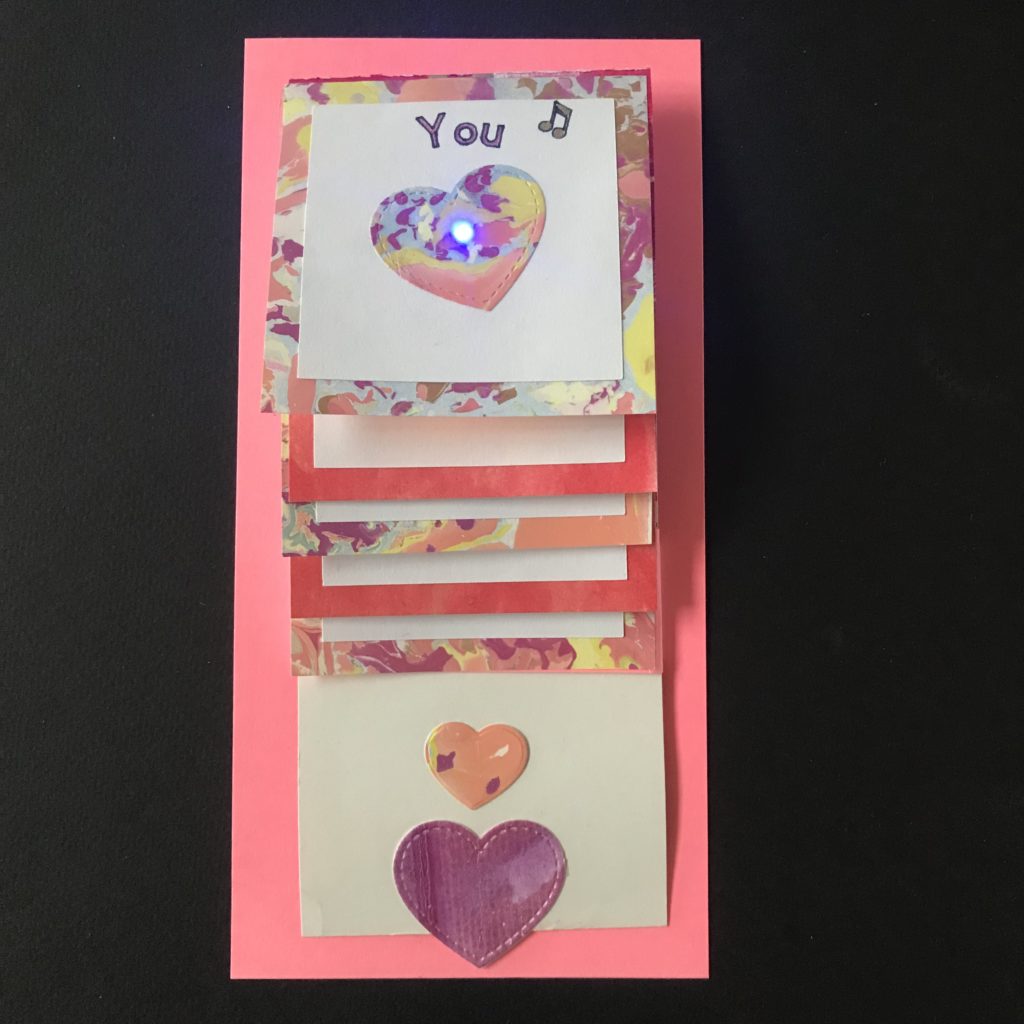
This Waterfall is Electric!
In this tutorial, we’ll show you how to add LEDs to a pull tab slider mechanism, transforming an ordinary waterfall card into an interactive cascade of light.
Video Overview


Introduction
Pull tab sliders, also known as waterfall cards, add interactivity and a surprising flipping motion to handmade creations such as greeting cards, scrapbooks, and posters. Easily constructed with paper, glue, and tape, their flat design and flexibility make them ideal for adding paper circuitry.
In this tutorial, we’ll show you how to add LEDs to a pull tab slider mechanism, transforming an ordinary waterfall card into one that’s imbued with light.
Integrate your own artwork and text, and you might use one to jazz up a school project, make a flashy Valentine, or animate a short story.
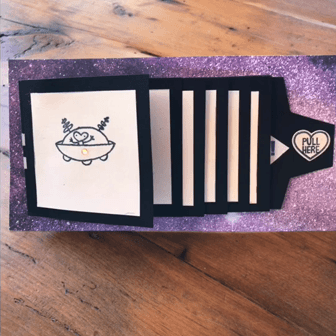
Once you understand how to assemble one, you can experiment with layouts and orientation, or personalize the design to make a pull tab slider mechanism as long and wide as you want!
Materials & Tools
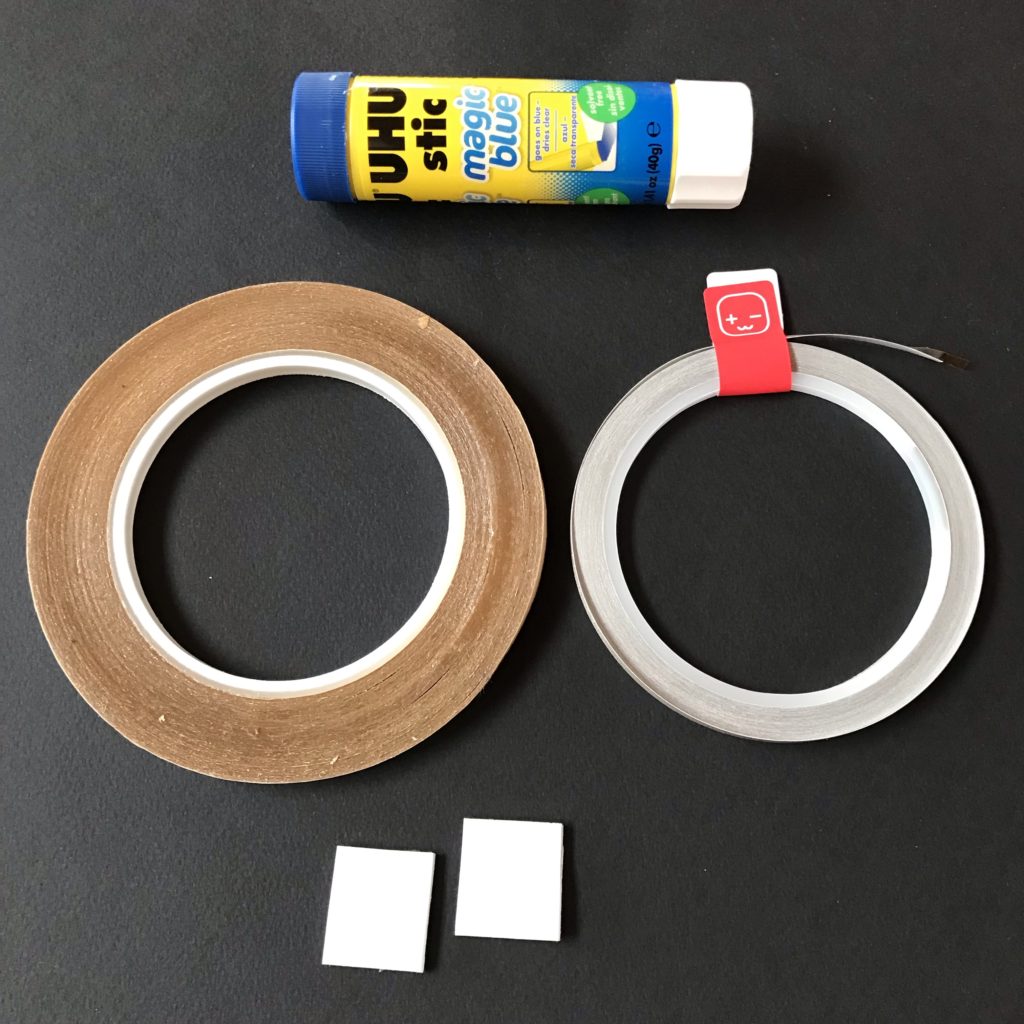
Electronic Supplies
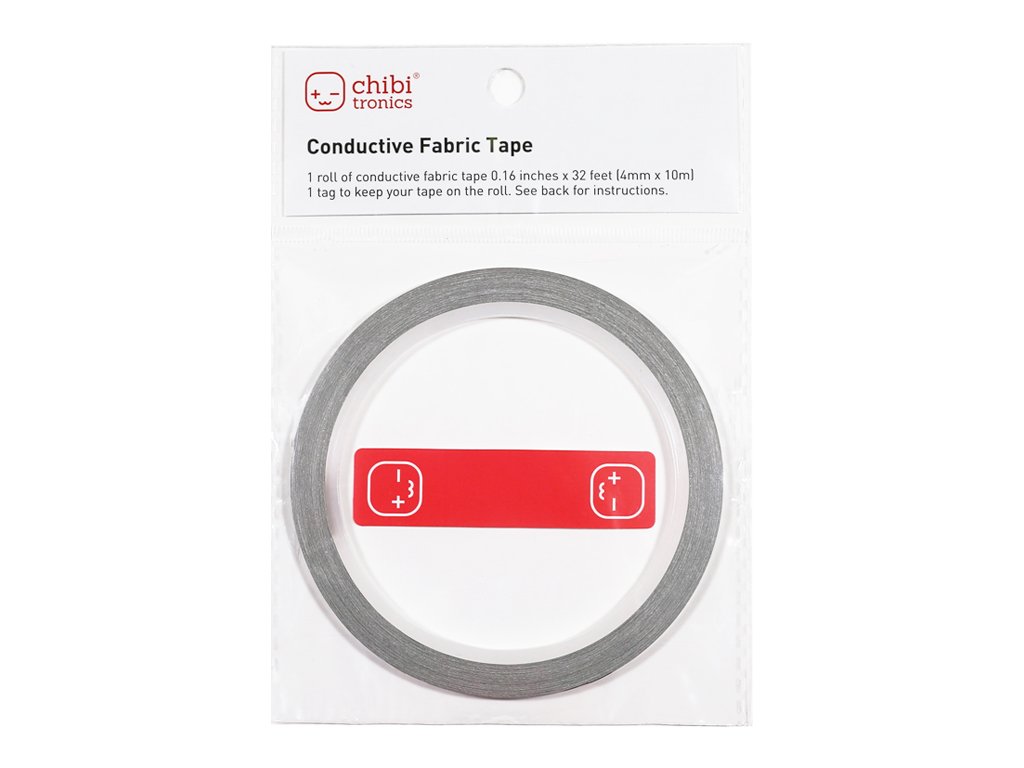
- Conductive Fabric Tape
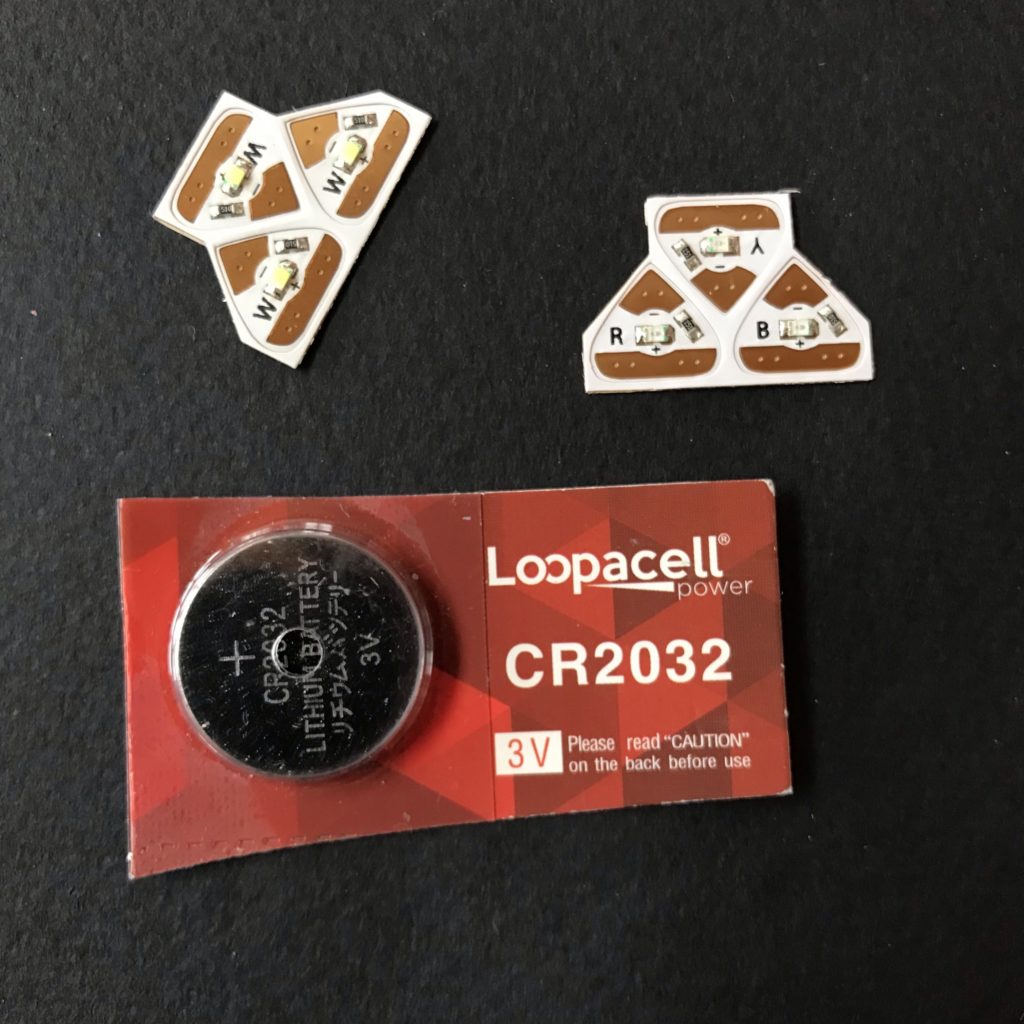
- 5 Circuit Sticker LEDs
- Coin cell battery (CR2032 or CR2016)
Other Tools & Supplies
- 1/4″ Double-sided tape
- Glue stick
- 2 X 1″ Squares of double-sided foam tape
- Paper trimmer (or craft knife & steel ruler)
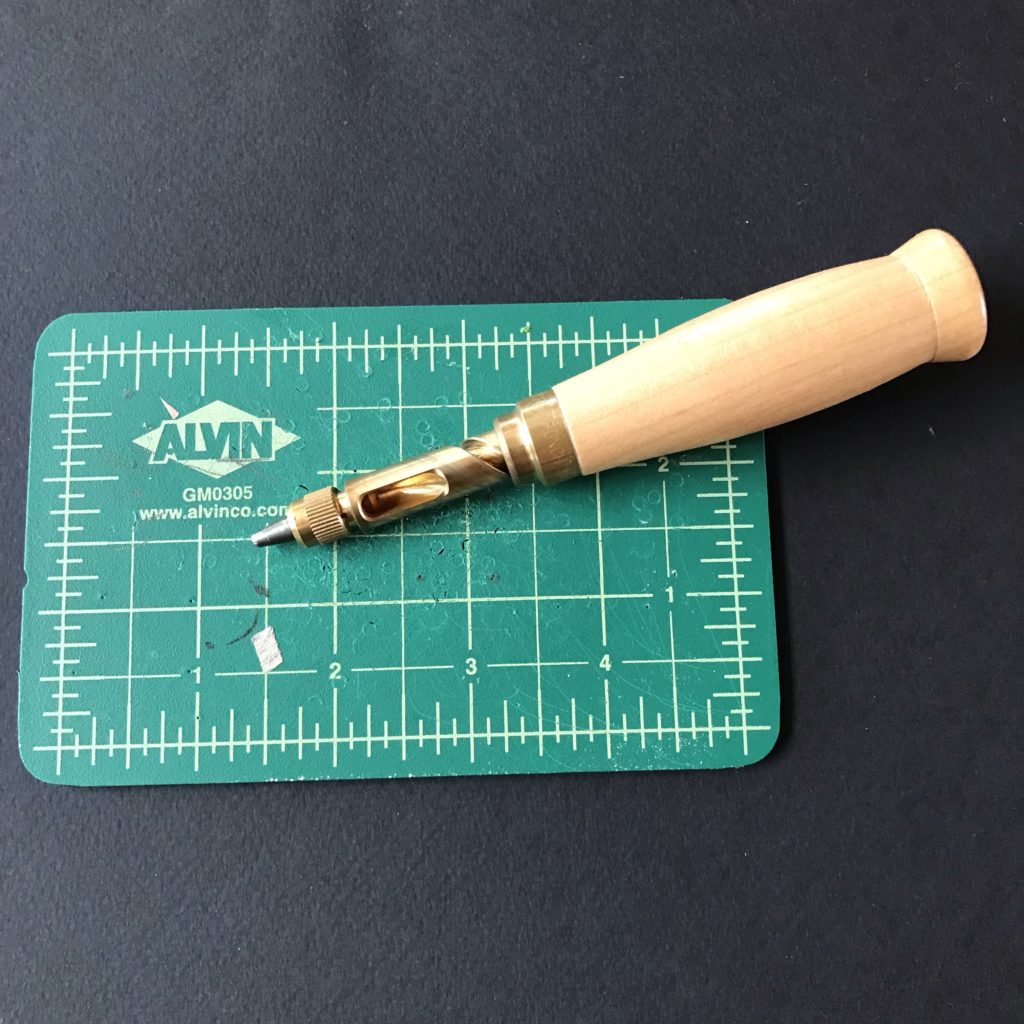
- Screw hole punch (aka. Japanese push drill)
- C-thru ruler
- Self-healing mat
- Scissors
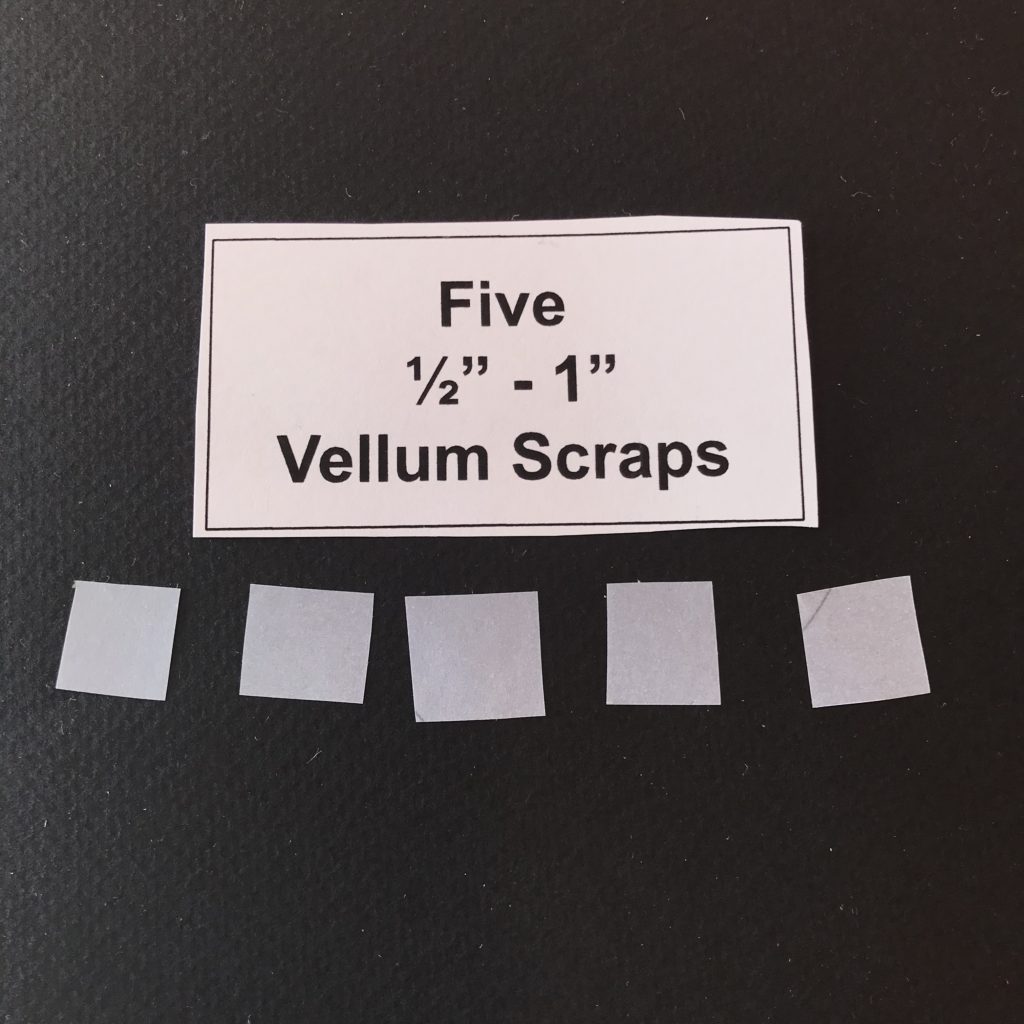
- 5 Small squares of white translucent vellum paper
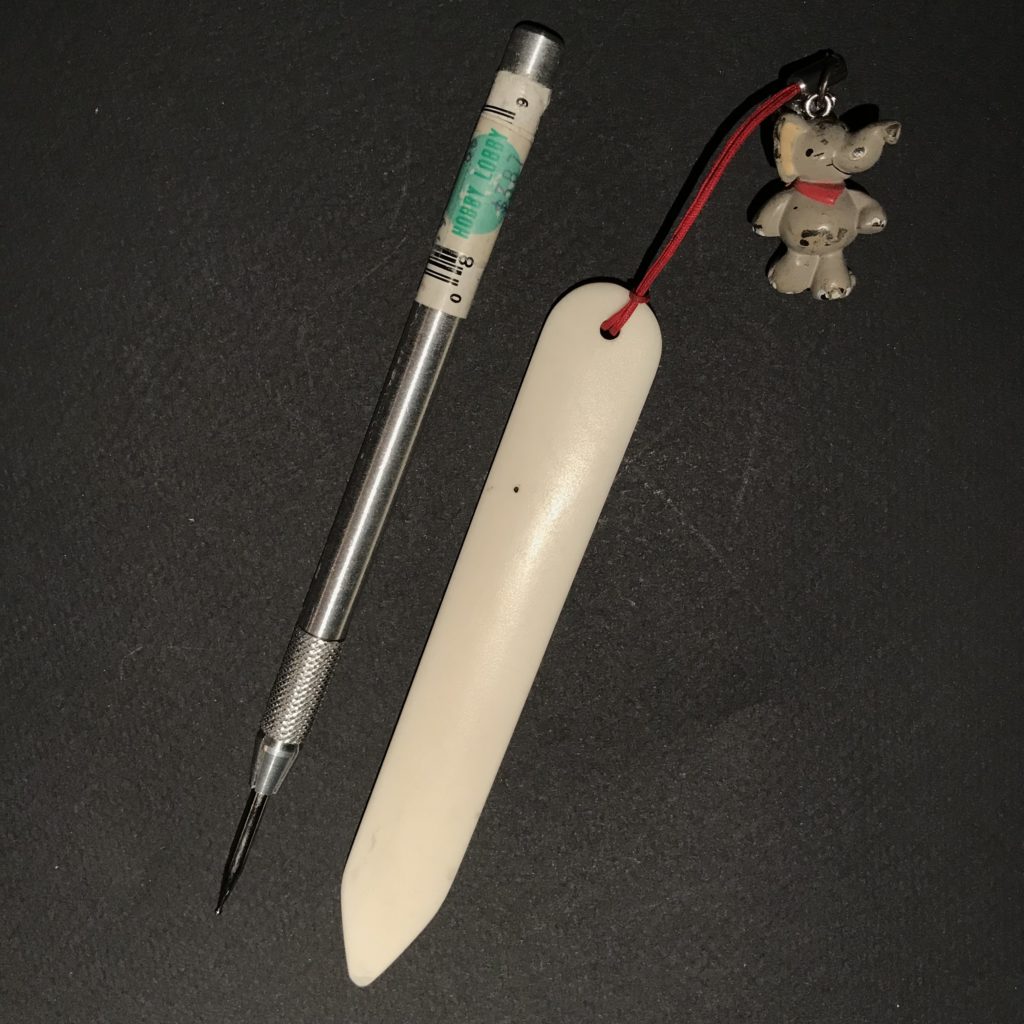
- Pencil
- Bone folder (or fingernail)
- Stylus
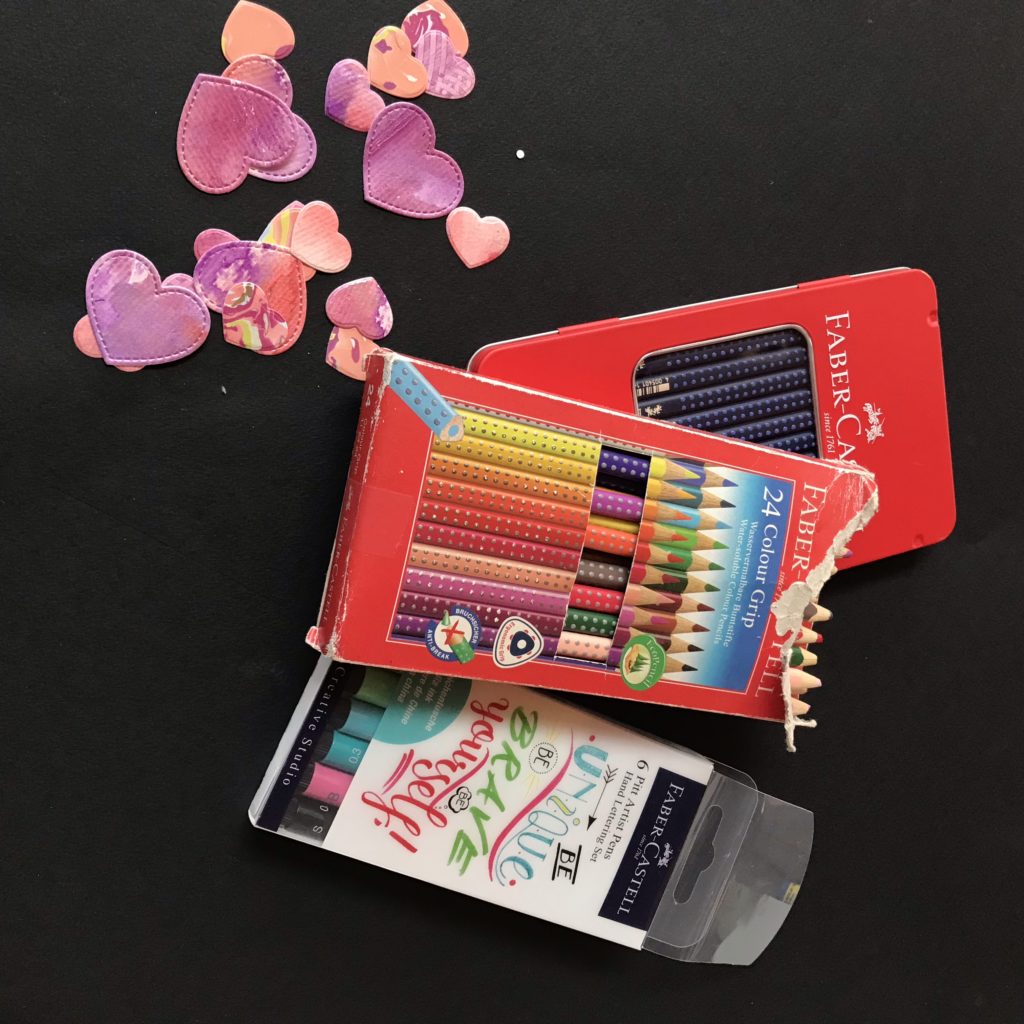
- Art supplies or embellishments of your choice


Card Parts
- cardstock (or another sturdy paper) as described below:
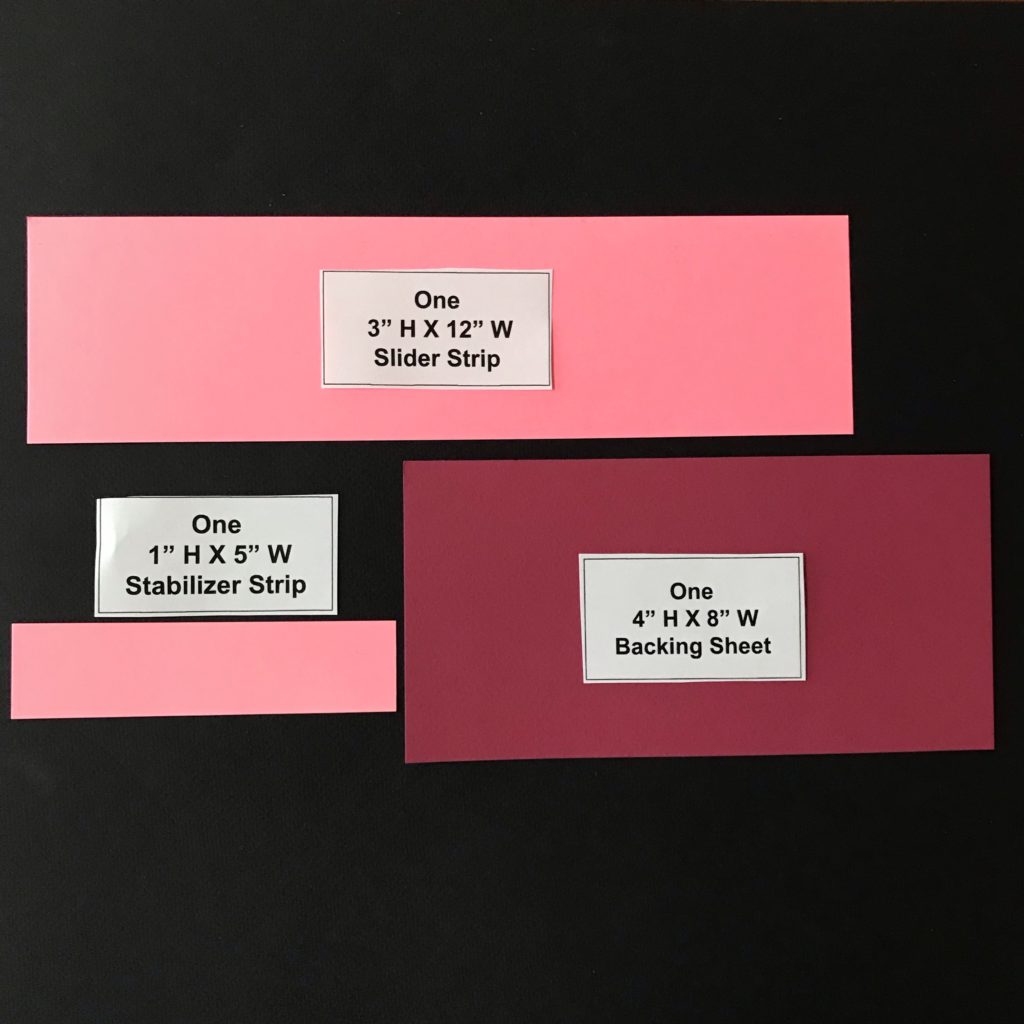
- 1 slider strip, grained short, cut to 3″ H X 12″ W (3″ H X 11″ W also works)
- 1 stabilizer strip, the same color as the slider strip, 1″ H X 5″ W
- 1 backing sheet, cut to 4″ H X 8″ W
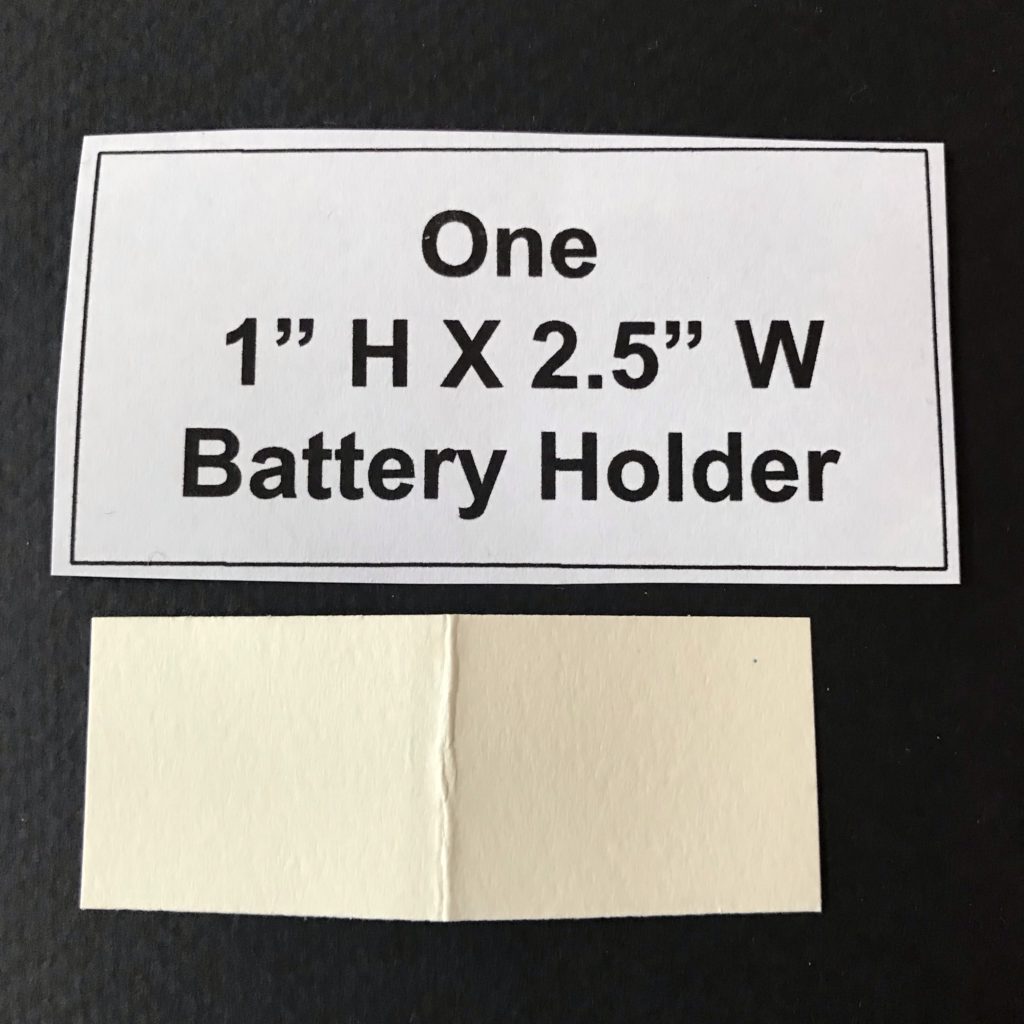
- 1 battery holder, cut to 1″ H X 2.5″ W
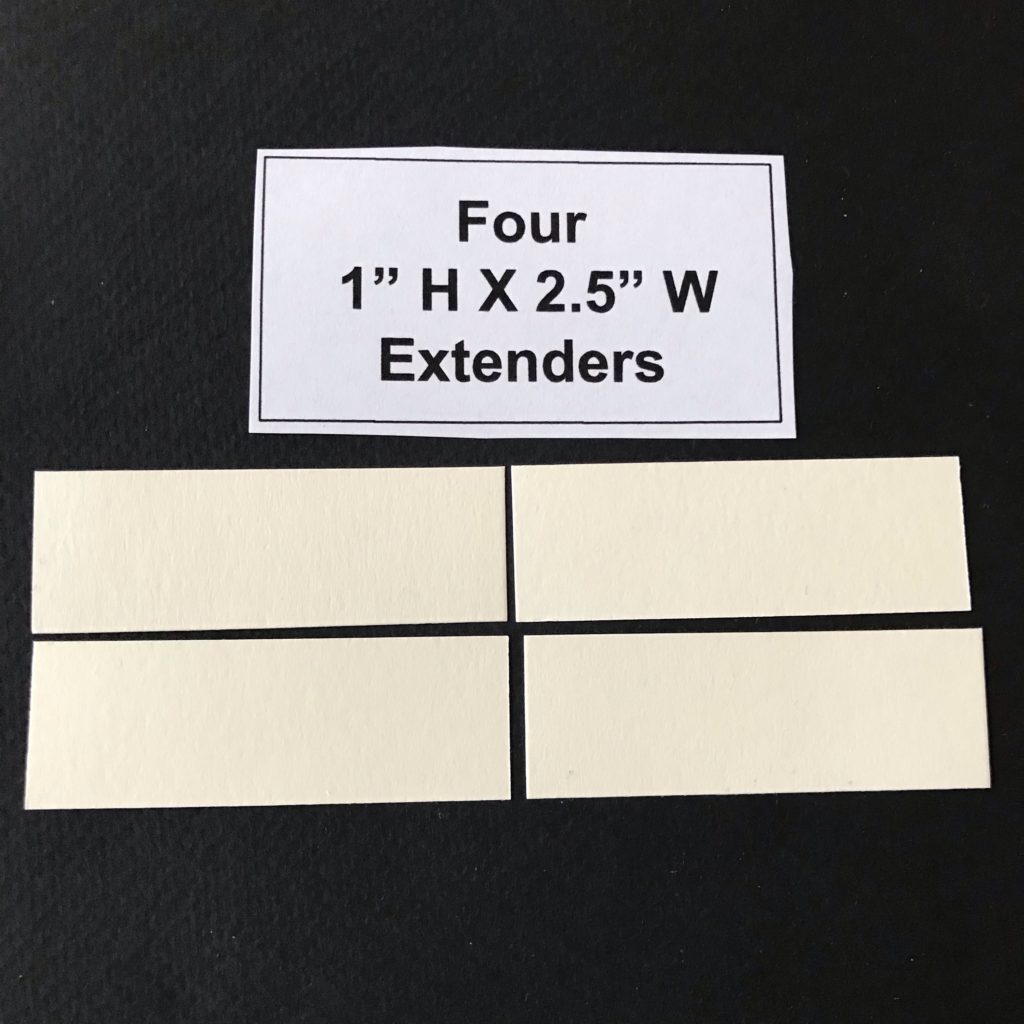
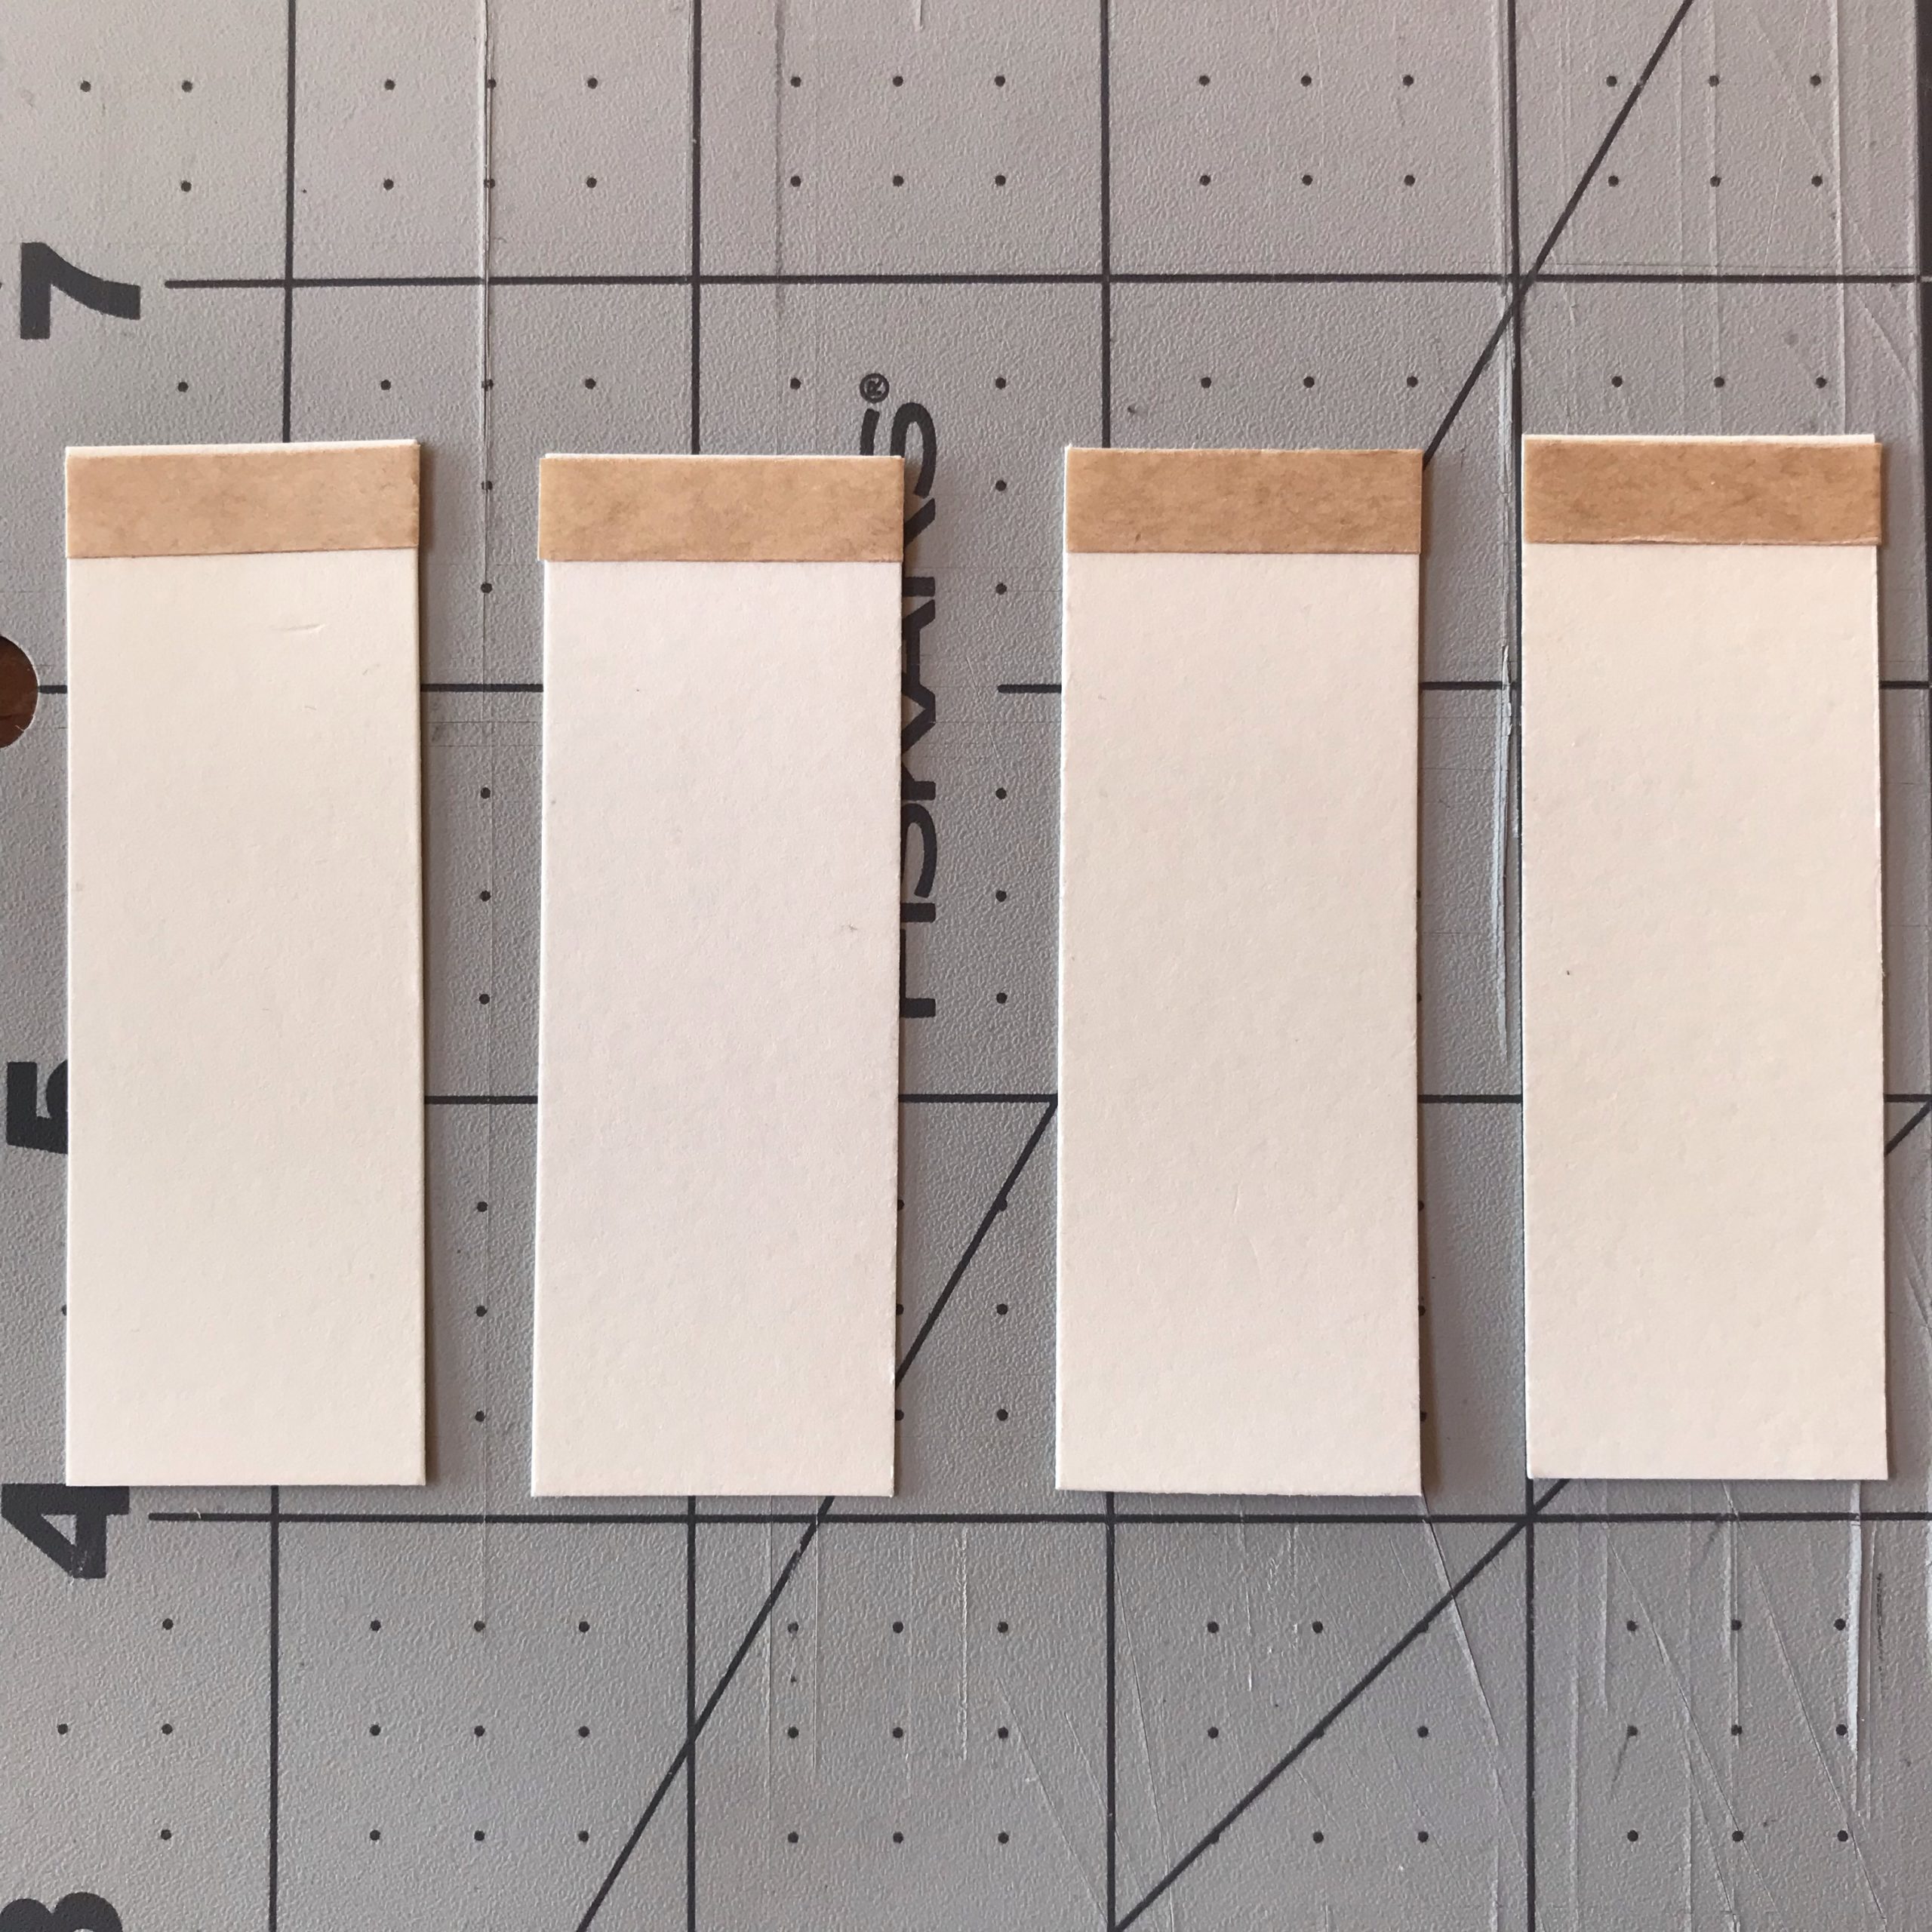
- 4 circuit extender tabs, cut to 1″ H X 2.5″ W
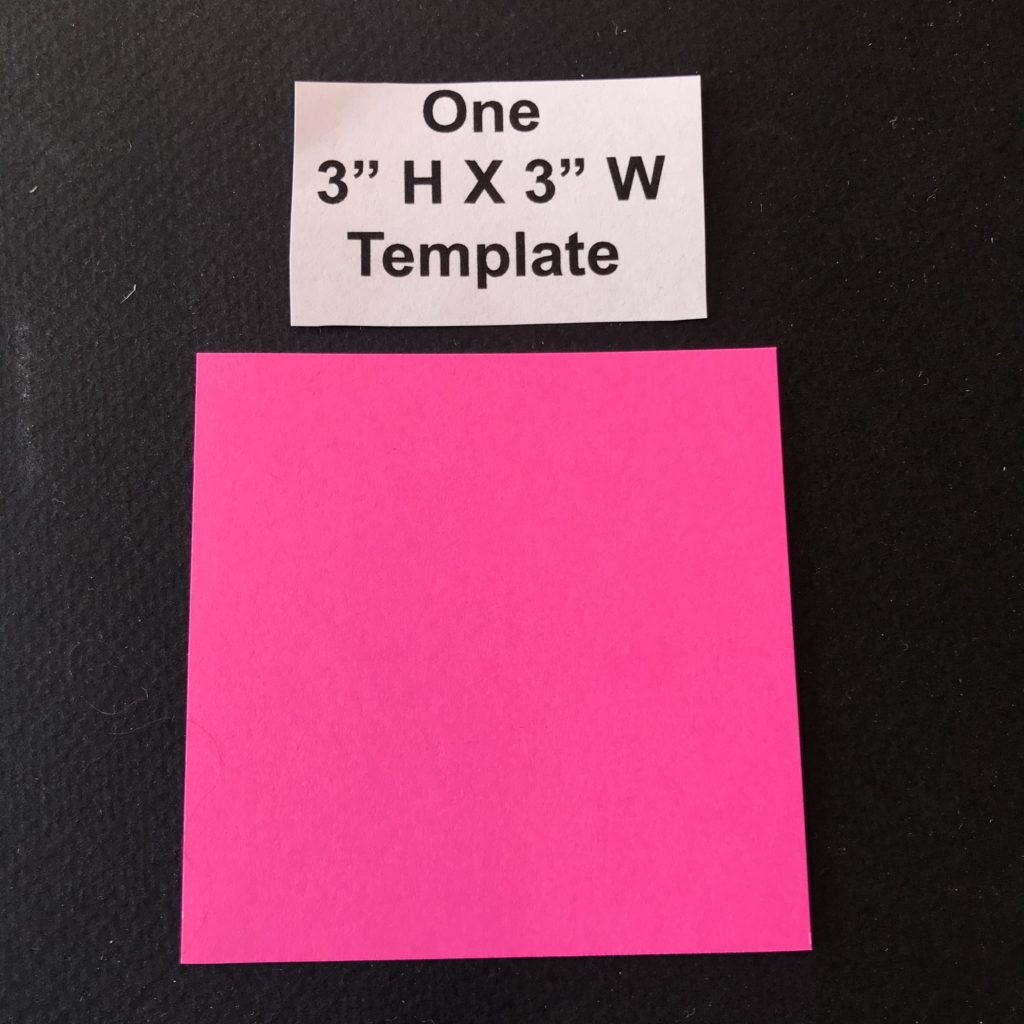
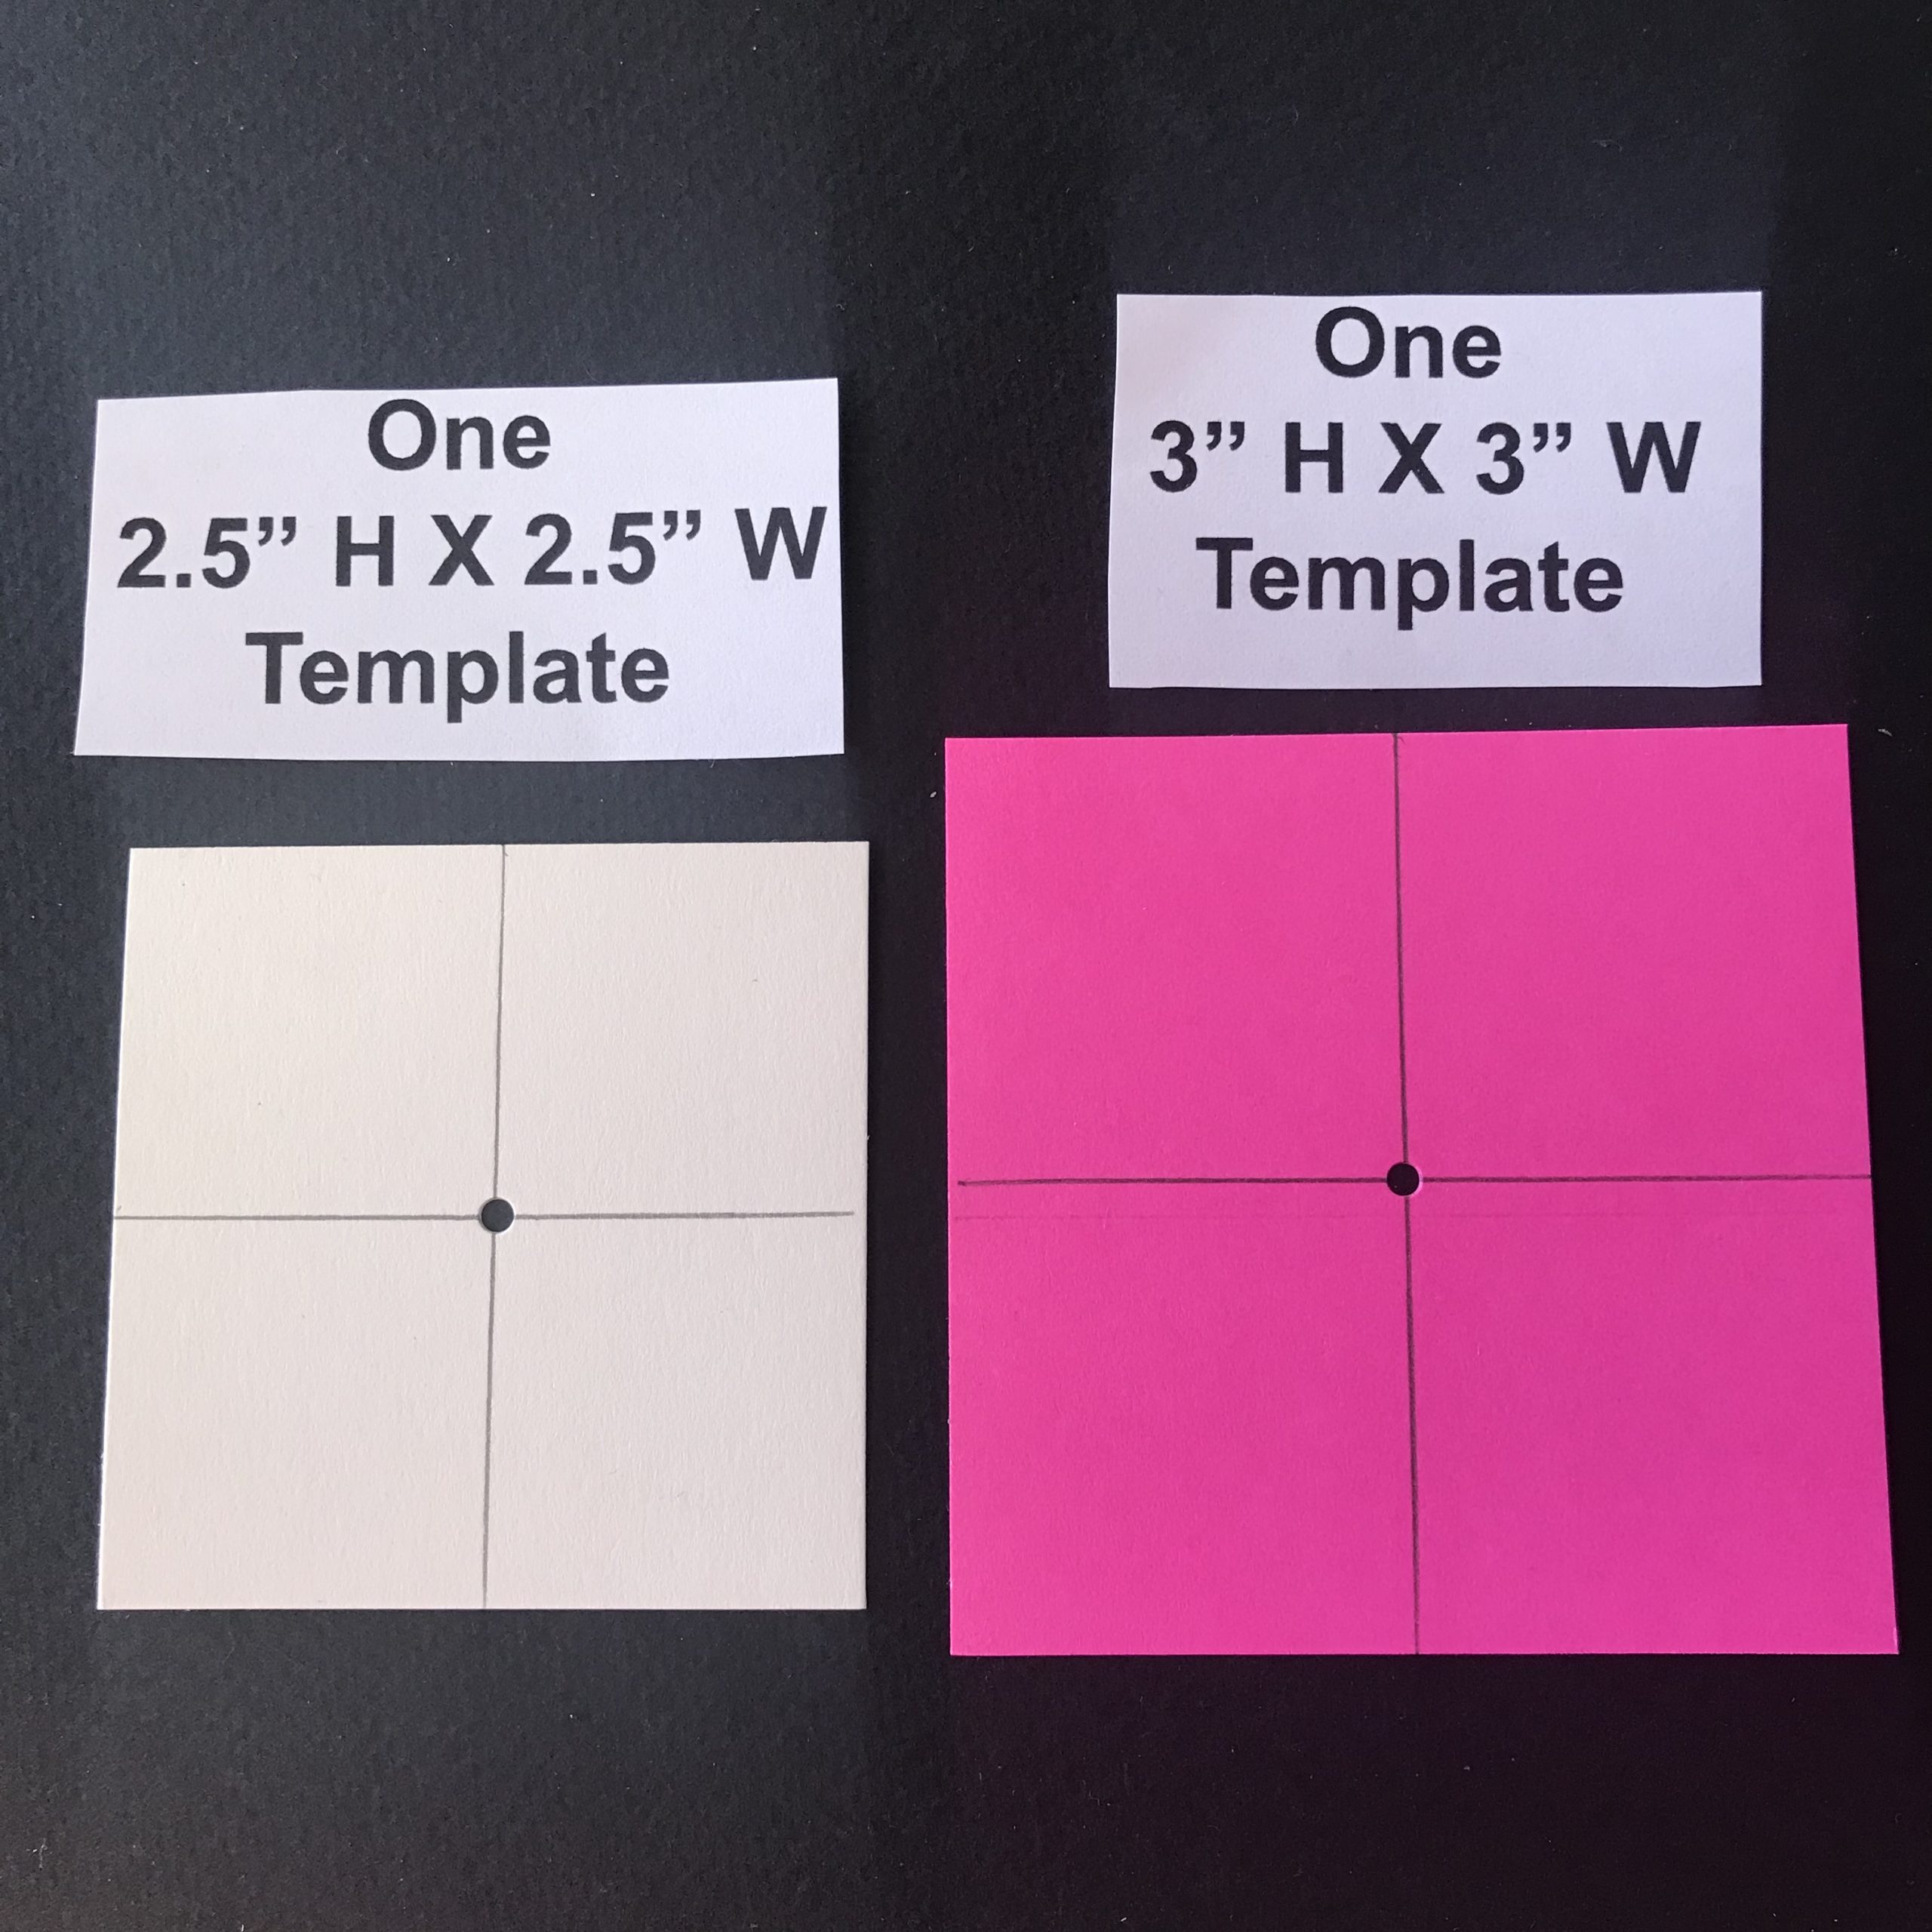
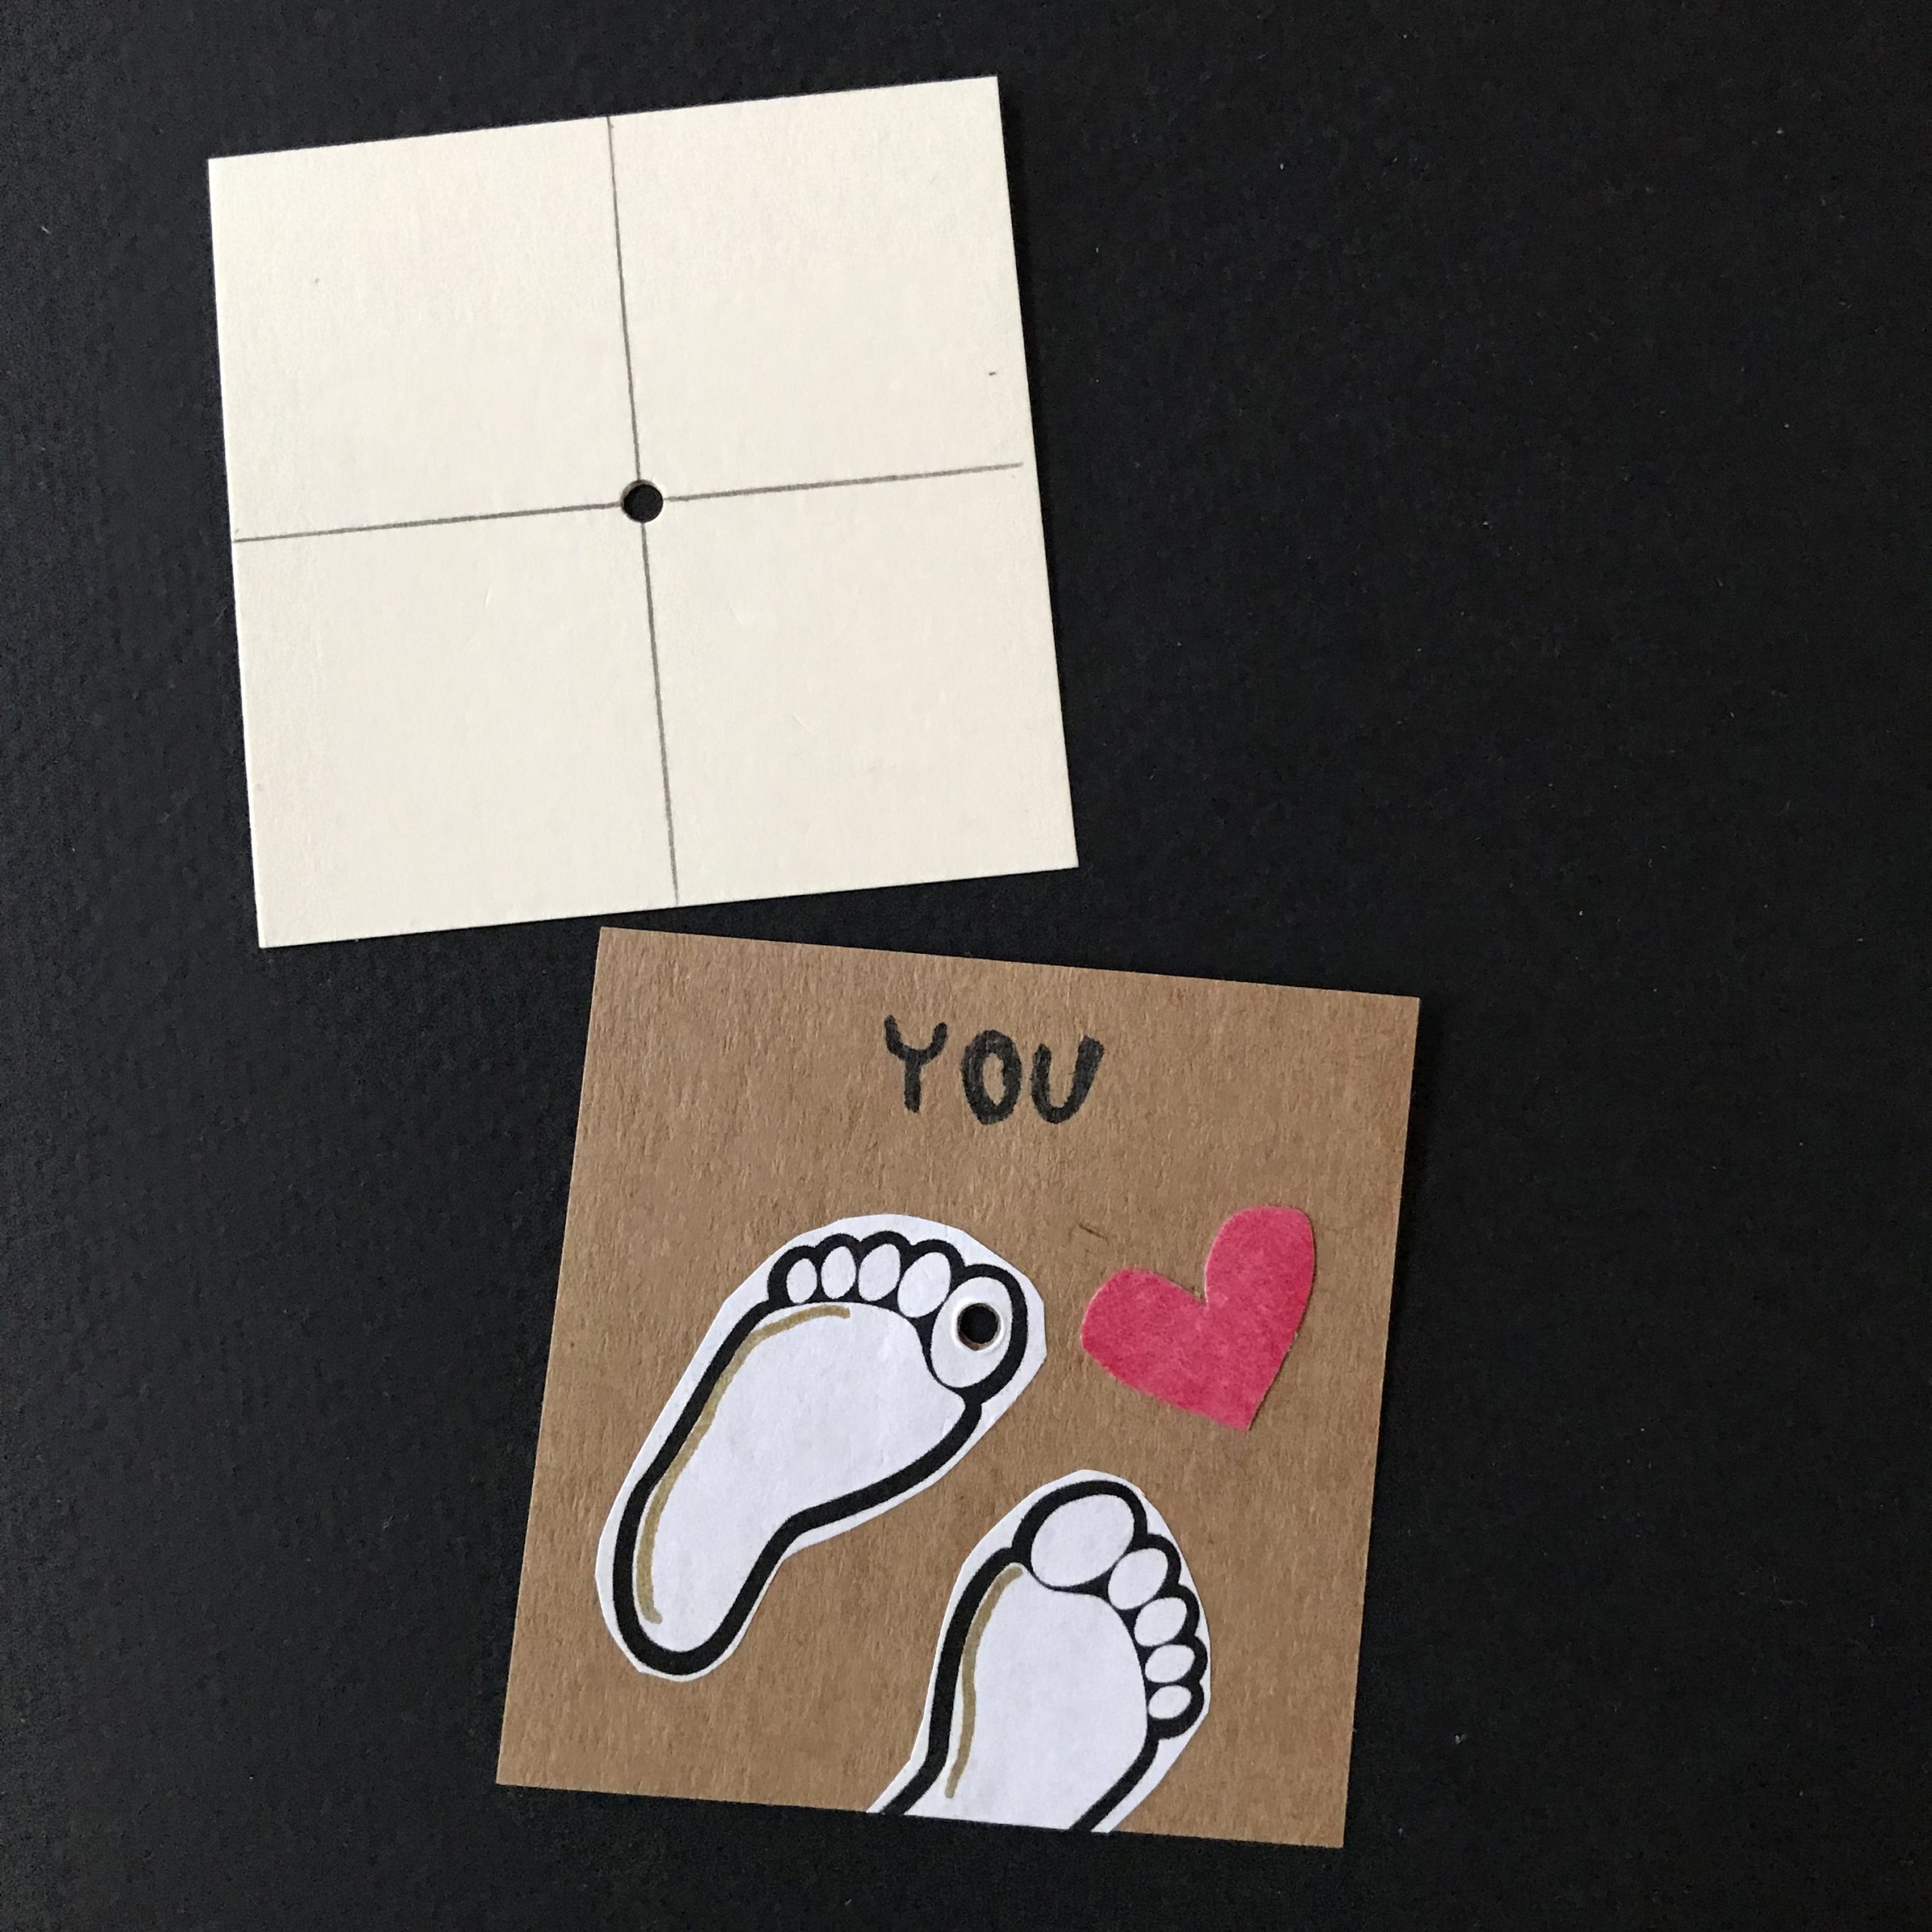
- 1 template for making holes, cut to 3″ H X 3″ W (any type of paper will do)
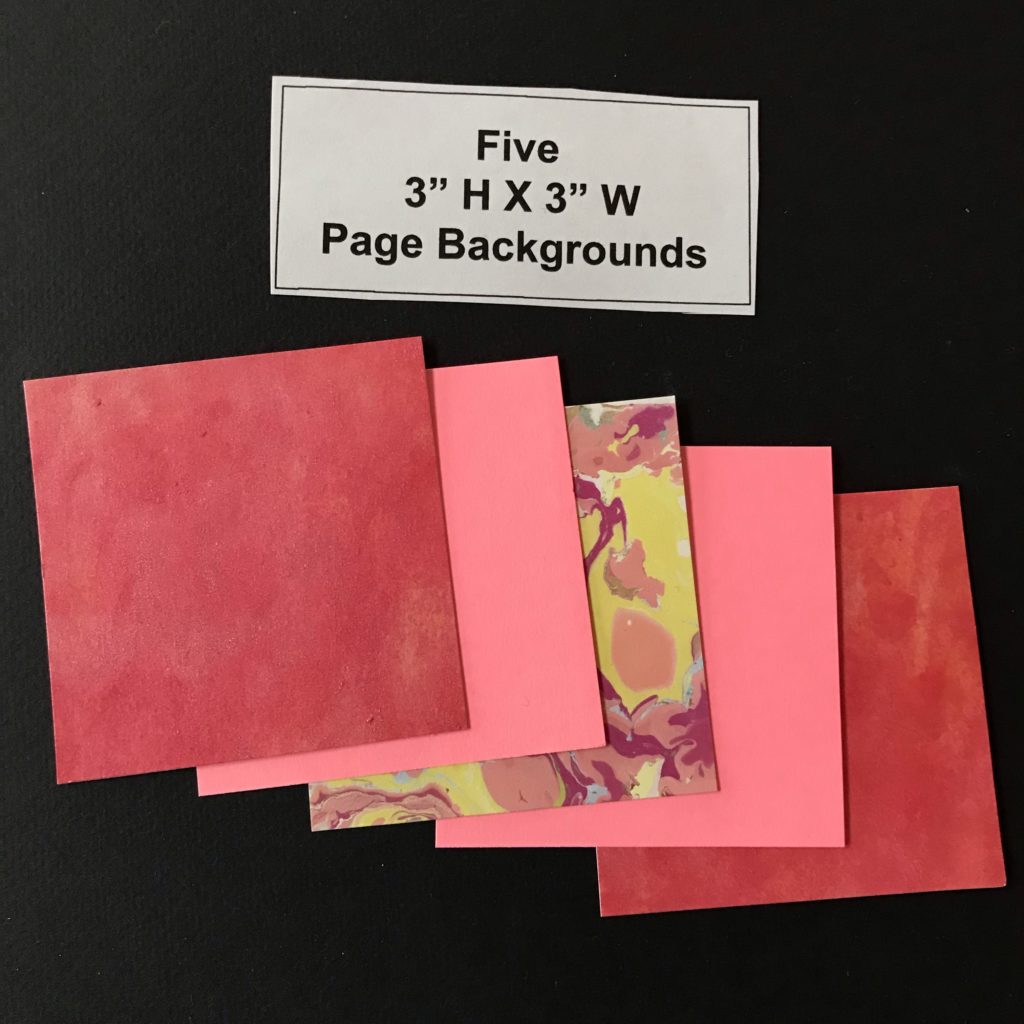
- 5 page backgrounds (plain or patterned) cut to 3″ H X 3″ W
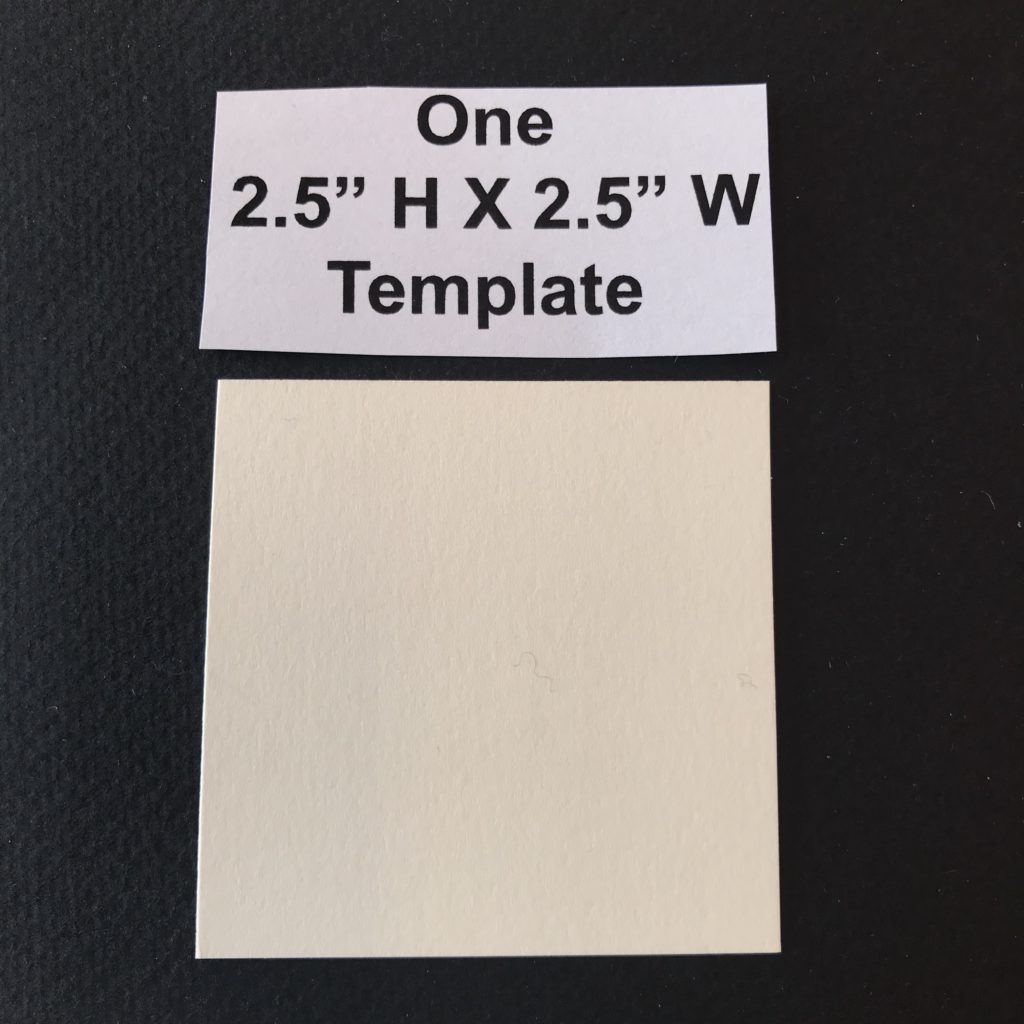
- 1 template for making holes, cut to 2.5″ H X 2.5″ W (any type of paper will do)
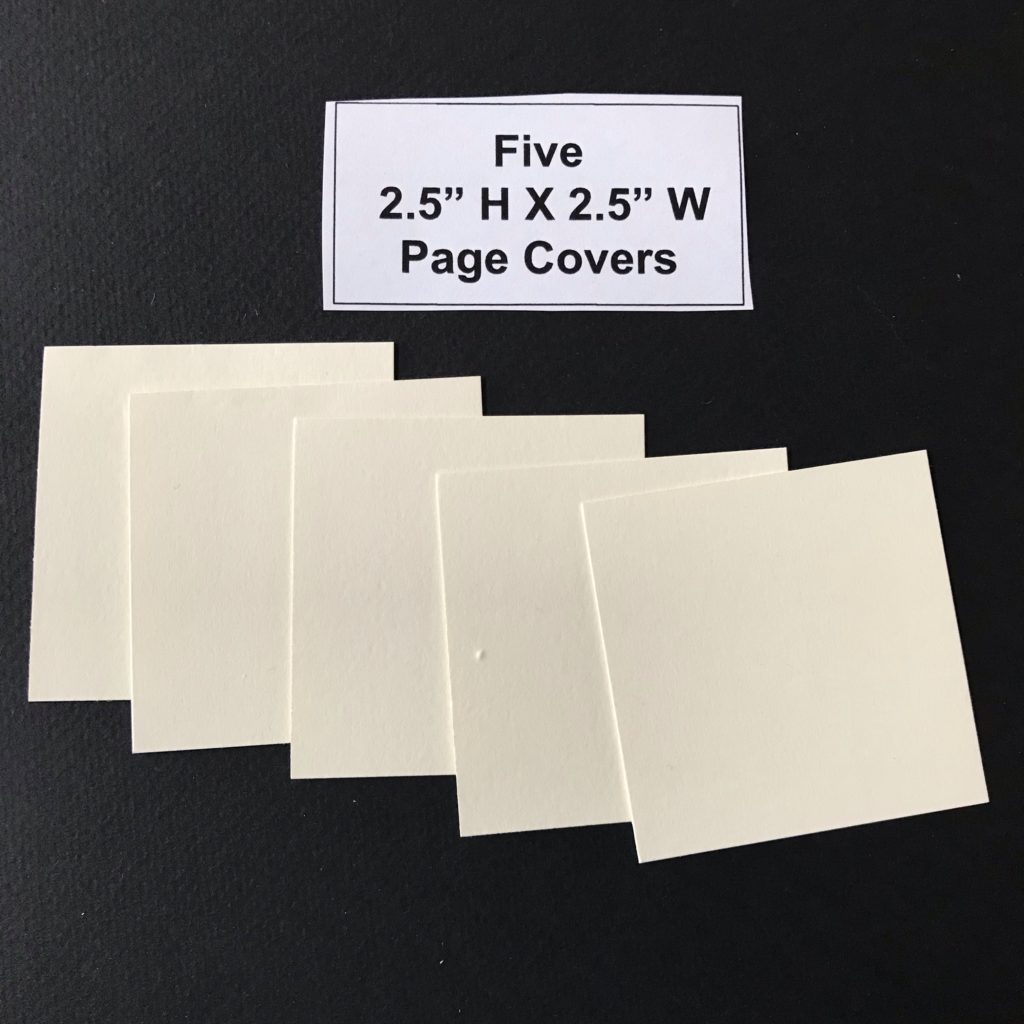
- 5 page cover sheets (plain) cut to 2.5″ H X 2.5″ W
Directions
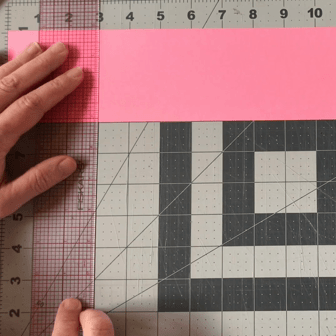
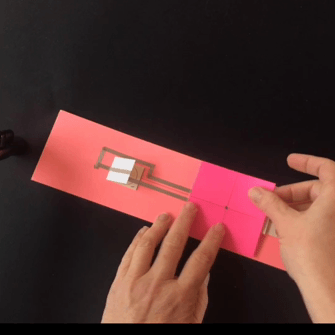
Step 1: Measure & Fold the Slider Strip
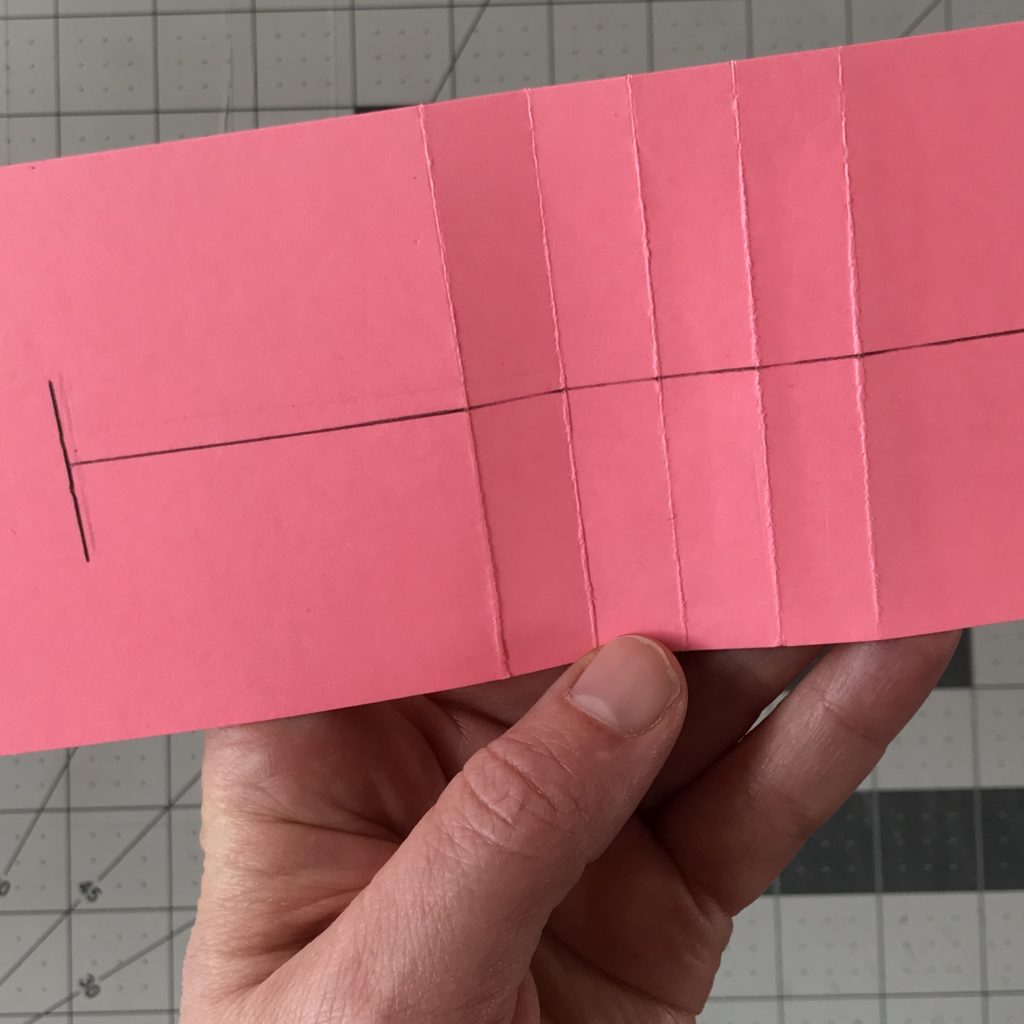
The first step in building a light up waterfall card is to lay the 3” H X 12” W slider strip horizontally on a flat surface, so that the grain of the paper runs up and down, making it easier to fold.
Use a ruler and a bone folder (or stylus) to score a vertical line 3” from a short edge of the strip. Score four more vertical lines in ½” increments from the first score line.
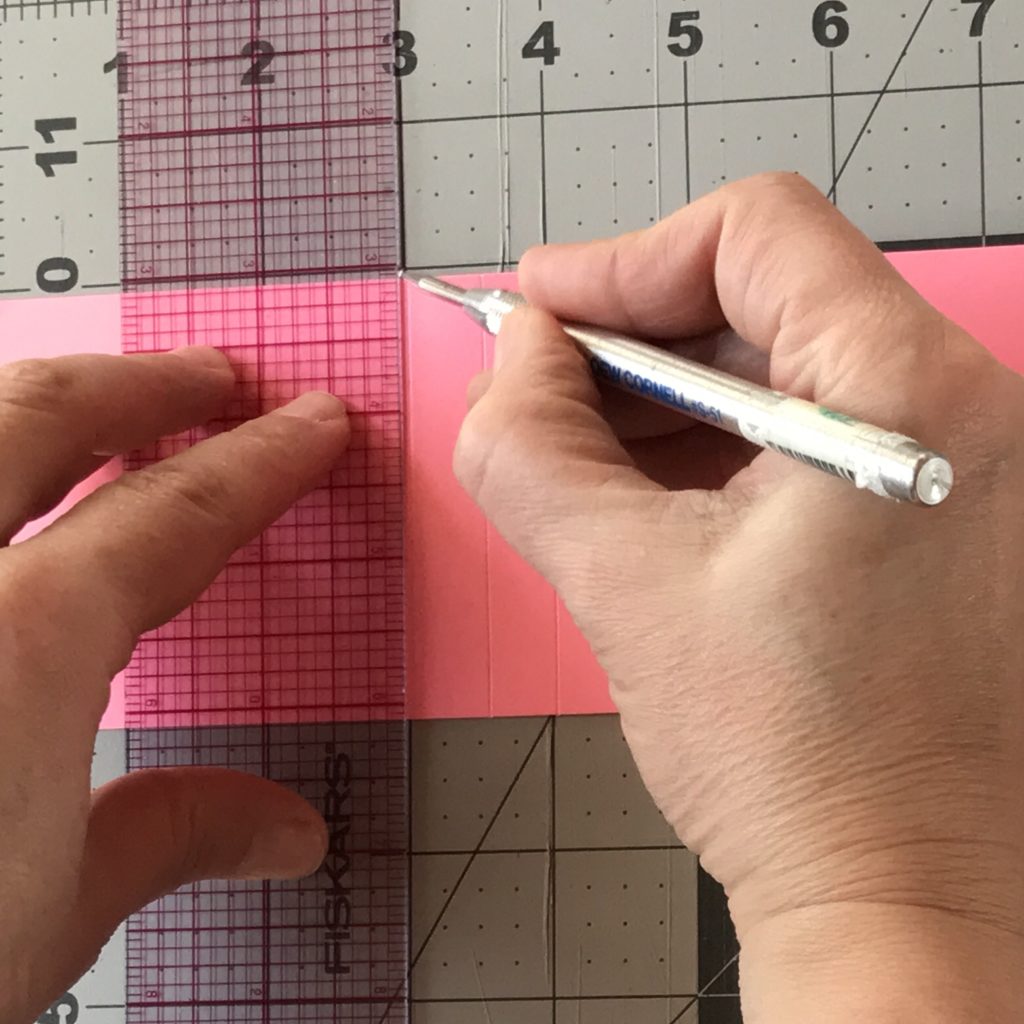
You should have a total of five score marks.
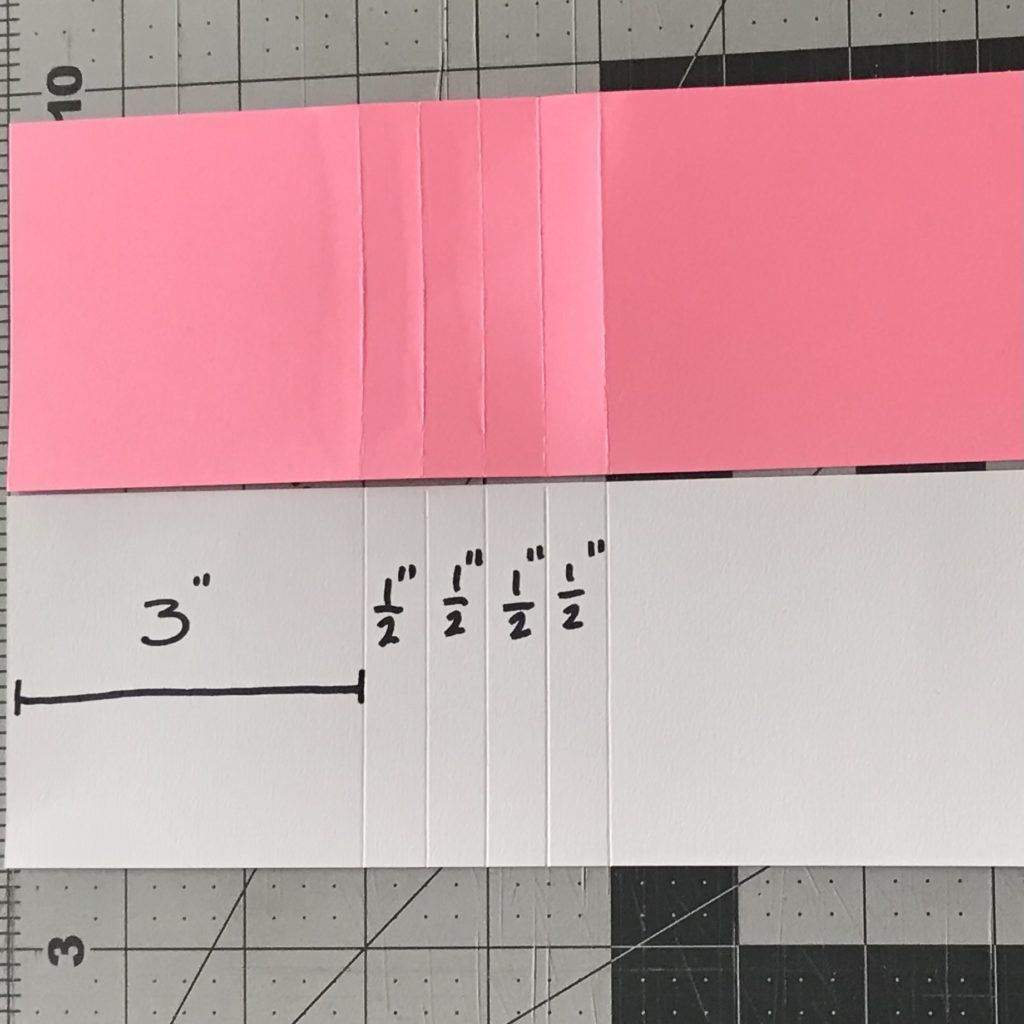
Bend and crease each score line with a bone folder or a fingernail.
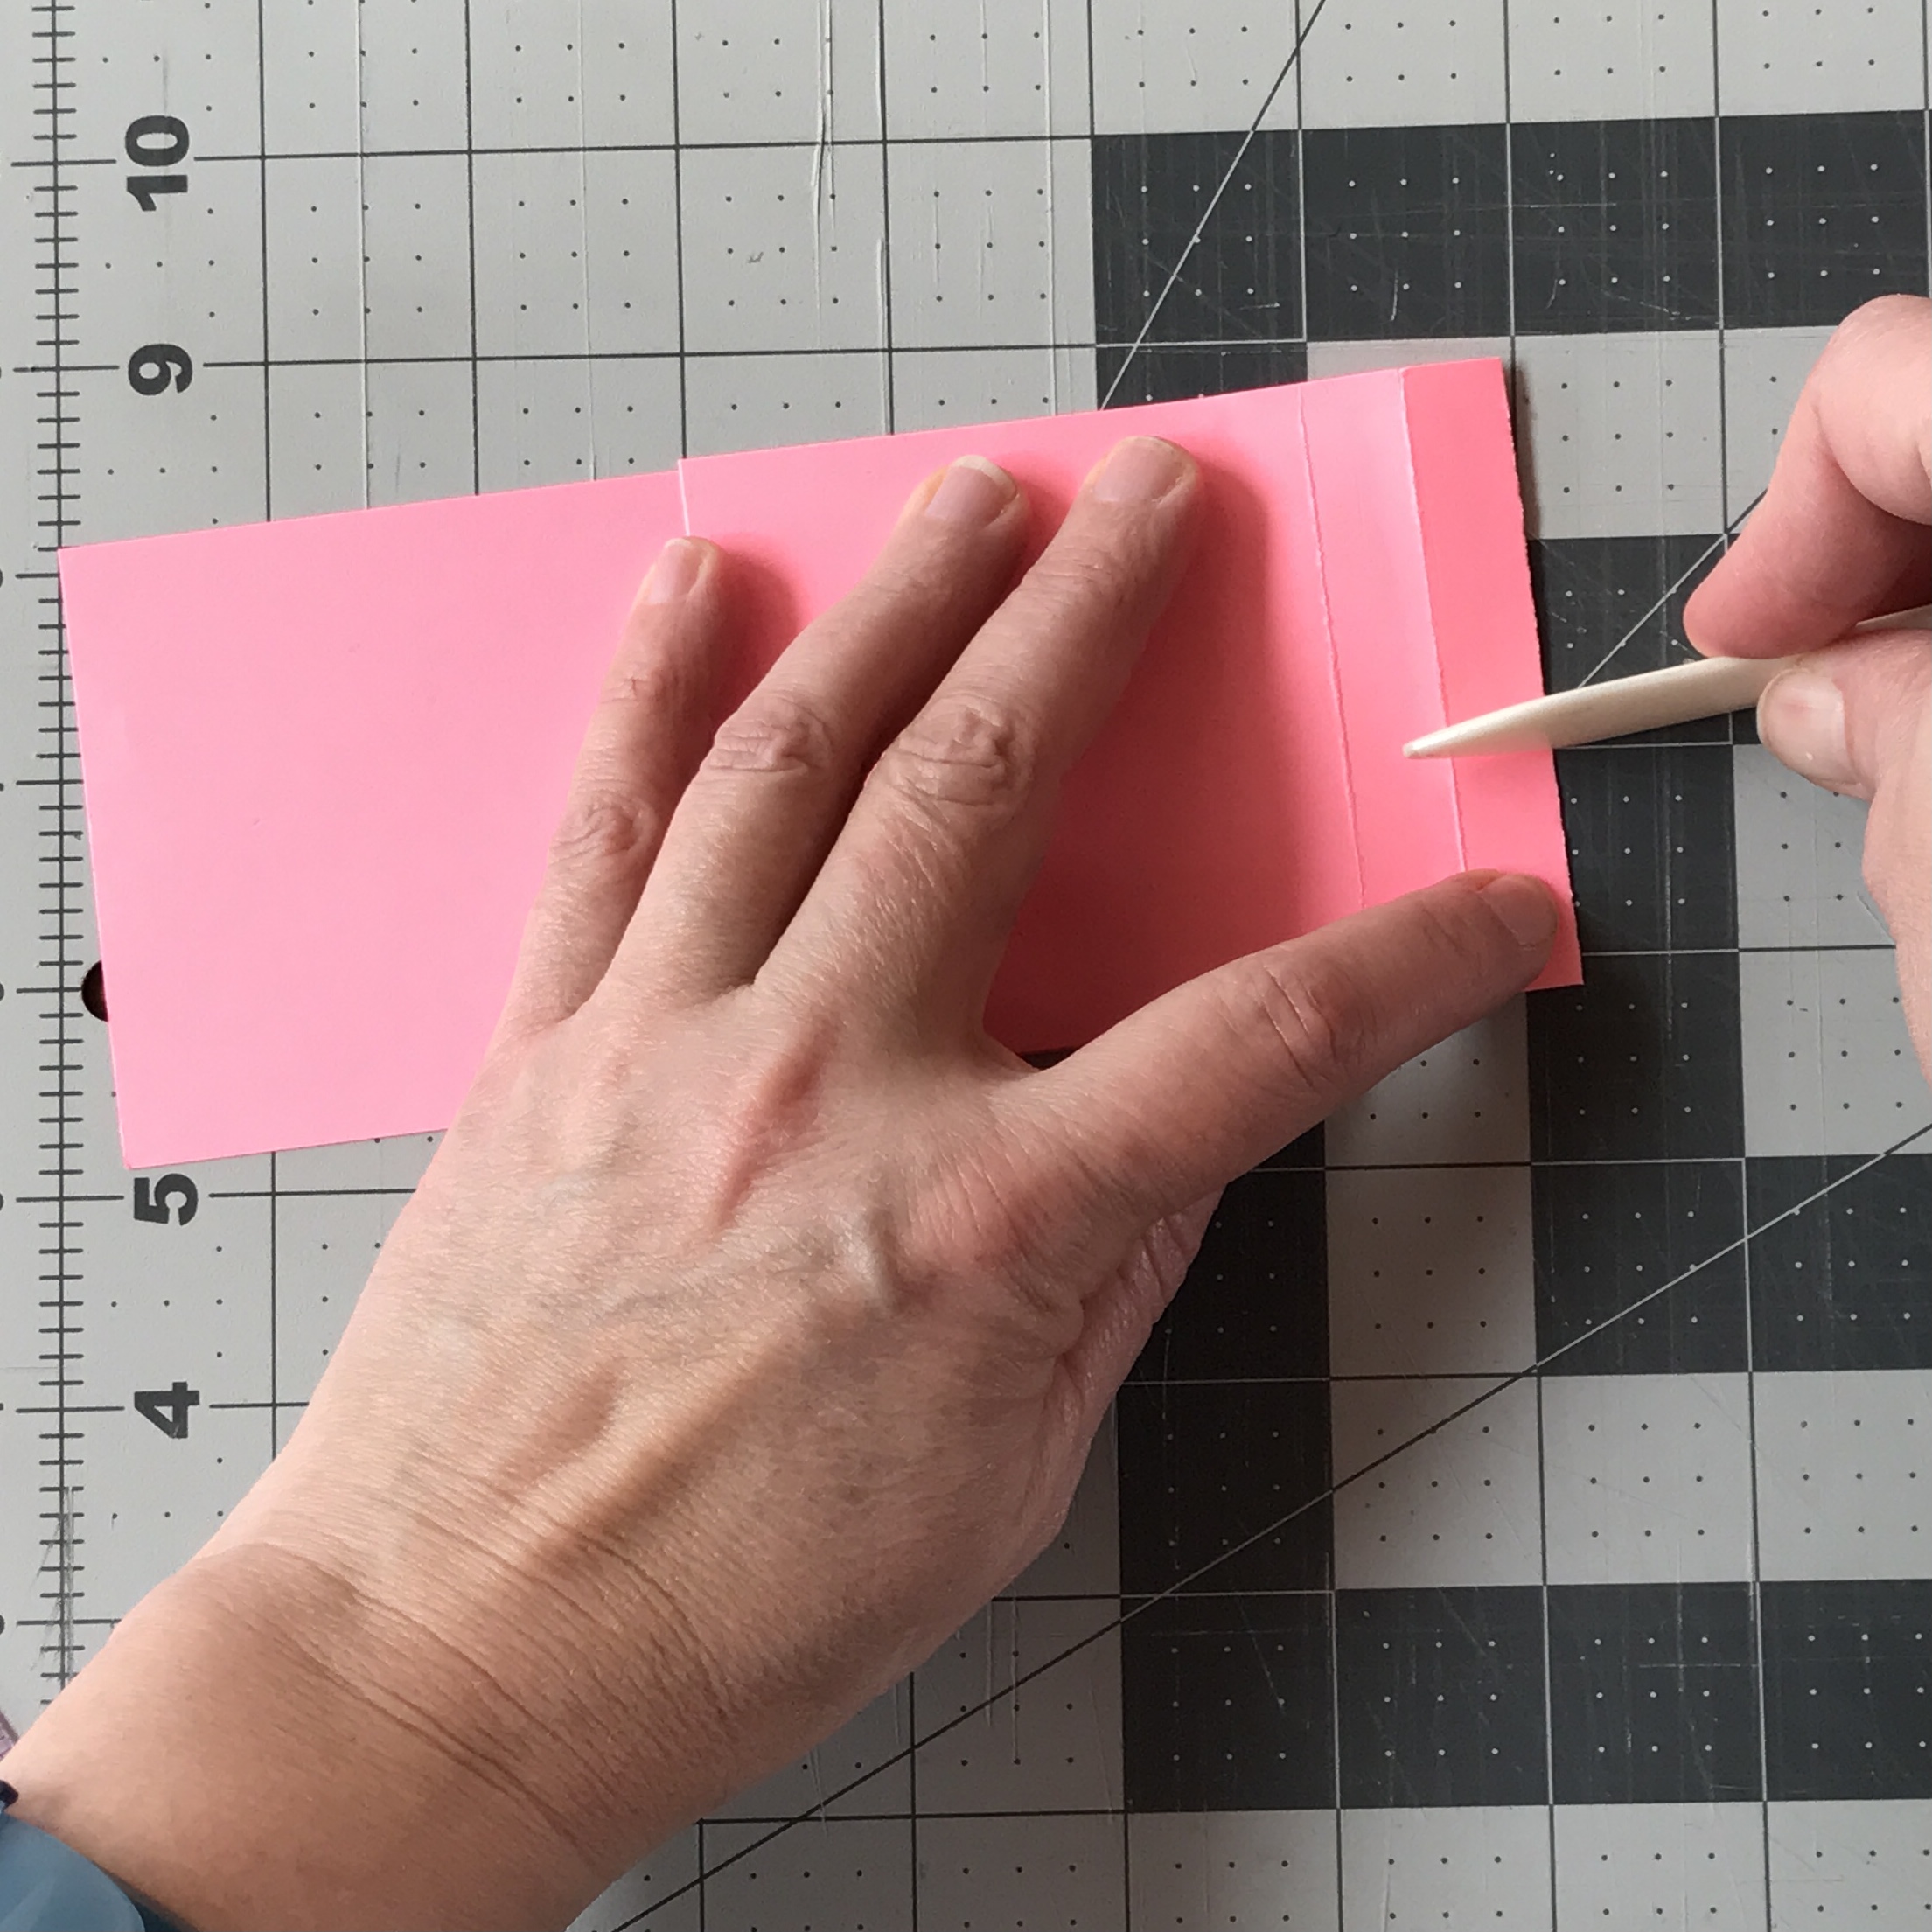
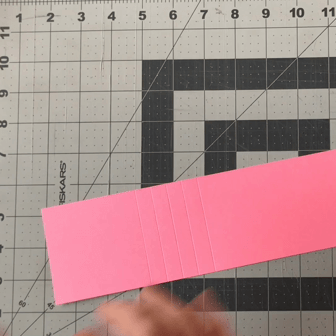
In preparation for constructing the circuit, position the slider strip horizontally with the scored section on the right and the unmarked section on the left.
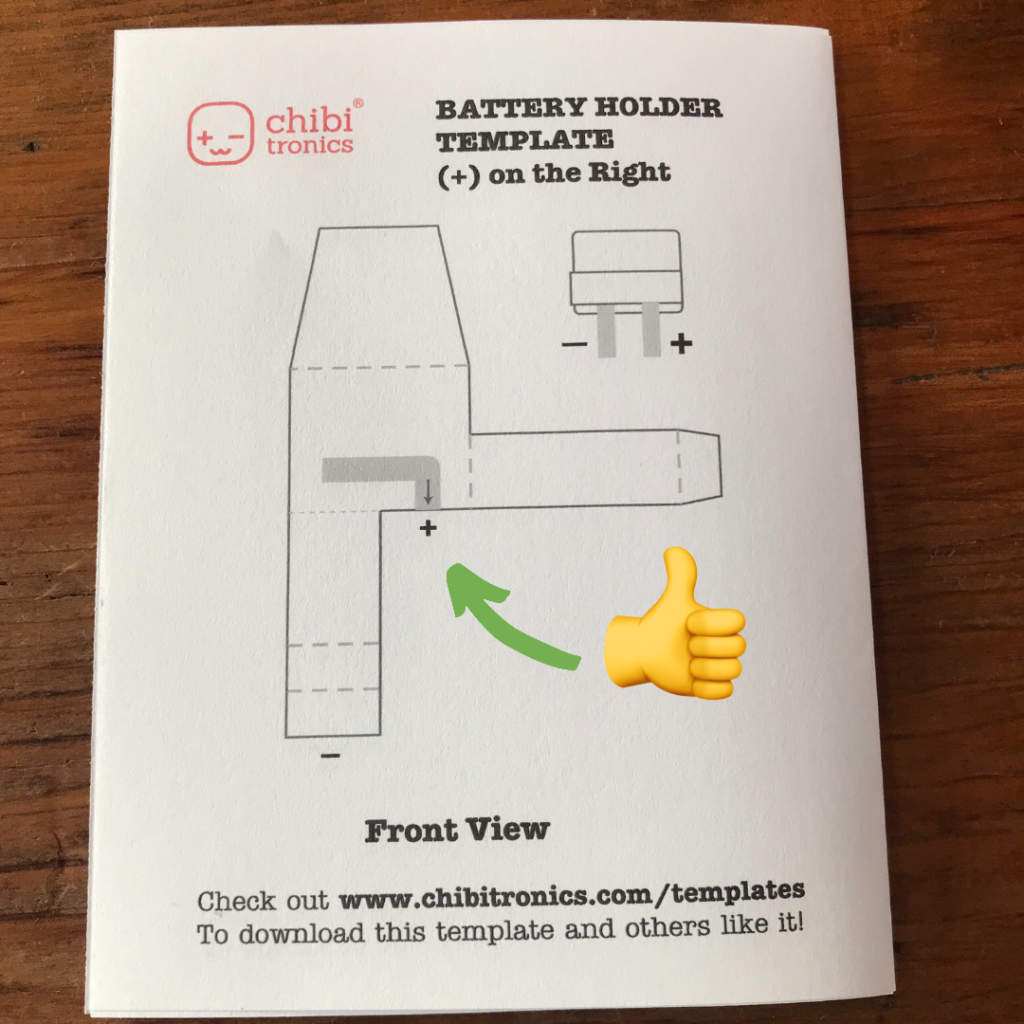
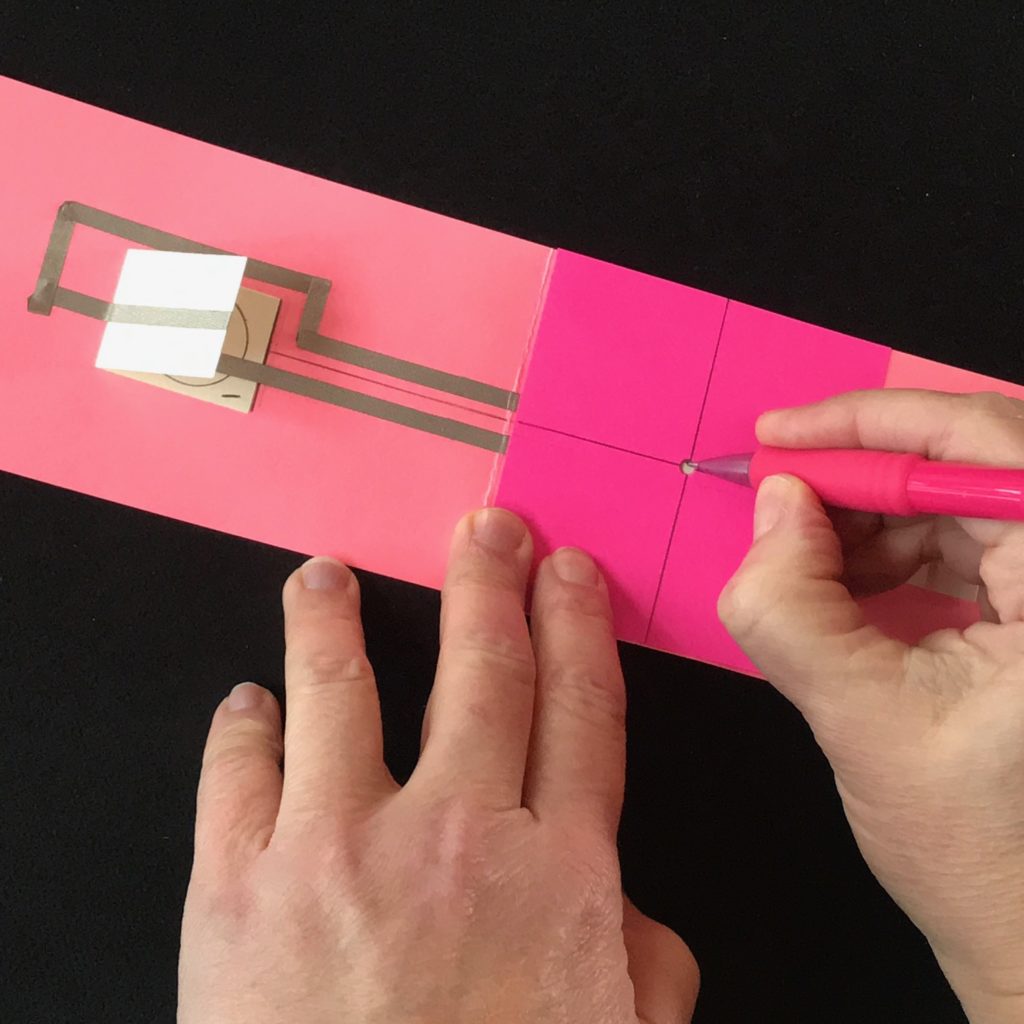
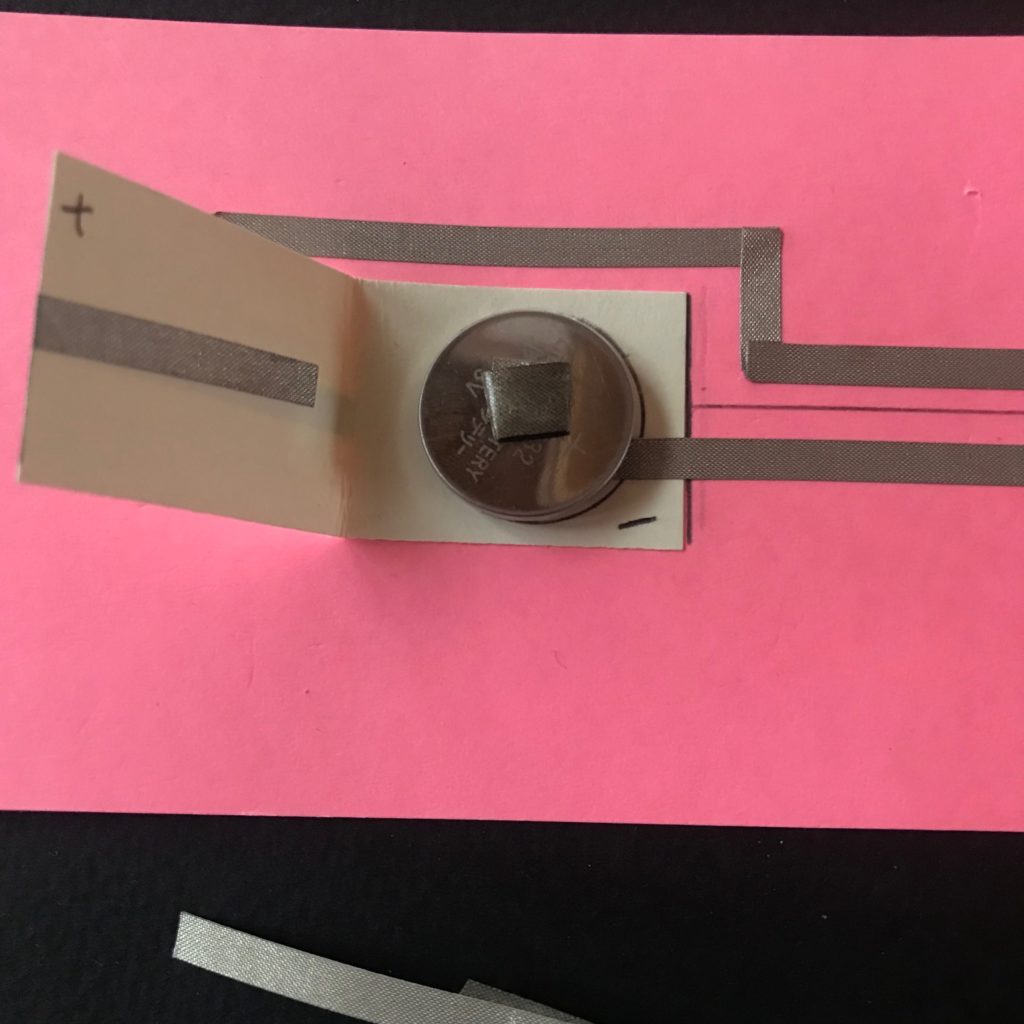
Step 2: Make Battery Holder
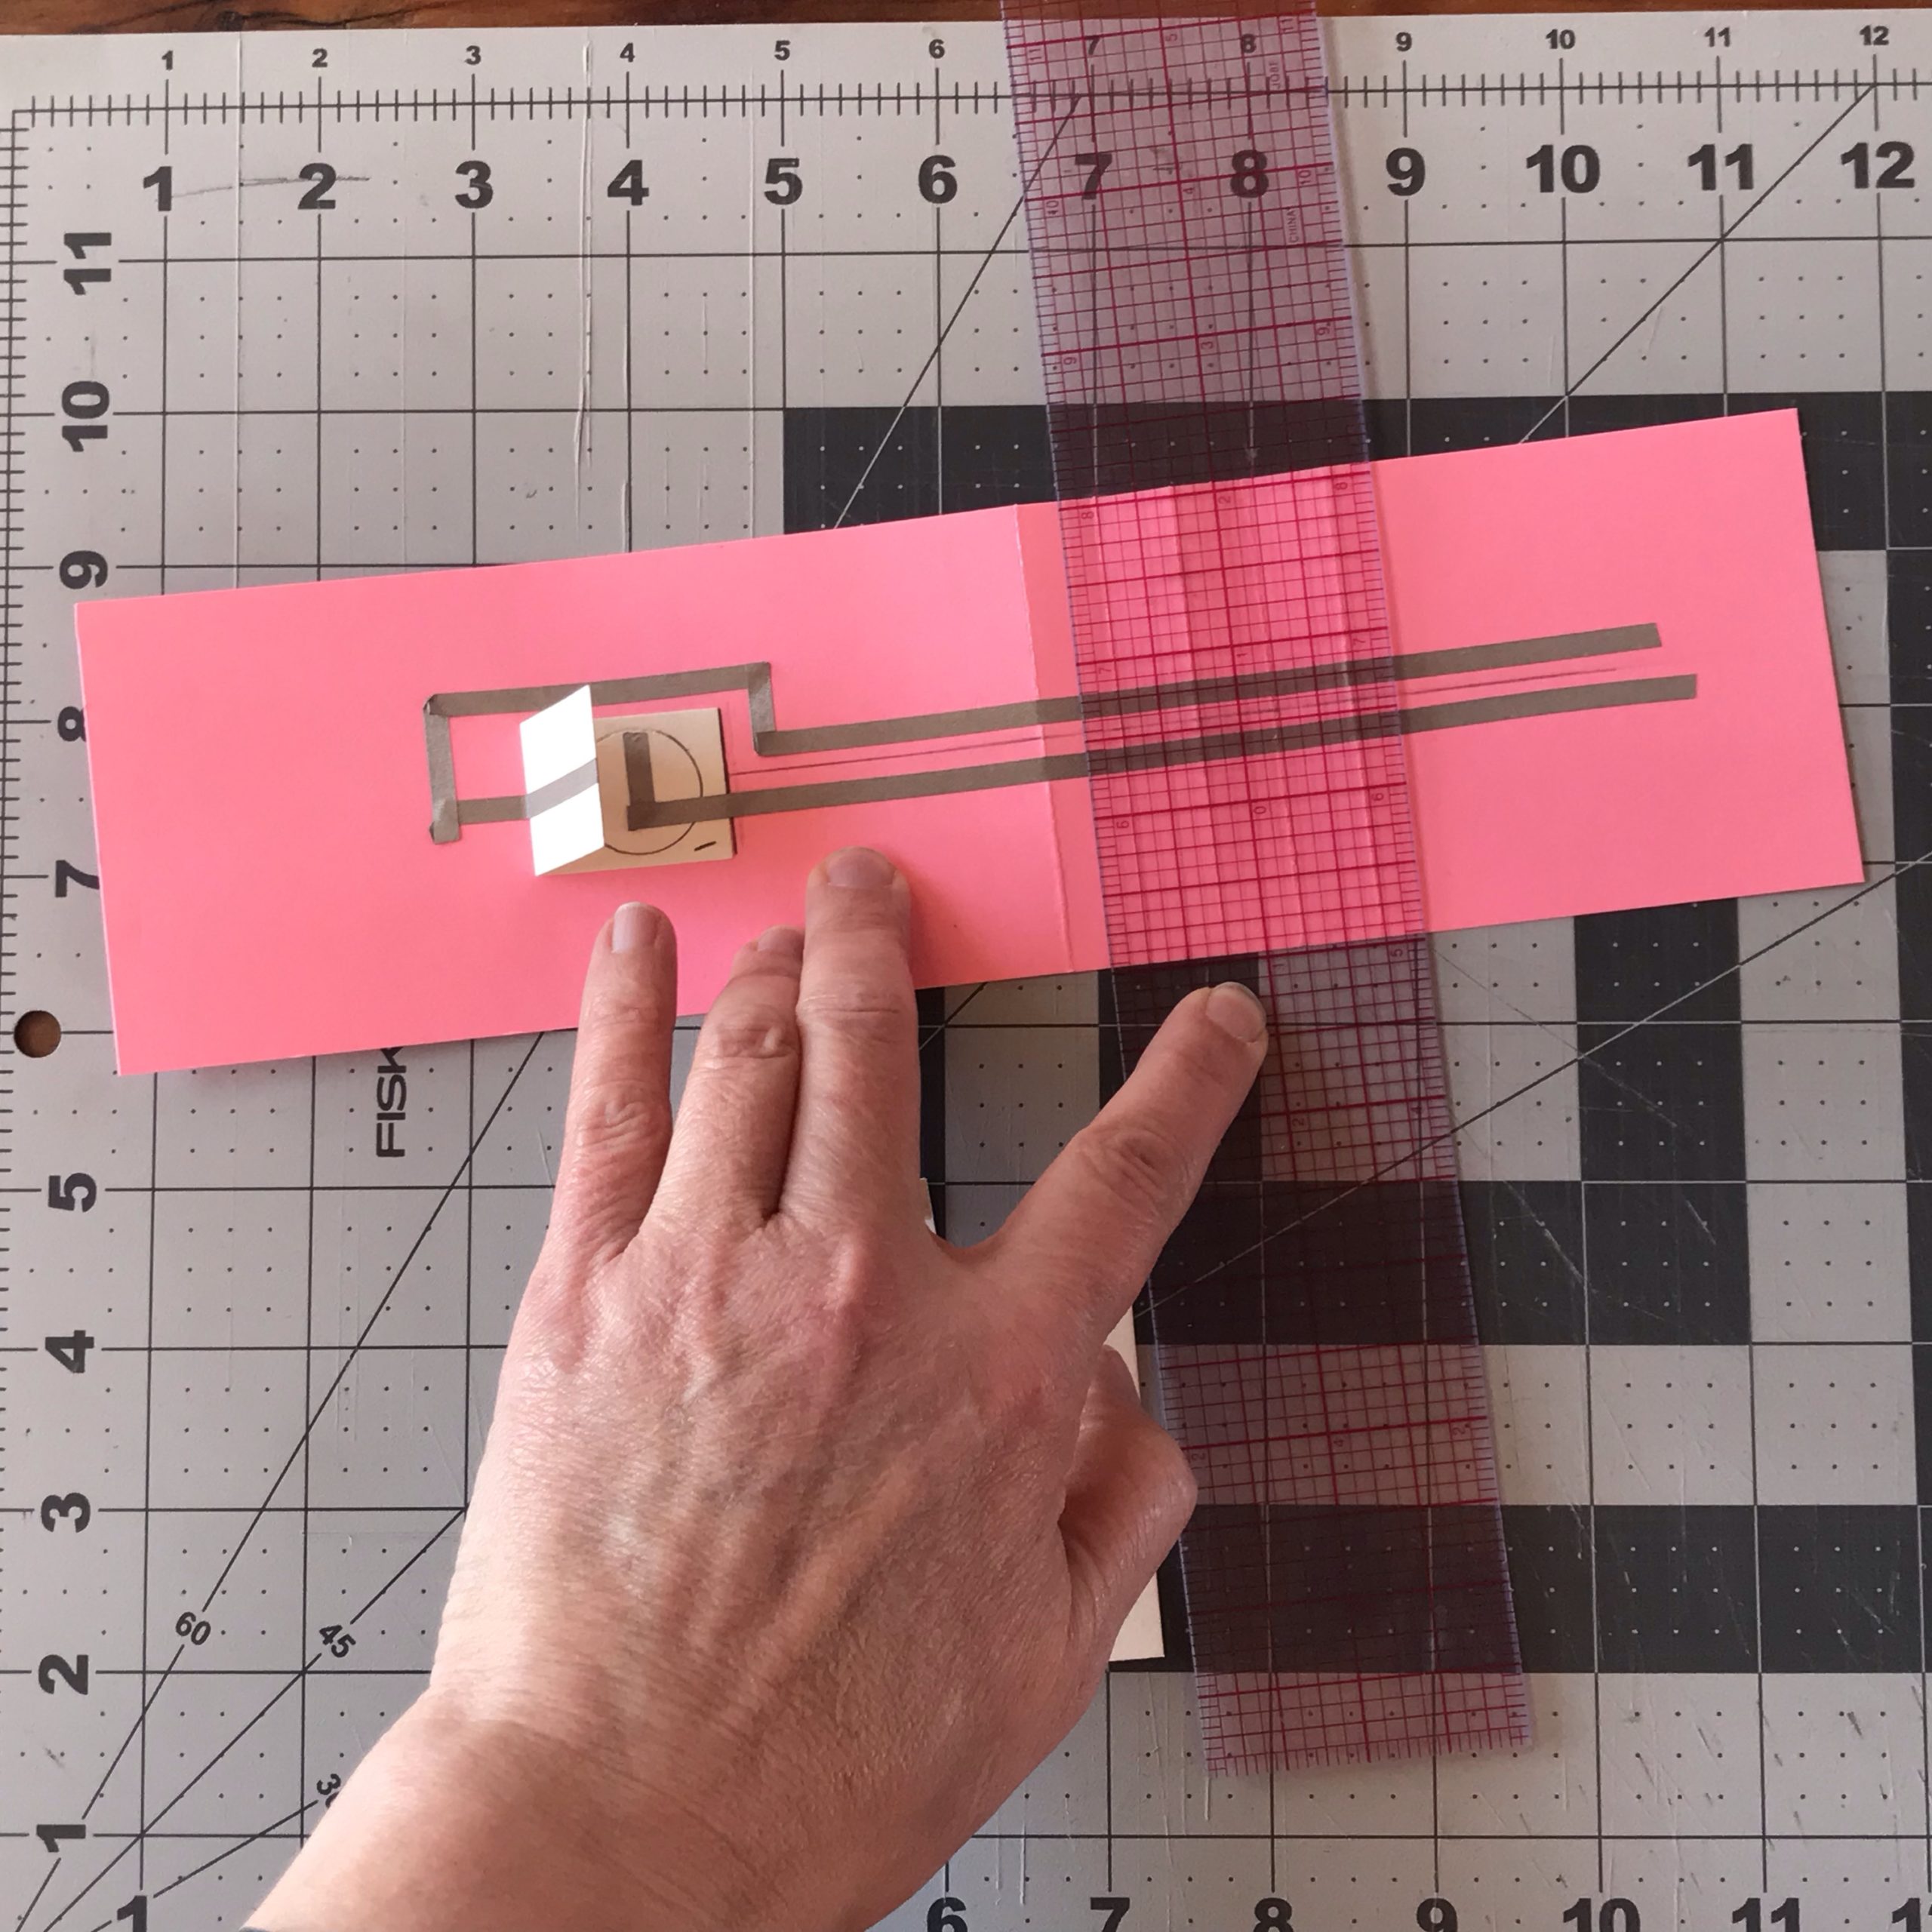
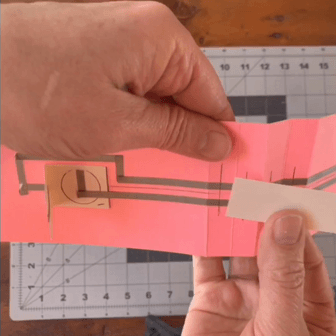
The second step is to make a paper battery holder that will be concealed on the bottom of your waterfall card. To do this, fold the 1” H X 2” W piece of paper in half so that it opens on the right. Center it, equidistant from the top and bottom edges of the slider strip, and measure 2″ from its opening to the first score mark. From there, use a ruler to draw a straight line along the center of the slide strip. This horizontal line will be used to help you lay your conductive traces in a later step.
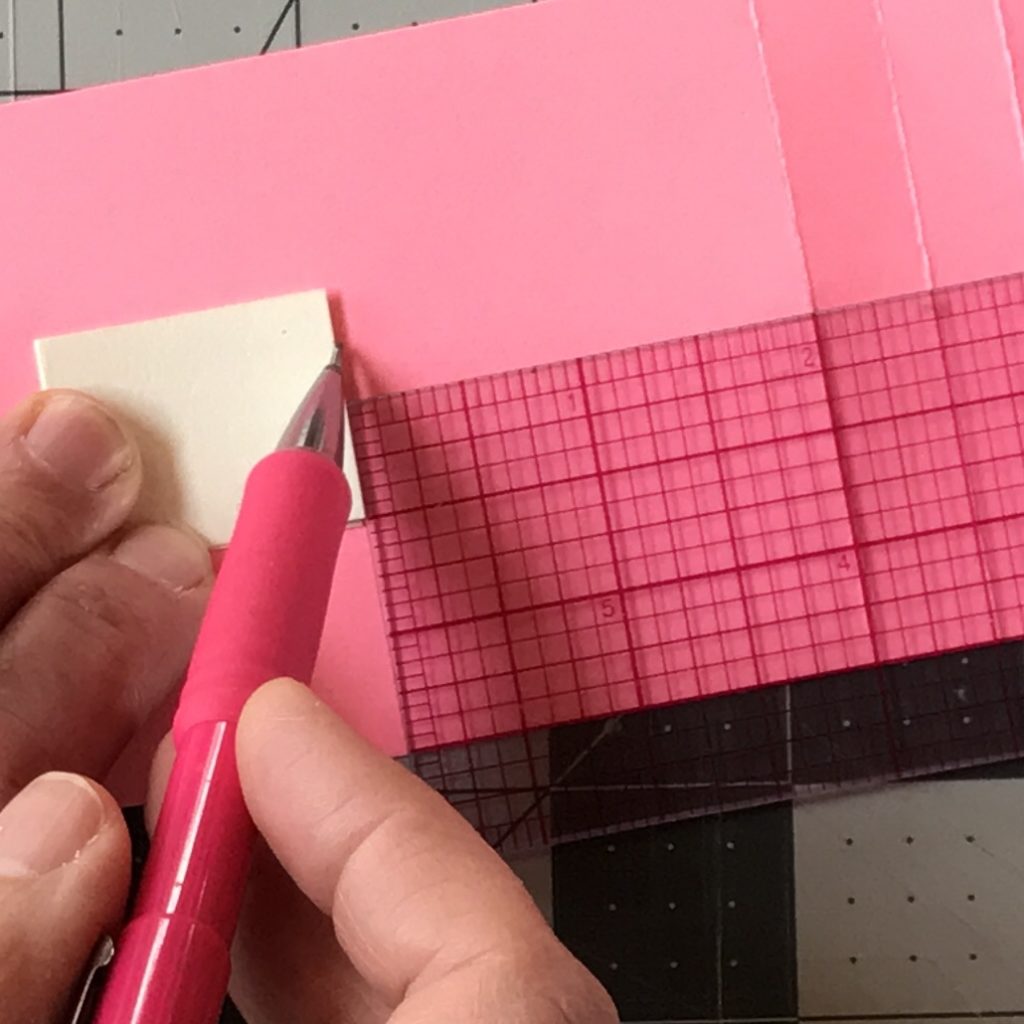
Glue down the battery holder and trace the battery in the center of the battery flap. Mark the polarity as negative (-).
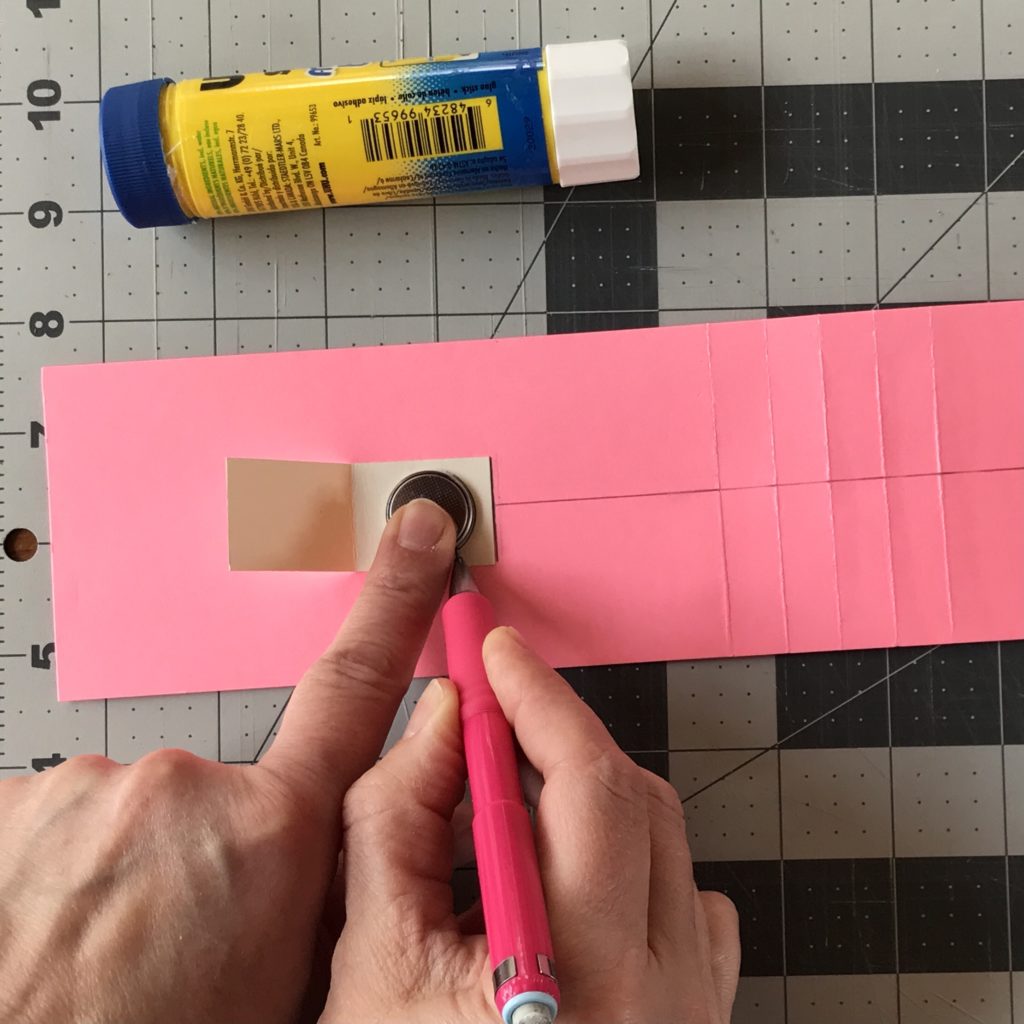
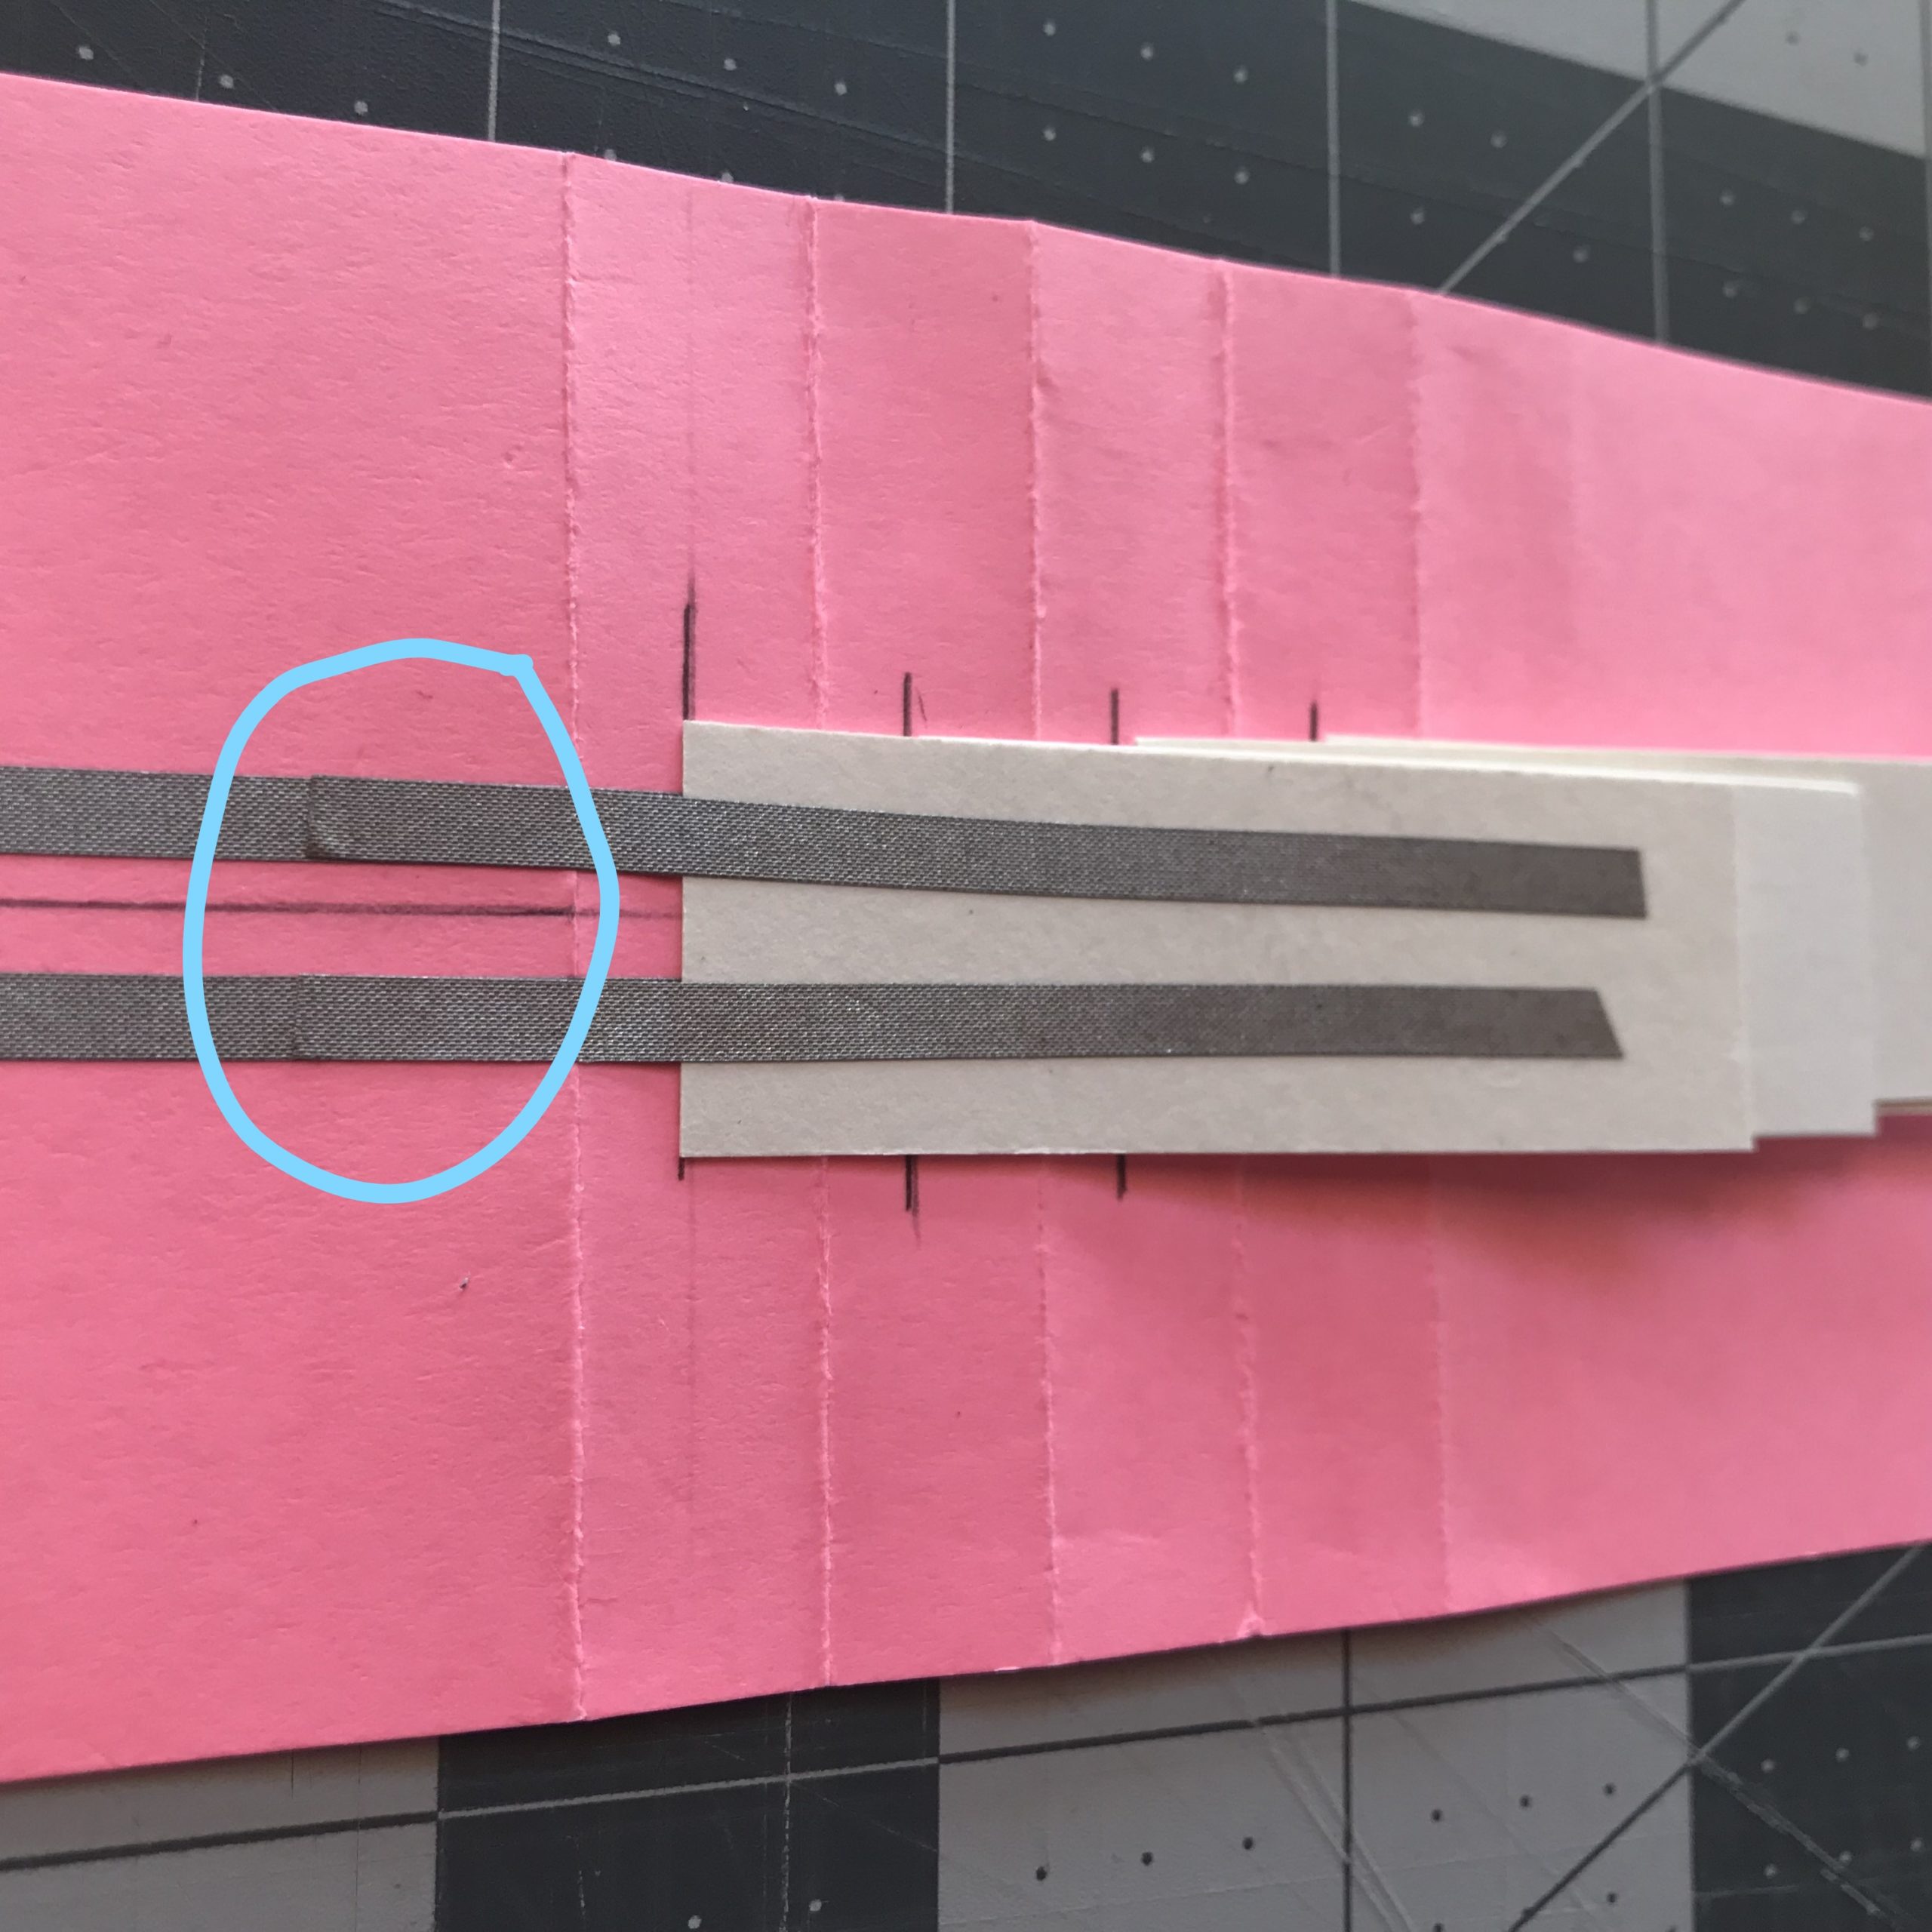
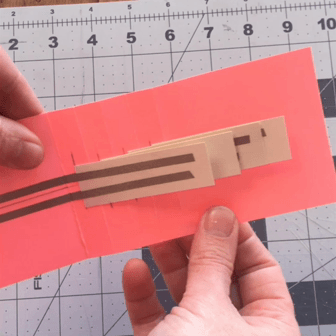
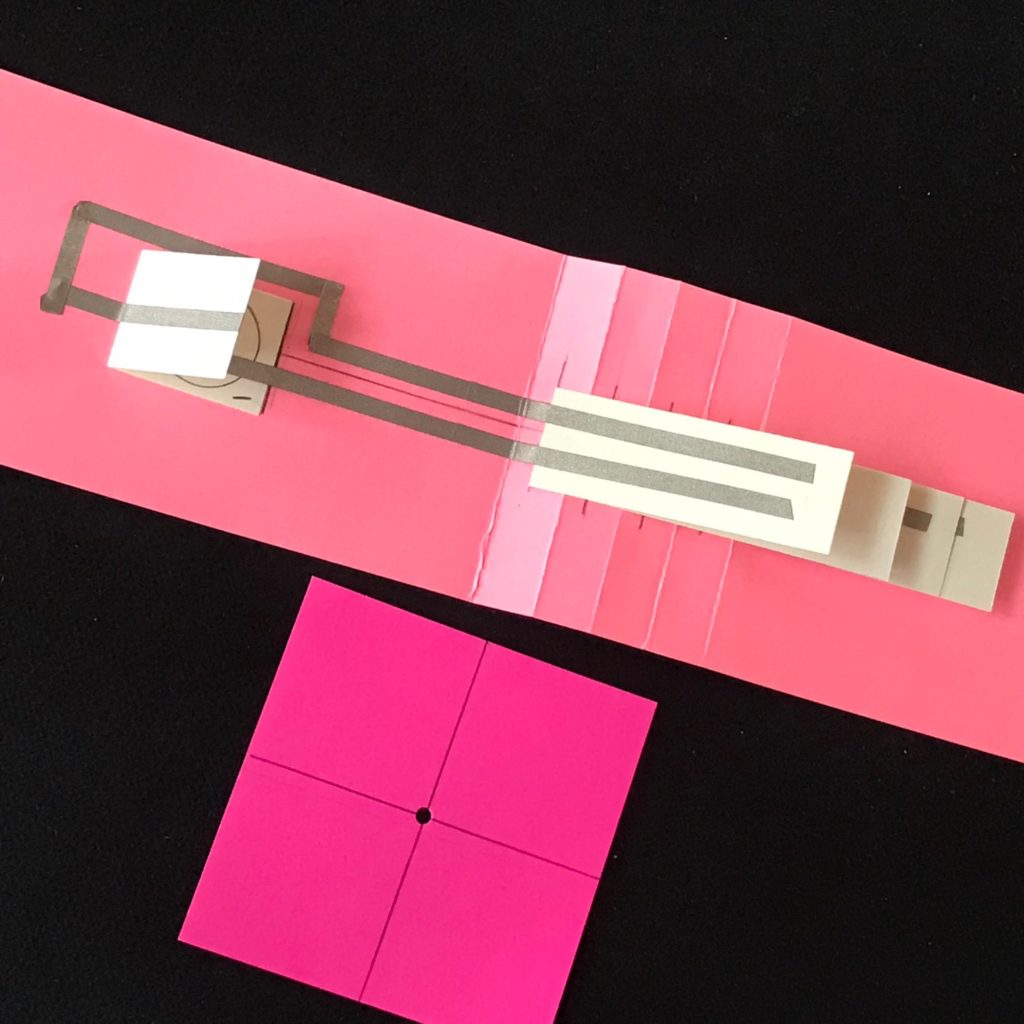
Step 3: Lay Down Conductive Traces
The next step is to lay down conductive fabric traces on the slider strip so that the LEDs will appear in the center of your artwork.
Starting inside of the battery outline, the negative trace will be placed parallel to the line you drew in Step 2. Using the centered line you marked as a guide, lay down the negative trace below it. Adhere the positive trace, starting on the inside of the open battery flap.
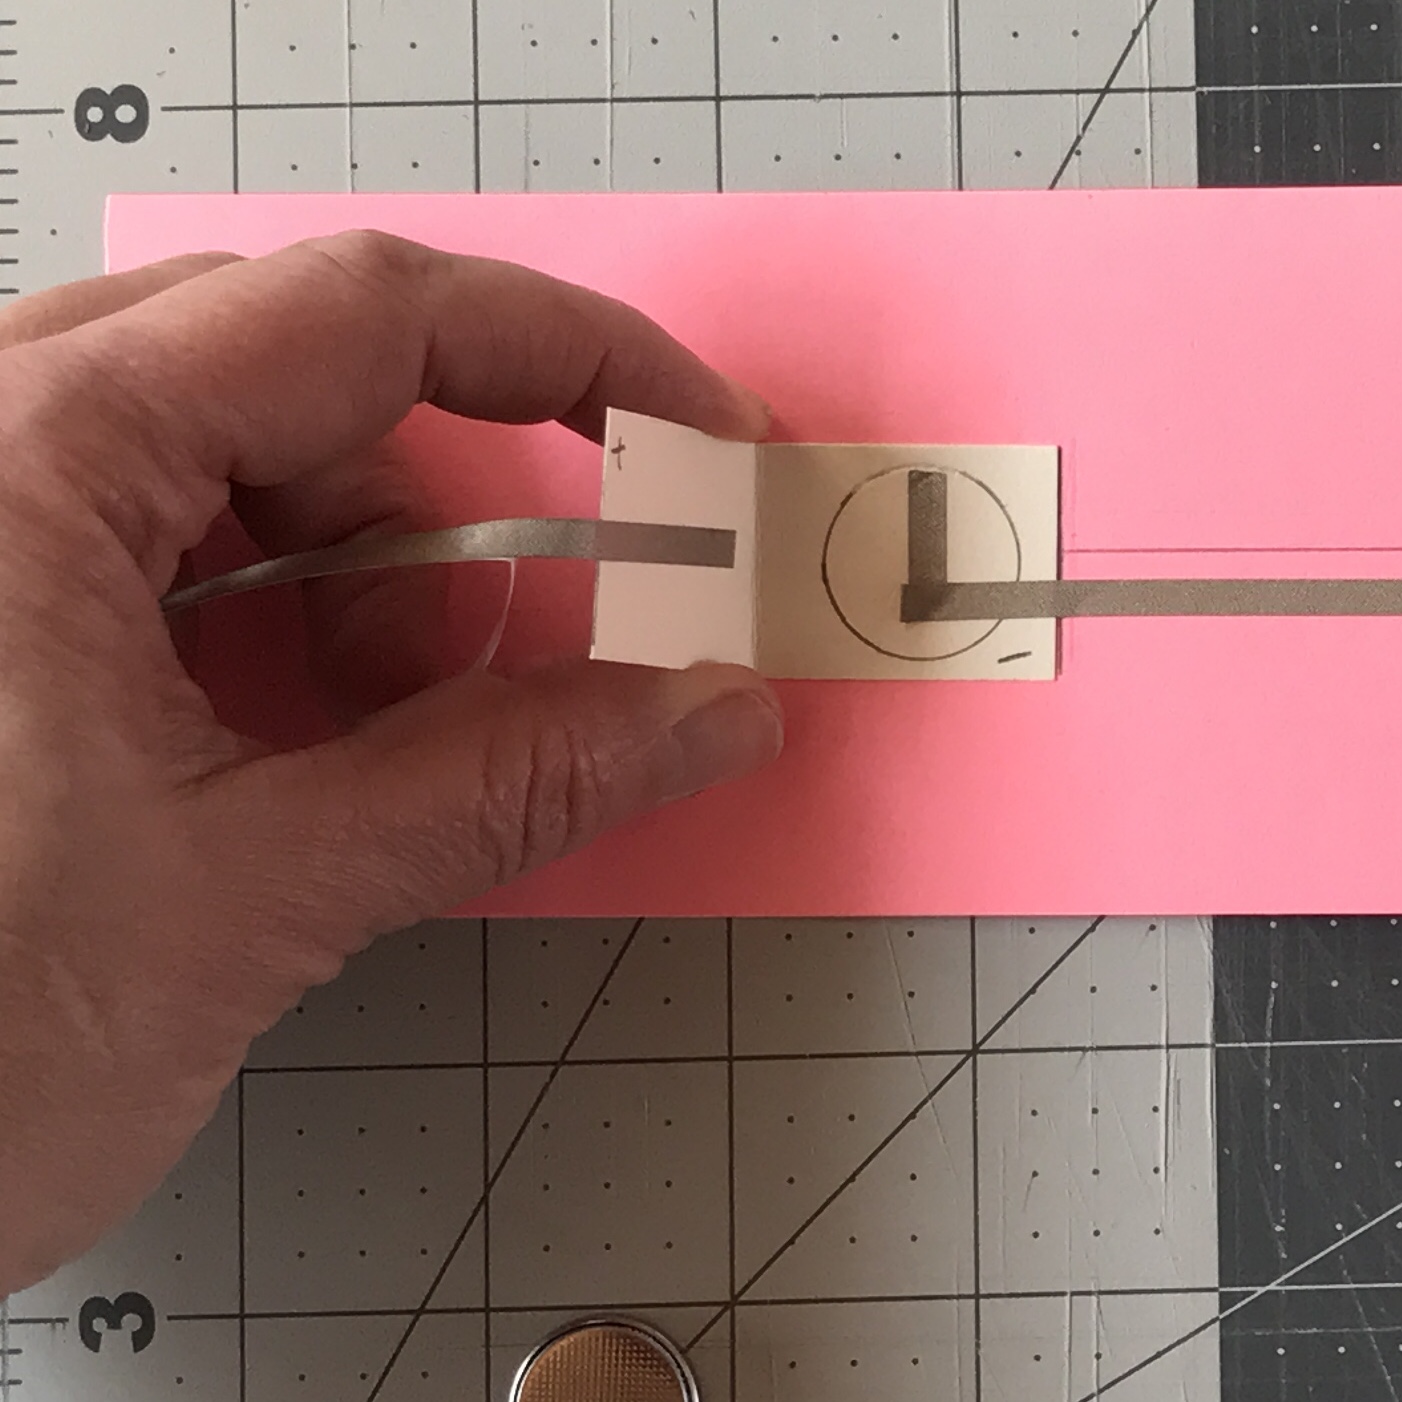
Wrap the positive trace around the battery flap, extend off of it, and continue around it, turning corners until you complete a parallel path that runs slightly above the center line.
Ensure that you are leaving enough room for the LEDs between the positive and negative traces. Stop near the end of the slider strip. Afterward, crease the folds.
Tips, Tricks & Call-outs
If you’d prefer to use a paper pouch style battery holder that does not require balls of conductive fabric tape to hold it in place, you may substitute one of those. Simply adhere the bottom of the pouch two inches from the first scored line, ensure that it’s centered between the top and bottom edges of the slider, and make your traces as you normally would. A benefit of this design is that you may switch the battery on and off by using the flap.
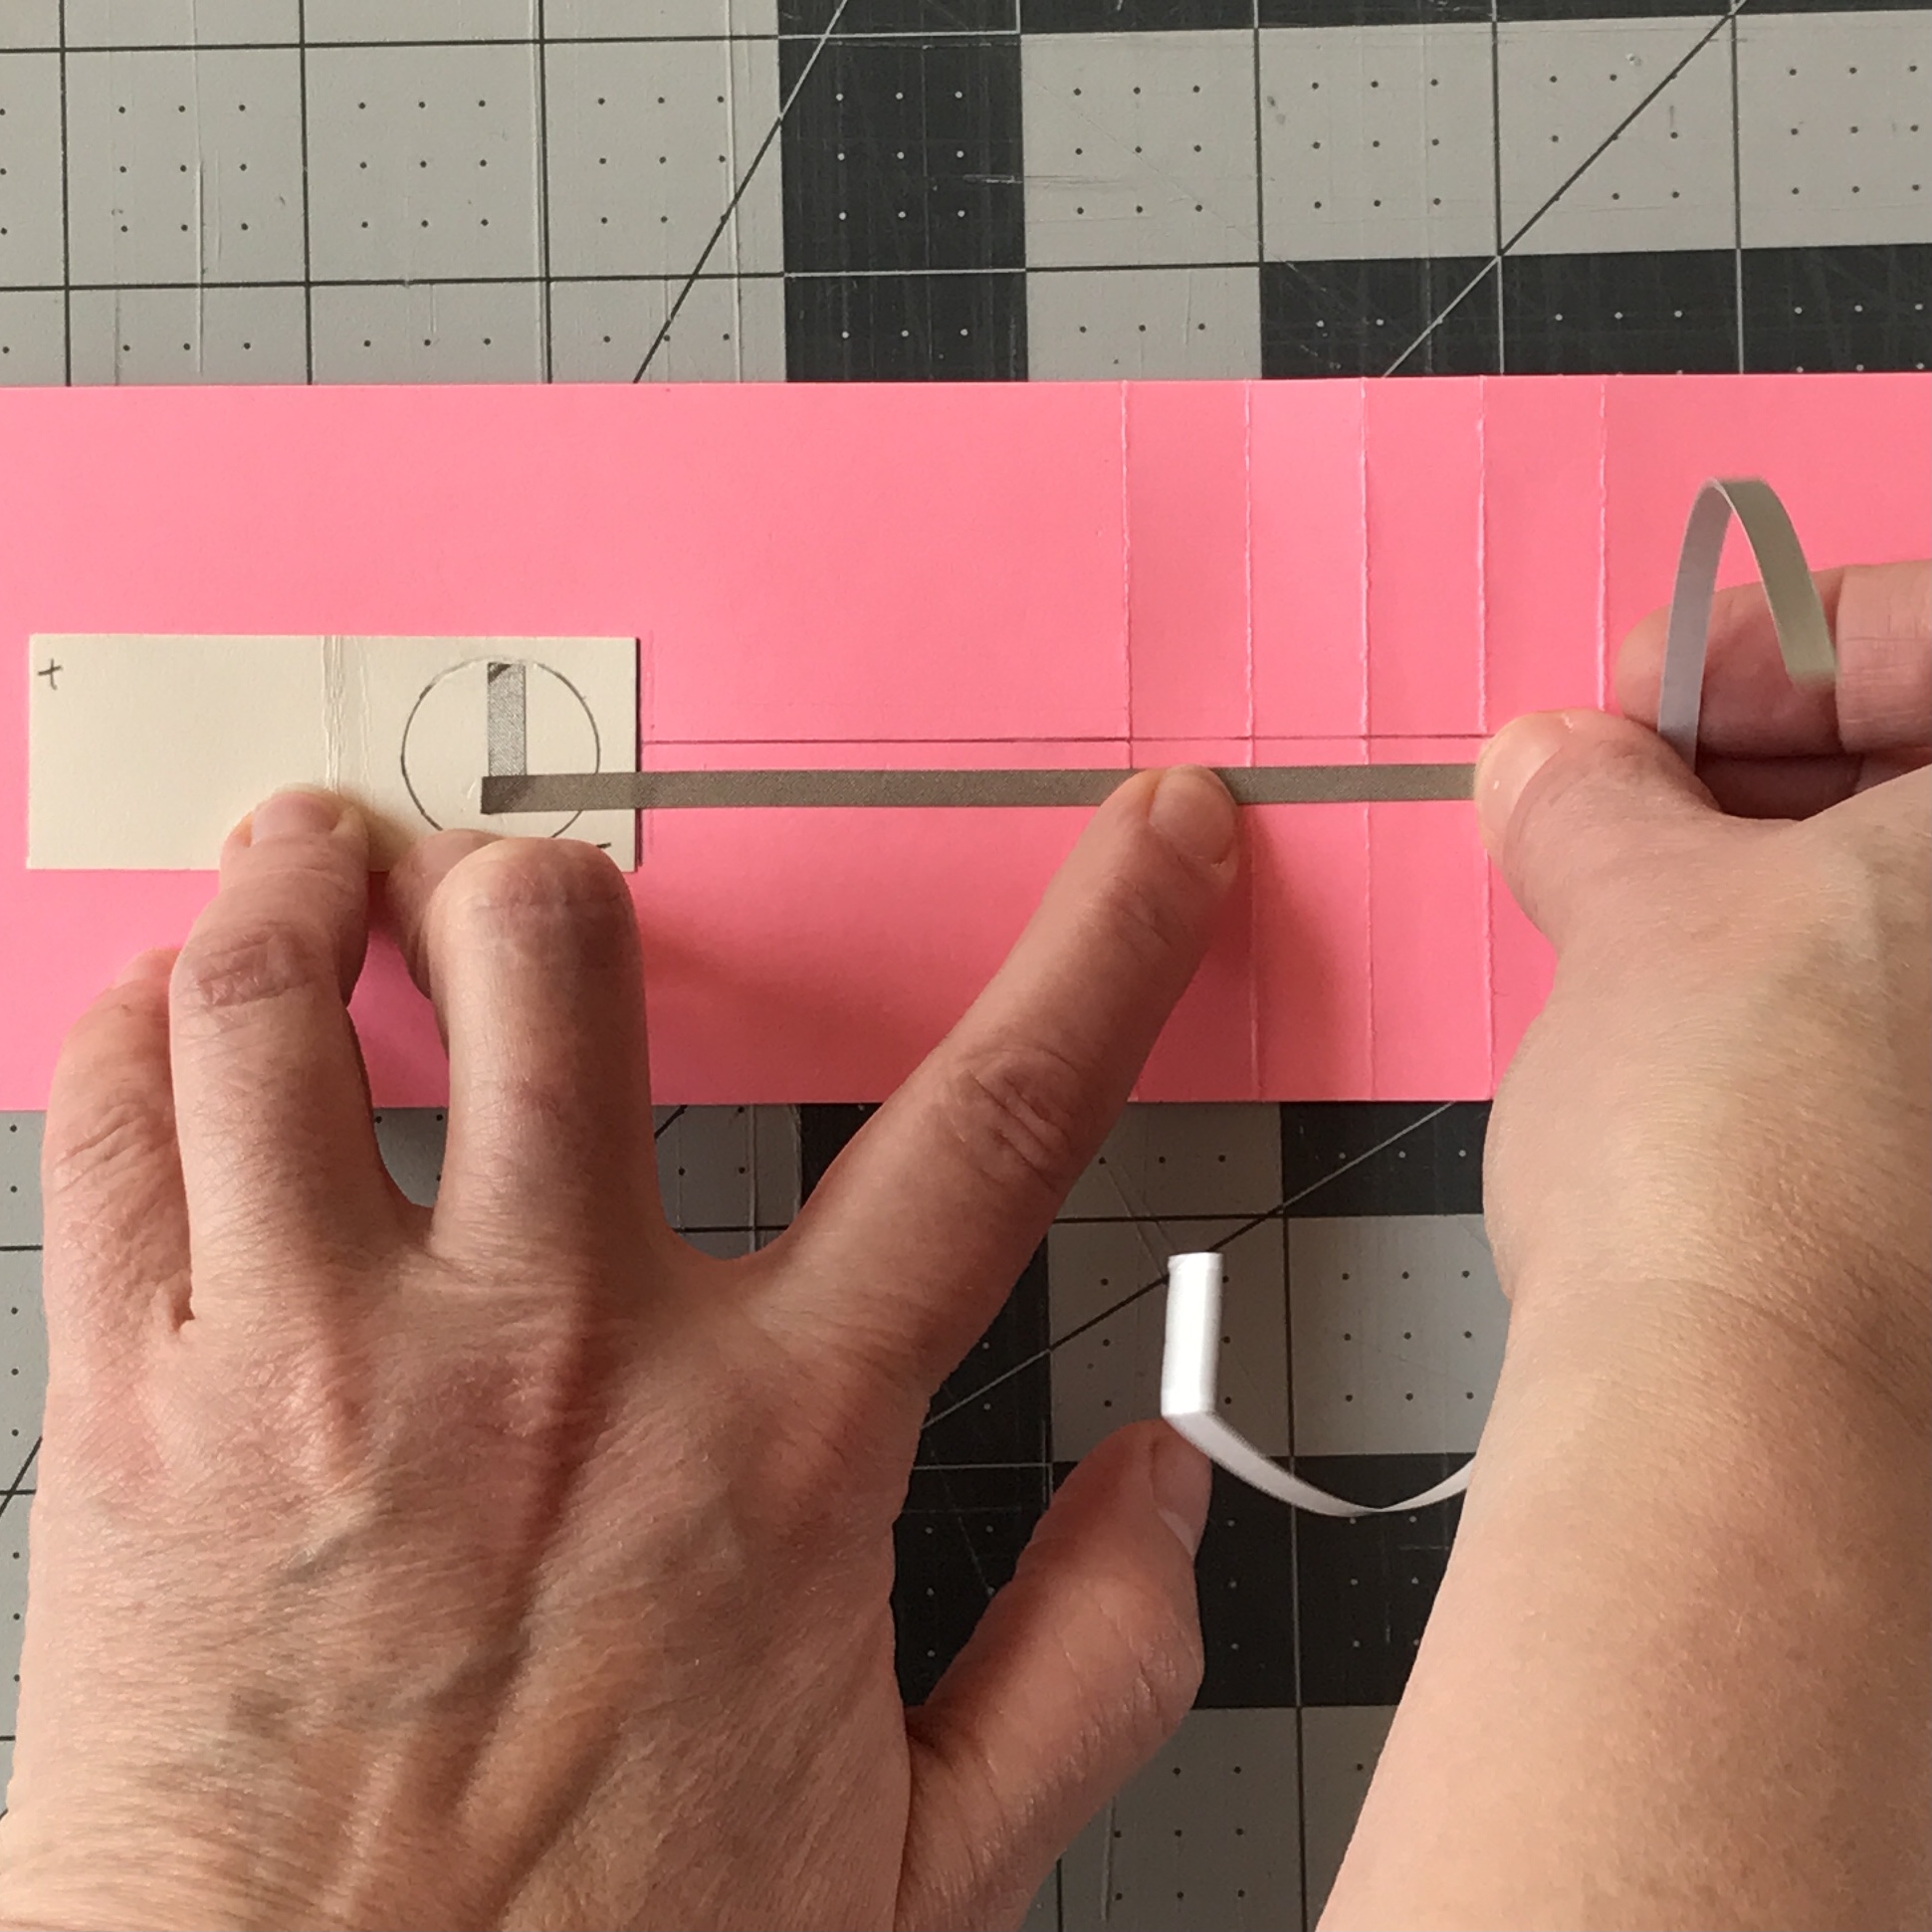
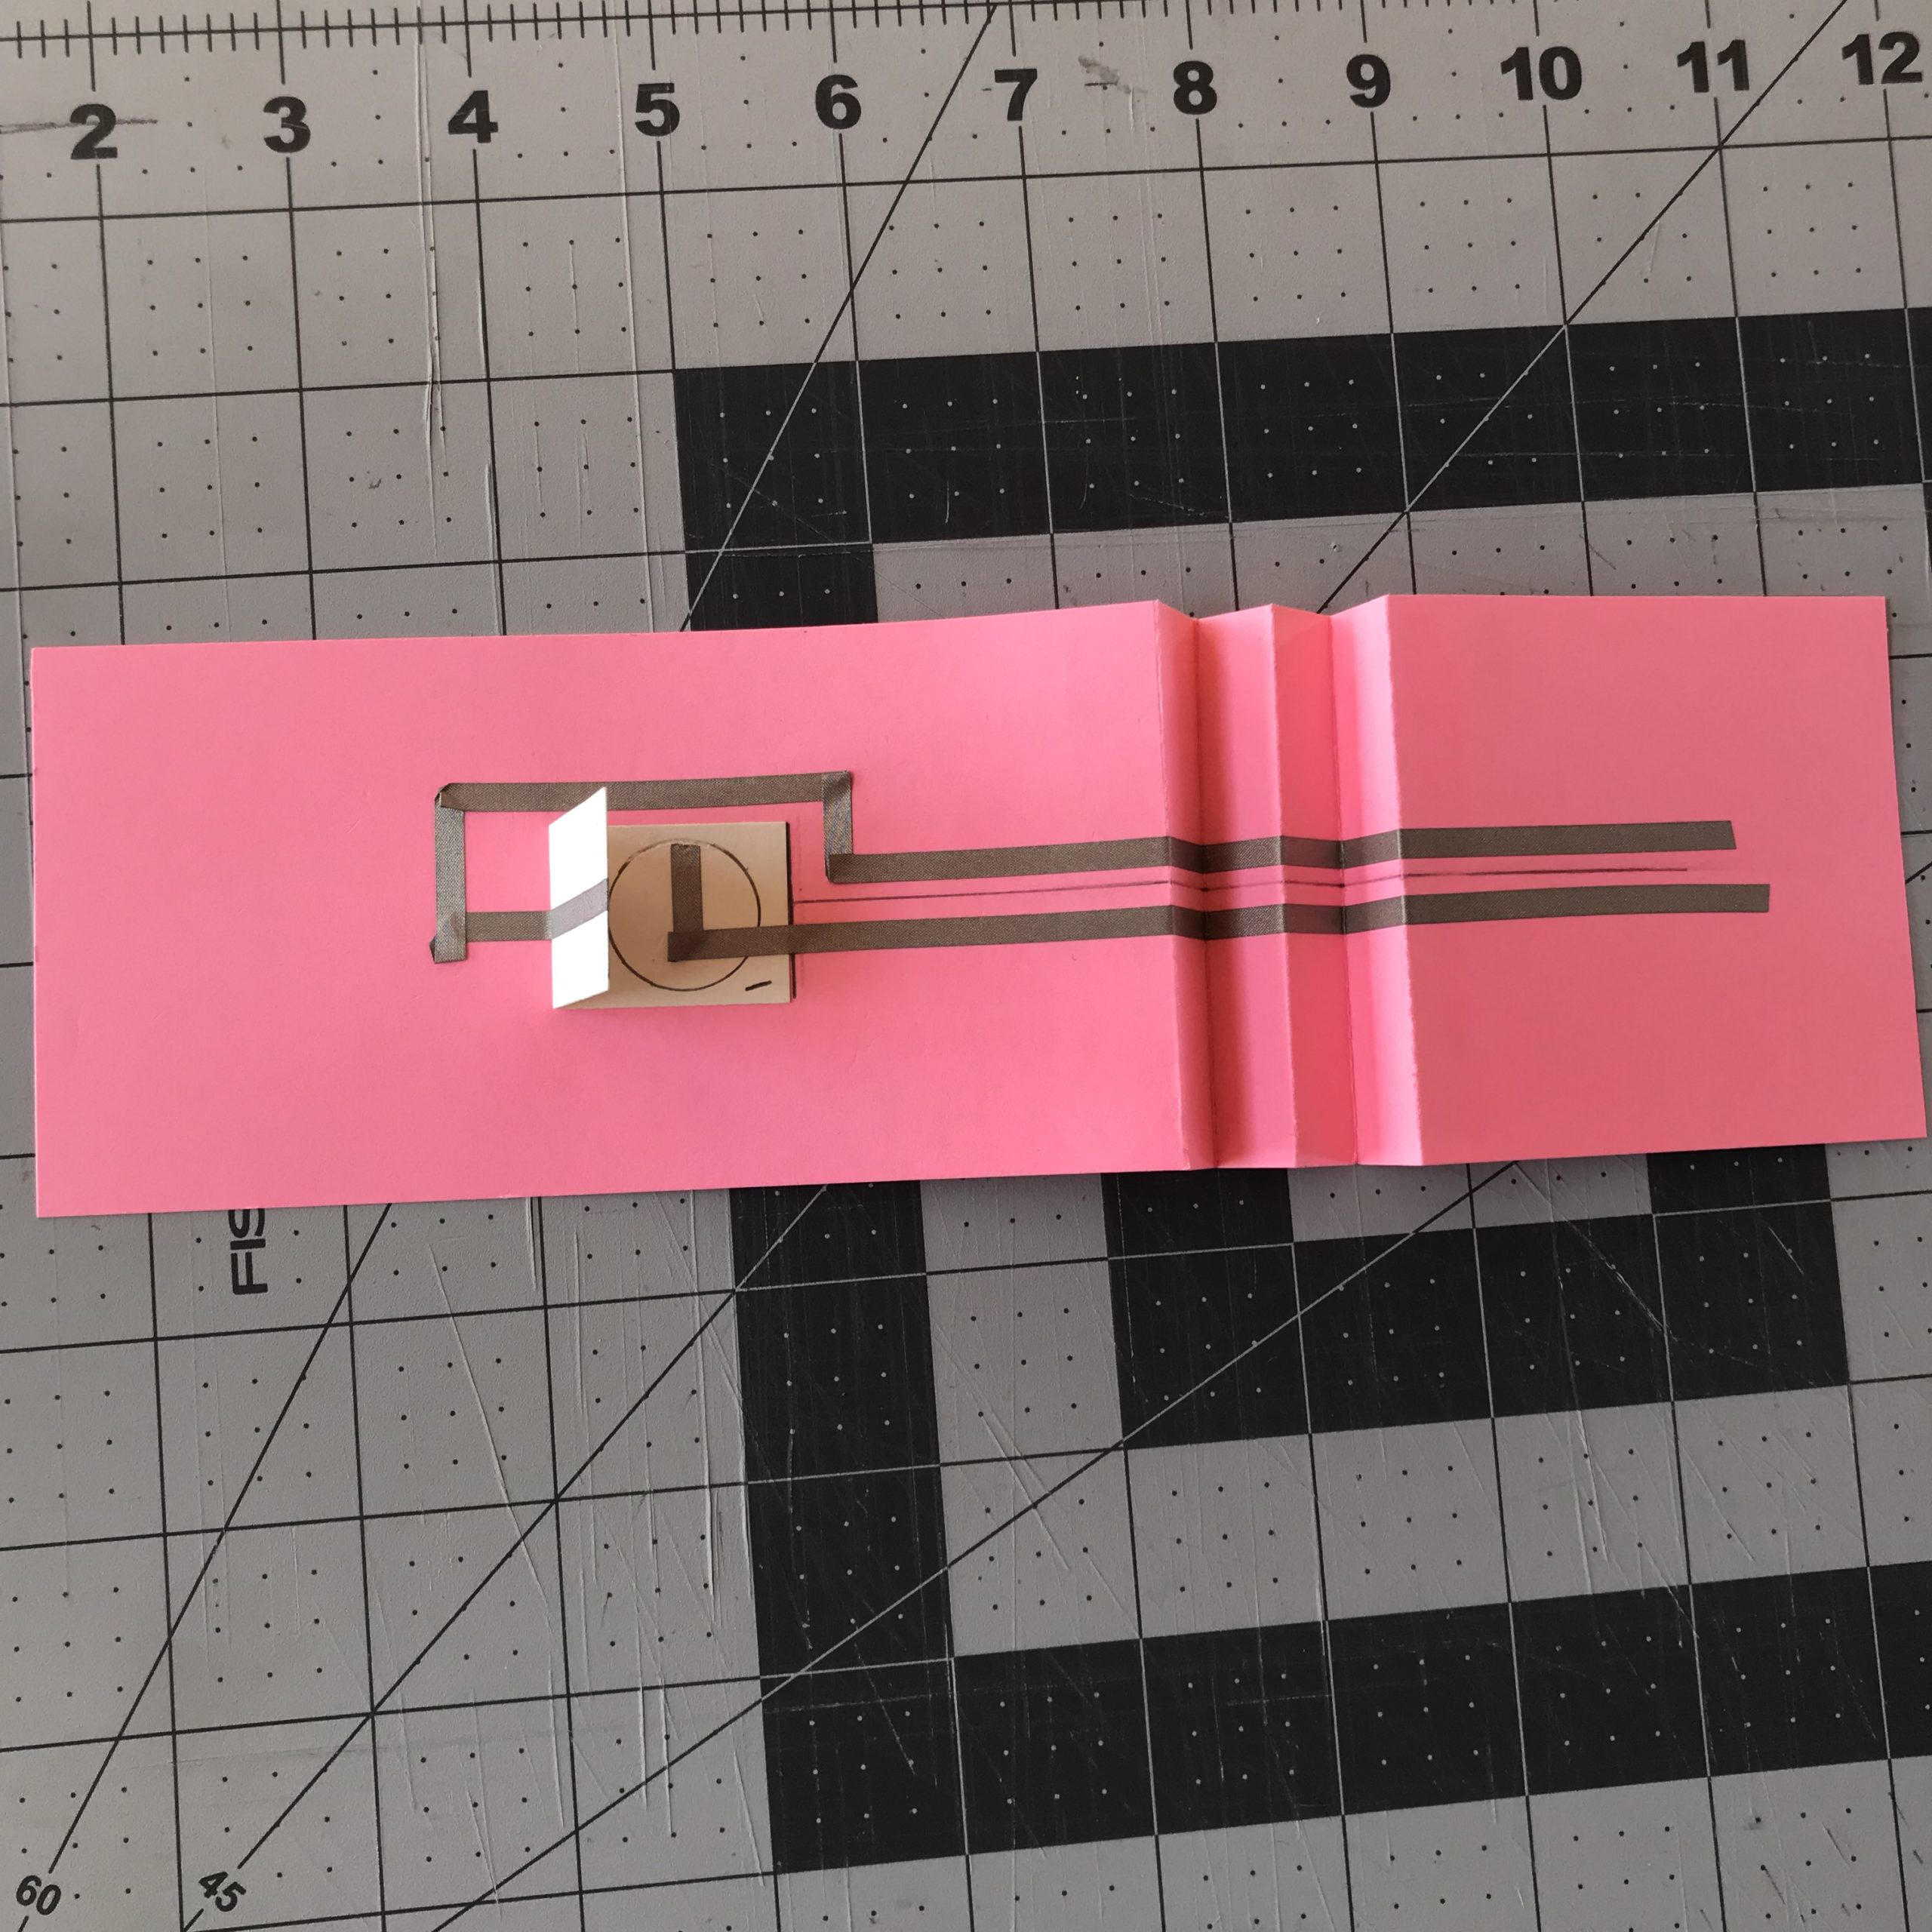
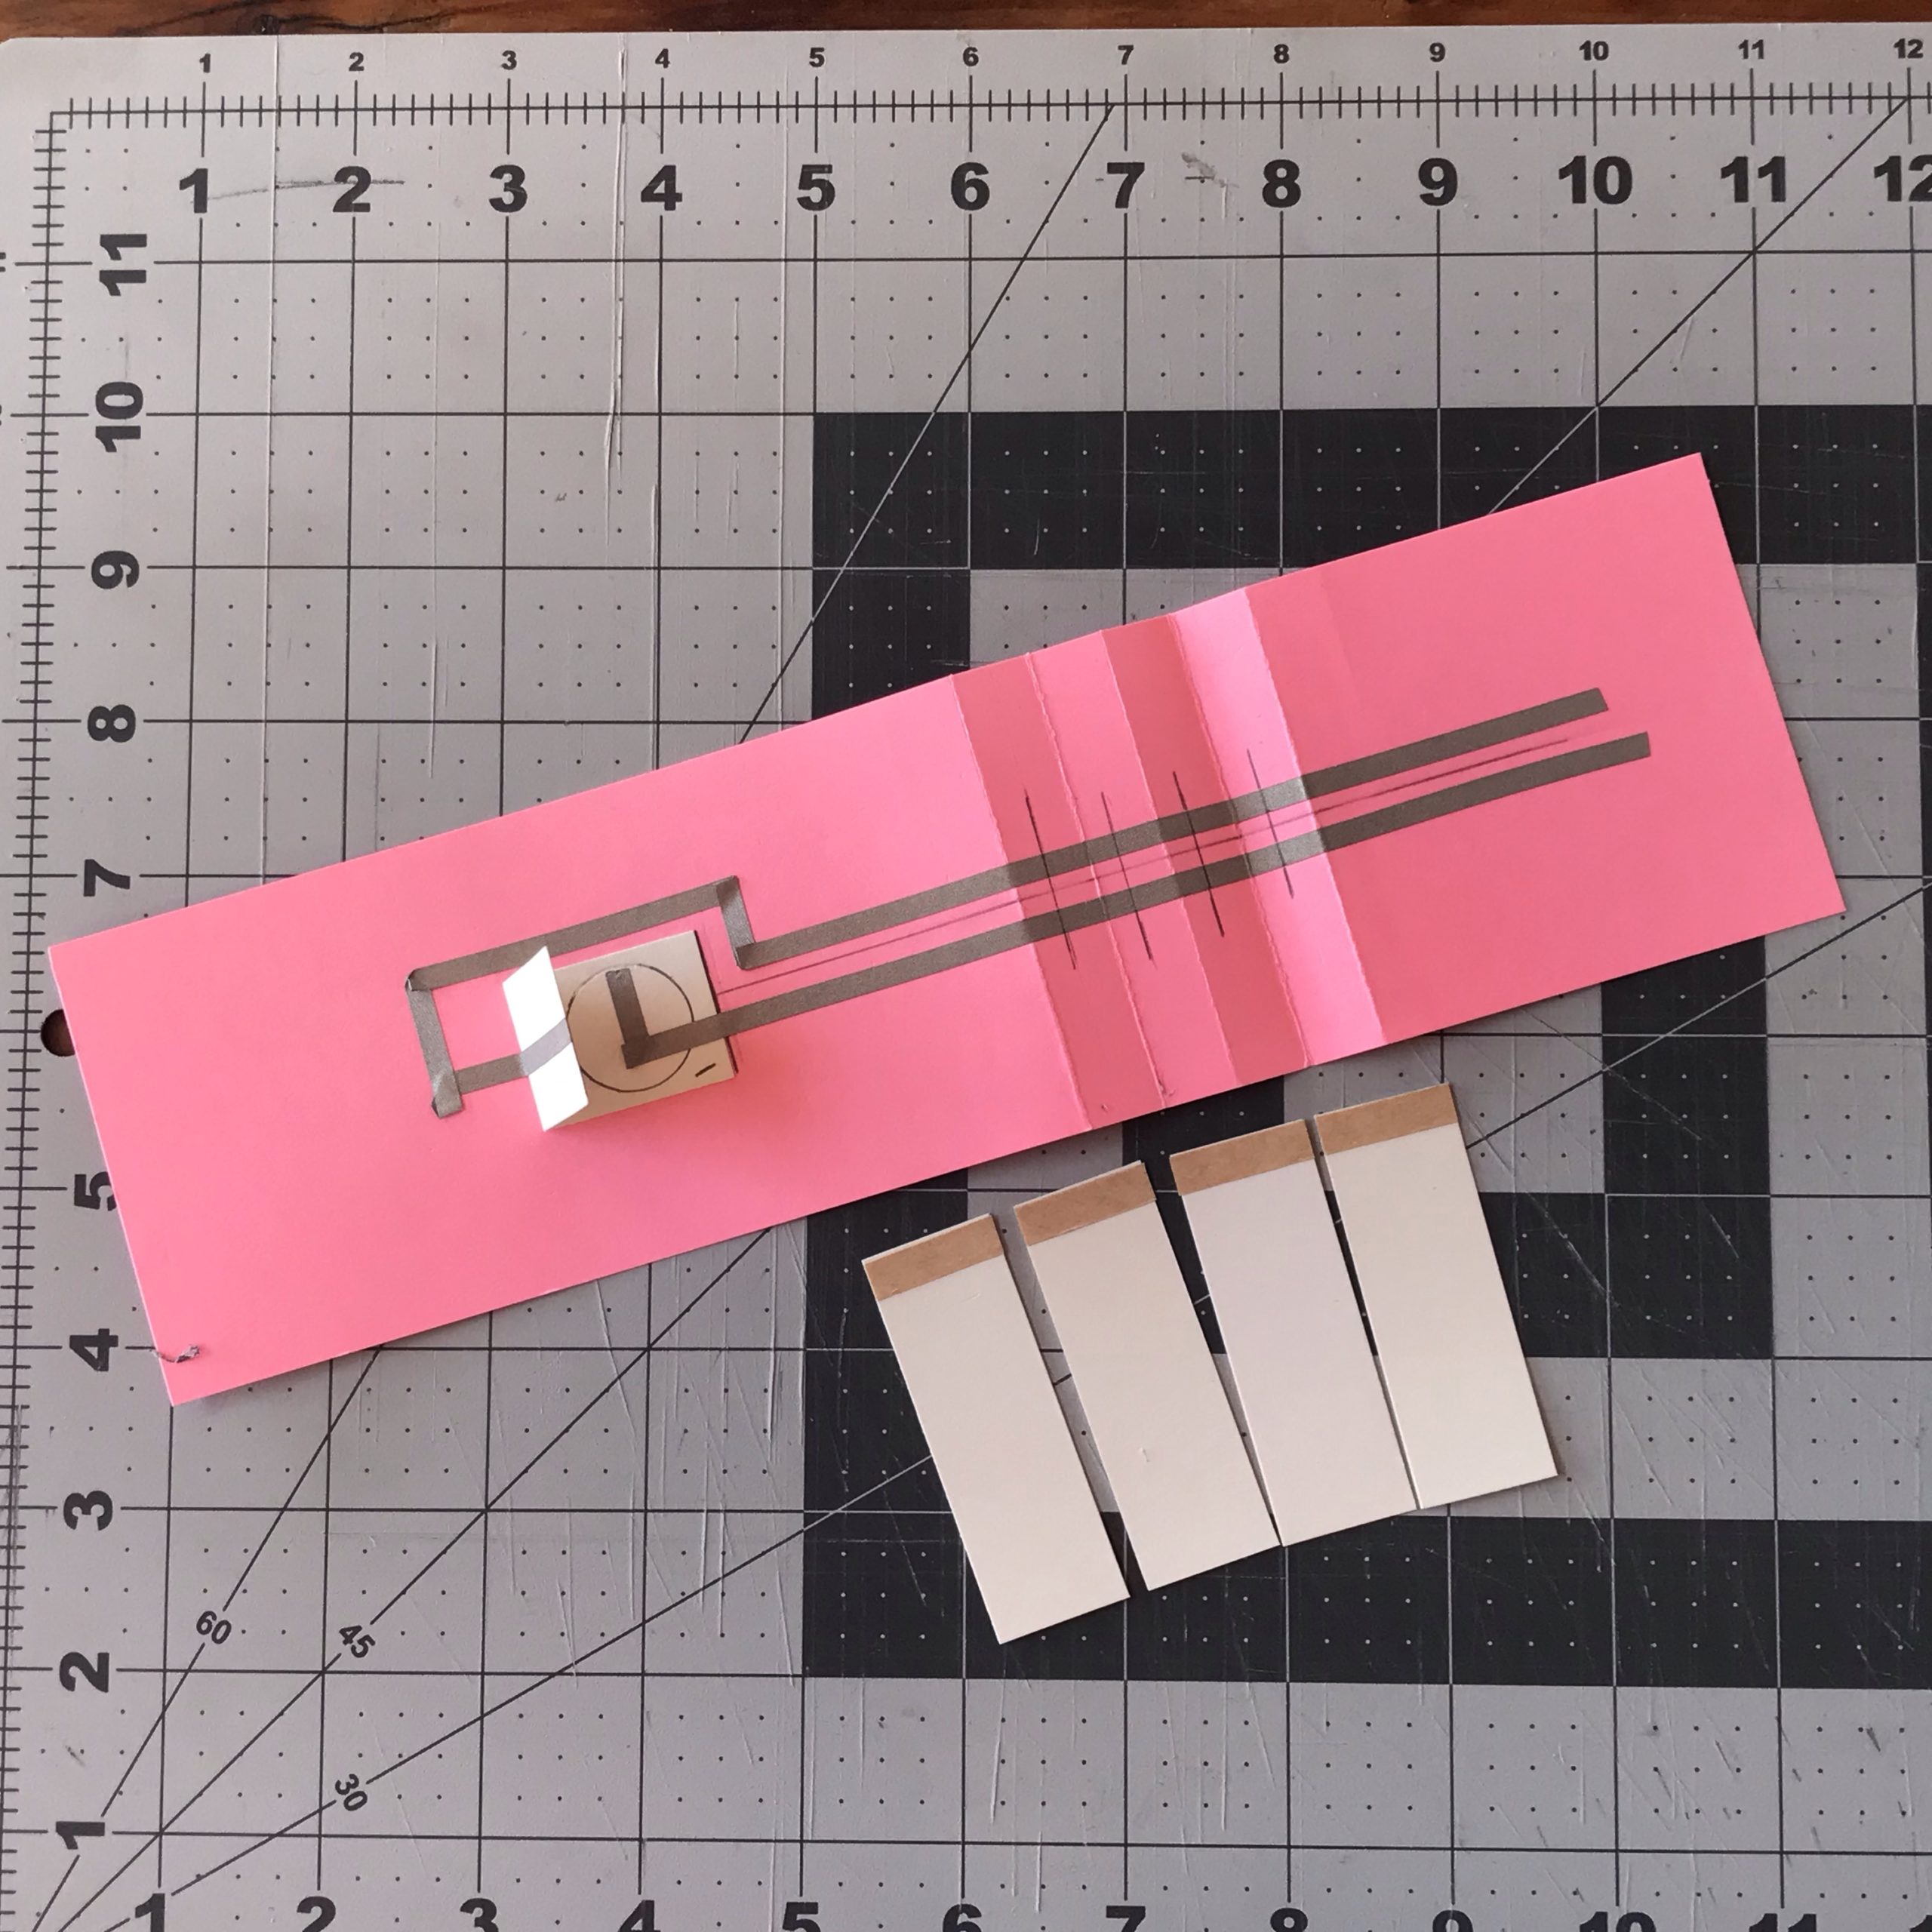
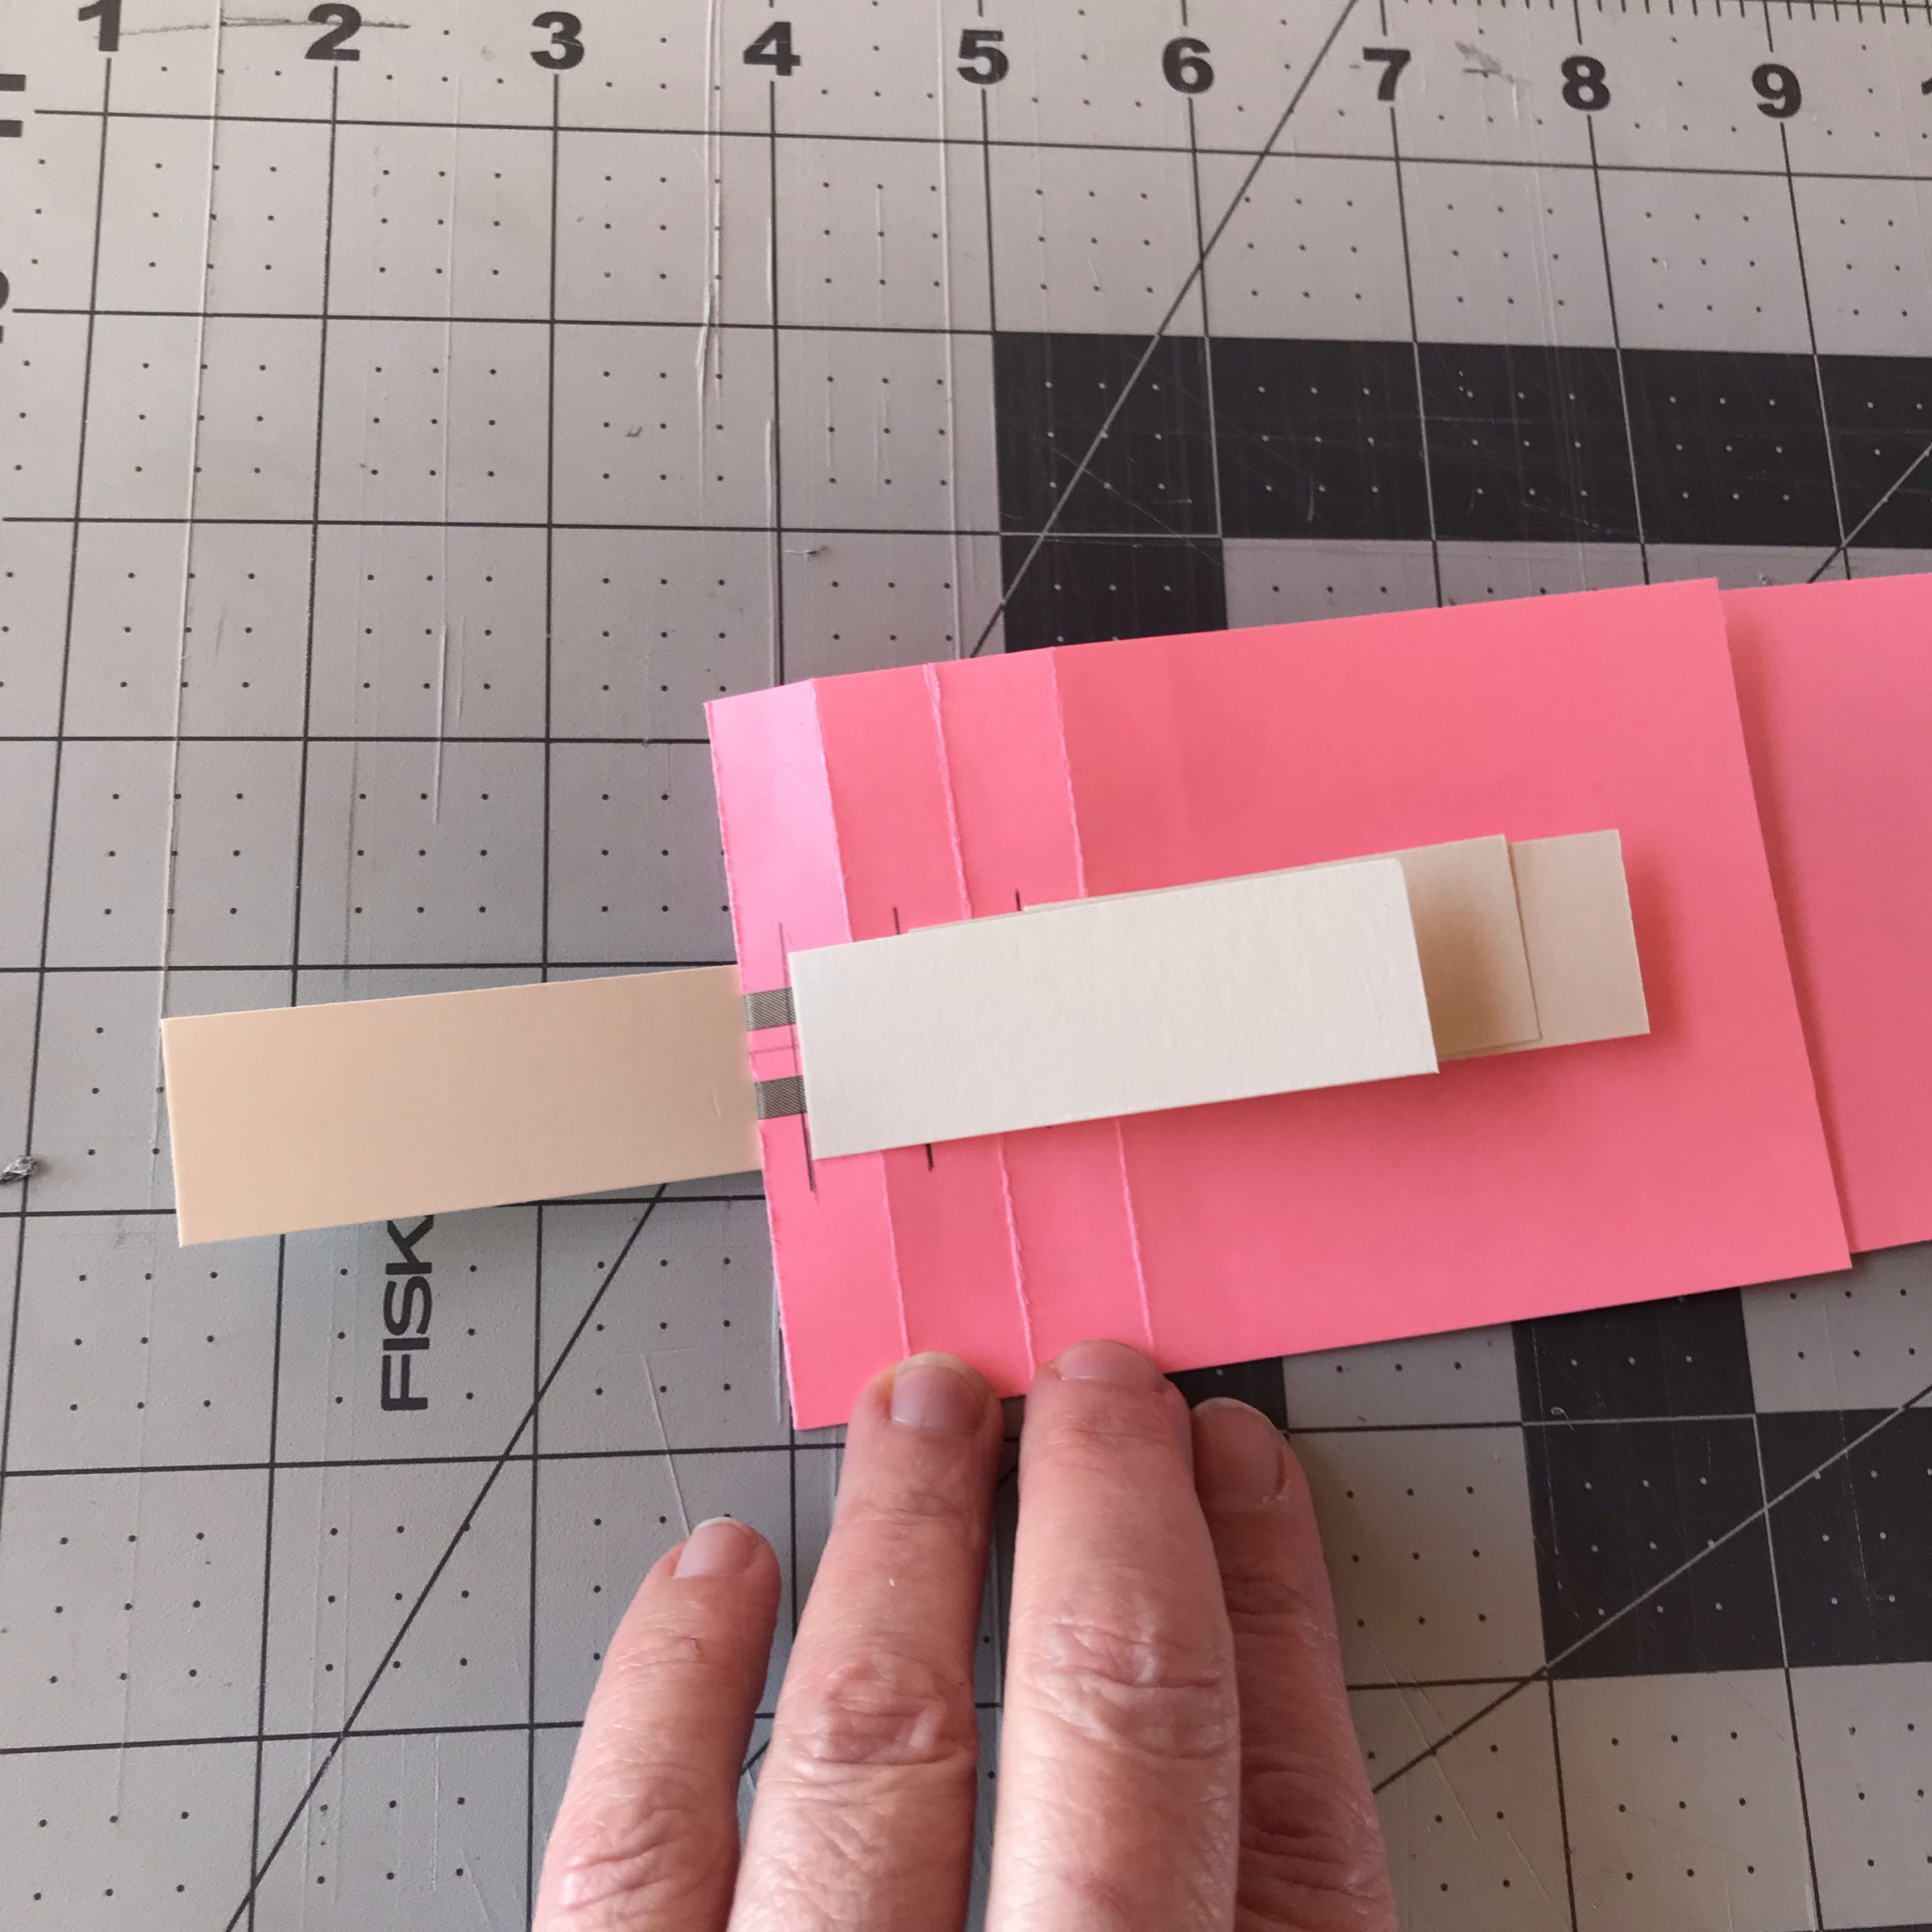
Step 4: Add Circuit Extender Tabs
In order for the LEDs to appear in the center of each page as it flips, extender tabs need to be added to provide more surface area to build the circuit.
Place the four ¾” H X 2.5” W extender tabs vertically upon a flat surface, with one of the two short ends positioned away from you. Add double-sided tape (or glue) to the top ¼” of each of these ends.
With the battery holder on the left, locate the nearest scored section on the slider strip.
Lightly mark the center of that first scored section (it should measure ¼”) placing the sticky end of one extender tab parallel to that ¼” mark, centered and equidistant from the top and bottom edges of the slider strip.
Repeat this process for the remaining three folded sections. Adhere the extenders so that 1/4″ of conductive fabric tape peeks underneath.
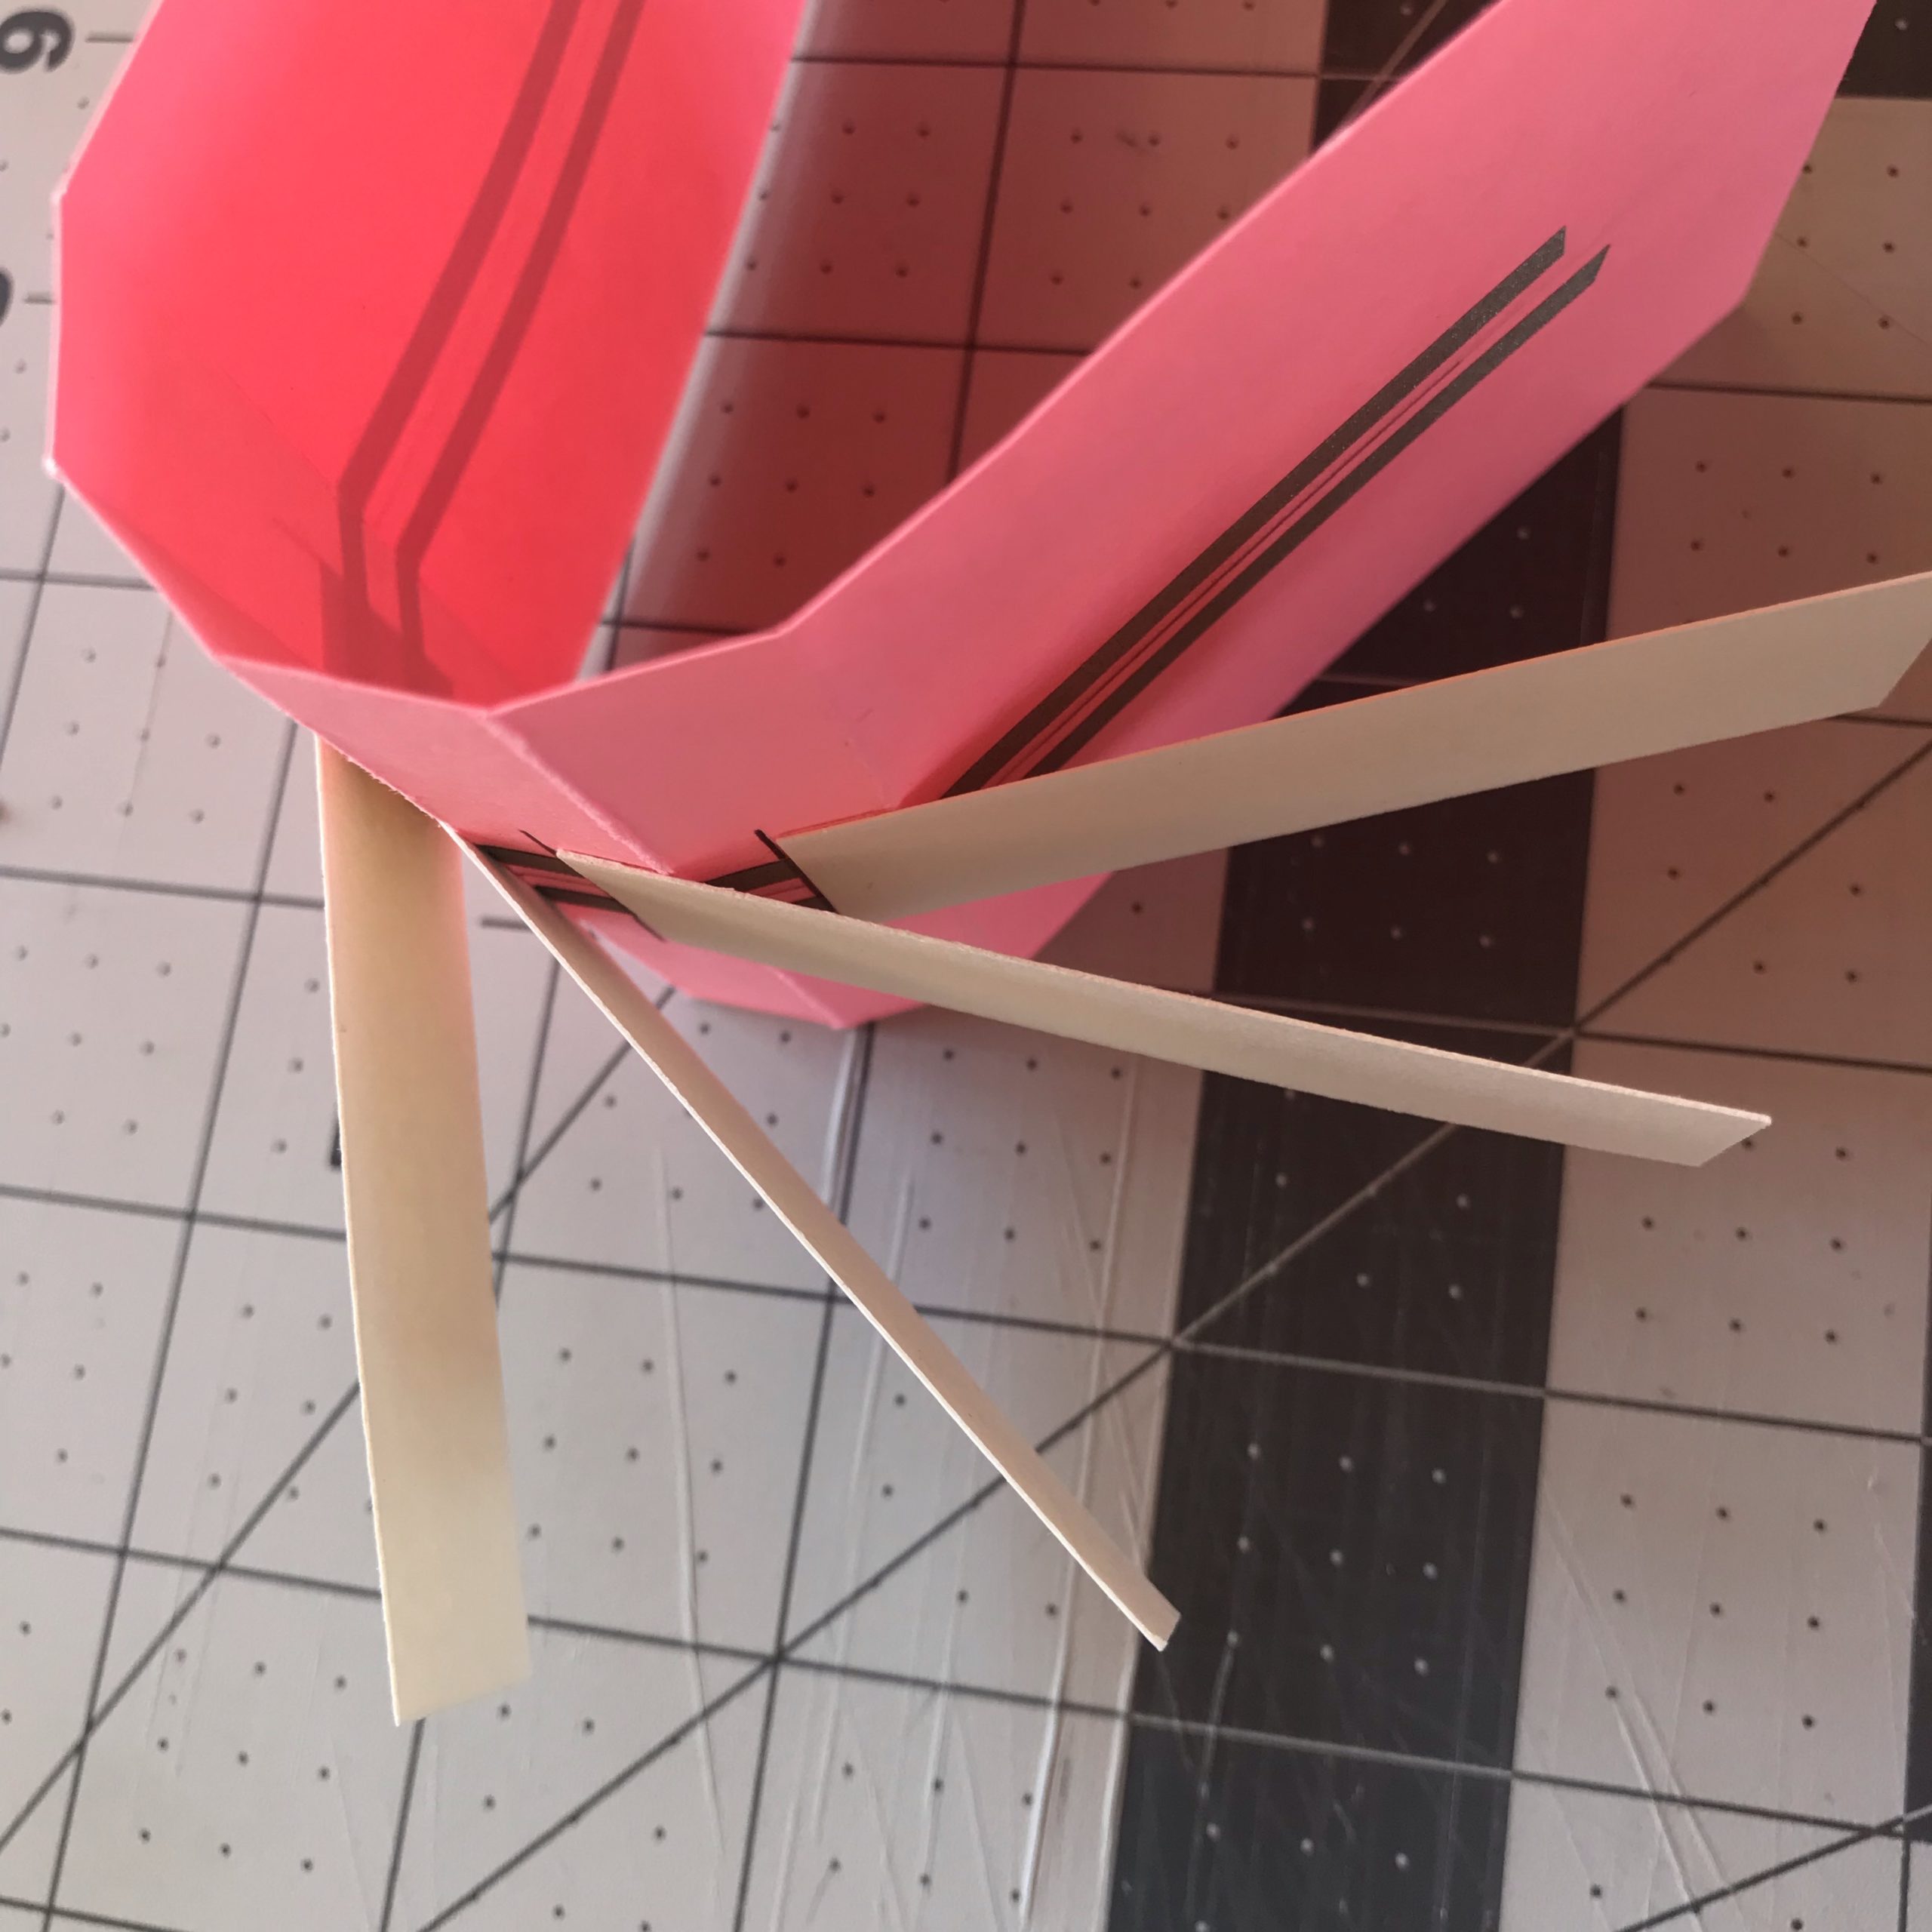
Step 5: Extend Circuit
After the extender tabs have been adhered to the slider strip, use conductive fabric tape to extend the positive and negative traces onto each tab.
To do this, adhere the conductive tape so that it comes in contact with the ¼” of conductive tape left exposed when placing the extender tabs.
Ensure that you offset the first conductive extensions to the left of the first score mark, so that the traces will lie flat hear the hinge.
Be sure to press the conductive tape down at the joints to ensure a more robust physical and electrical connection.
Tips, Tricks & Call-outs
The pages of the pull tab slider are made by adhering a cover sheet, prepared with artwork or text, on top of a larger background sheet (with a small bit of translucent vellum sandwiched between them to help diffuse the light). Poking the holes in the cover pages before adding artwork allows you the flexibility to create your design around the hole where the LED will shine through. If you prefer to create your artwork prior to poking the hole, you may do so. Therefore, Step 6: Make Templates & Poke Holes and Step 7: Add Artwork & Text may be completed in the order of your choice.
Step 6: Make Templates & Poke Holes
Using a template to poke holes in your page cover and background sheets is the easiest way to ensure that your LEDs will line up properly.
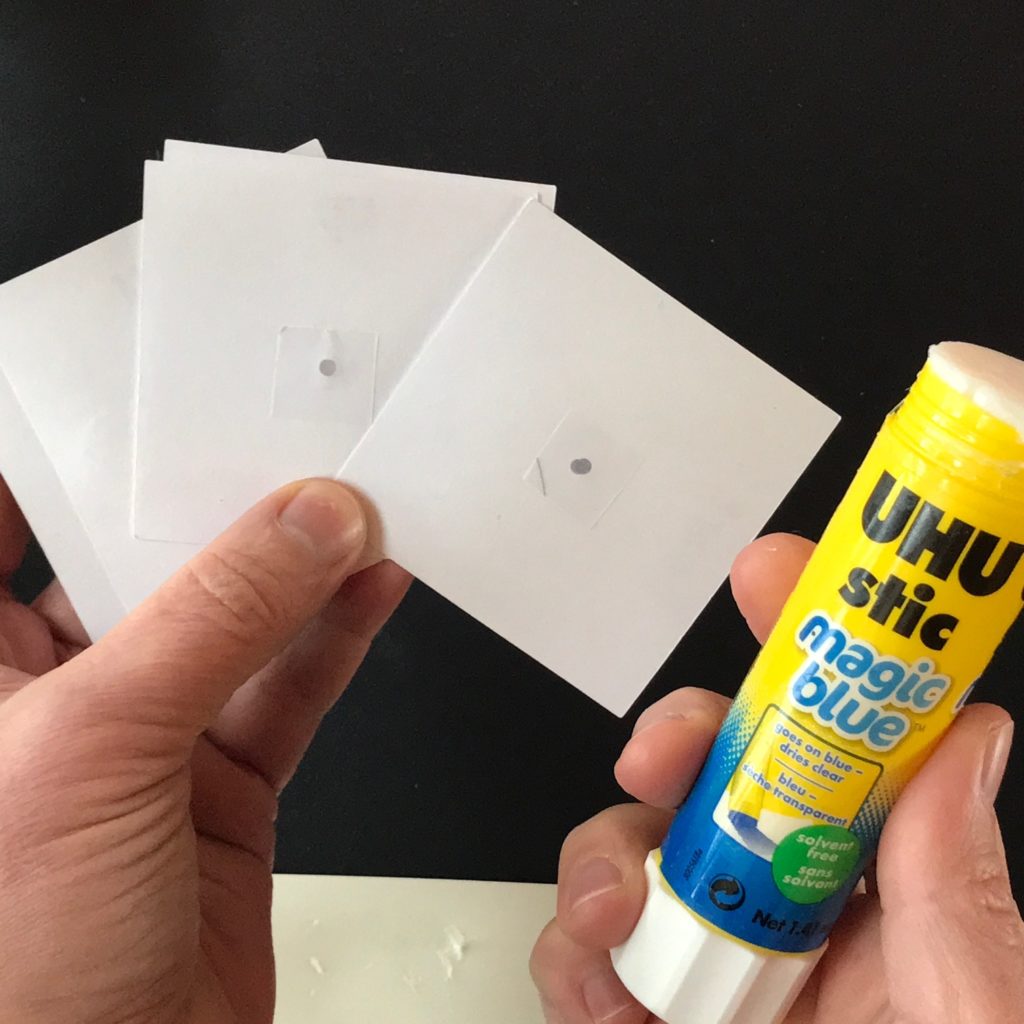
The first step is to locate the 2.5” H X 2.5” W and 3” H X 3“ W sheets you’ve designated for your hole-making templates and make holes in their centers using a push drill and protective mat.
Then, place the smaller template on top of your page covers as a guide and poke holes through each of them. Use the larger template to do the same with your page backgrounds. You’ll be using the 3” H X 3” W template again in Step 11.
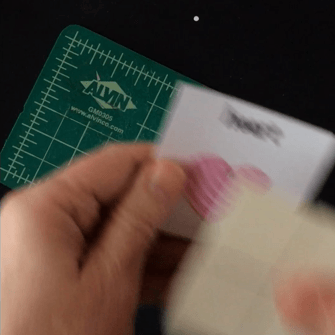
When poking holes in your cover pages, it’s best to do one at a time (rather than a stack). If you attempt to poke holes through a stack of collaged cover pages, for example, your push drill could slip, damaging all of your artwork at once.
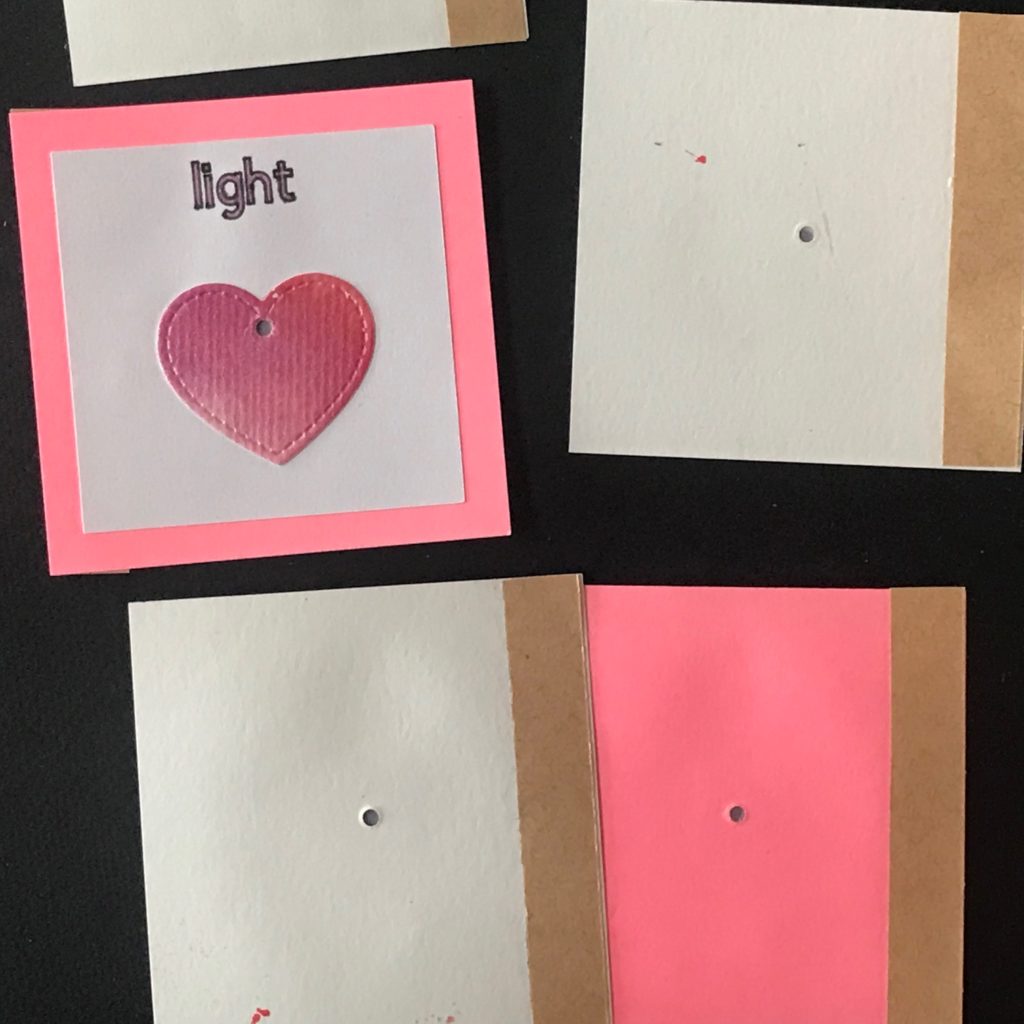
Step 7: Add Artwork & Text
Once you have an idea for your finished project, the next step is to add artwork and/ or text to your cover sheets.
This may be done before or after you poke holes in the centers of your page covers.
If you opt to poke holes in your cover sheets before adding your artwork, you’ll be able to create artwork knowing precisely where the light will be shining through.
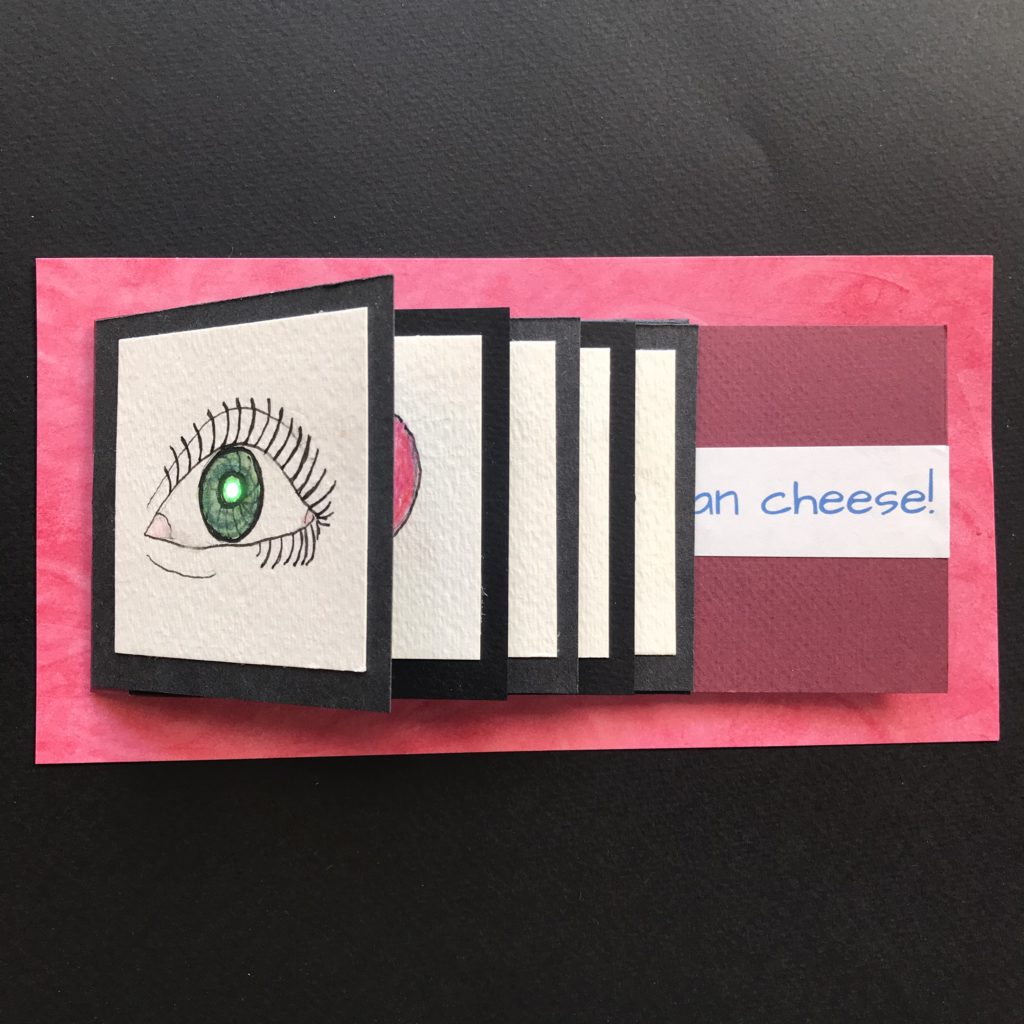
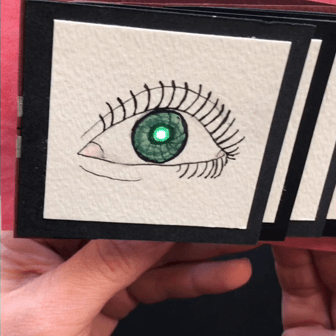
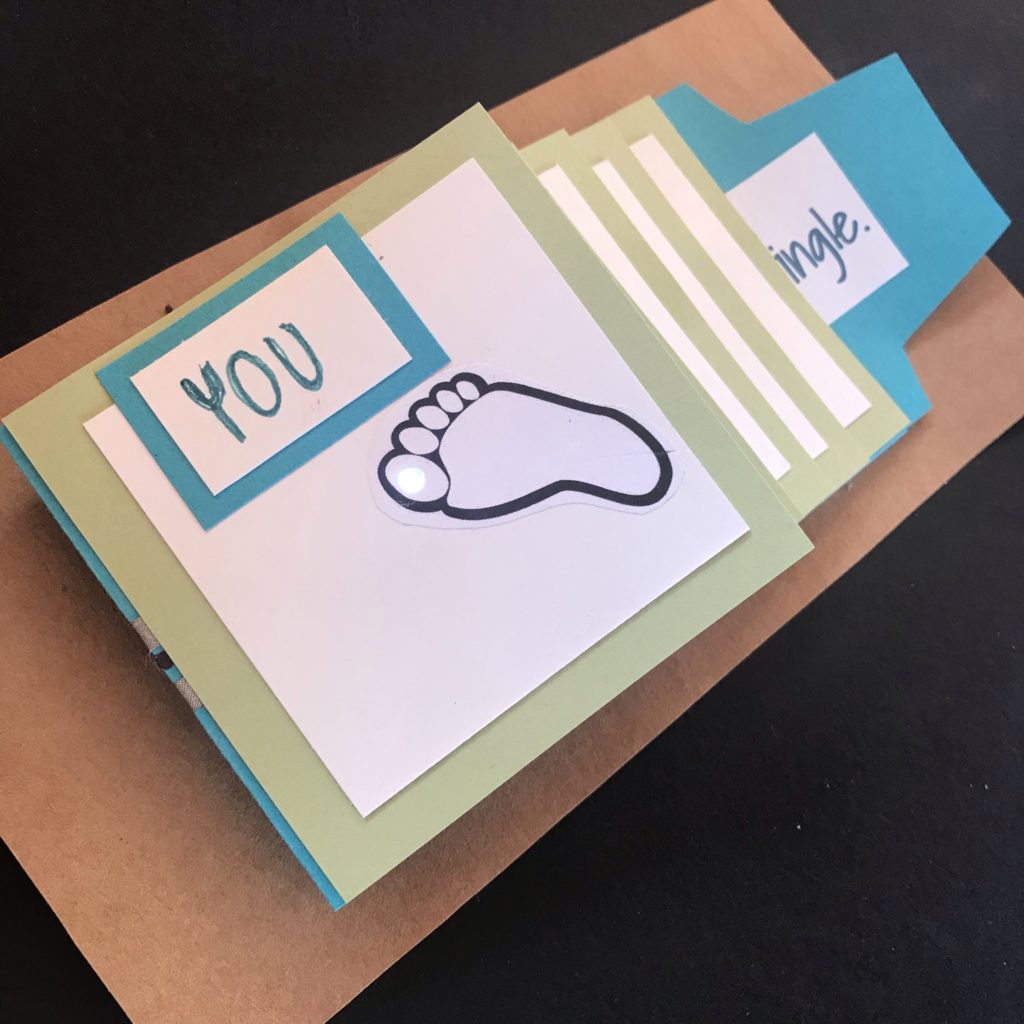
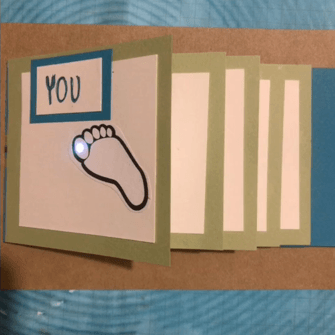
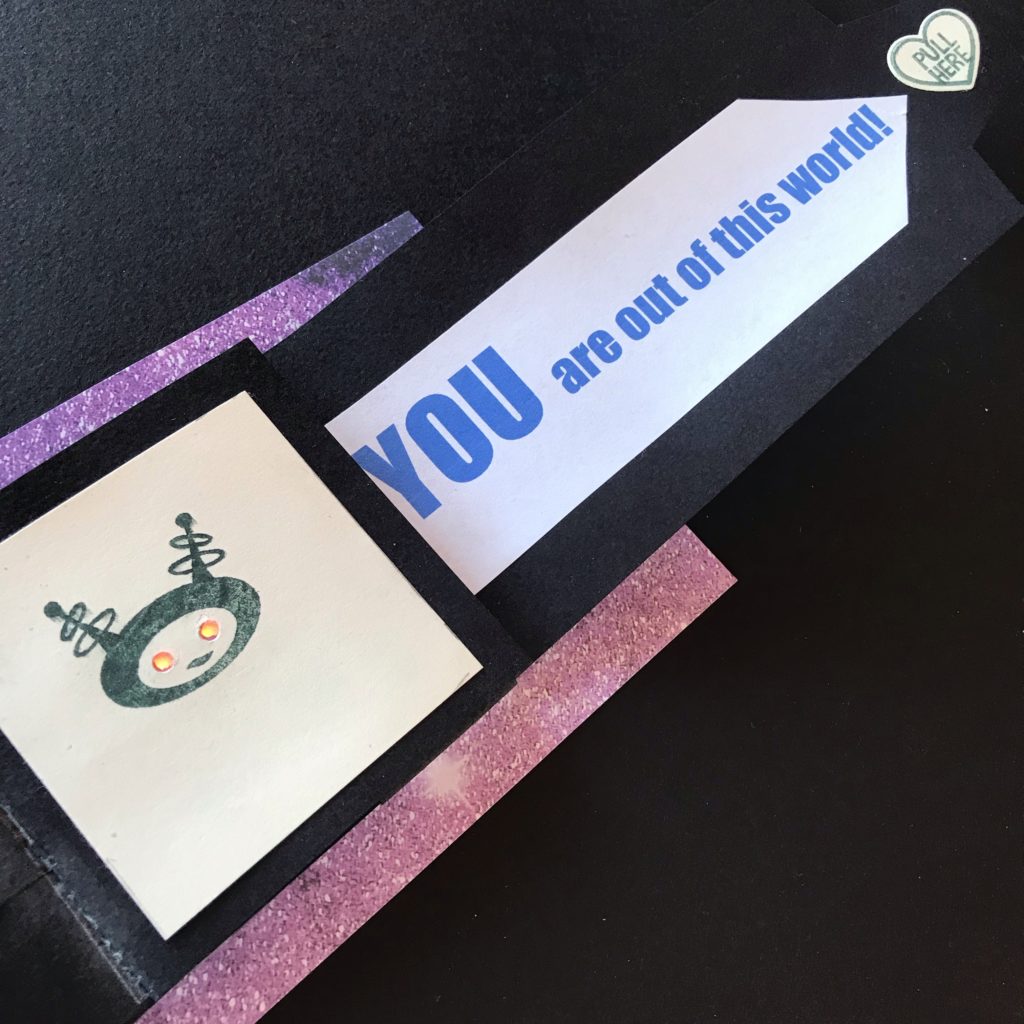
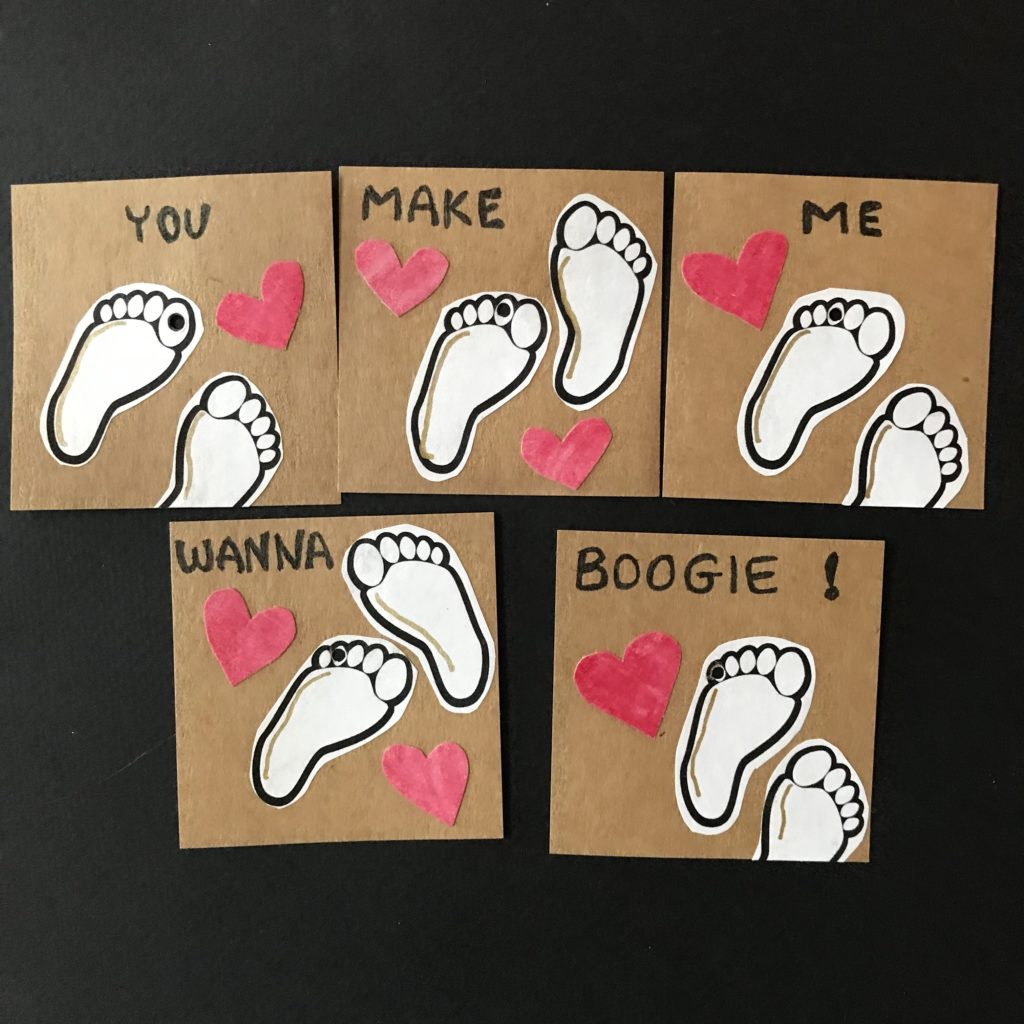
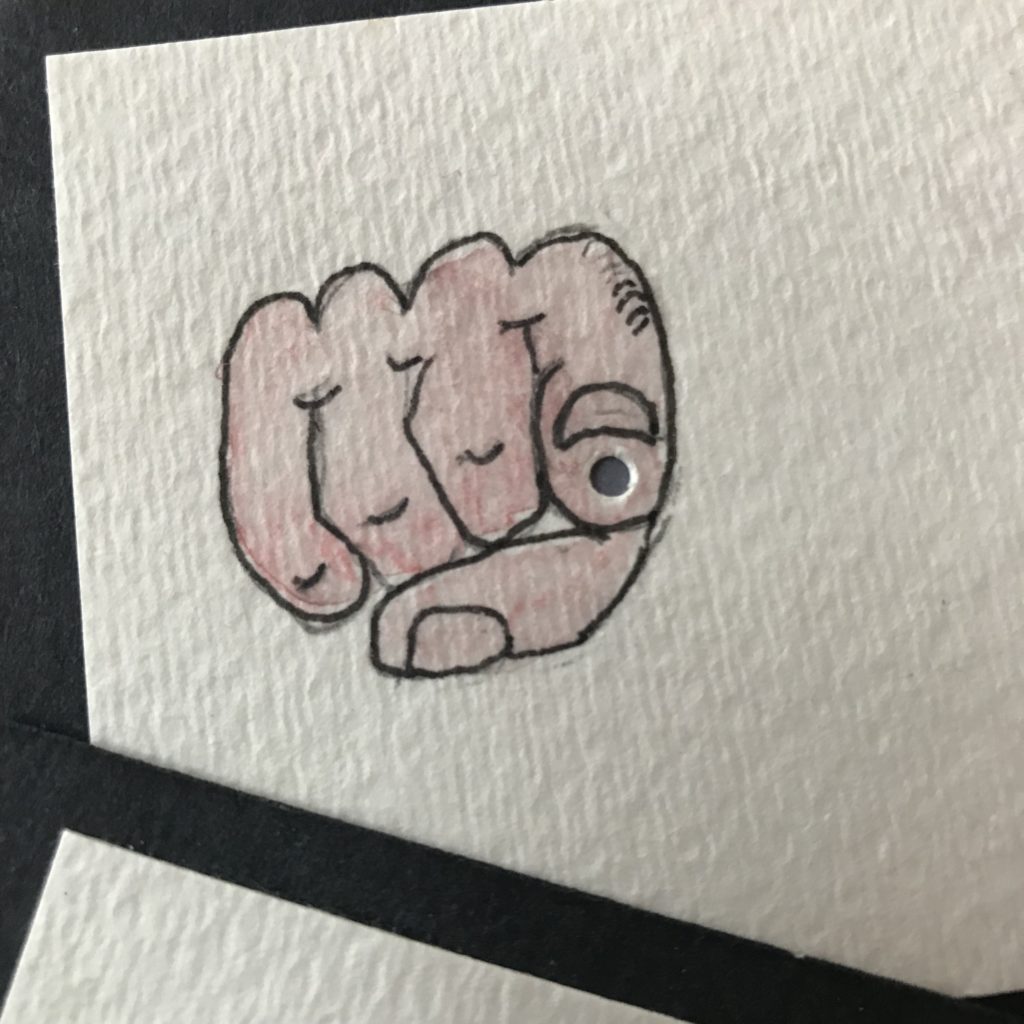
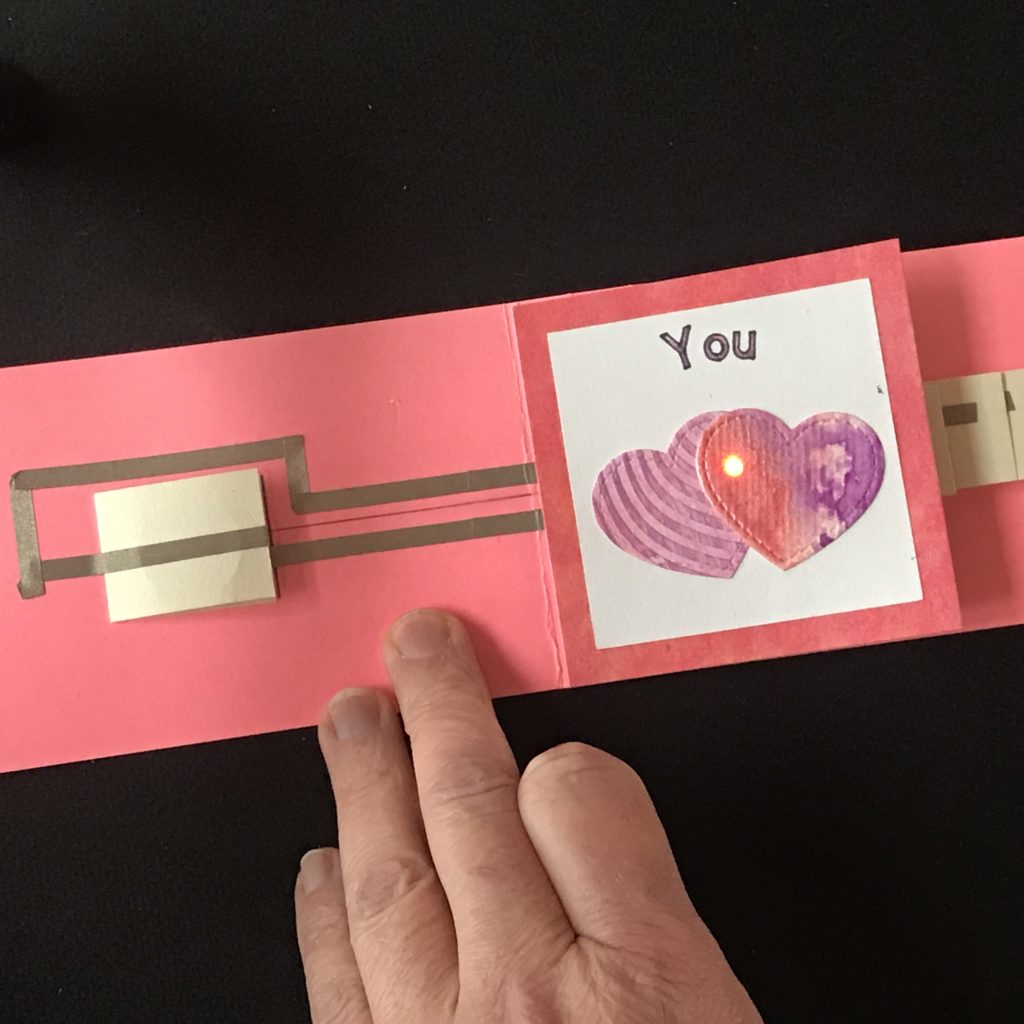
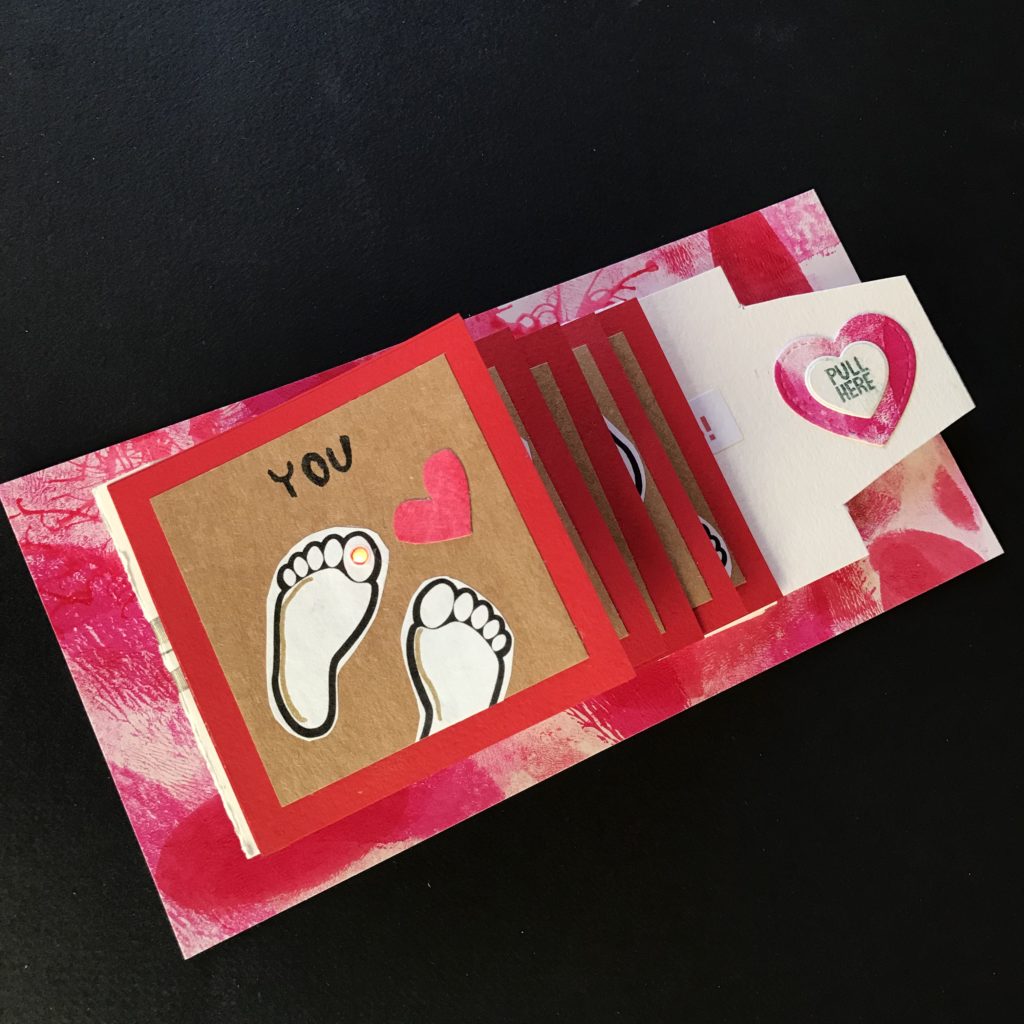
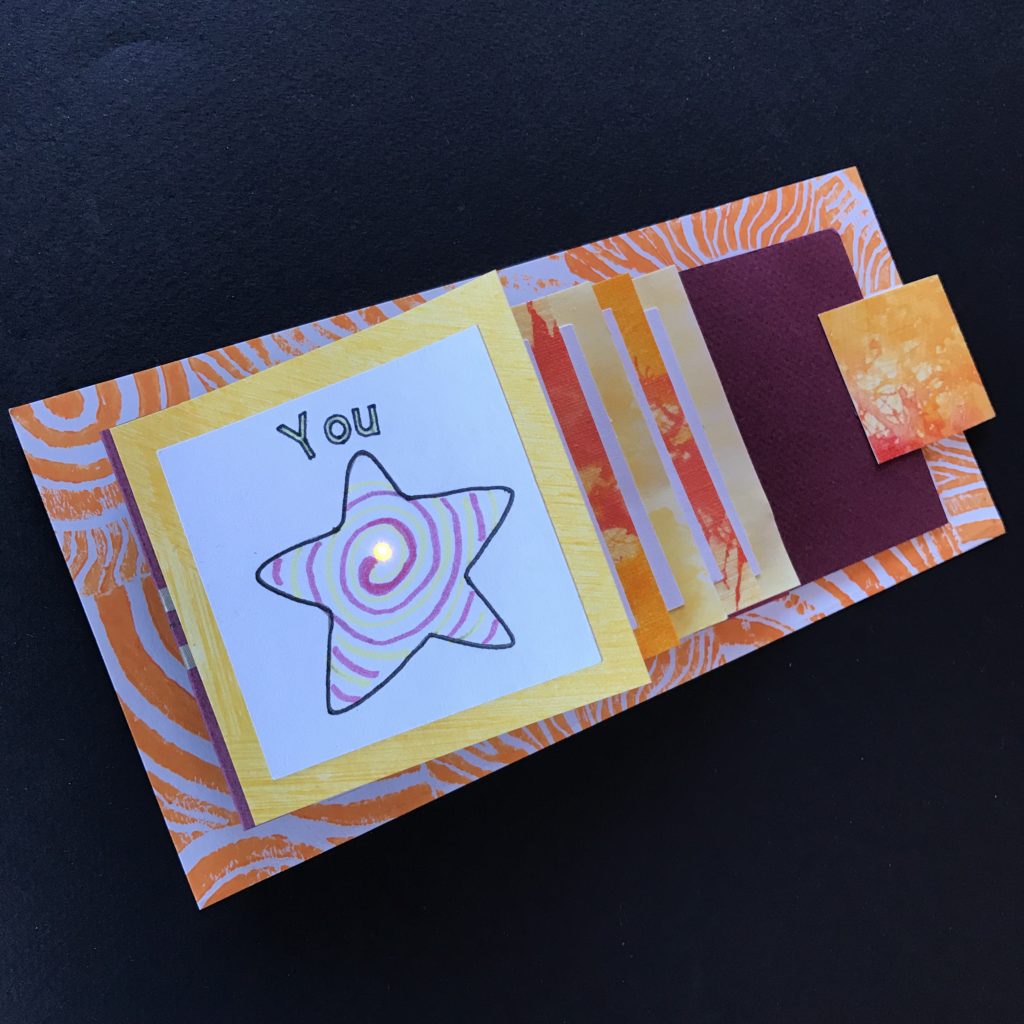
The dancing foot designs were made by first poking holes in the cover pages, and then lining up paper cut-outs with corresponding holes where I wanted the light to shine through. I added the text with a black marker.
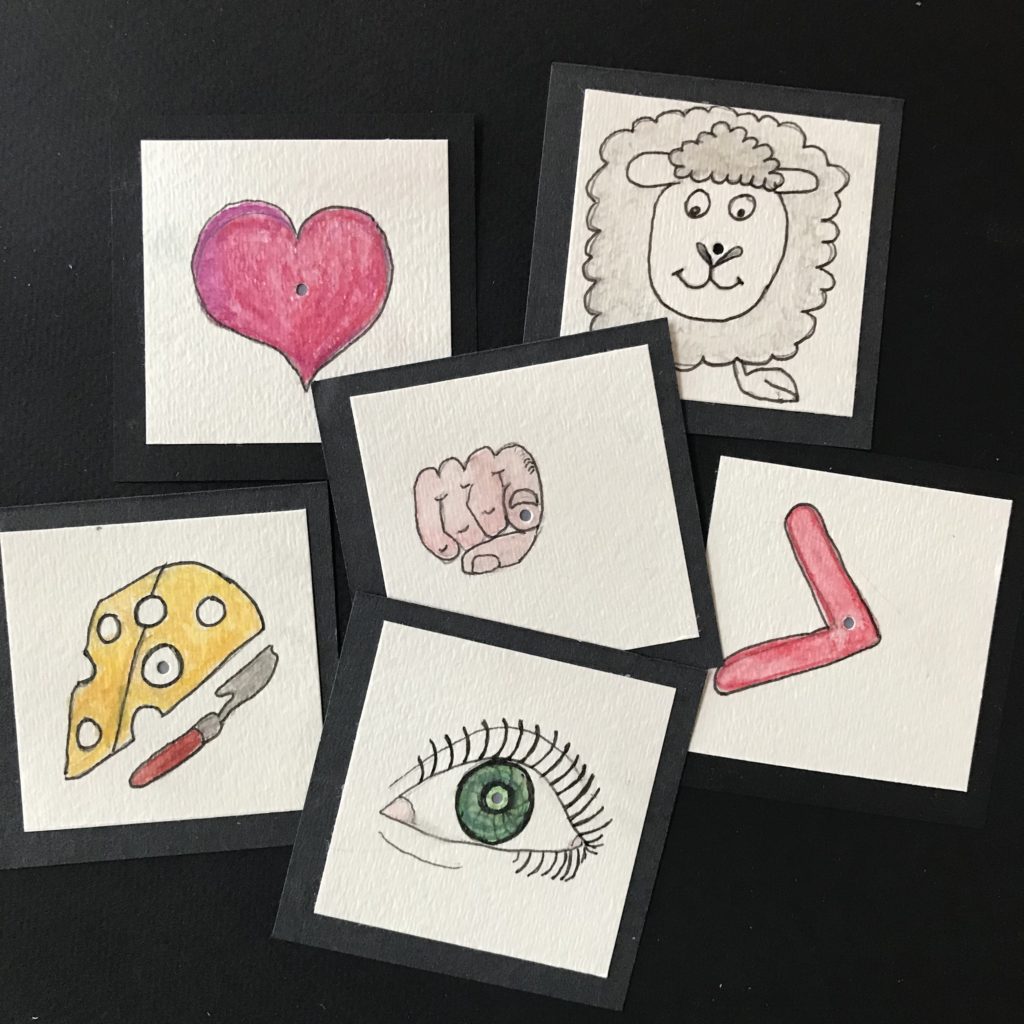
The word picture images were sketched and decorated with colored pencils after the holes were punched, allowing me to draw my designs around the holes.
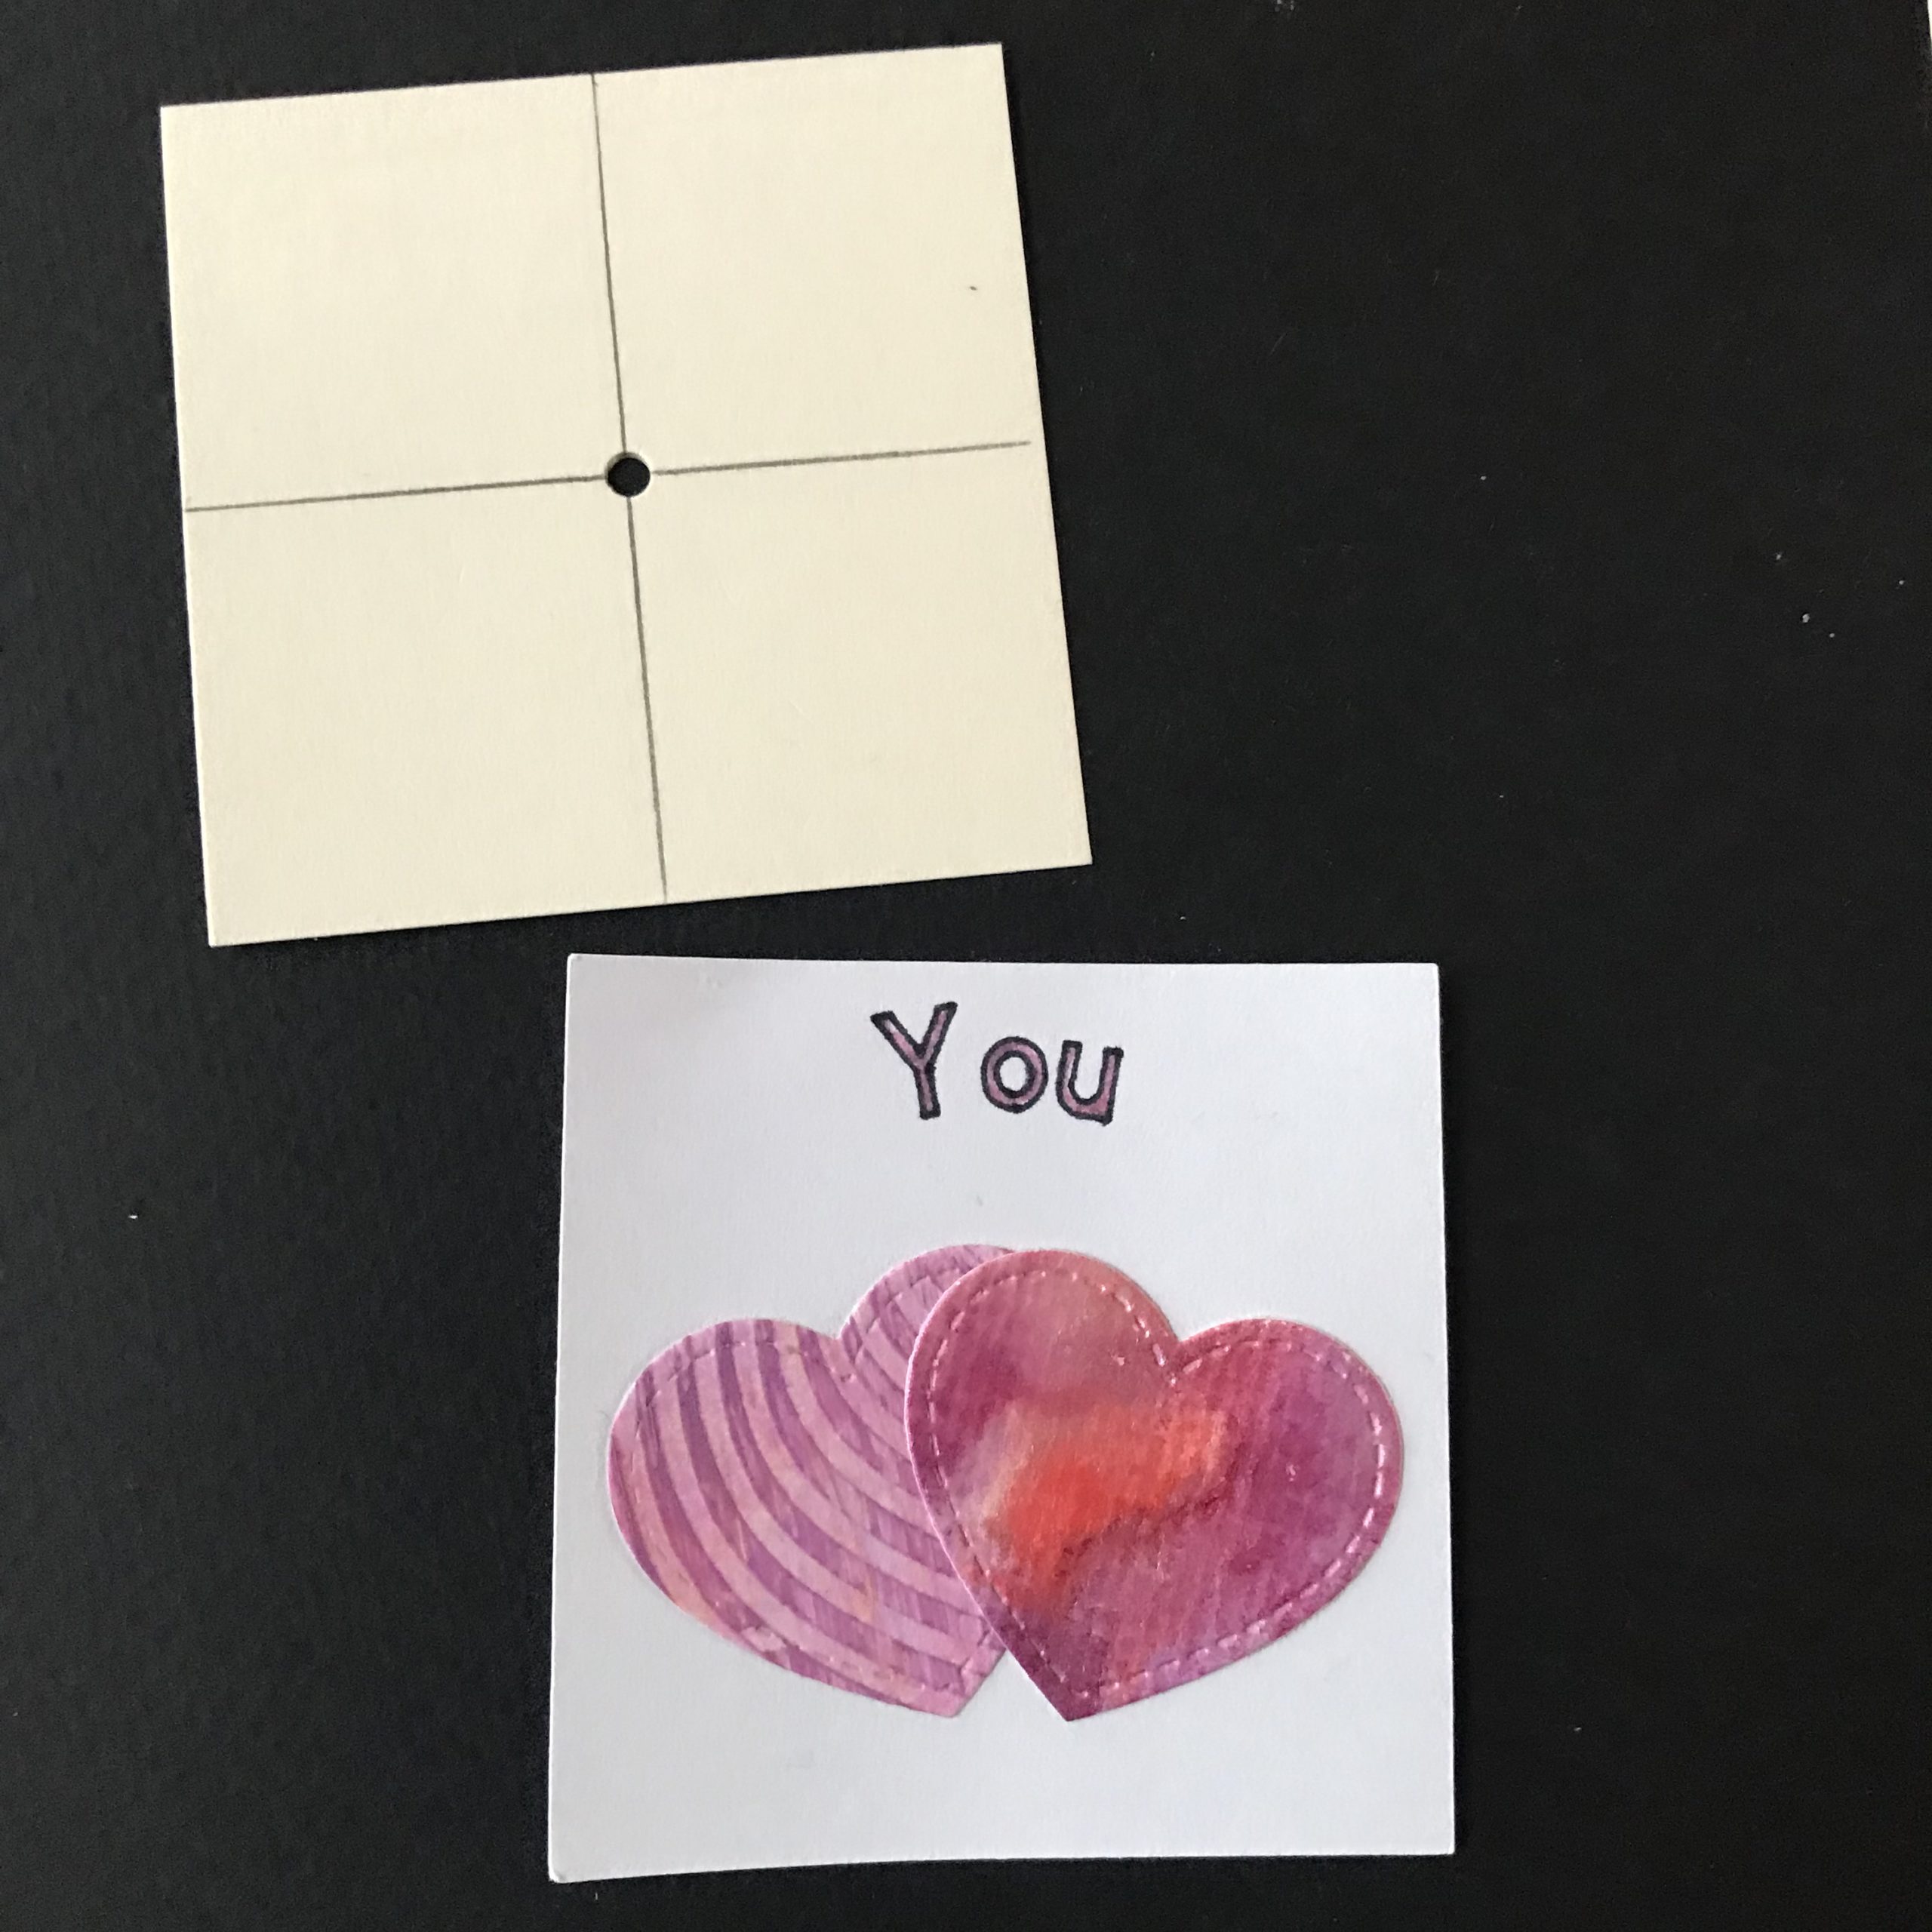
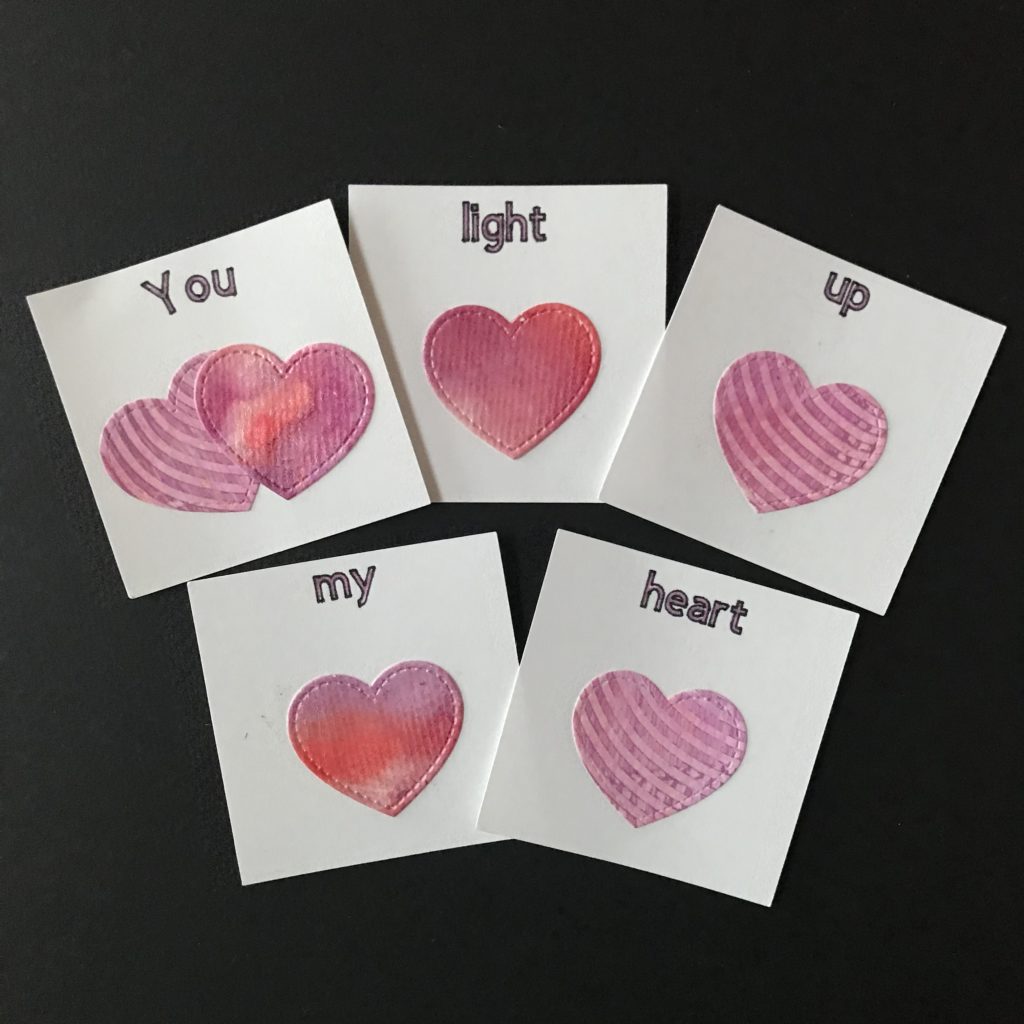
It’s also okay to draw, paint, collage, or stamp designs onto the cover sheets before poking holes in their centers, as I did with these collaged hearts. One disadvantage of doing it this way is that you’ll have less control of where the light will shine through.
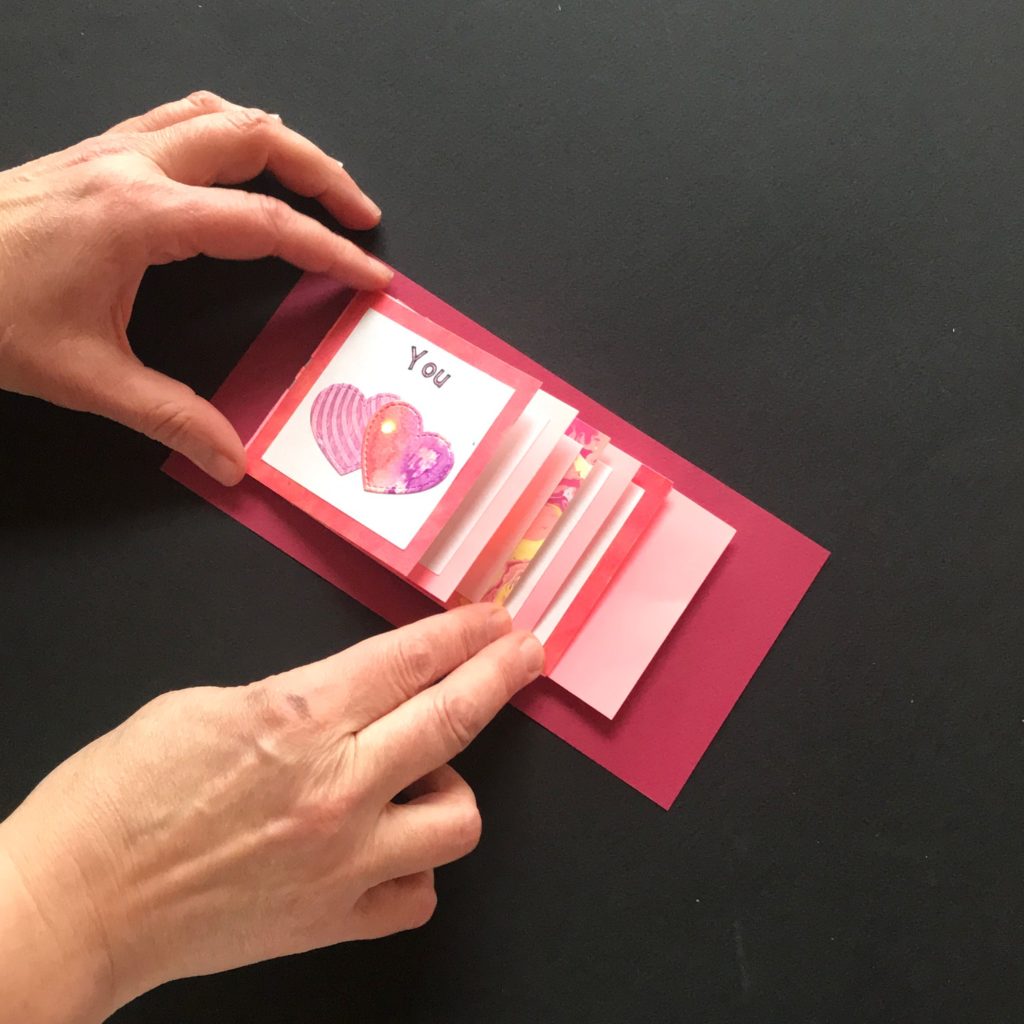
Step 8: Finish Making Pages
When you’re finished adding artwork and/or text, and you’ve poked holes in the centers of your cover and background pages, glue a small square of translucent vellum to the back side of each cover. It’s helpful to use scrap paper when using glue, to protect your work surface and keep your pages clean.
Adding the vellum will to help diffuse the light from the LEDs and give your project a more finished look.

Once the vellum has been added to the backs of the cover pages, use glue or double- sided tape to adhere them to the background pages. To ensure that the holes are aligned, it’s helpful to hold your pages up to a light source (such as a window).
To help glued pages dry flat, place them under a heavy object, while you mark the placement for the LEDs. A book works well for this.

Step 9: Mark LED Placement
In order to make it easier to line up the LEDs with your artwork, position the slider strip horizontally on a flat surface, with the battery holder on your left.
Then, using the 3” H X 3” W template that you set aside earlier, mark the location of the holes onto each extender strip. This will require you to flip the waterfall mechanism section by section. The easiest way to do this is by abutting the template to each of the five score lines and marking the location of each hole with a pencil.

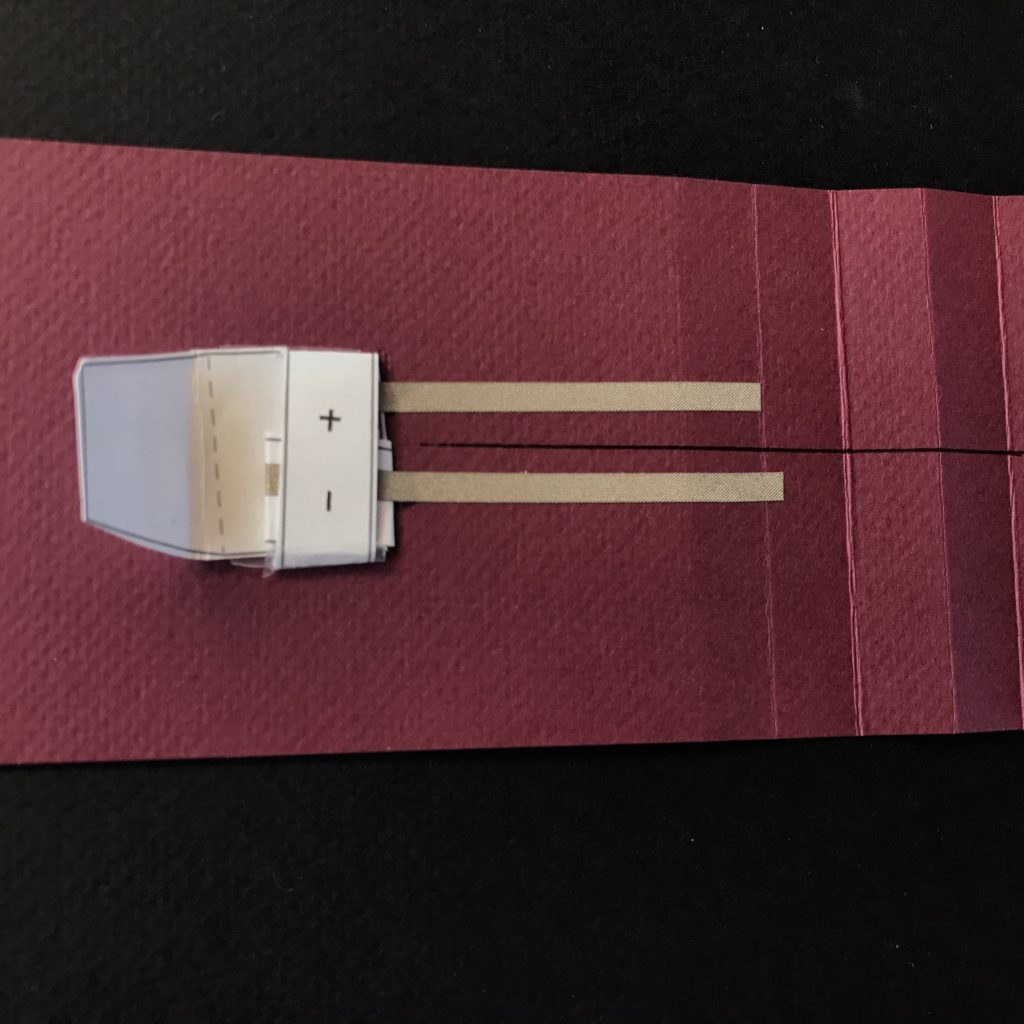
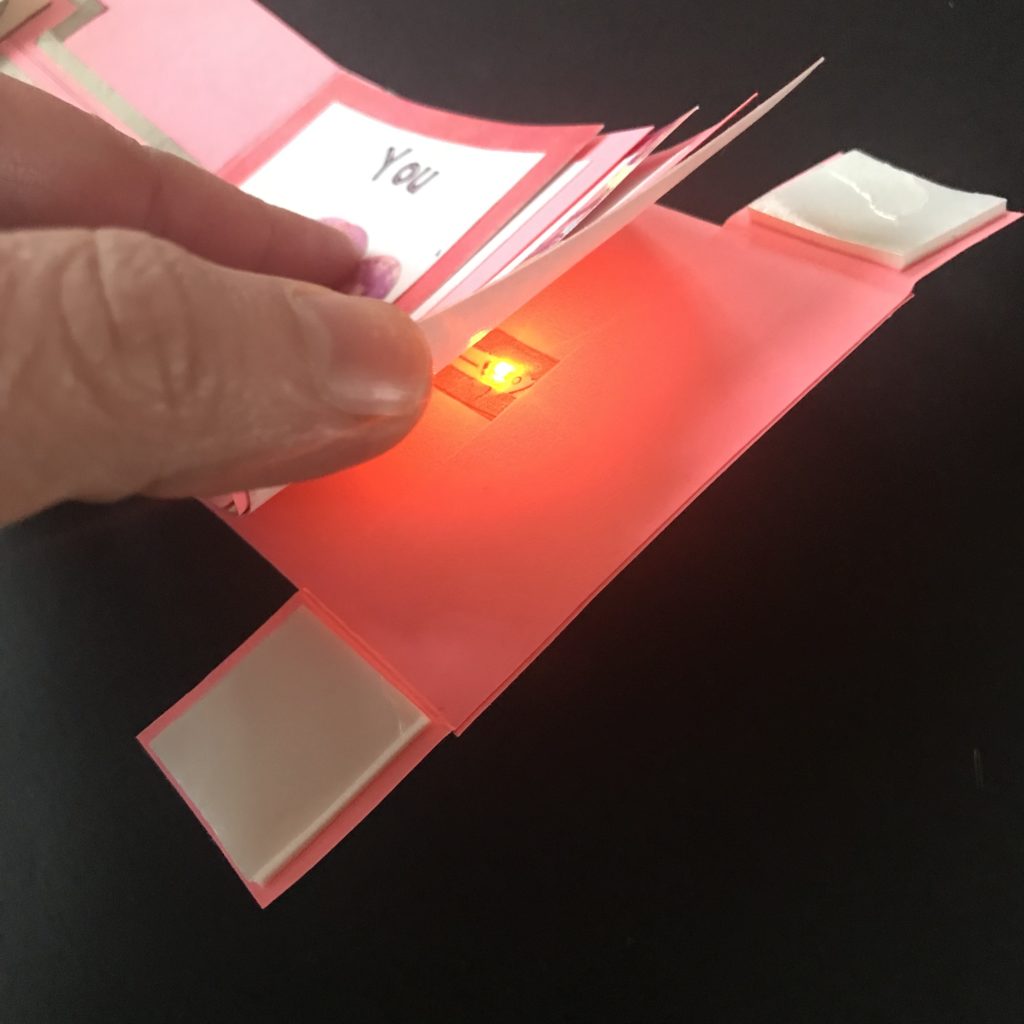
Step 10: Add LEDs & Pages
To power the circuit, insert the battery into the paper holder. Form small rolls of conductive fabric tape on the top and bottom of the battery to adhere it inside the holder; ensure that the conductive tape rolls are coming into direct contact with the conductive traces on the battery holder.
Using the marks you made with the template as guides, add the Chibi Light LED Stickers to the circuit, ensuring that they light up as you go. It’s helpful to position your pages over the LEDs to ensure proper placement before firmly pressing them down.
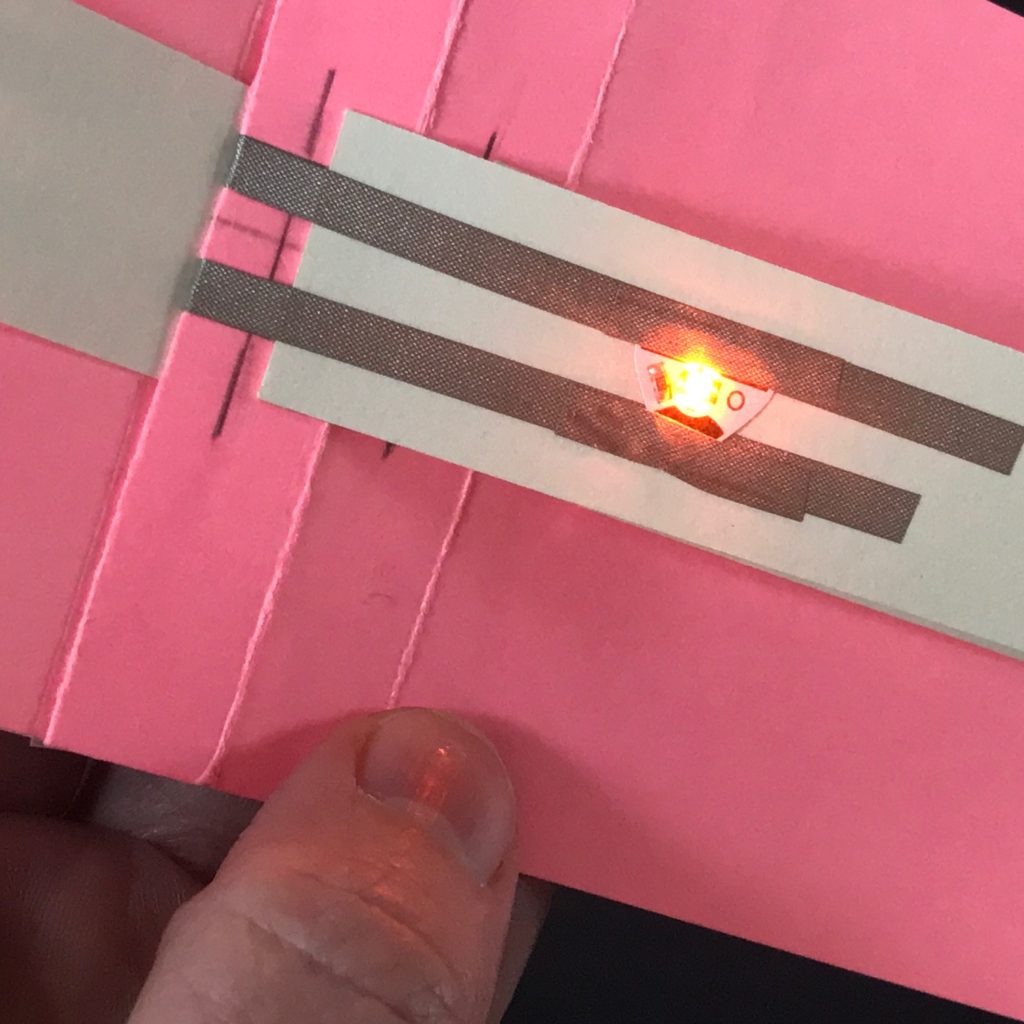
Apply double-sided tape or glue to the back edge of each page, on the side that will be adhered to the slider strip. It’s easy to get confused about which side is which when the pages are upside down, so take your time. After you’ve ensured correct placement of the LEDs, reinforce your LED Stickers with Conductive Fabric Tape and secure it with a bone folder or your fingers. Doing so before you insert the pages is much easier than doing so afterward. Lastly, align and adhere your pages.
If your LEDs appear dim, ensure that you are using a fresh coin cell battery. If your LEDs flicker, ensure that they have been pressed down firmly and reinforced.
Step 11: Add Stabilizer to Slider
In order to hold the mechanism together, and allow the battery to move underneath the card as you pull the tab, you need to add a stabilizer to the right edge of the slider strip.
Mark off the first and last inch of the 1” H X 5” W stabilizer strip. Then, apply double- sided tape or glue to the area between the two marks.
With the sticky side down, add the 1″ squares of foam tape to each of the two 1″ tabs.
Position the stabilizer strip, sticky side down, on top of the slider strip, under the last page of the waterfall book, abutting the right most edges.
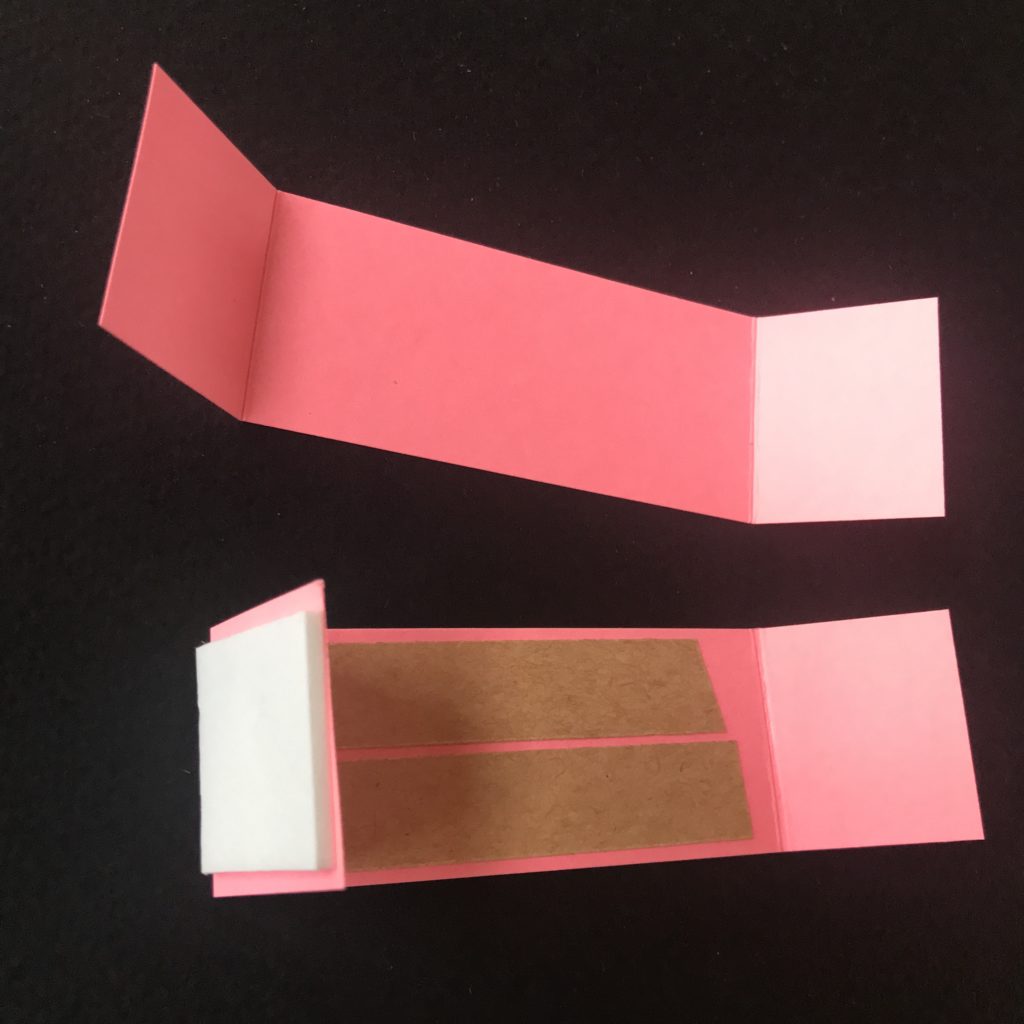
To conceal the battery holder, fold the slider strip back upon itself at the first score mark, so that the stabilizer flaps hang on each side of the slider strip.
Tuck the flaps around the entire card.
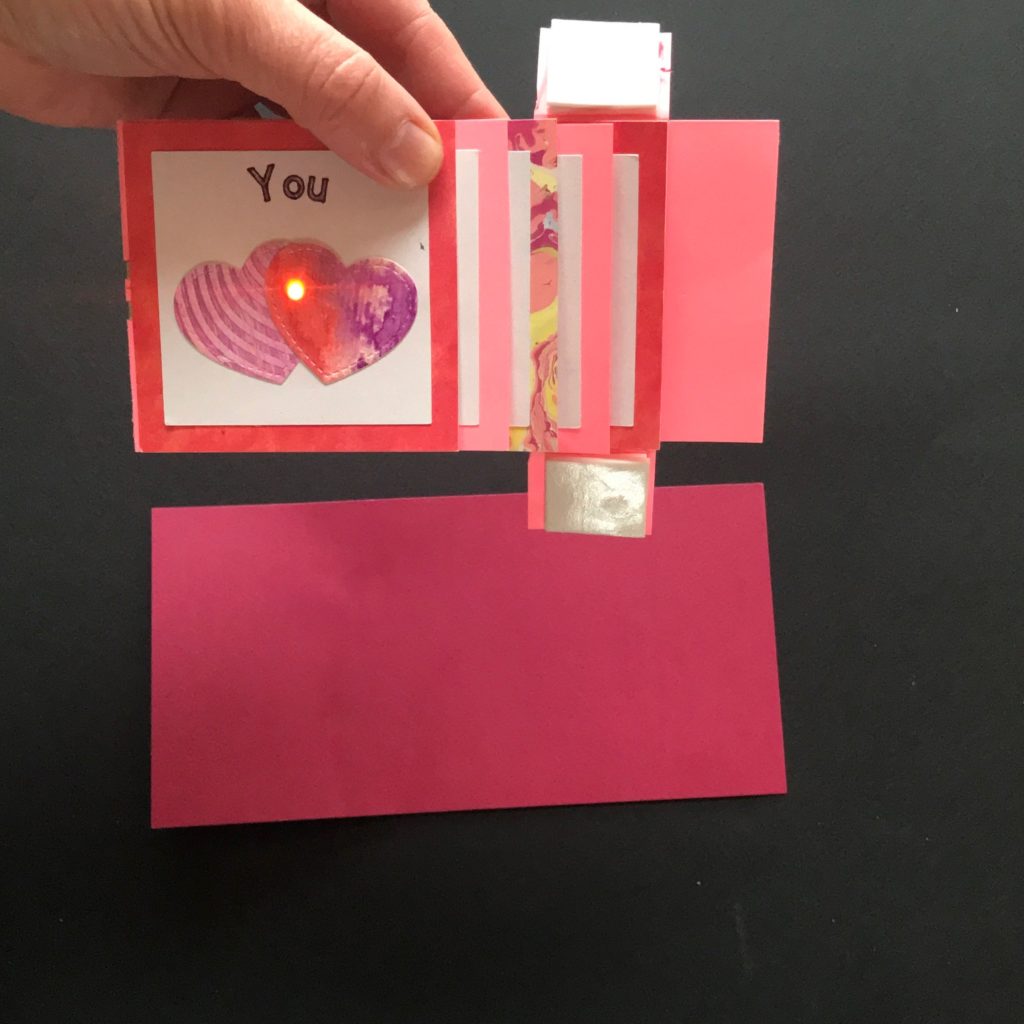
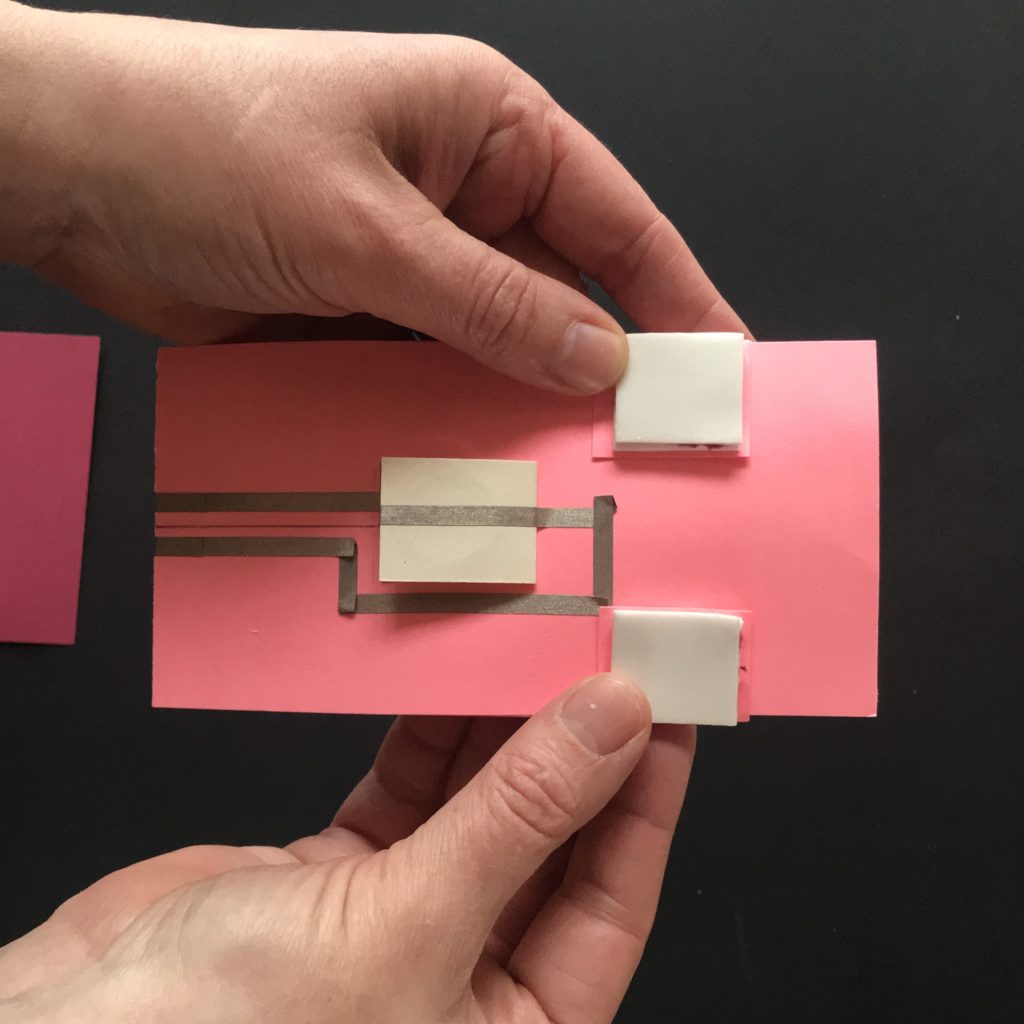
Adhere it to the 4″ H X 8″ W backing sheet. Verify that it opens and closes smoothly. If it doesn’t open smoothly, try creasing the scored lines a bit more.
You may pull the slider out from the stabilizer if you need to make adjustments or remove the battery.

Step 12: Finishing Touches
Decorate or embellish your light up waterfall card as desired. If you want to make the pull tab more obvious, trim the end of the slider or glue on a pull tab. You might also write or stamp the word “pull” on it. Lawn Fawn’s “push here” stamp set works well for this.
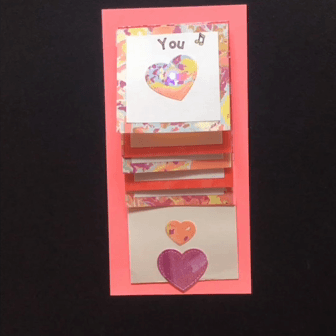
Gallery


Similar Posts You Might Enjoy
Light Up Flowers
This interactive card features a jumping frog that lights up flowers, by use of reed switch!


Shadow Picture Box
This interactive card features a turn wheel that illuminates different scenes as it moves.
Featured Products