Hi, crafty friends!
This is June(Jooyeon).
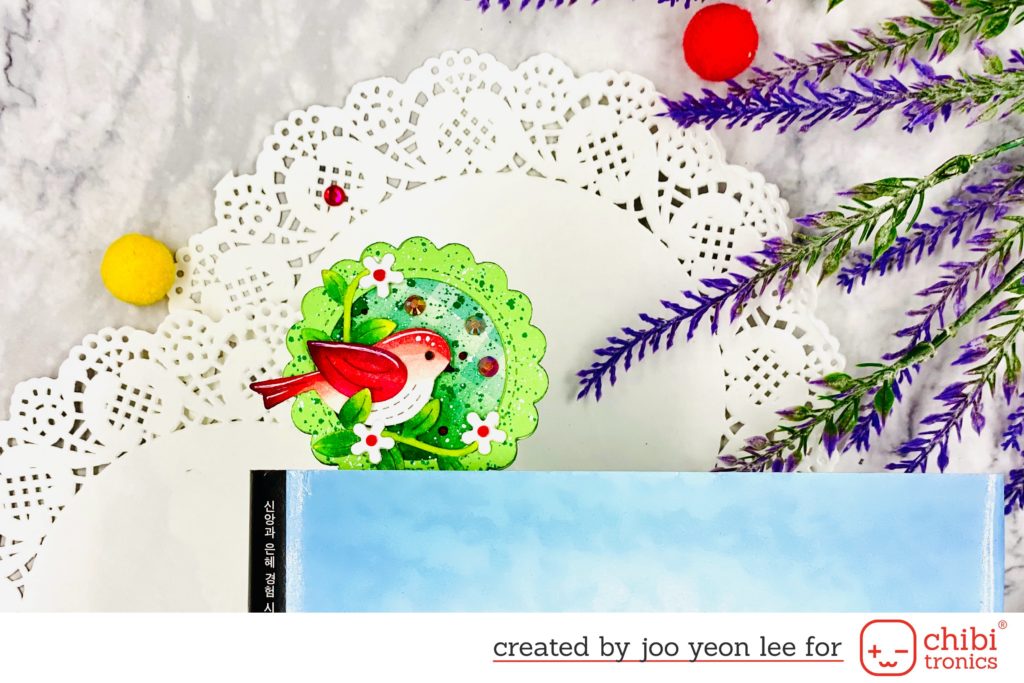
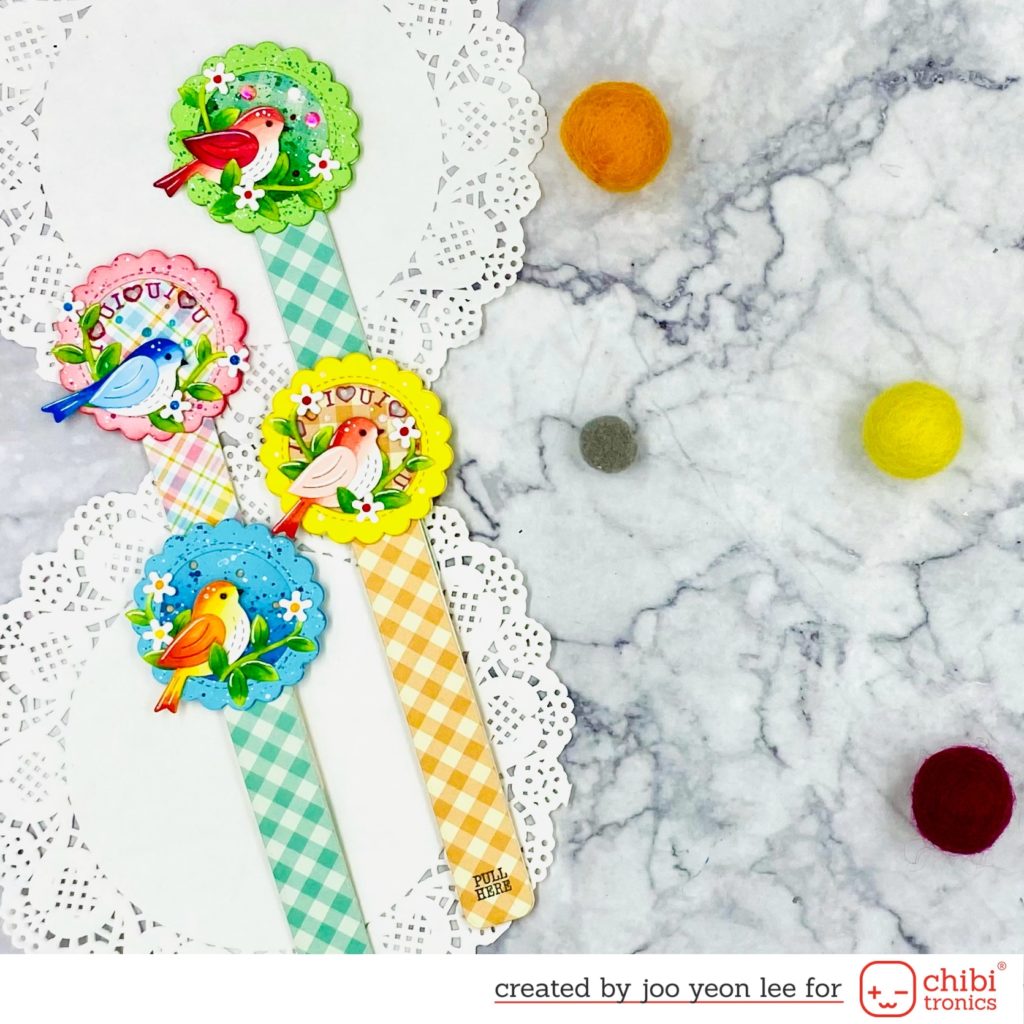
It’s getting hotter. So I think it’s time to go on a summer vacation. But since it’s a difficult time because of COVID19, I’m going to spend my vacation eating delicious food and reading books in a cozy and comfortable my house. At that time I might need a bookmark like this.
I made bookmarks for Chibitronics monthly project. Of course, I used LED stickers to turn on the light on.
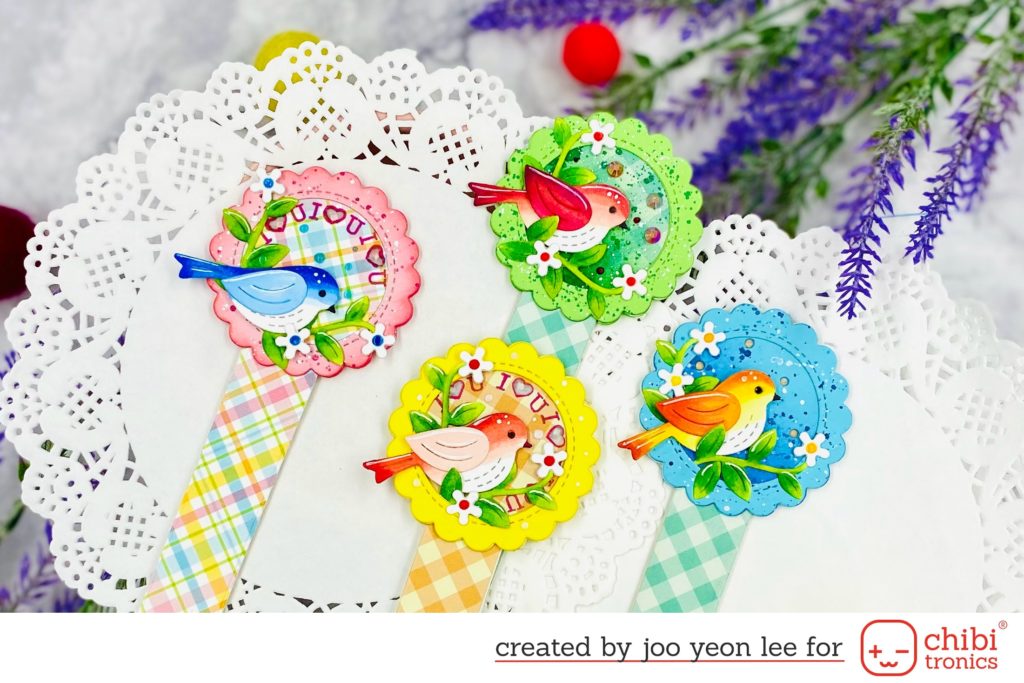
In this video tutorial, I will show you how to make the bookmark and mechanism about how to turn on the LED’s.
Below is the list of the supplies required I used for the bookmark.
SUPPLIES
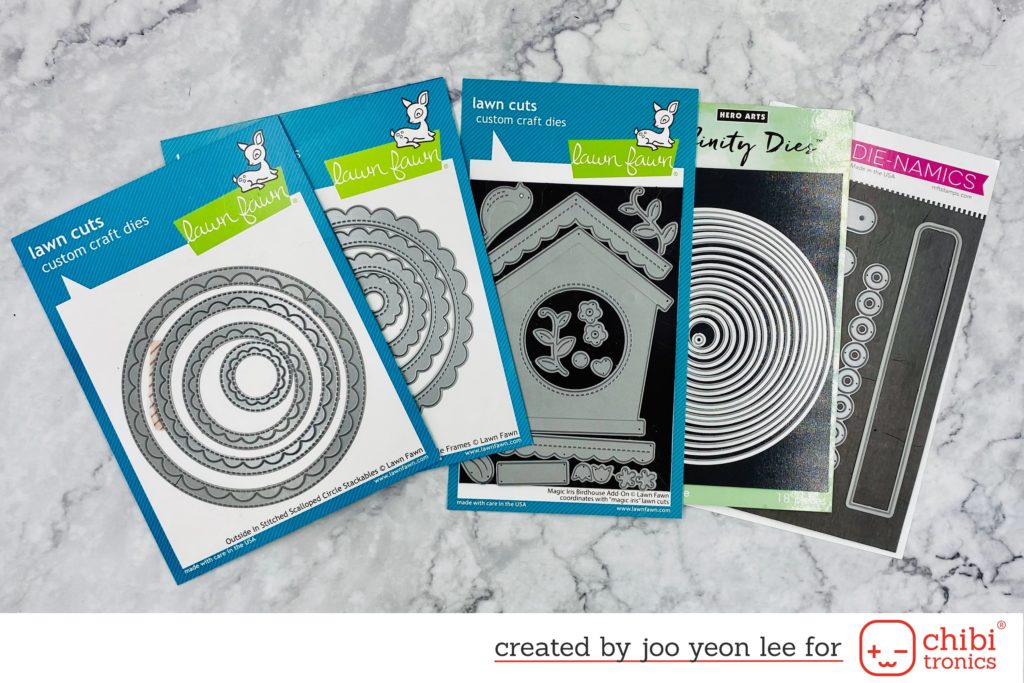
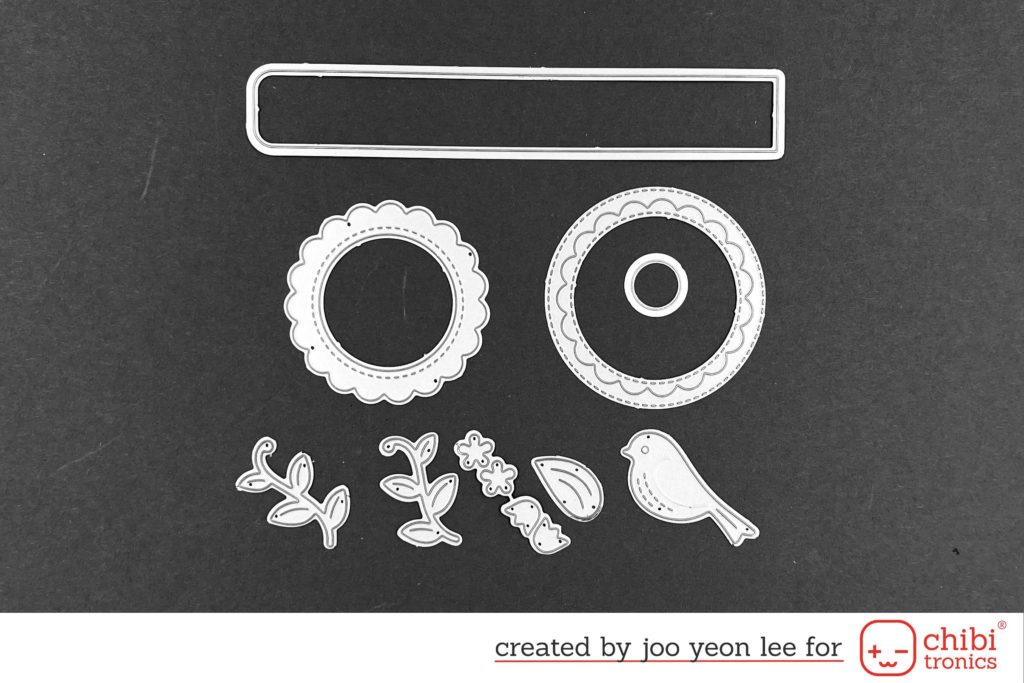
1. Die Cutting
- Lawn Fawn MAGIC IRIS BIRDHOUSE ADD-ON Die Cut
- Lawn Fawn OUTSIDE IN STITCHED SCALLOPED CIRCLE STACKABLES Lawn Cuts
- Lawn Fawn STITCHED SCALLOPED CIRCLE FRAMES Die Cuts
- Hero Arts Nesting CIRCLE Infinity Dies
- My Favorite Things MEET IN THE MIDDLE INTERACTIVE Die-Namics
2. Stamping
- Lawn Fawn MAGIC MESSAGES Clear Stamps
- Lawn Fawn YOU’RE JUST MY TYPE Clear Stamps

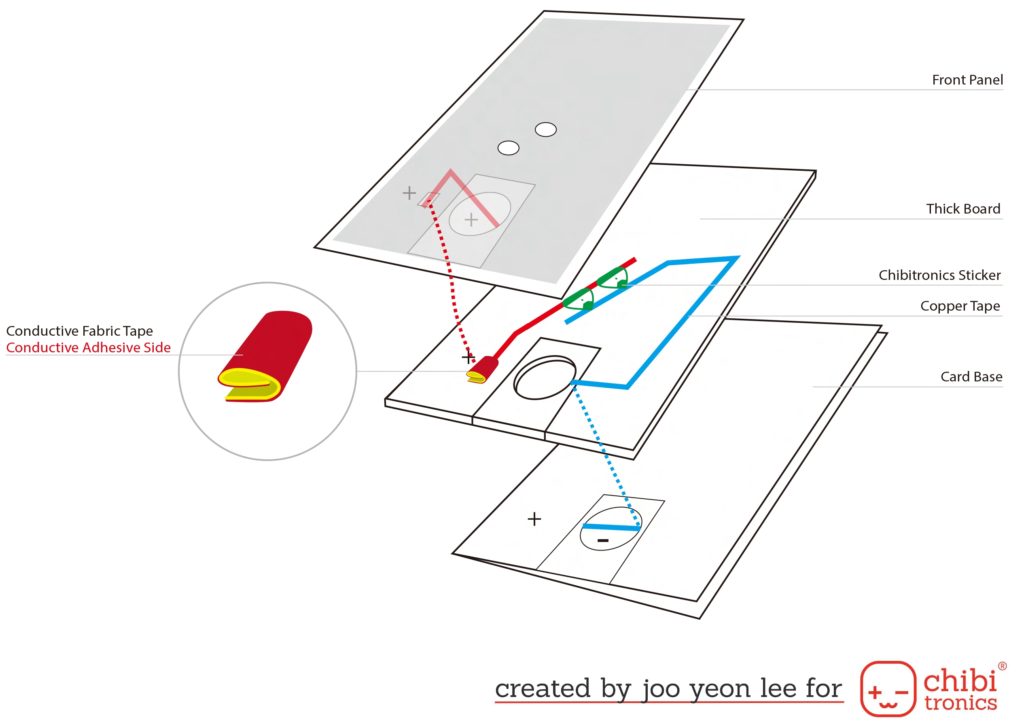
3. Circuit Composing
- White LED’s Sticker from Chibitronics
- Copper Tape from Chibitronics
- 3V Coin Battery (1220)
- Conductive Fabric Tape from Chibitronics
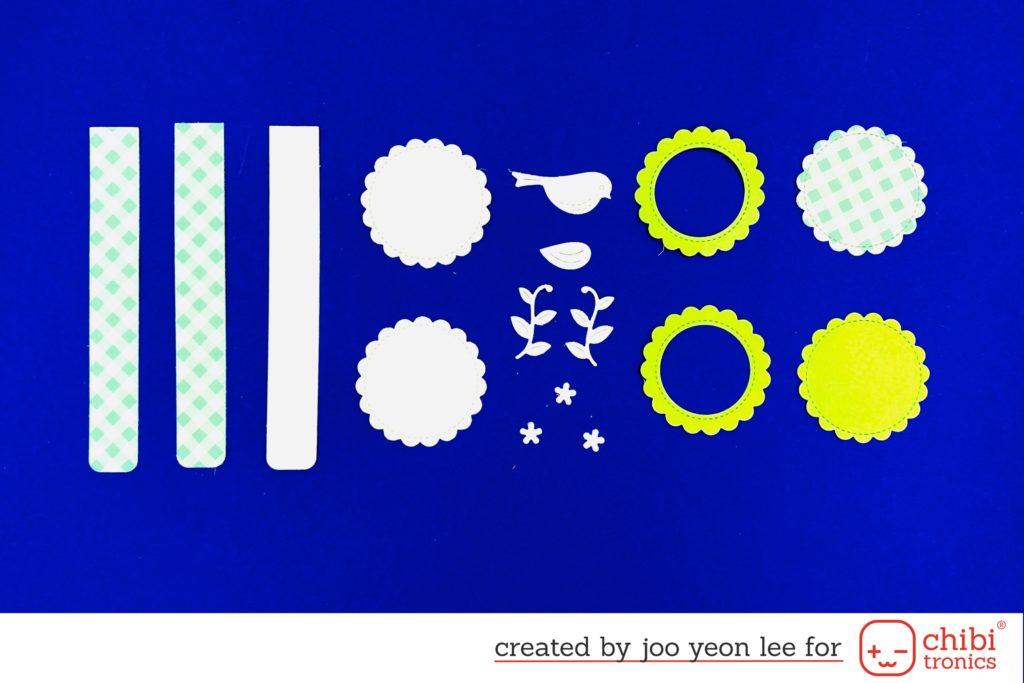
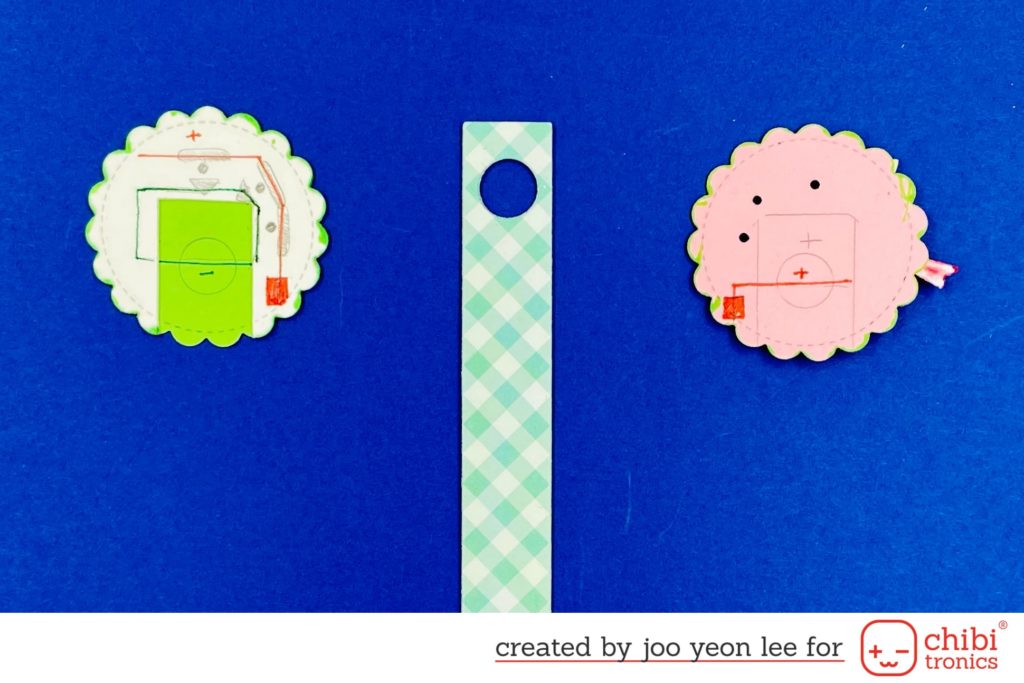
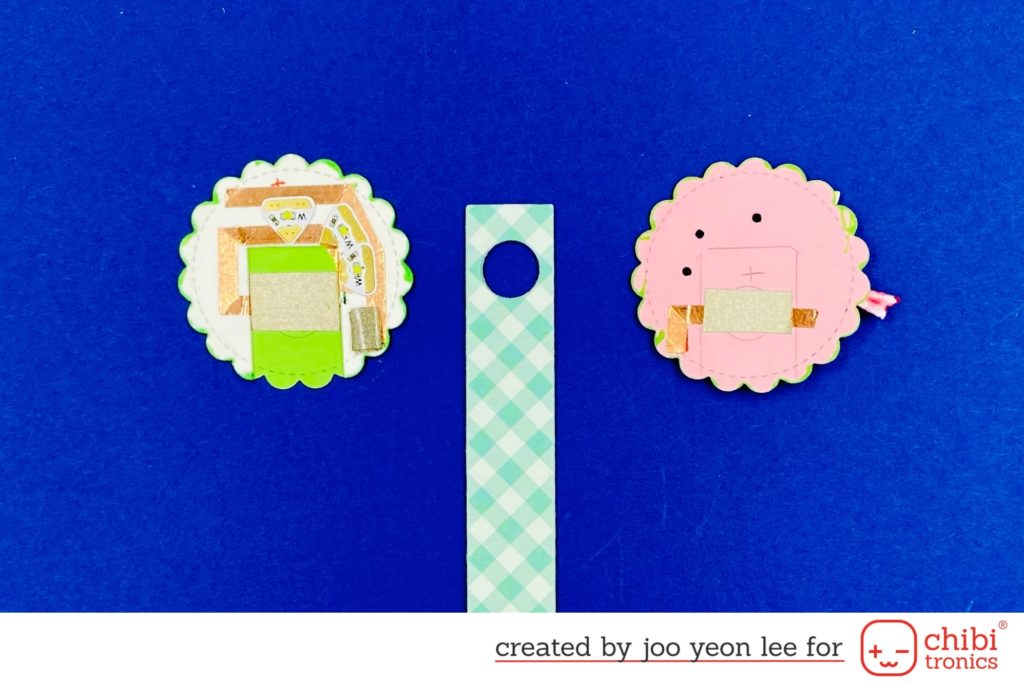
After cut out in the shape of the bar which is a battery holder from scalloped circle board, I composed the circuit using the following mechanism.
4. Assembling
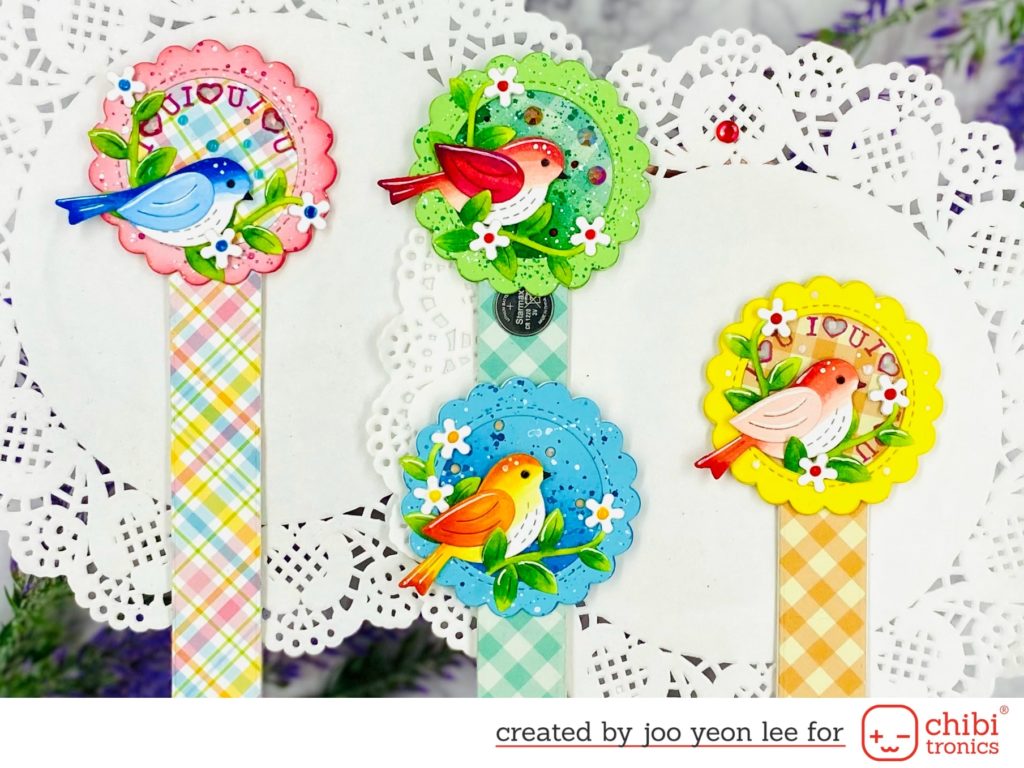
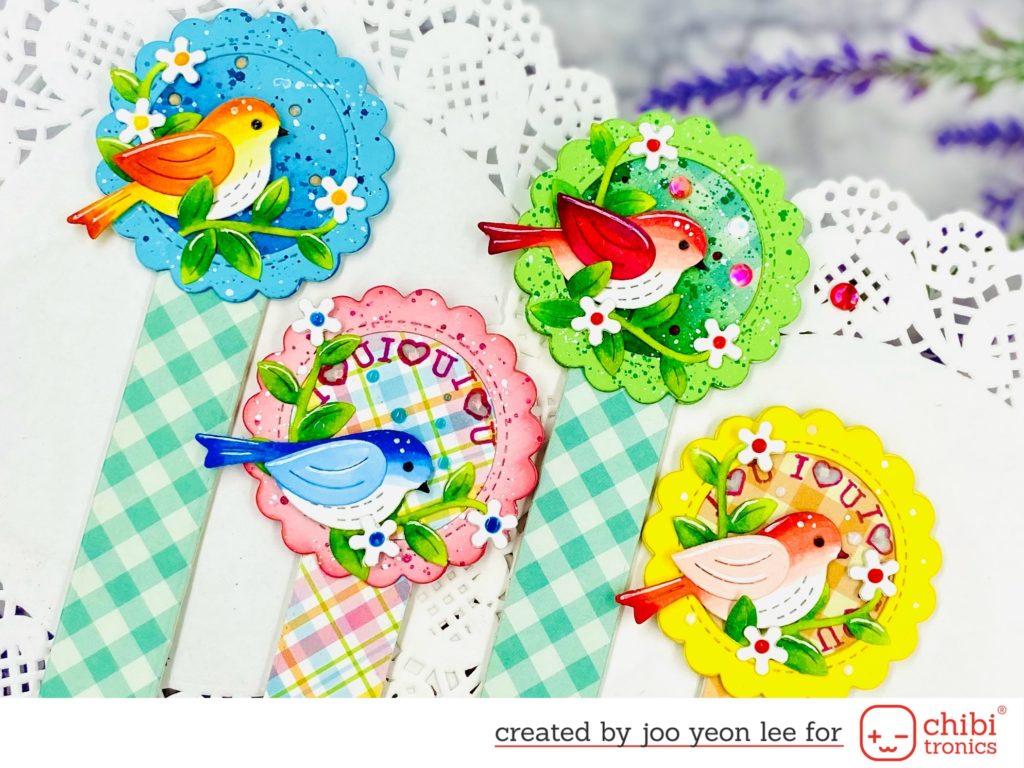
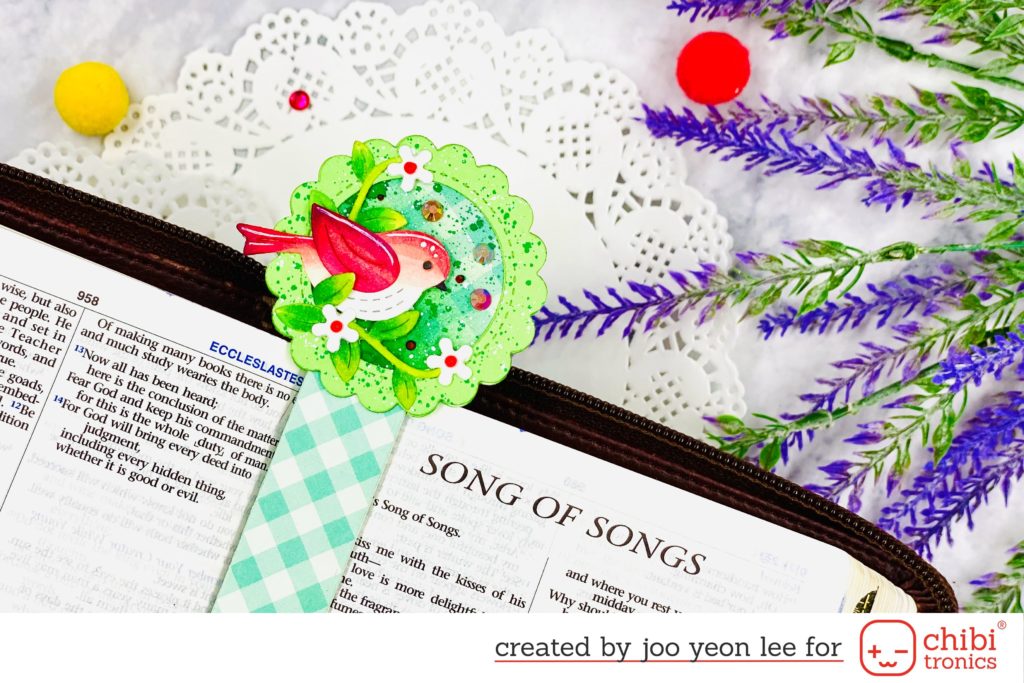
By assembling the circuit board and the front panel according to my video tutorial, You can make pretty bookmark with bird and flowers. Then you can read a book even if it’s dark.
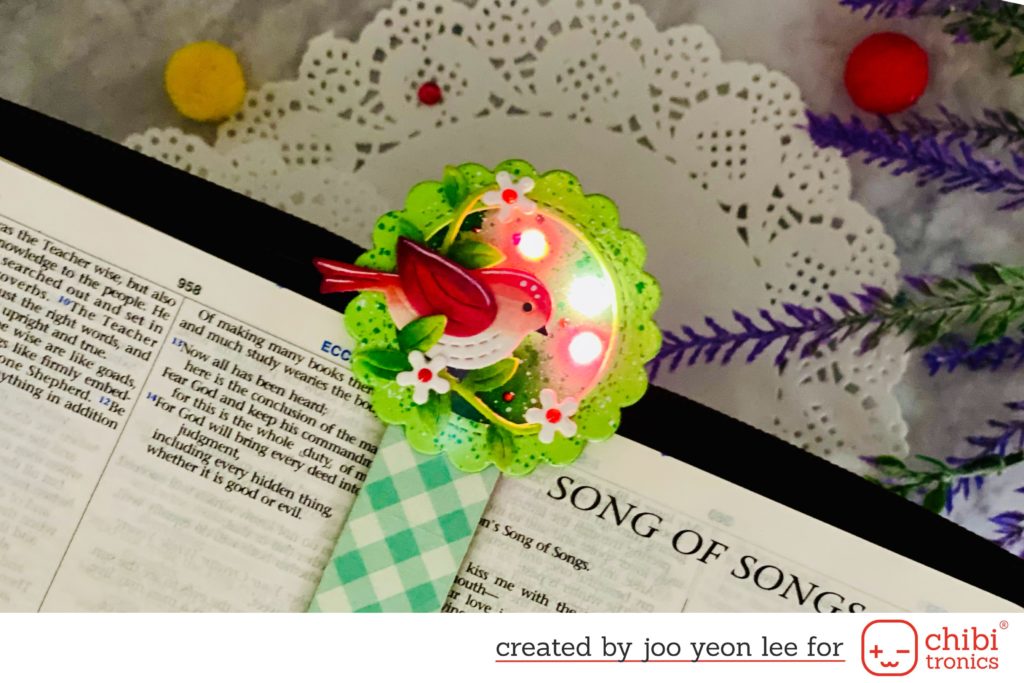
I hope you spend this summer time cool and happy, as well as this light-up bookmark.
Thank you so much for stopping by!
My Instagram : paperandcircuit)
My YouTube chanel : Paper & Circuit