Circuit Sticker LEDs are Reusable!
If you are new to using our LED stickers, you might be wondering whether there is a way to reuse them once they have lost their stick. Luckily, there are several ways to reuse Circuit Stickers that have lost their adhesive mojo in order to minimize waste and expense!
As a general rule, when I’m prototyping, I make an effort to adhere Circuit Sticker LEDs with light pressure and verify that I’m happy with their placement before pressing them down more firmly. That way, they’re easier to lift and reposition. But, on the occasions when I make a mistake, or decide that I’d like to try to repurpose them, removing an LED sticker can require a bit of special handling.
Remove a Sticker (CAREFULLY)
While all of our stickers have the potential to be reused, depending upon how firmly they were previously adhered (and to what surface), it’s important to note that you have to be careful not to bend the sticker when you remove it. If you bend the sticker too much, it may damage the electrical connections inside.
To avoid bending a sticker that you plan on reusing, it’s helpful to use a fingernail or thin piece of plastic to shimmy it loose.
The idea is to carefully wedge your fingernail (or piece of plastic) beneath the sticker and gently rock it from side to side, while keeping the sticker flat.
Once the sticker is removed, if it peels off very cleanly, you may be able to reuse the original conductive adhesive once again. But, if there are bits of paper remaining, which is often the case, you may need to try one of the following tricks.
1. Tape Over the Metal Pads
Rather than relying solely upon the adhesive bottom of a sticker you’re reusing, take advantage of the metal pads on the top side.
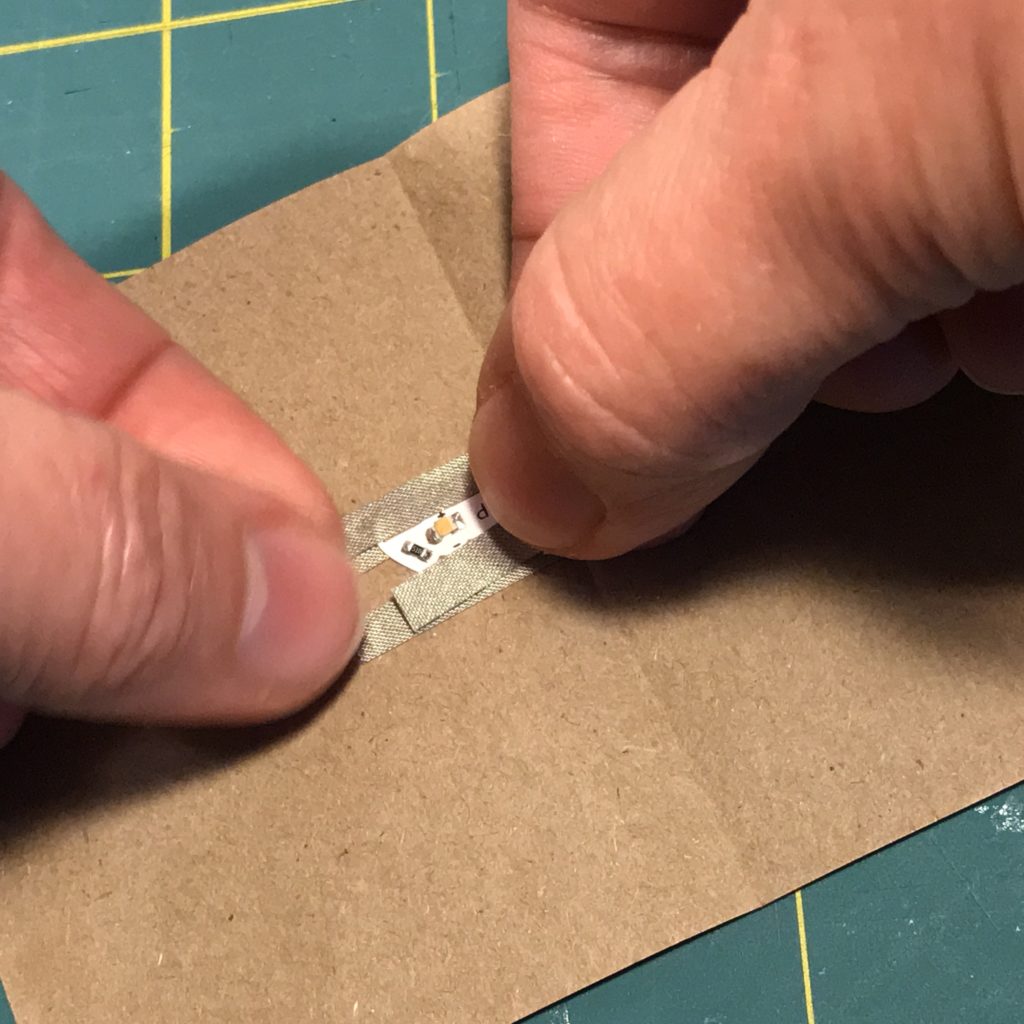
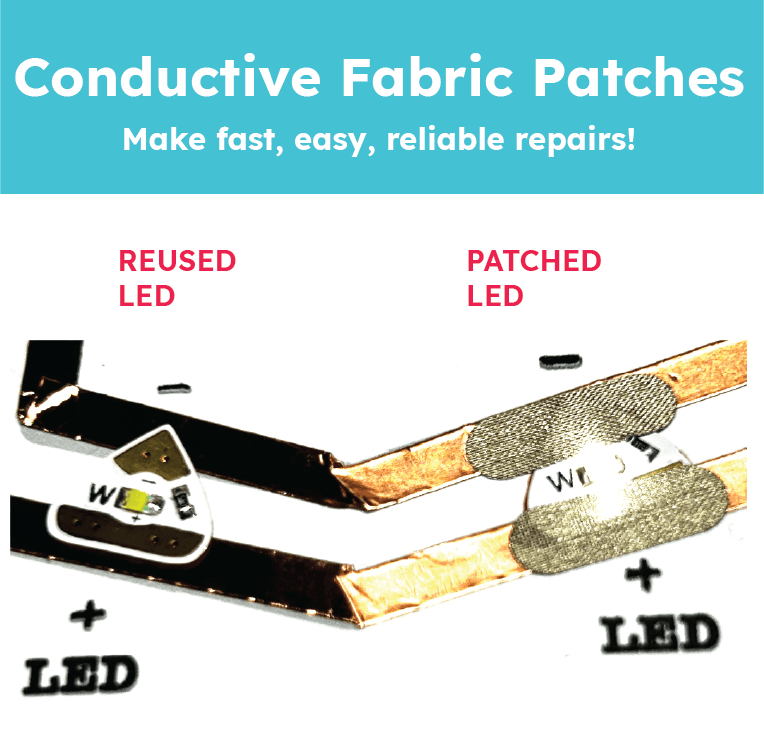
To do so, use conductive tape to tack the sticker down by placing it over each of the metal pads. Be sure it’s long enough to connect with the conductive traces under the sticker. This will work with conductive fabric tape, conductive fabric patches, and copper tape. Just be sure that the copper tape has a conductive adhesive as ours does.
Tip: Avoid overlapping the resistor to prevent shorts.
2. Remove Adhesive & Use a Bare Sticker for Prototyping
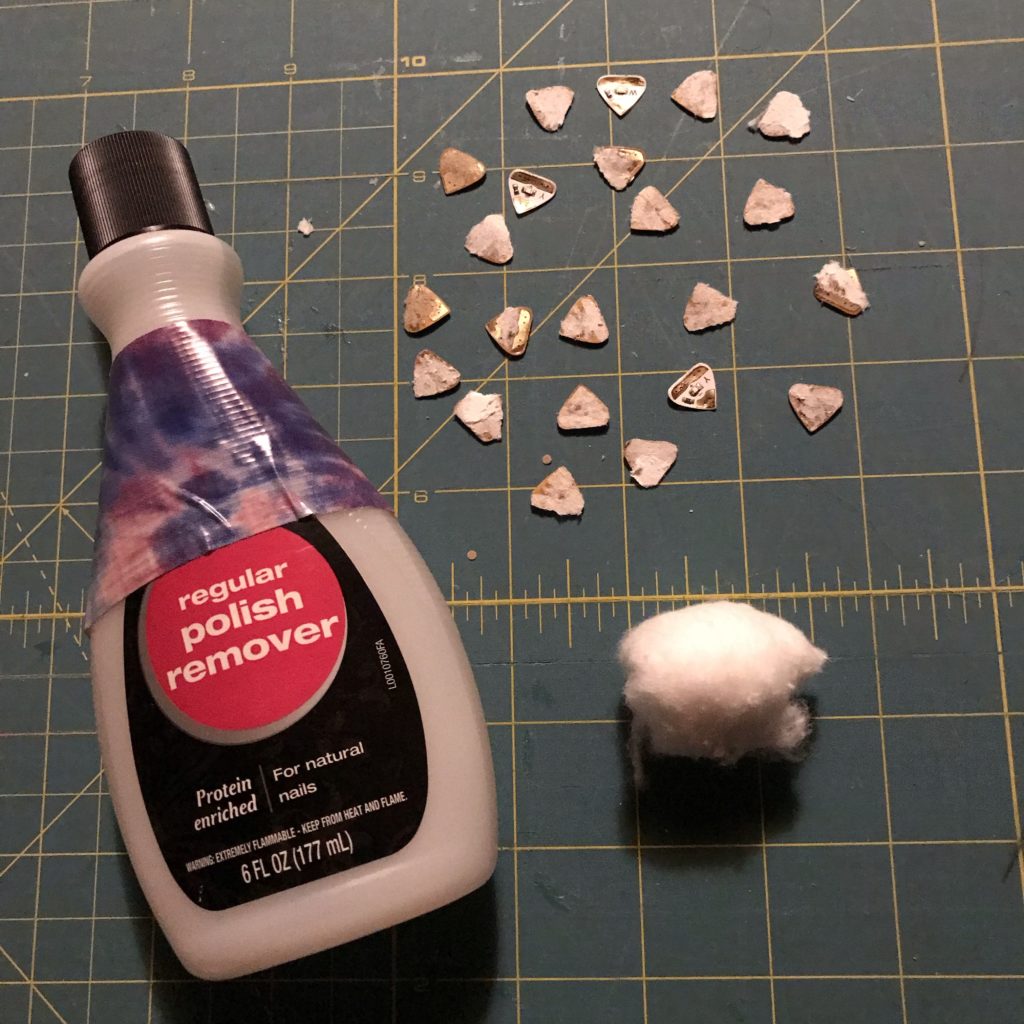
It’s also possible to remove the adhesive from the back of a sticker using acetone (nail polish remover). It’s helpful to support the back of the sticker with a clean cotton ball while using a wet one to remove the adhesive.
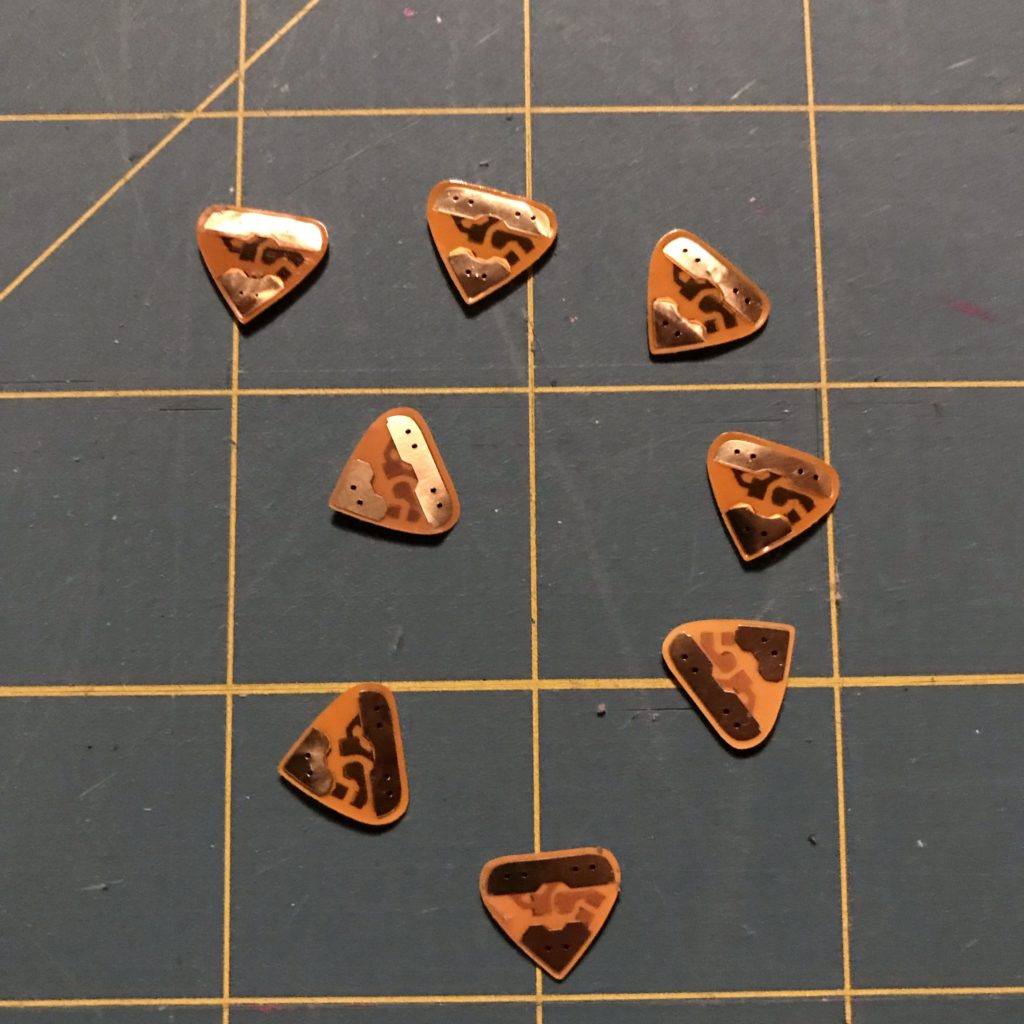
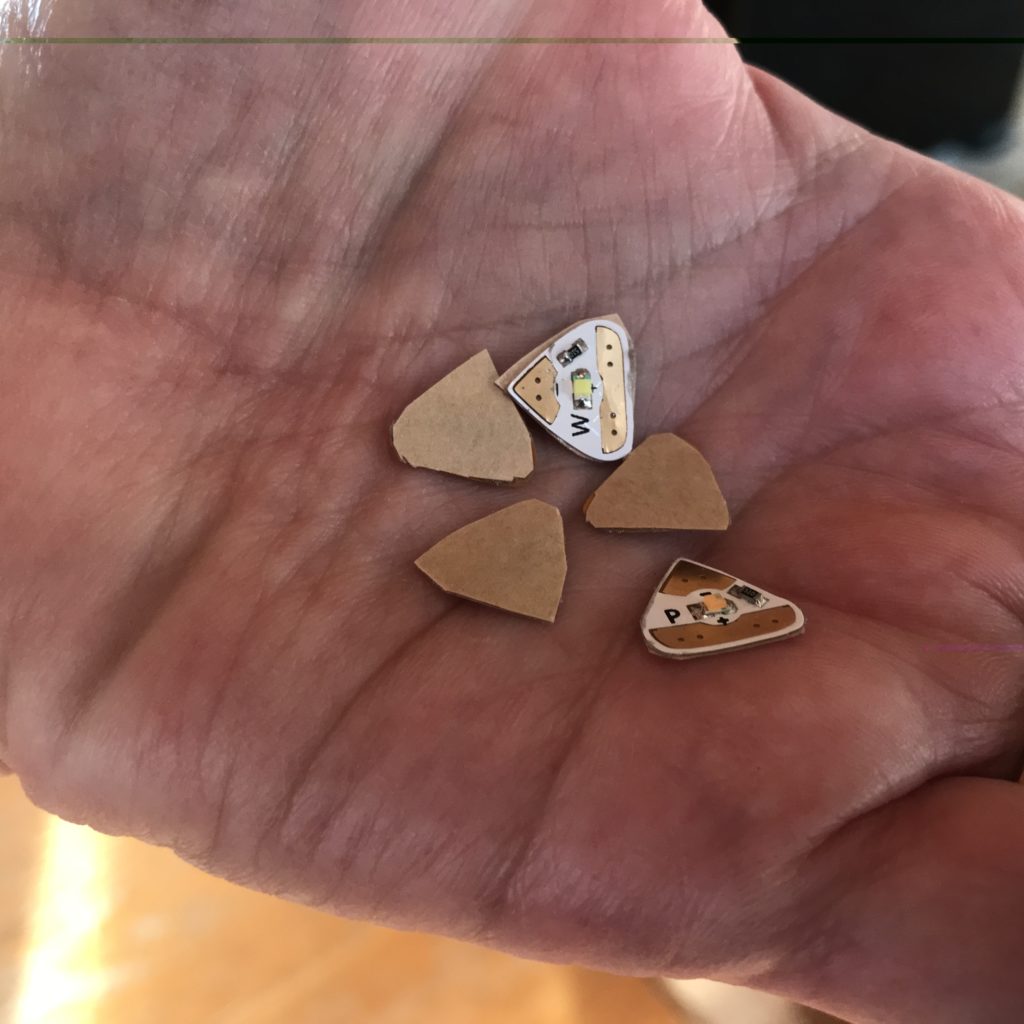
Once you’re finished, you’ll be left with bare-backed stickers. These are extremely useful for prototyping! Held in place with your fingers, a bare sticker can help you test a circuit, compare LED brightness between stickers, and experiment with color combinations within a circuit before committing.

3. Remove Adhesive & Add Z-Axis Tape
If you use acetone to remove old adhesive, you’ll be left with bare-backed stickers. These may be refreshed, replacing the old adhesive with new conductive adhesive, by adhering them to a piece of Z-Axis tape.
The Z-Axis tape works is because it is only conductive through the thickness of the tape, not along the length or width.
When working with it, you’ll need to remove the protective backing from the brown paper, adhere the stickers close to one another, and then cut them apart.
Since Z-Axis tape is expensive, and tricky to work with (since it’s extremely sticky), you’ll want to maximize the surface area as much as possible. Do this by placing the stickers as close together as you can.
4. Sew With Conductive Thread
Stickers that have lost their adhesion may also be sewn through with conductive thread. To learn more, visit our Guide to Conductive Thread.
5. Solder the Metal Pads
For experienced makers, Circuit Stickers that have lost their stick may also be soldered into a circuit. This only works with copper tape, however, as the heat from a soldering iron can singe conductive fabric tape.
To help make it easier for the flux to properly bridge and connect the metal pads with the circuit beneath, it’s helpful to apply patches of copper tape over the metal pads prior to soldering. While this technique will not necessarily result in pretty connections, it’s effective.